
Welcome to 3D Fundamentals! On this page, you will experience my progress week by week throughout my university year.
For our Environment Art Module, we are merging it with the 3D Fundamentals Module. Our task is to create a biometric dome that features various environments along with an accompanying narrative.
My narrative depicts a journey through time, beginning in the Carboniferous Period, transitioning into the Ice Age, and concluding 100 years into the future with a futuristic garden. The biodomes will serve as exhibits for people to observe these once-vast environments and offer a glimpse into the future.

INT- ROOM 902 23 - 01 - 25
It seems to be a common theme where I get overwhelmingly confused with the task at hand, and in this case, Grey boxing within Maya.
Grey Boxing is a simplified plan of a level that is devoid of texture and colour. I'll be honest: I hated doing this task in Maya because whilst Maya is great, it is not entirely user-friendly.
I won't put the entire blame on that, though.
I am at fault here because despite having one of my biodome environments researched, I had no idea what the biodome itself would look like; therefore, I found it difficult to build a level around it.
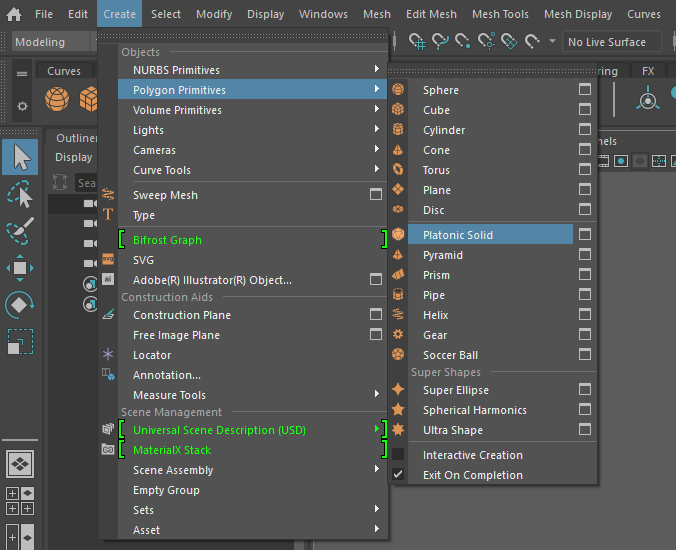
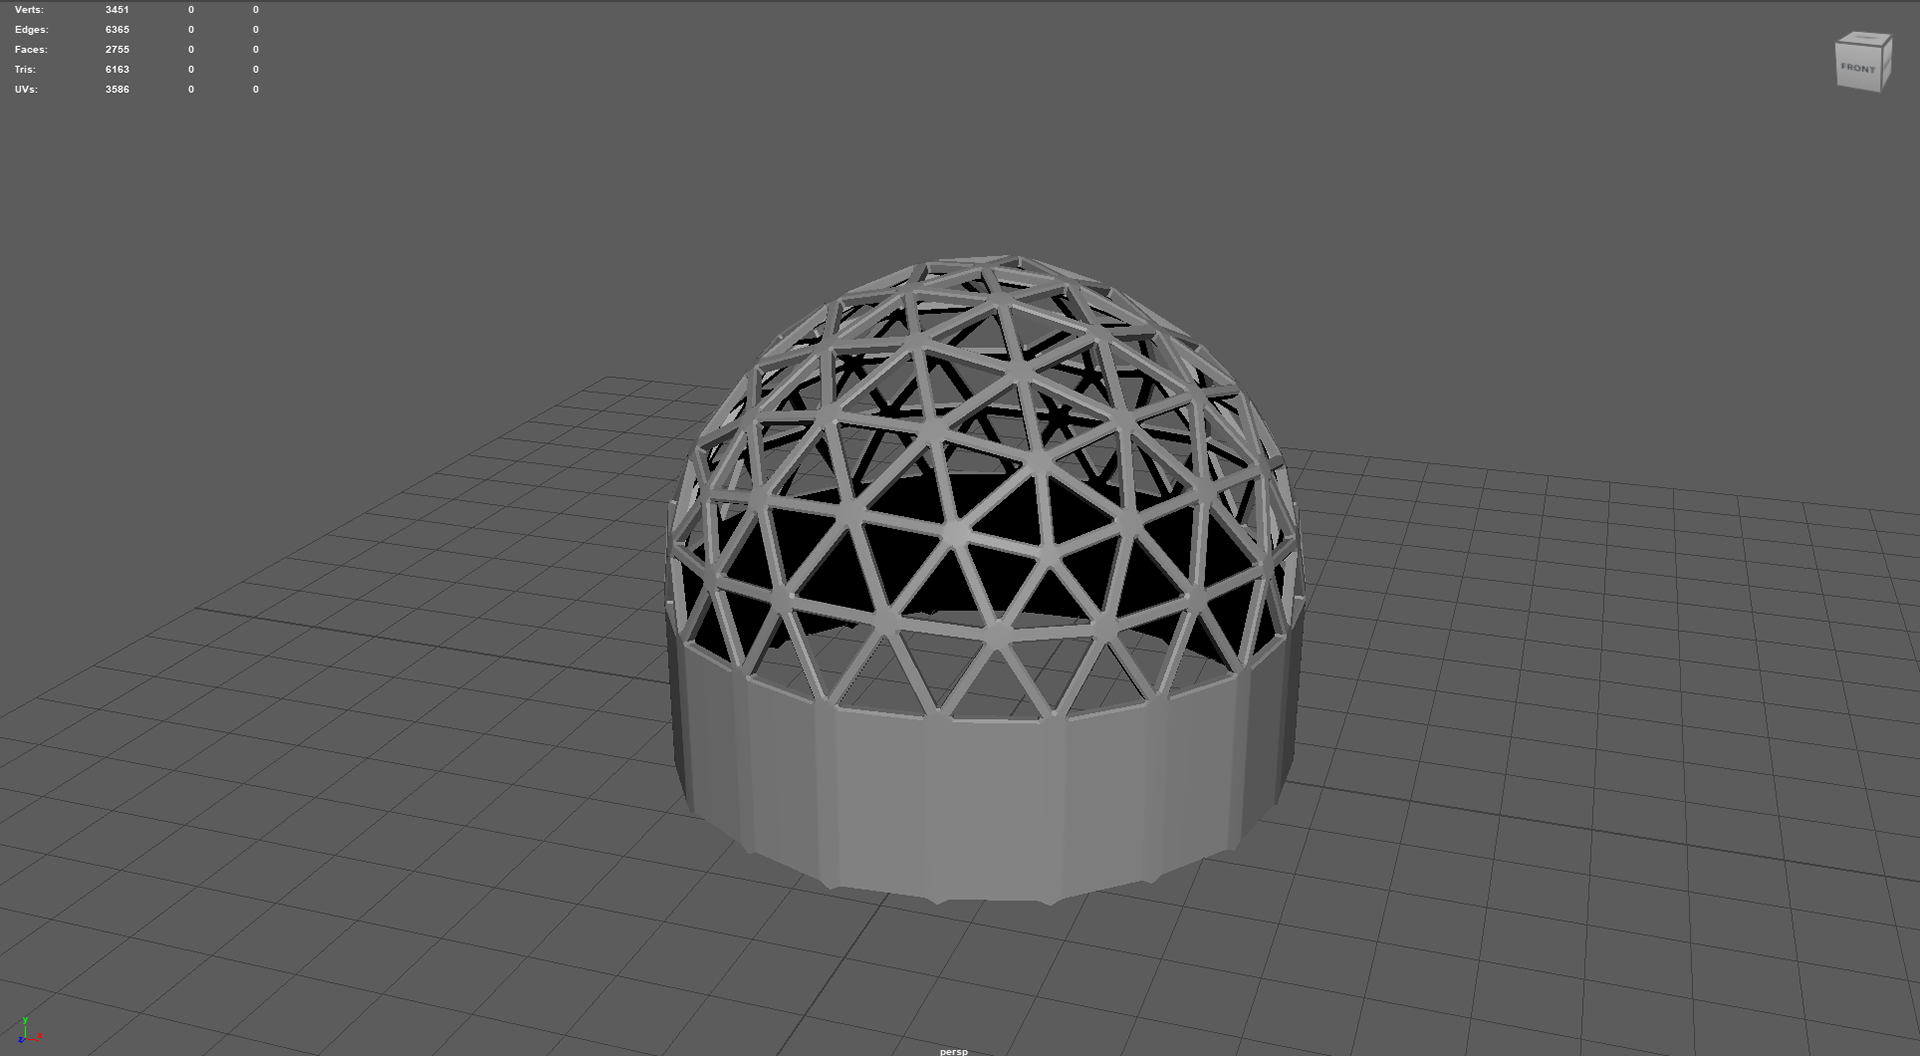
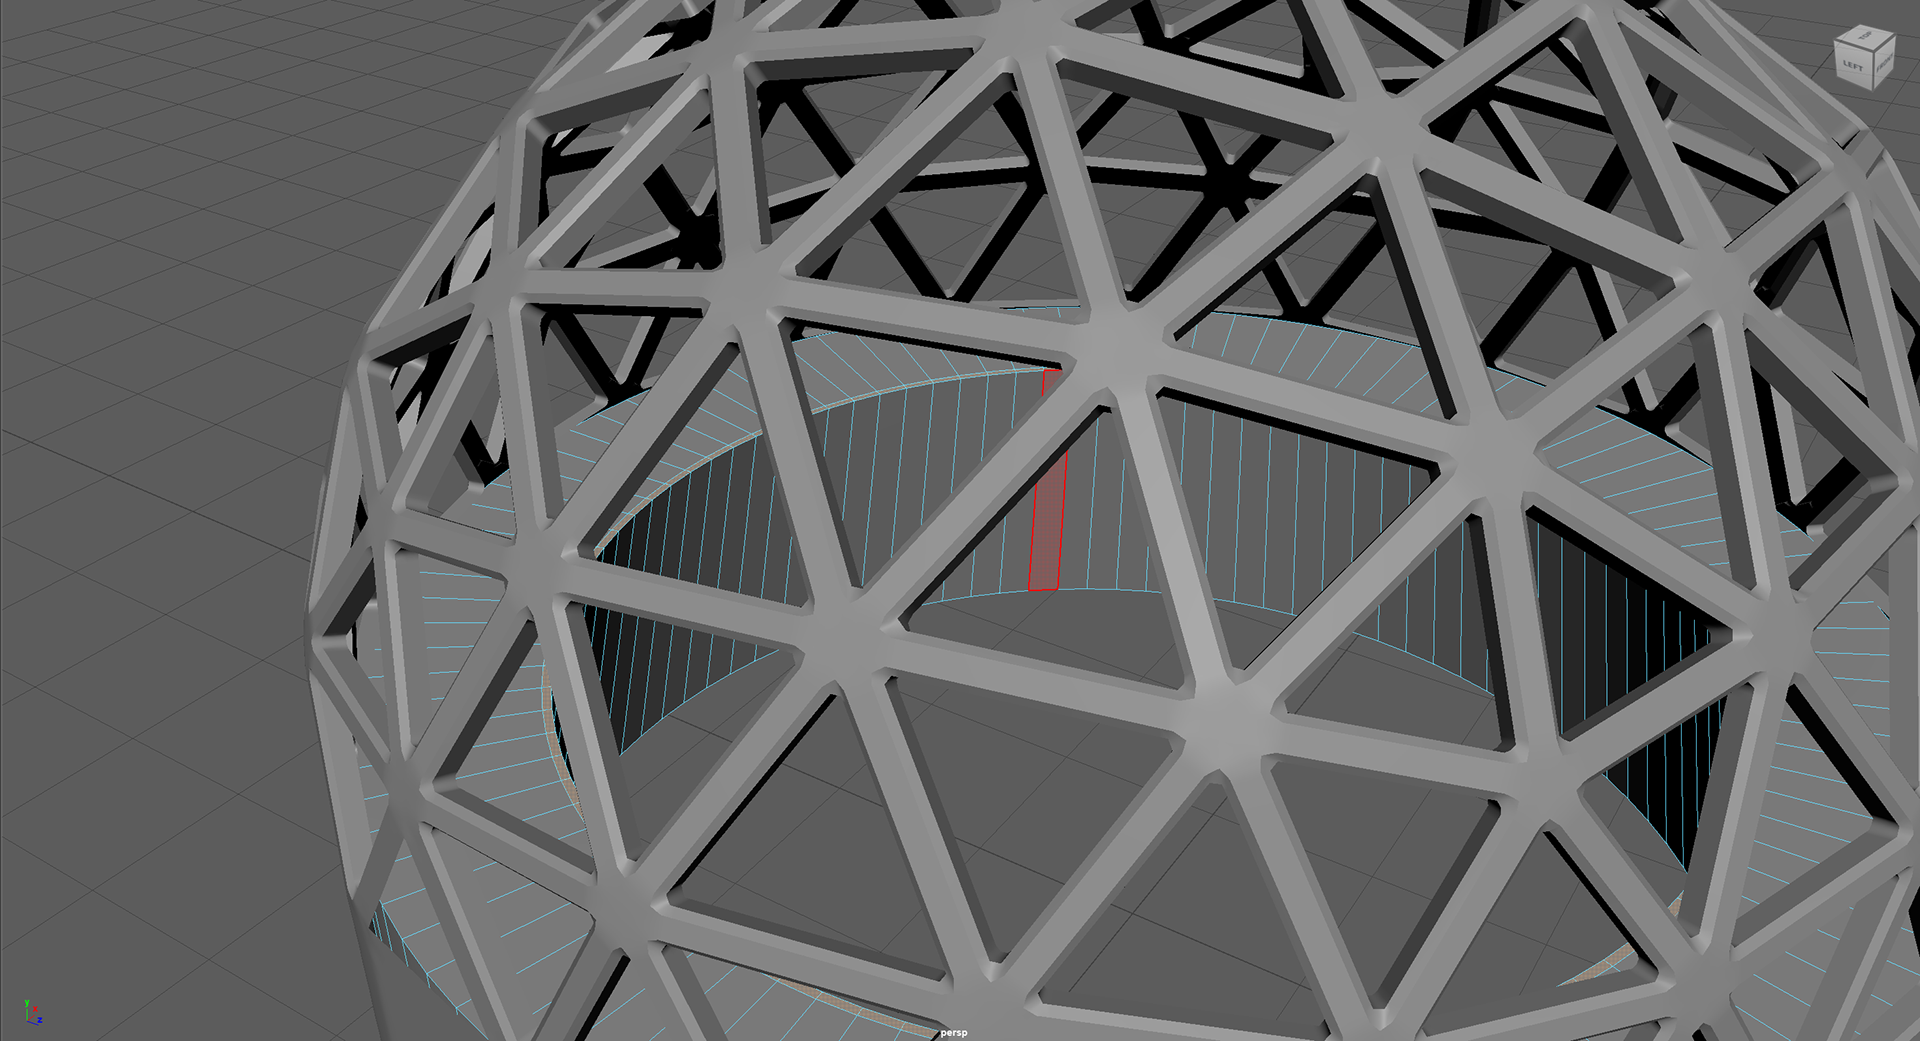
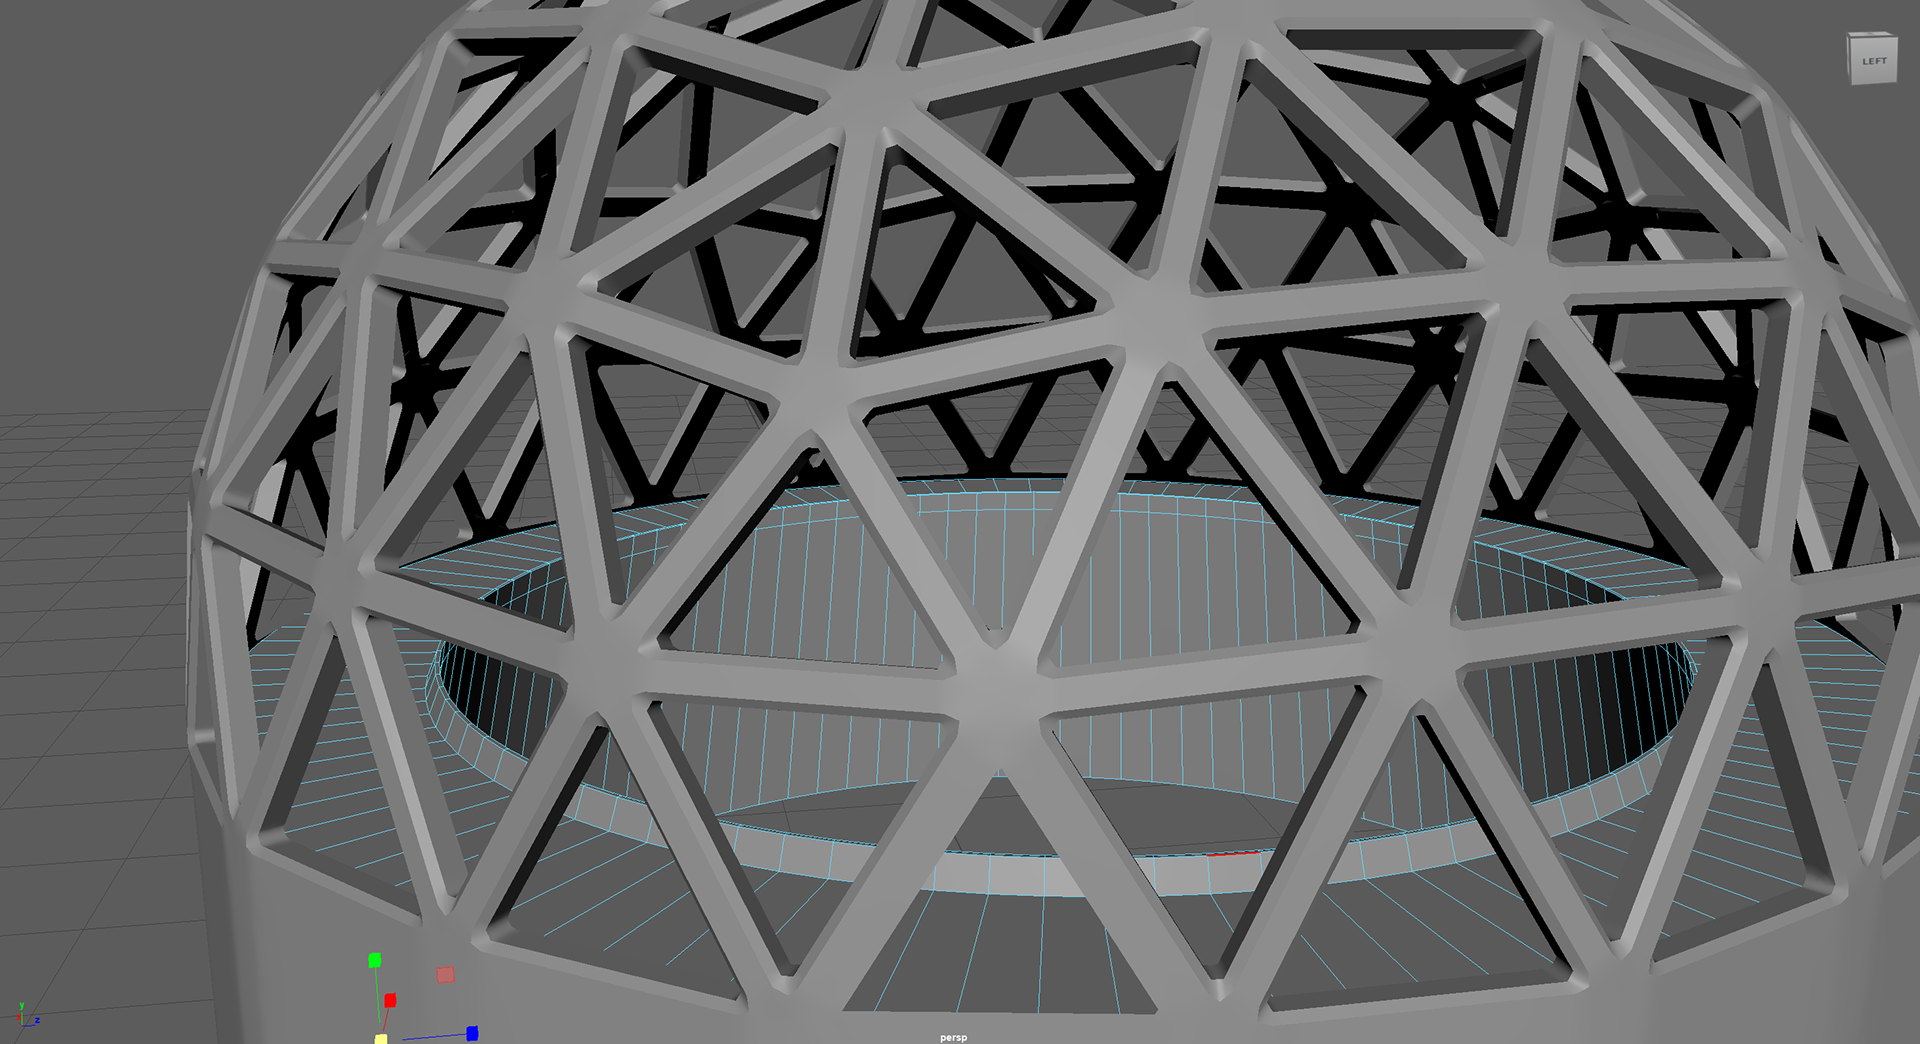
Before we got into the grey boxing element of this class, Rob taught us how to create the biodome structure.
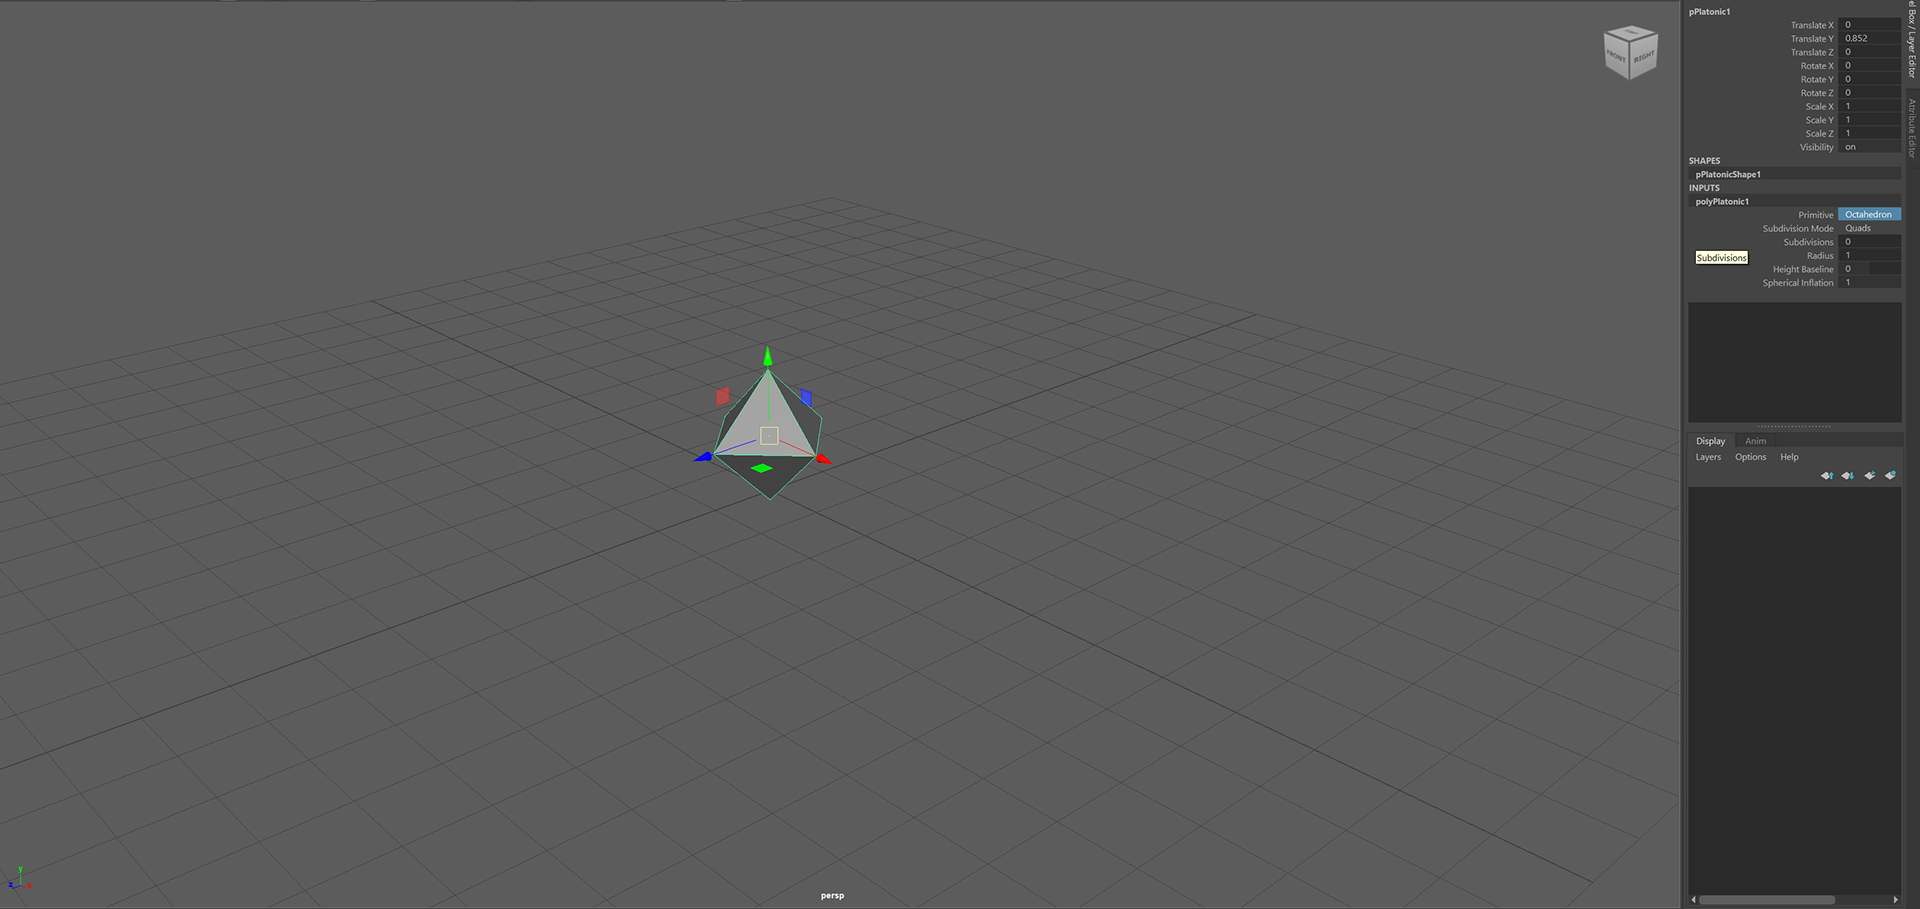
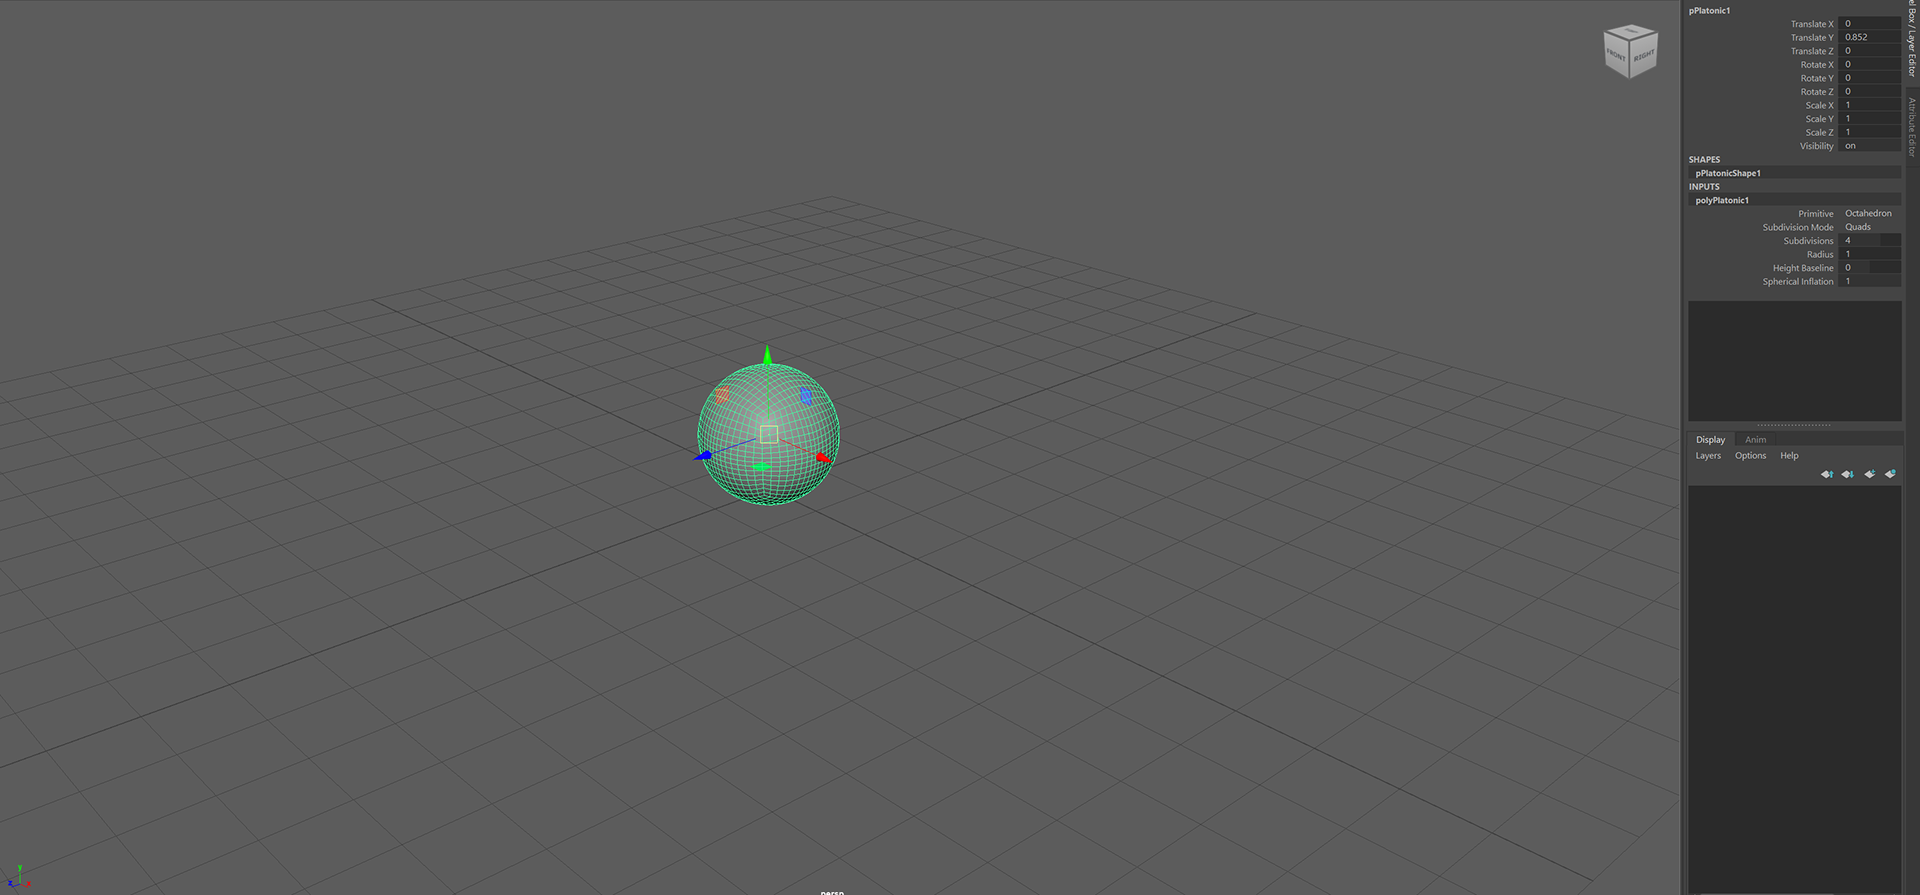
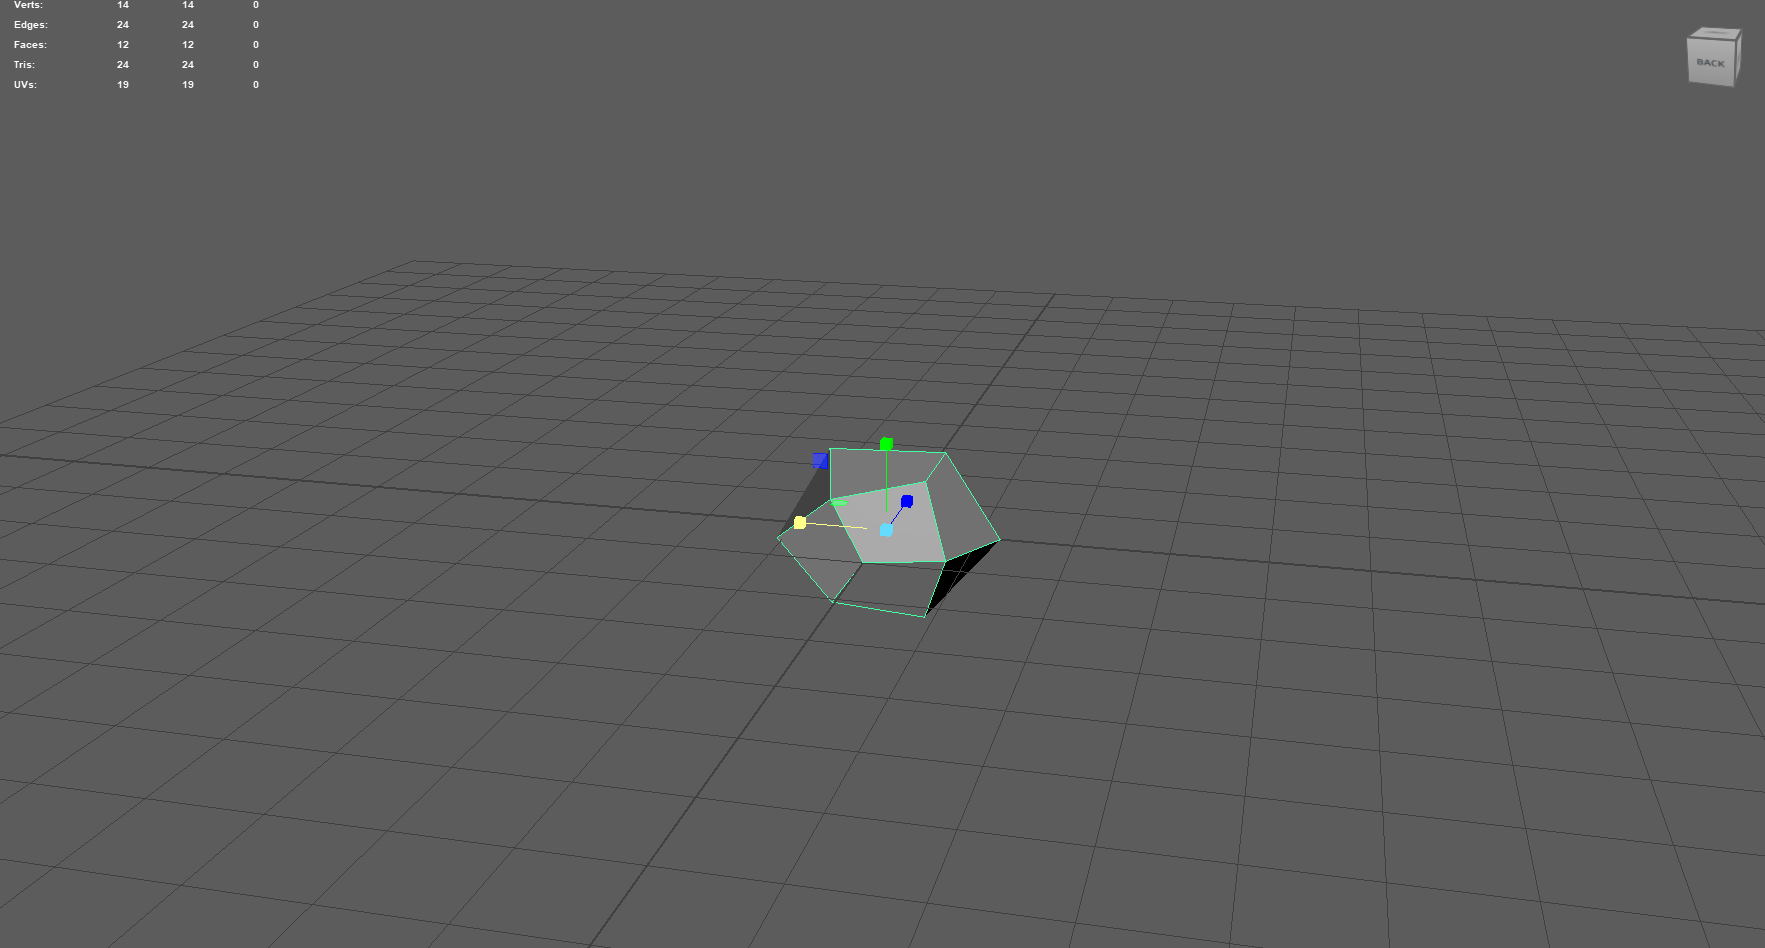
We will start by creating a Platonic Poly shape and adding subdivisions to give it a rounder shape.
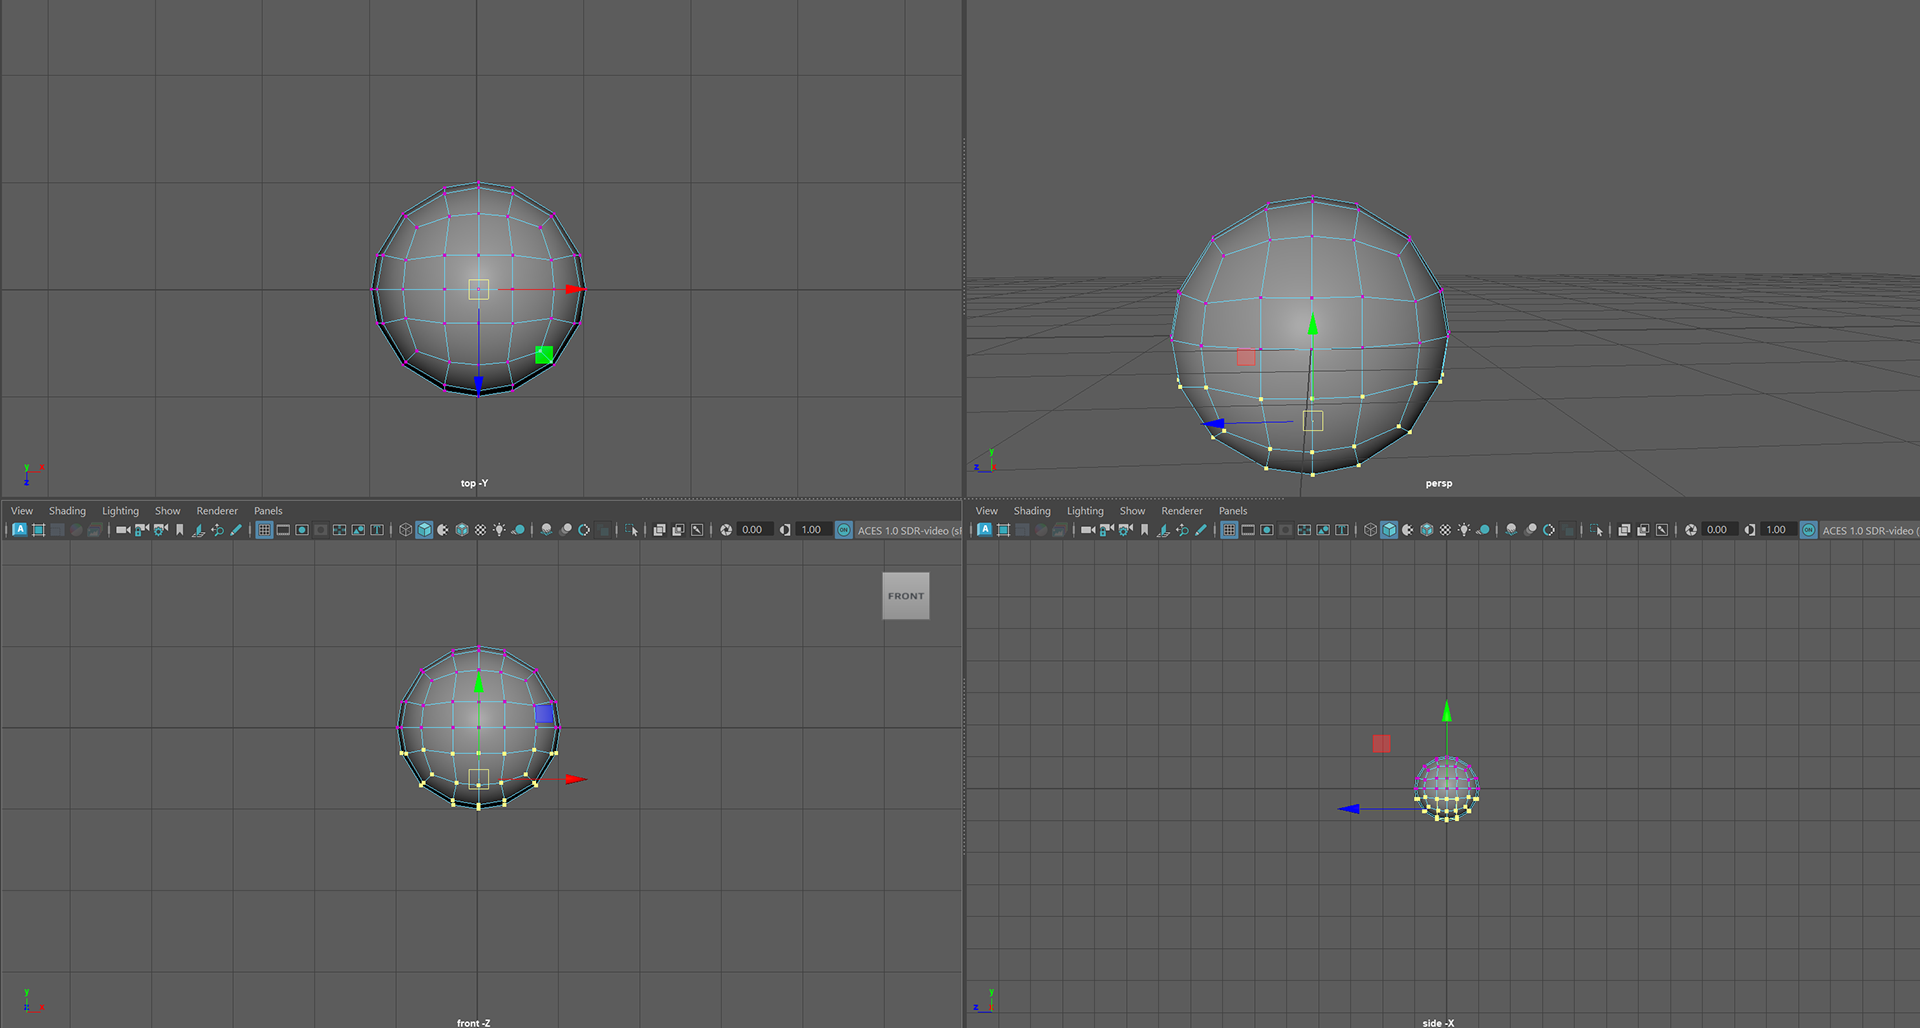
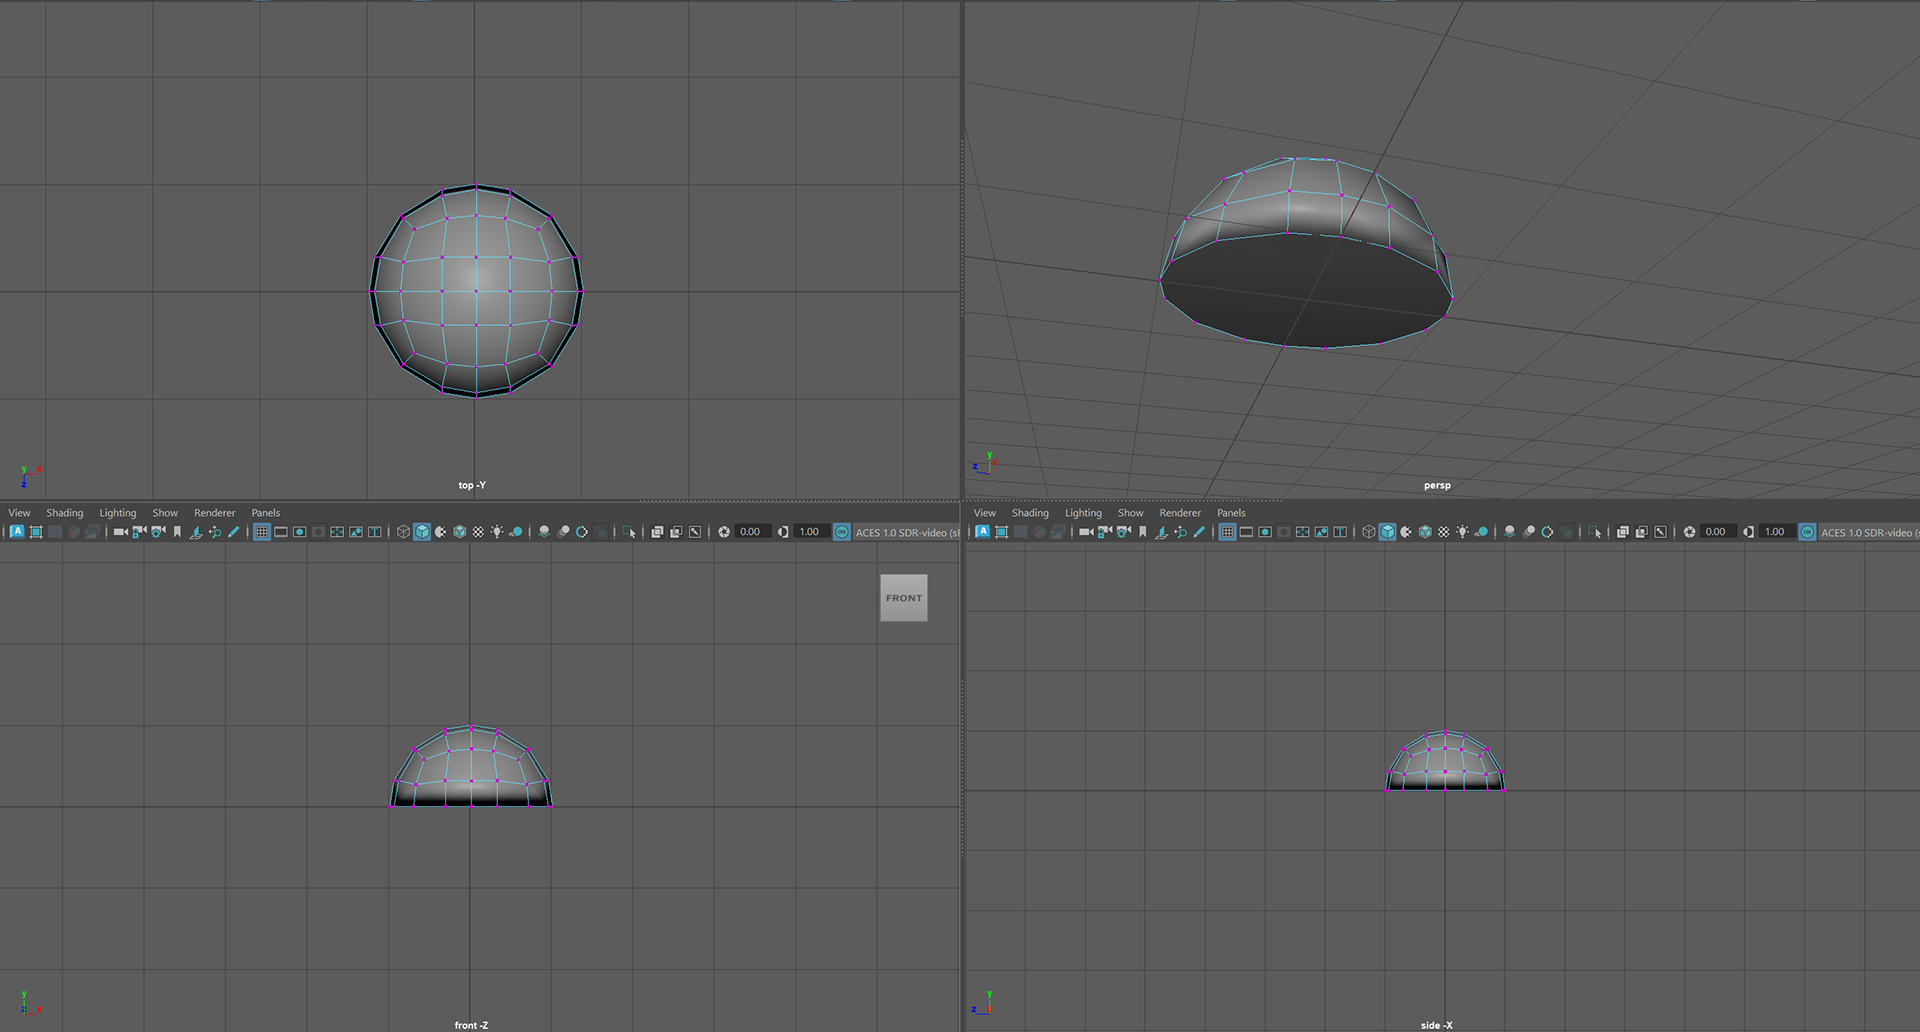
Then, taking our newfound shape and used the vertex mode, highlighting the bottom half and deleting them to make our dome shape.
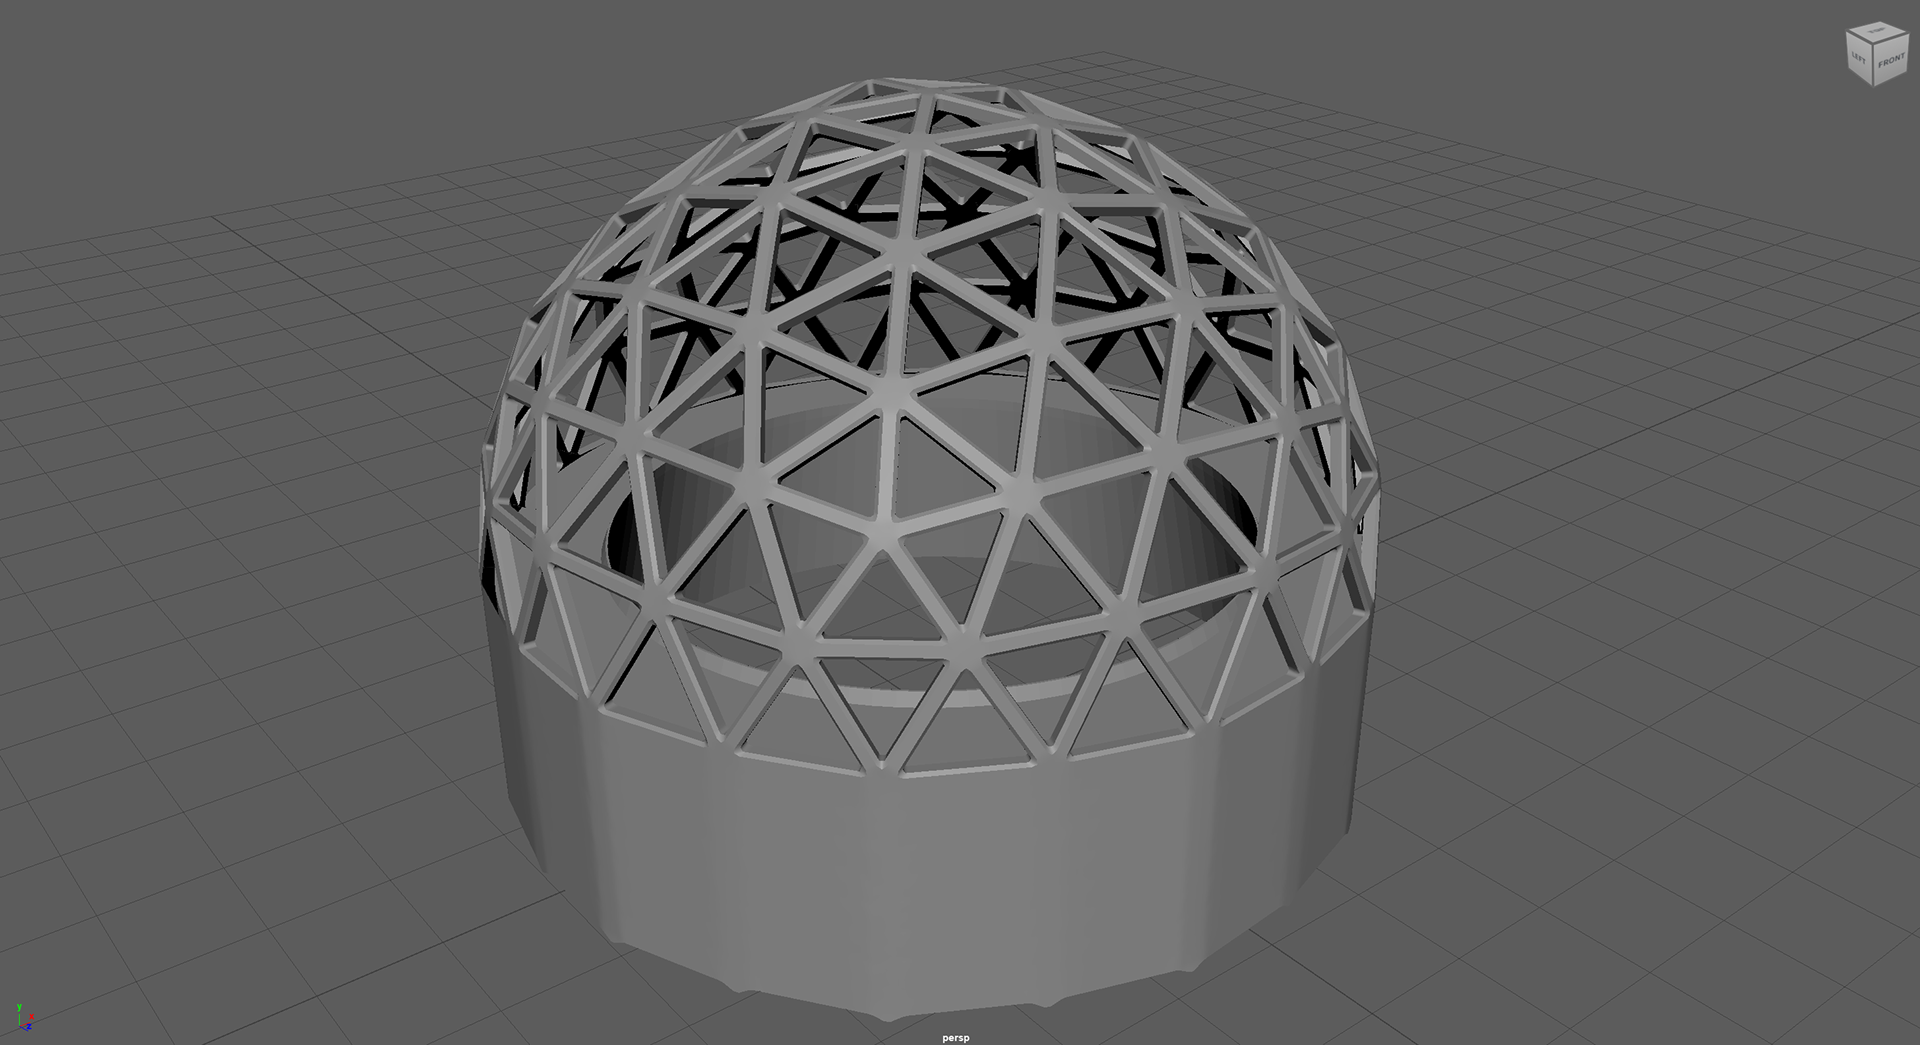
The final stages were to extrude the faces with a connection off; this allows us to create windows, then delete the inner part of the window, thus creating a biodome!
Now, to the grey boxing side of things, and I hate to disappoint, but the majority of the work I had done in class actually died in a horrible crash, a Maya crash.
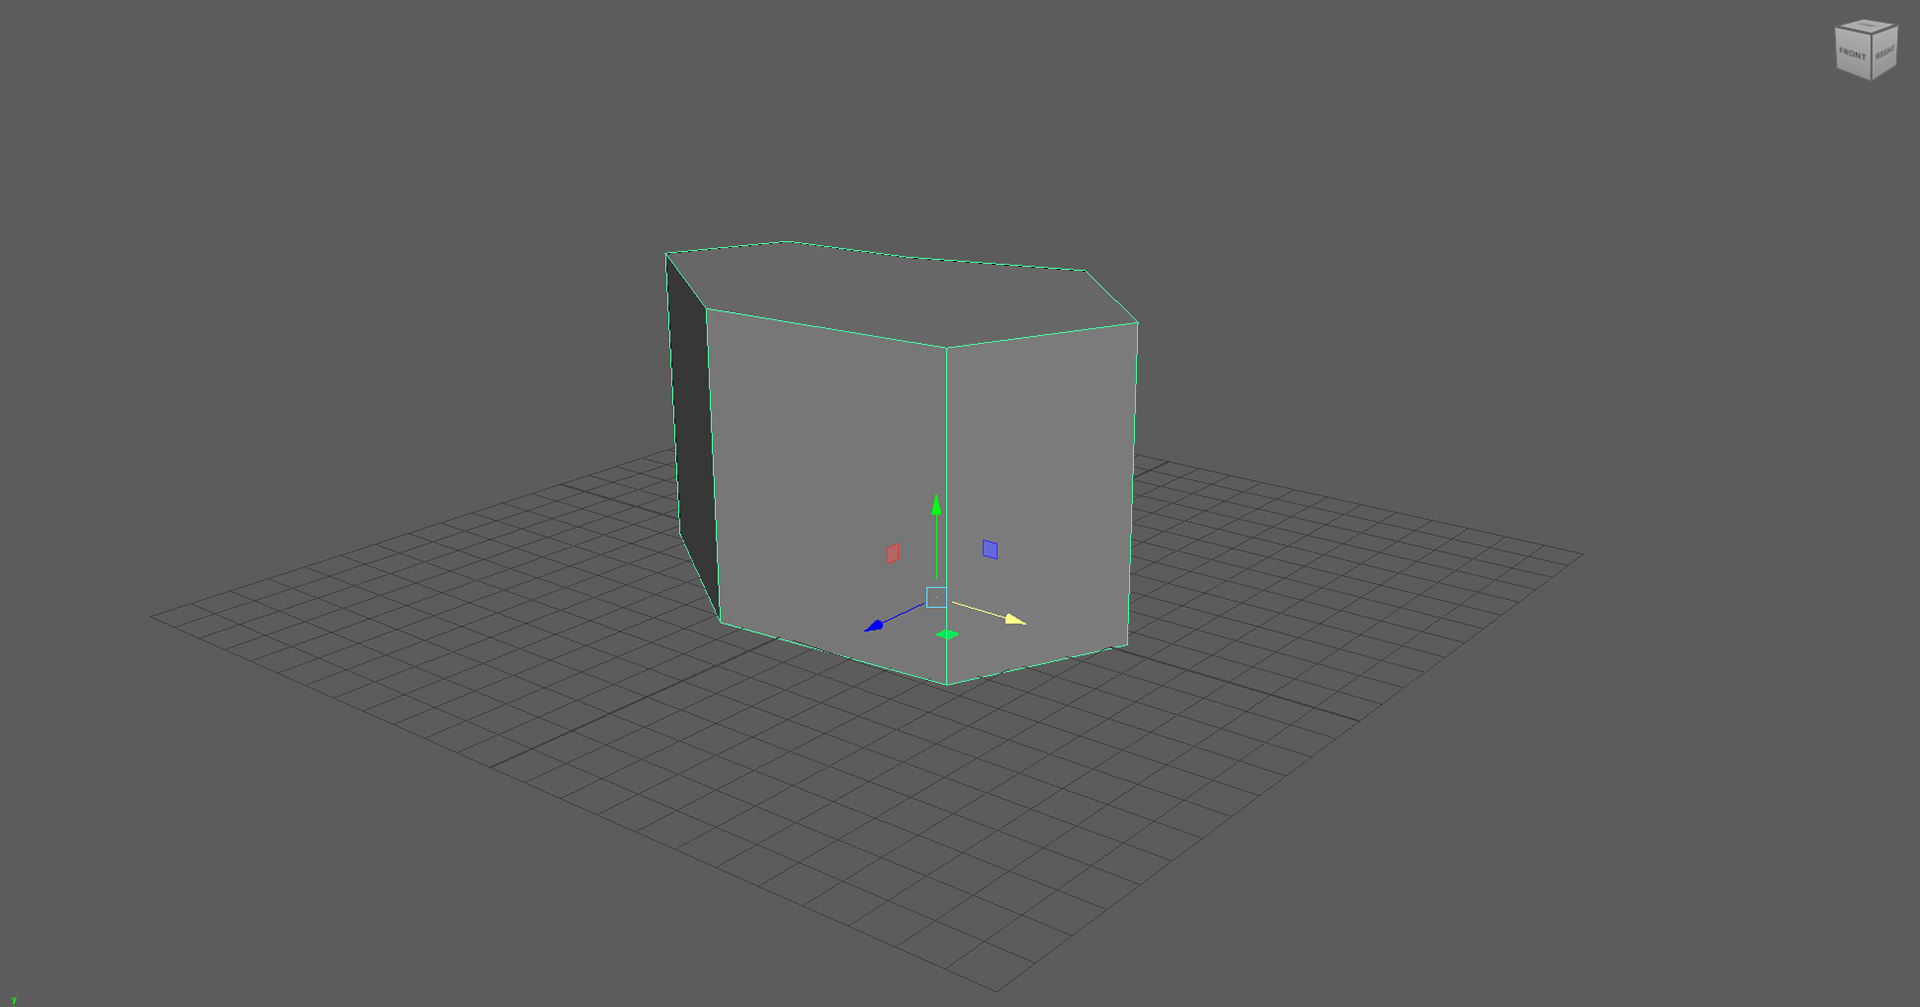
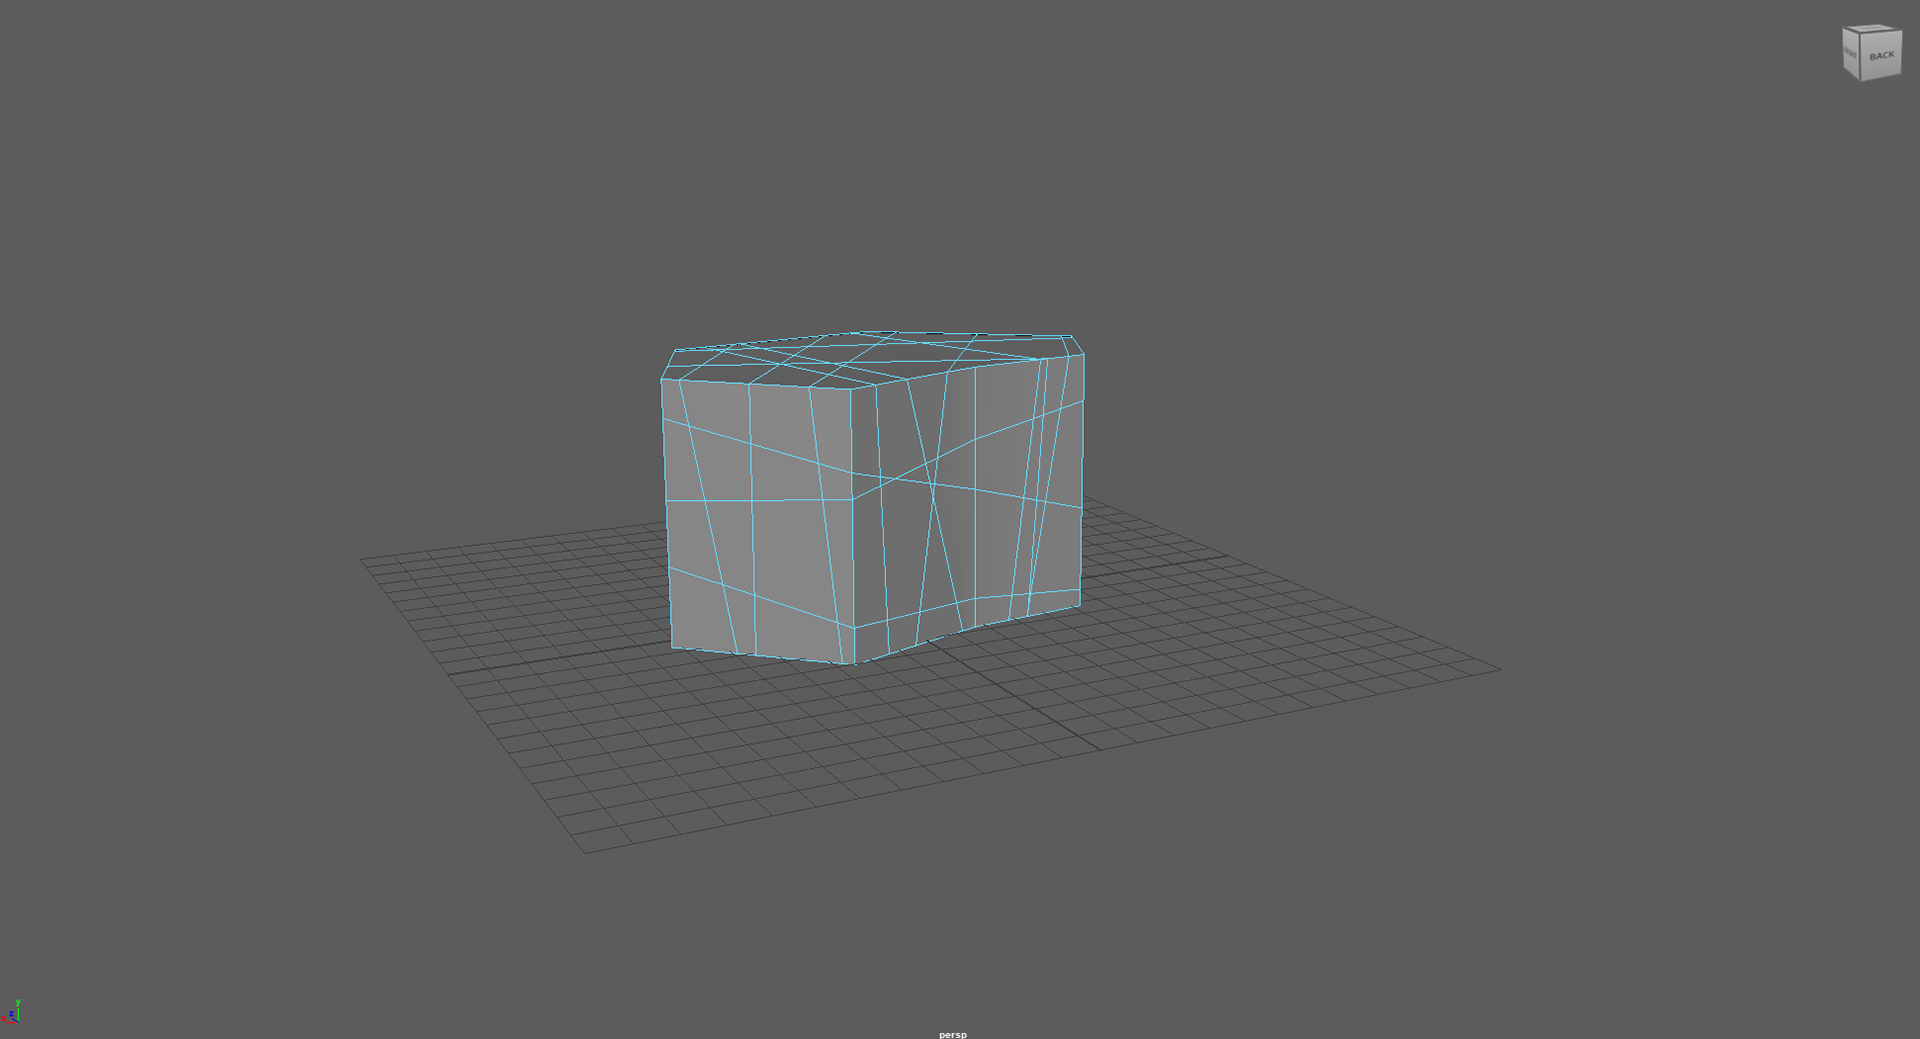
I managed to start the block out utilising cube polys and editing them with Vertexes, but the larger scale environment was lost forever.
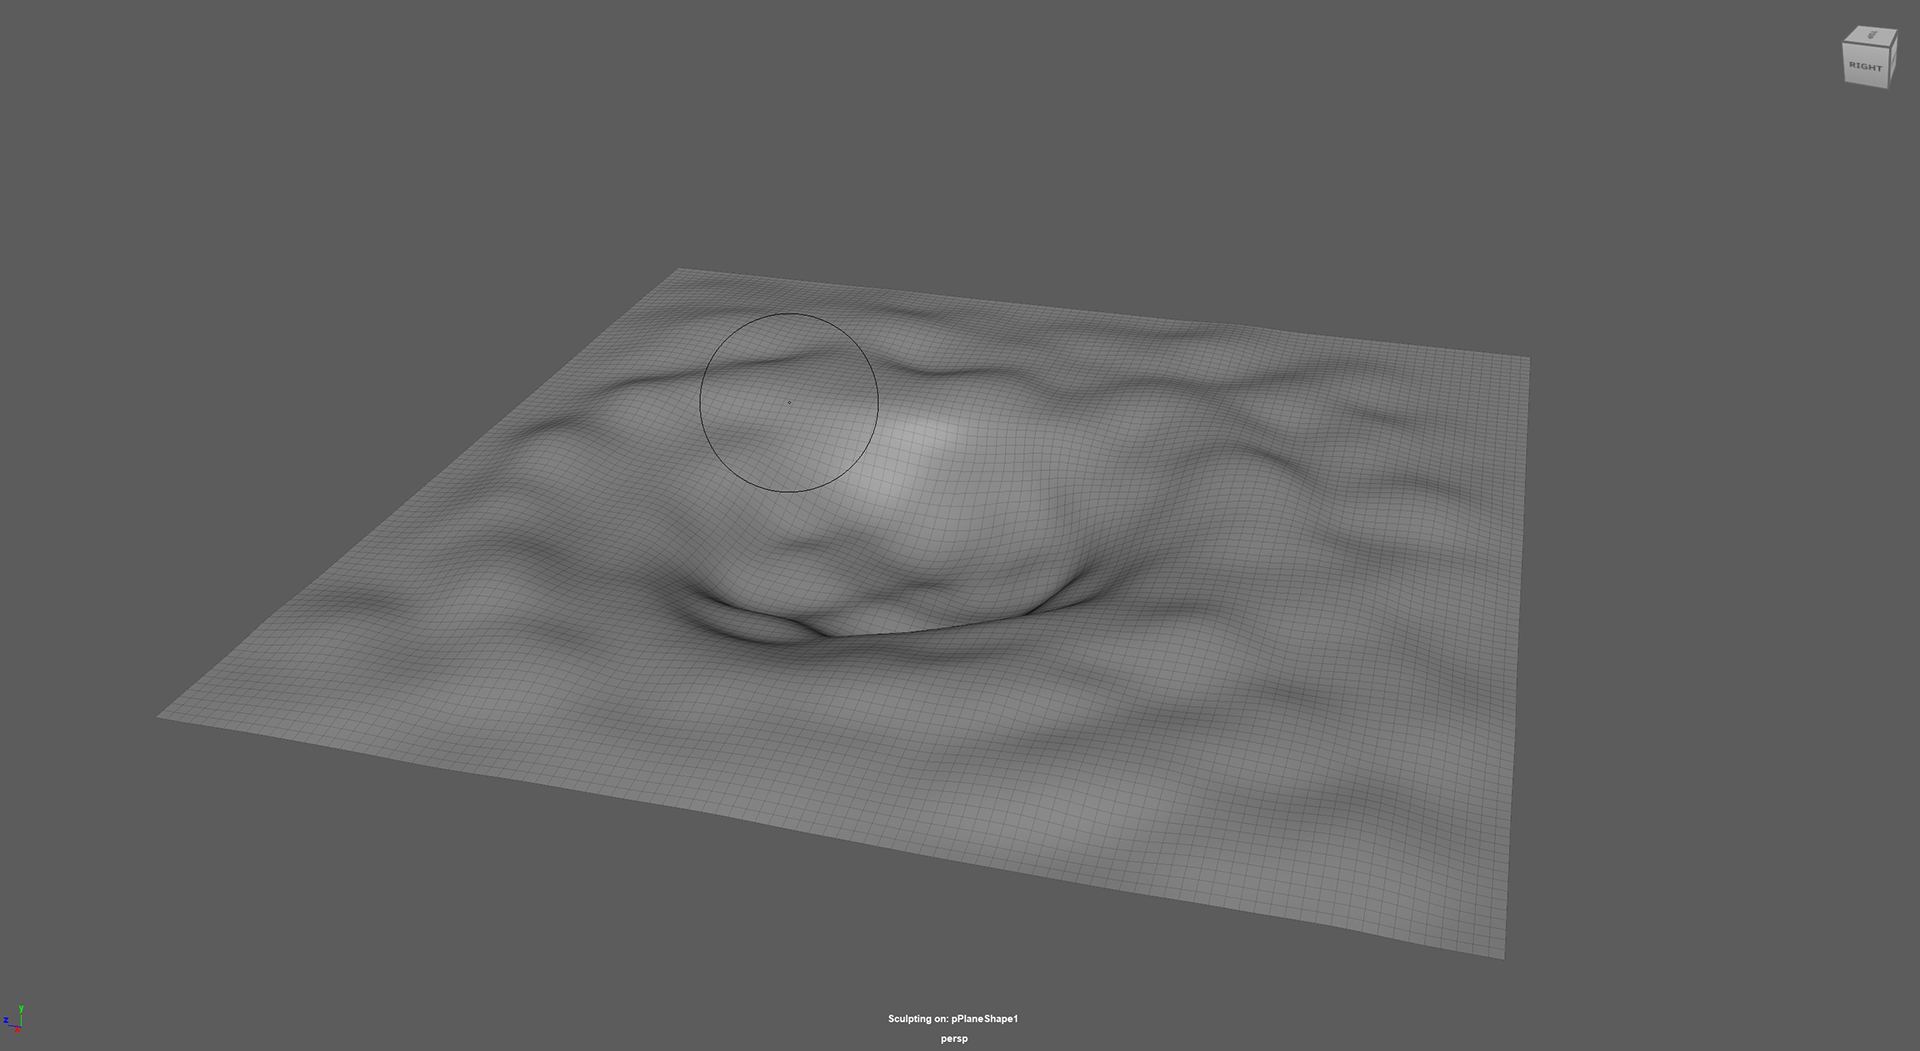
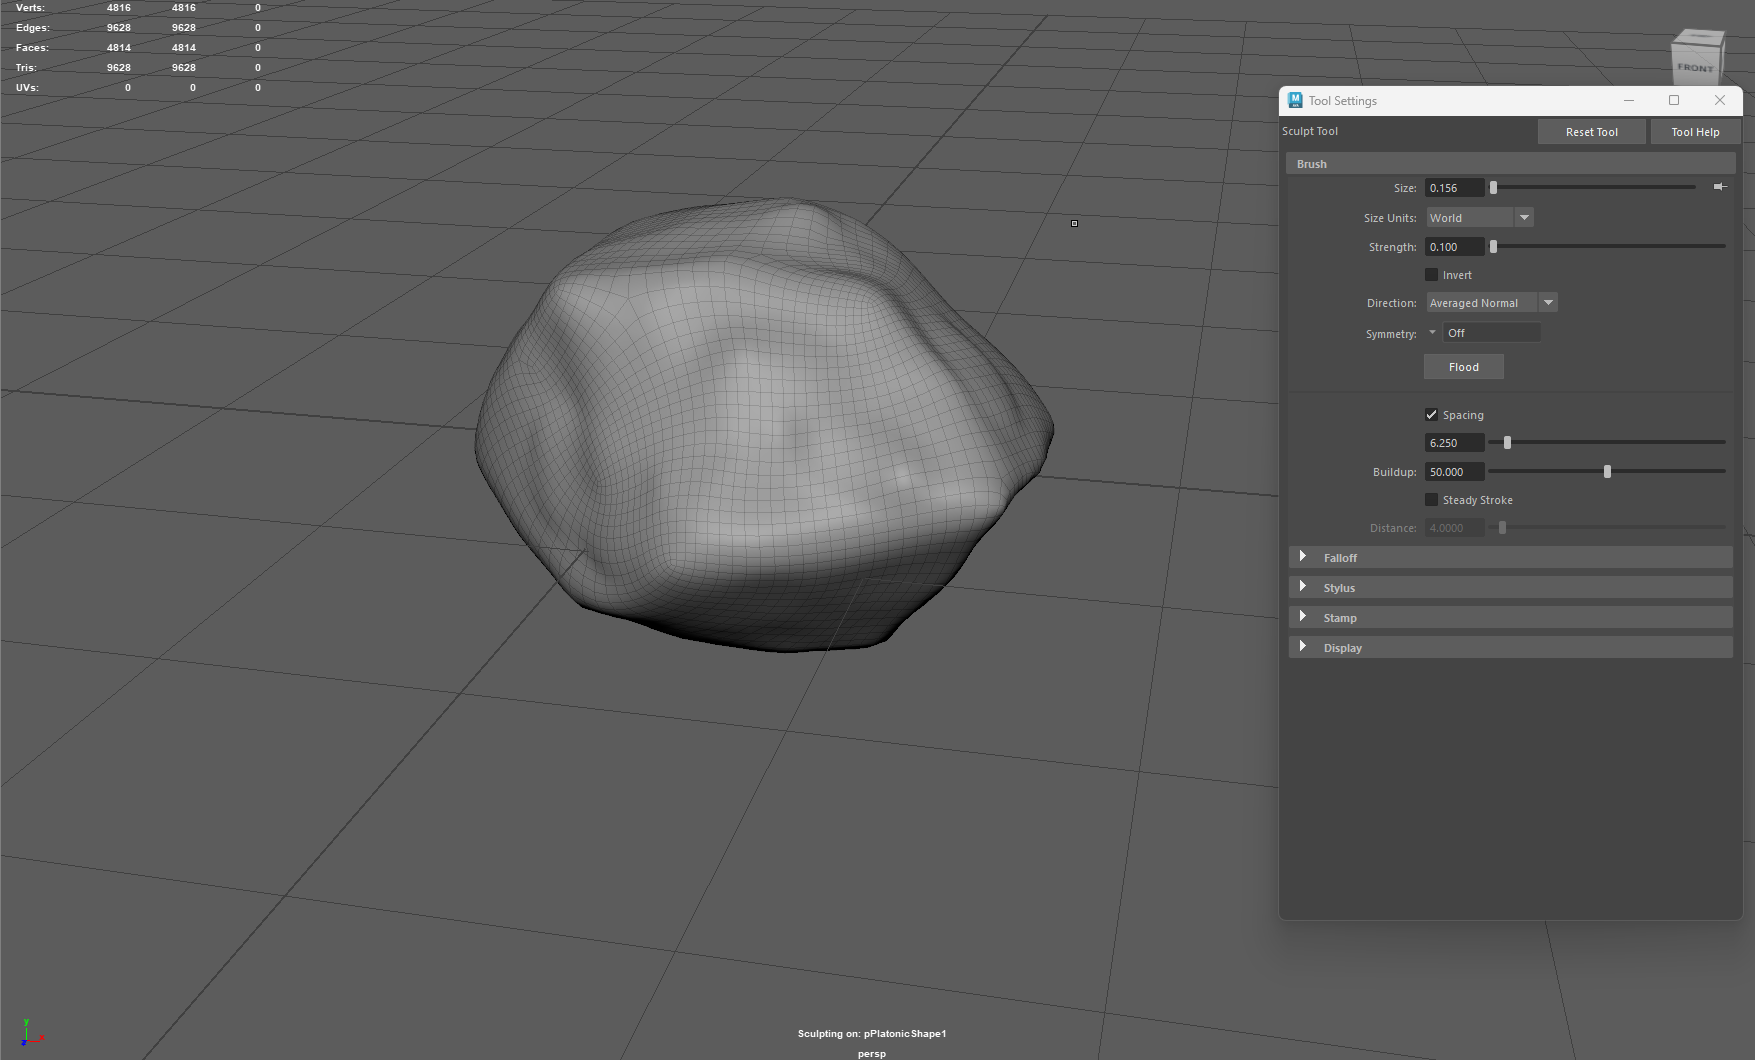
by the time Maya had crashed, we had already moved on to new methods of building environments so instead of re-creating what I had previously, I stuck with the flow of the class and dabbled with sculpting tools.
My Biome is mostly a flat swampy area so I wanted emphasis on the uneven muddy and watery landscape as opposed to lots of rocks and hills.


INT- ROOM 902 30 - 01 - 25
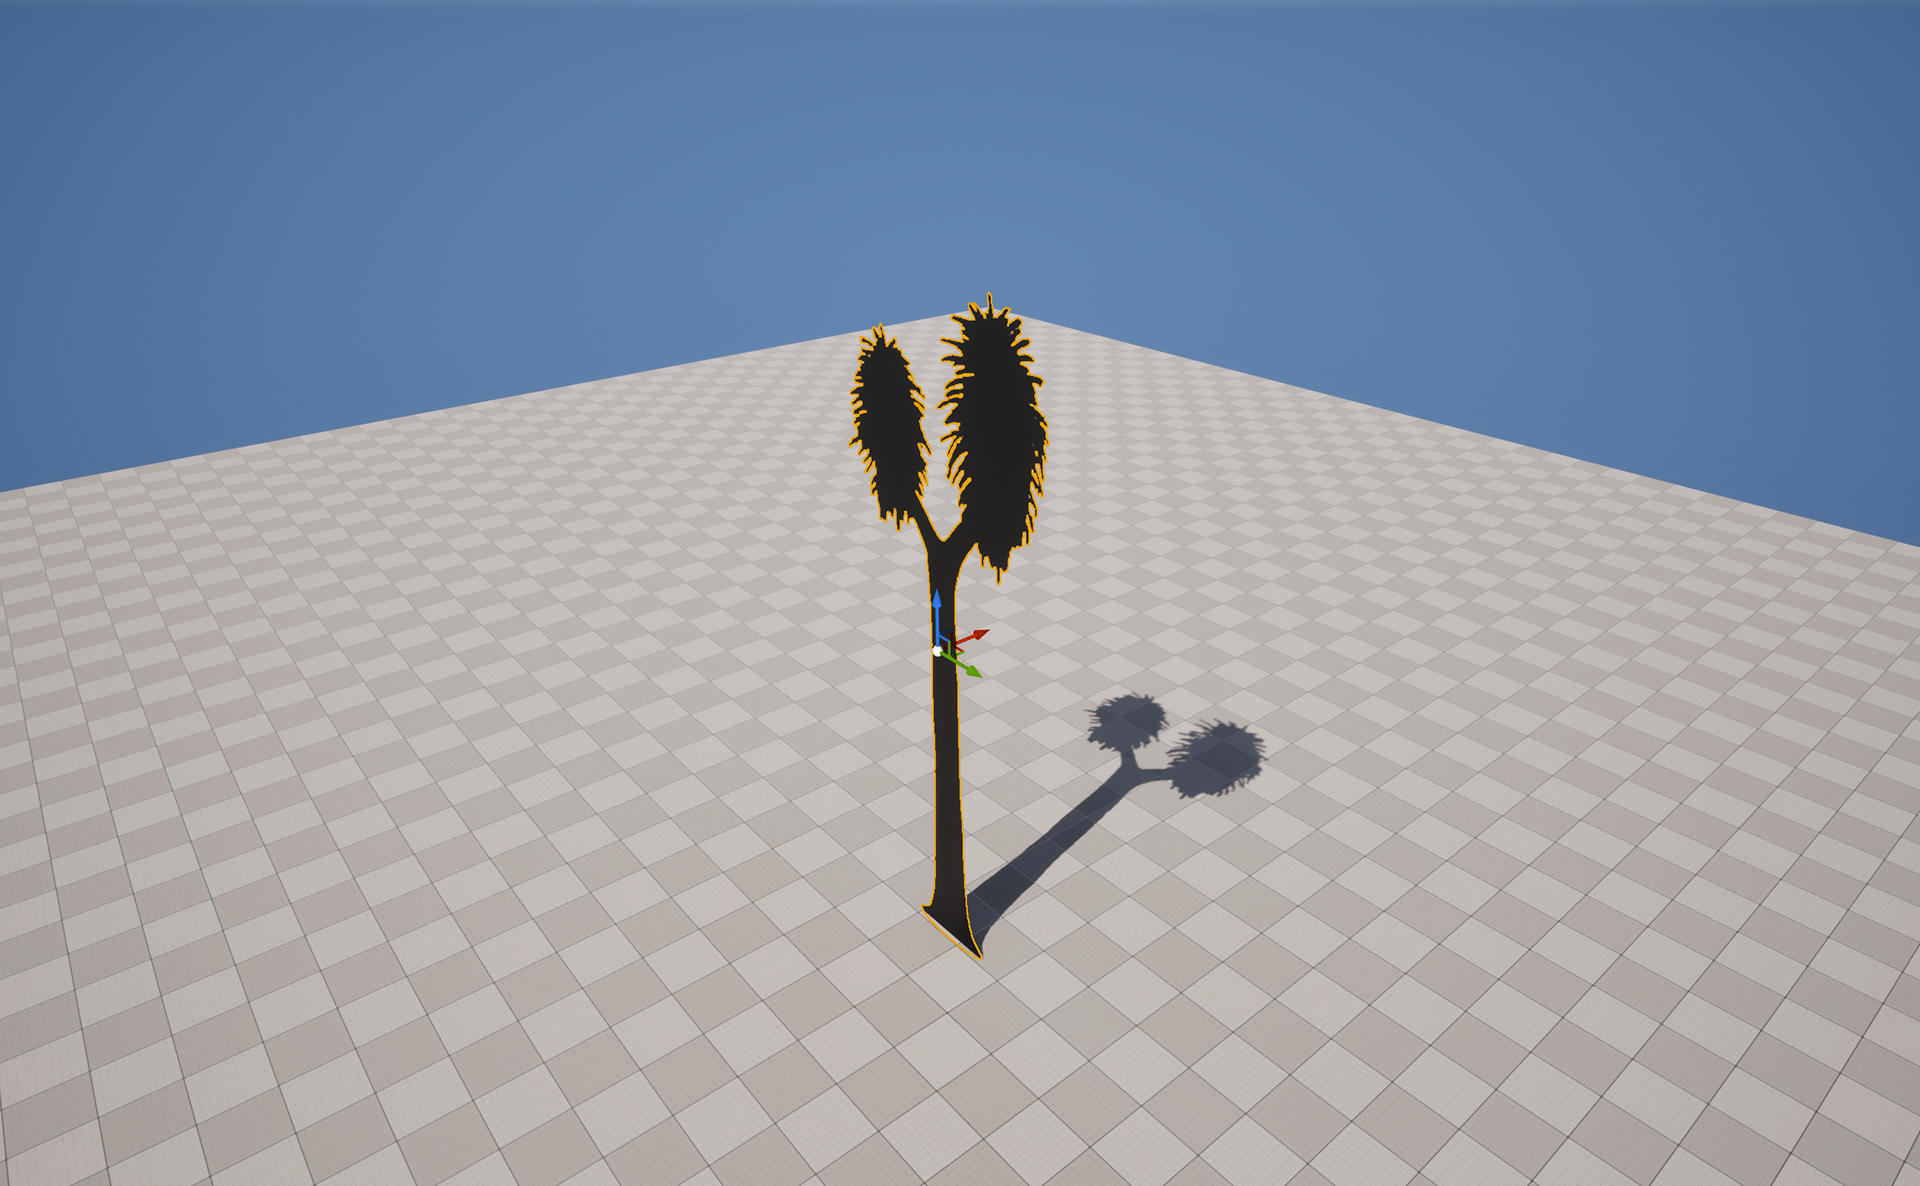
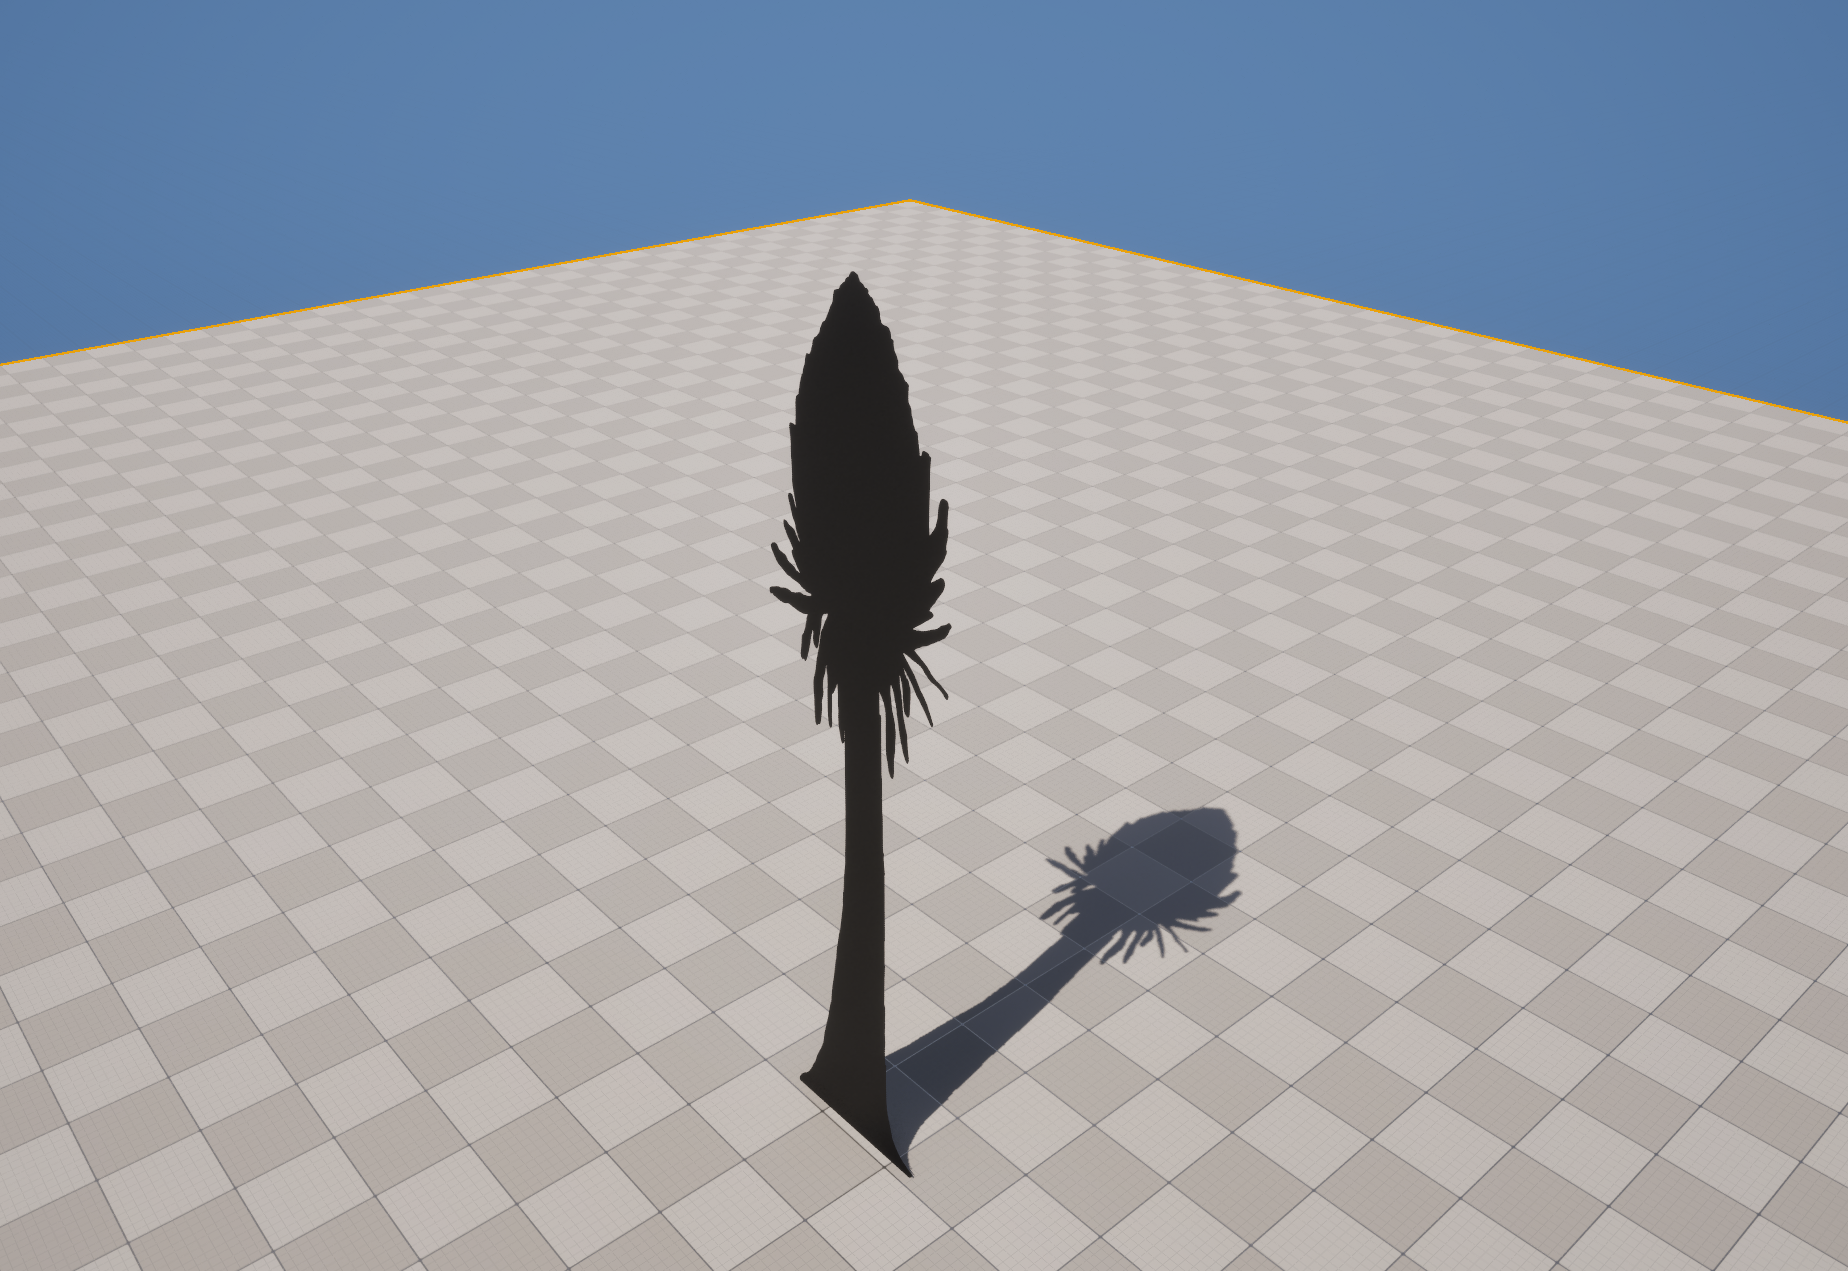
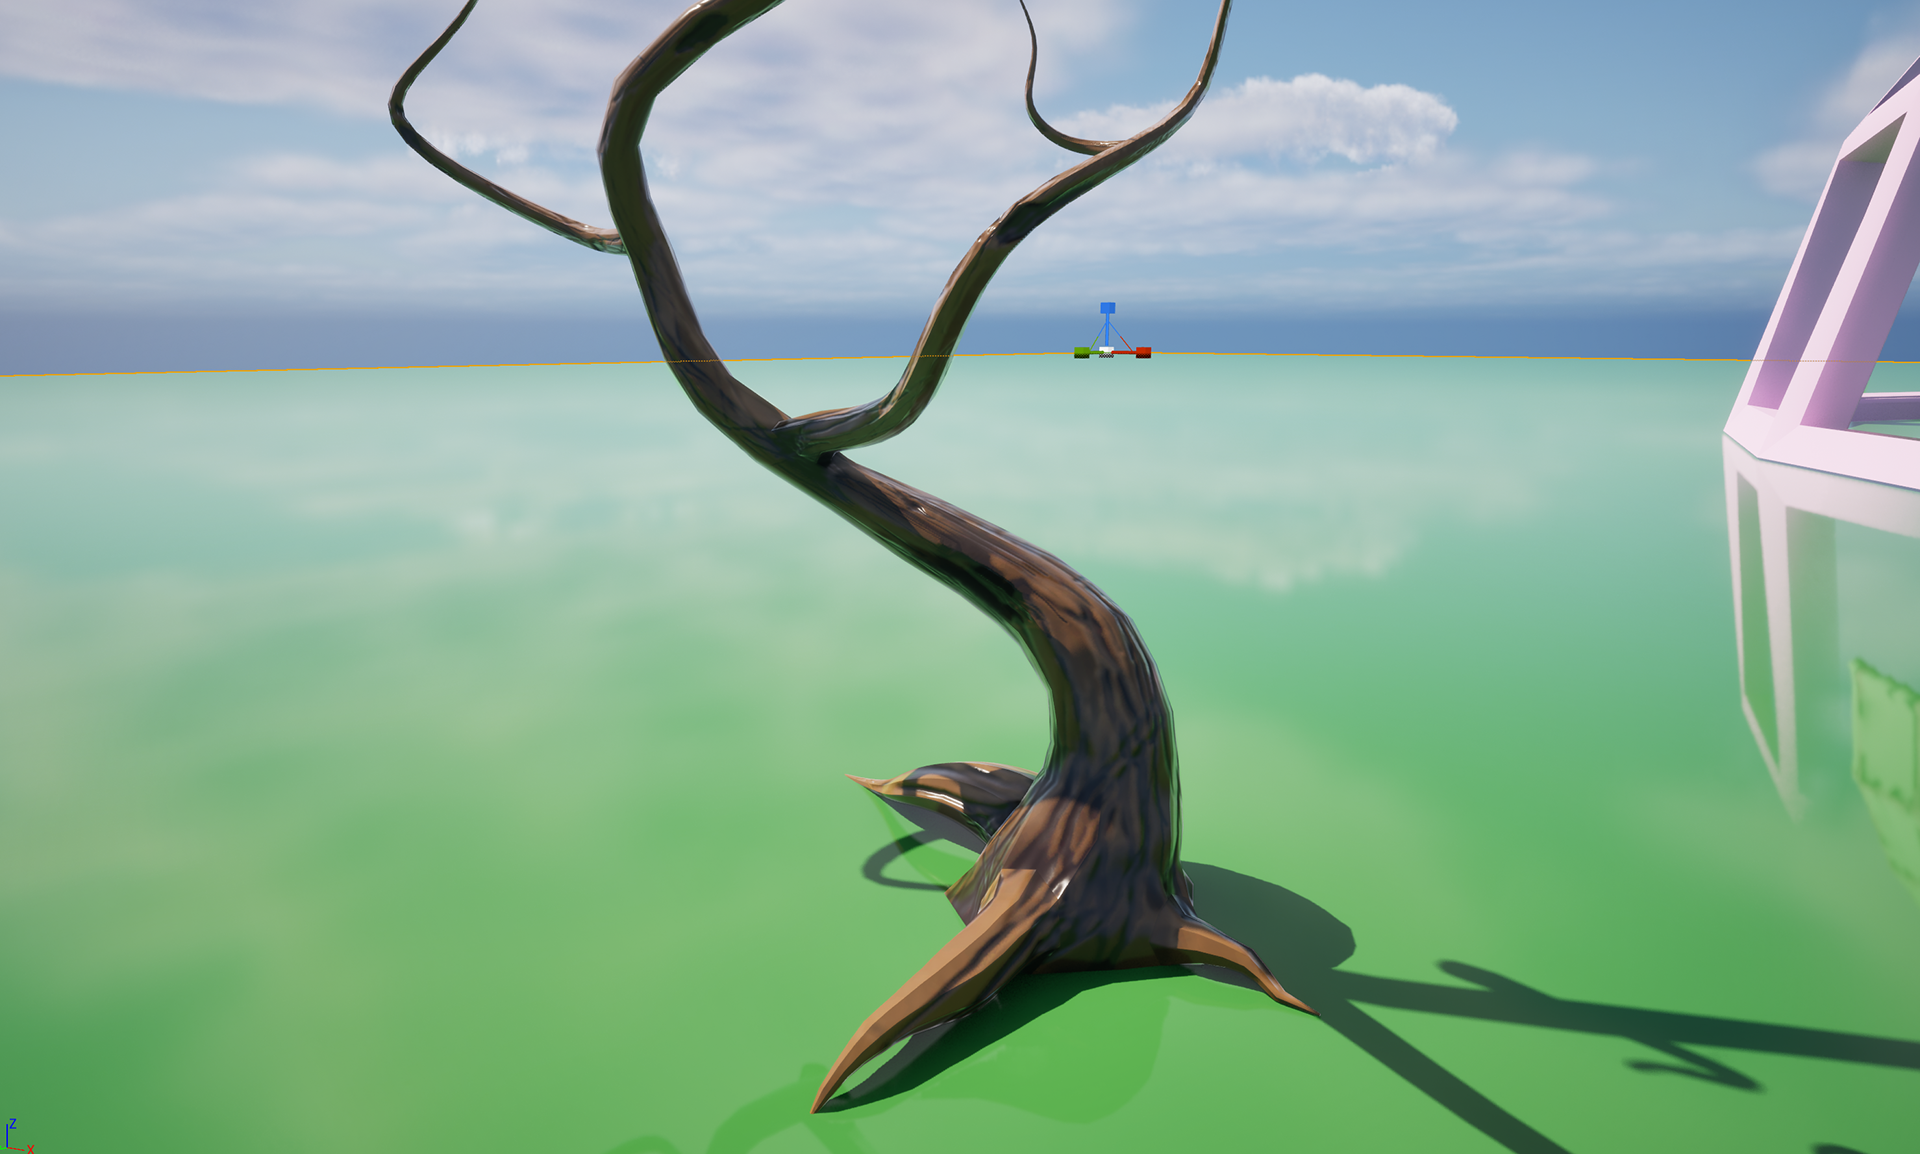
In our Environment Art class last week, we were tasked to create variations of trees or plants ready for our workshop in 3D Fundamentals.


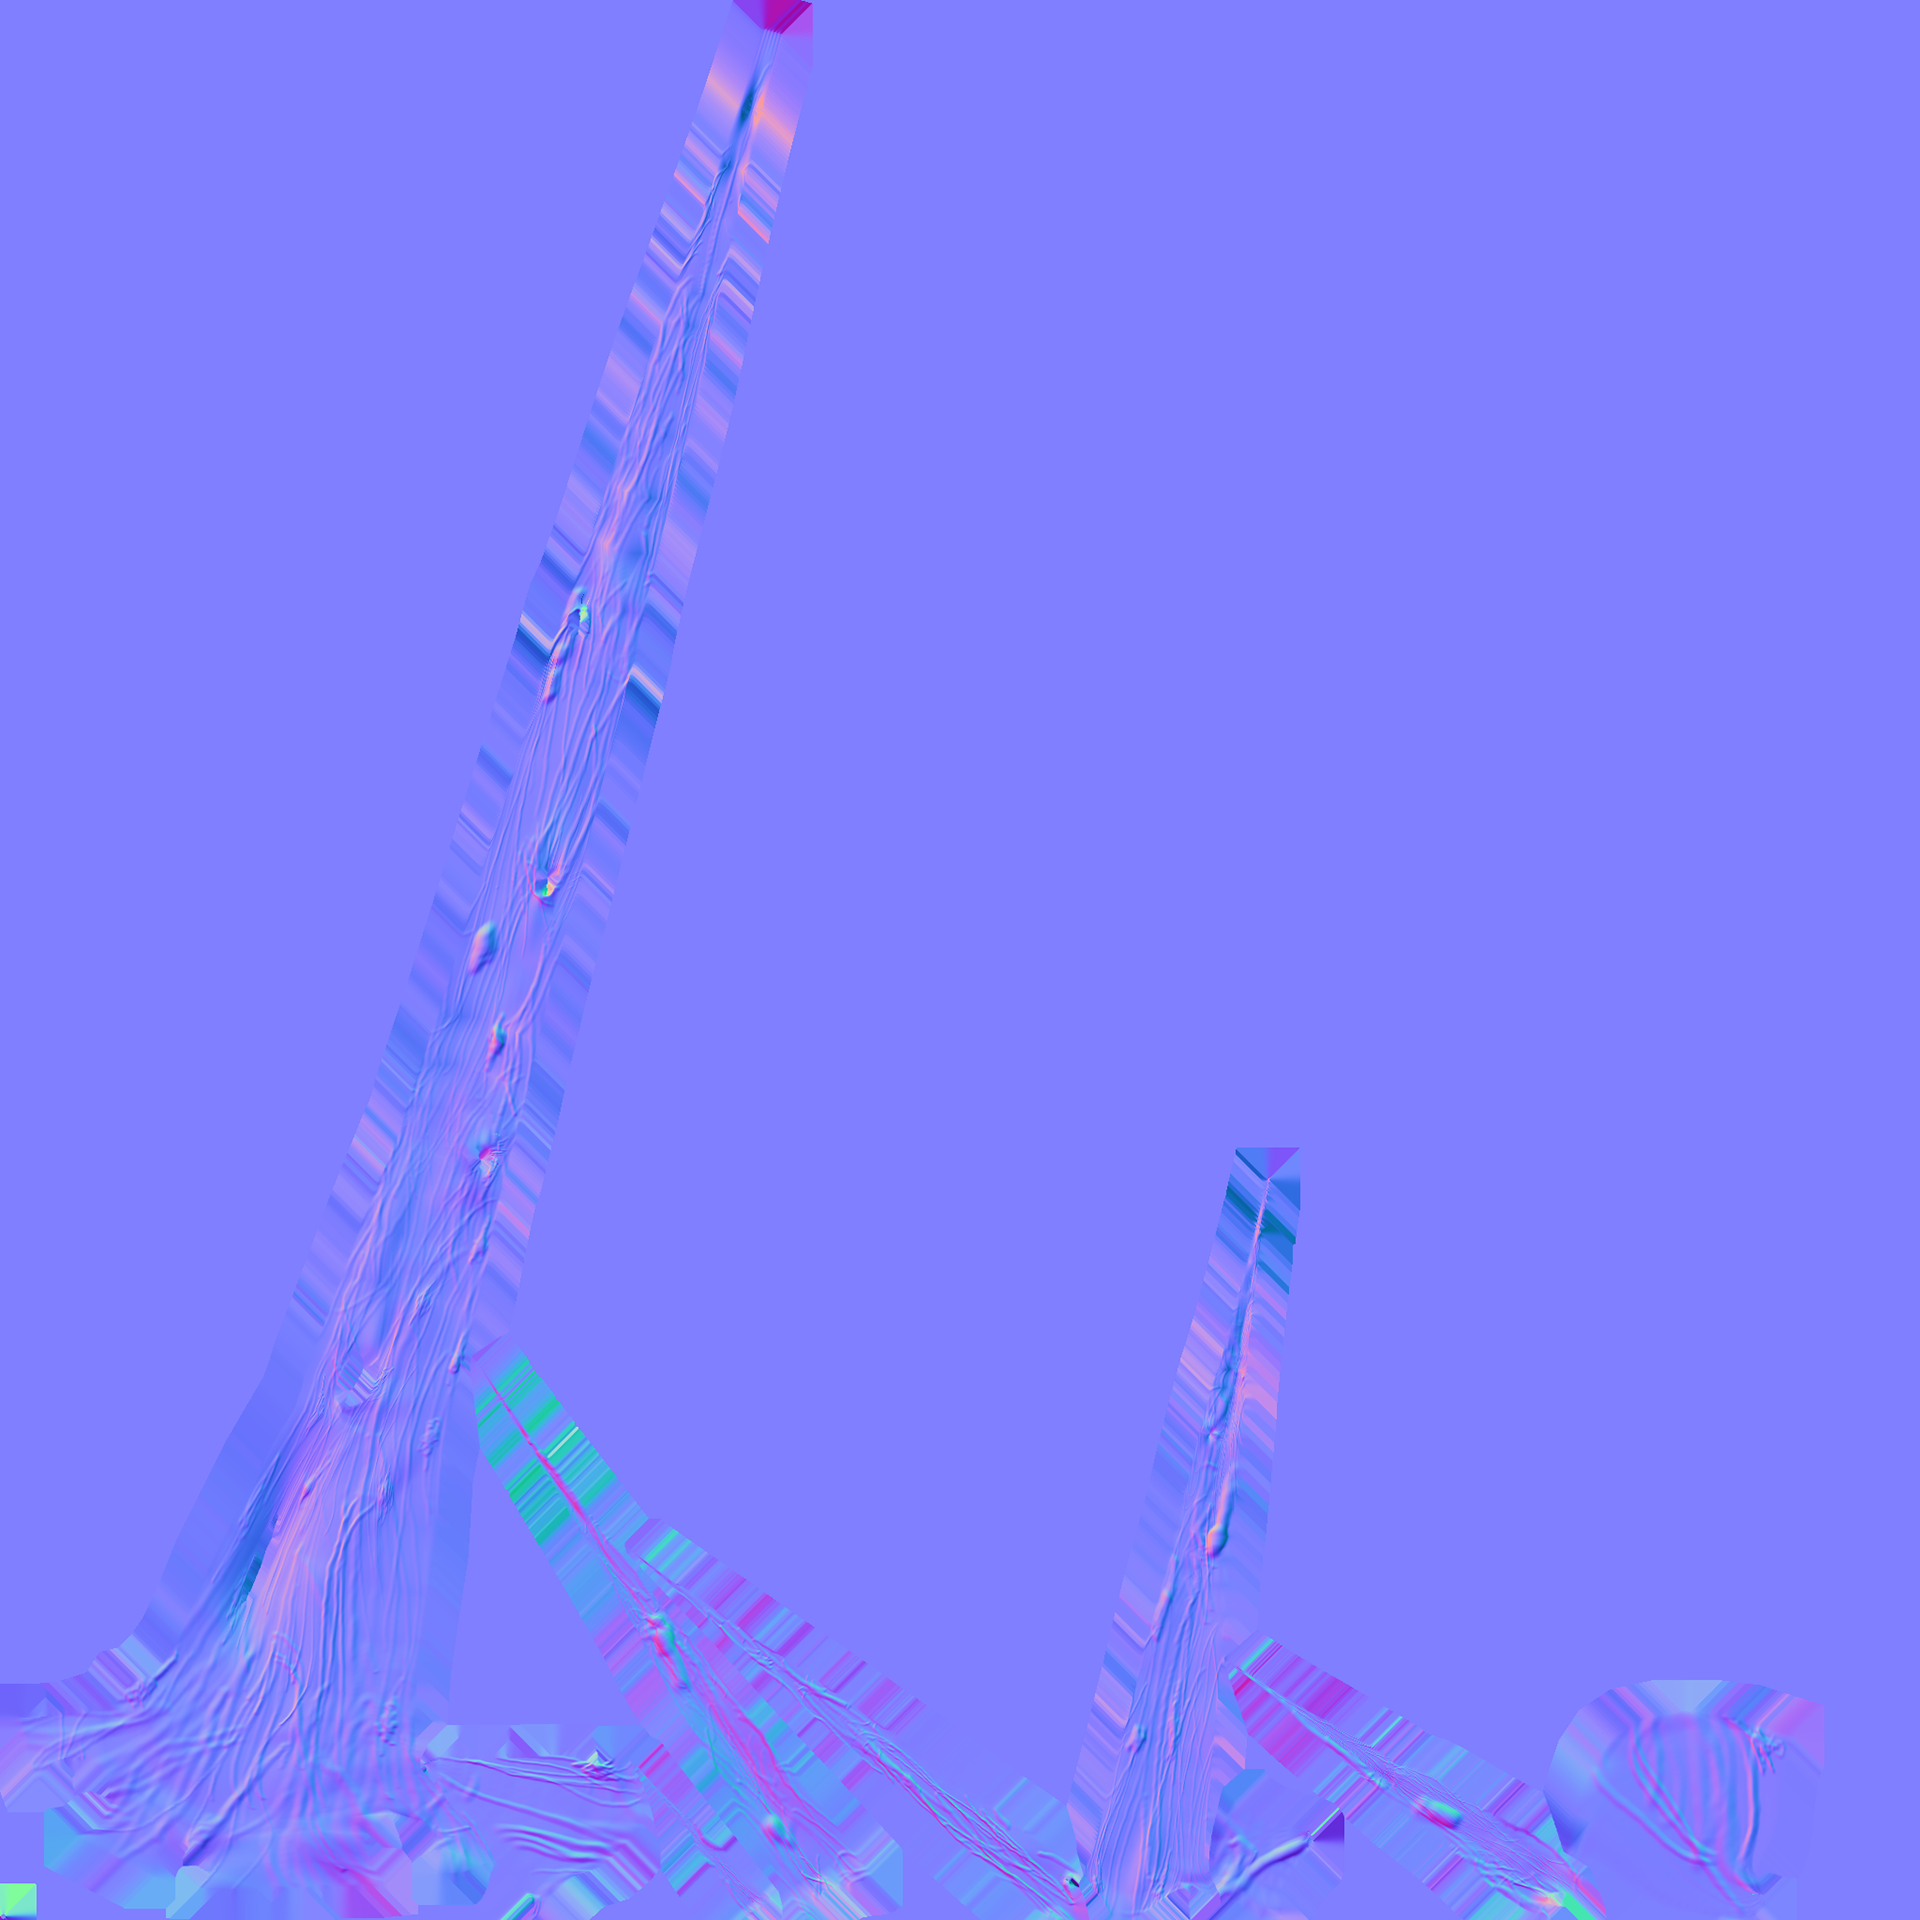
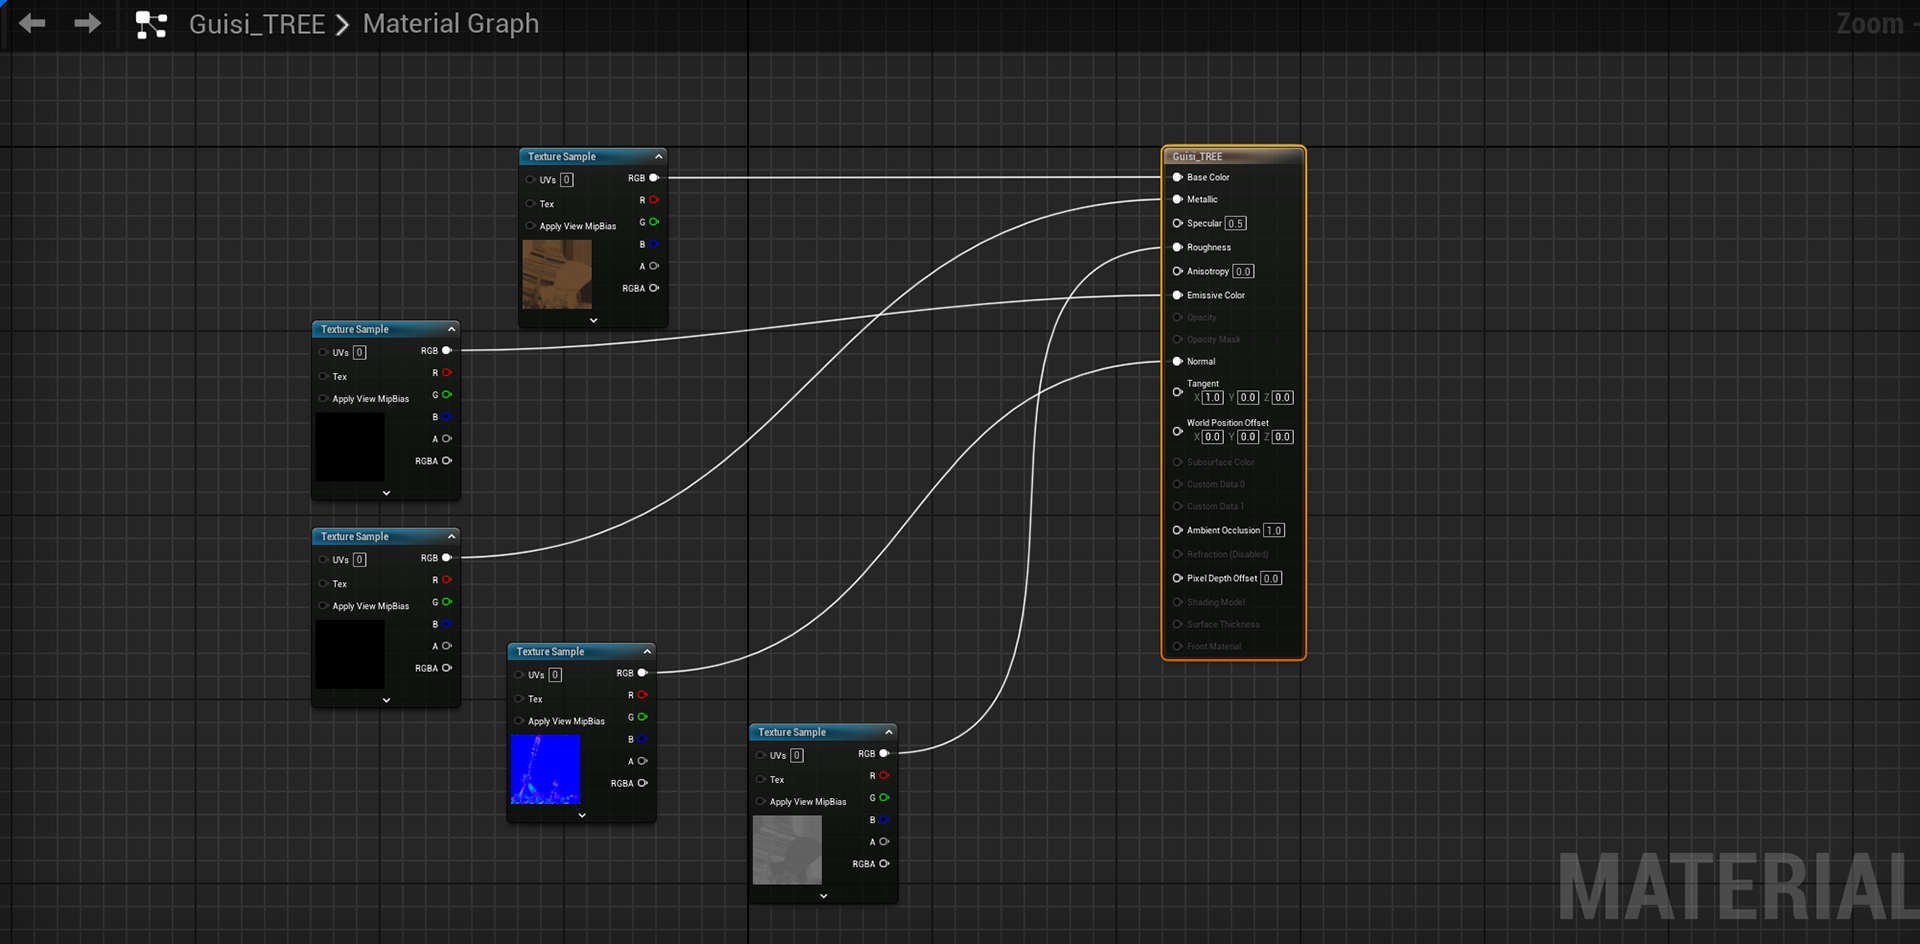
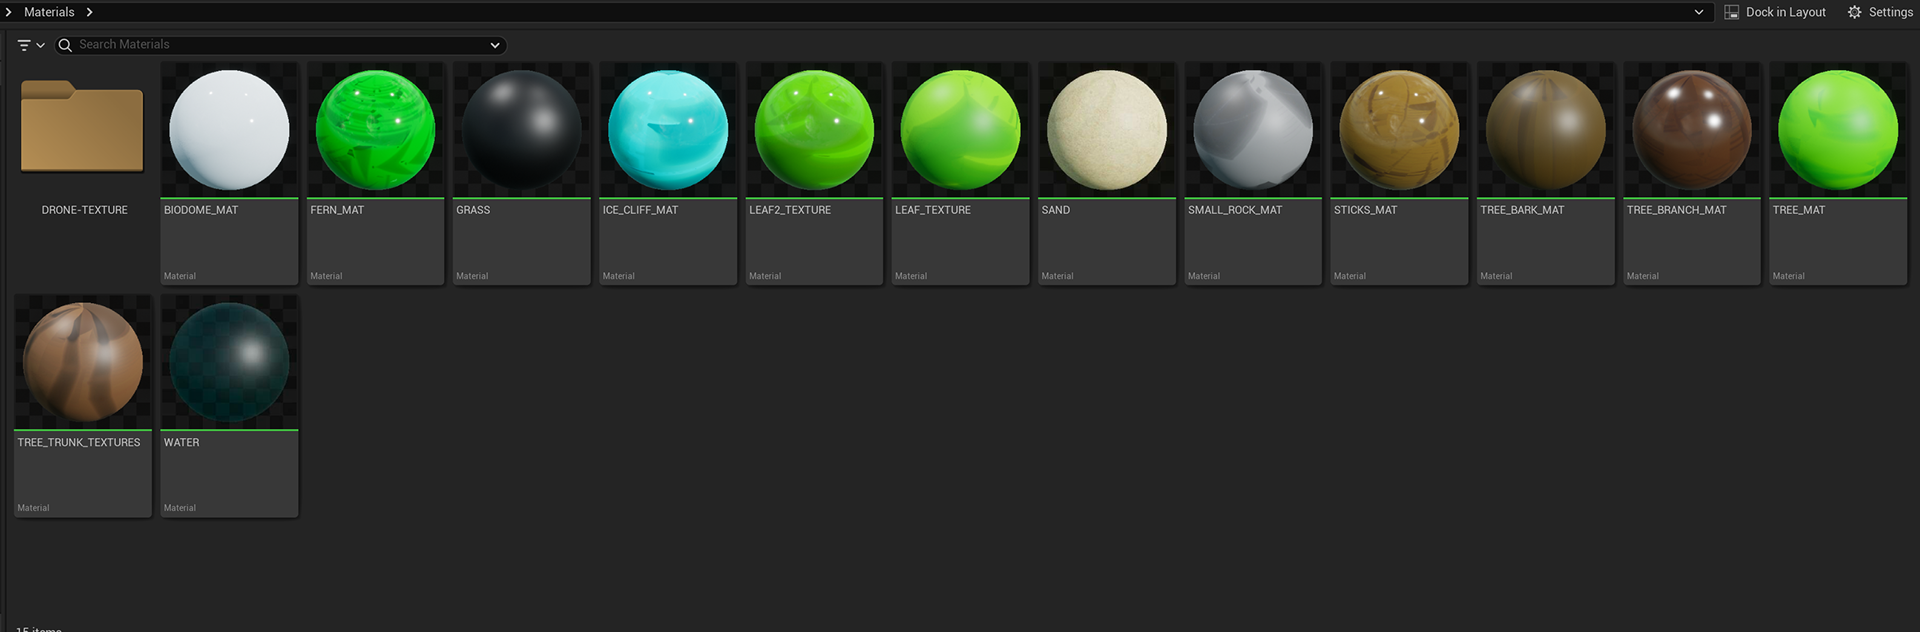
After importing the PNGs into Unreal, we created a new material and added a texture sampler to place the PNG on the material.
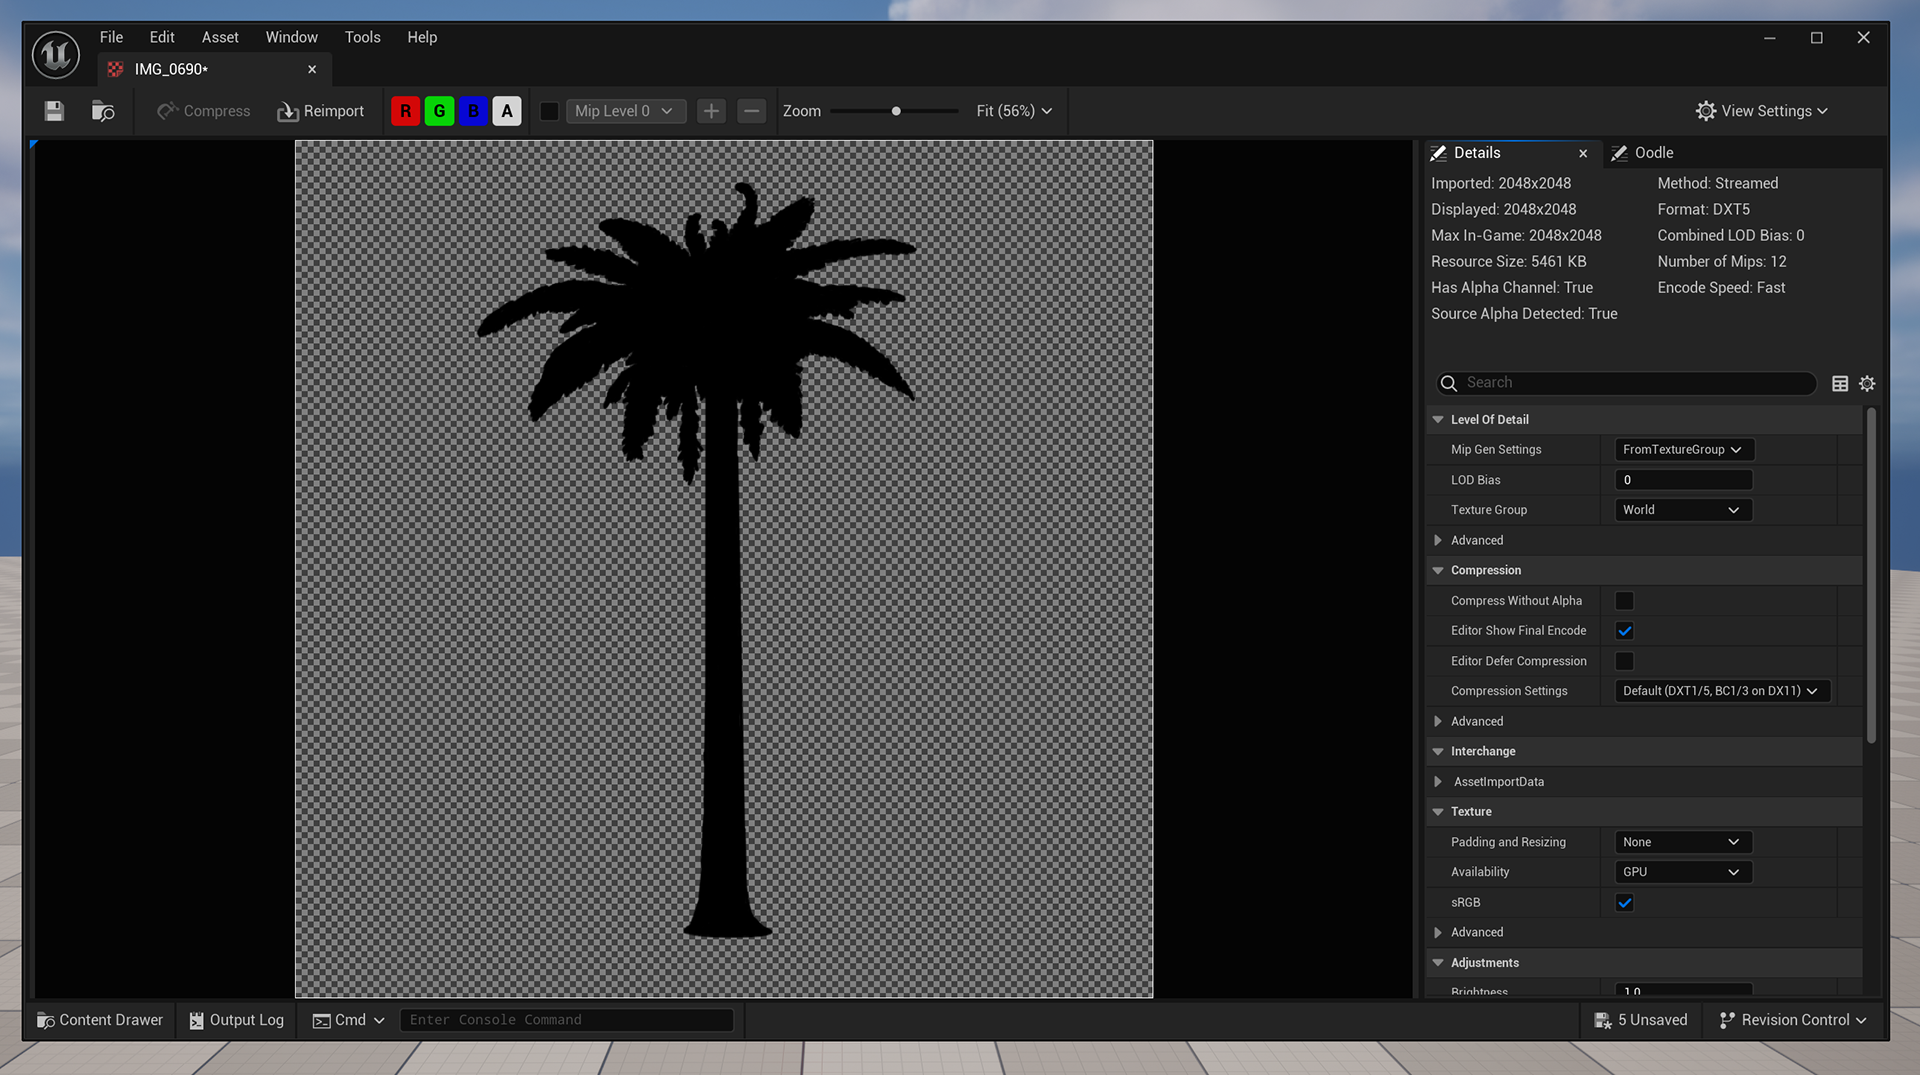
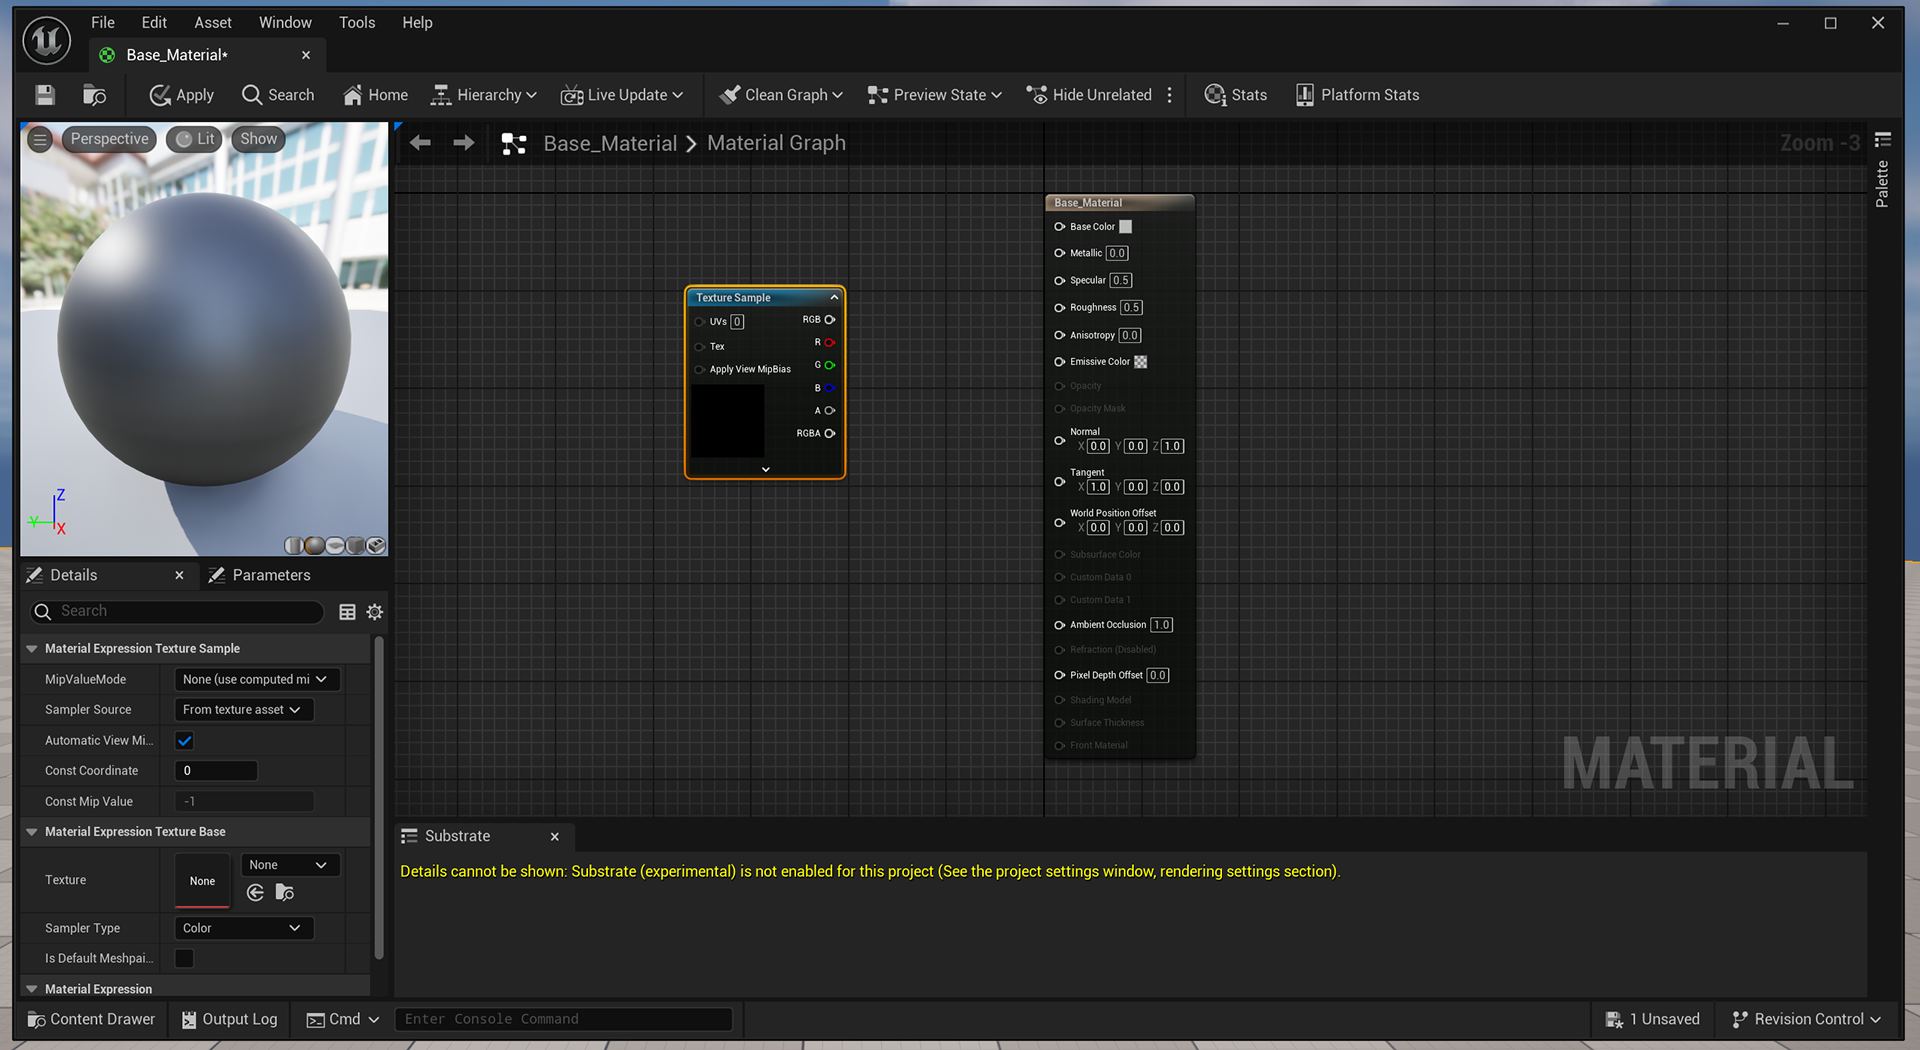

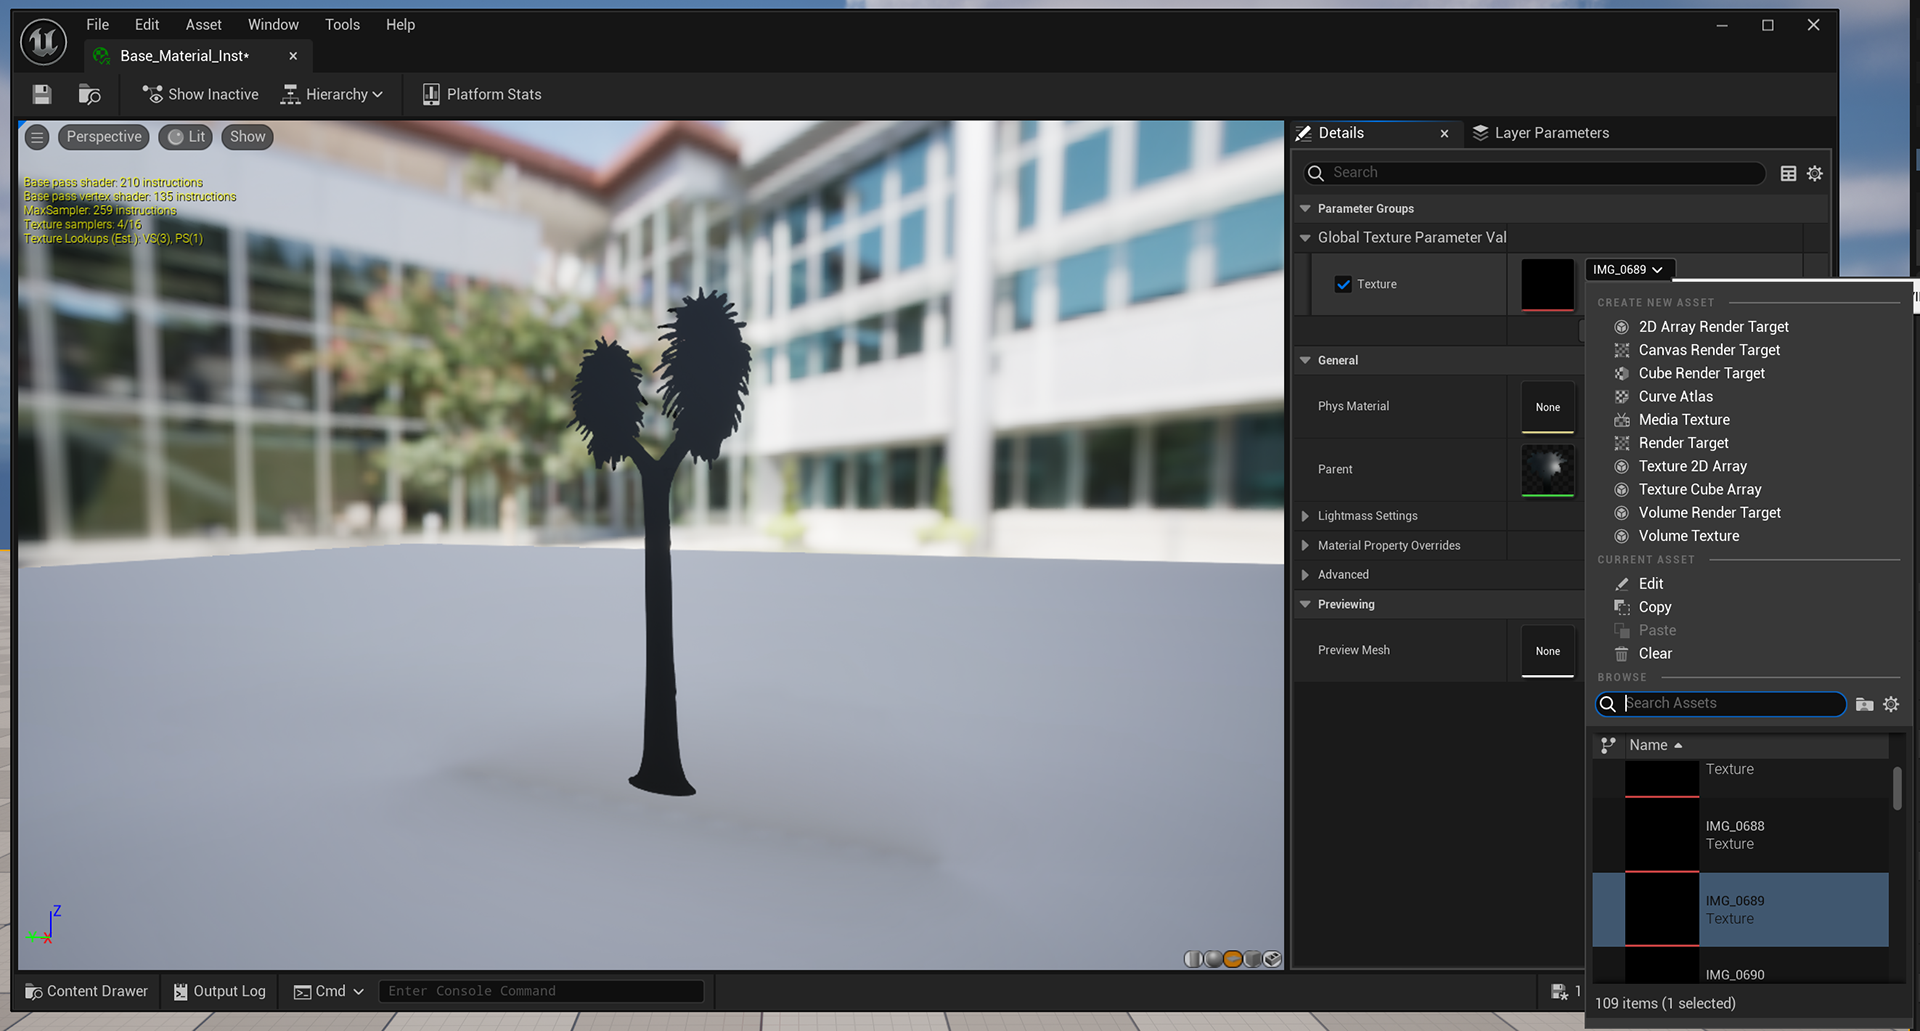
We also delved into global texture parameters, where you can essentially change the image of the material without going through the whole process from before.
This was definitely a useful tip and something to speed up the process.
Below you will see the other tree assets after changing the global texture parameter.


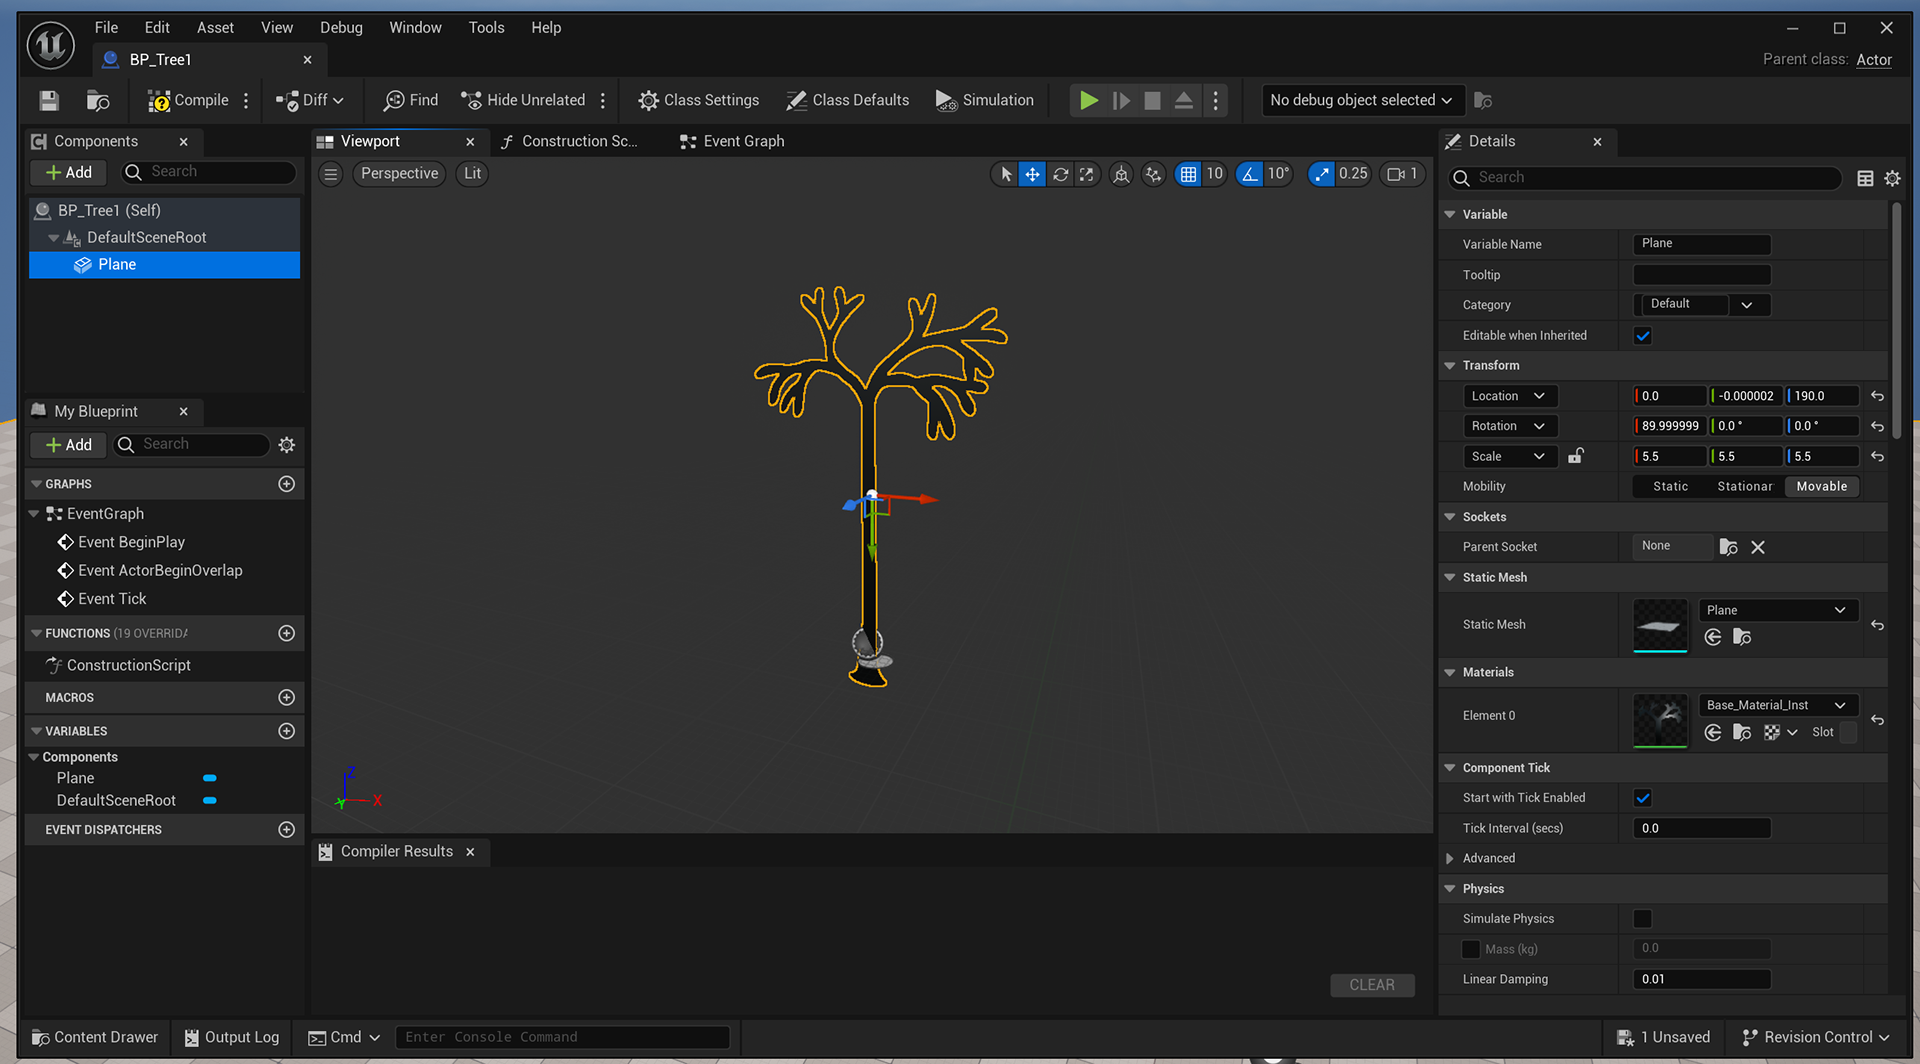
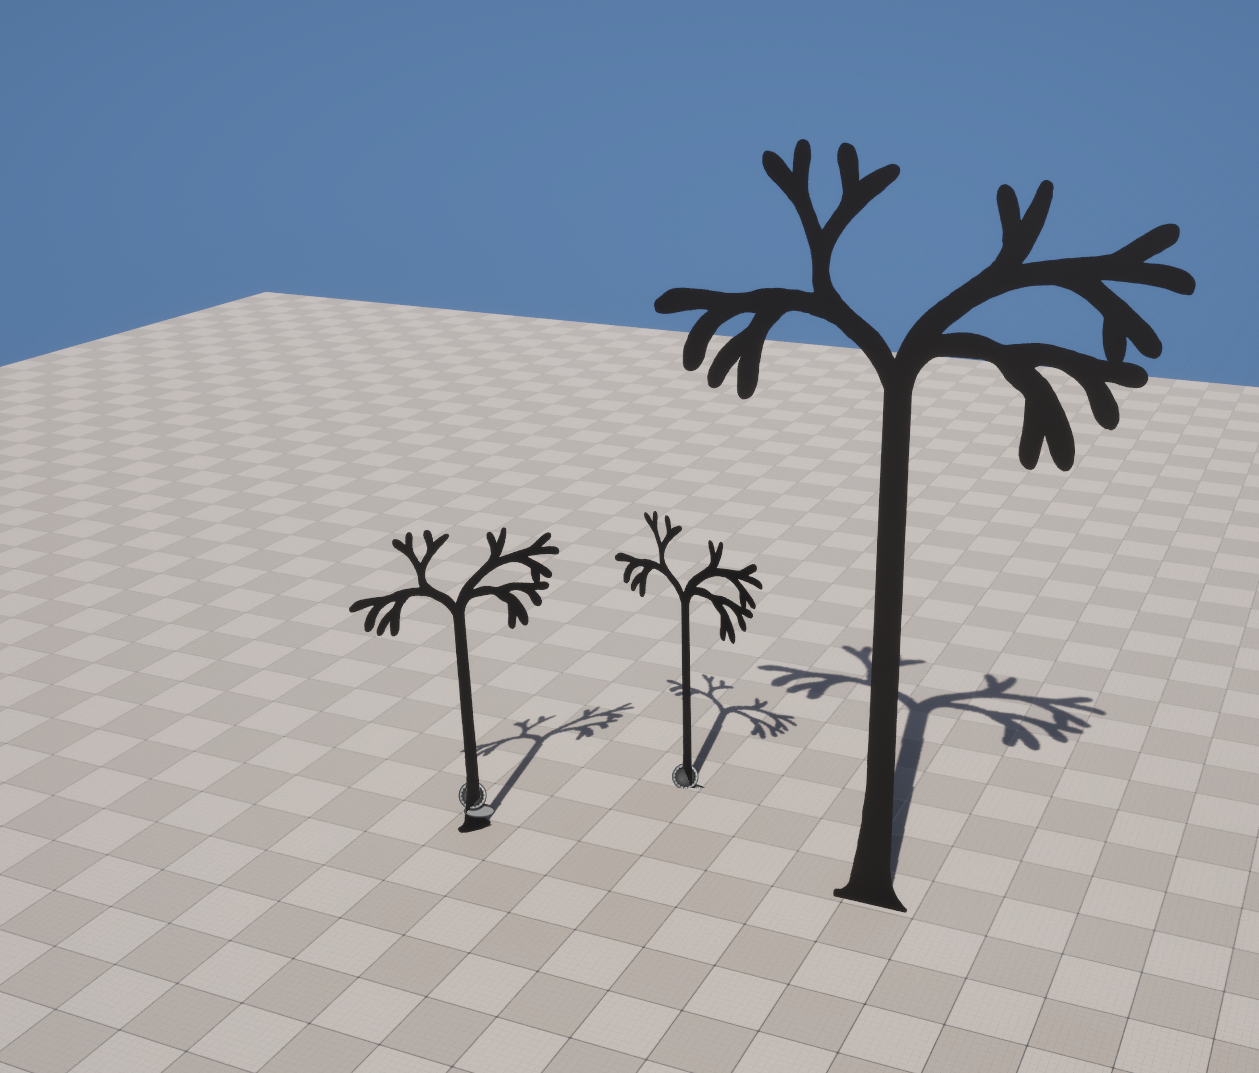
Another useful trick was creating a blueprint with a plane, attaching the material to the plane and then using that blueprint as a means to add the asset in this level, the reason this is good is because it saves the constant faf of the process before but it can also be shared with other artists or developers if needed.
Using the built-in sculpting tools, I tried to get a feel for what the environment might look like, there is no colour but you can some areas are raised to insinuate an uneven land, much like a swamp.
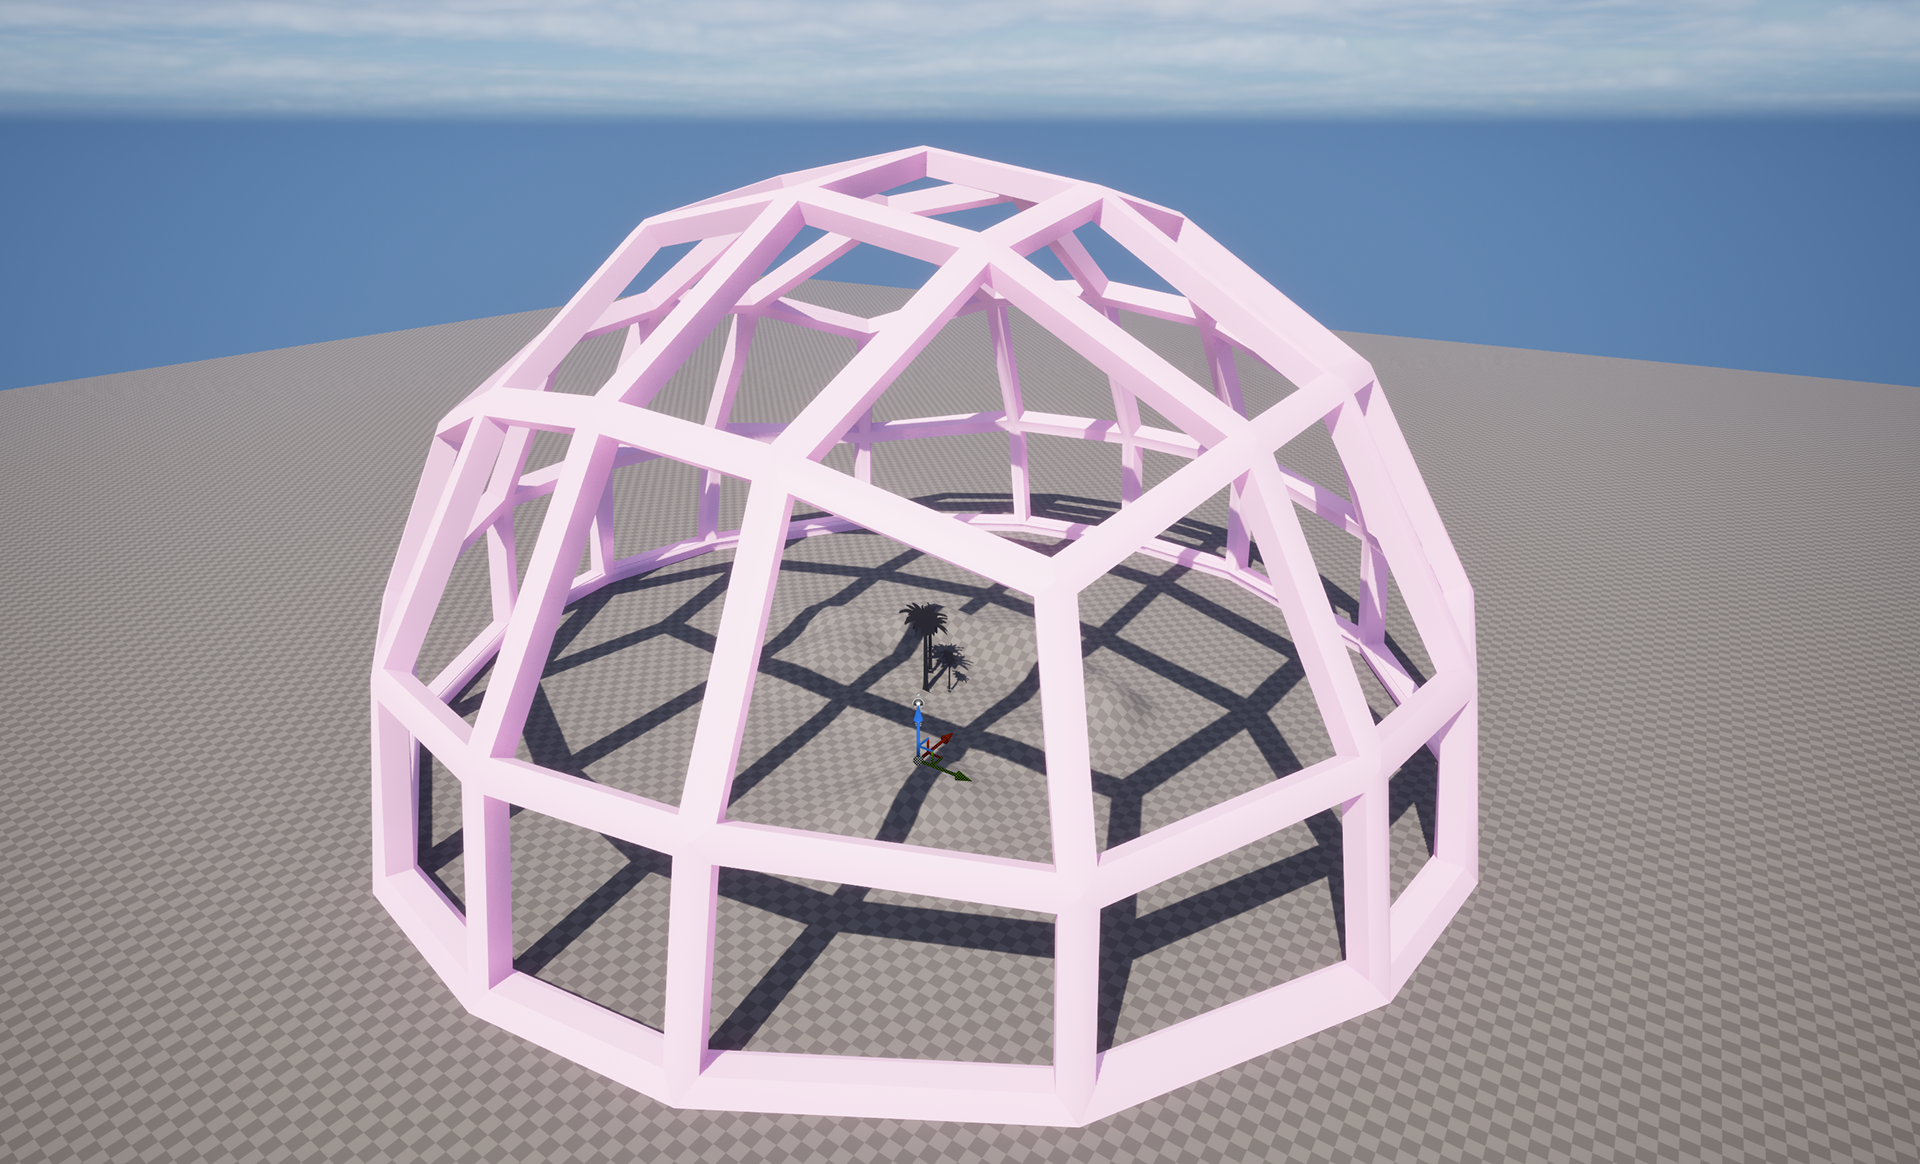
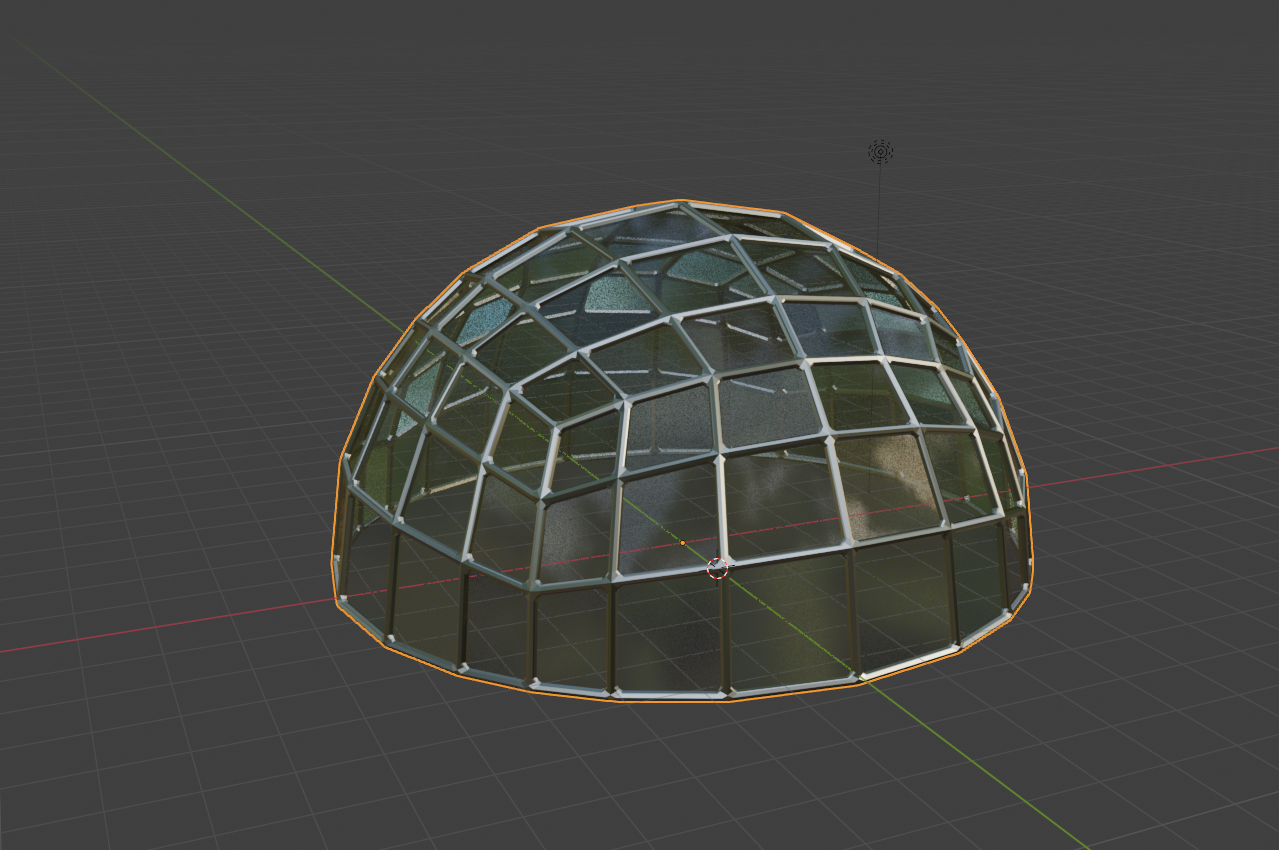
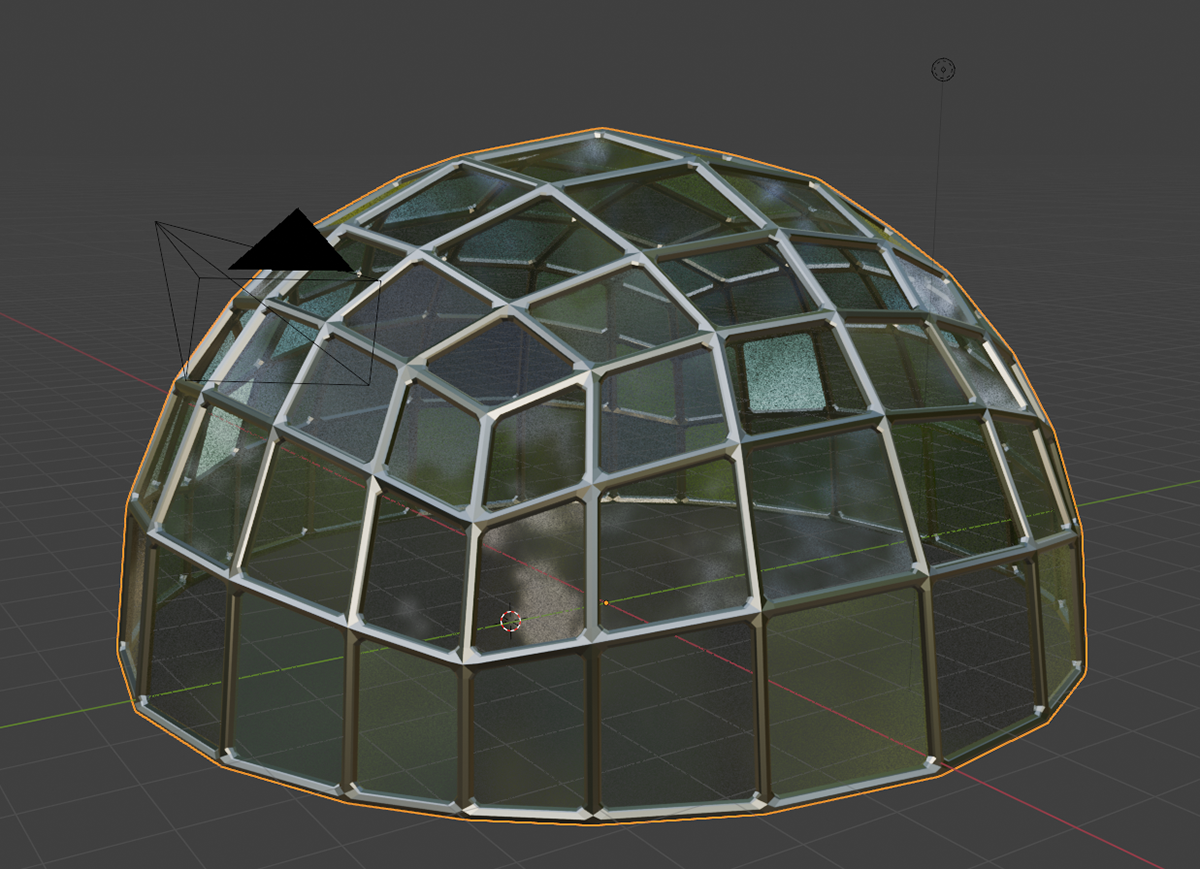
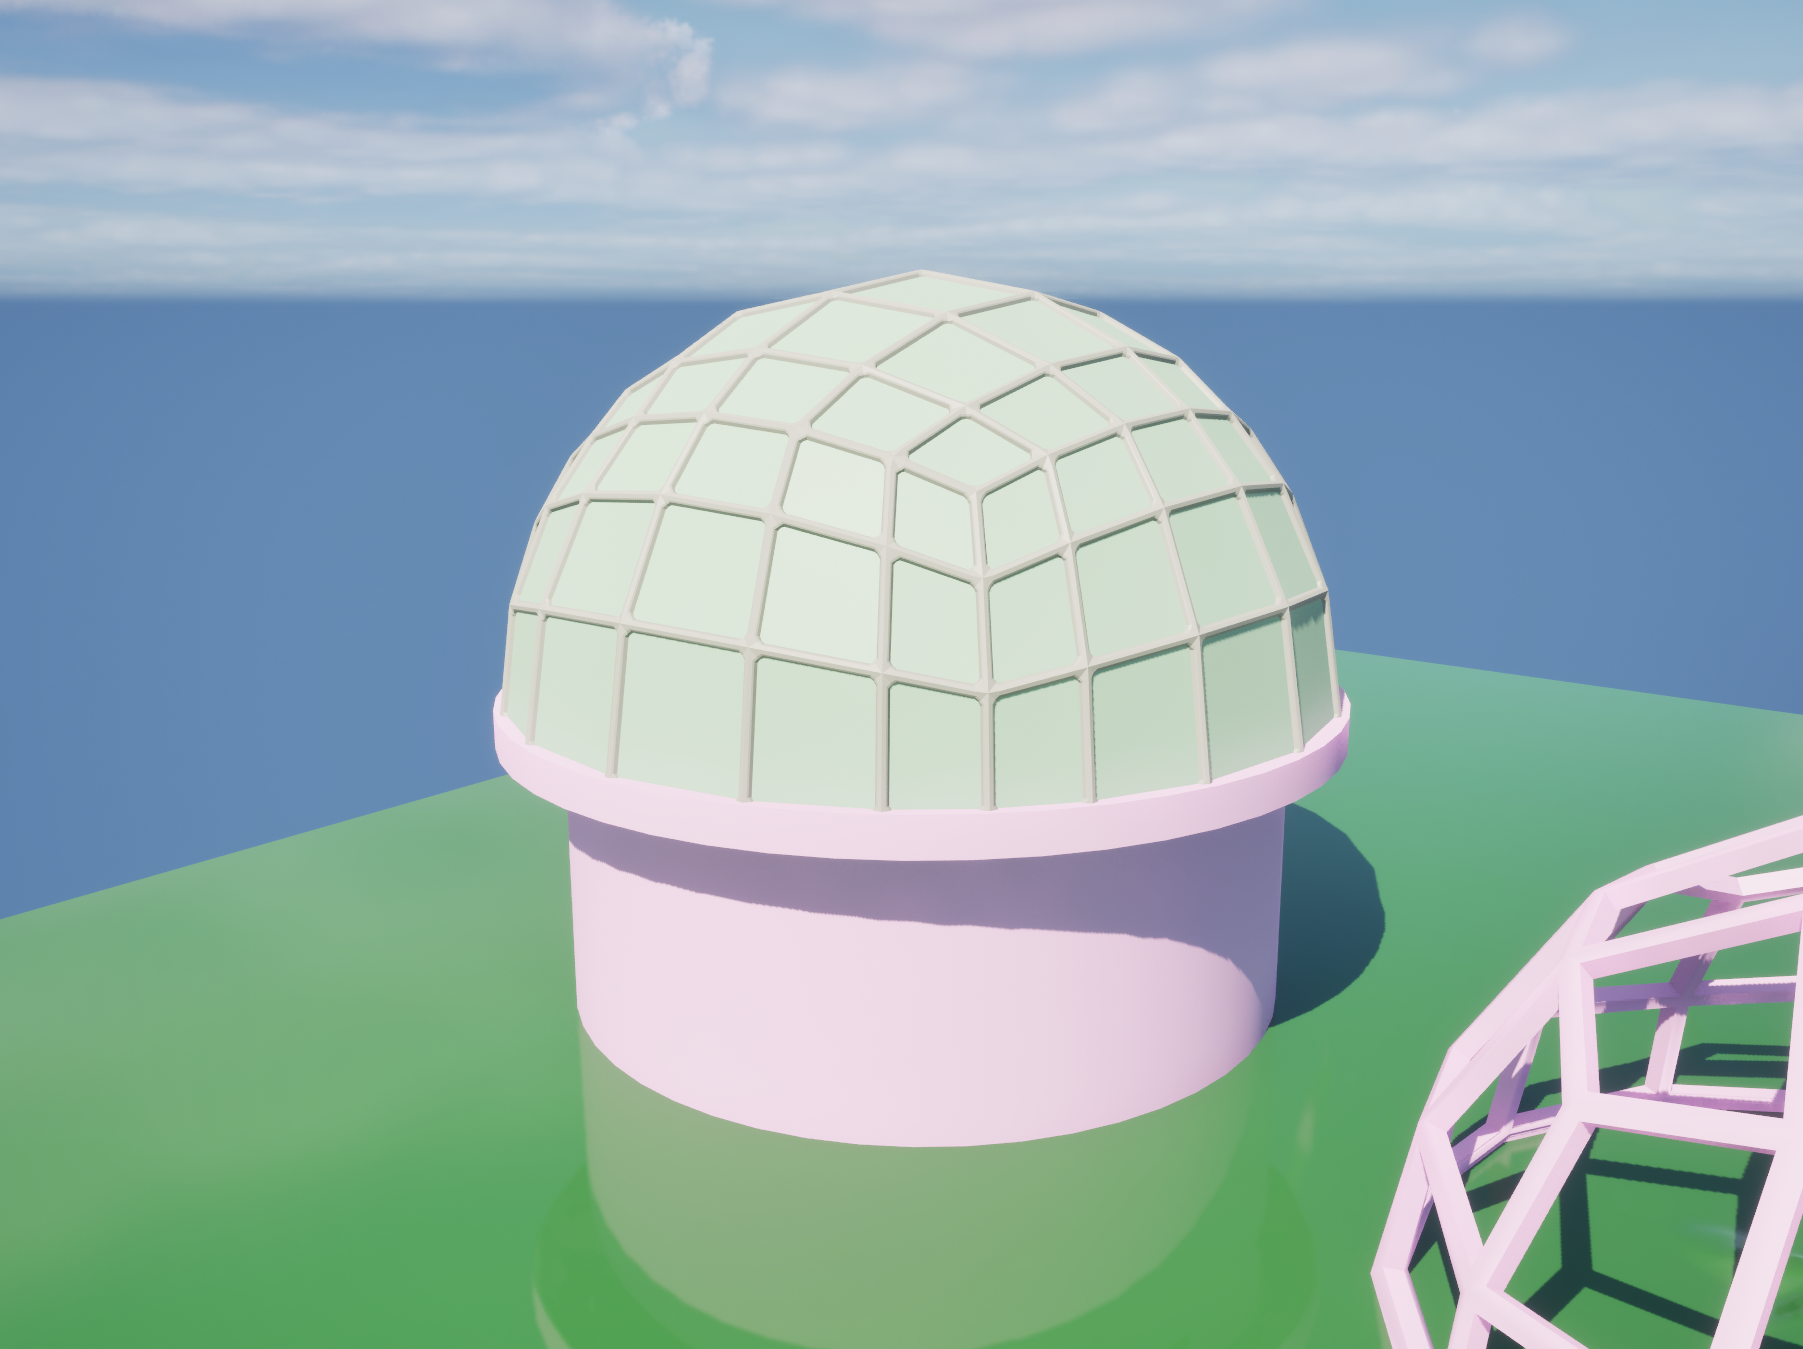
I decided to experiment in class a little bit, and during my time I created another biodome in blender using a cube and the wireframe modifier.
I added a glass-like texture for windows and then a metal frame.
it probably wont be the dome I use but I enjoyed the process of making it.
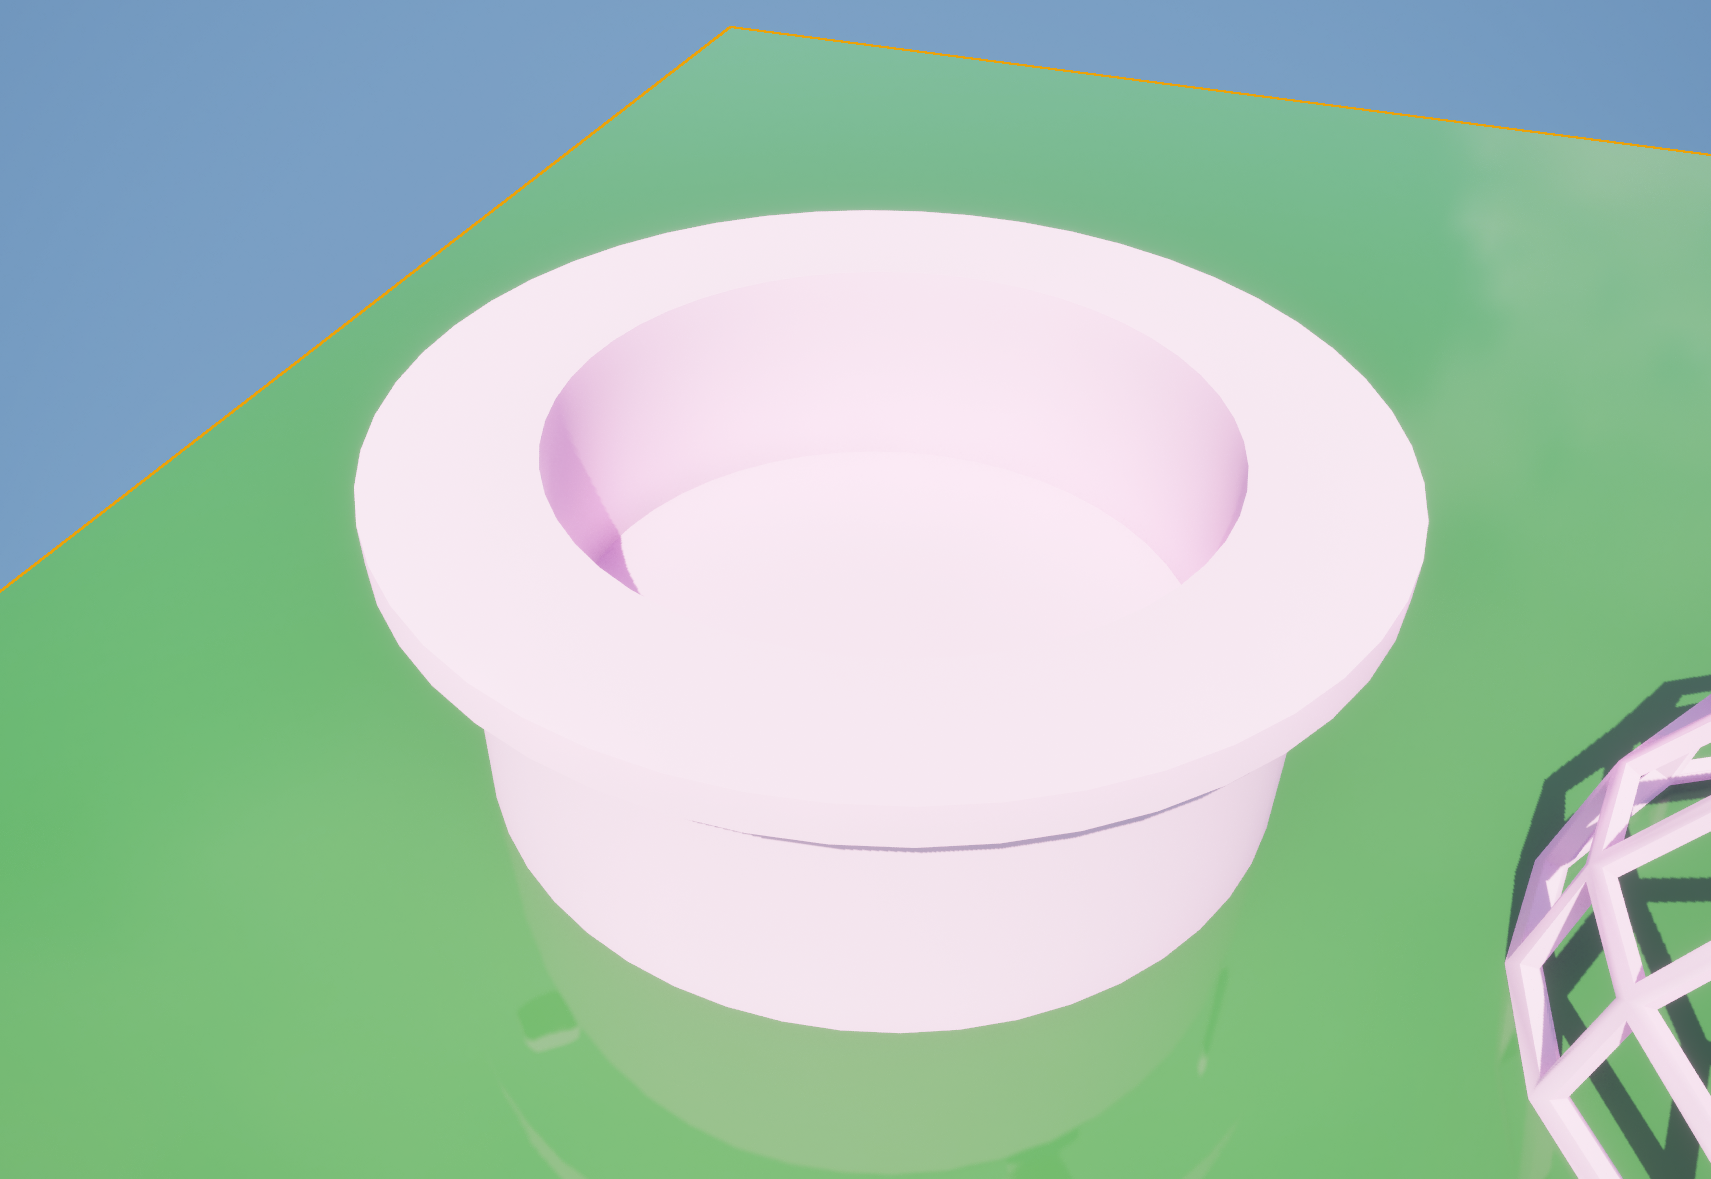

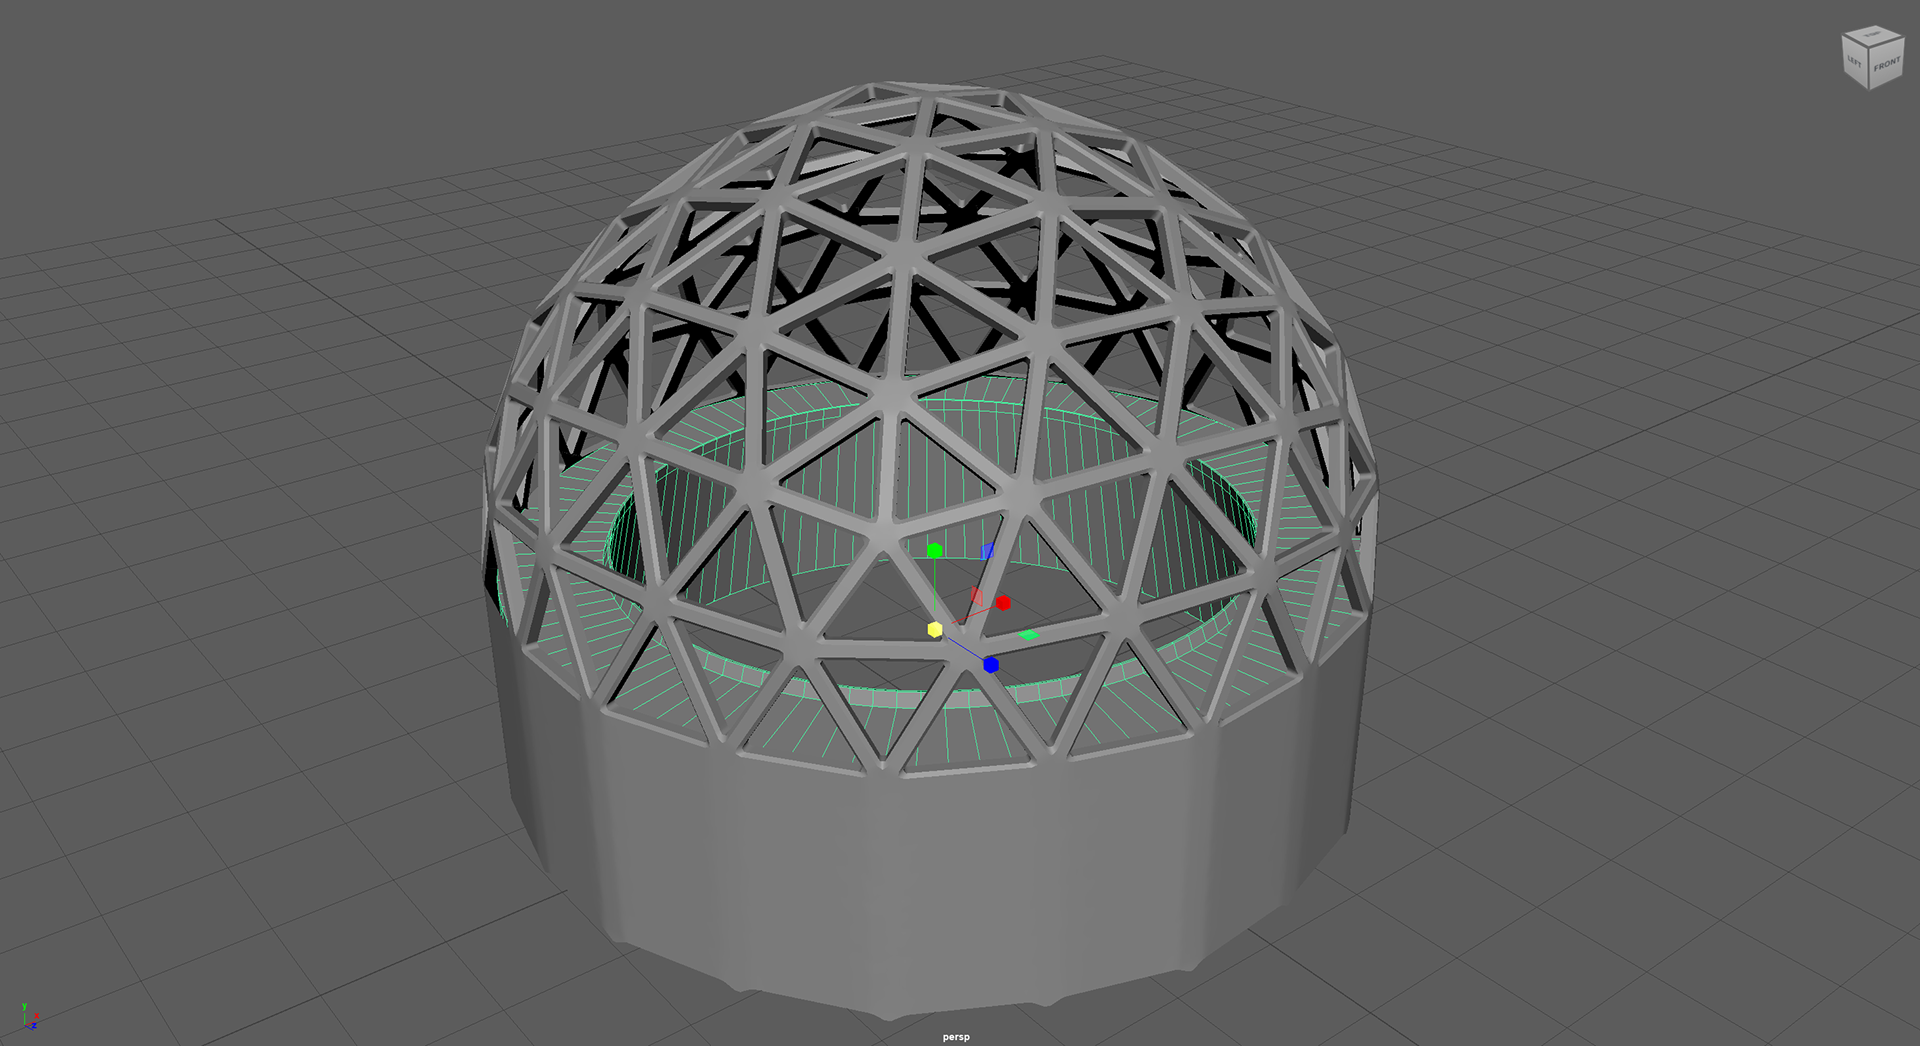
You will also notice in photo number three, an upside-down top hat looking thing.
This was early planning on how my biodome was to be structured, my idea was to have the biodome placed on top, the actual environment would be located in the extruded centre and since the biodomes are to be an exhibition, the ring surface on the top would be a walk way for civilians to look down into said environment.
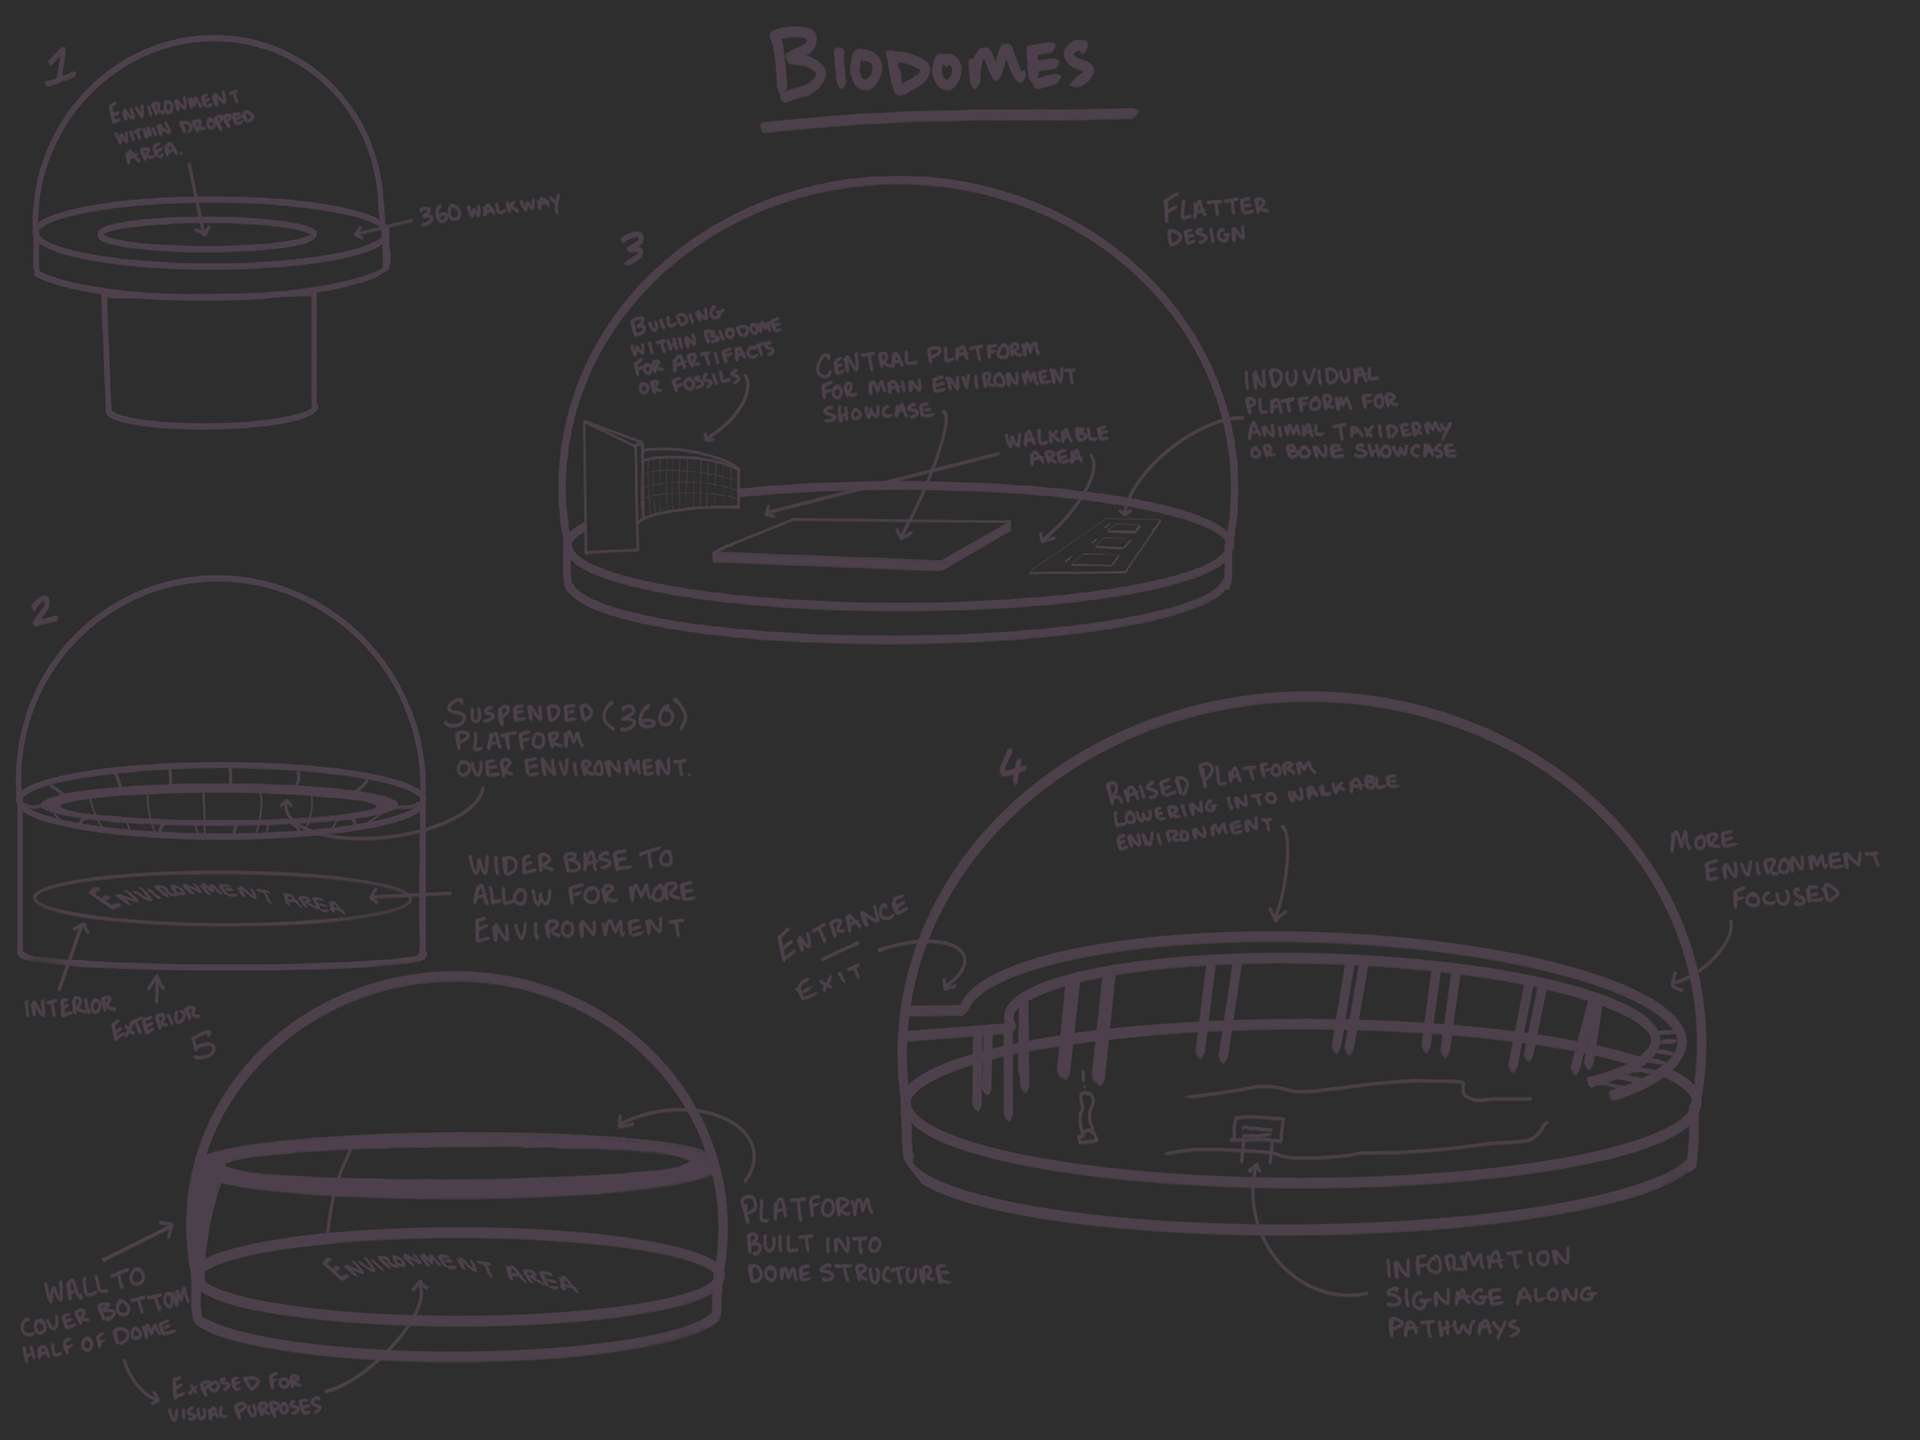
After reflection, I'm not sure I enjoy the design of this so over the next couple weeks, I am going to try and experiment and sketch some designs up.


INT- ROOM 902 06 - 02 - 25
Whilst today's lesson was cut short, I still have the first half of the lesson to show for!
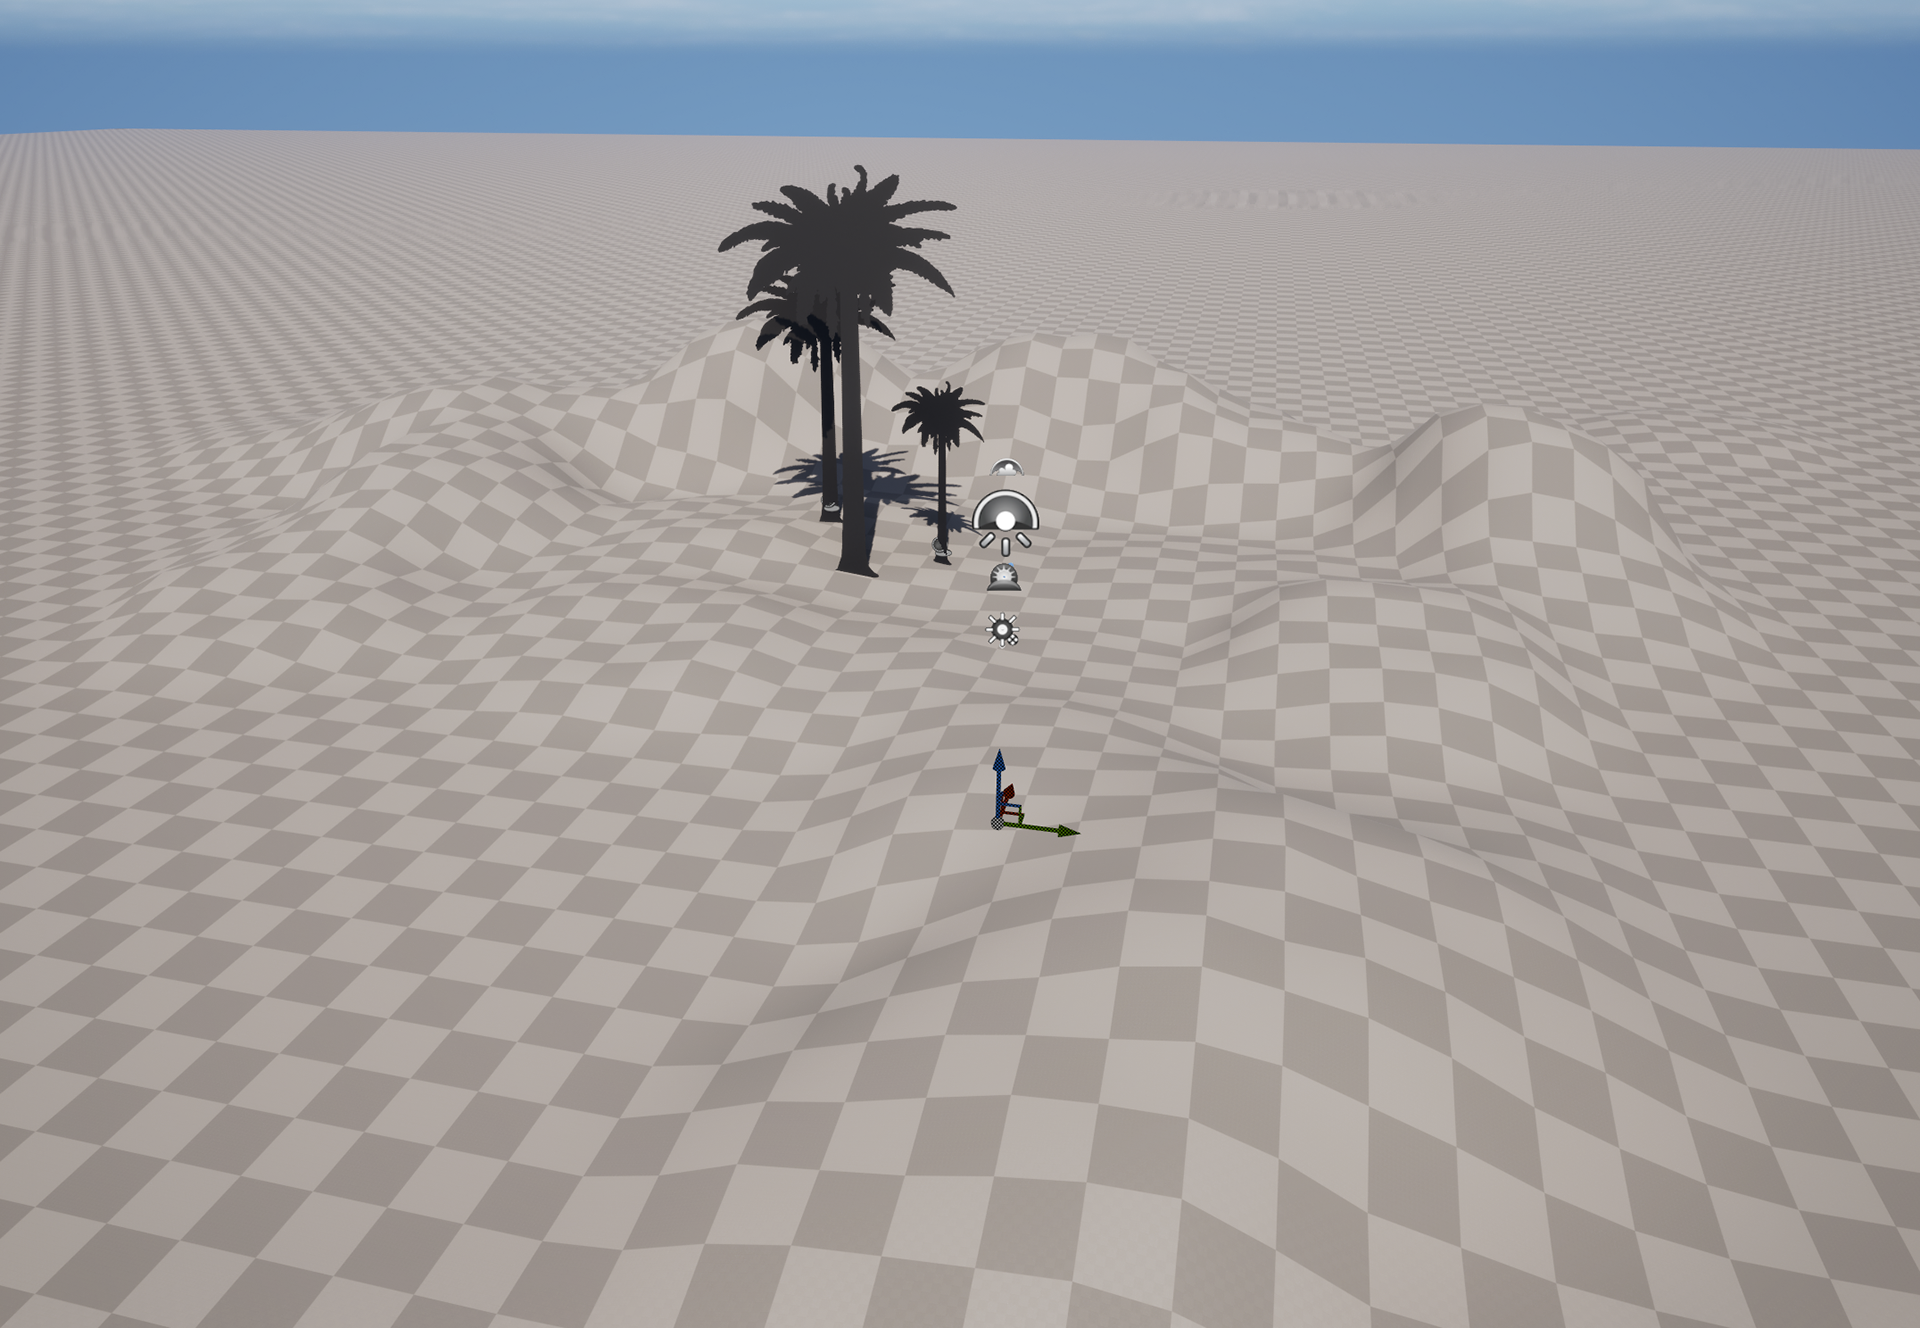
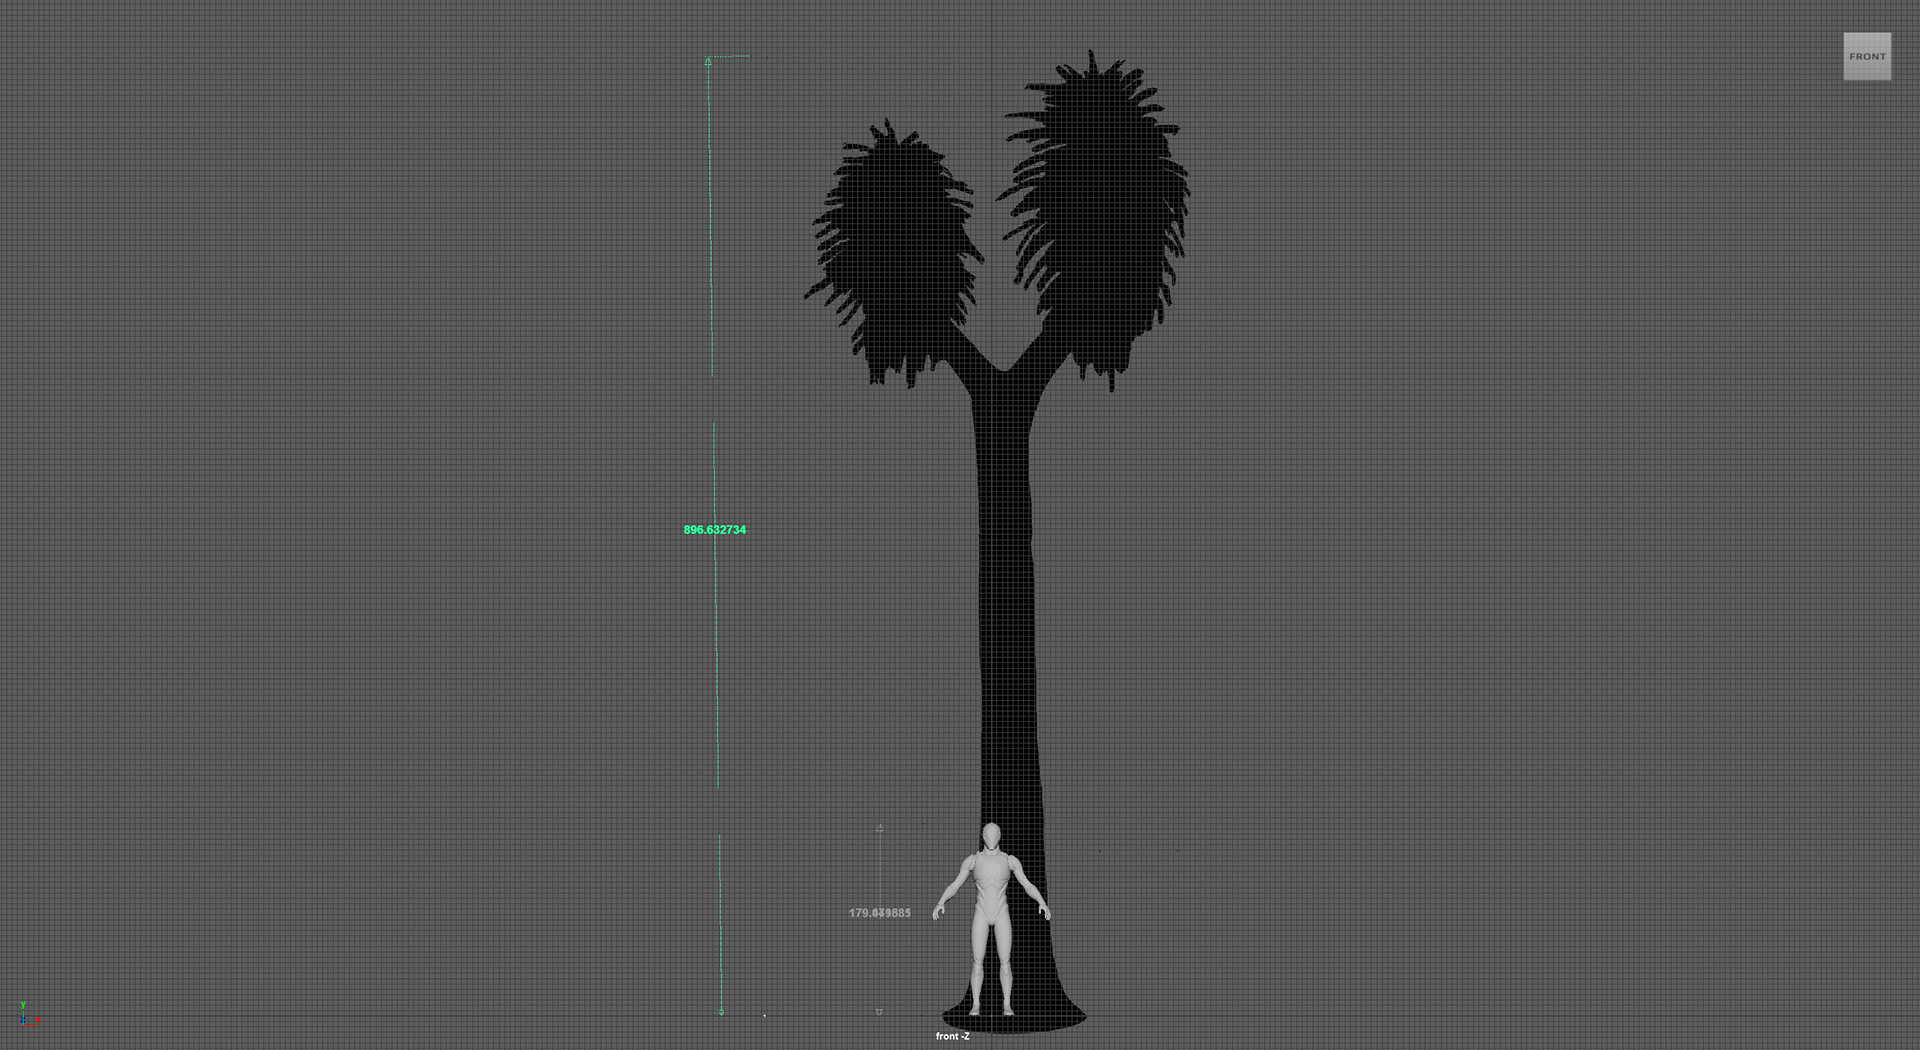
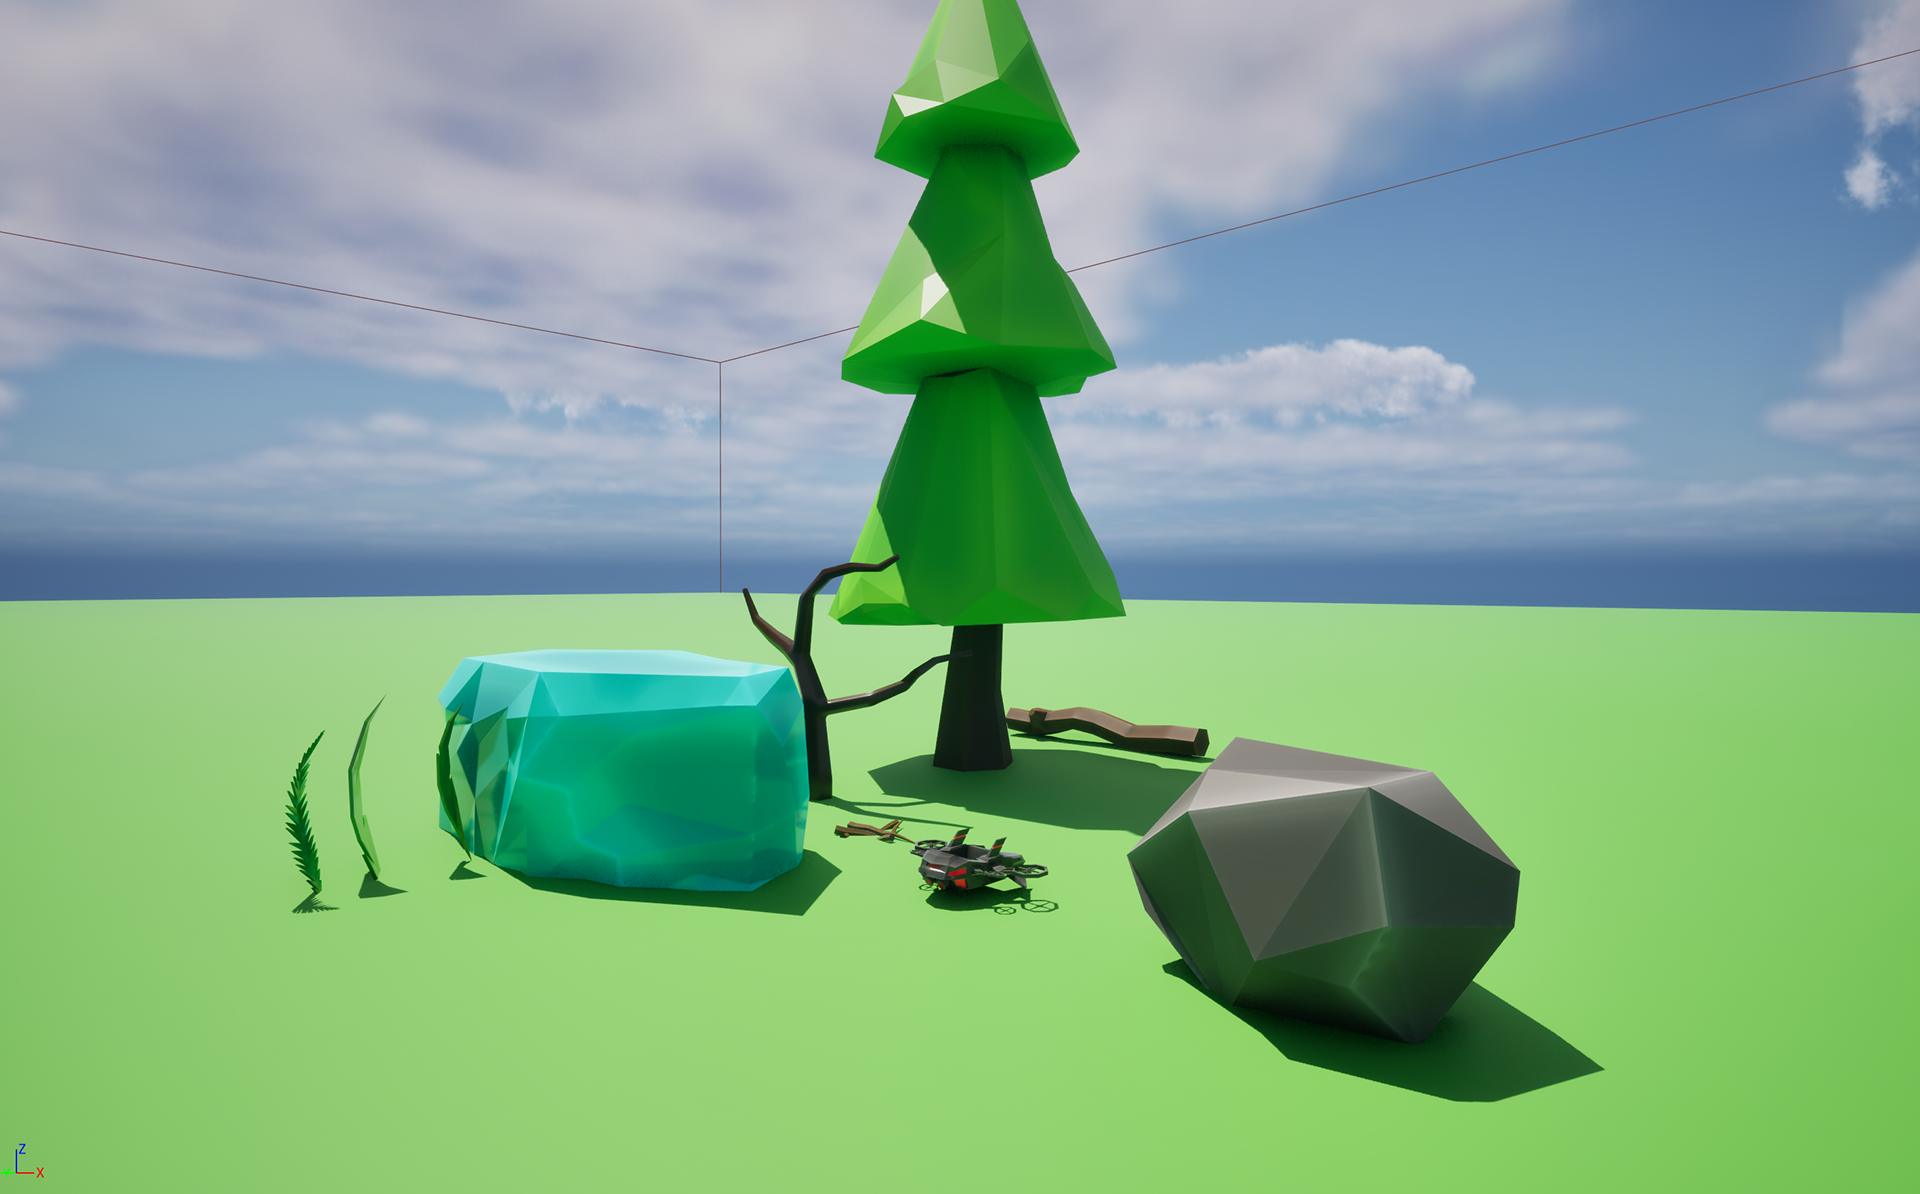
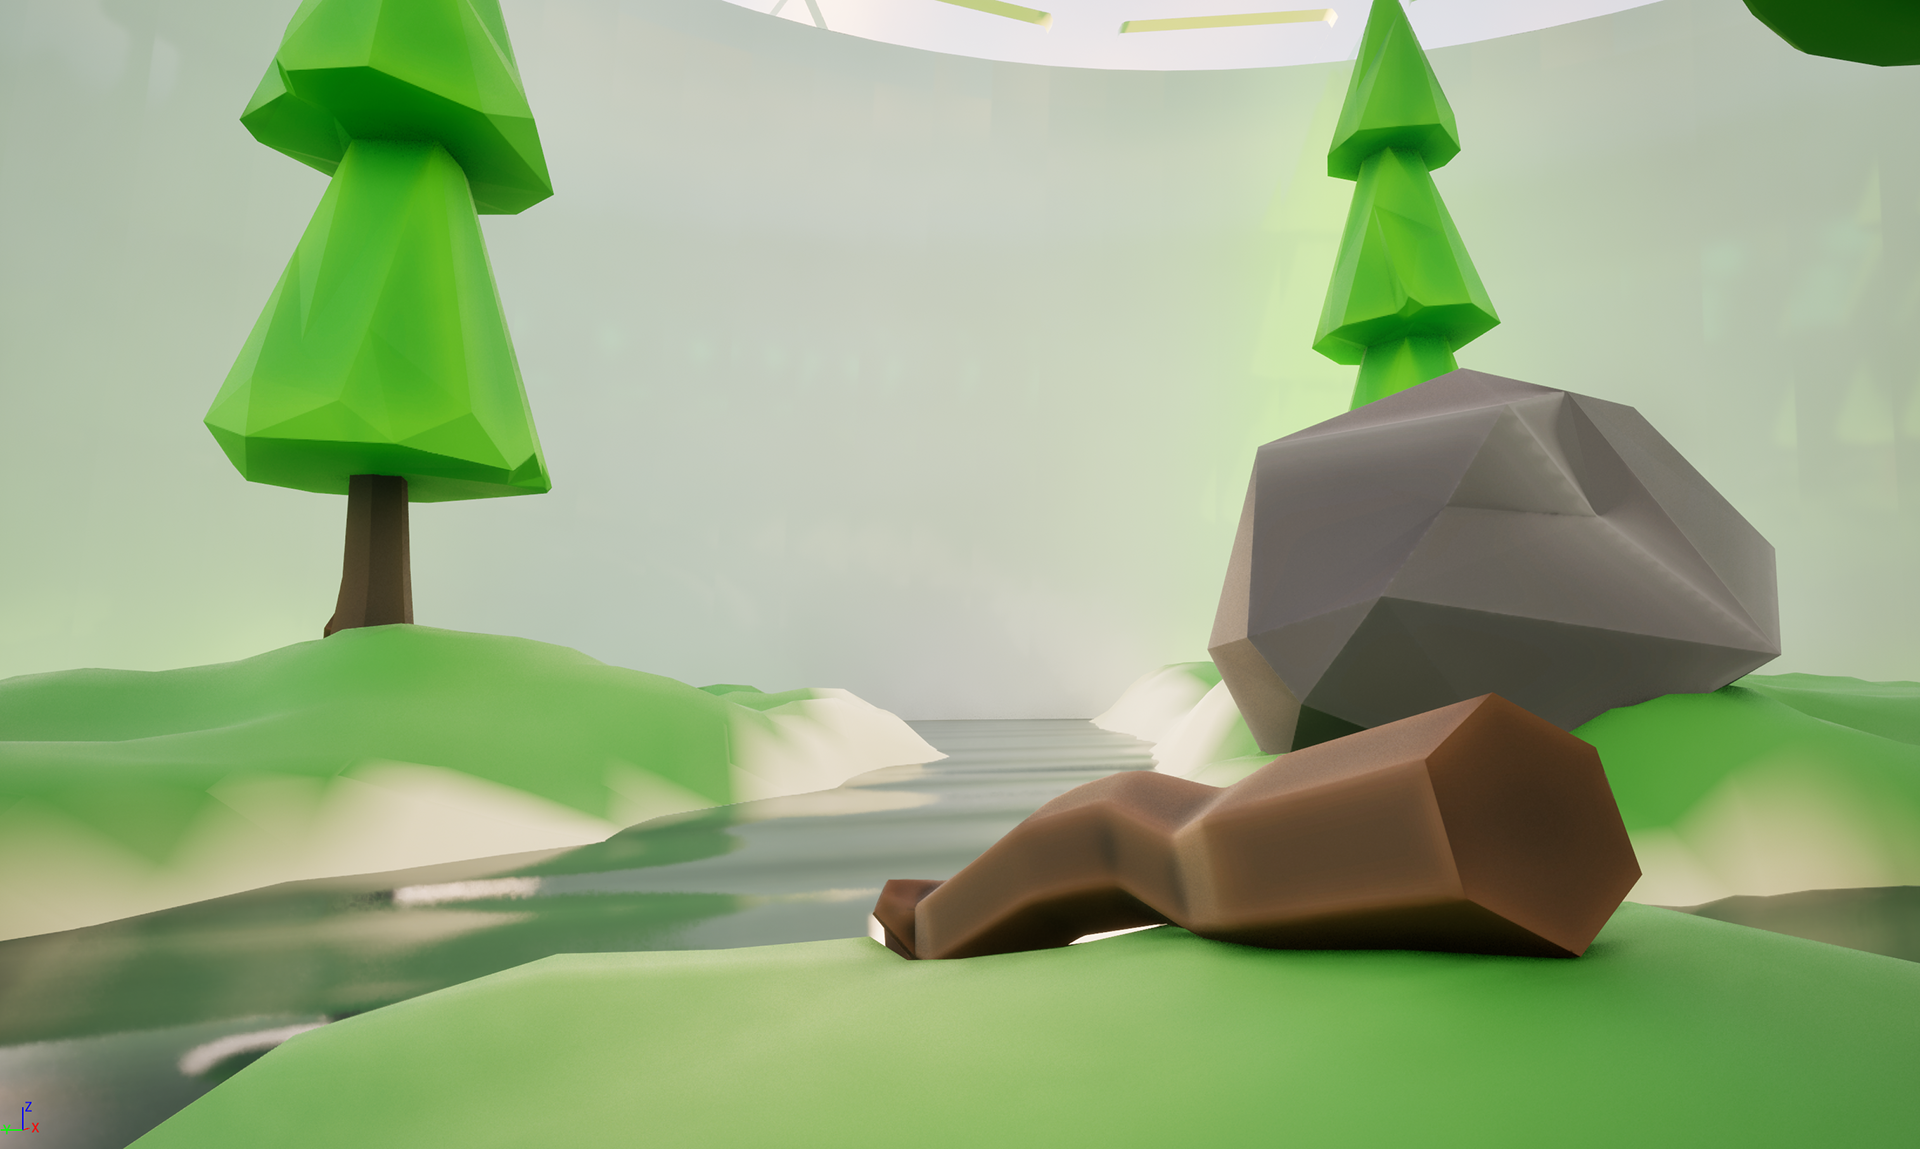
We started by importing a 6-foot character into Maya and used the measure tool to pinpoint the height. The purpose of this task was to use the character as a reference against our assets to adjust the height correctly.

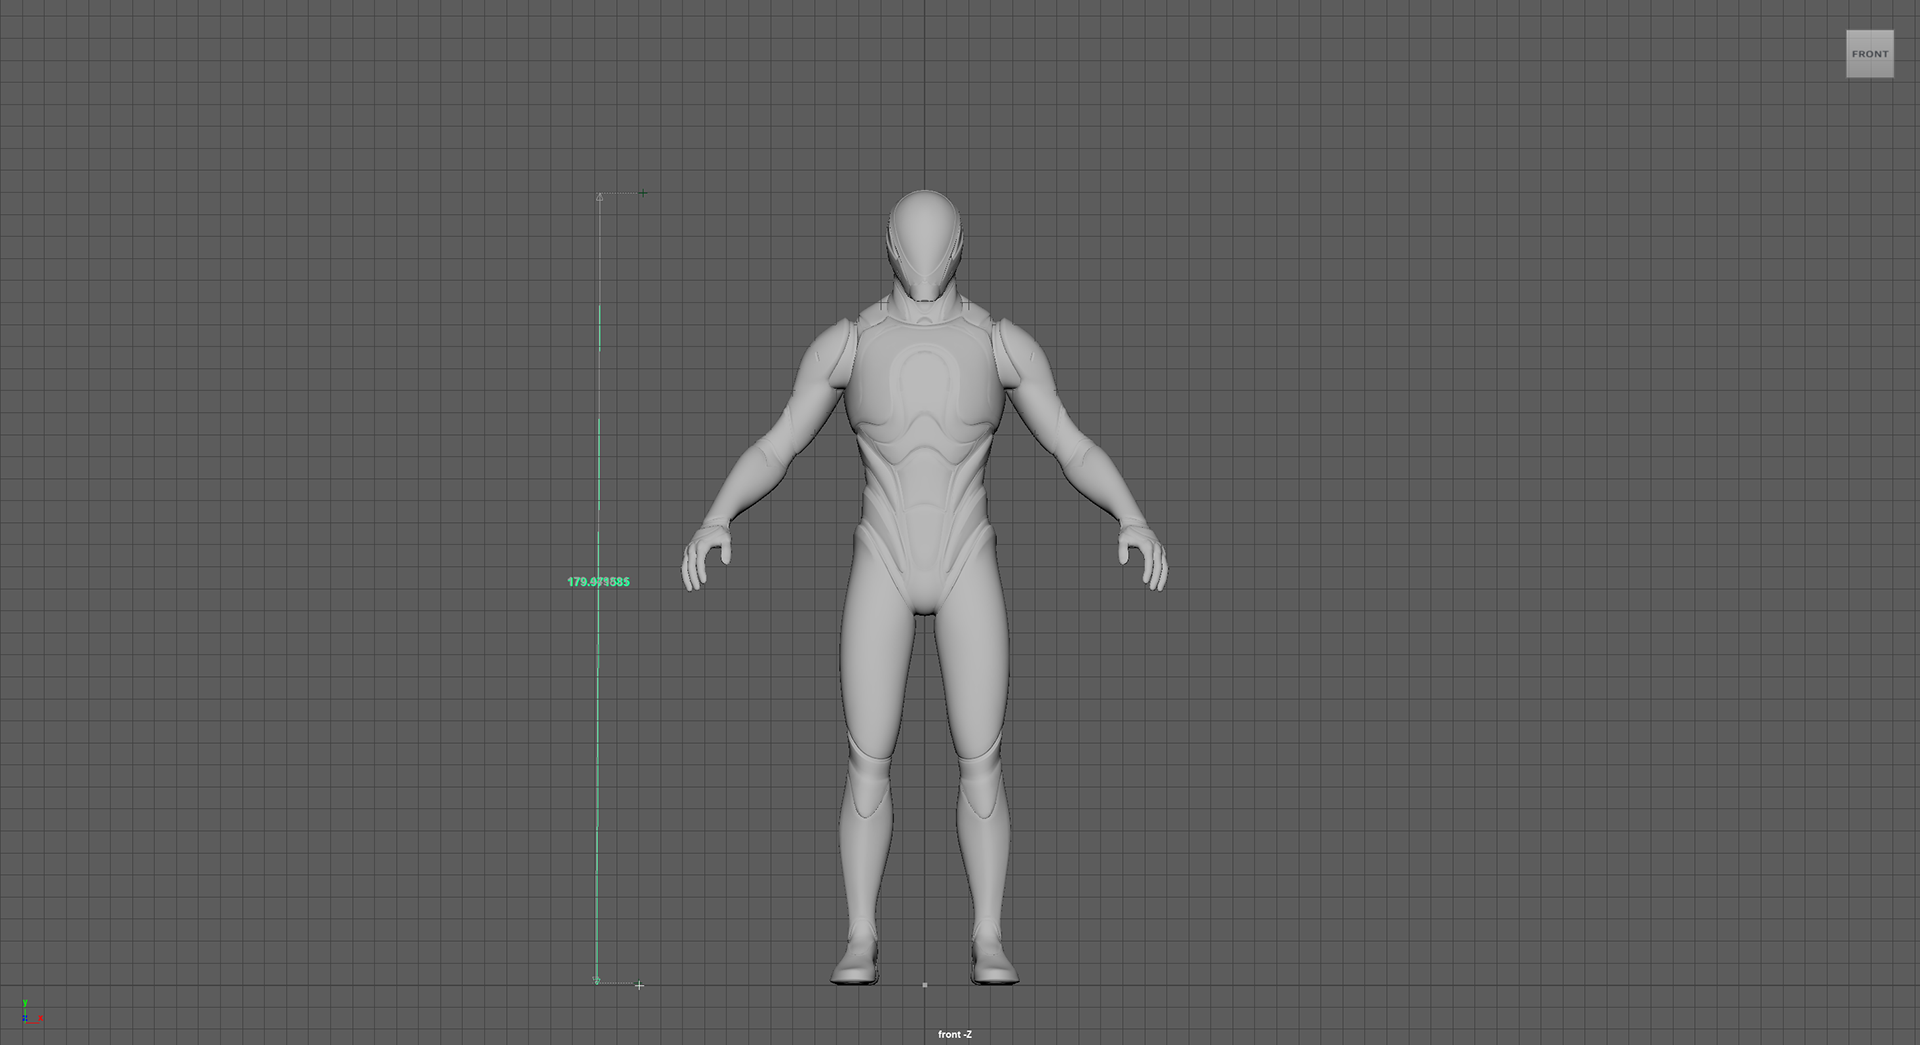
Asset next to the character with measurements:
I believe the second part of the class was actually starting to sculpt/model around the assets we had created!
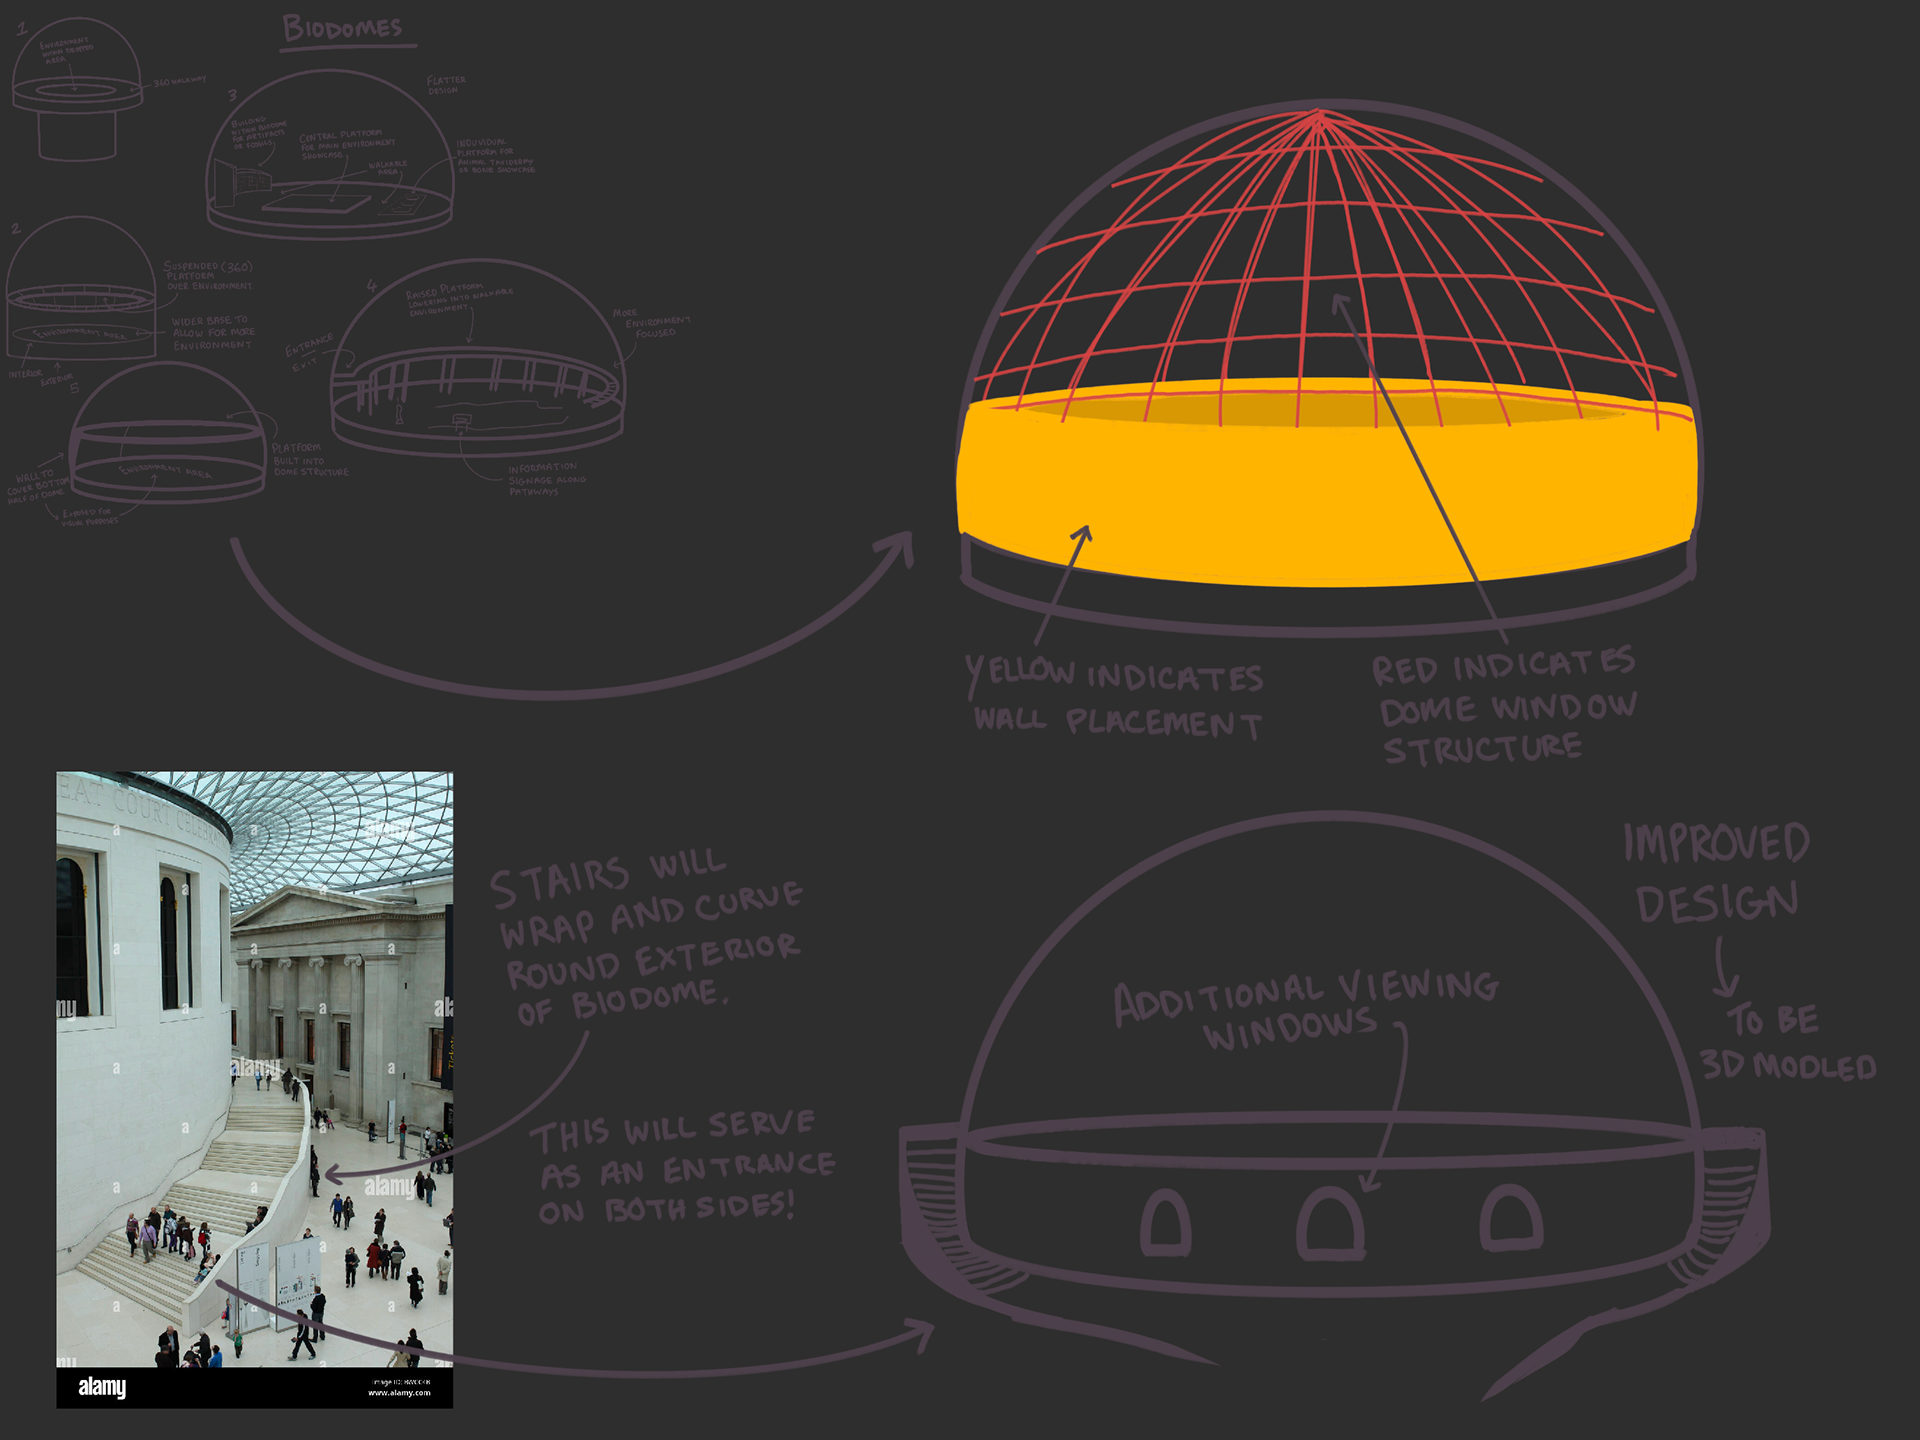
I still have a few more things to design but I have been working on the biodome structure and trying to plan how that will look.
I decided to invest in a drawing/sculpting tablet to see if I can improve the way I sculpt in 3D so expect to see some Biodomes and Environmental Assets.


INT- ROOM 902 13 - 02 - 25
To make a mense for my absence and lack of work last week, I put in extra effort since...
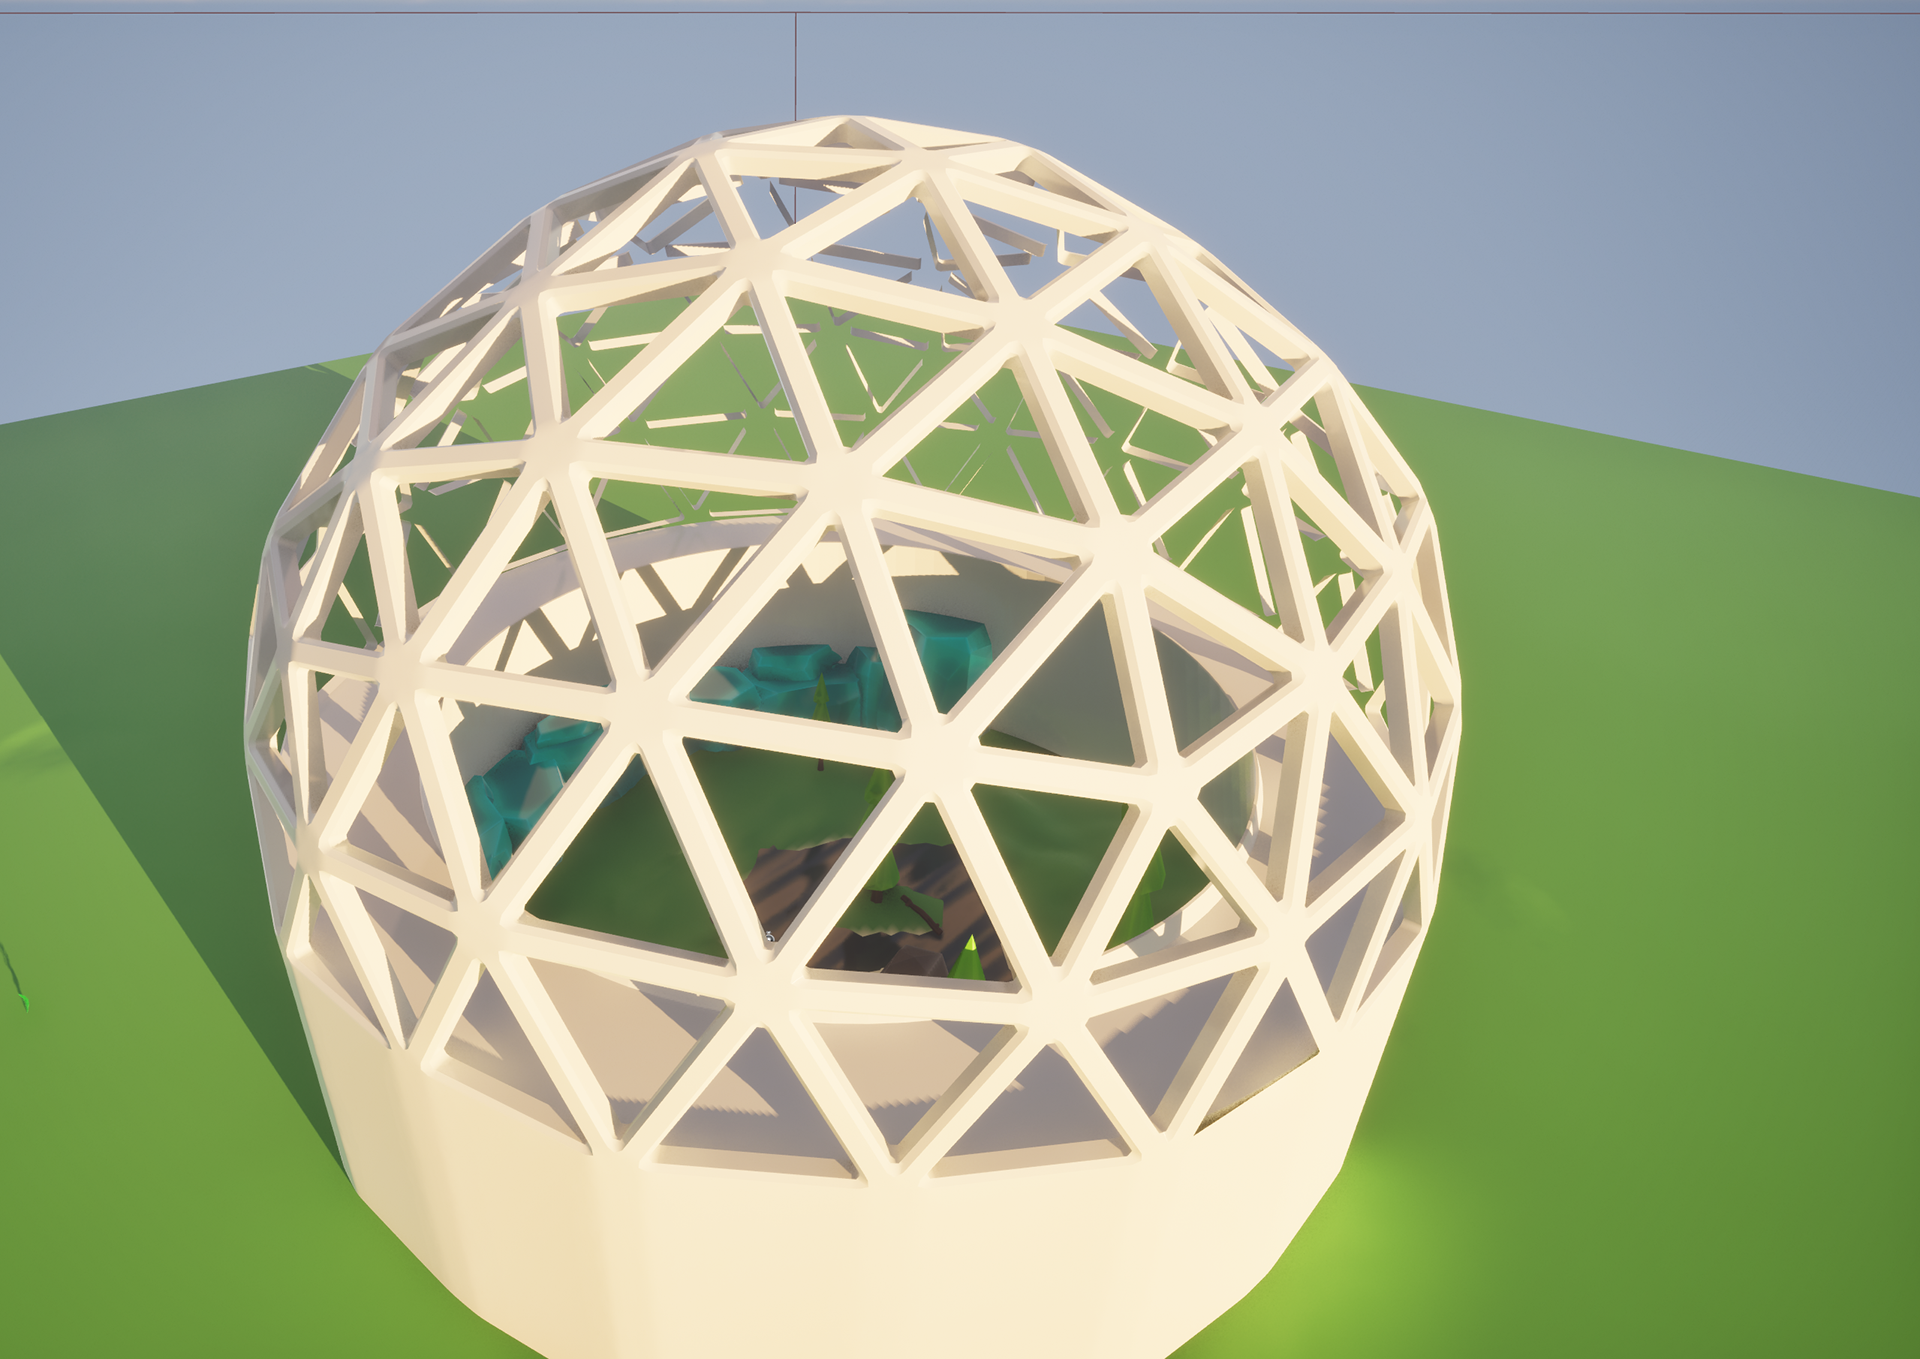
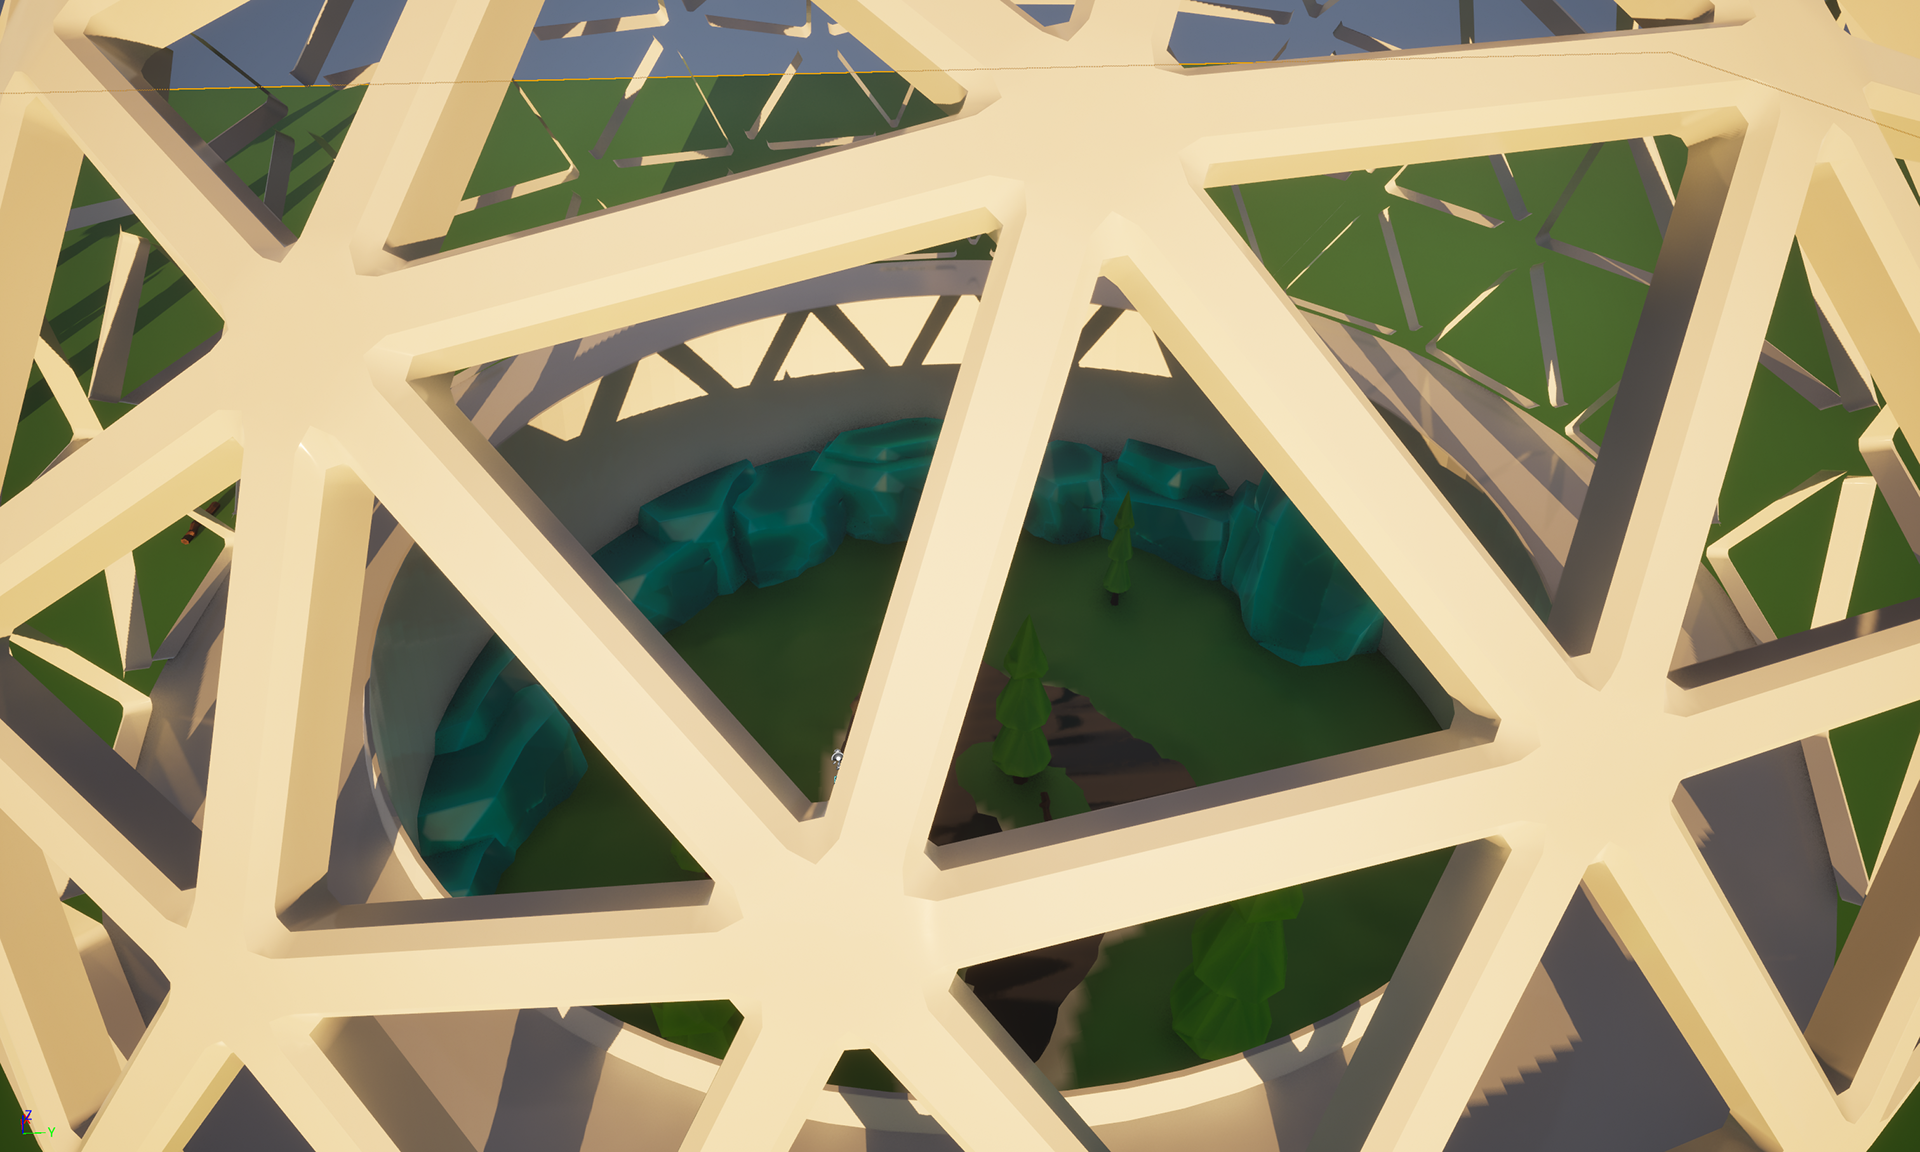
I started to model some of my assets and redesign my biodome to align with what I was thinking. I will start there.
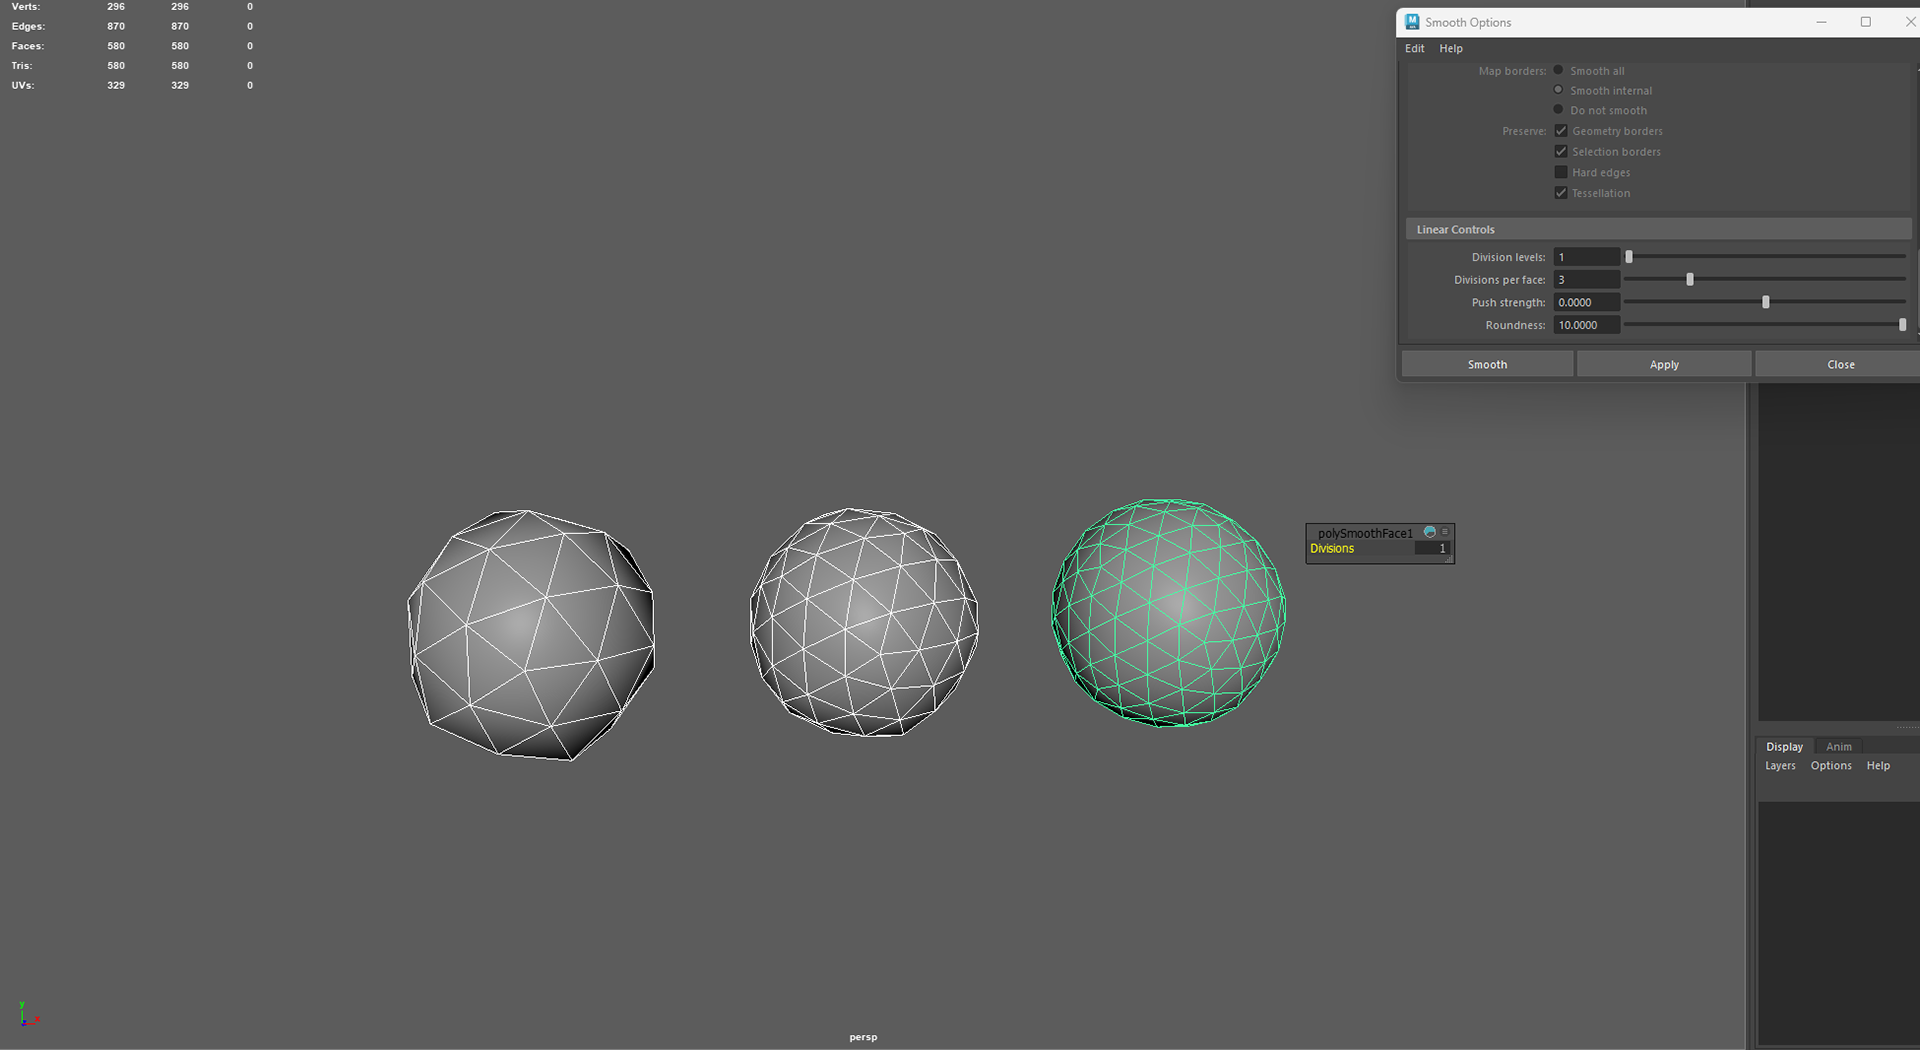
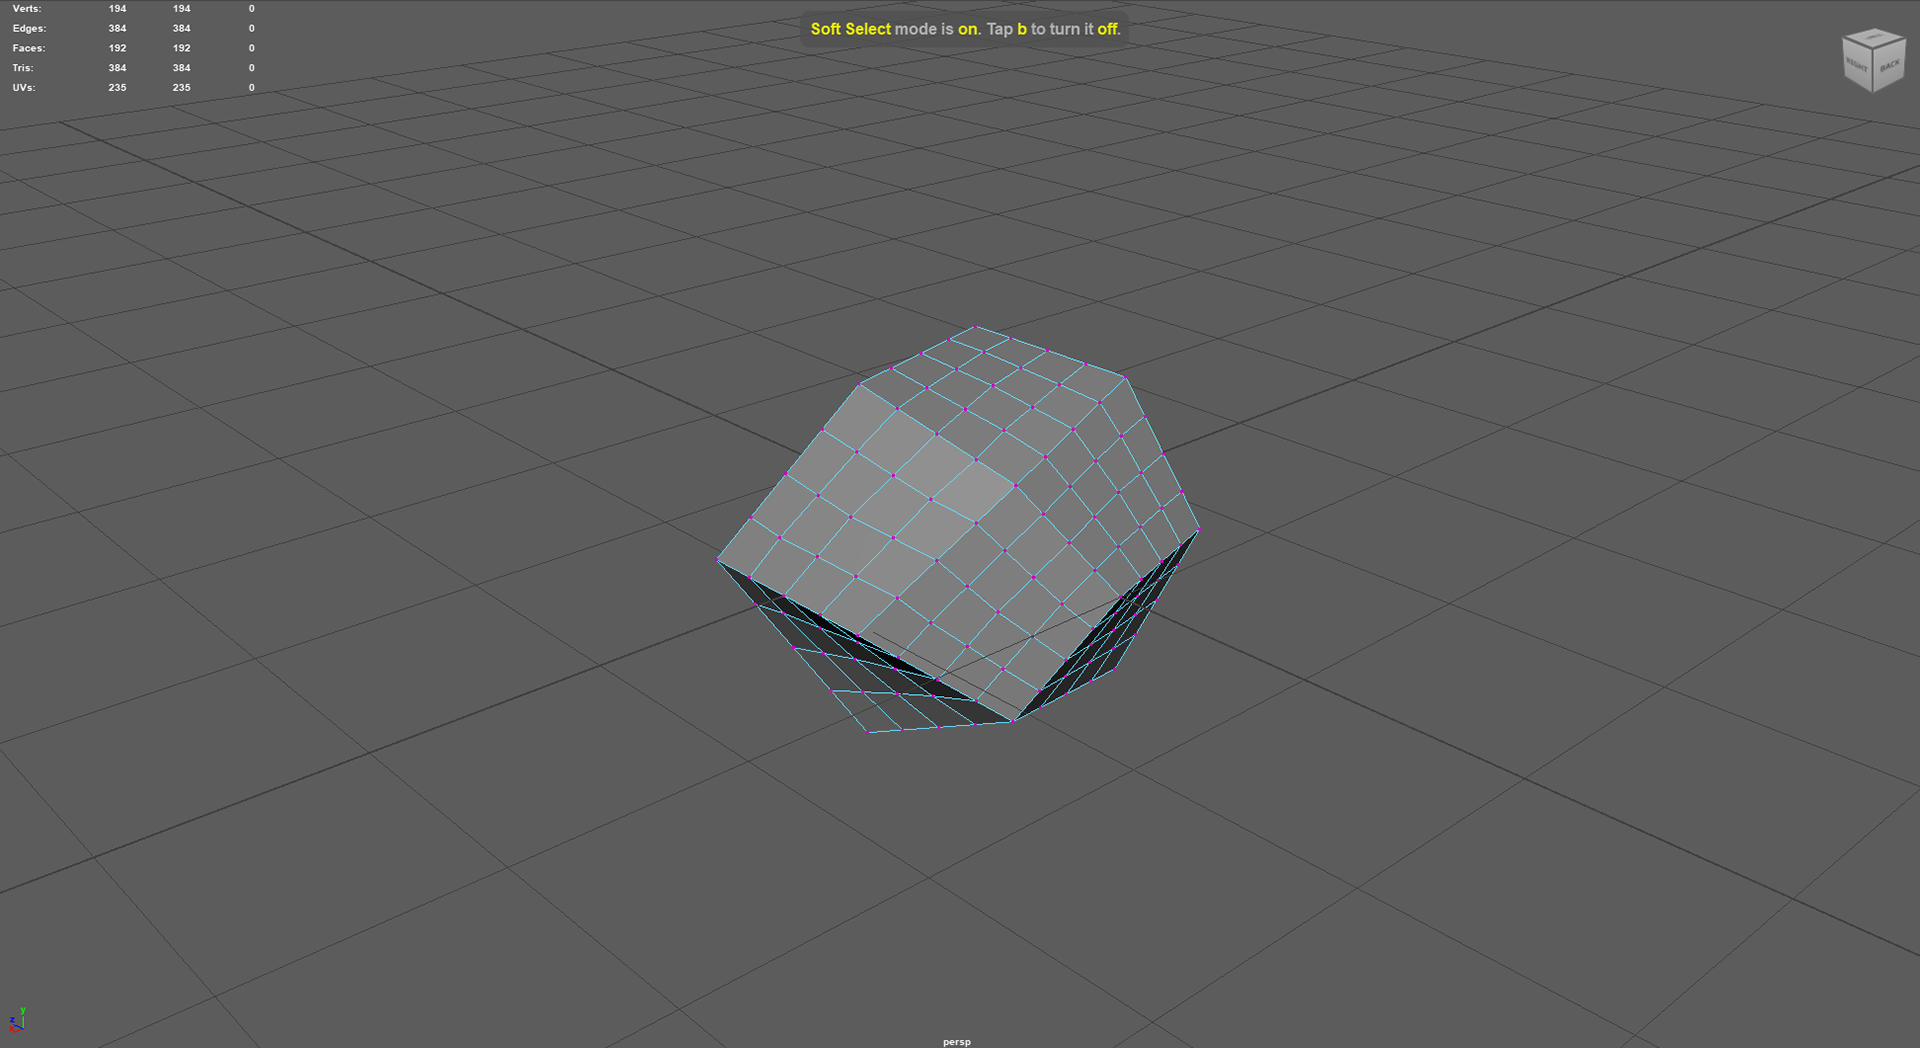
I started by adding a platonic solid and creating three different versions, each by smoothing and adding more subdivisions
I decided to go for the middle sphere and proceeded to half the dome.
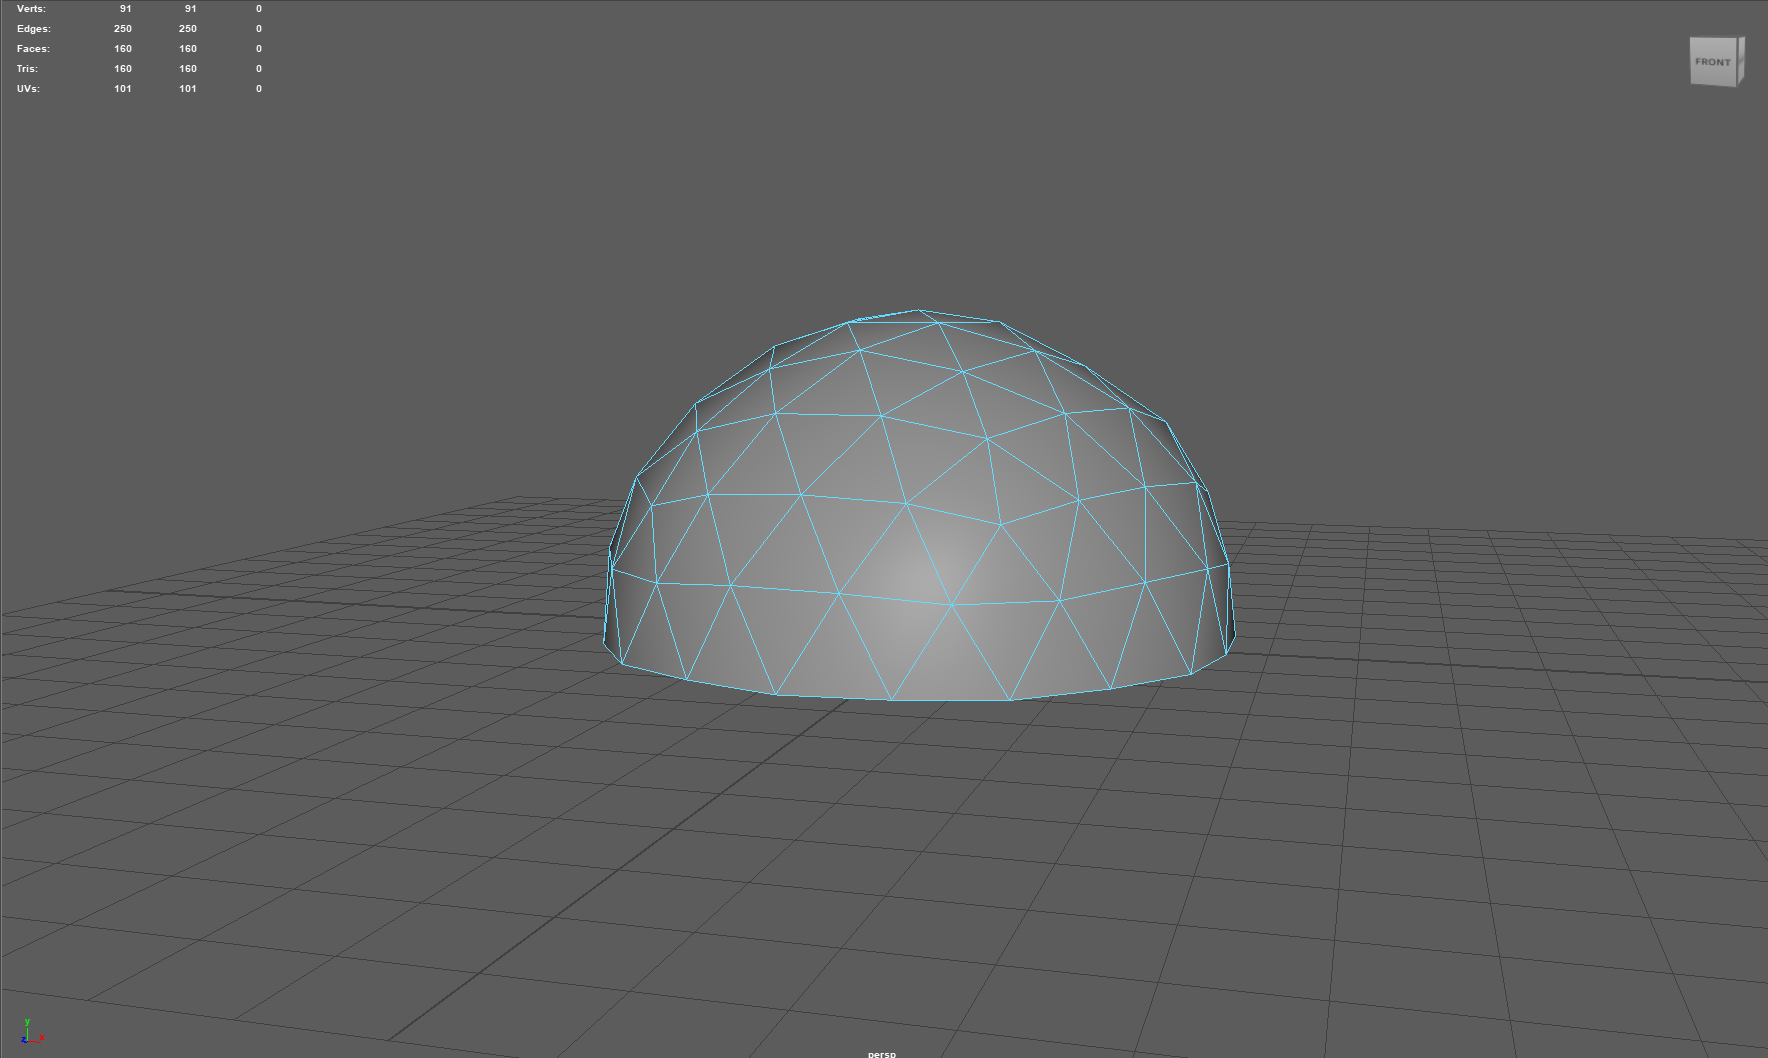
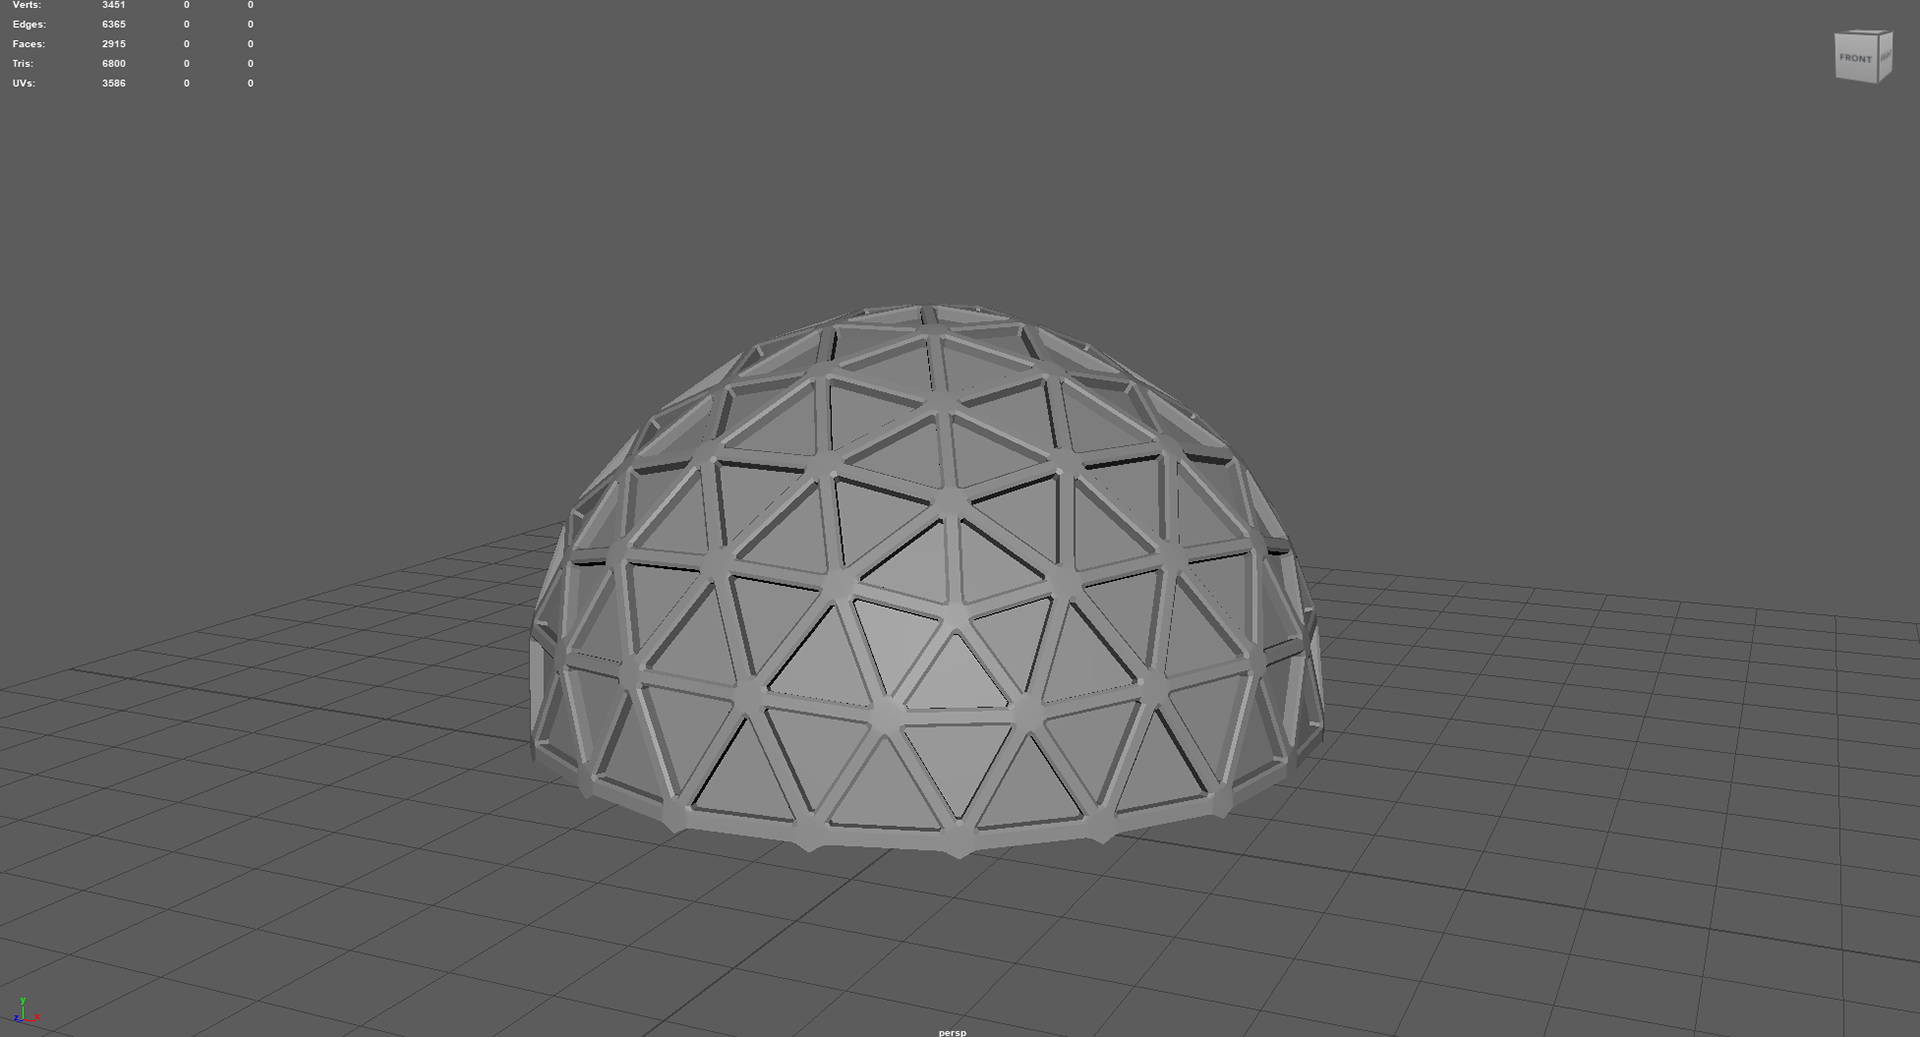
Here is the dome in 3 different stages.
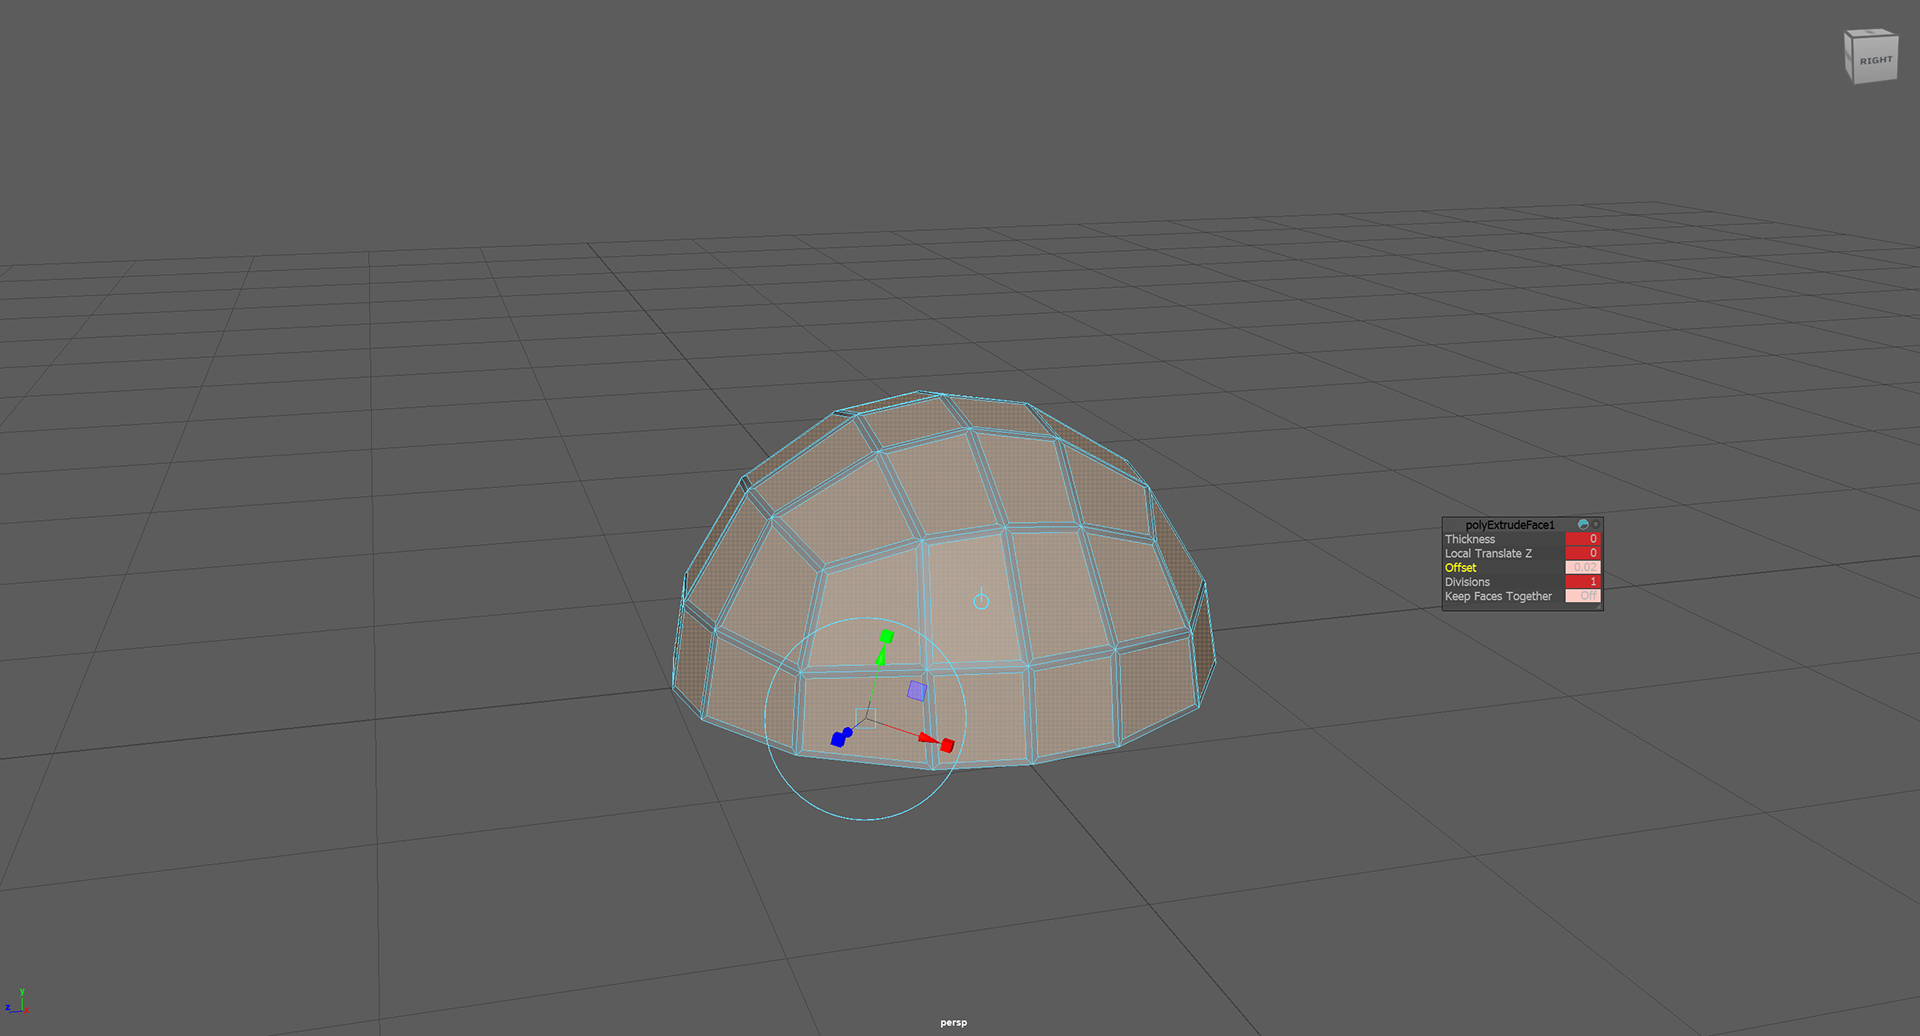
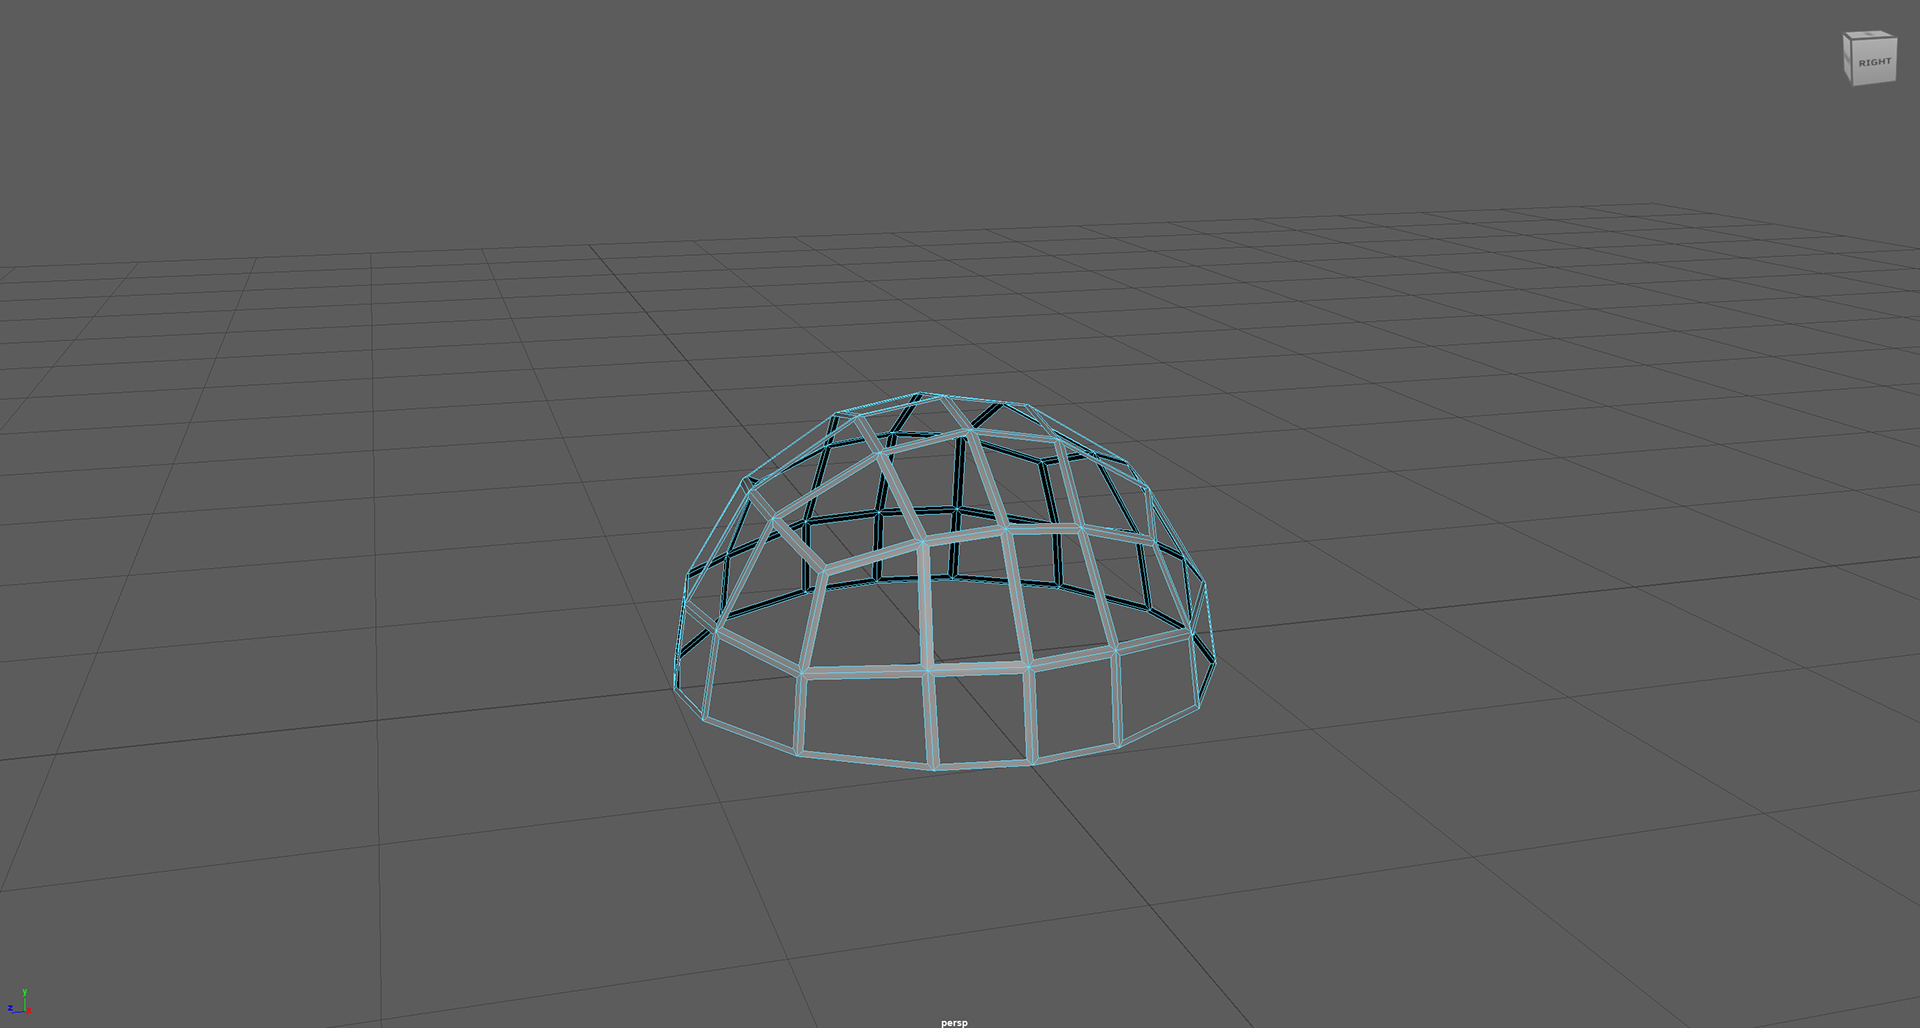
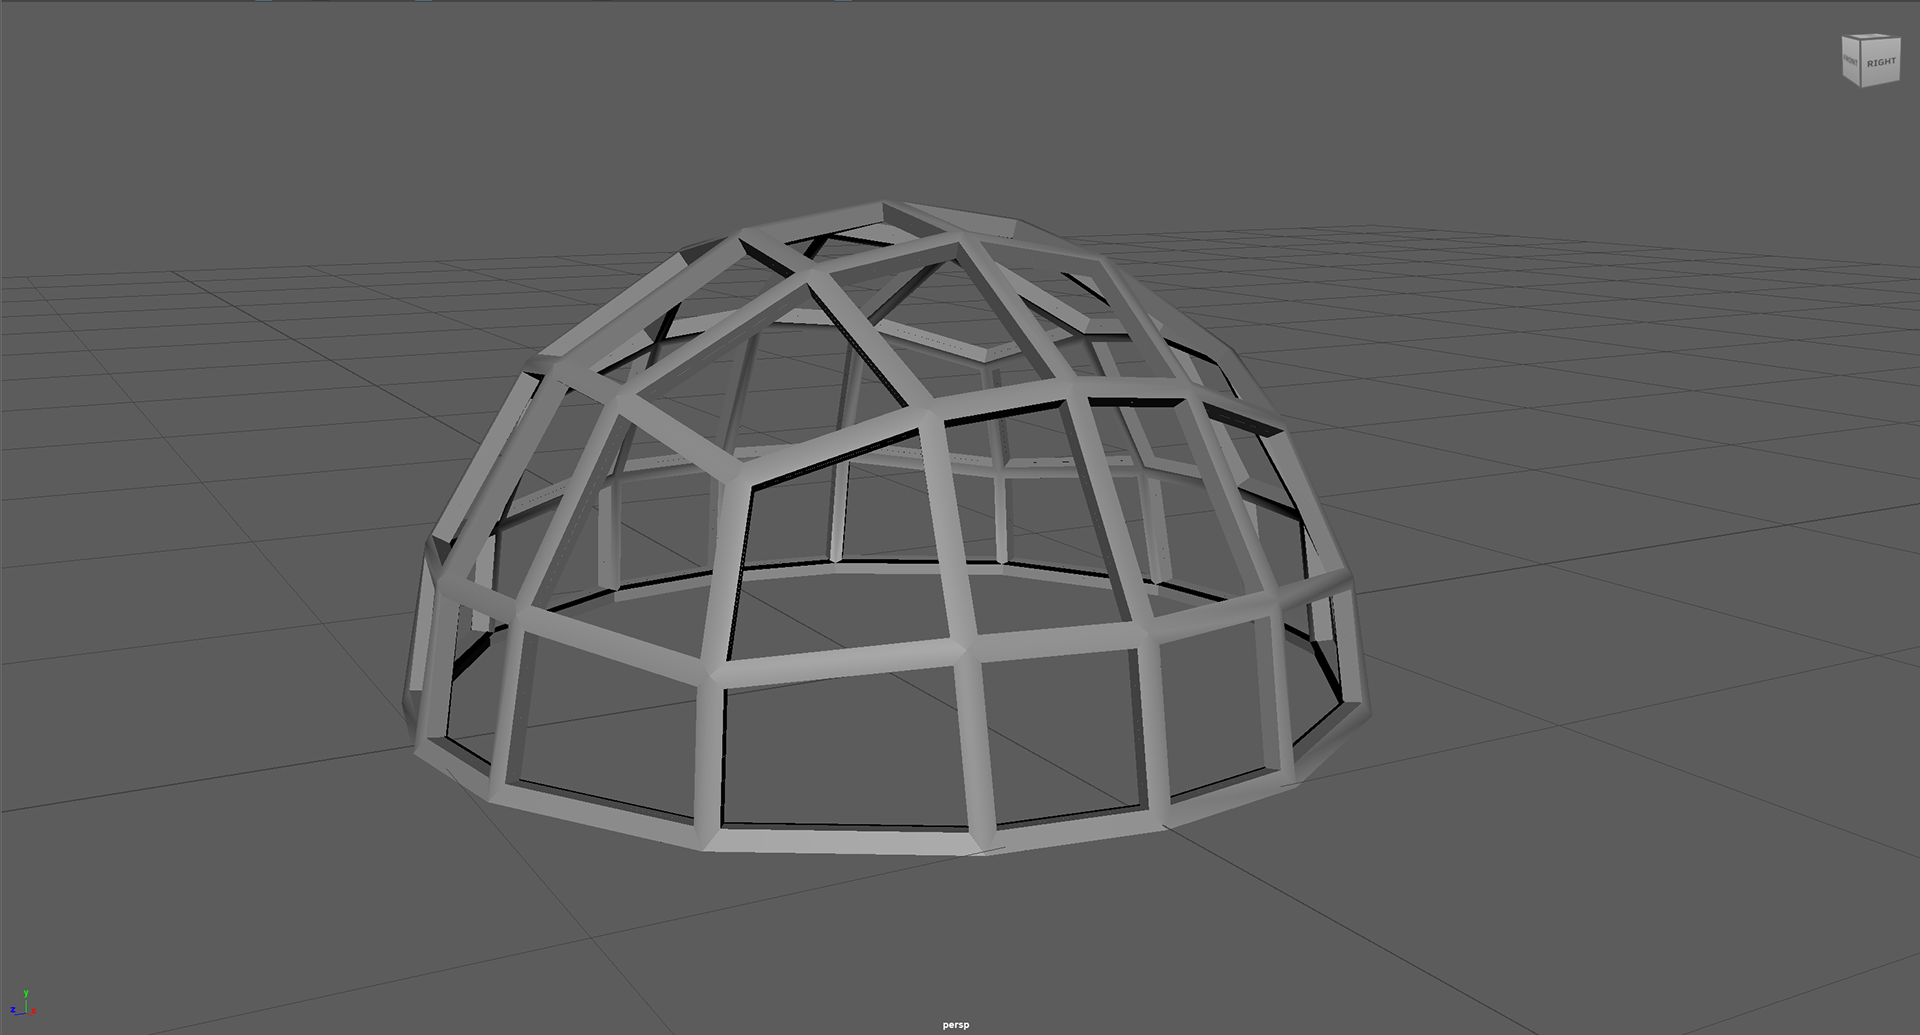
In the First image, I bevelled and extruded the dome to create the desired effect.
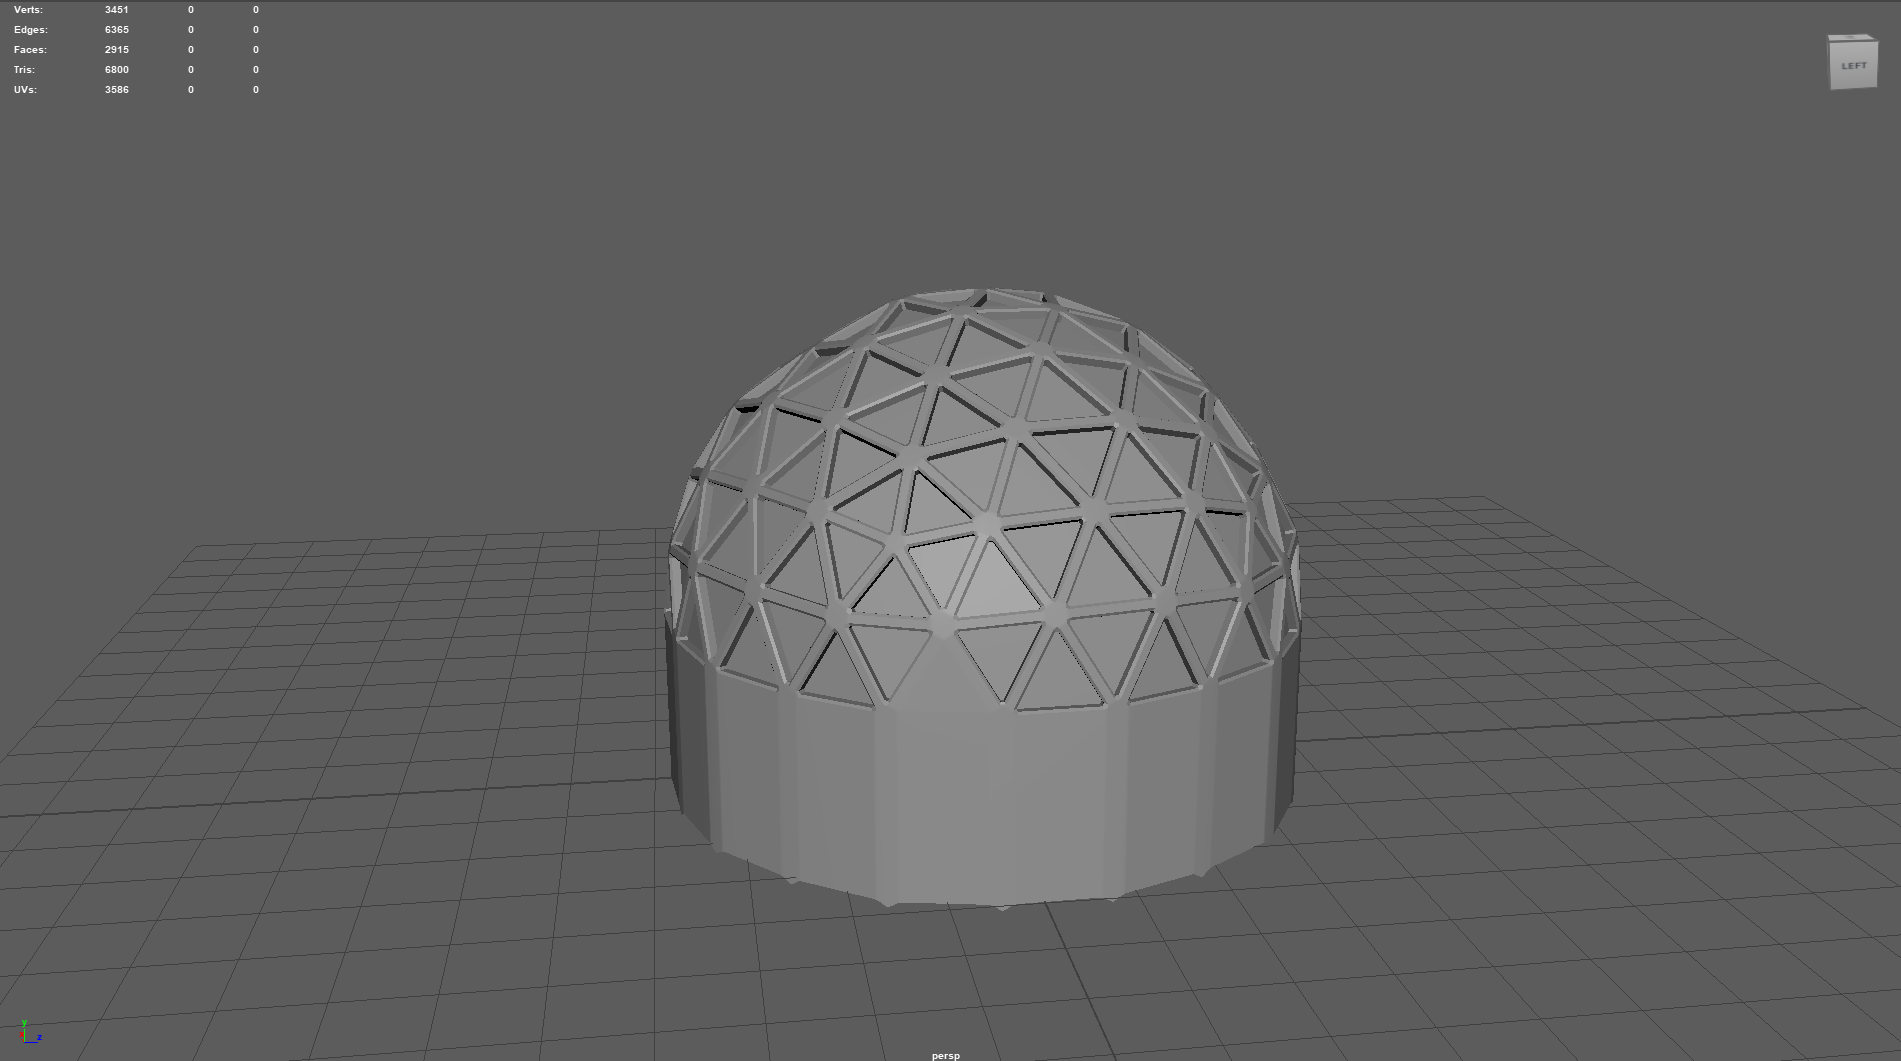
In the Second, I added the wall to align with my vision from the previous drawings.
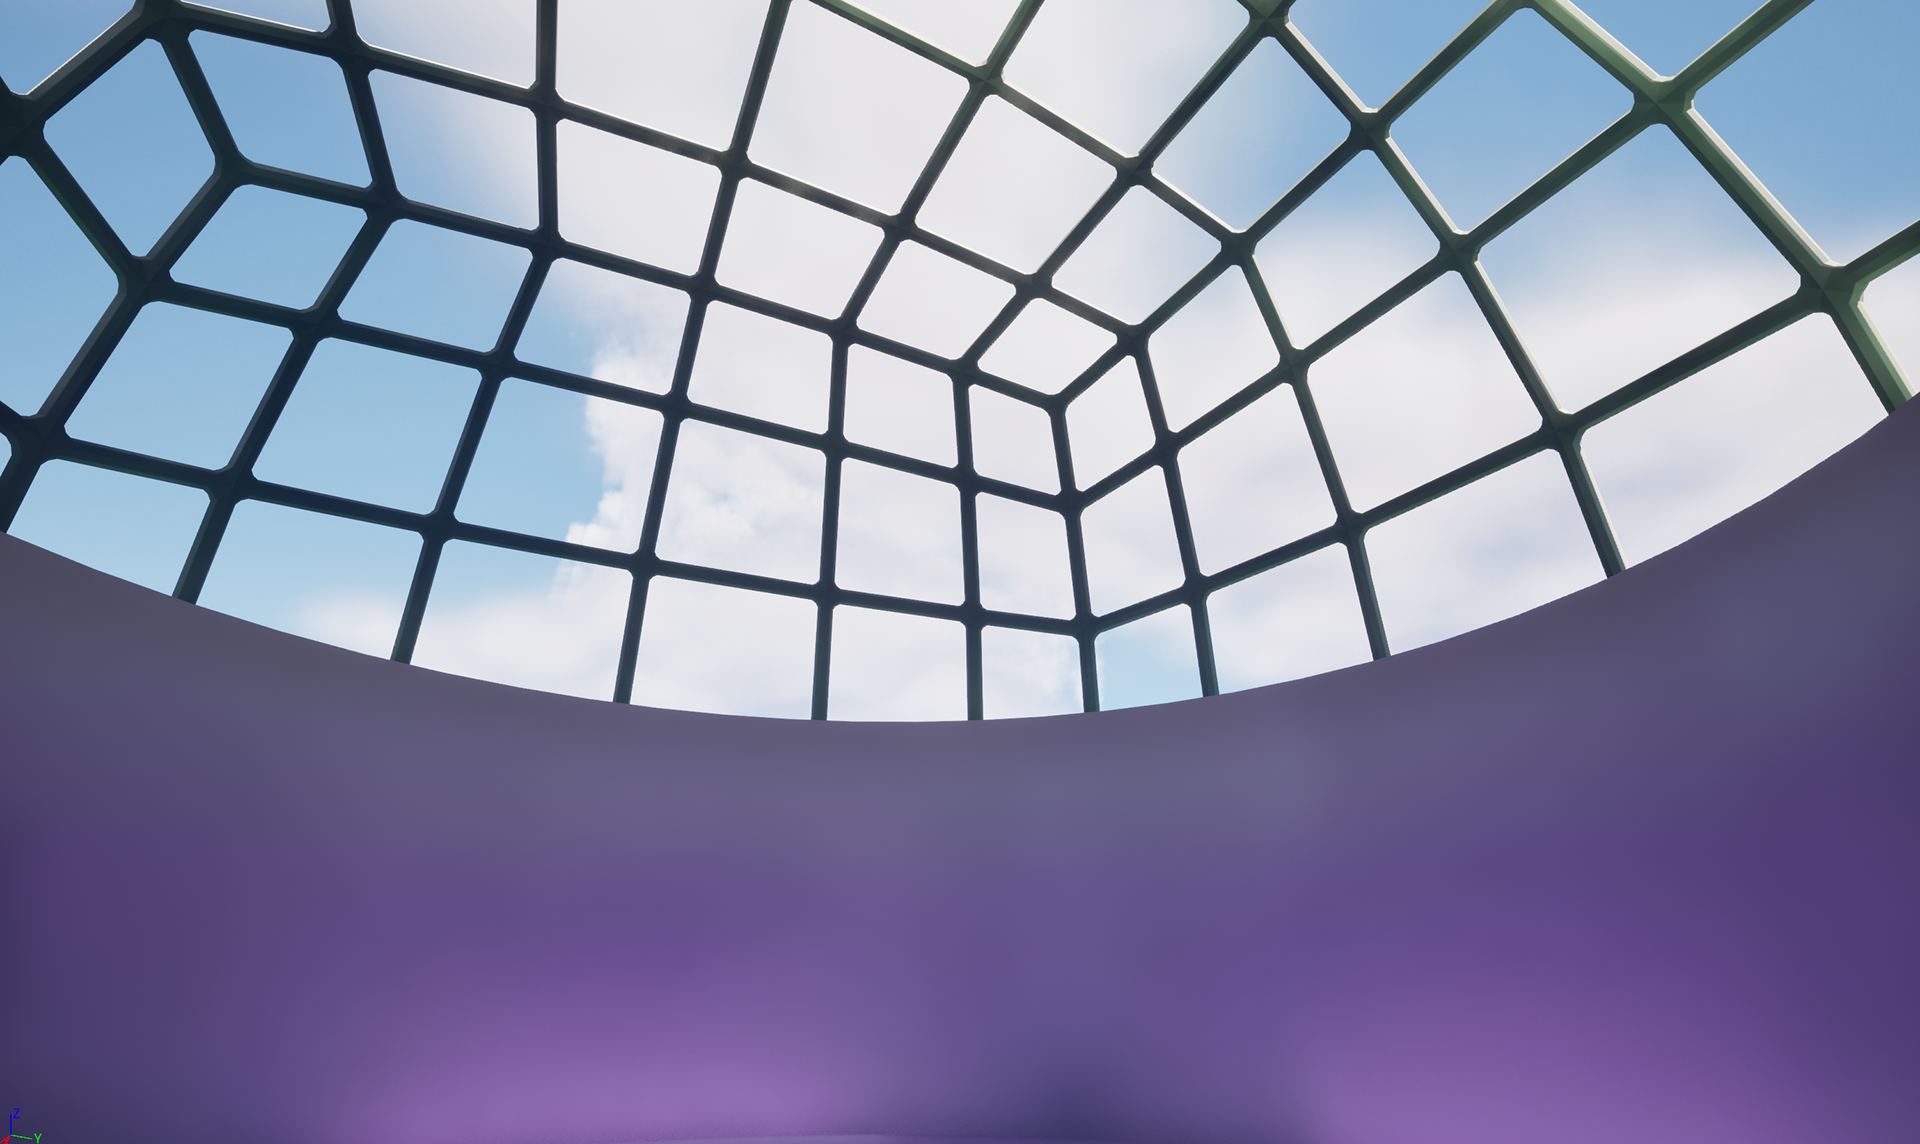
Lastly, the third image, where I wanted to visualise how the dome would look once the windows are translucent.
I decided to focus on my Pleistocene Epoch biodome and started to create the necessary assets ready for Thursday's class.
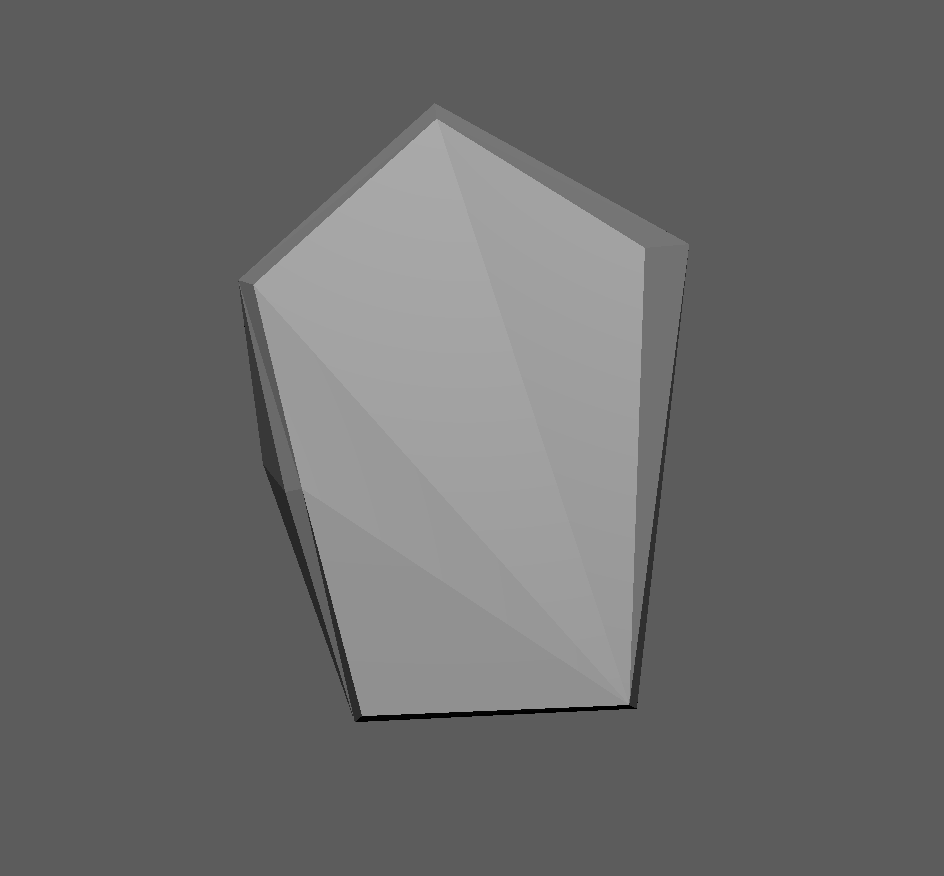
ICE CLIFF ASSET
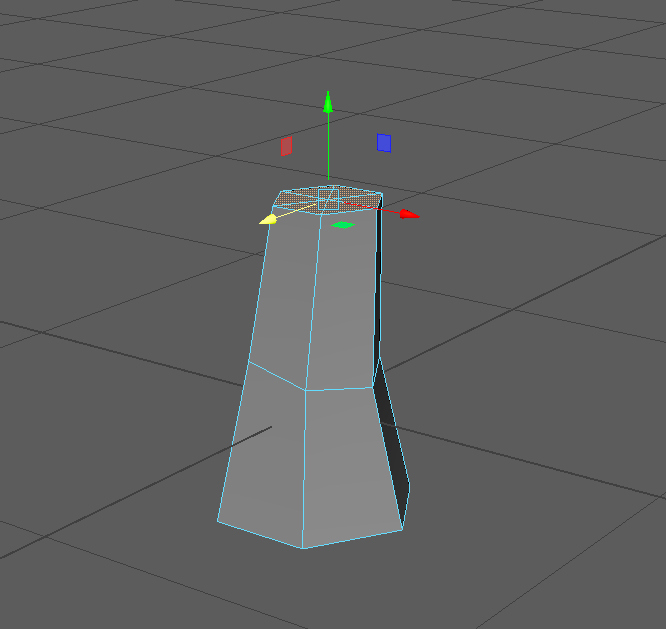
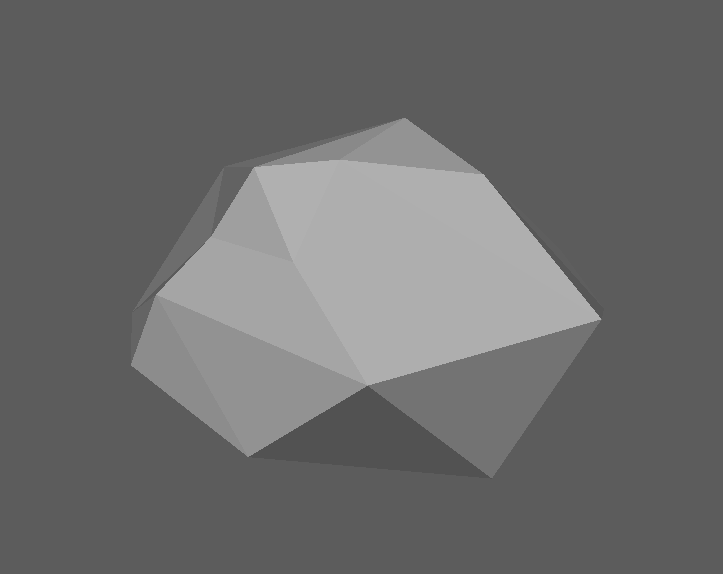
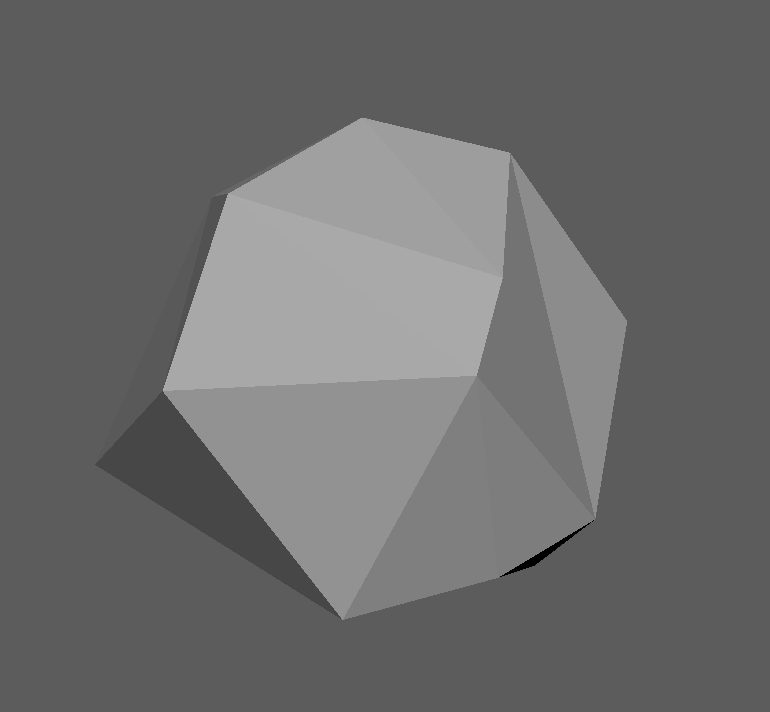
I started creating this asset by drawing a rough shape for the style of cliff I wanted and then extruded it upwards to create this flat, rocky shape.
Then using the multi-cut tool, I added several cuts along the structure of the cliff in order to add more faces for the later part of the process.
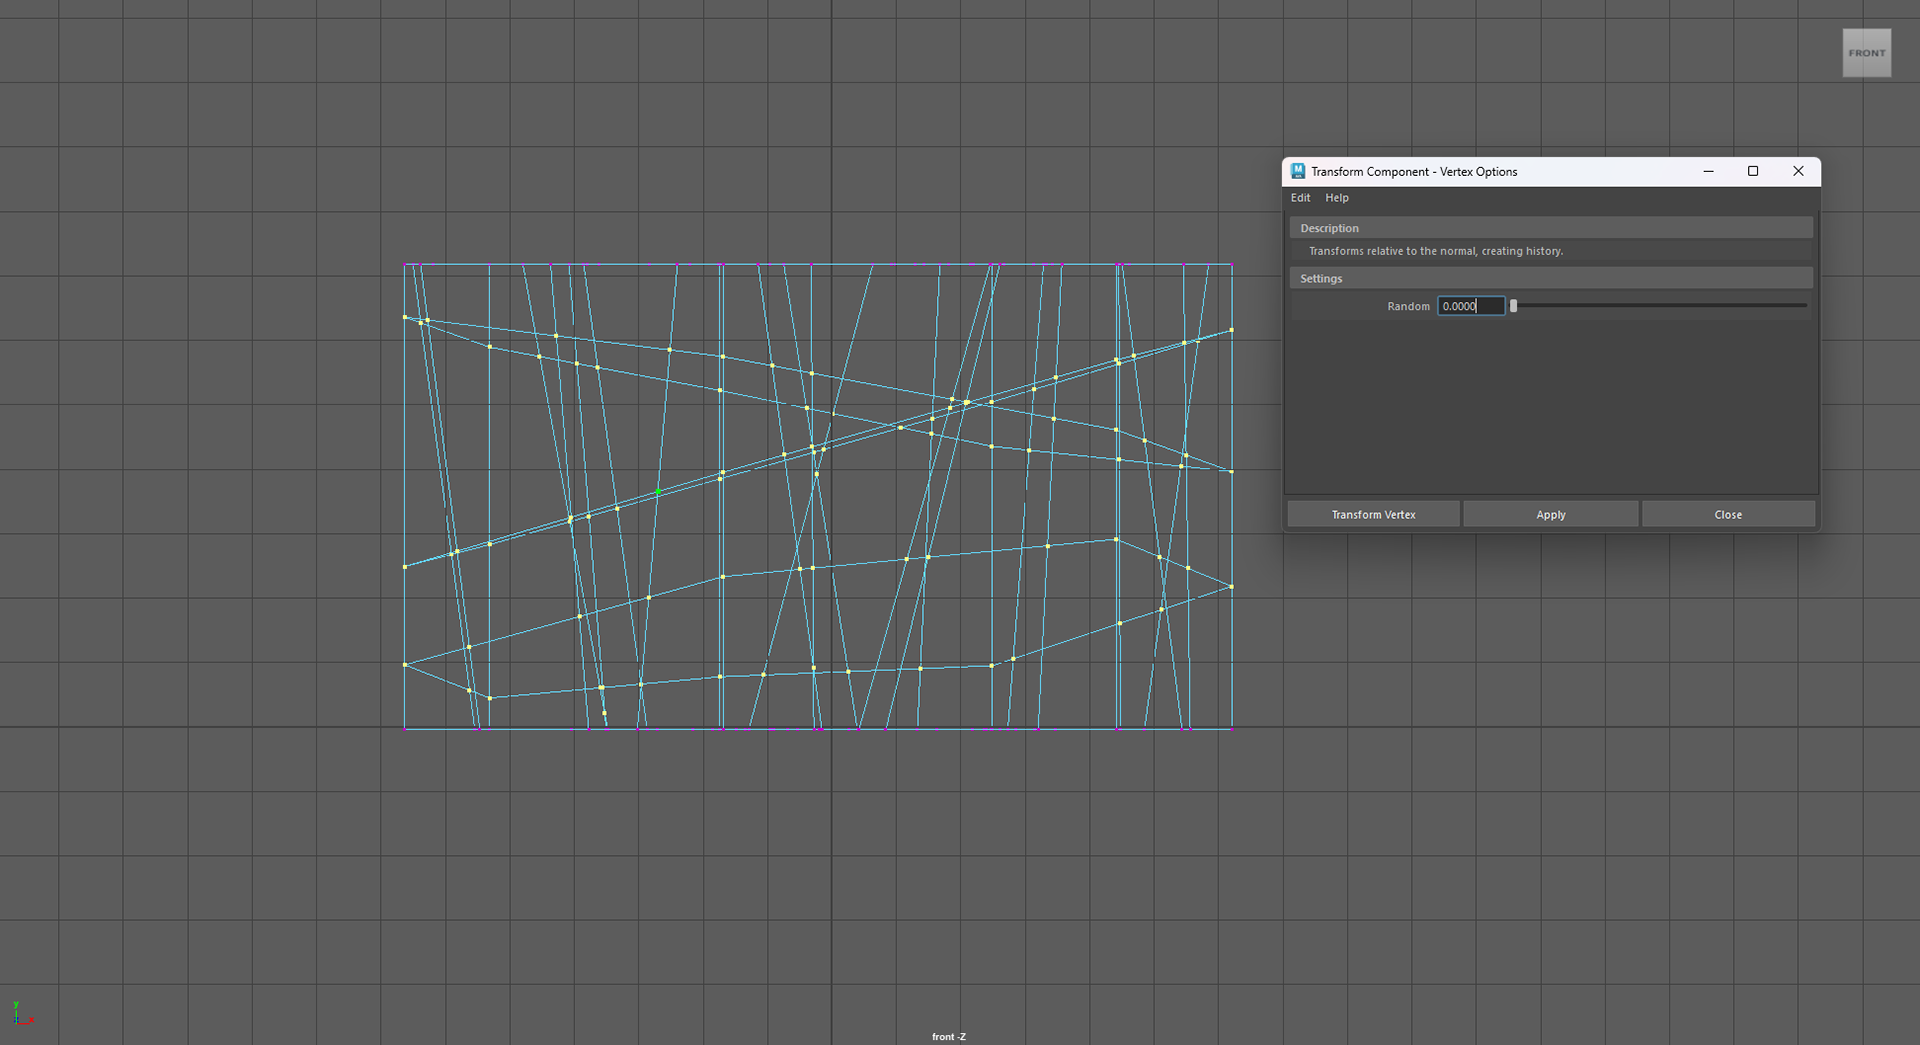
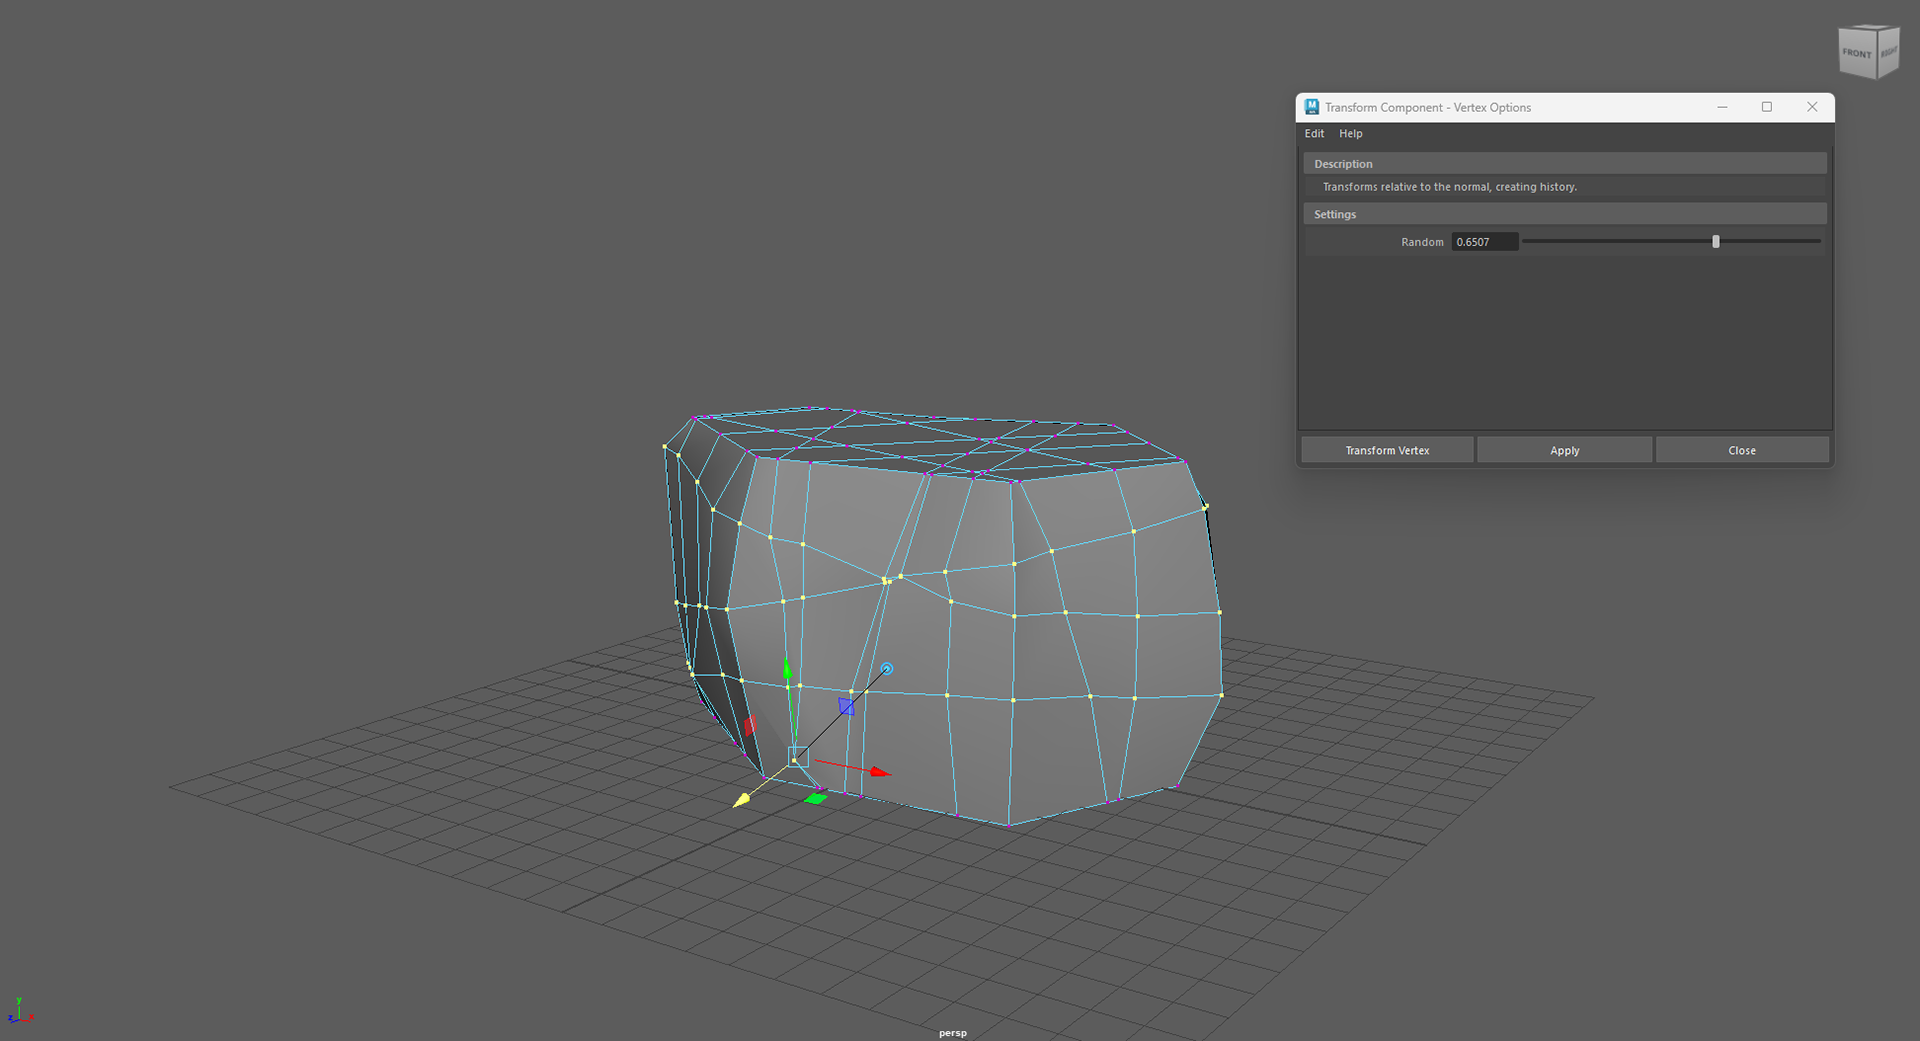
Using the side view and wireframe mode, I selected the centre vertexes, leaving out the top and bottom. By doing this, I was able to transform these components and, in a way, extrude them outwards in order to add that natural rocky shape.
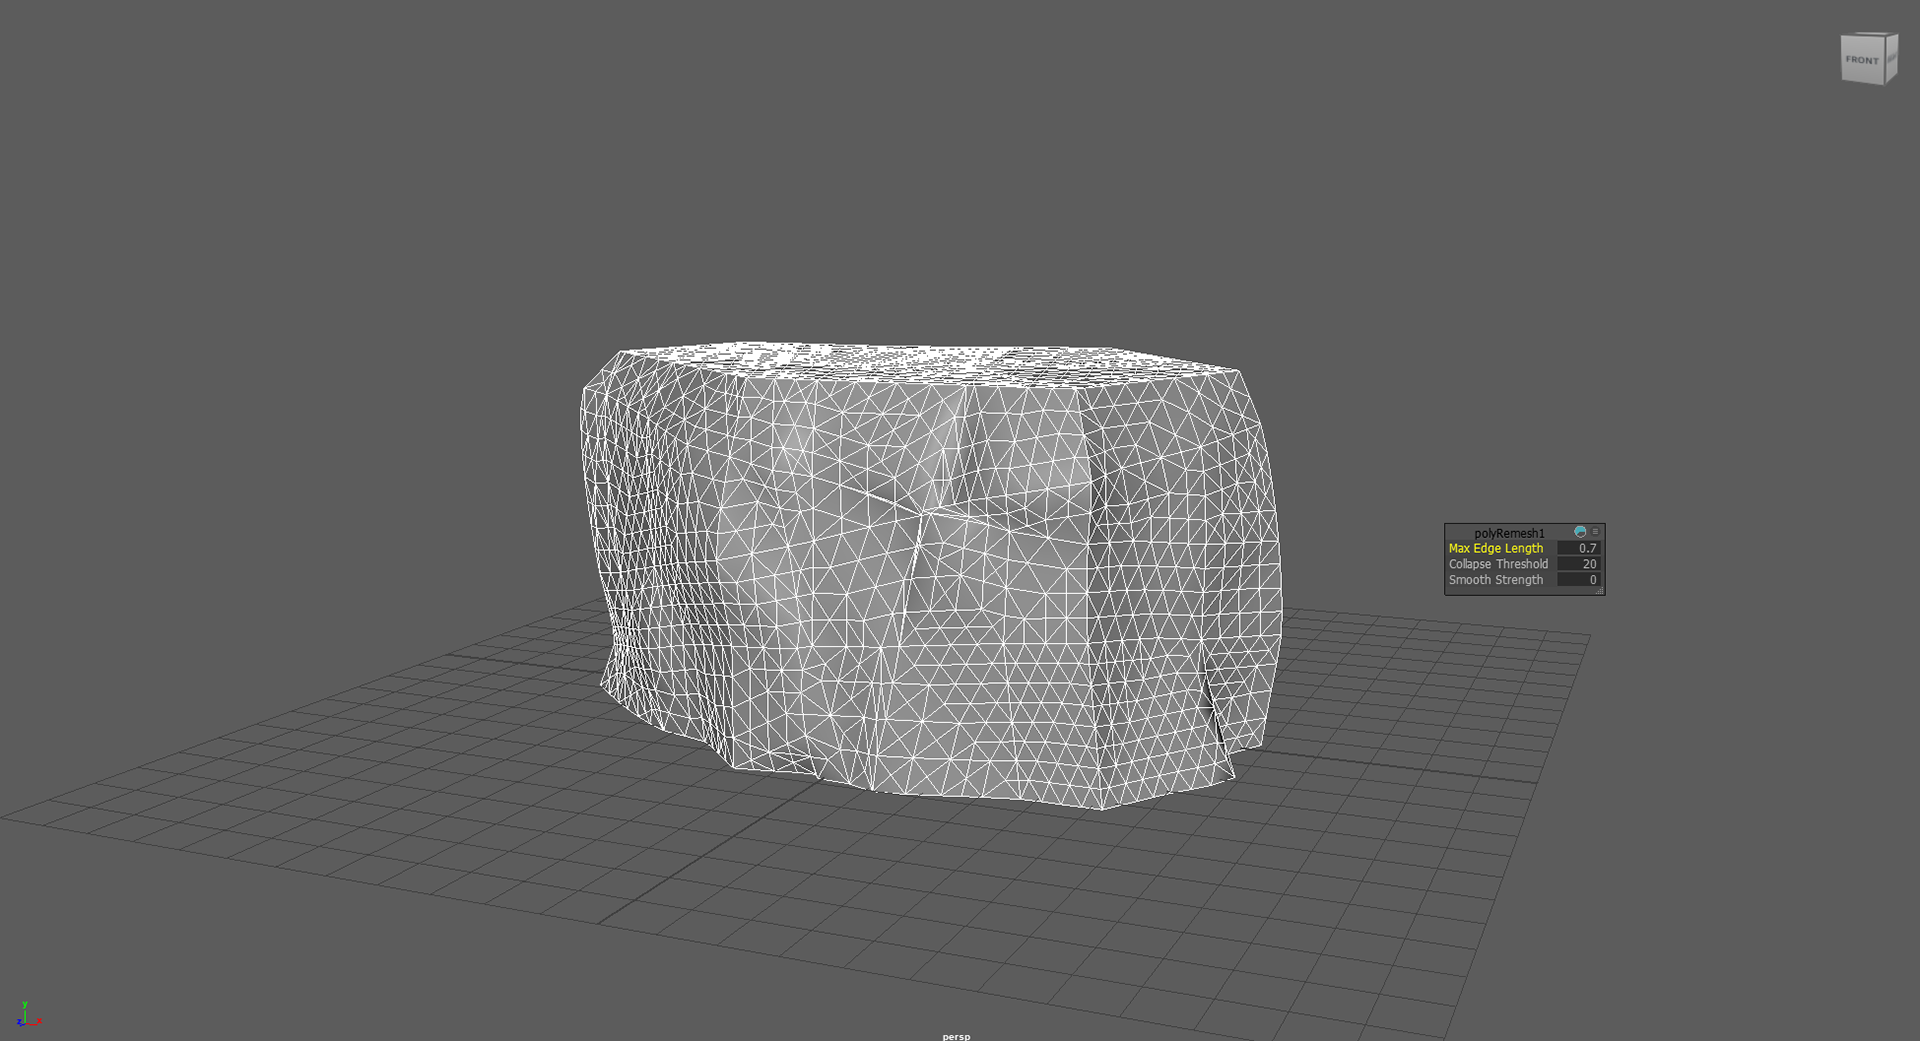
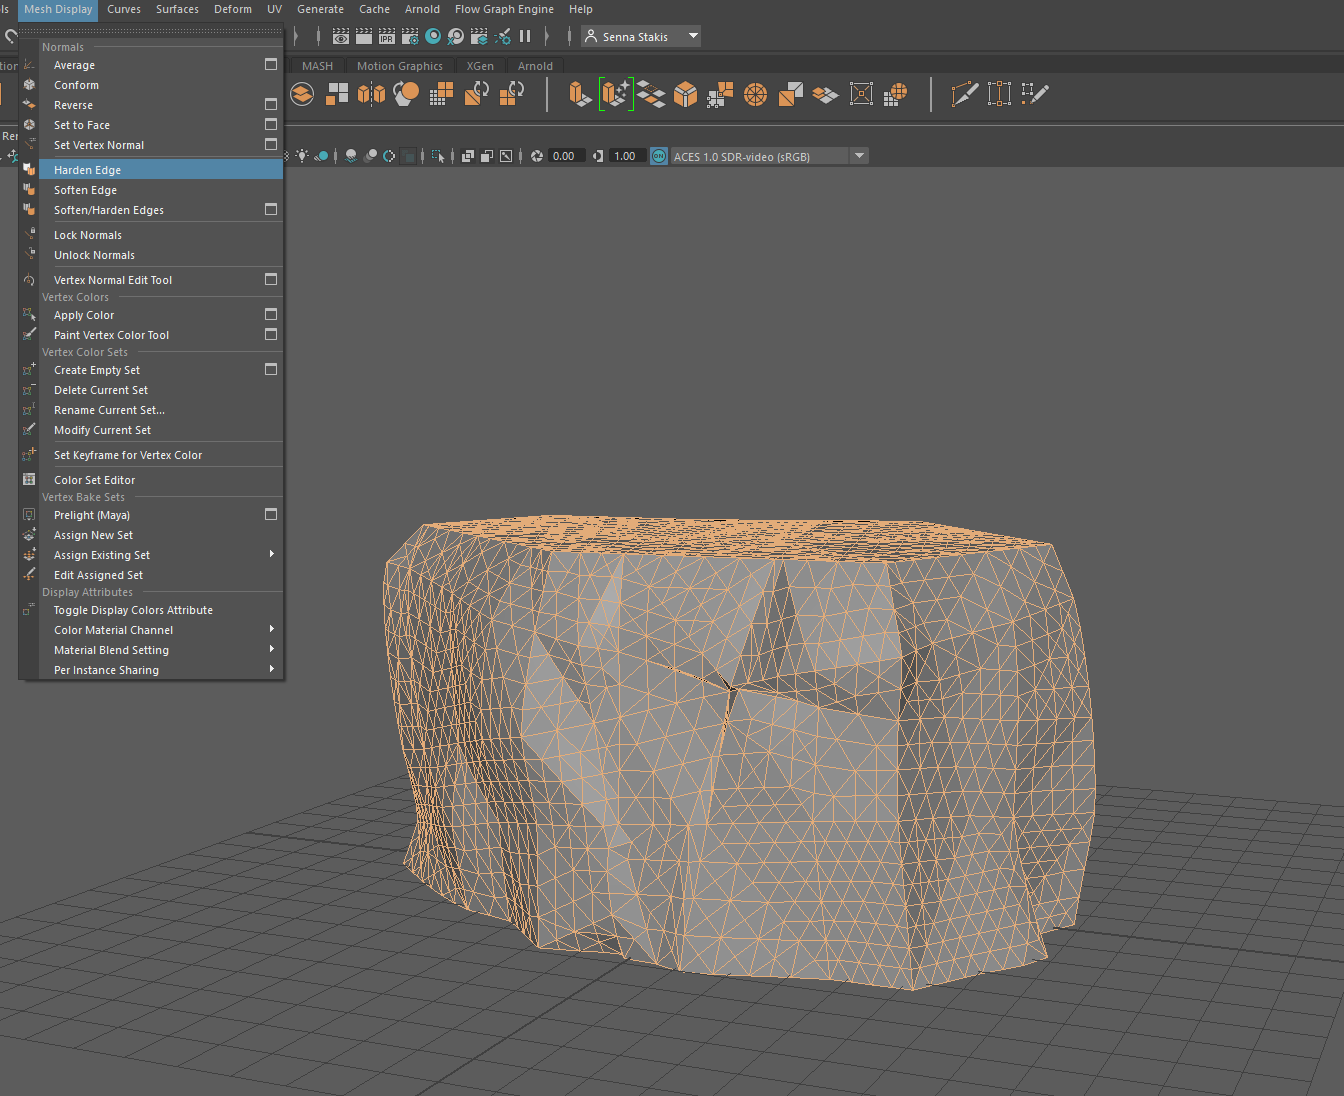
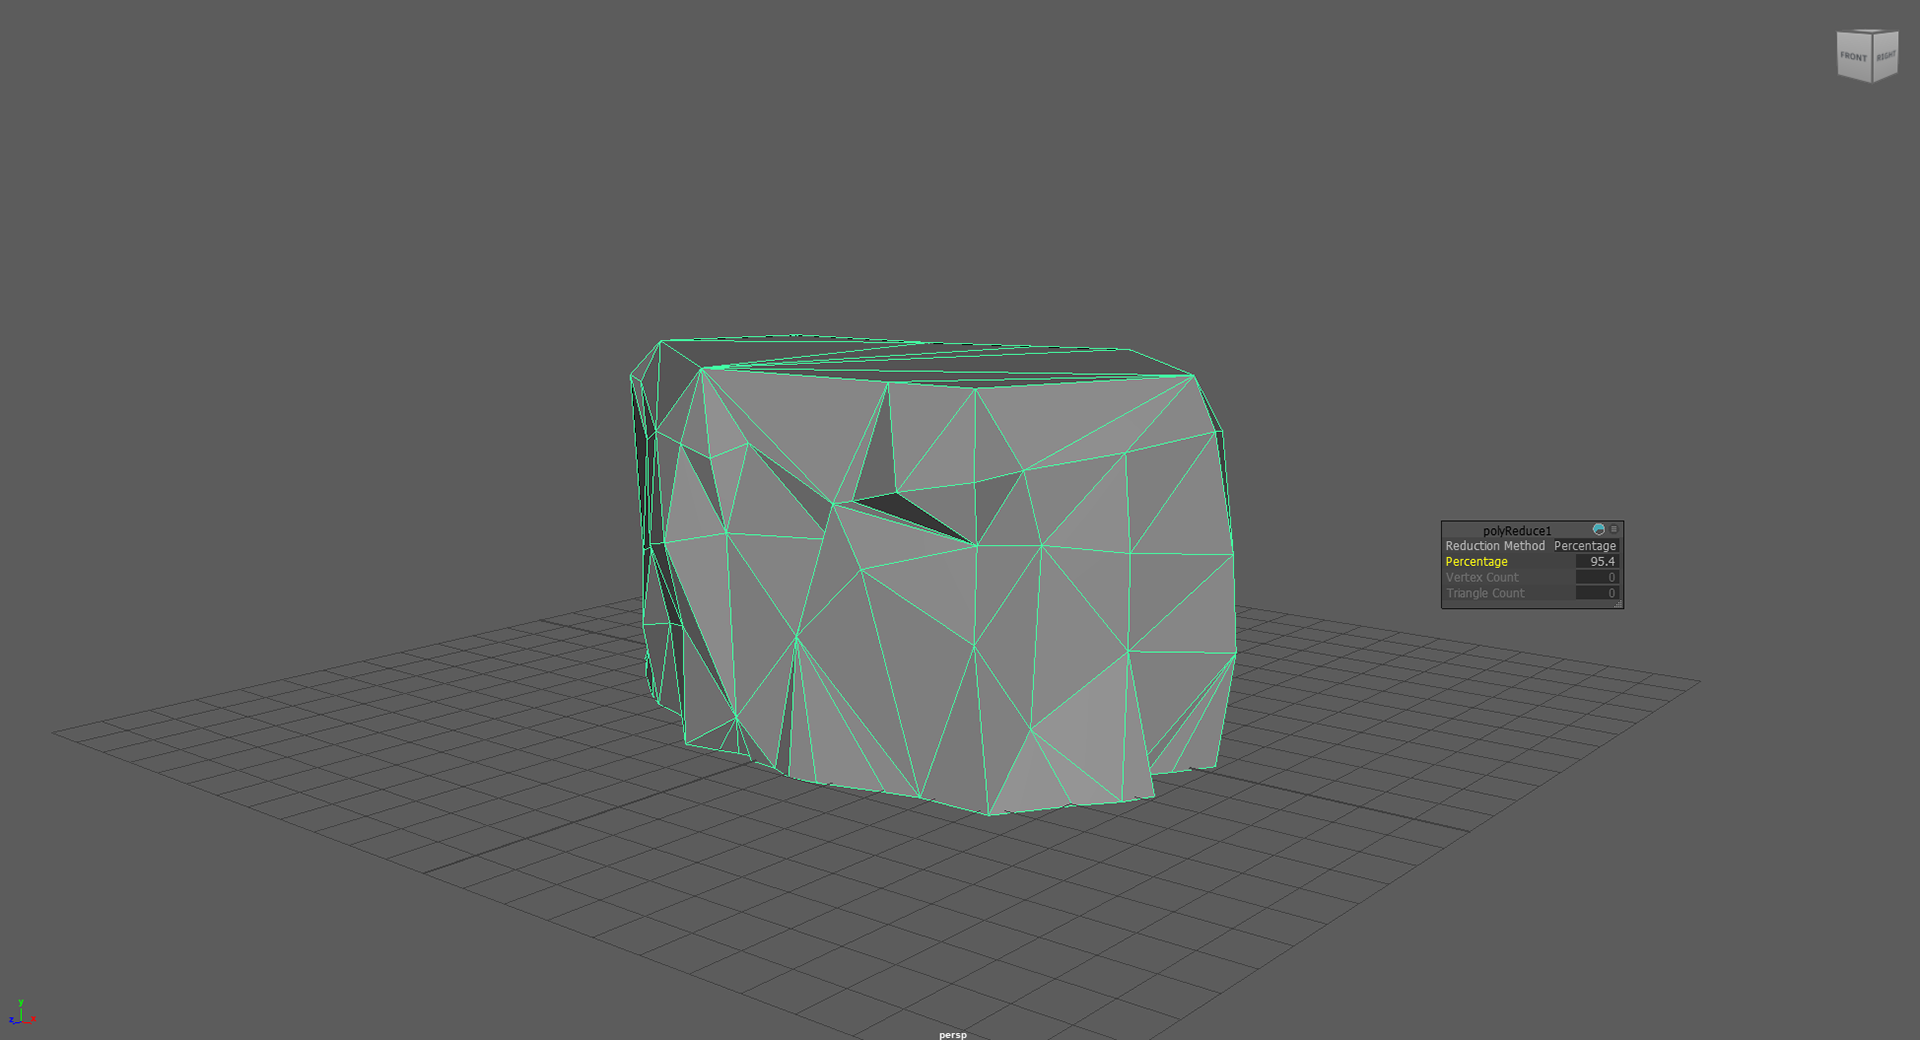
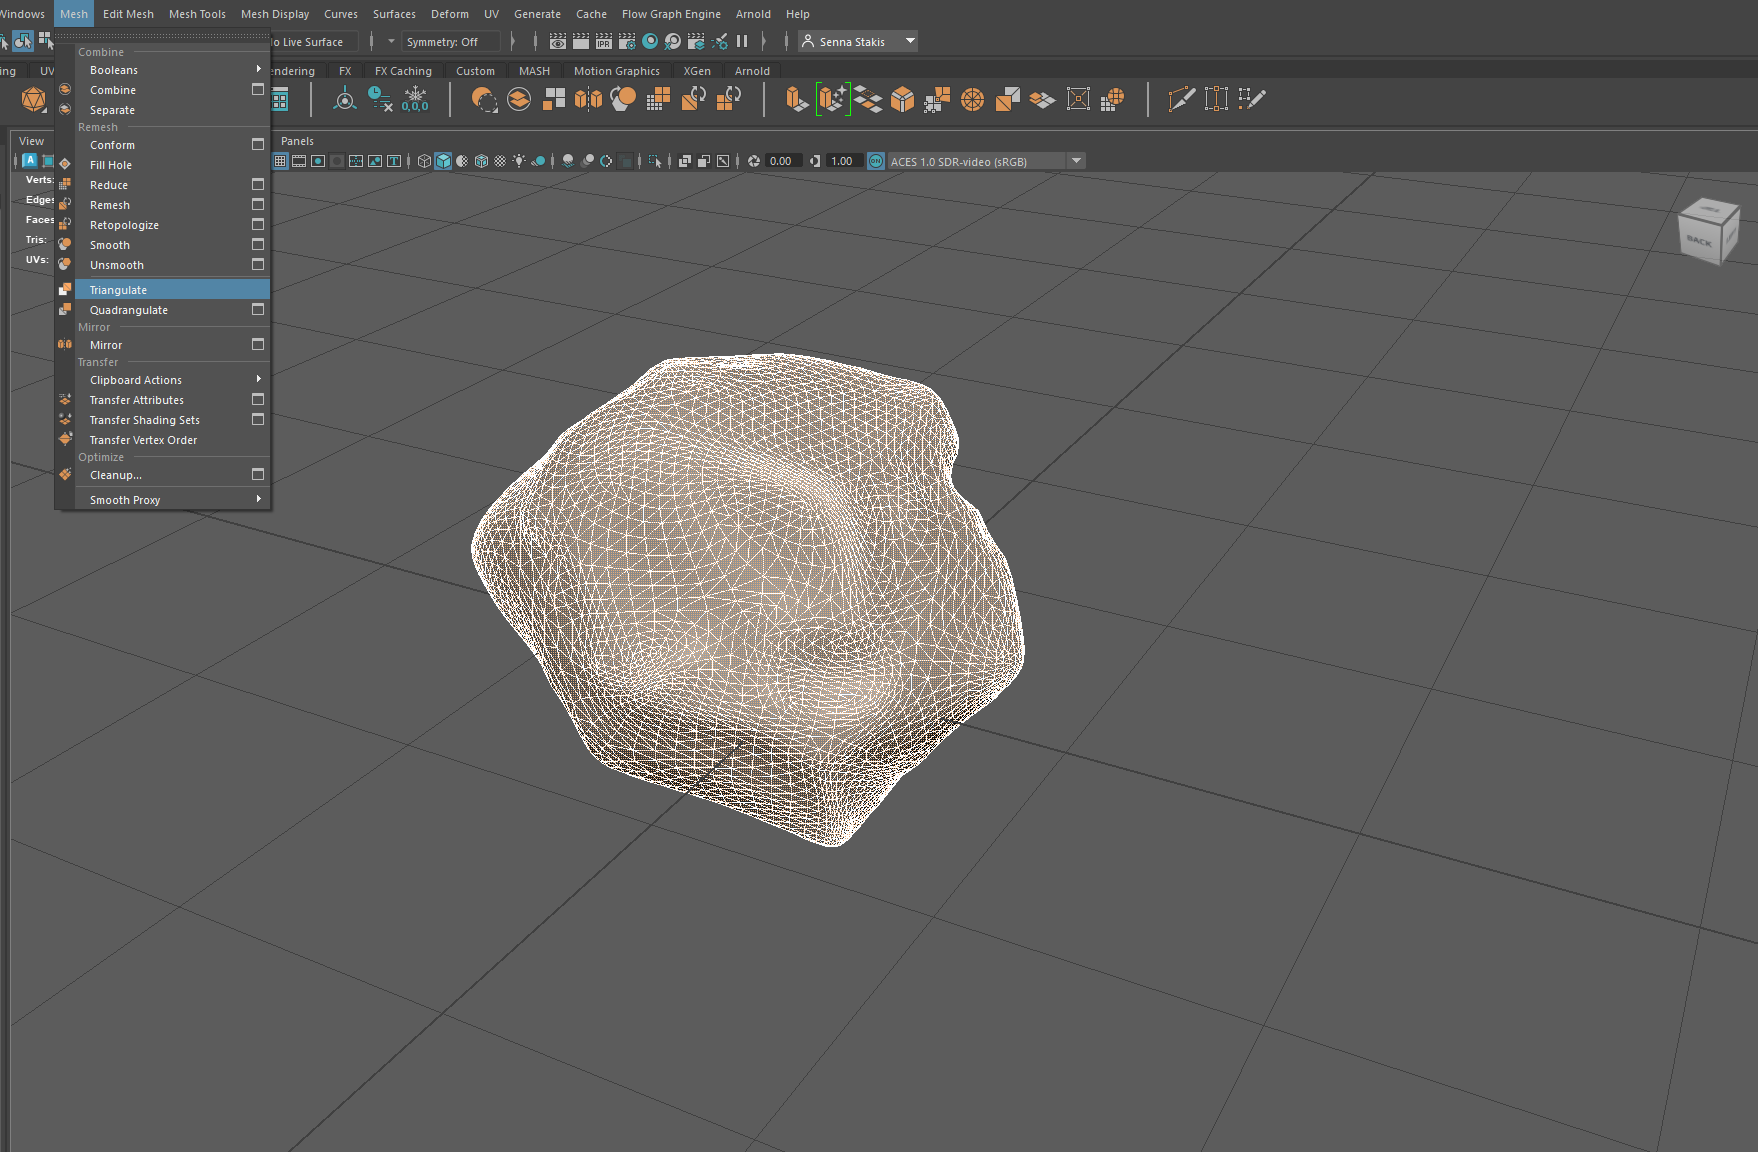
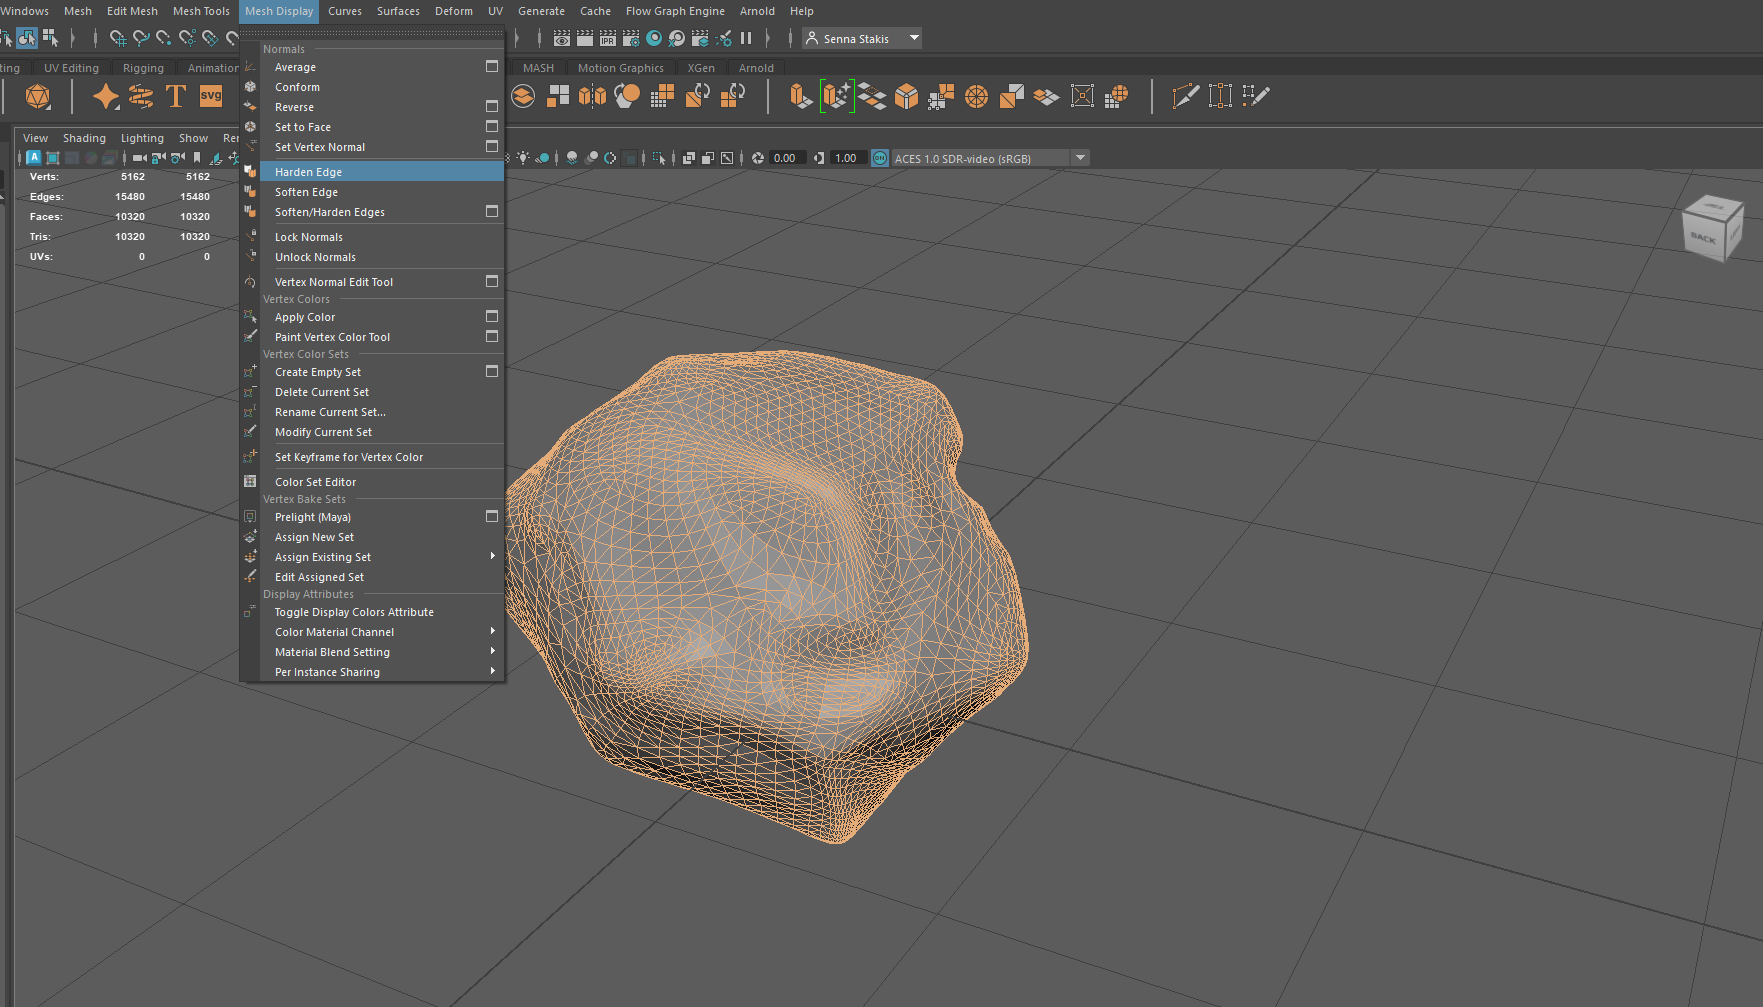
Approaching the final parts of the process, I re-meshed the asset, hardened the edges and in the third photo you will see the results of that.
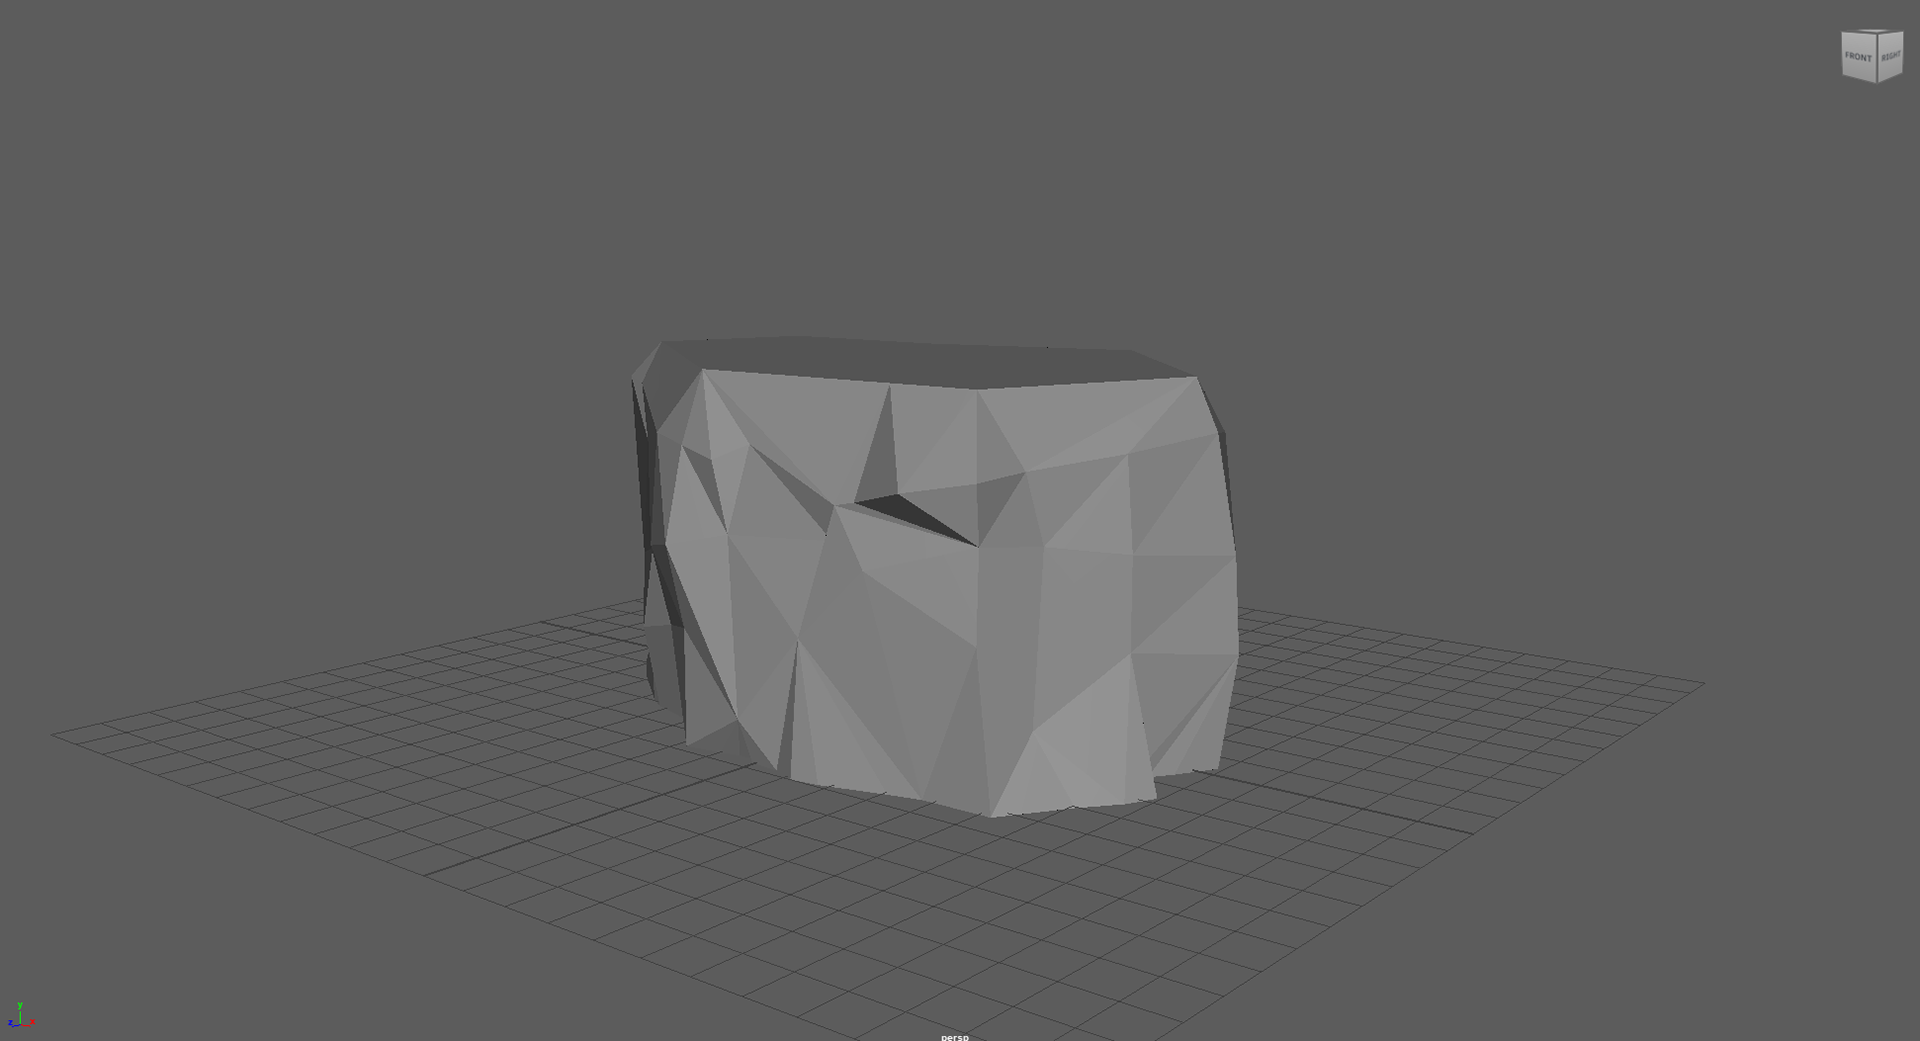
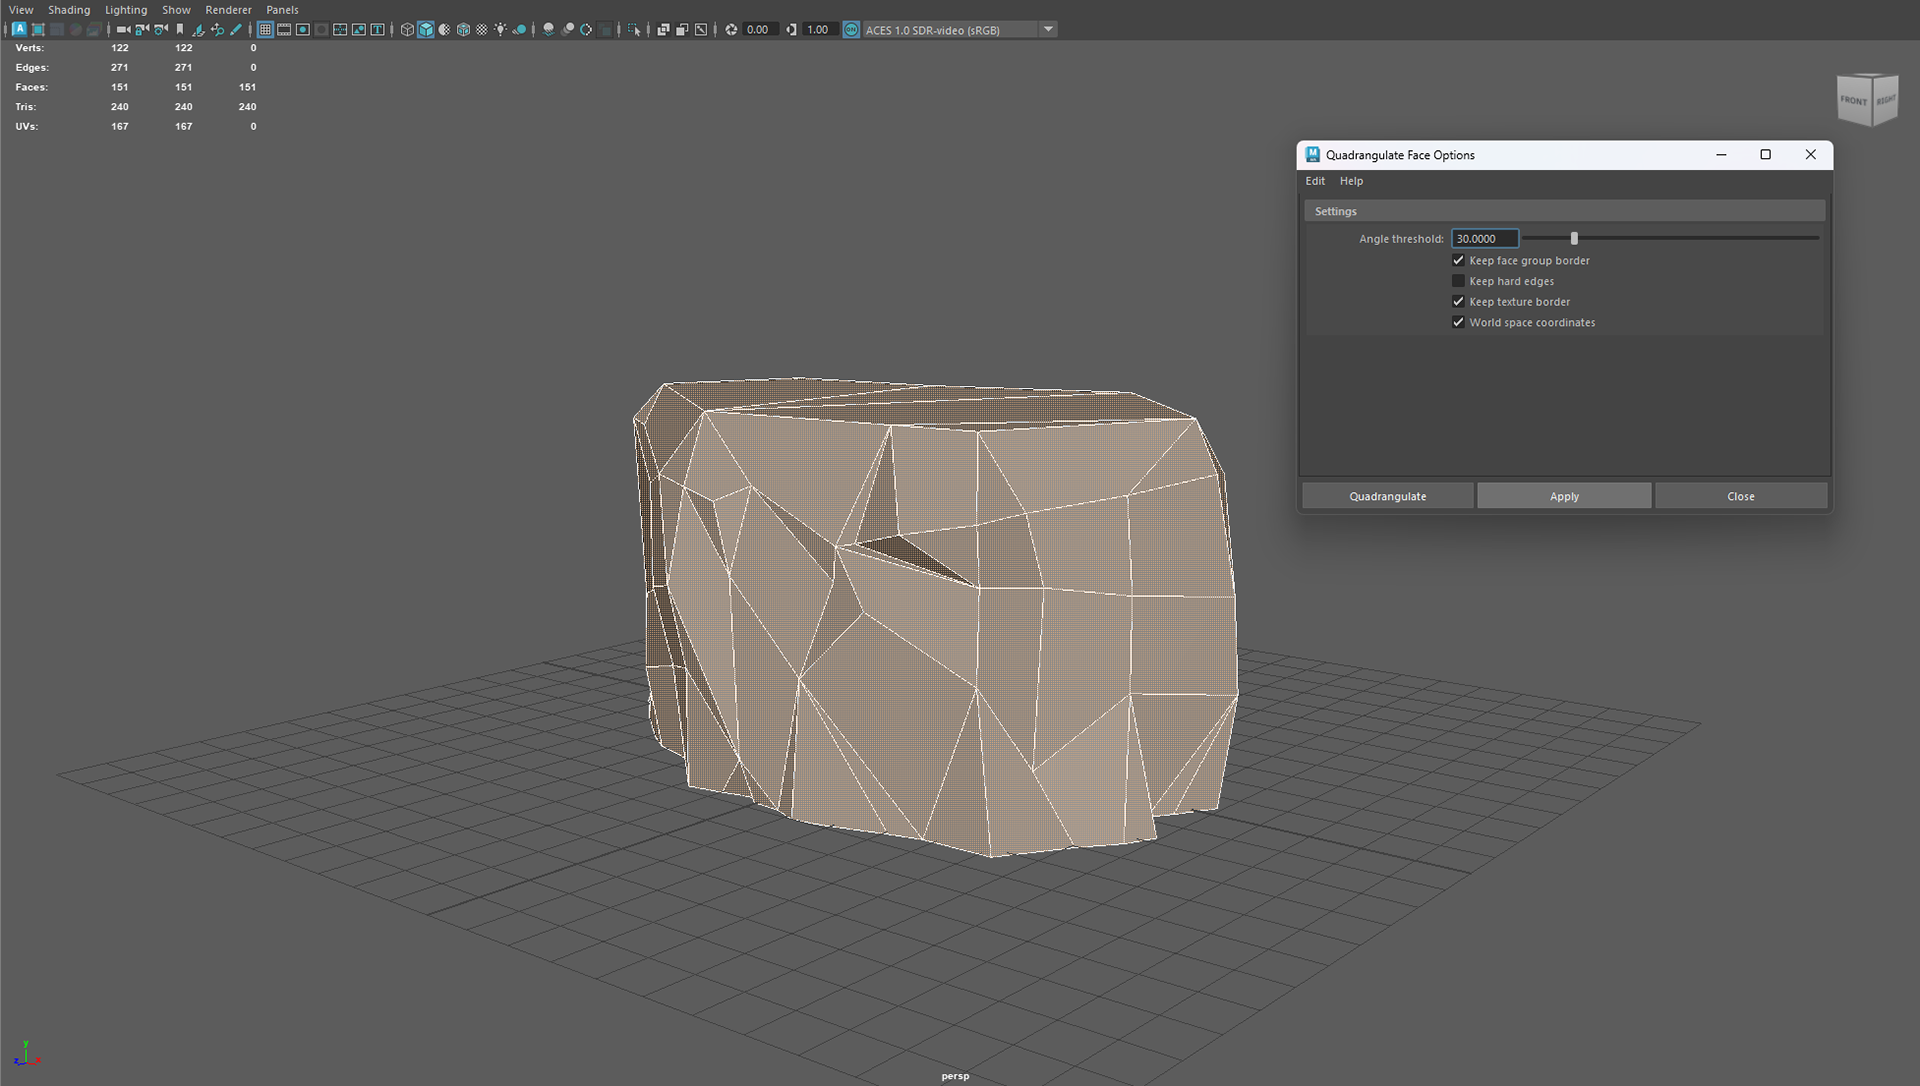
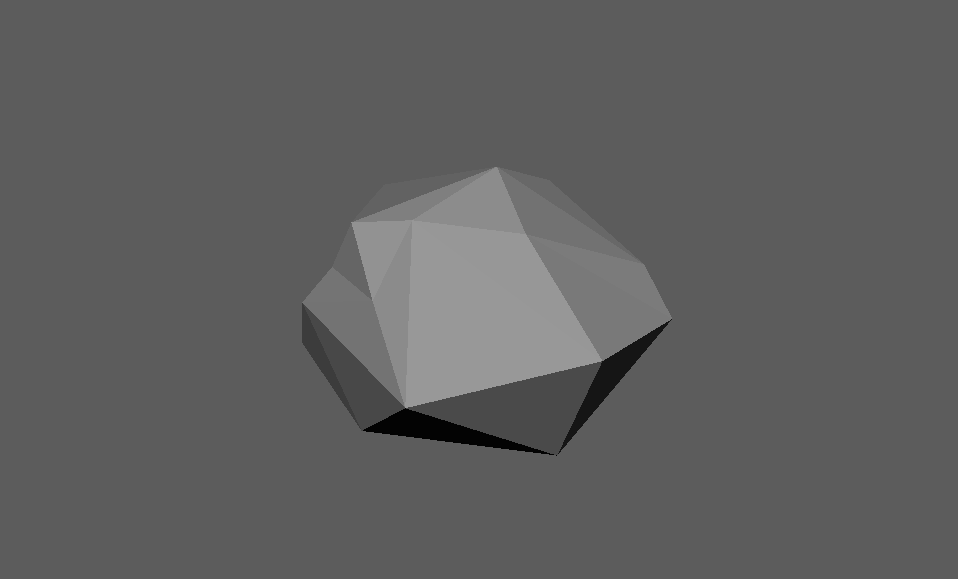
Lastly, to wrap up the asset, I reduce the asset in the edit mesh section of Maya and then used the quadrangulate tool to give it a more low poly look.
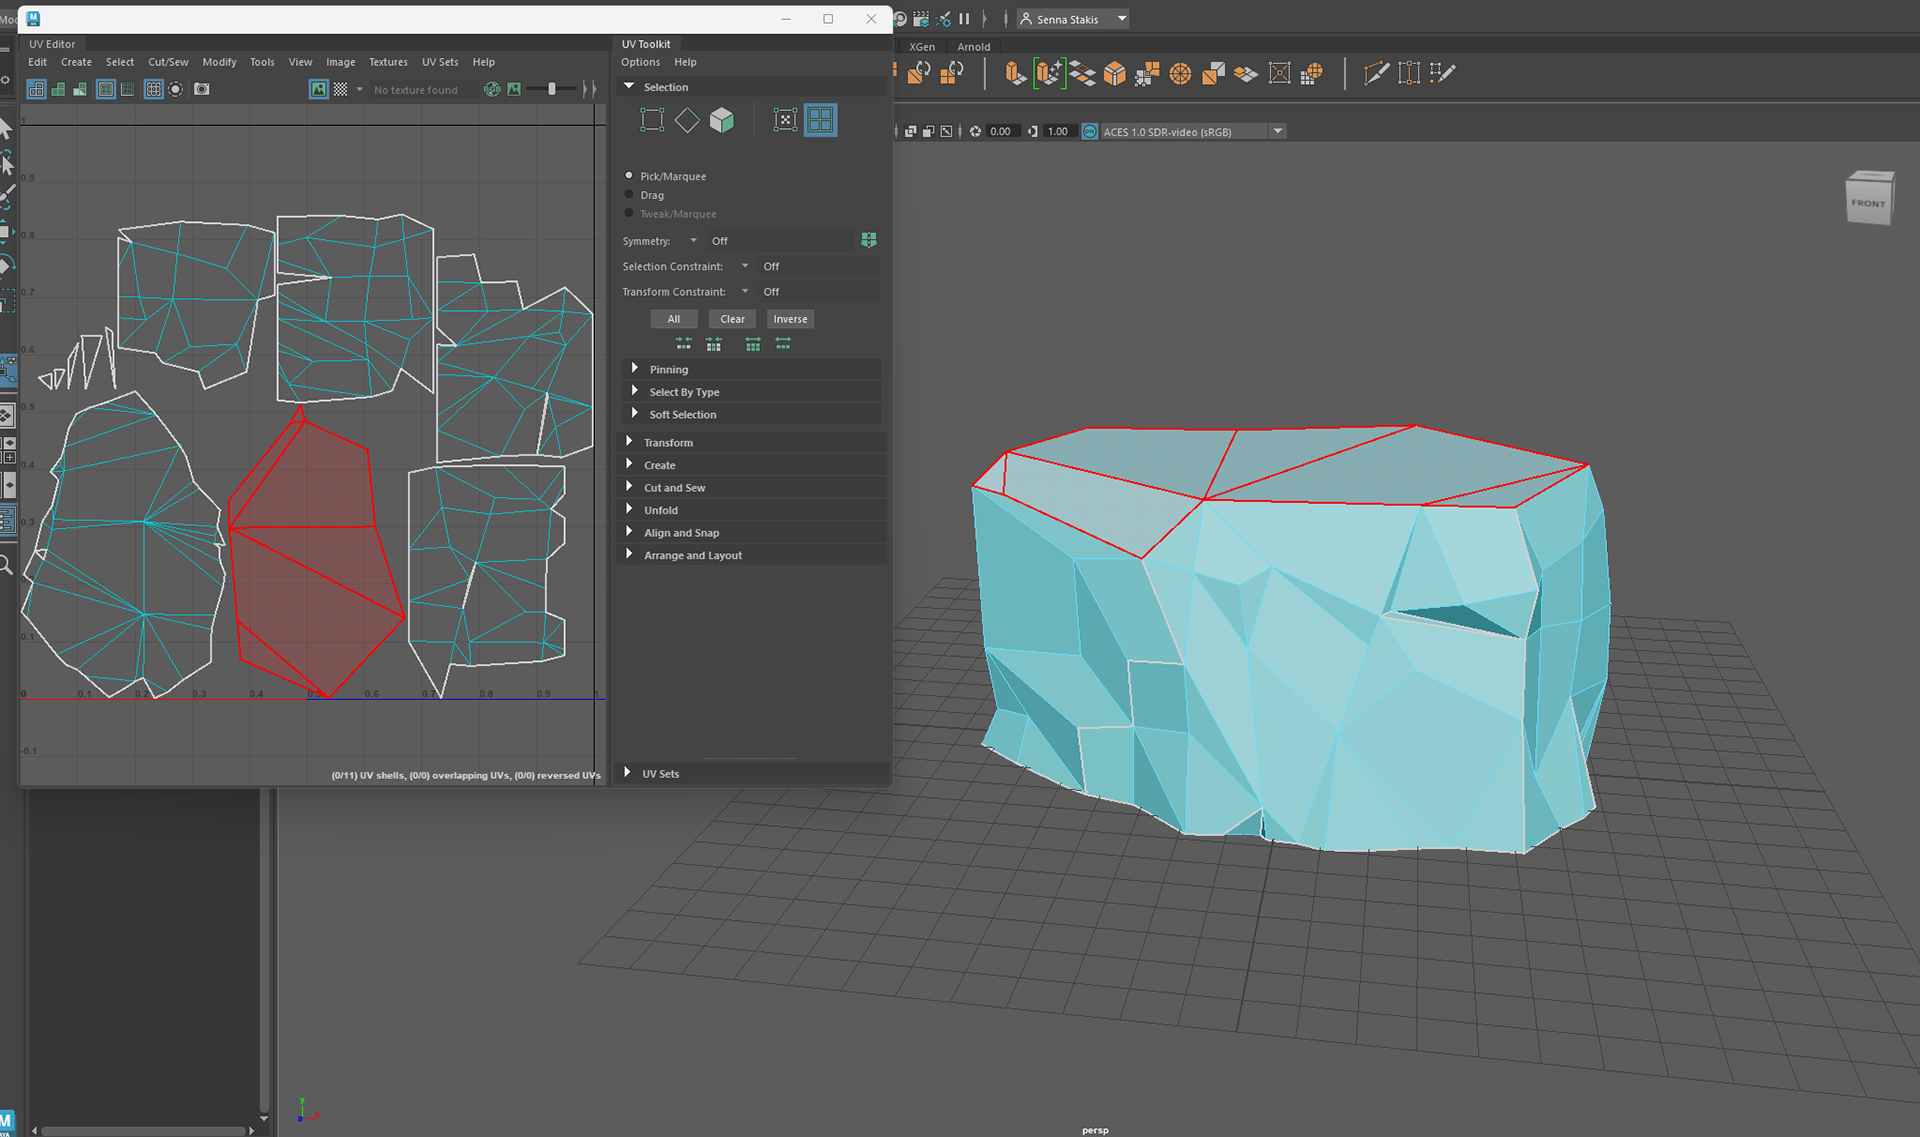
Last photo is a basic textured ice cliff with UV Mapping.
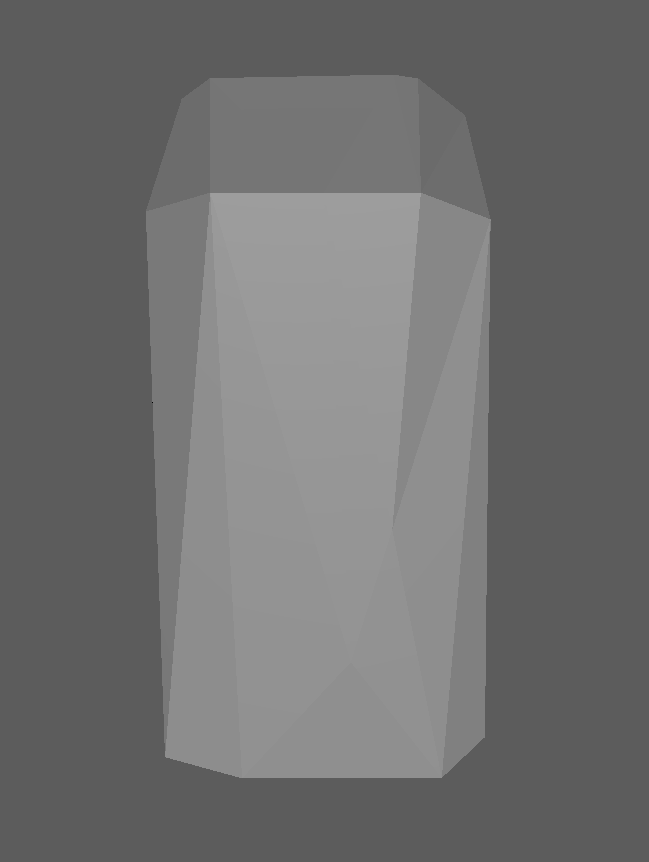
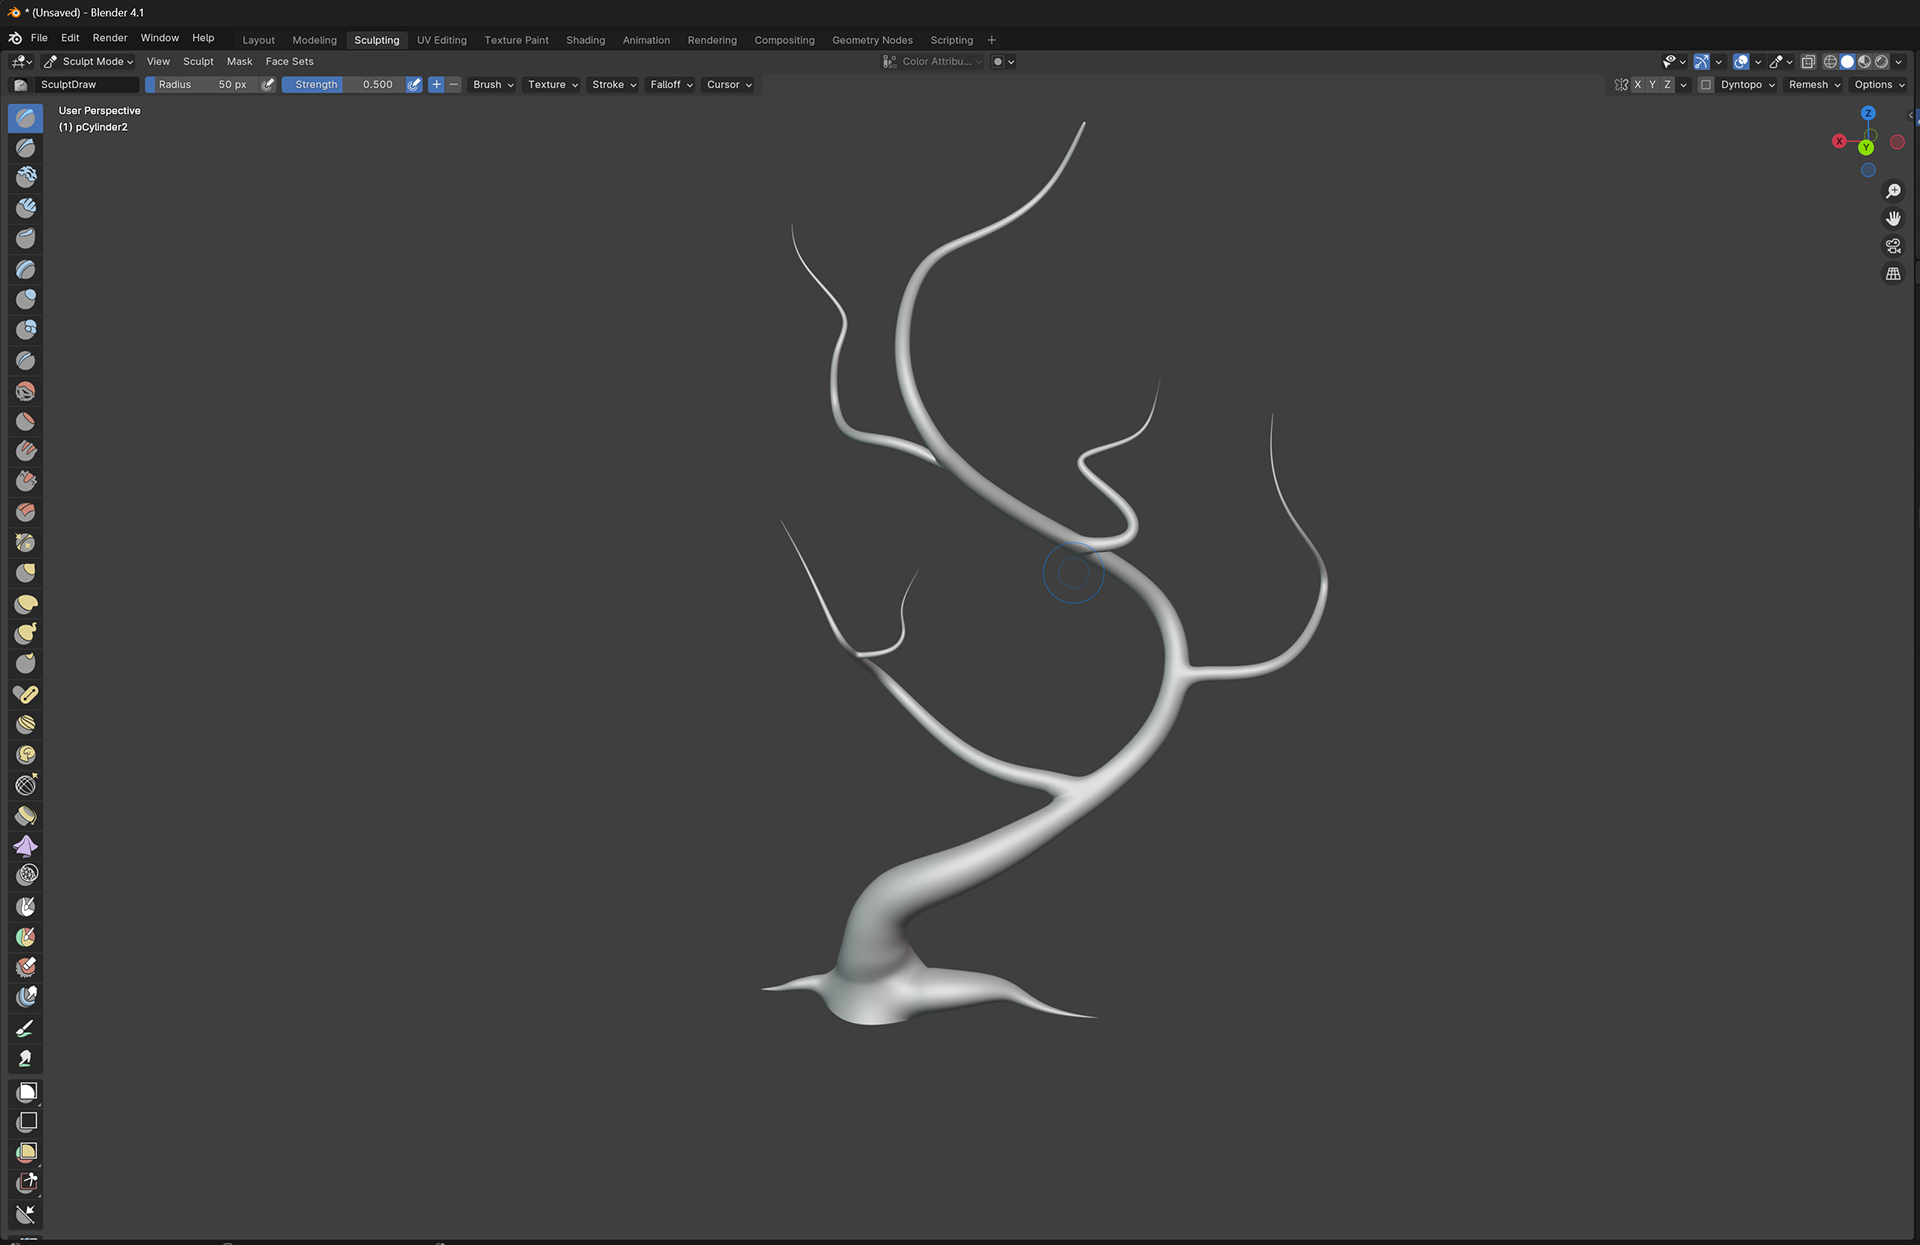
SPRUCE TREE ASSET
Whilst the steps for creating this low poly asset are fairly similar to the ice cliff process, there are some differences and a little bit of sculpting!
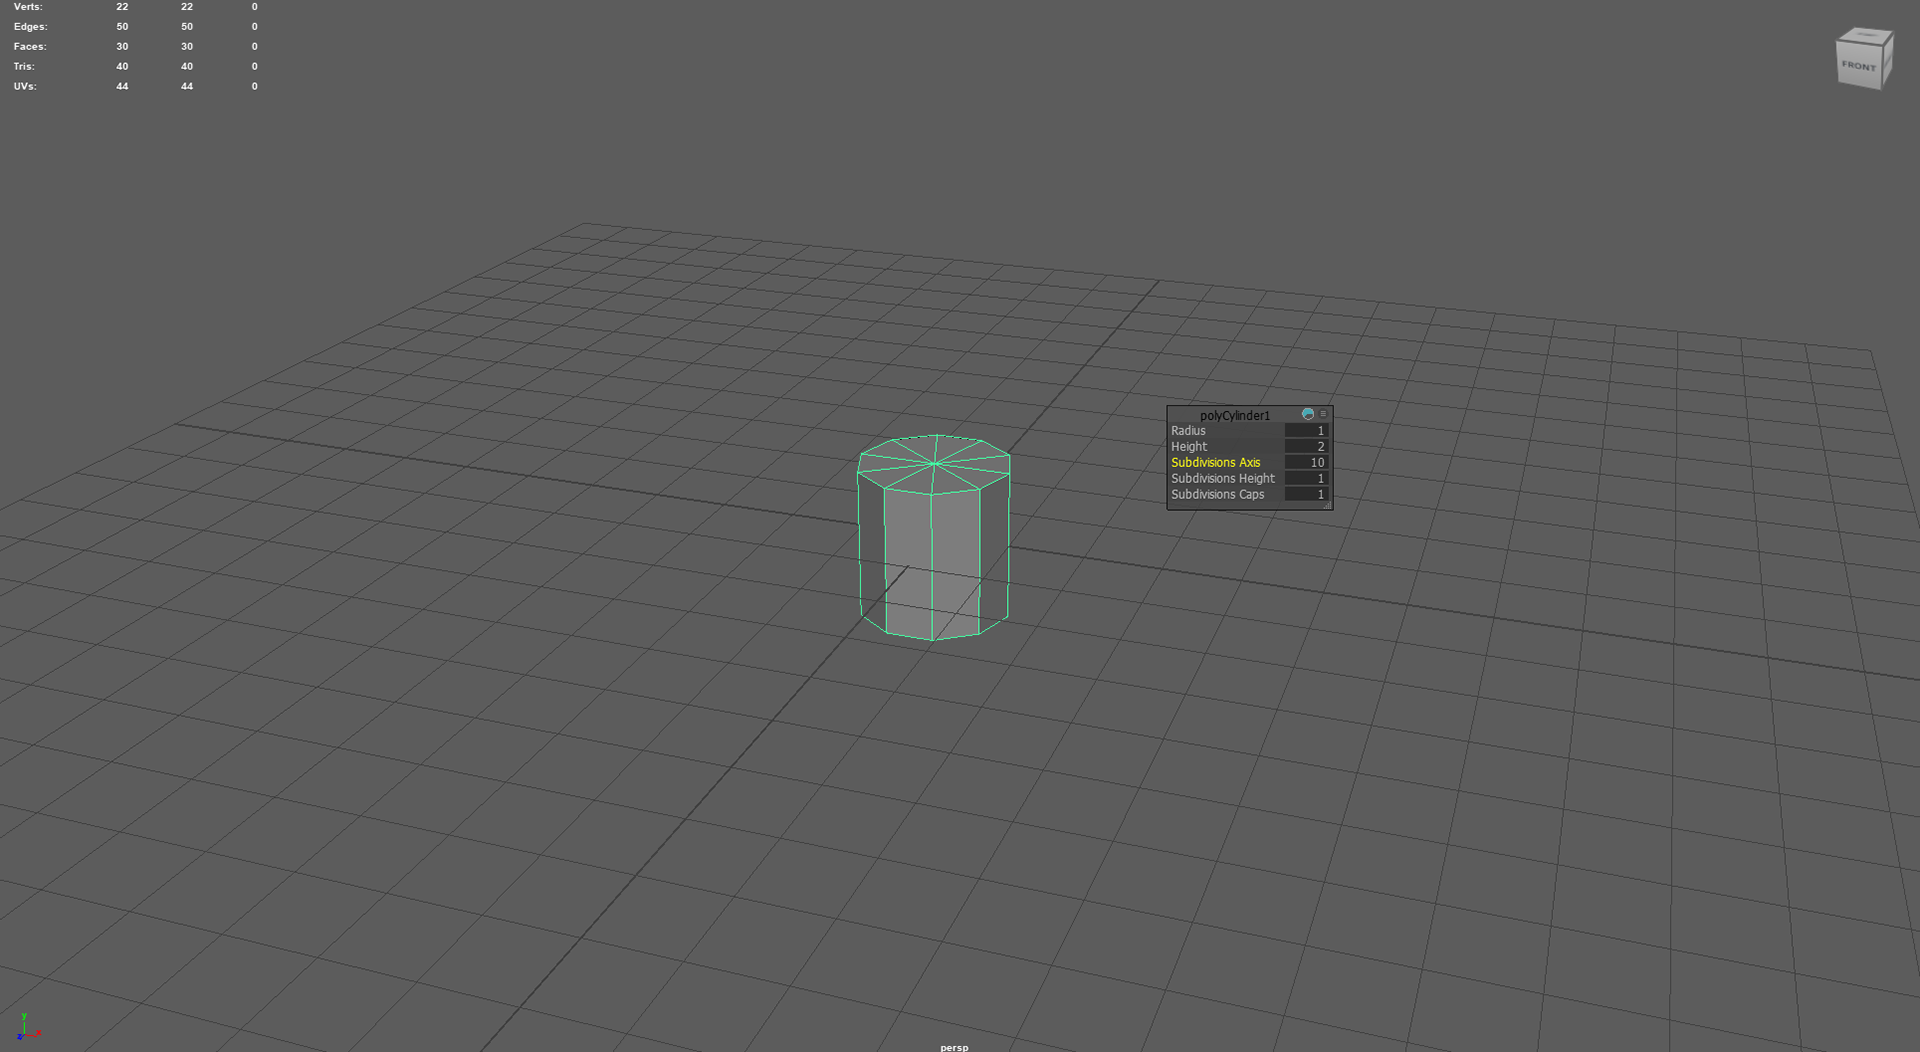
I started with a cylinder and reduced the amount of subdivisions, selected the top face and minimised it, then extruded that face to repeat the same process until reaching the top point where I merged it to centre.
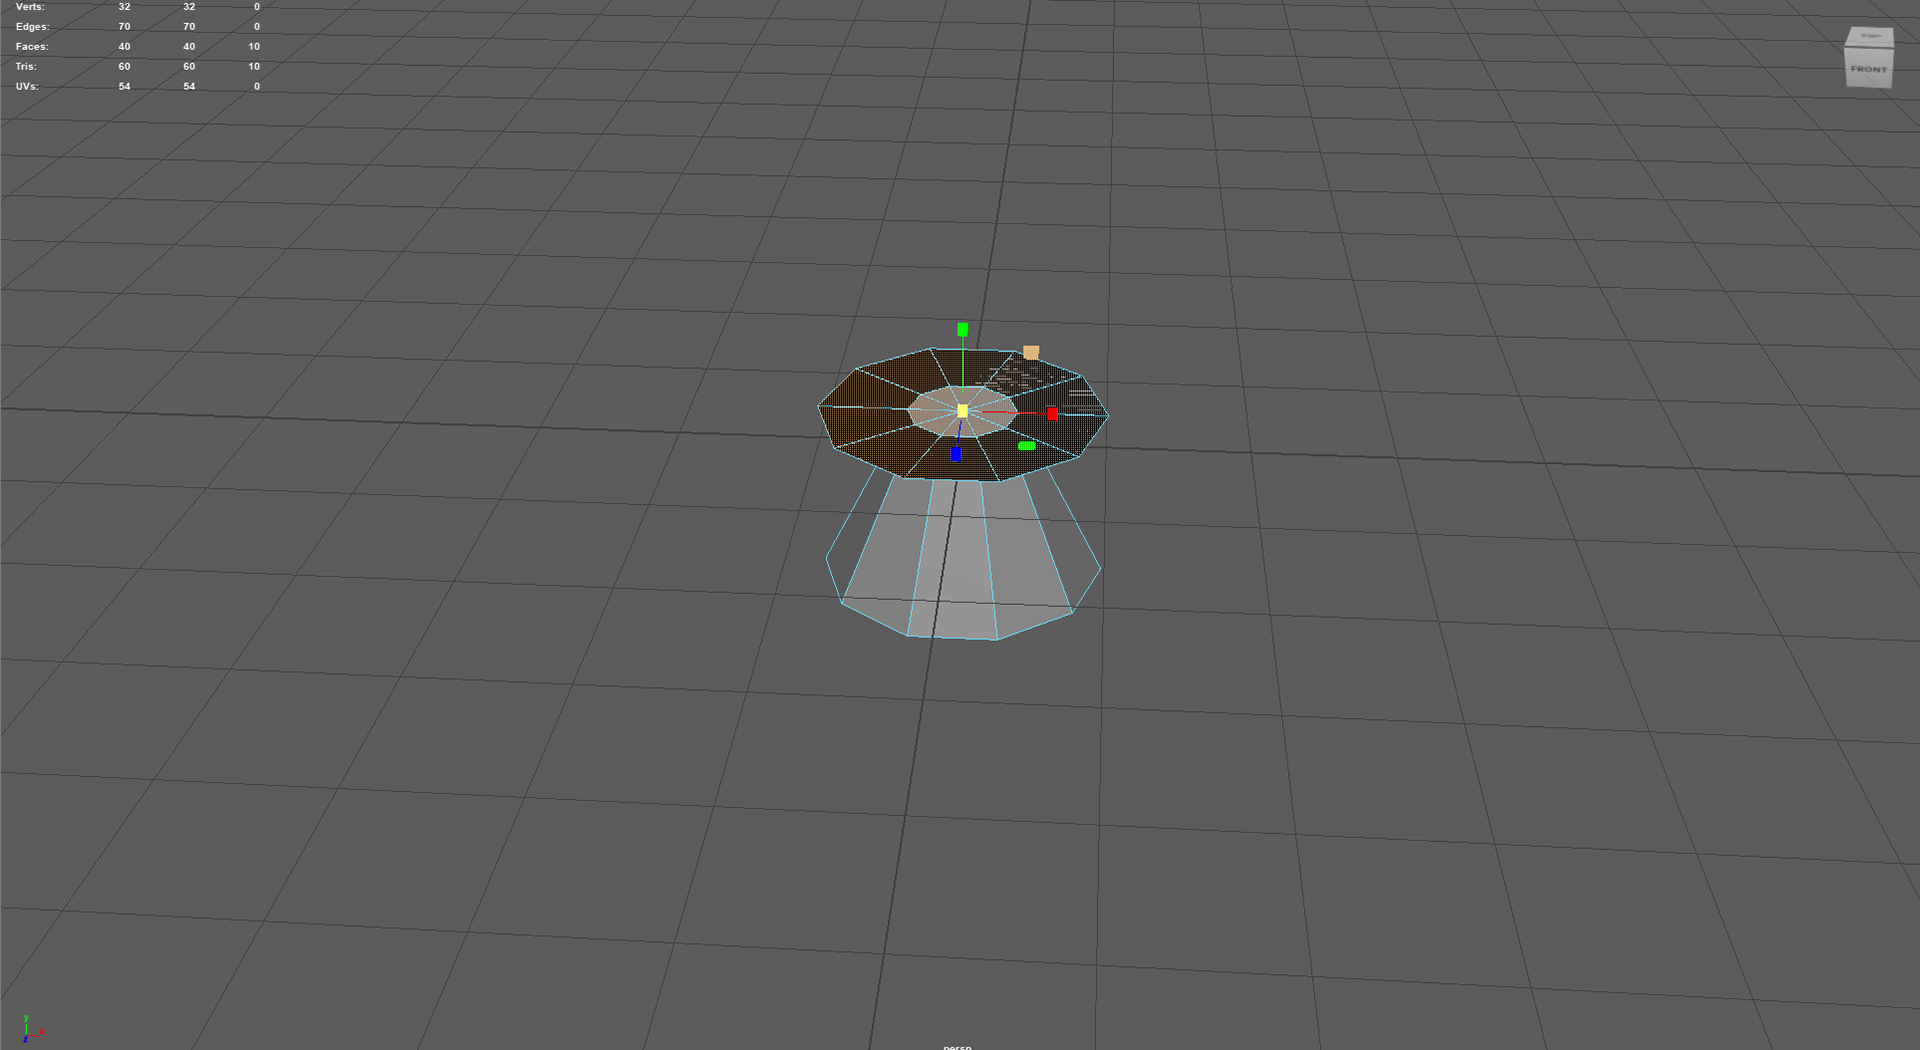
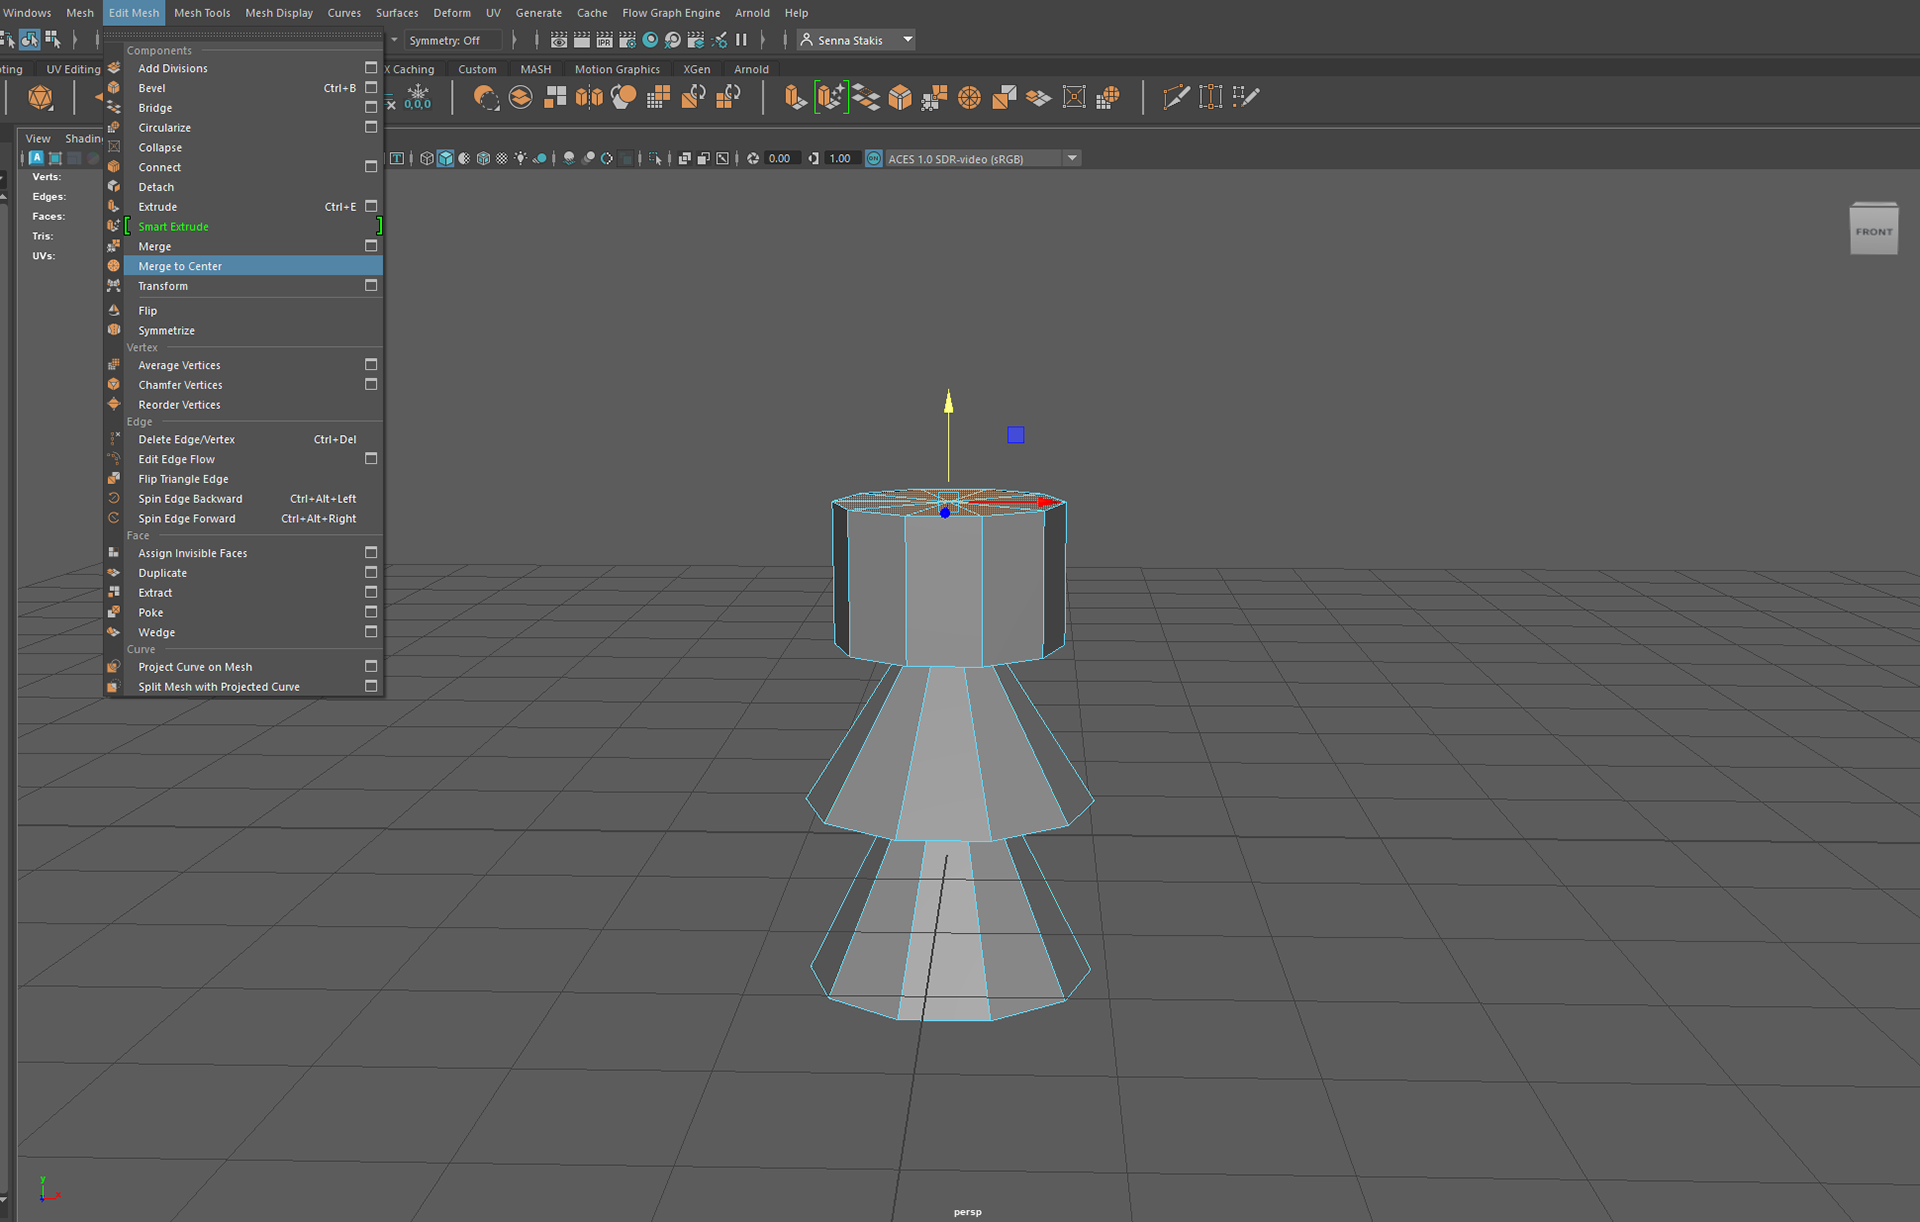
I also created a basic tree stump after this process but the details were so minute I didn't take screenshots, I essentially created the same cylindrical shape with low subdivisions and then extruded the faces and added movement so it didn't feel super straight/stiff
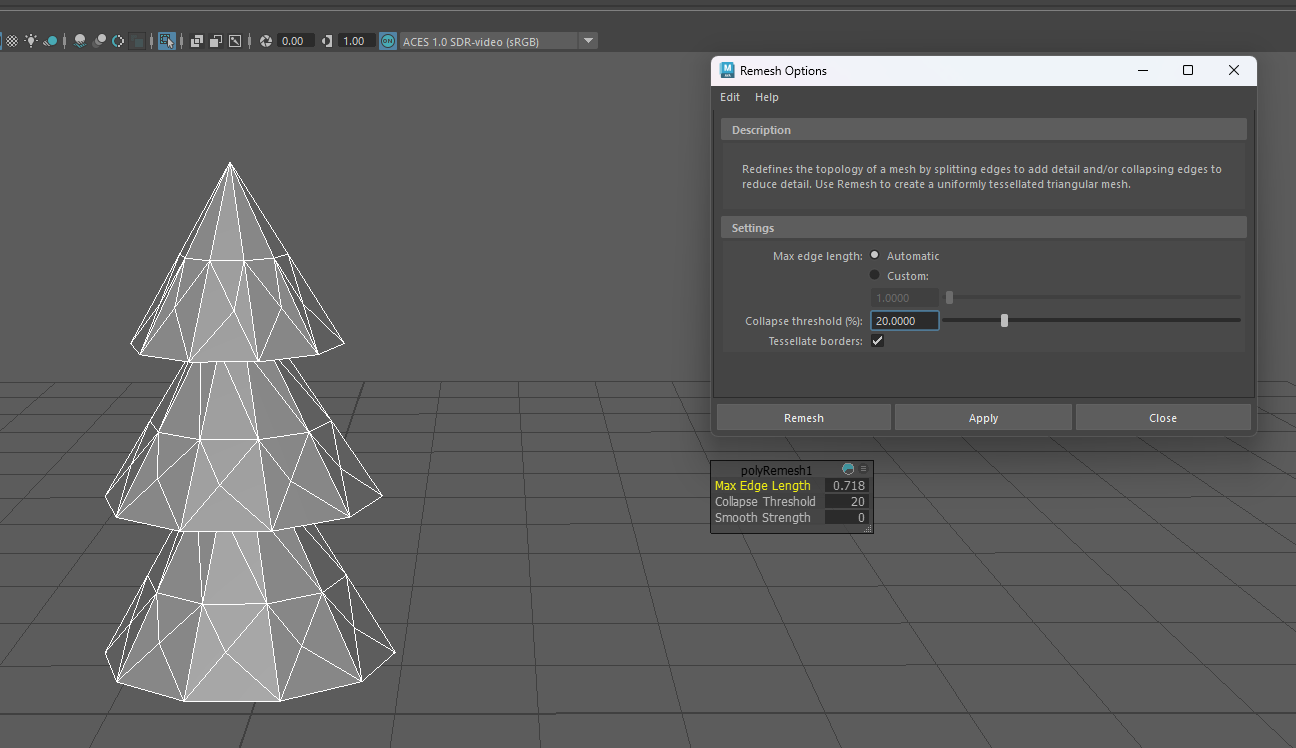
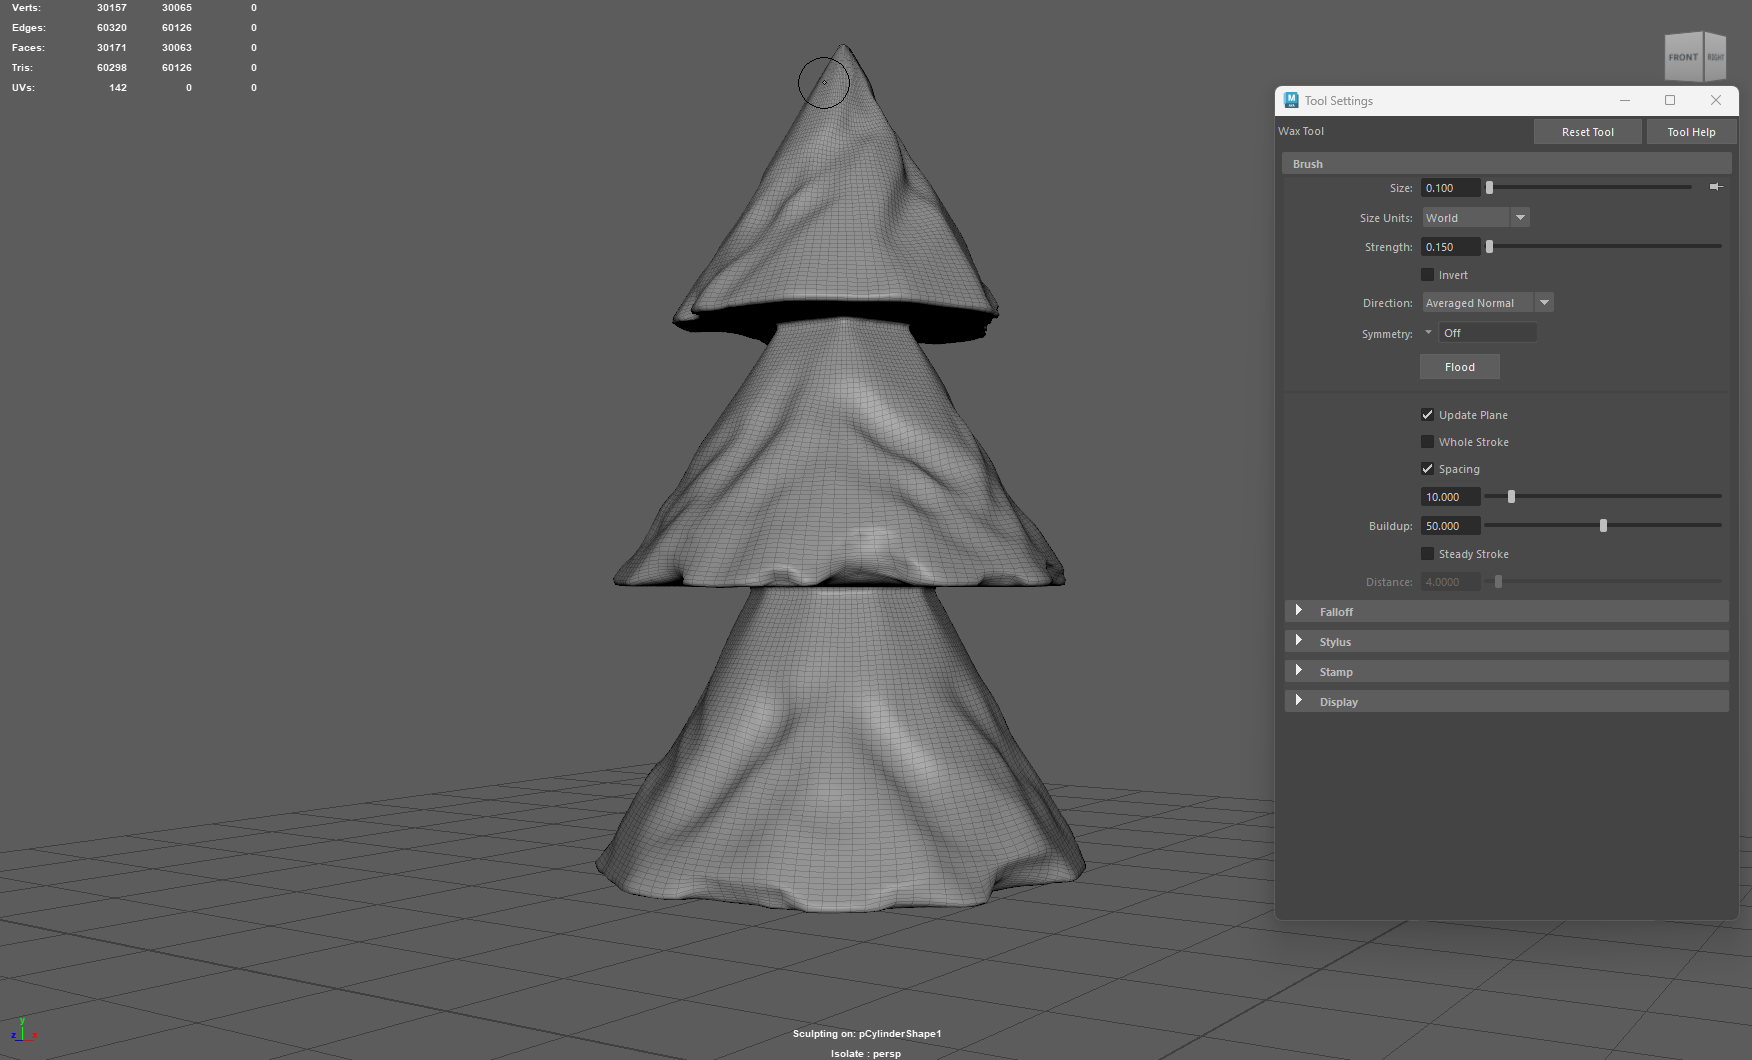
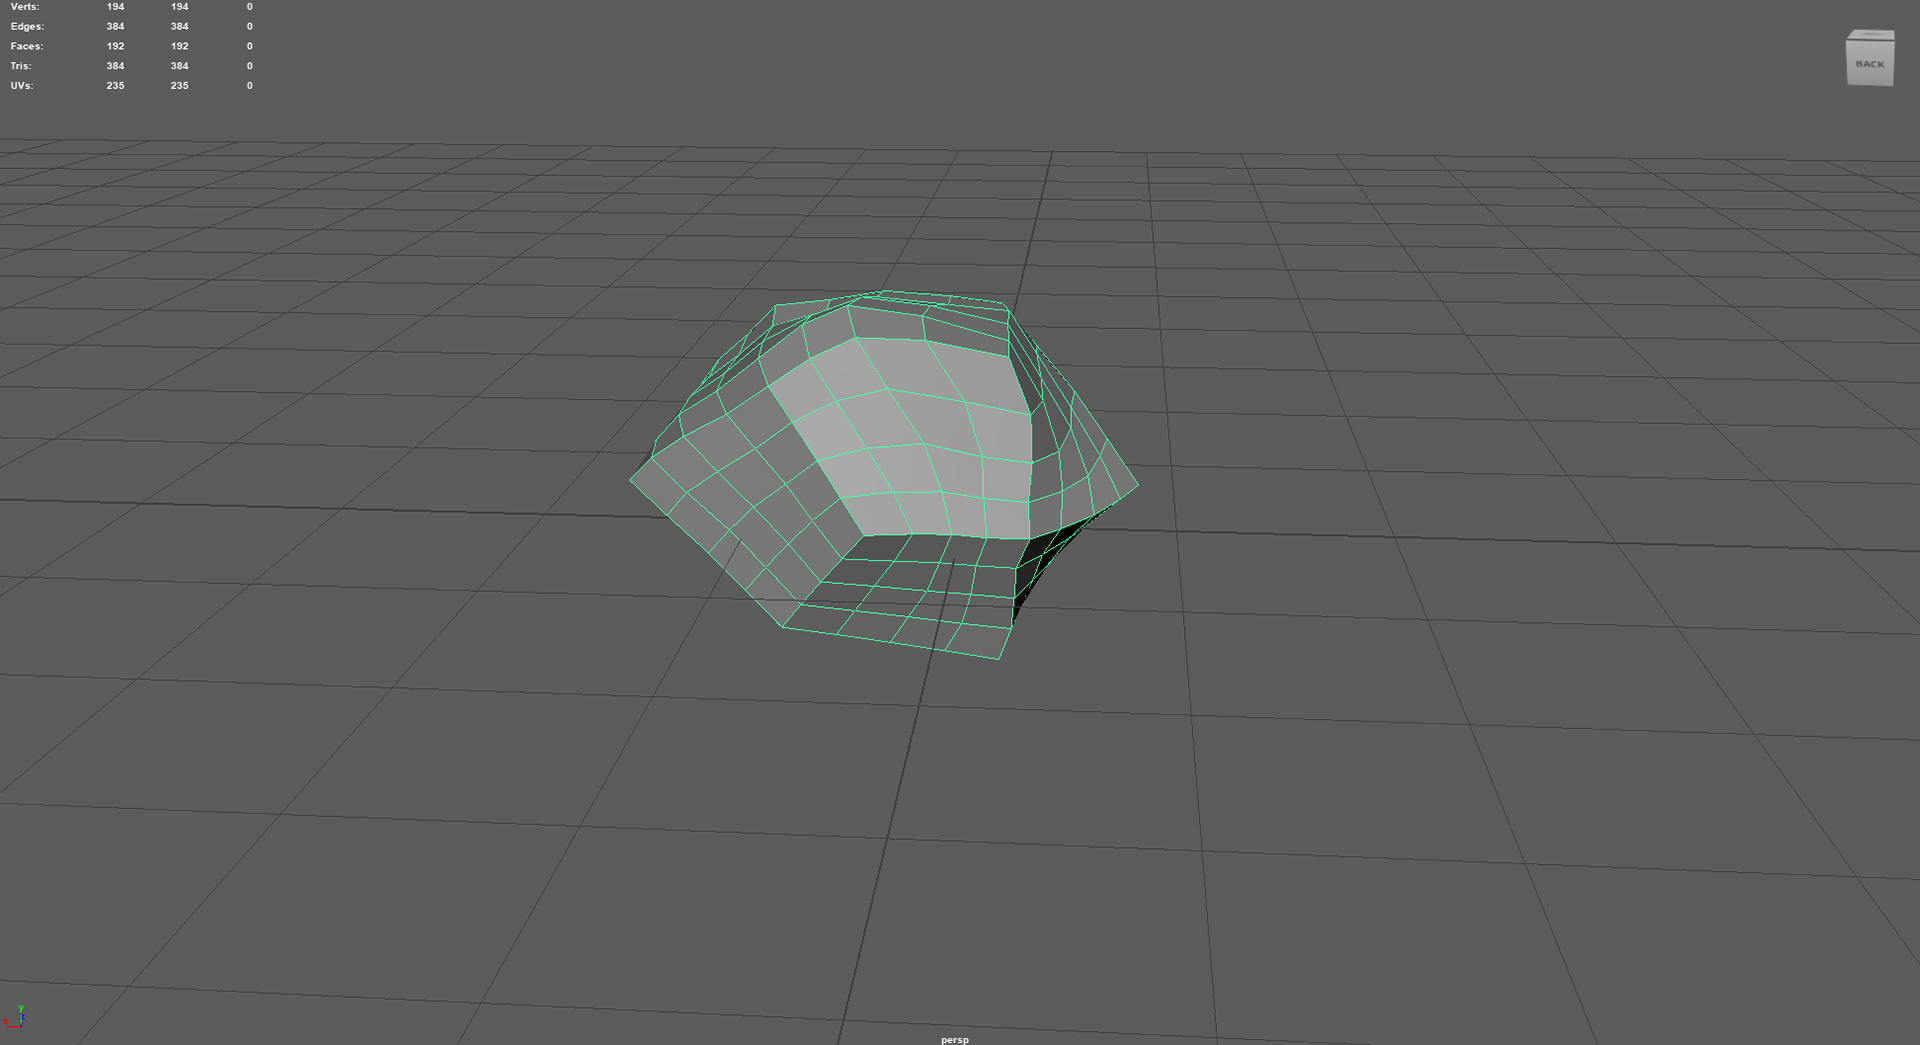
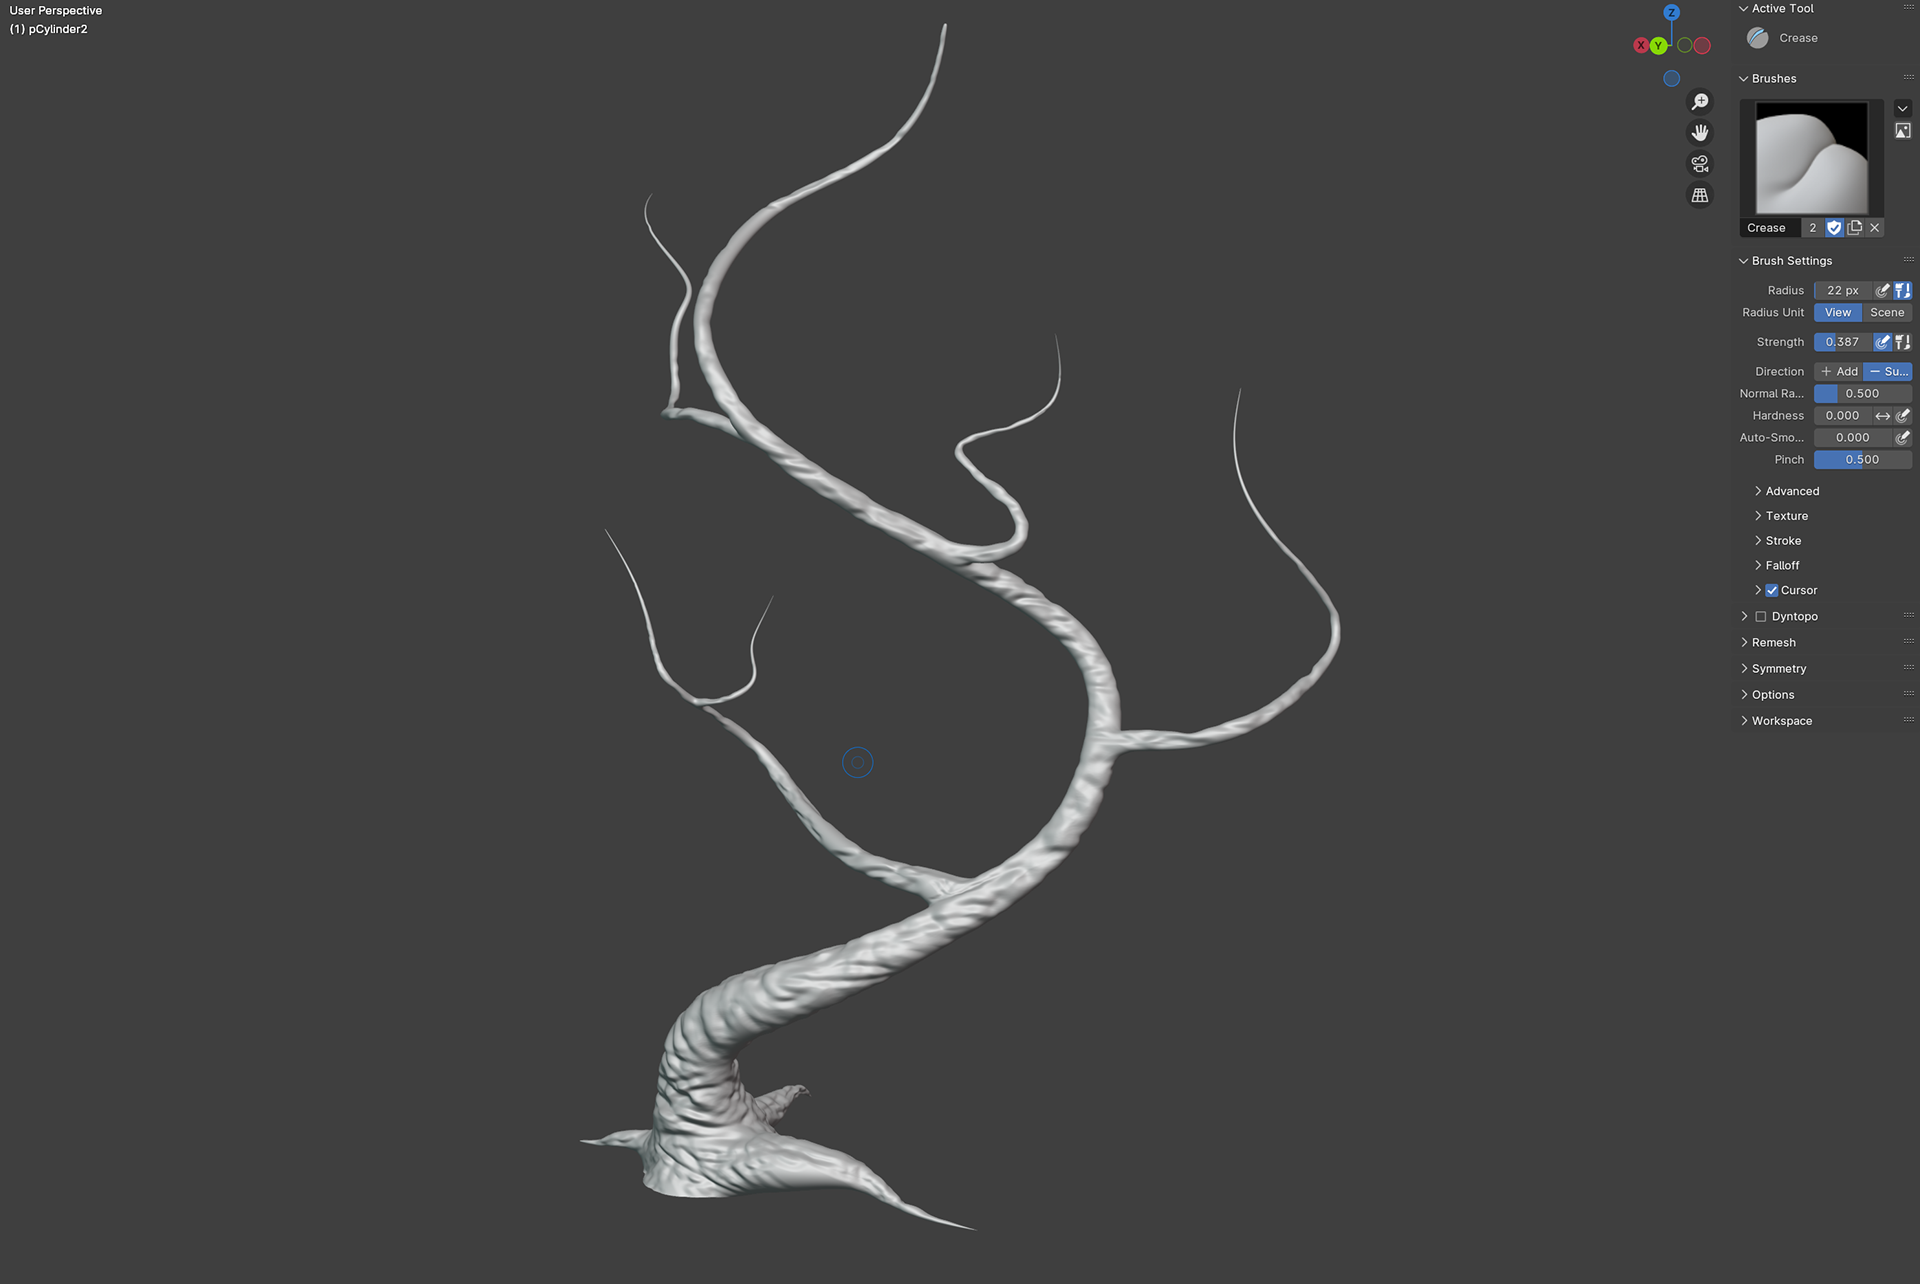
Now this is where it gets fun and maybe a little bit more complex?
I re-meshed and added 30,000 faces and thankfully my PC handled the intensity of the action. I did this so that I could get more finer details for sculpting which you will see in the fourth photo.

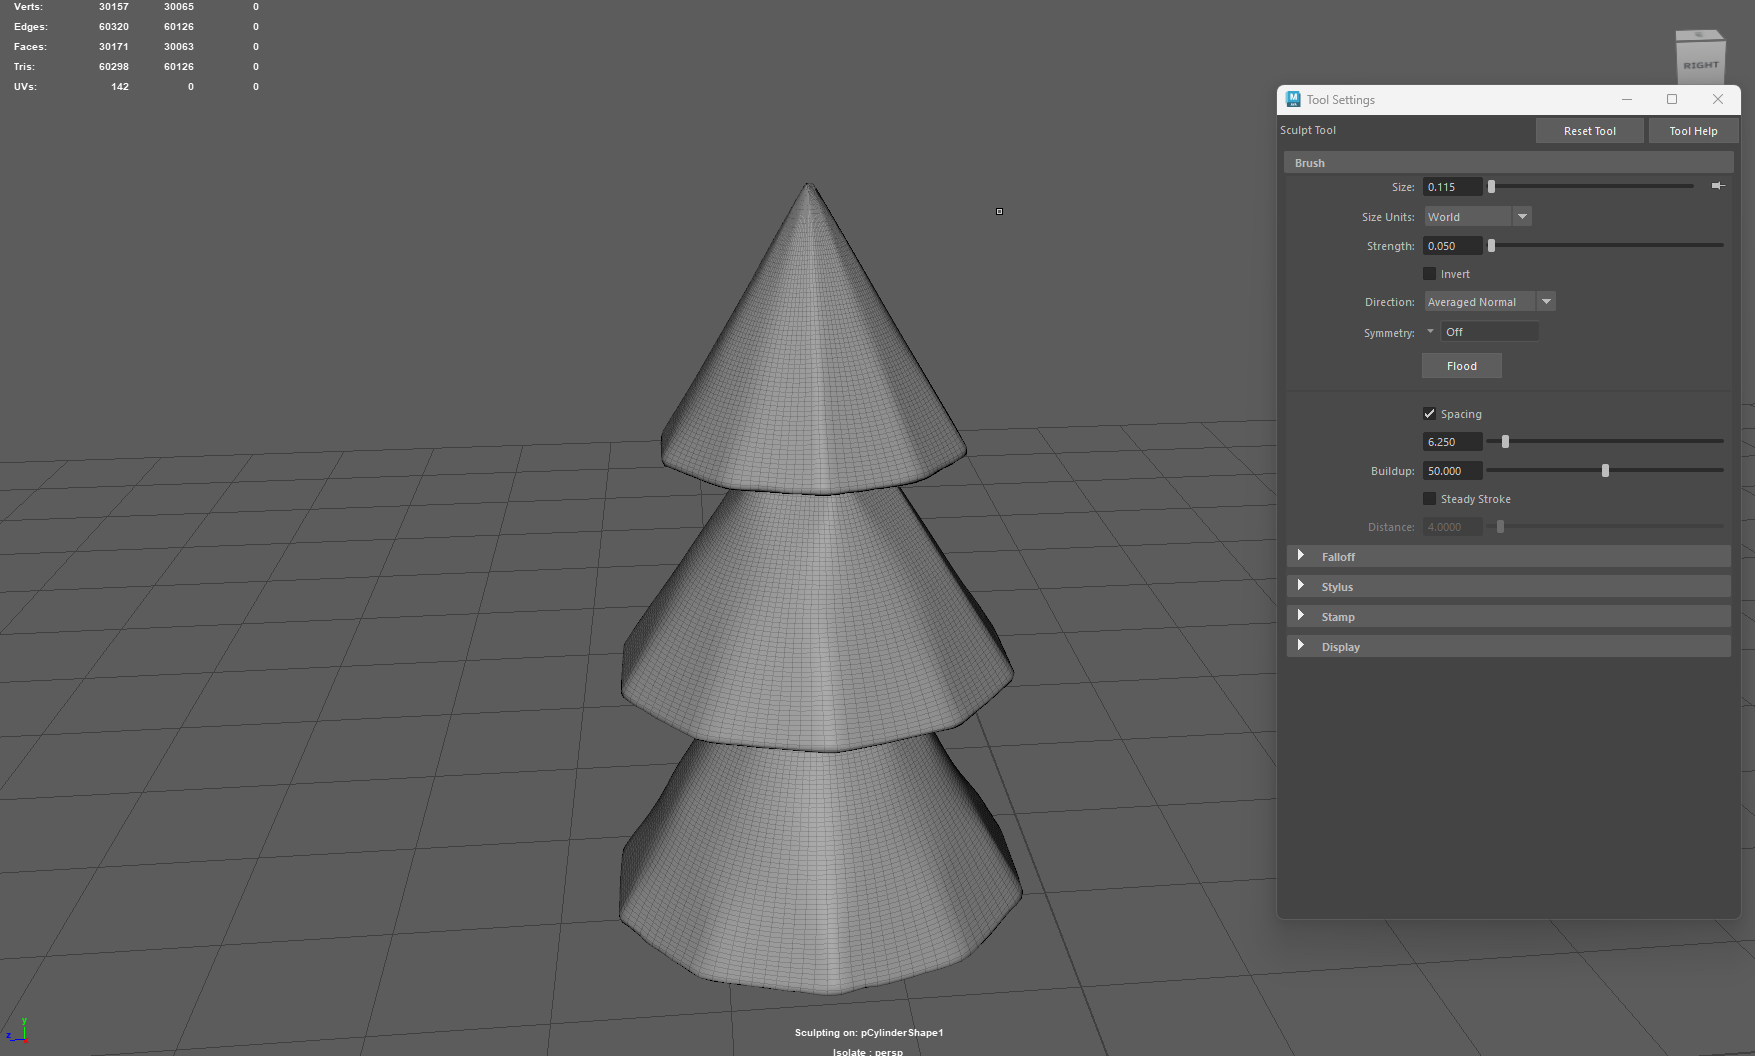
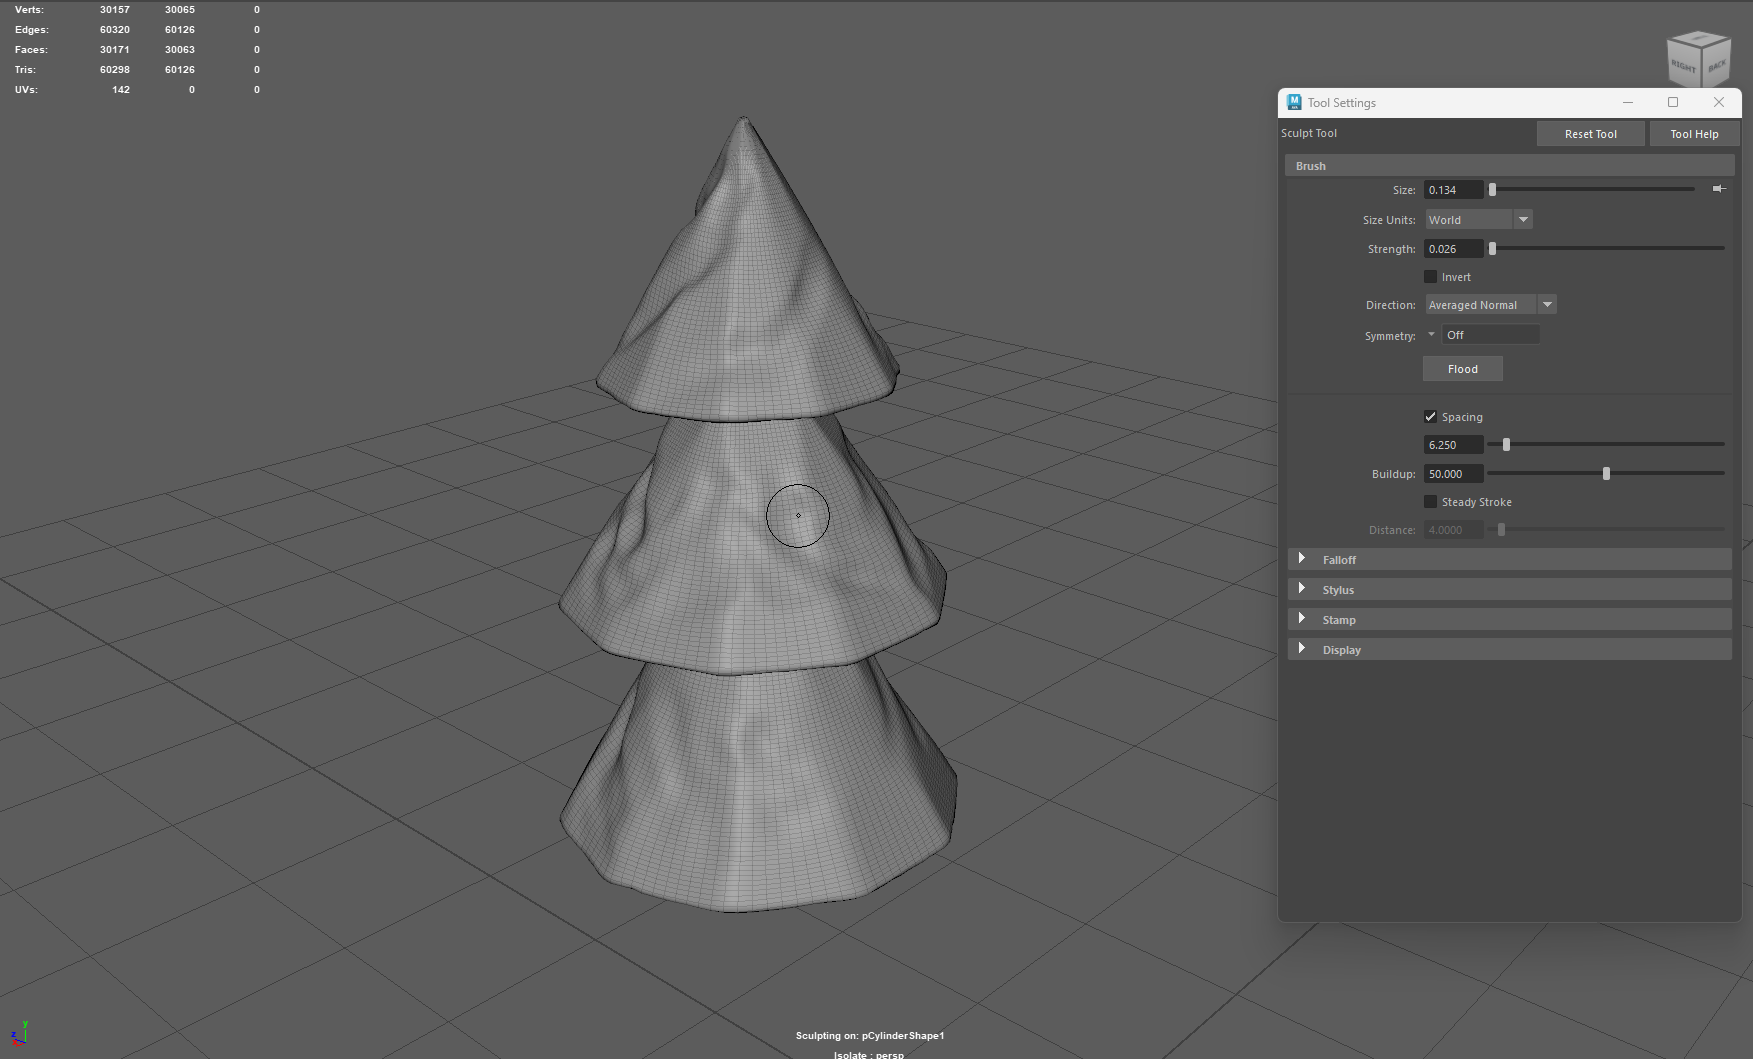
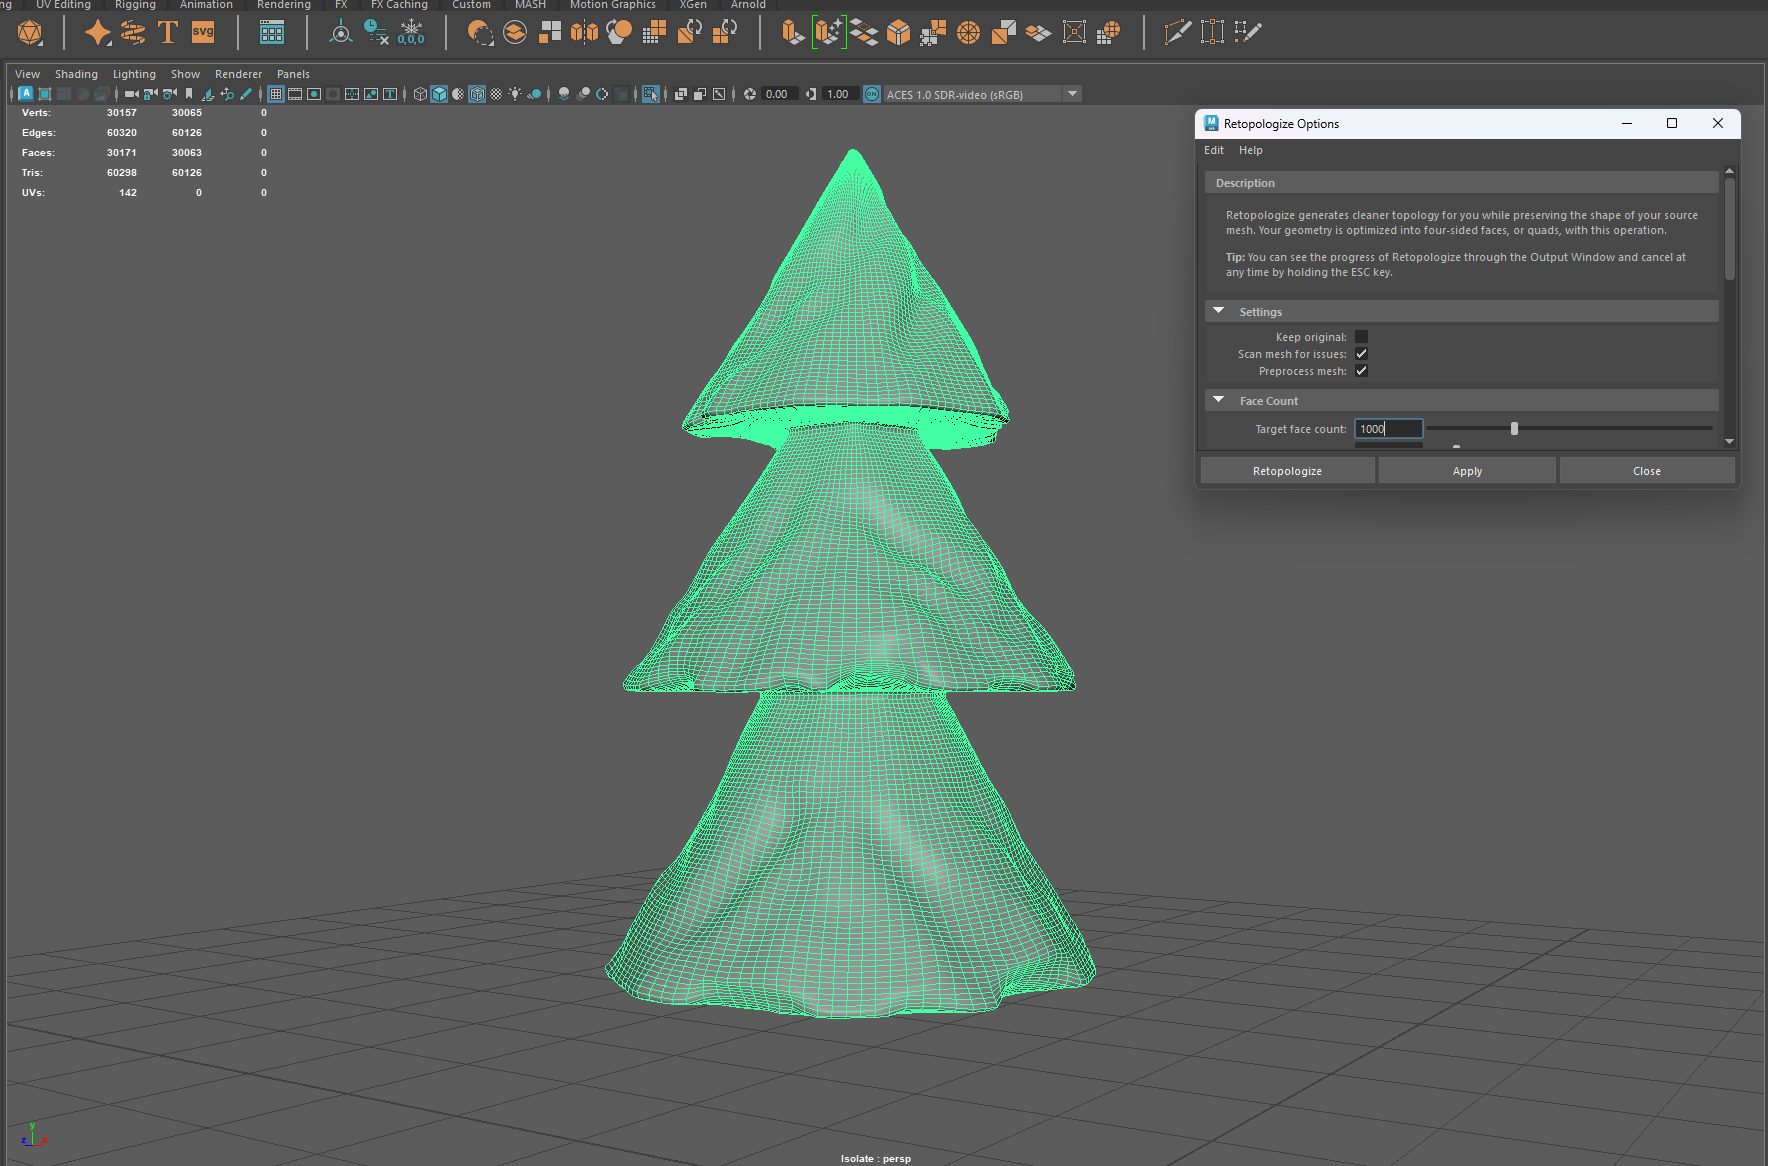
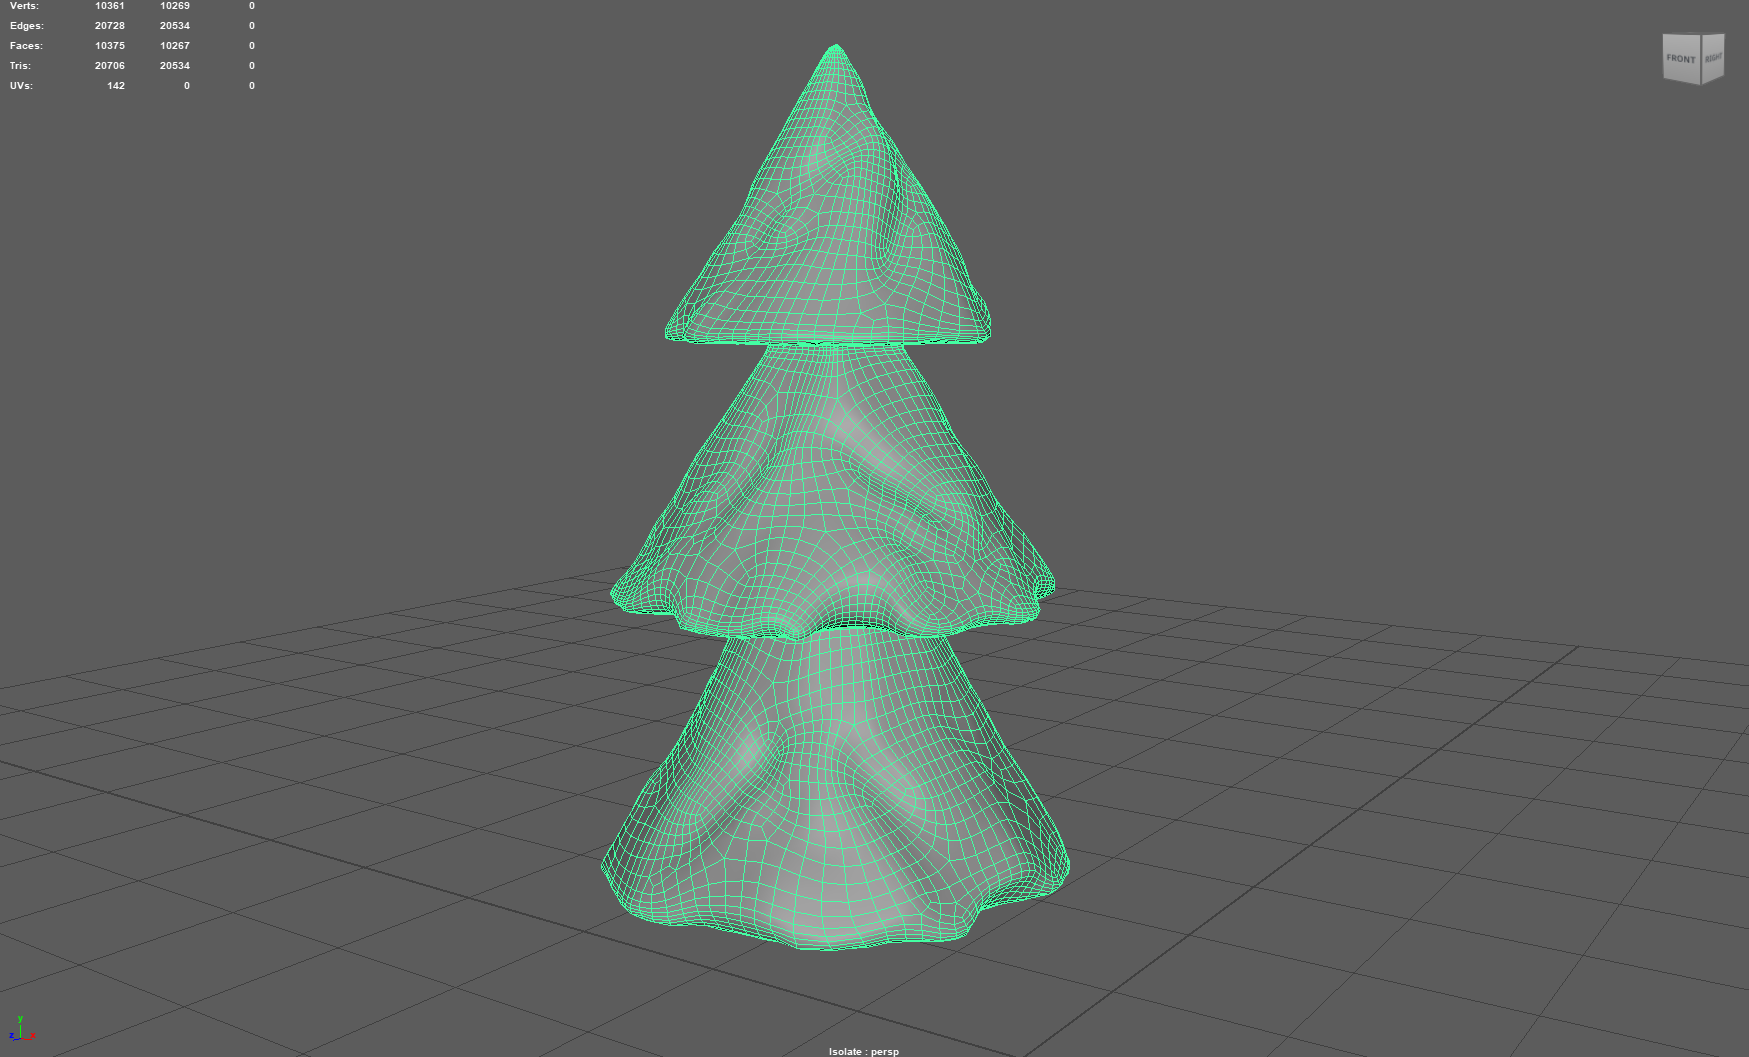
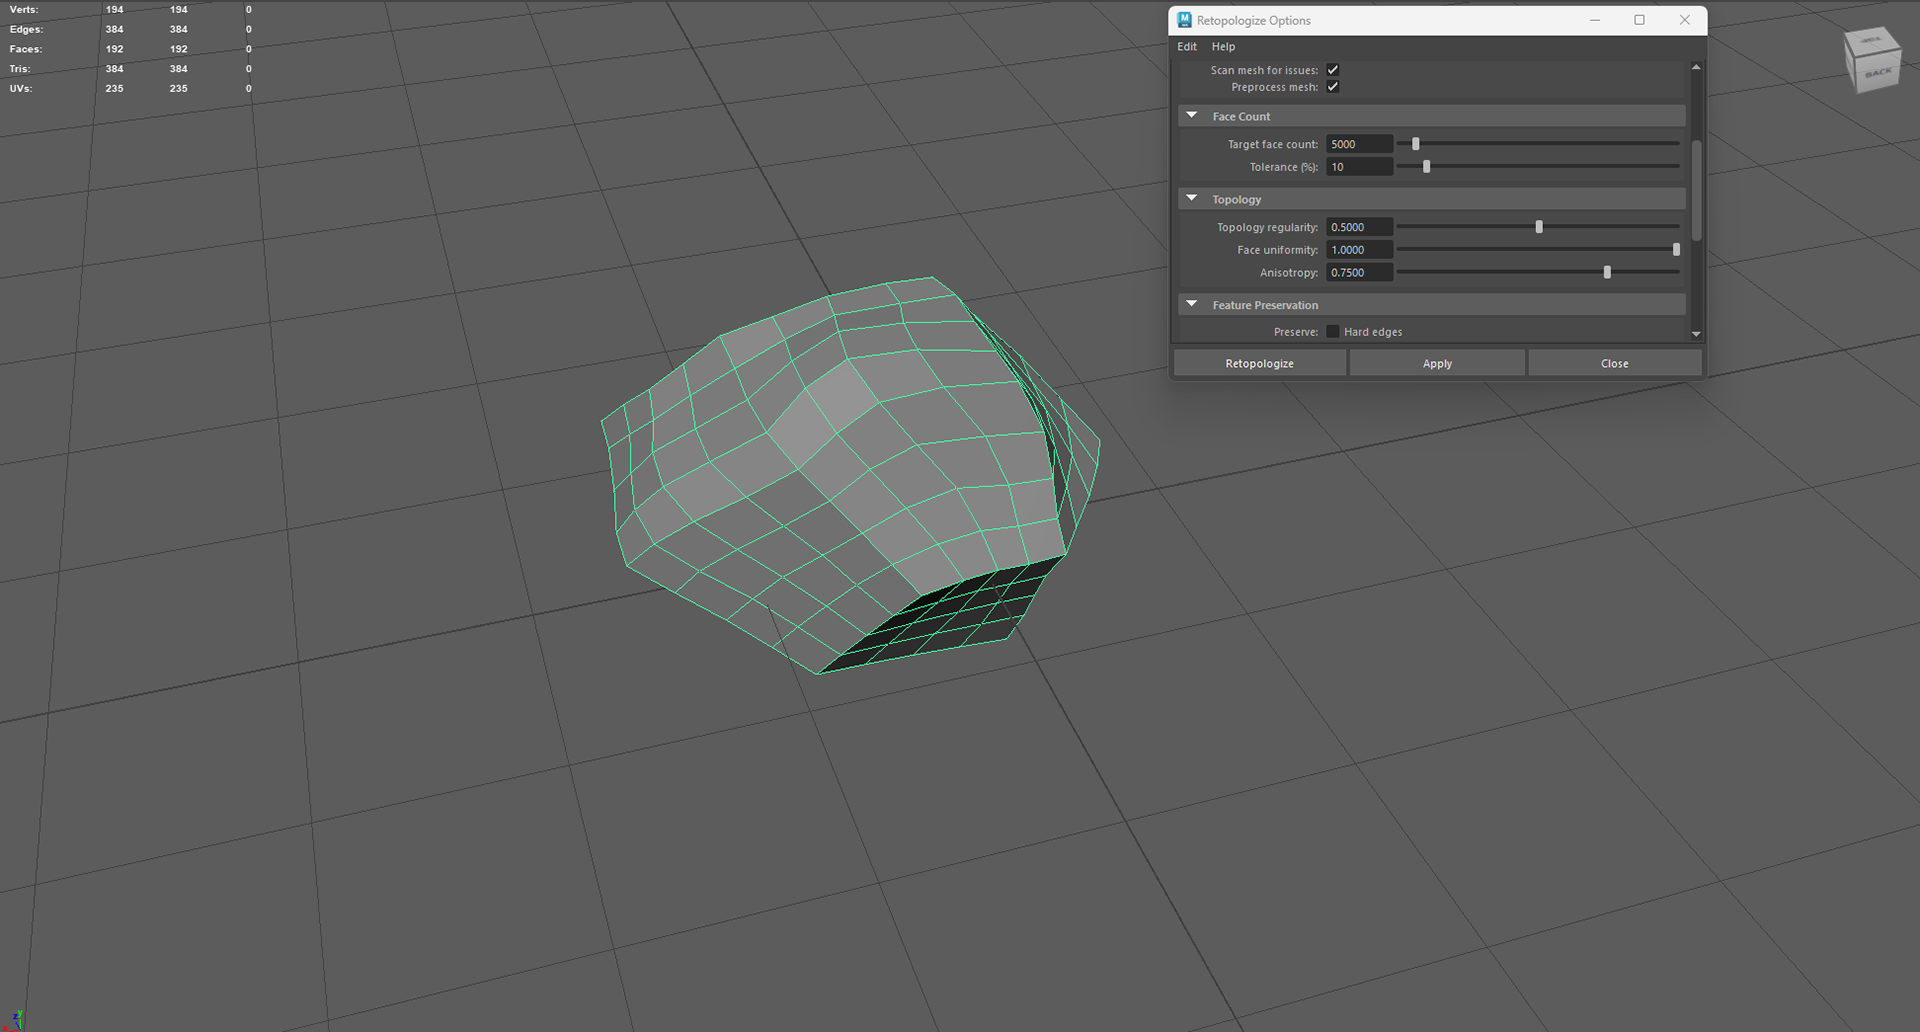
I used the build up a surface tool so add more depth, and then I retopologised to a target face count of 1000 (rather than 30000)
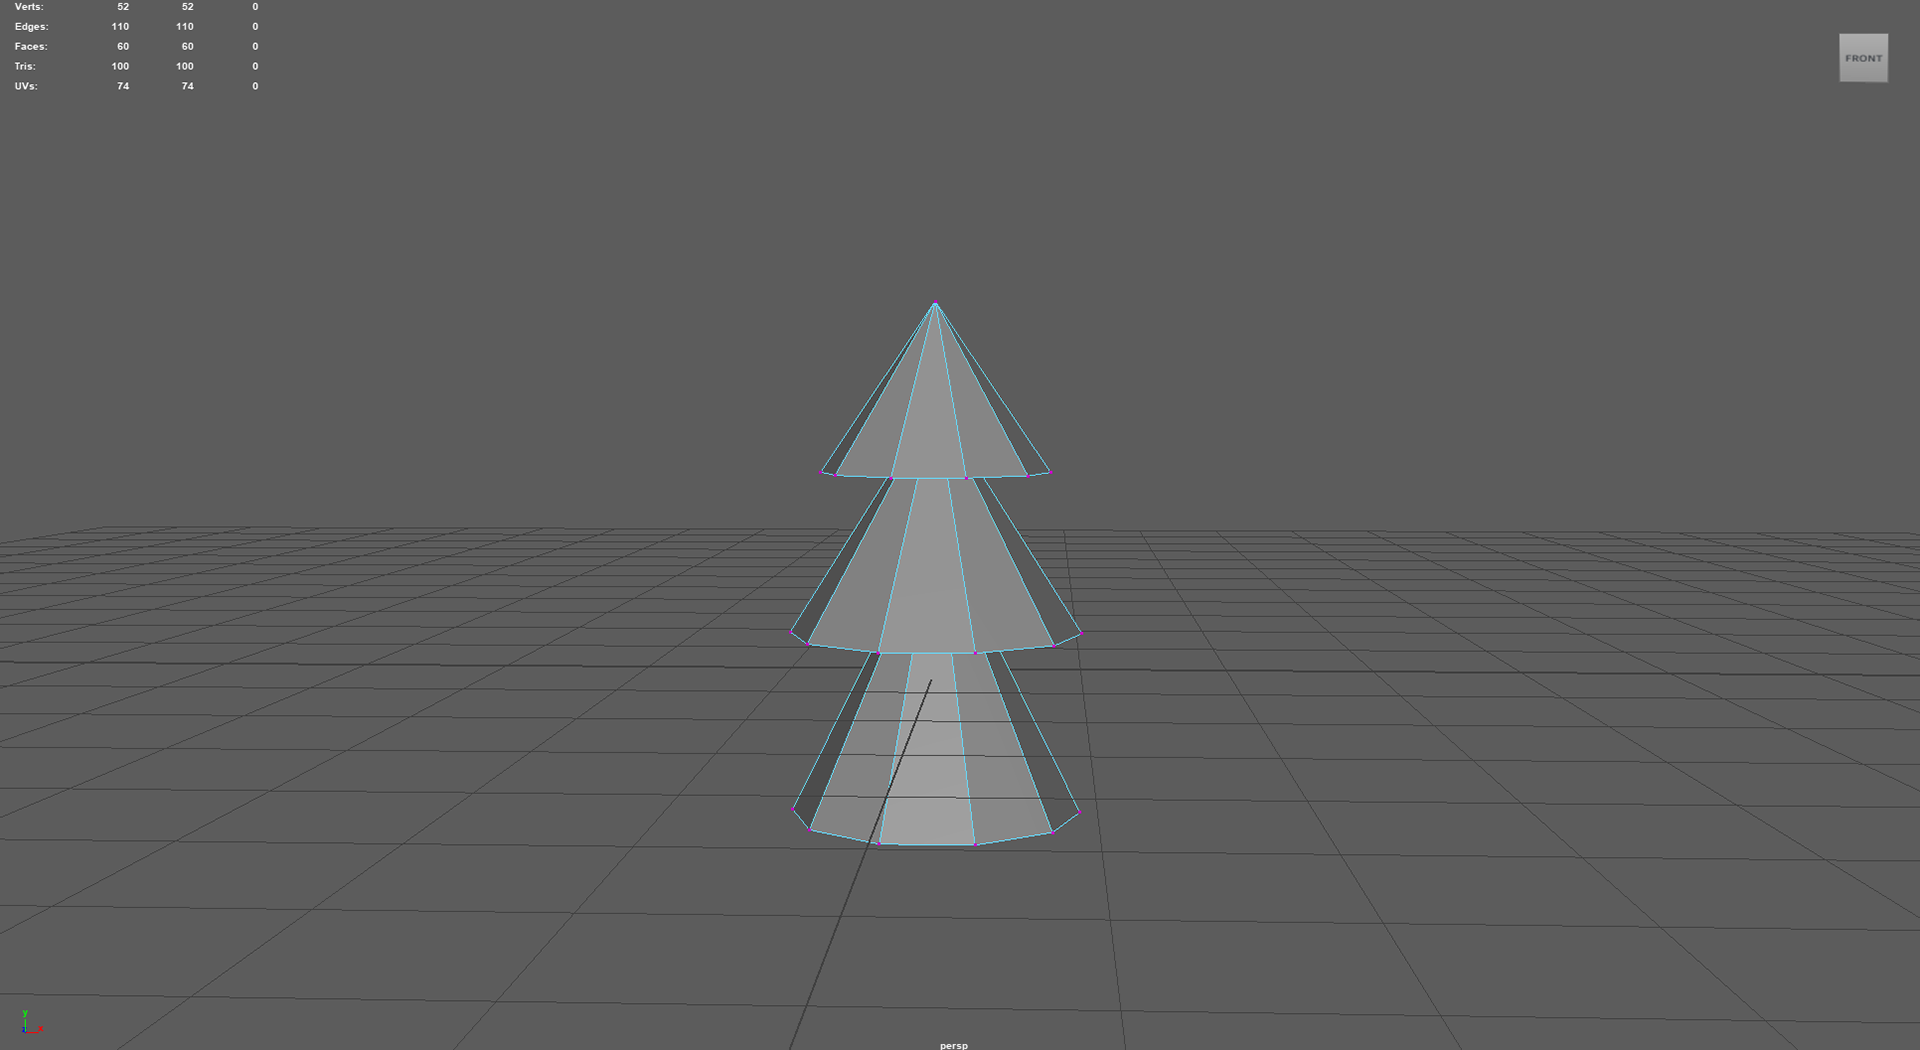
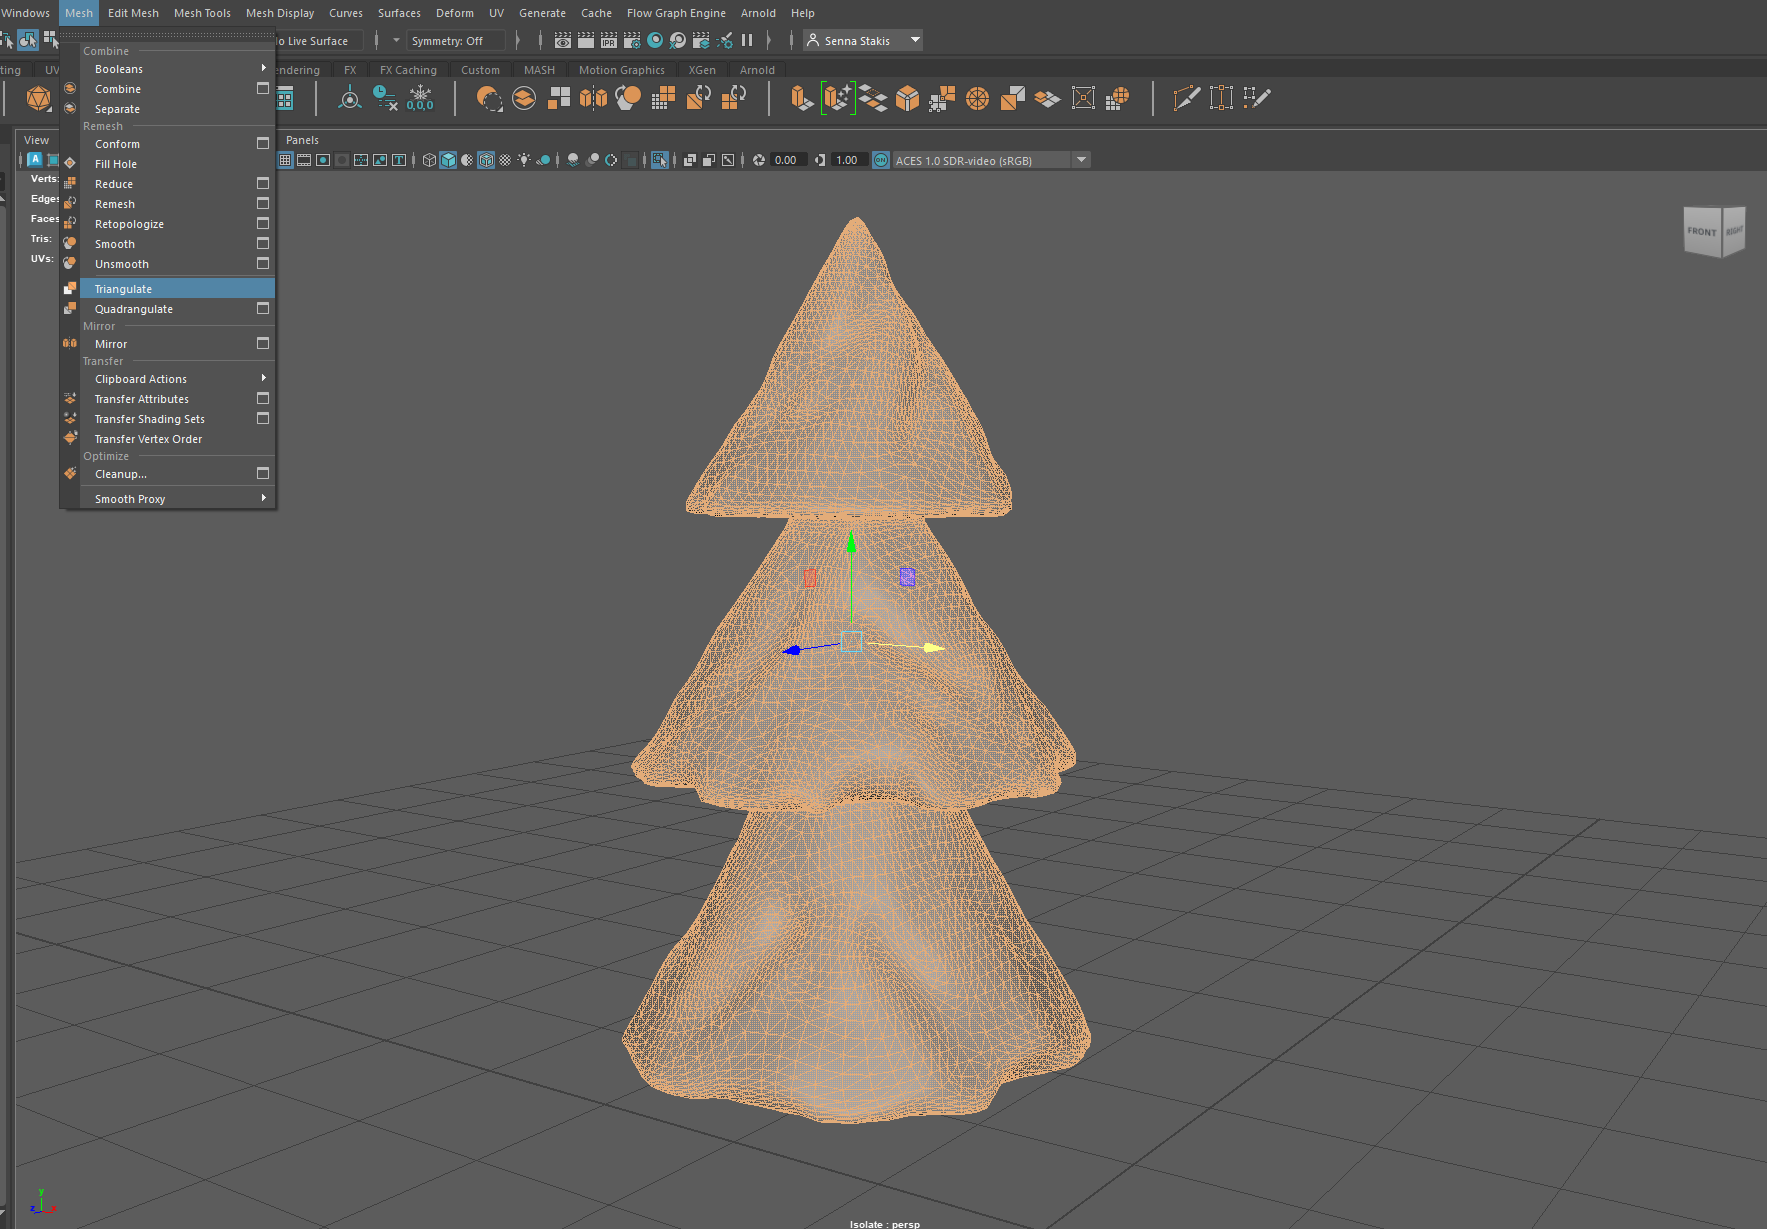
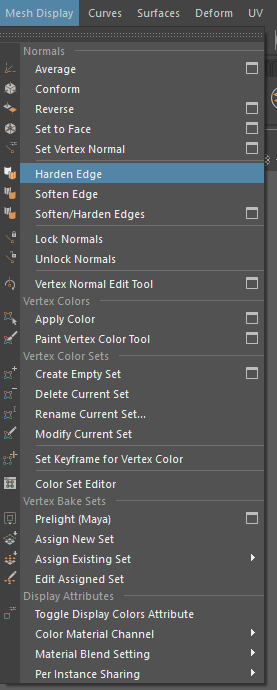
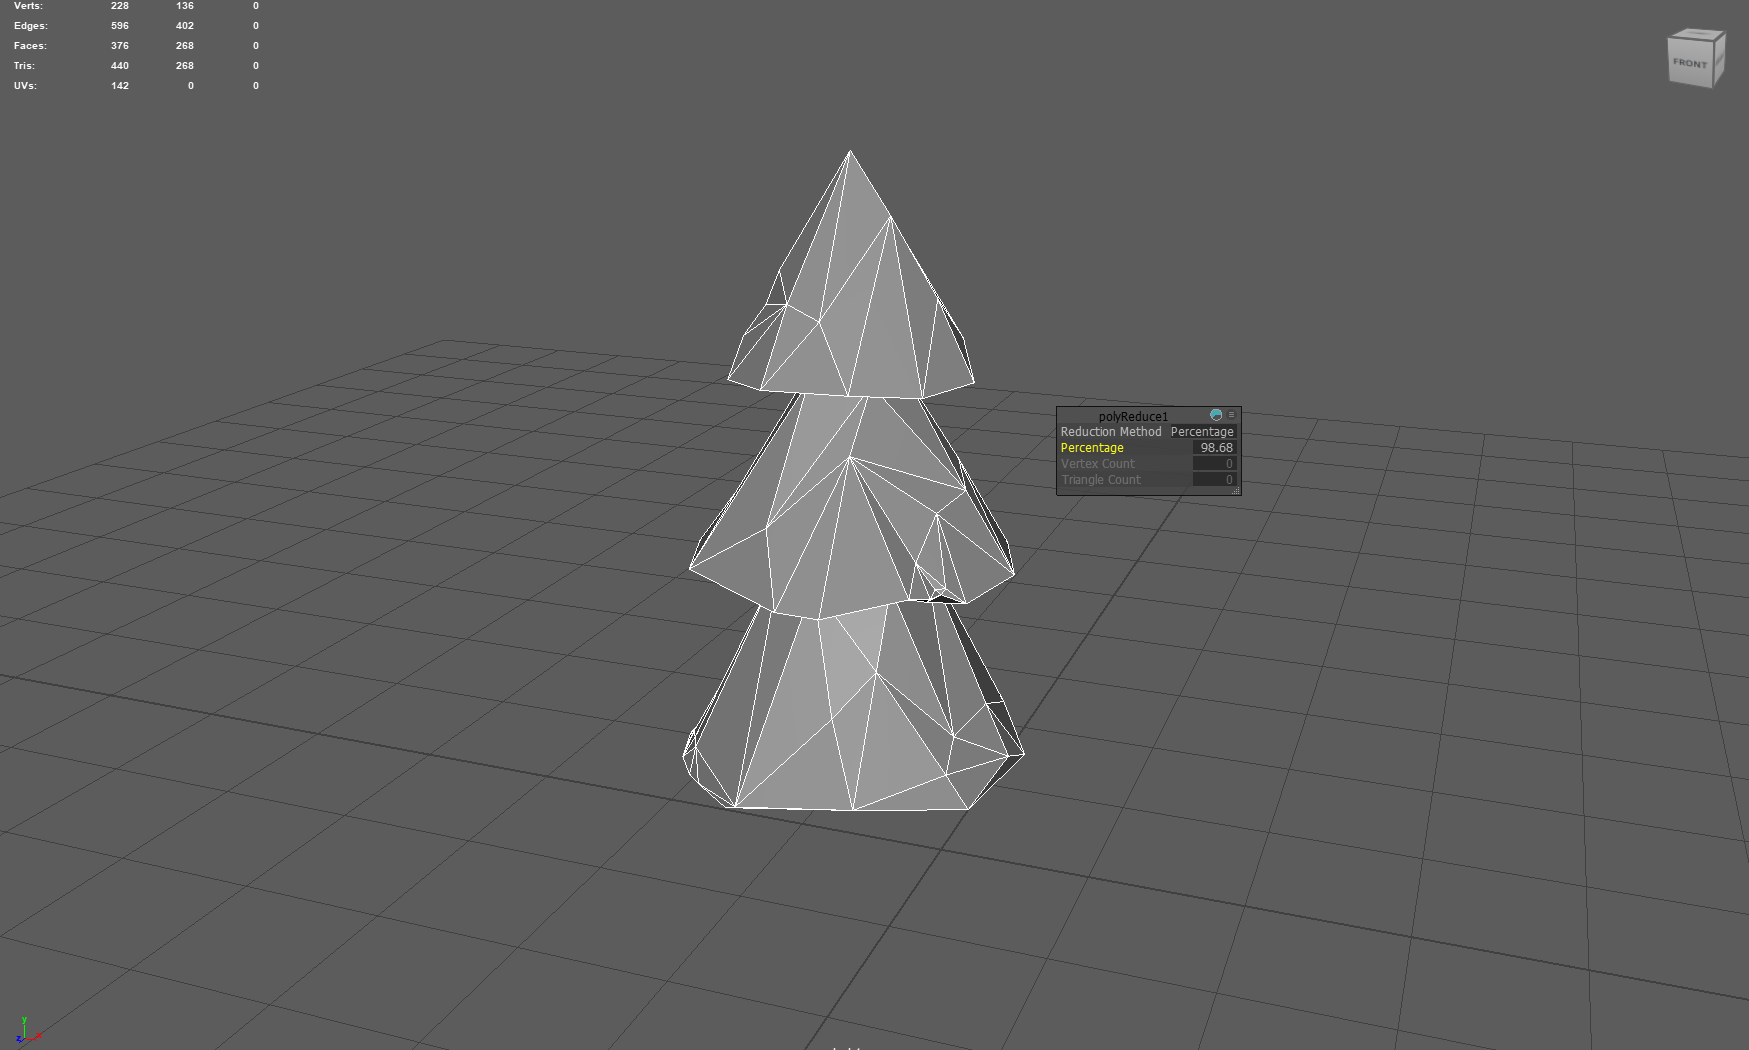
Lastly, Triangulate and then harden the edge! and boooom were done!
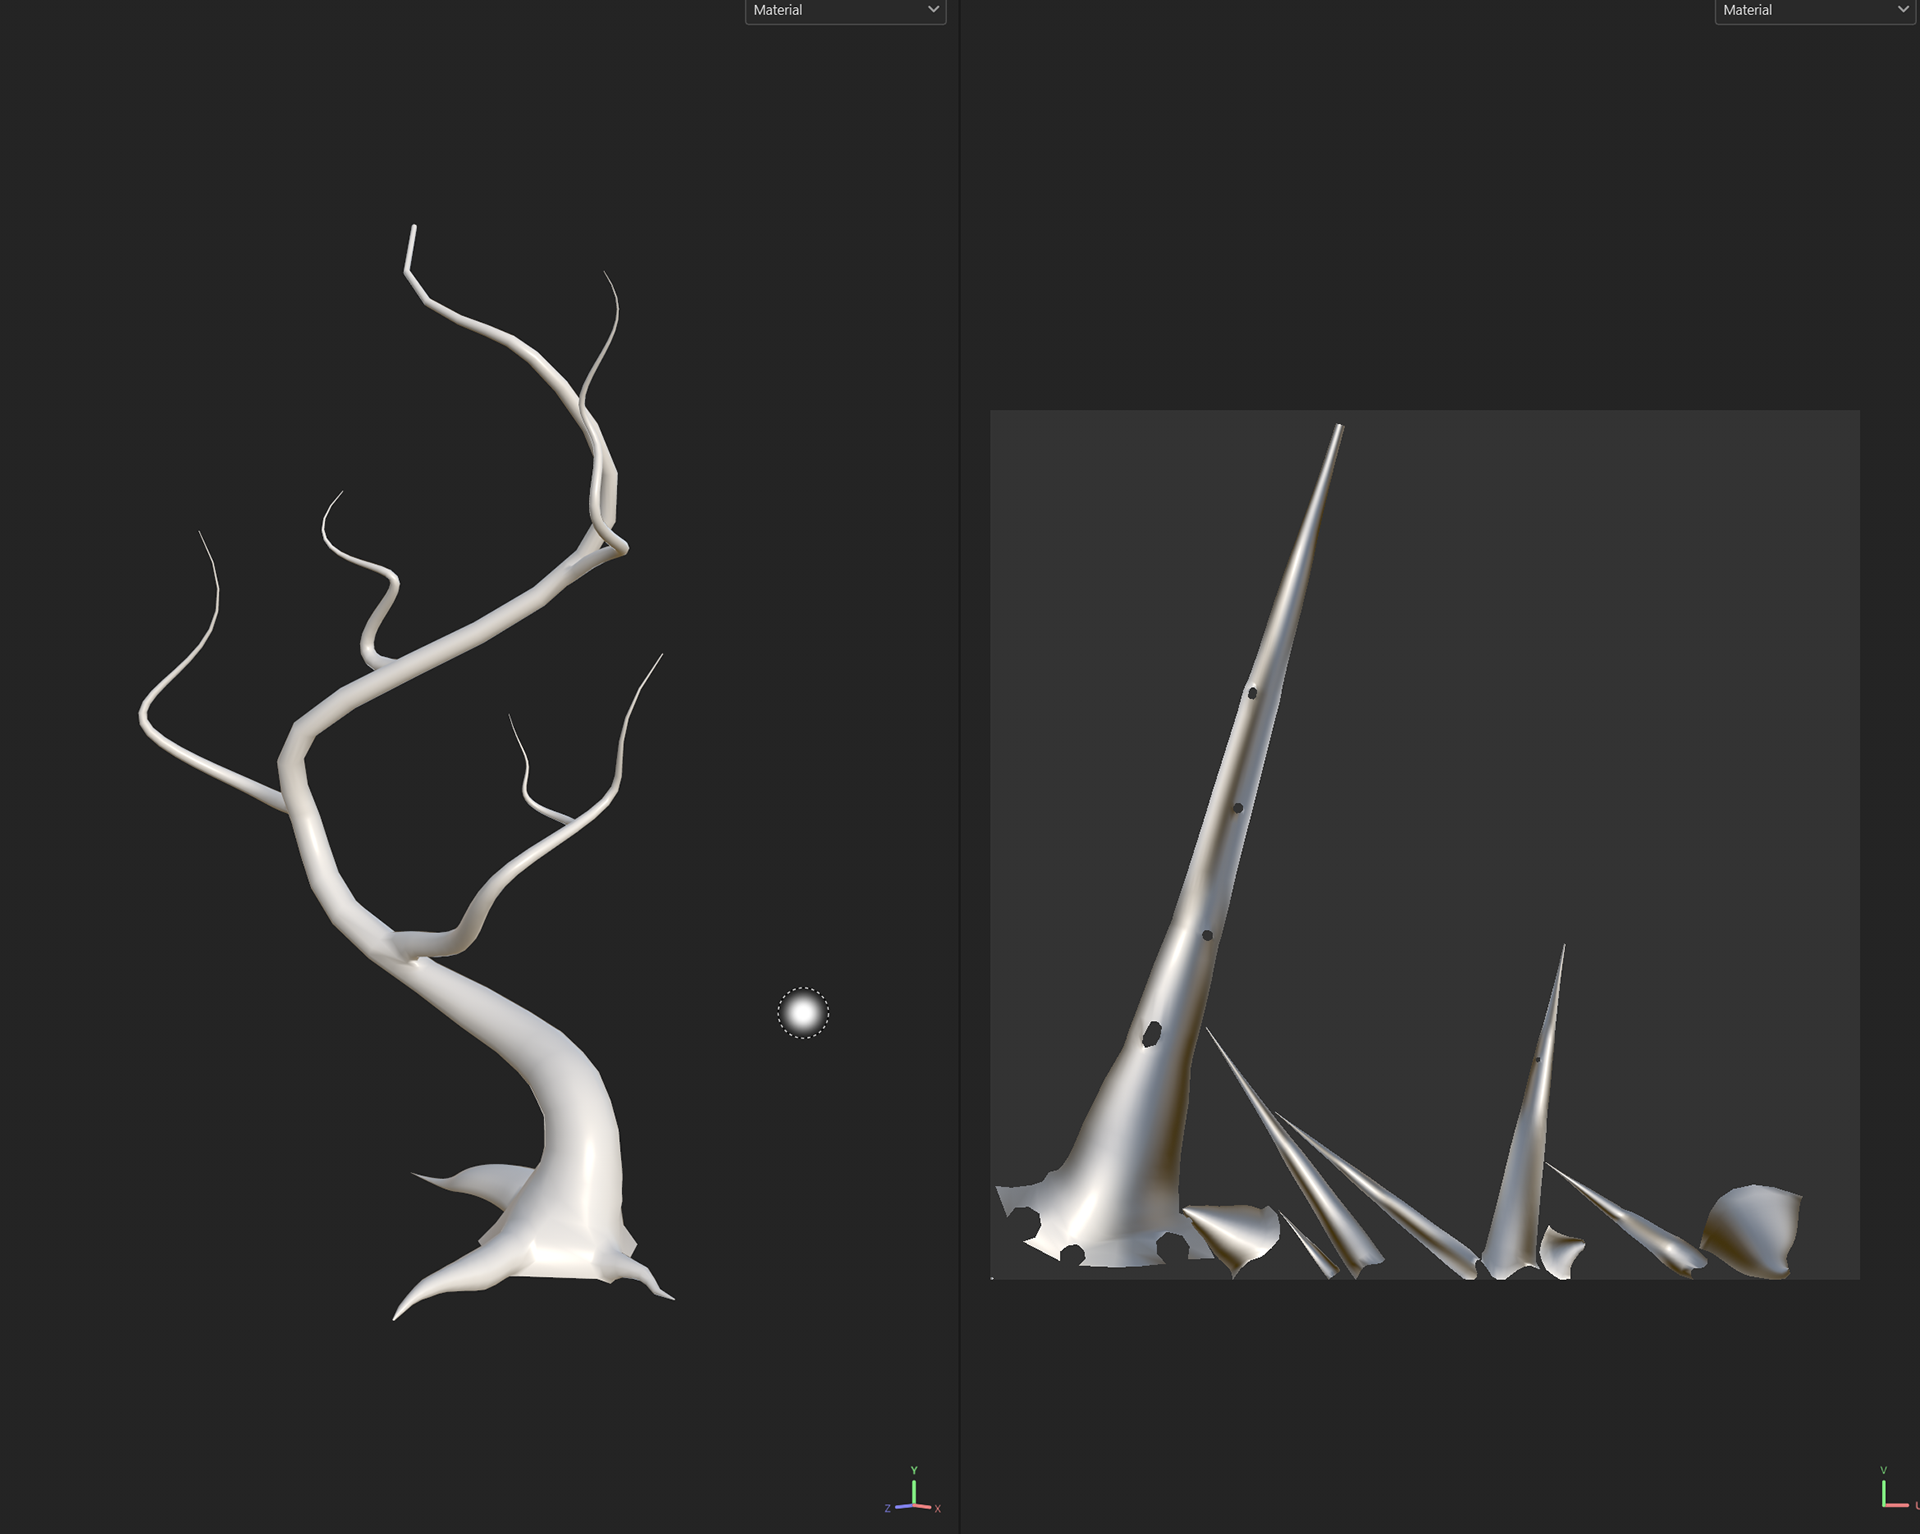
I included both the initial simpler design tree and then the more advanced (sculpted) one which I personally feels adds a nicer touch!
Class today was mostly learning the basics of Maya, I think we were supposed to go deeper into other topics but due to a fire alarm, we were pulled out of class.
Before this happened, I created another rock asset to test my new-found skills and also followed along with class tasks (learning Maya basics)
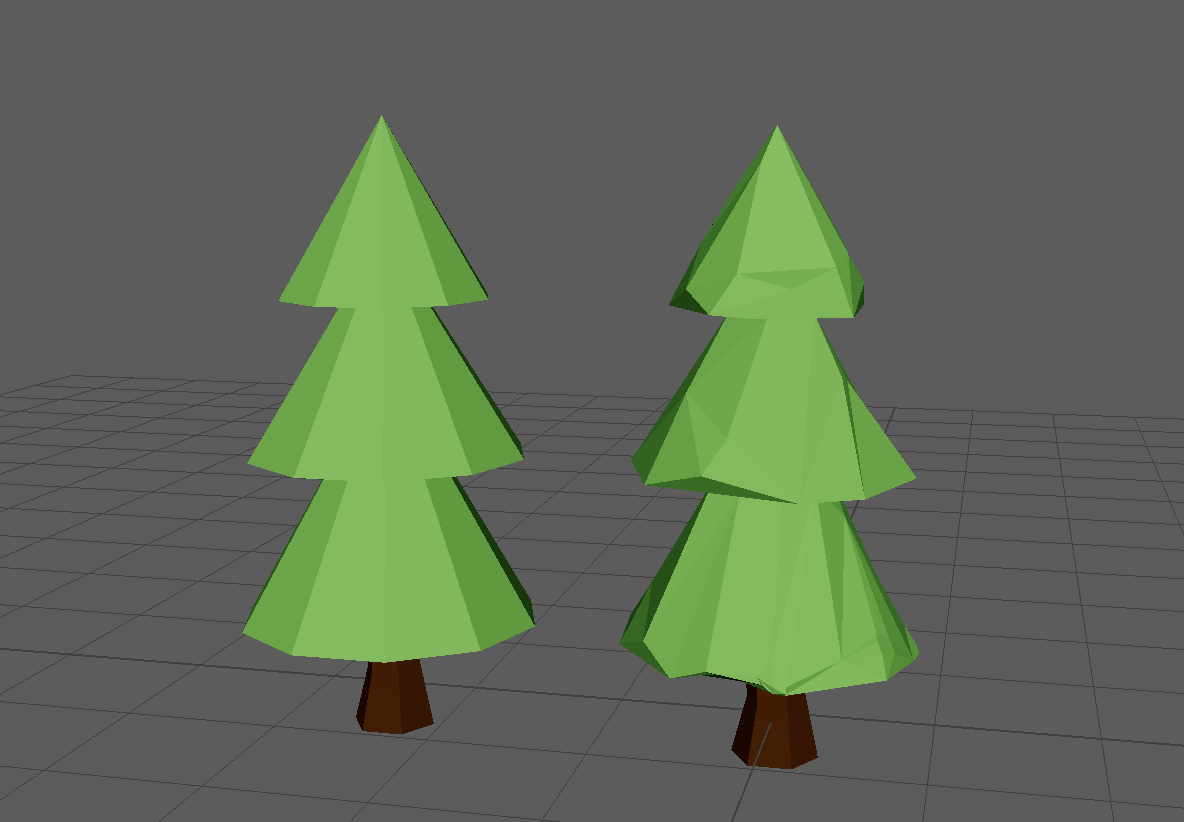
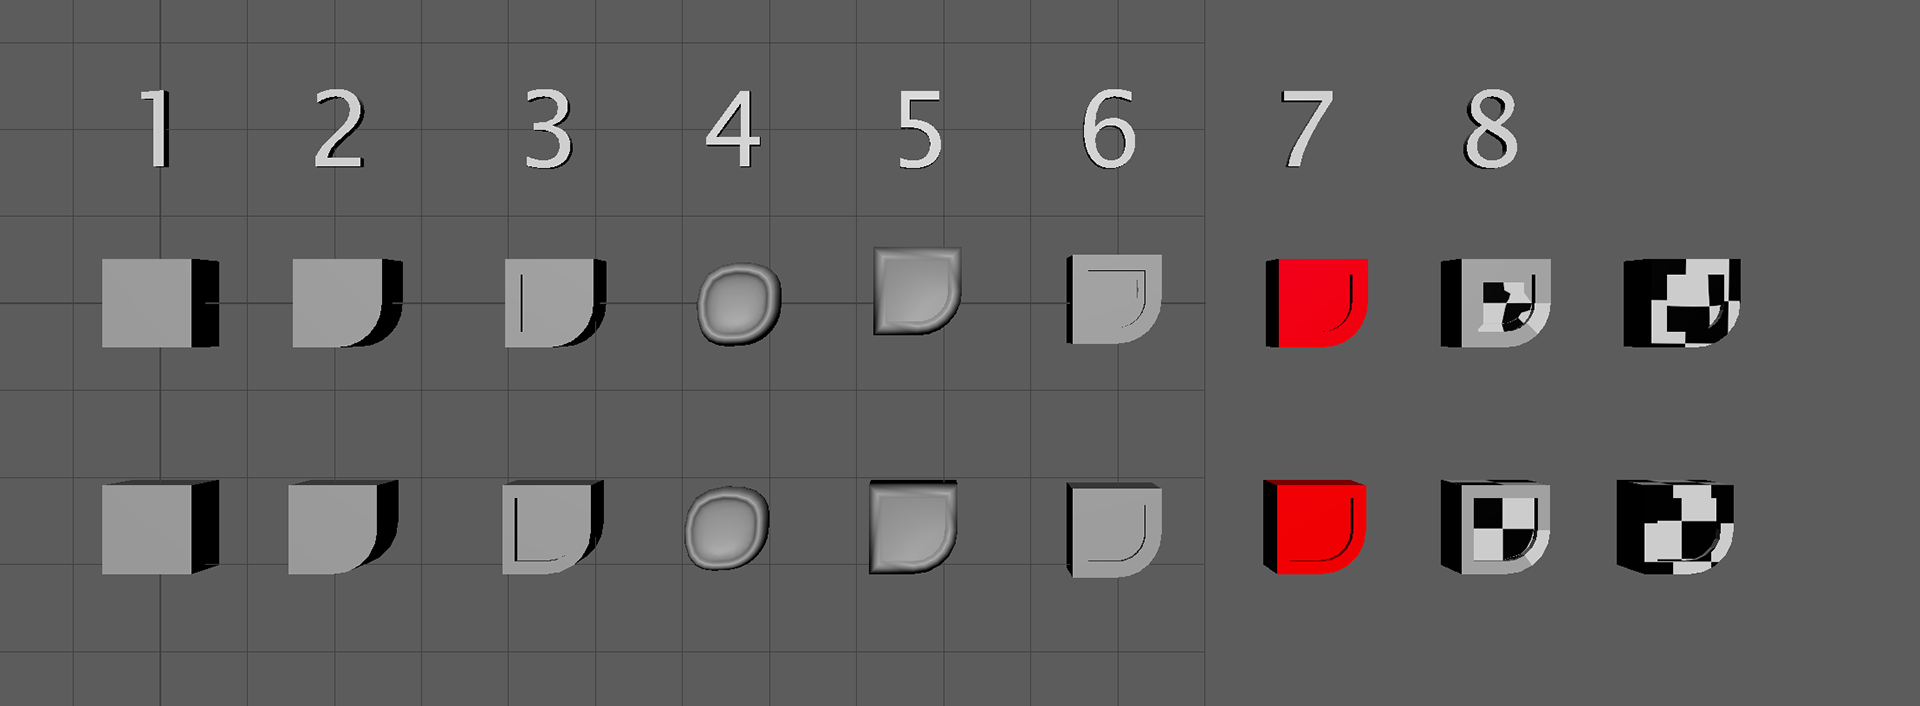
The Task was fun. We were to replicate the top layer numbers 1 - 9 using the tools we should know in Maya, if we didn't know.. this would teach us!


INT- ROOM 902 20 - 02 - 25
Sit back, ladies and gentlemen because I have a feeling this is going to be a hefty one...
I am going to start with the work I had done prior to class which was modelling my assets! Last week I started this and I created 3 Assets - The Tree, The Glacier Cliff and The Large Rock.
I went further and created 7 more assets.
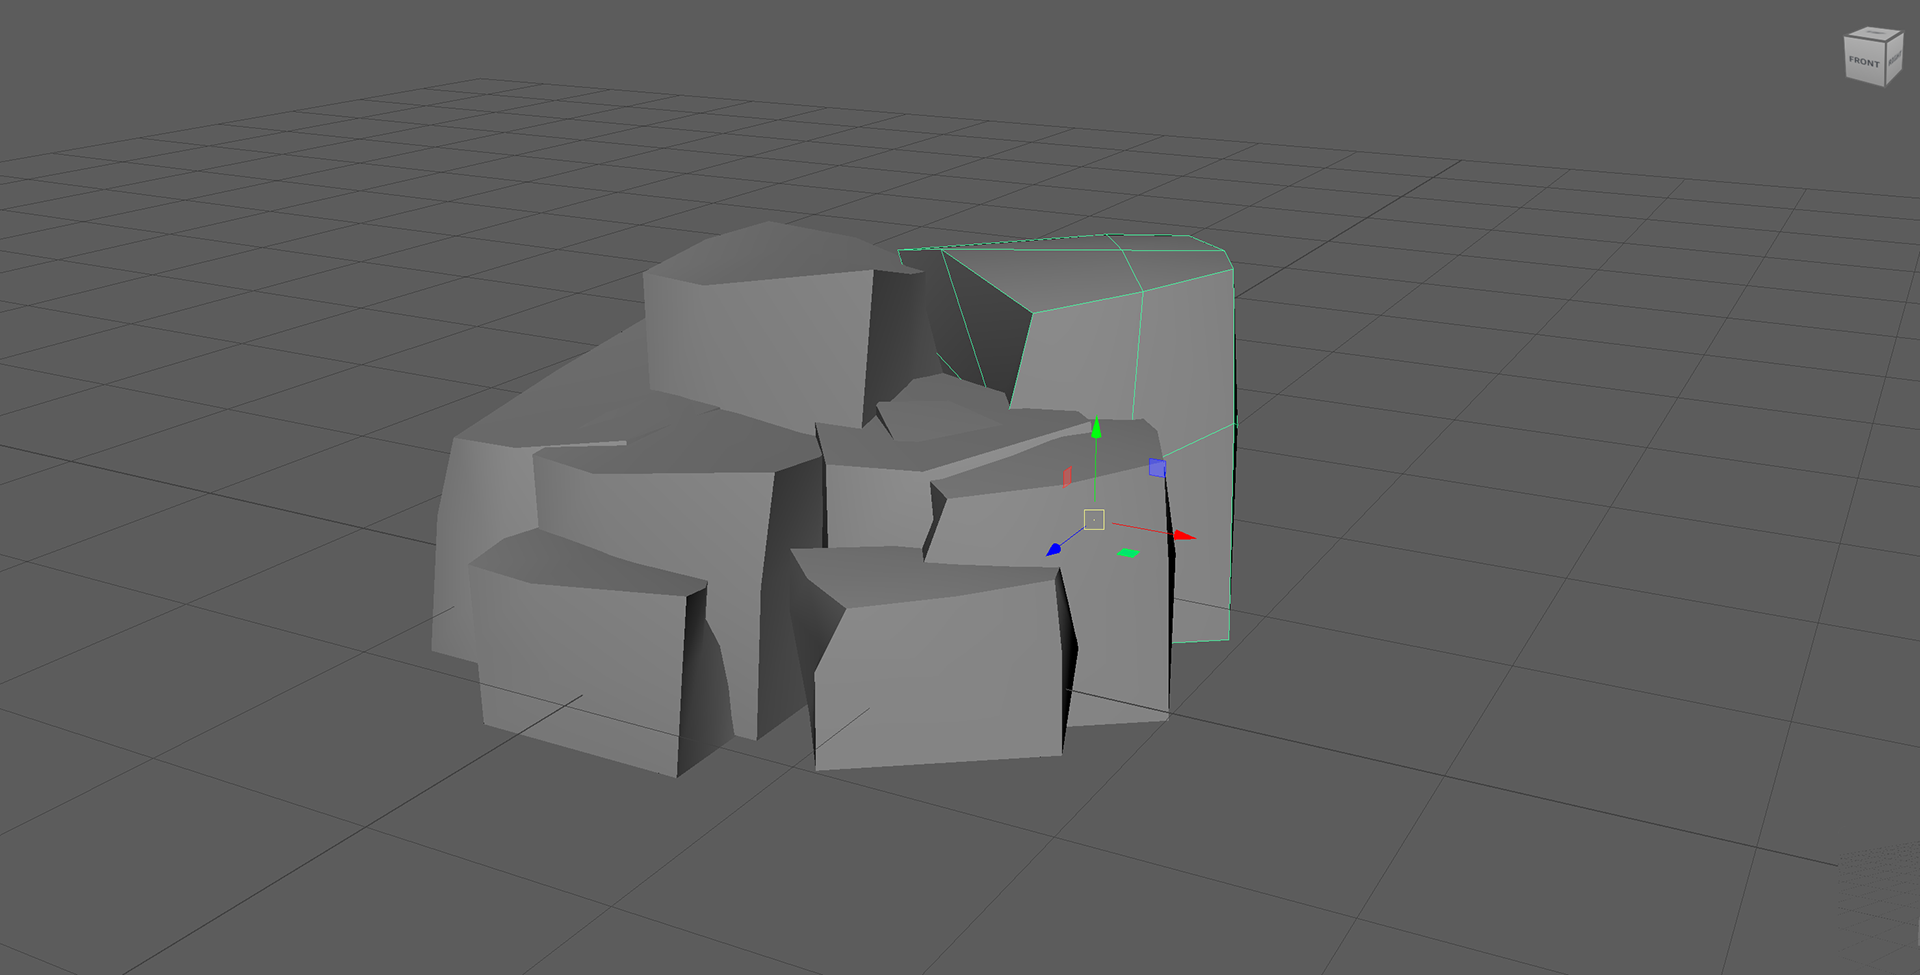
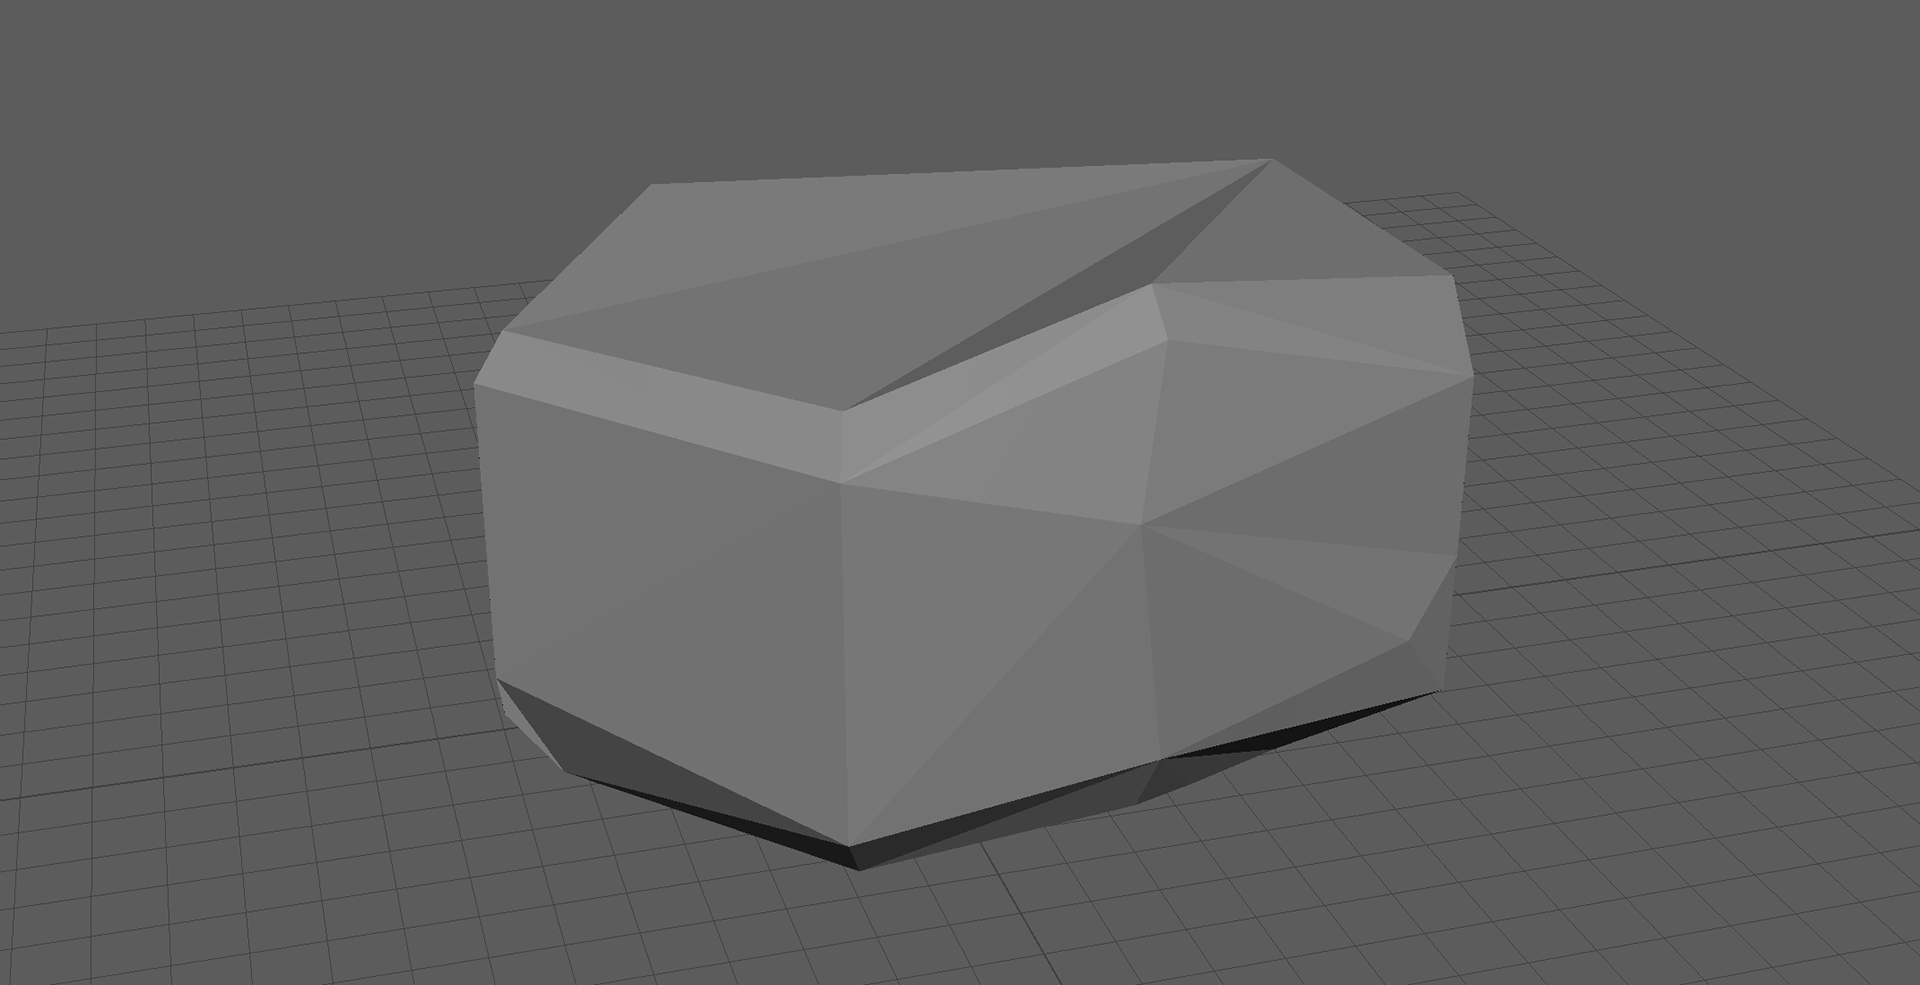
SMALL ROCK ASSET
The majority of these assets follow the same structure on creation with minor differences such as sculpting. To keep things brief and quick I will include the process images of these assets.

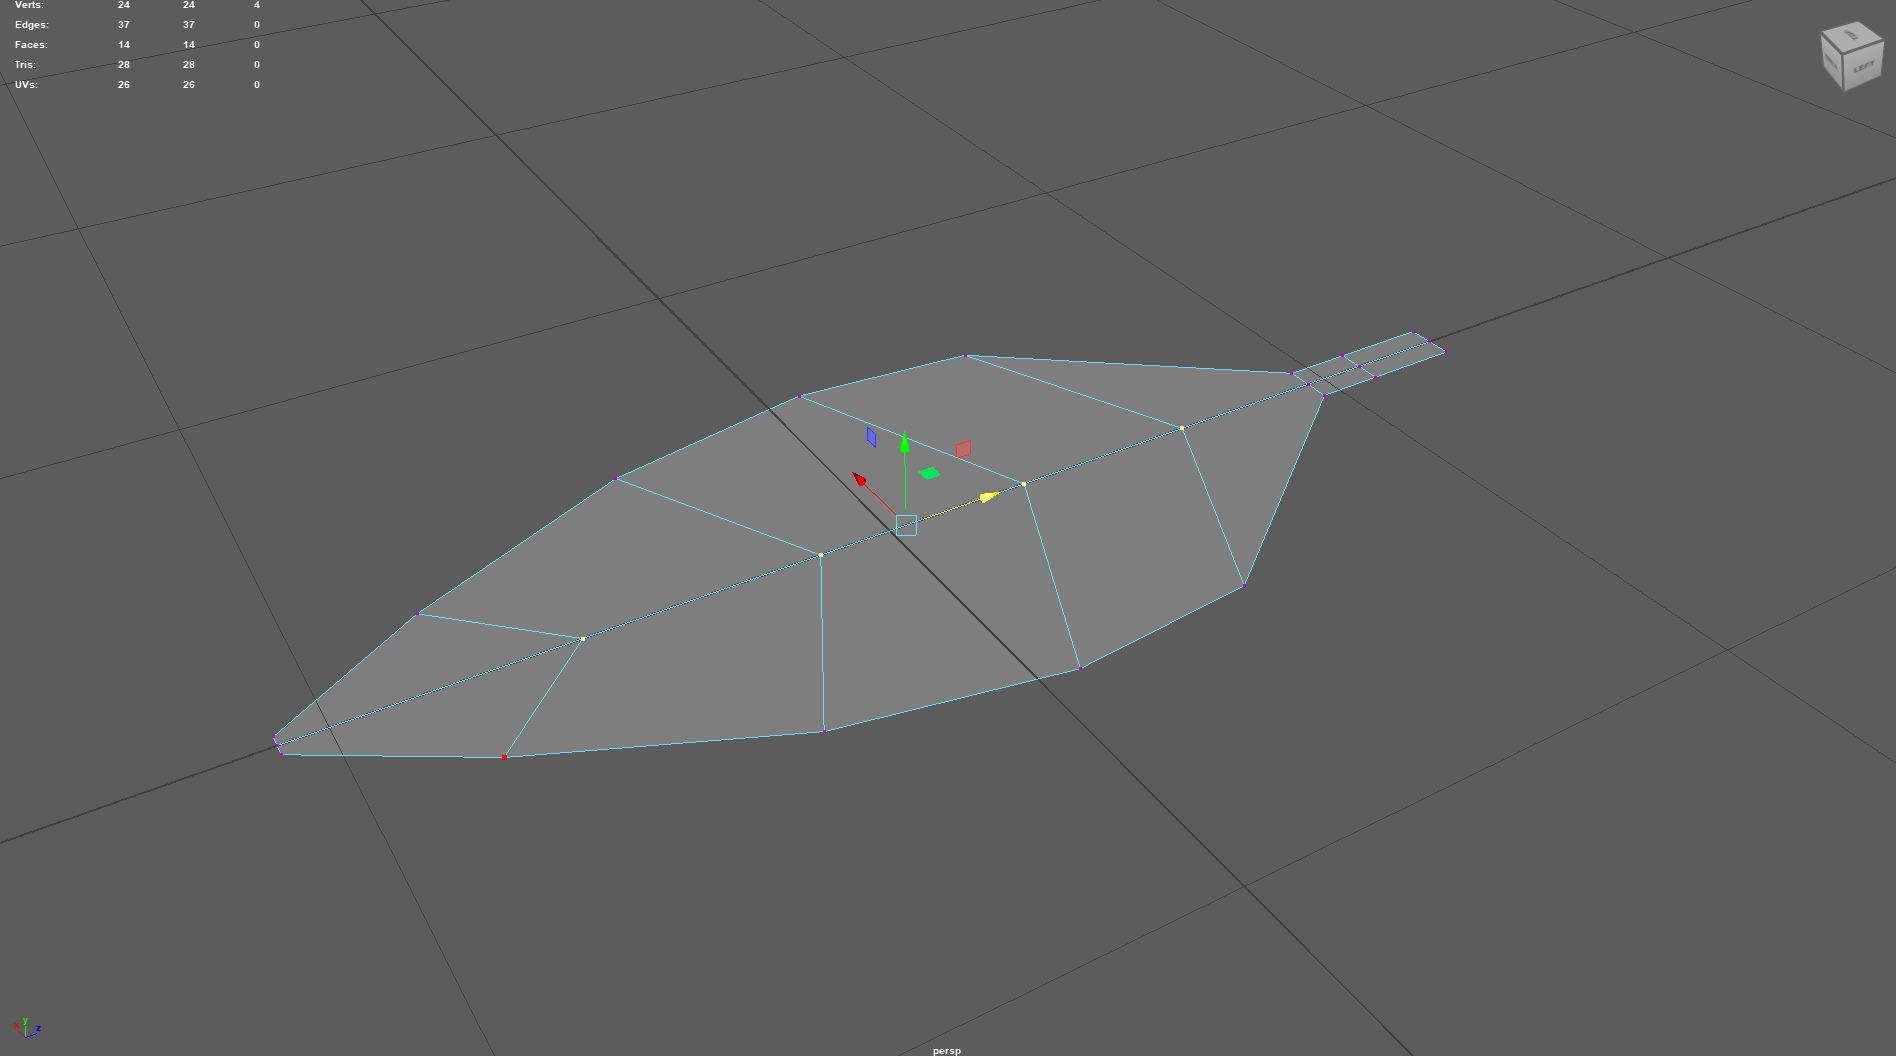
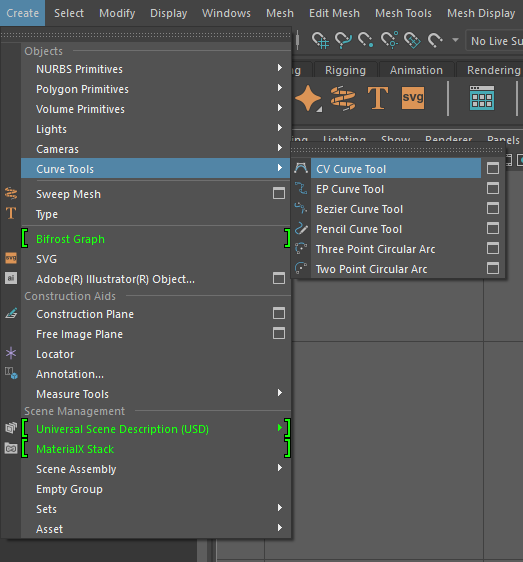
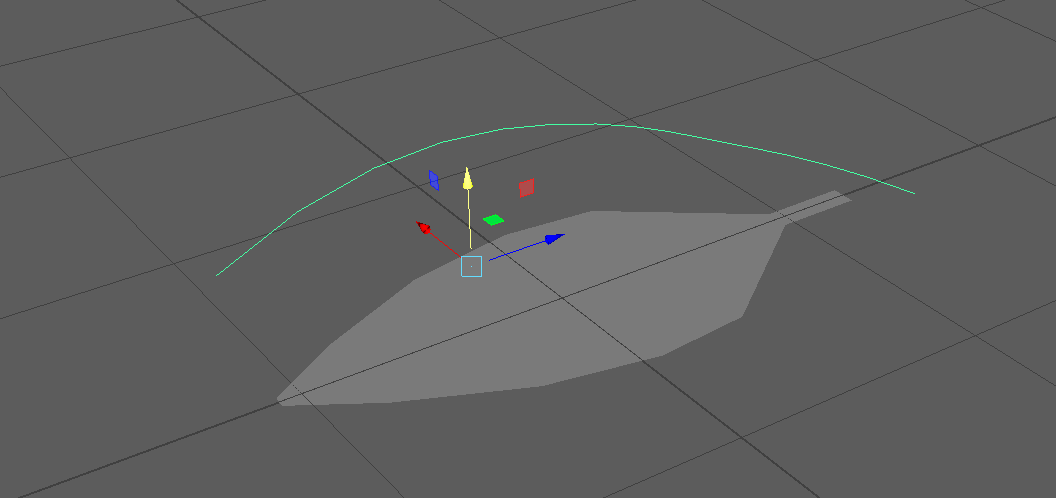
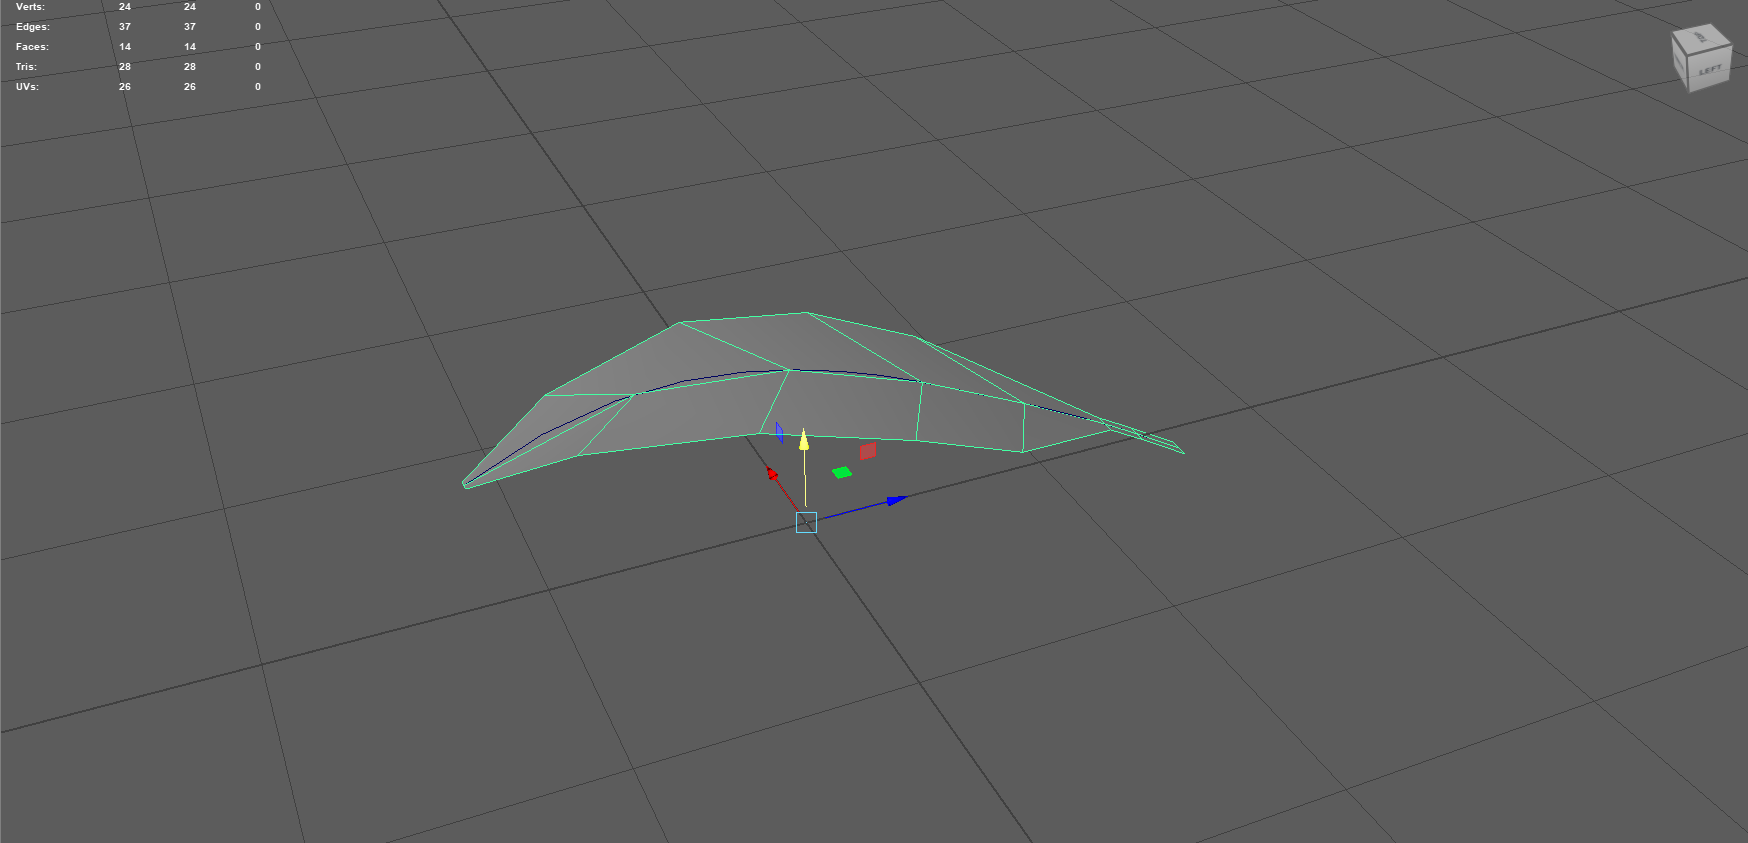
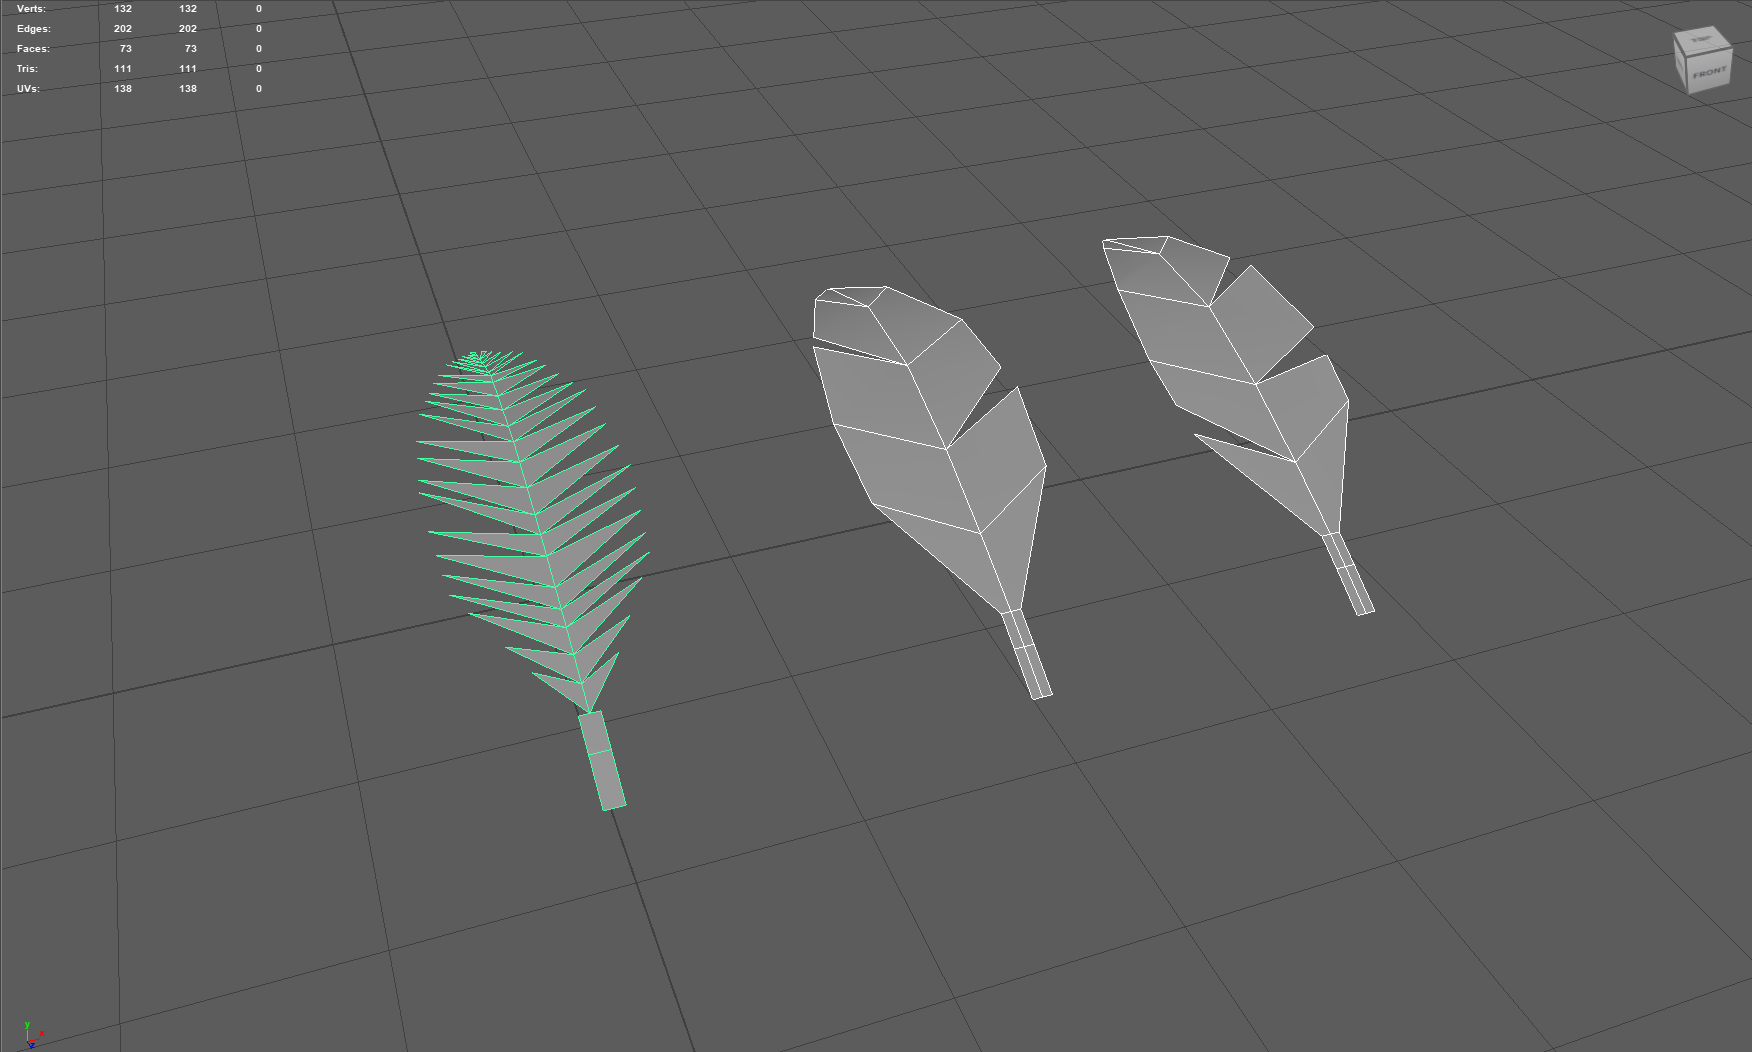
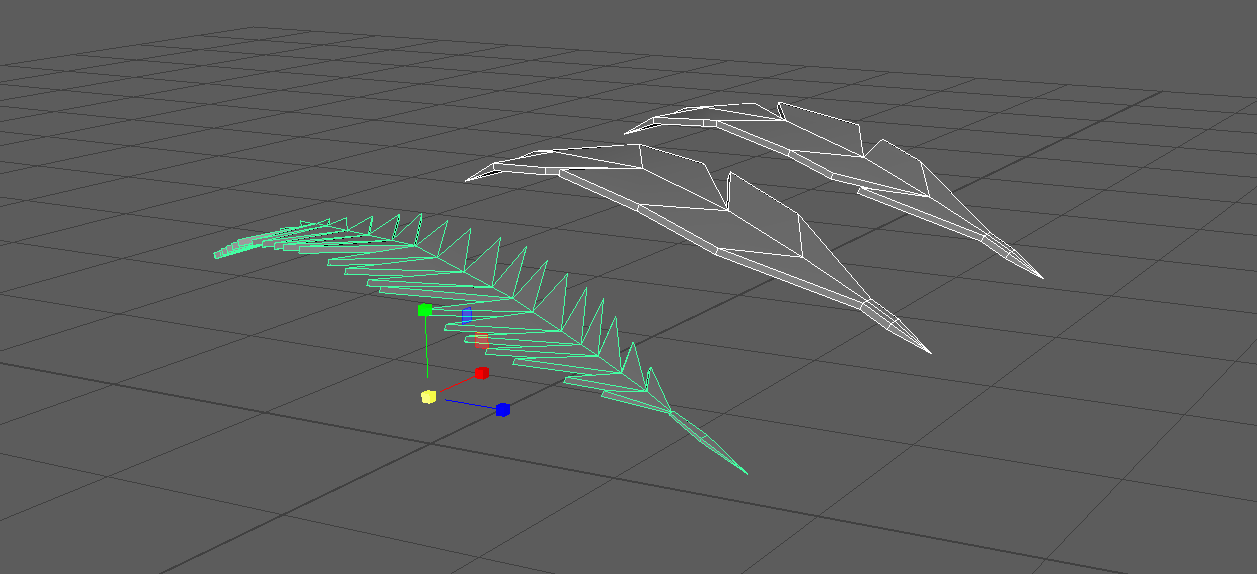
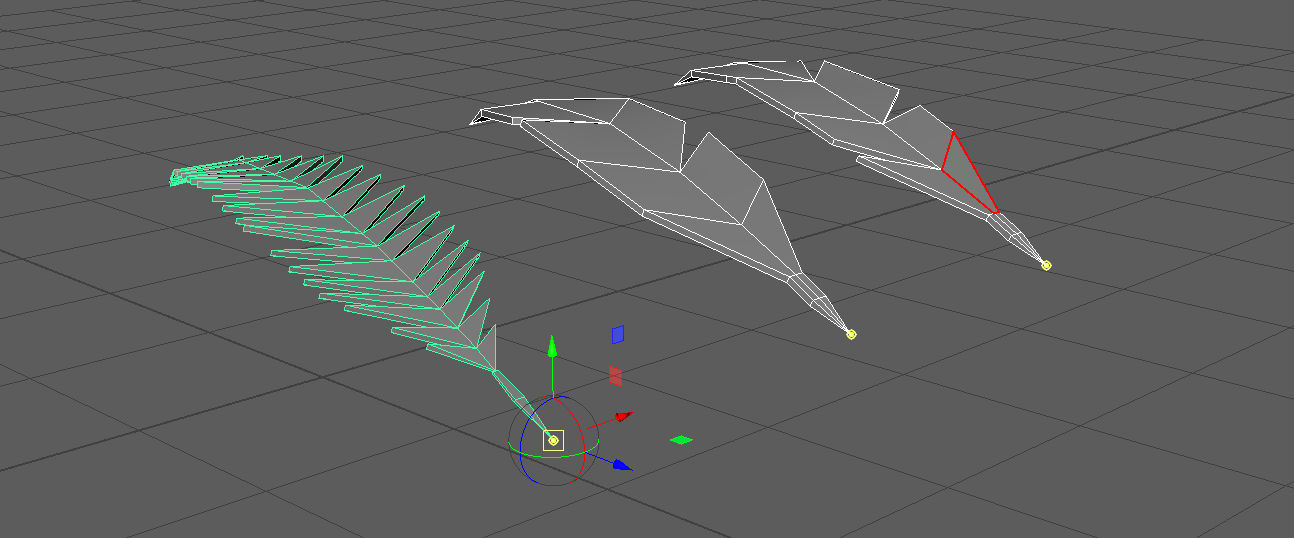
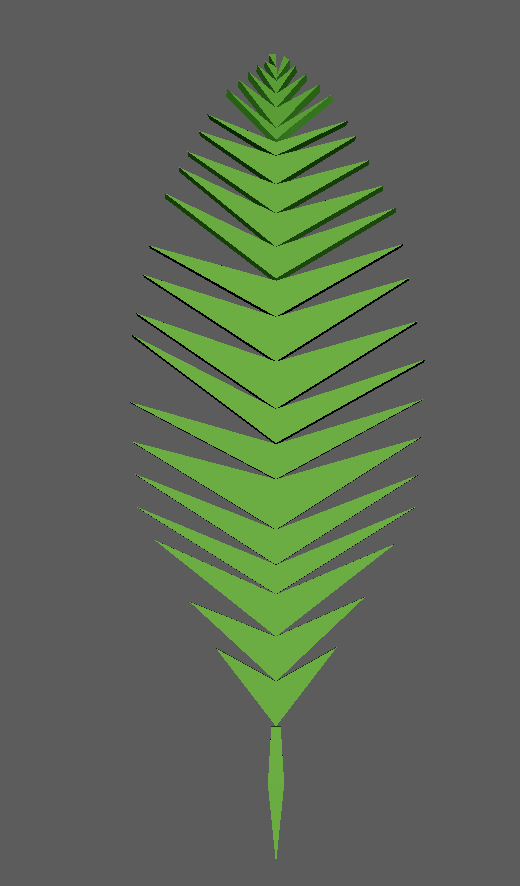
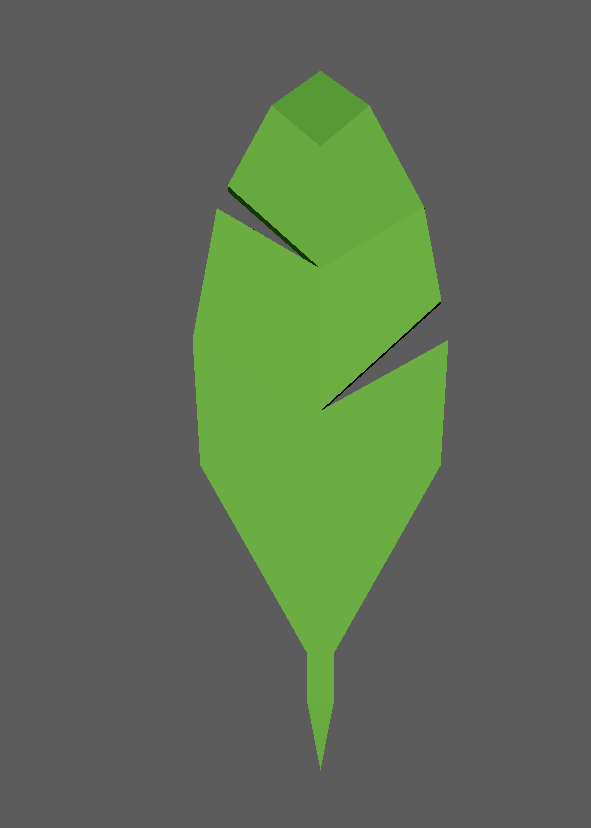
FERN & LEAF + VARIATION ASSET
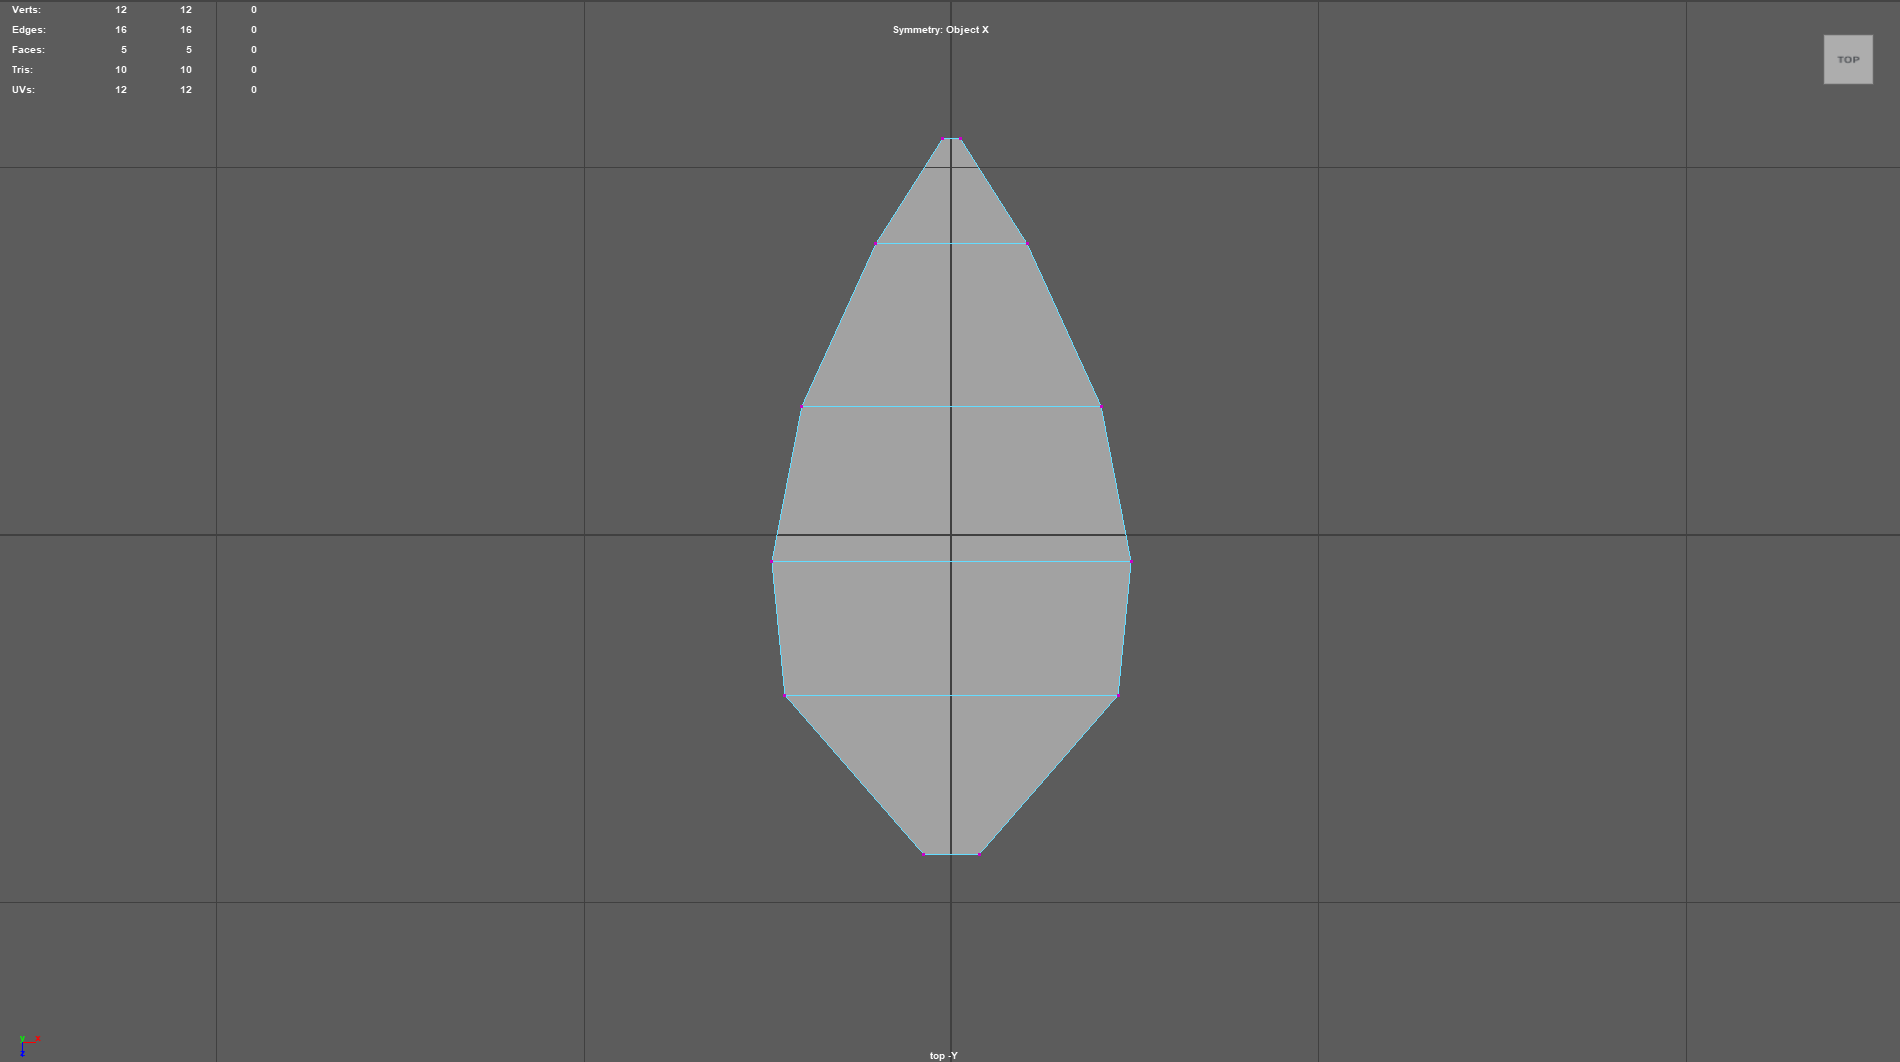
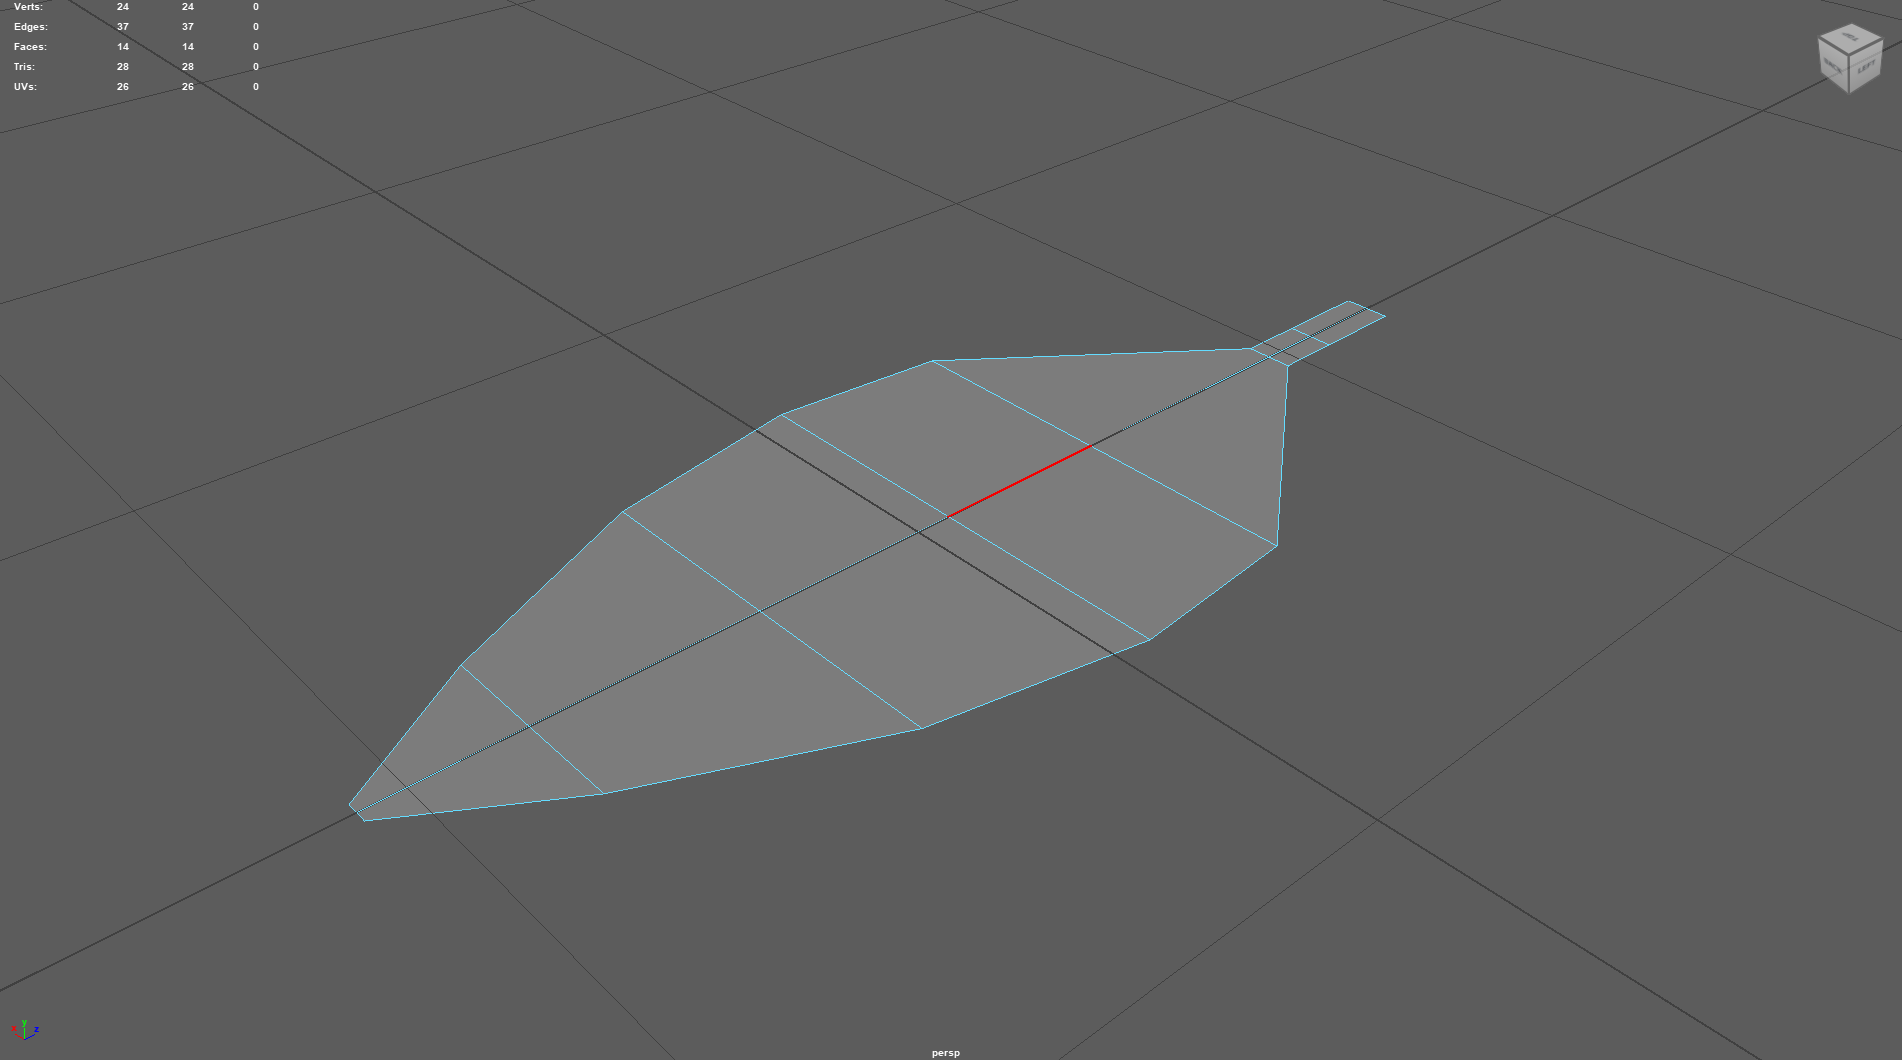
Leaf creation was fairly simple, I turned the plane into a leaf shape and then used the curve tool to curve it. I then duplicated it twice to make 2 standard leaves with variations and one fern.


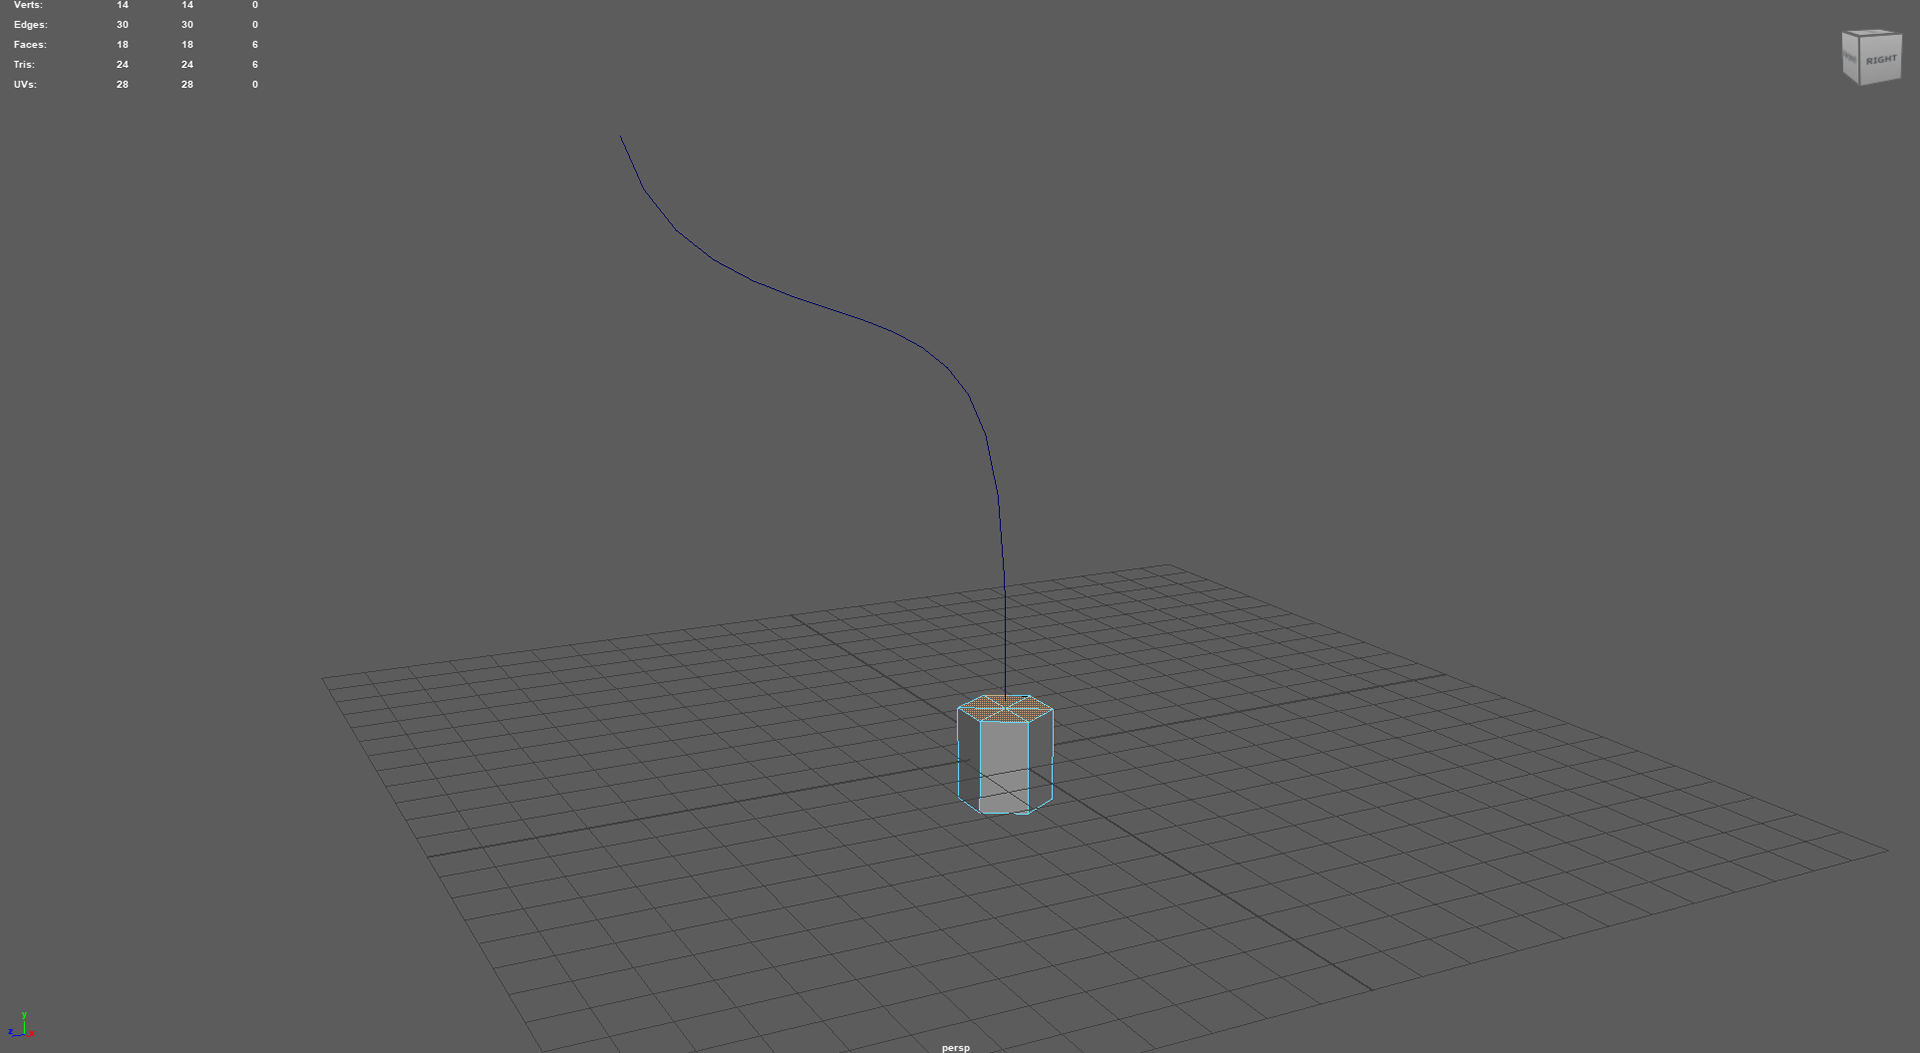
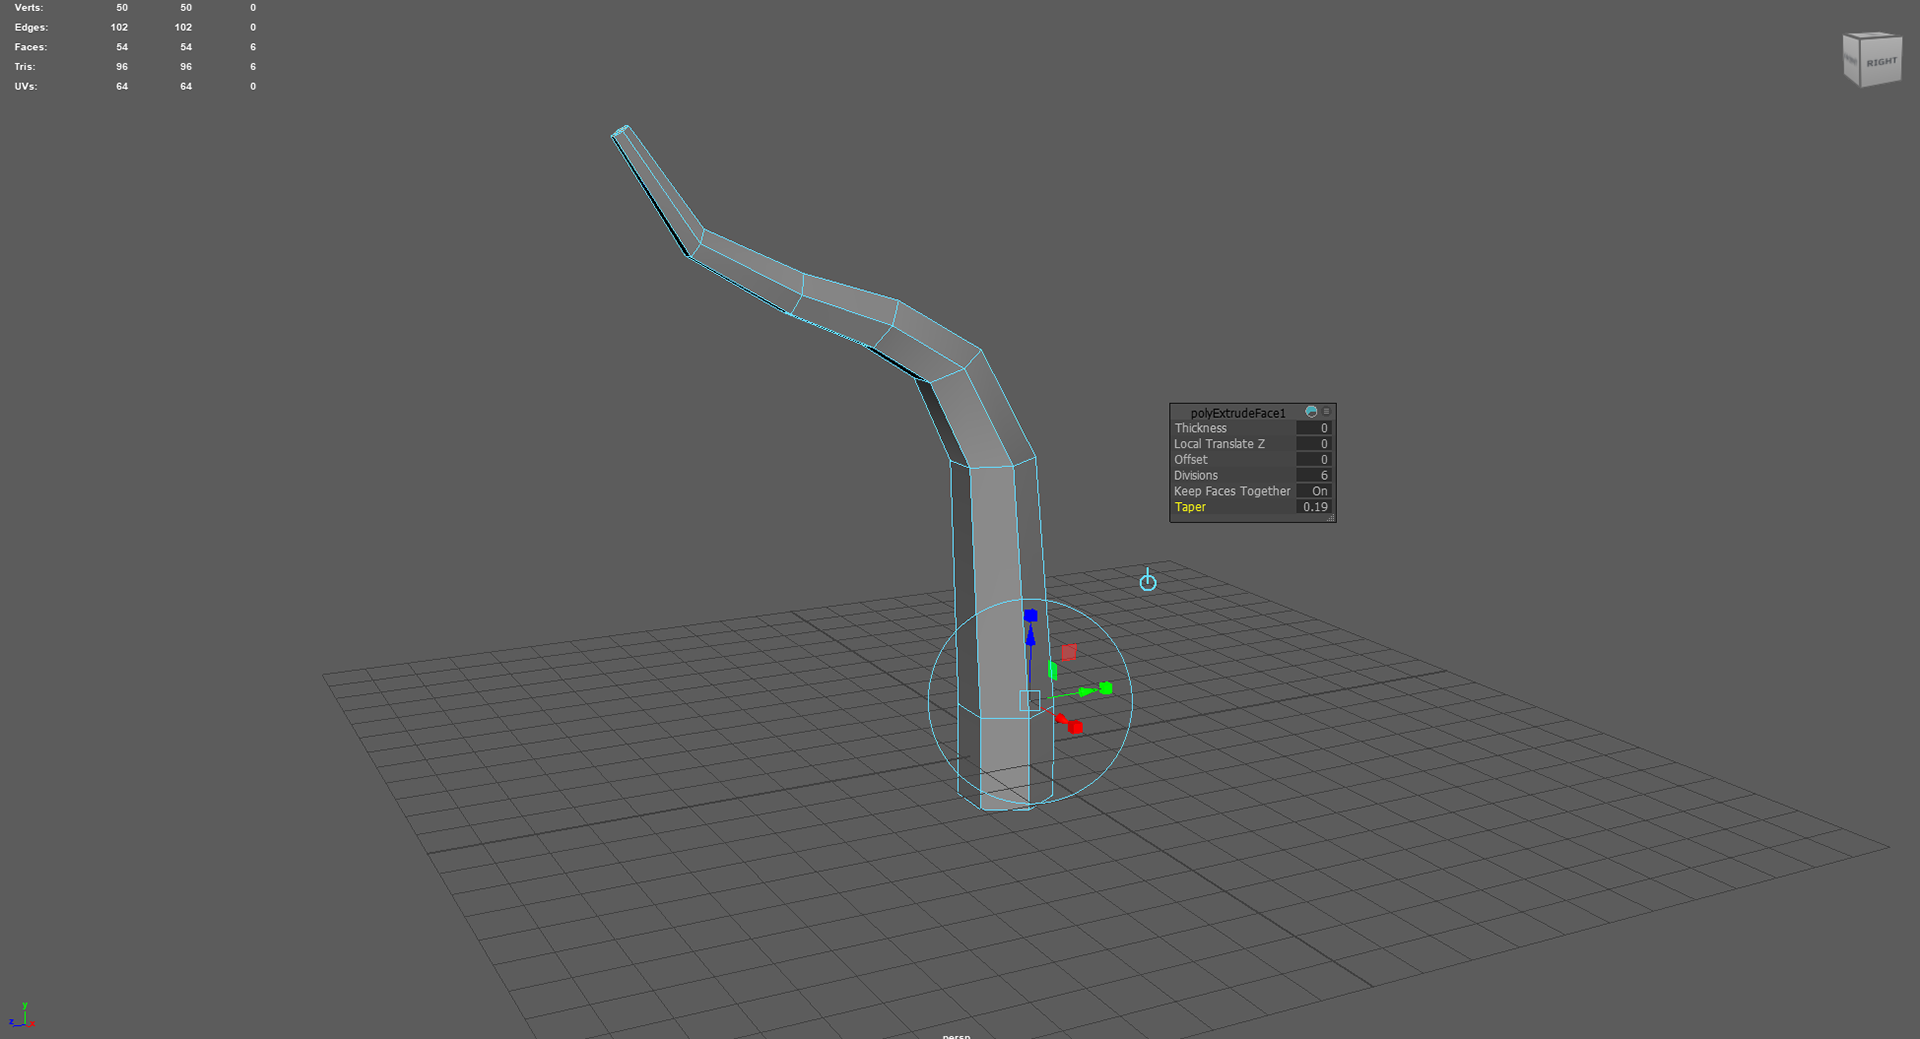
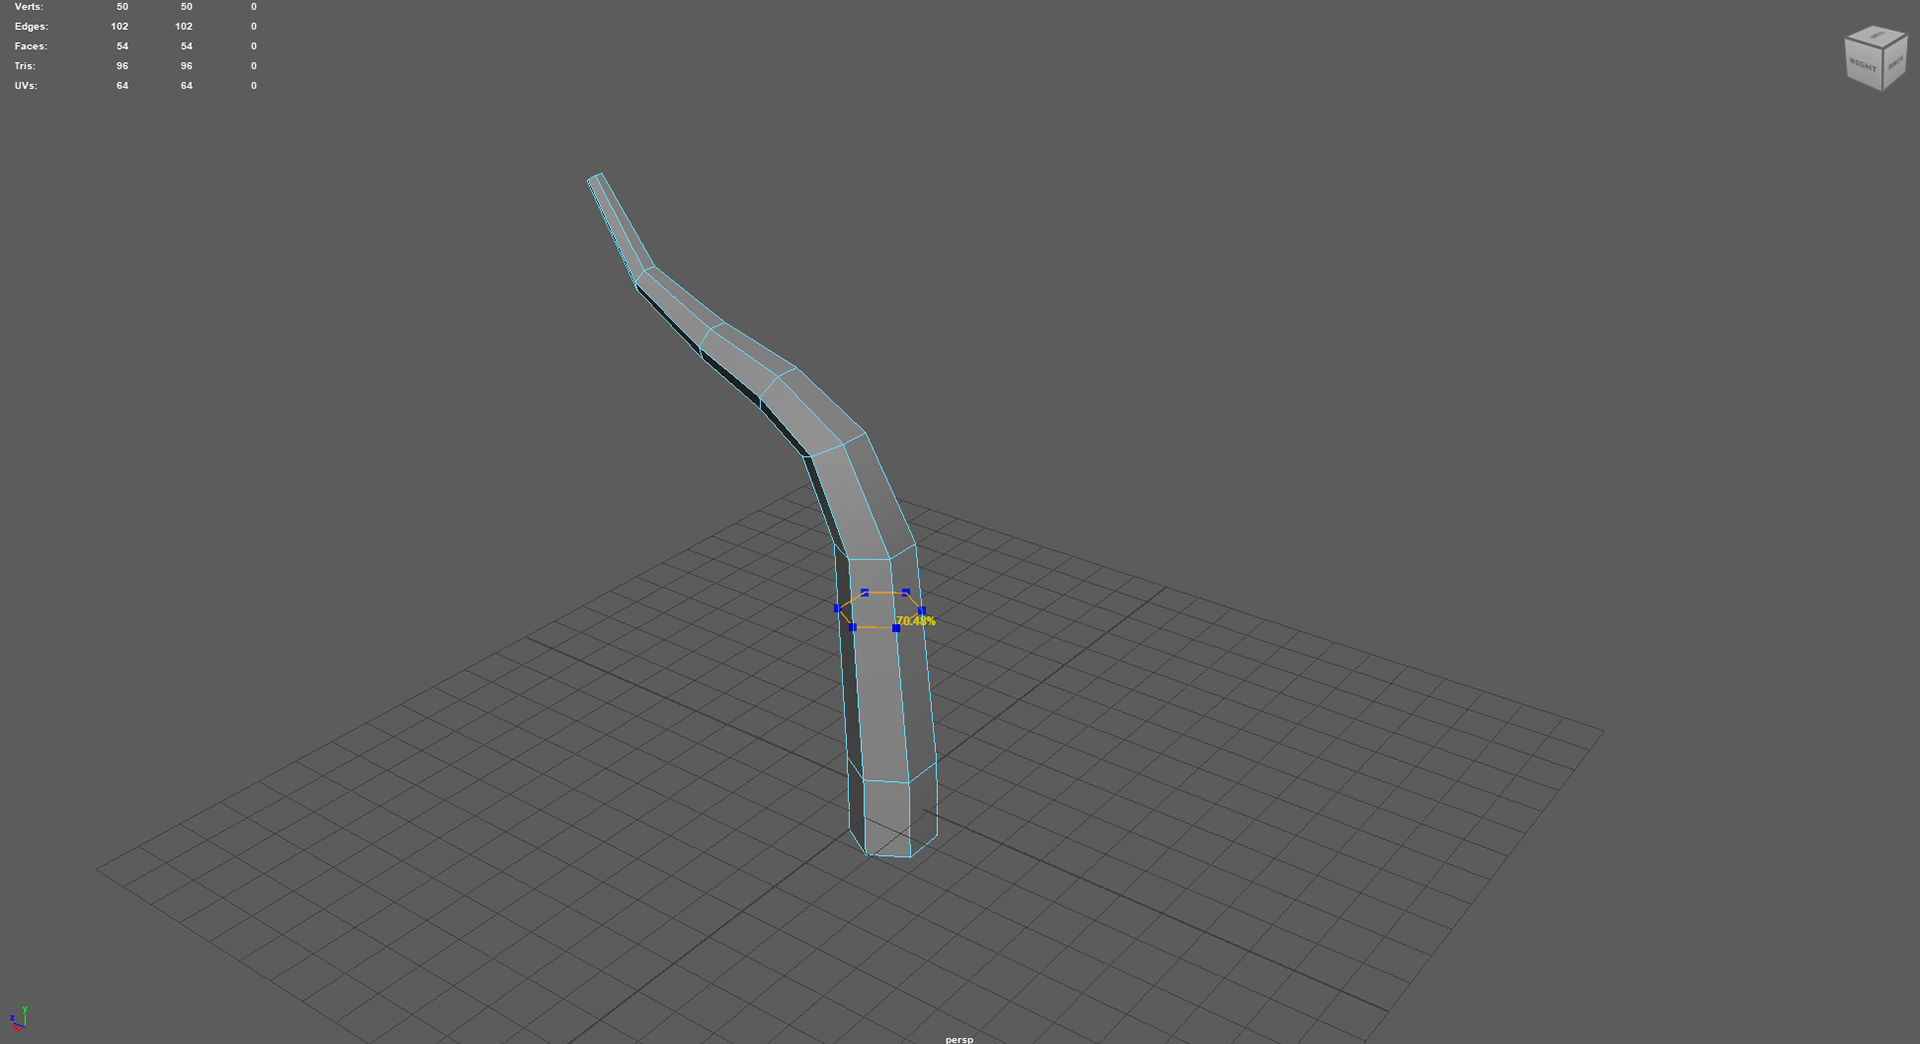
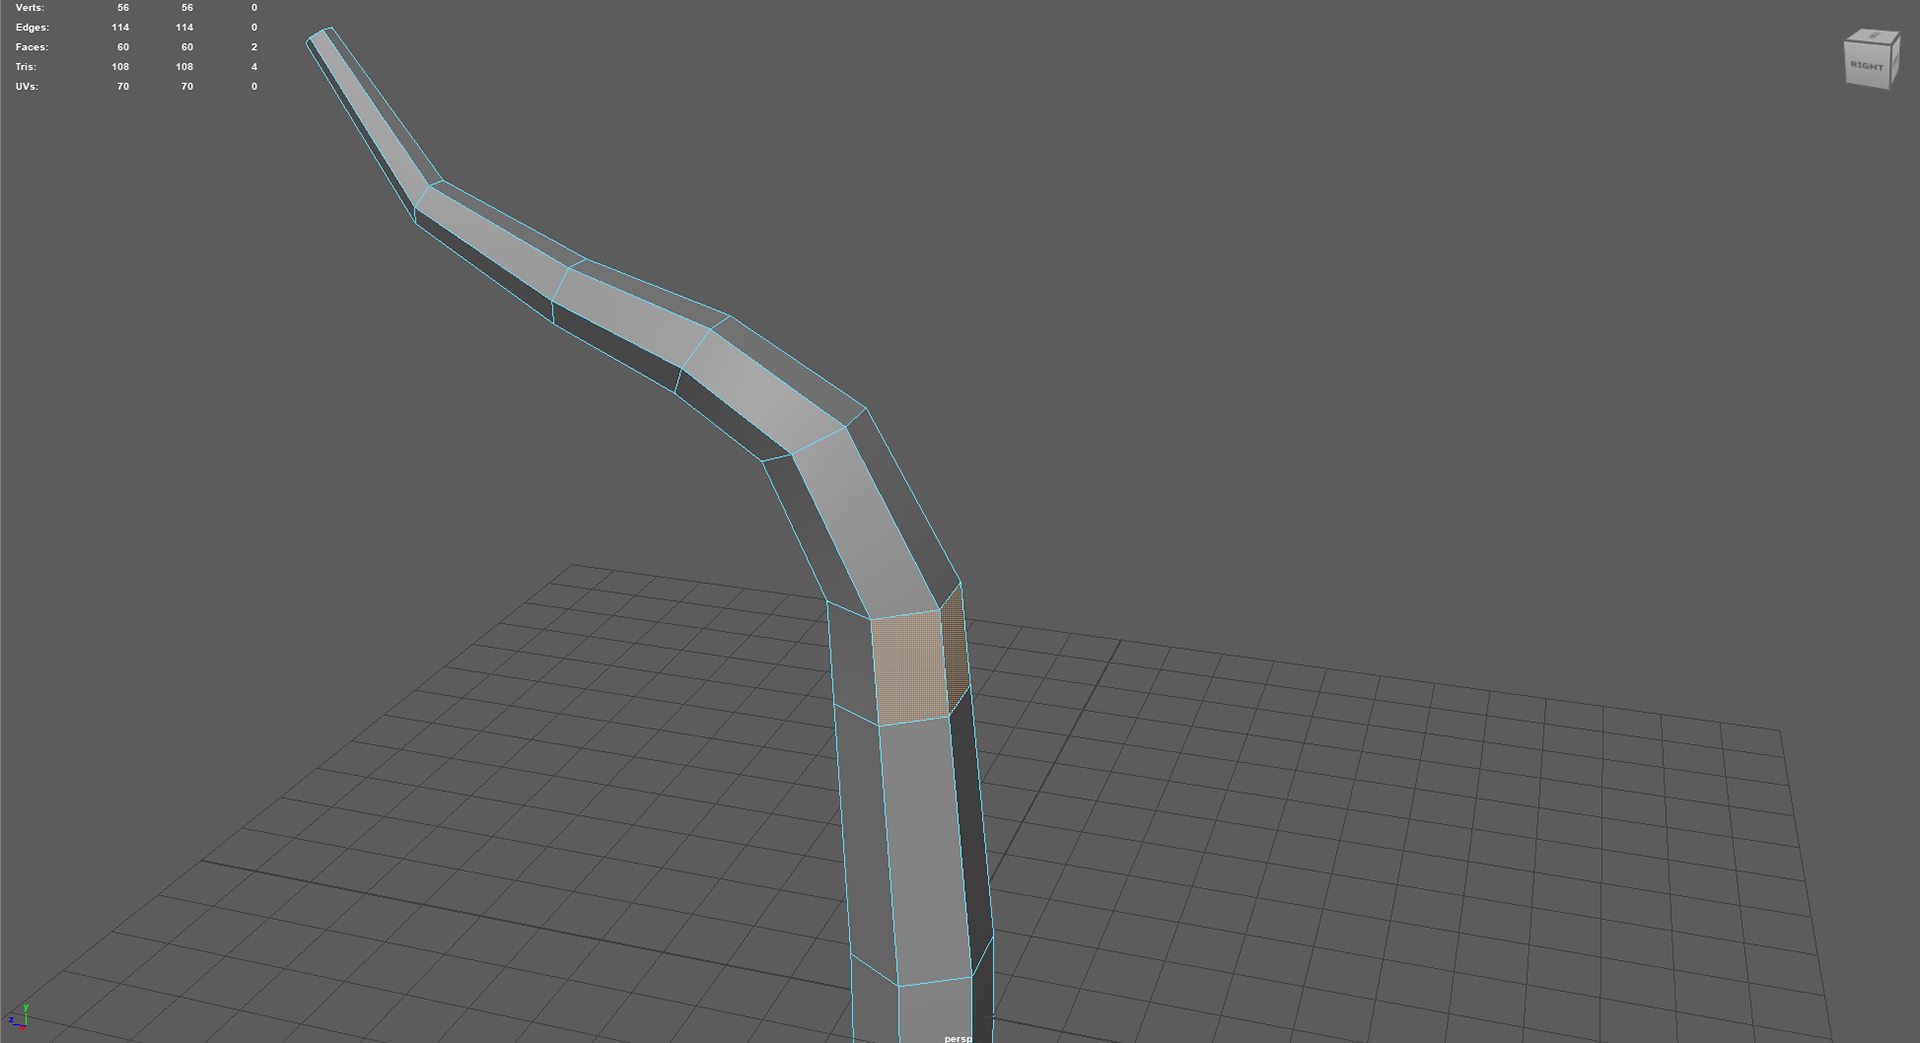
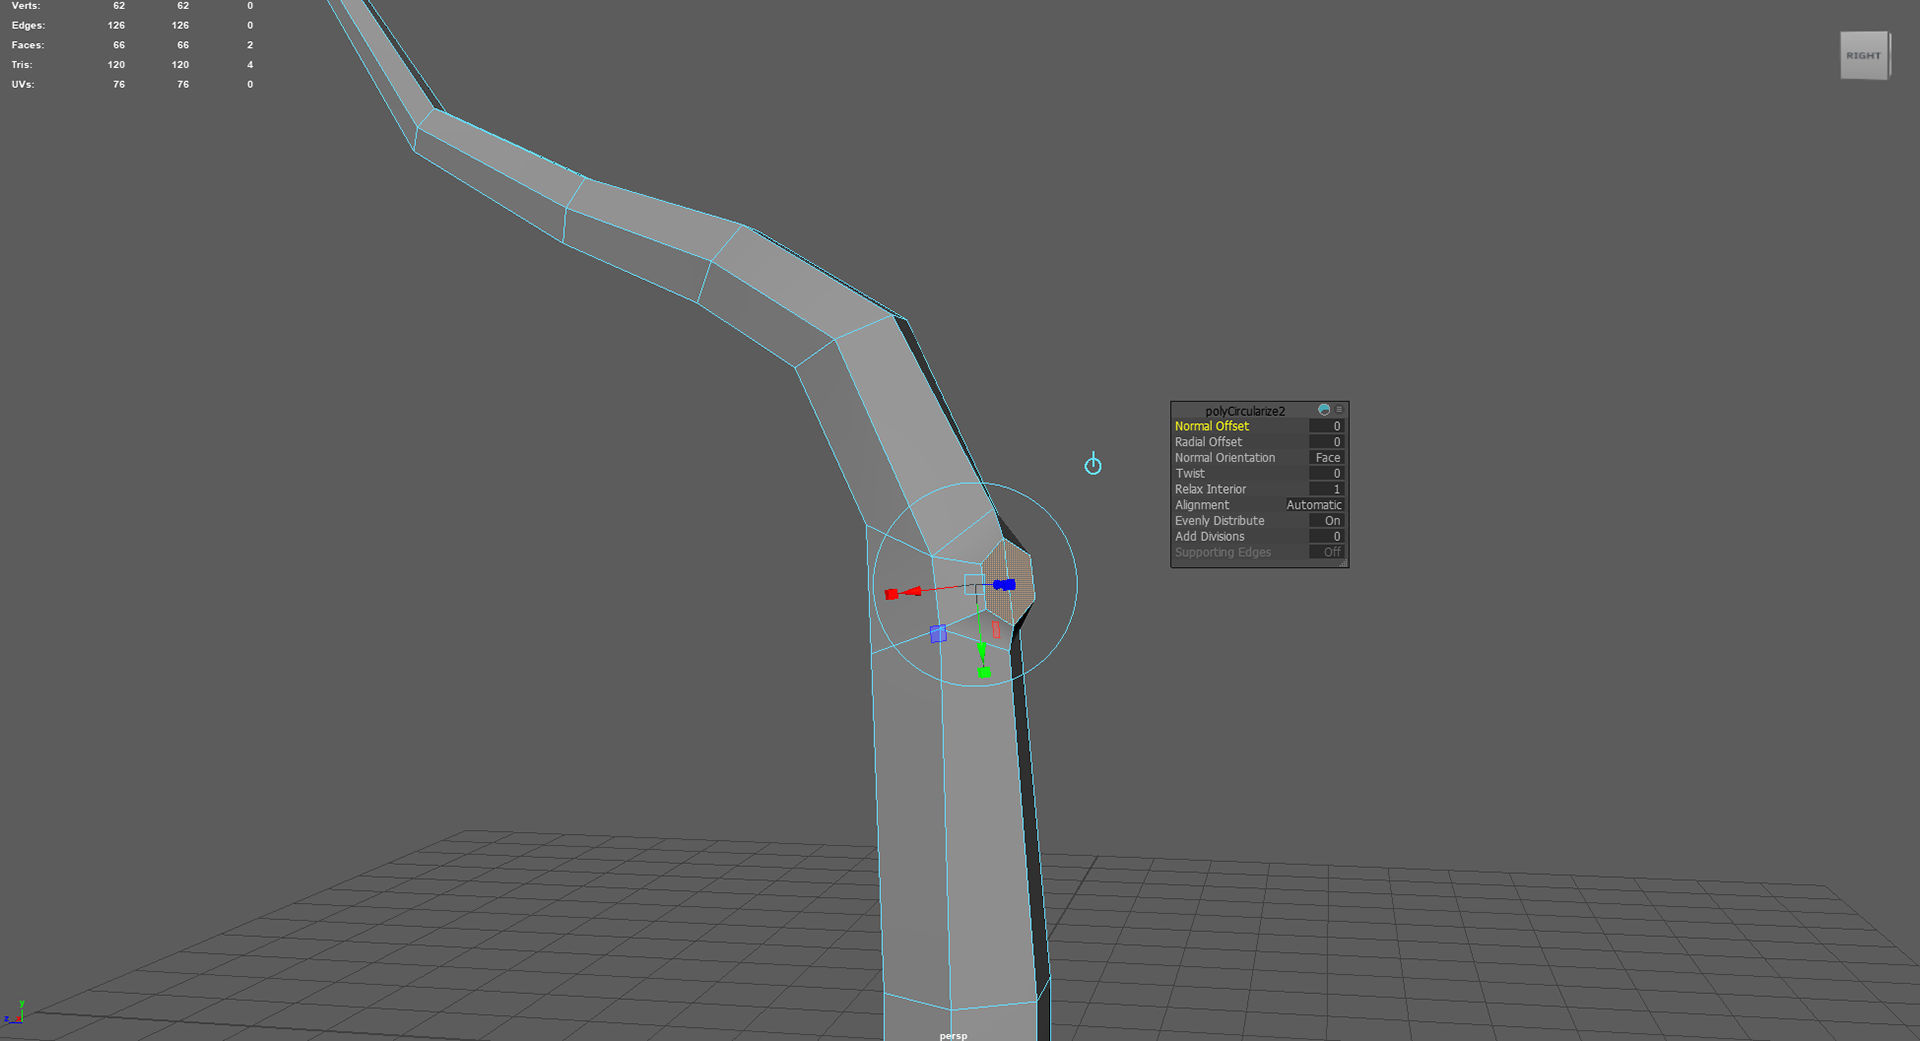
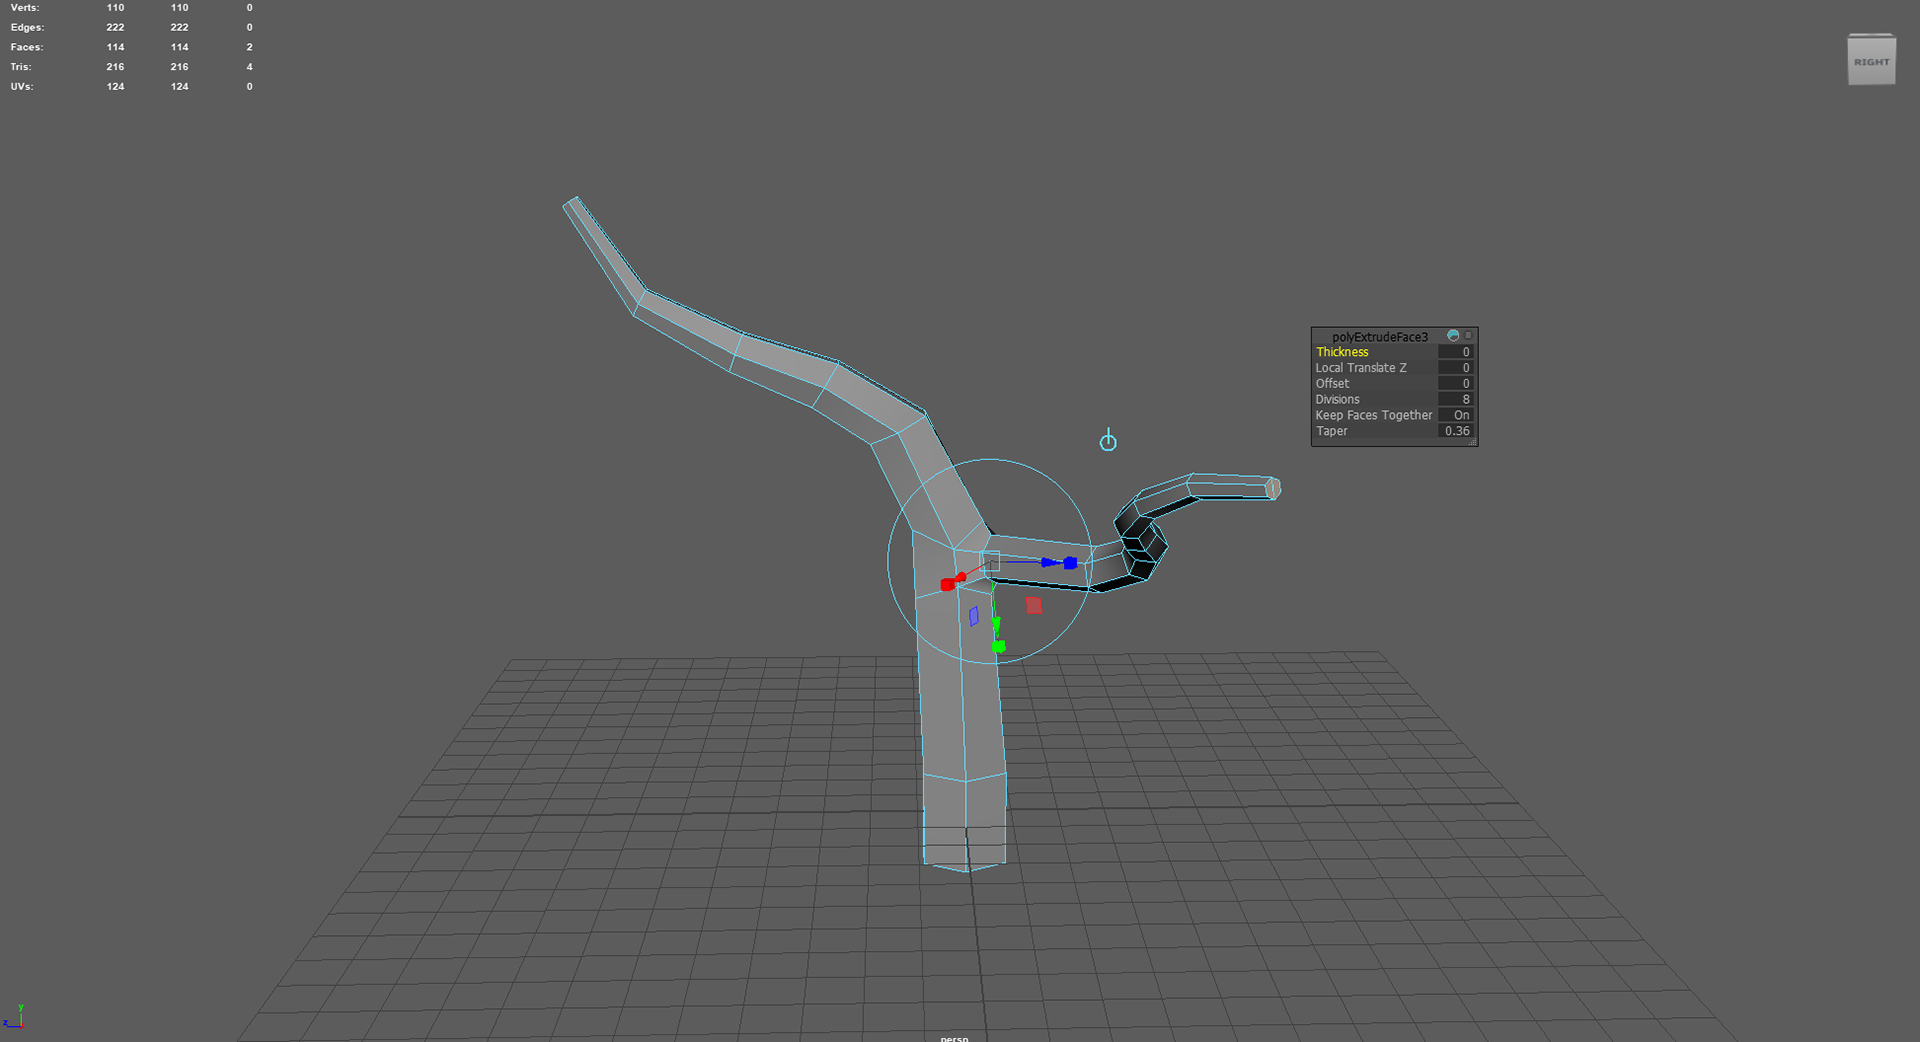
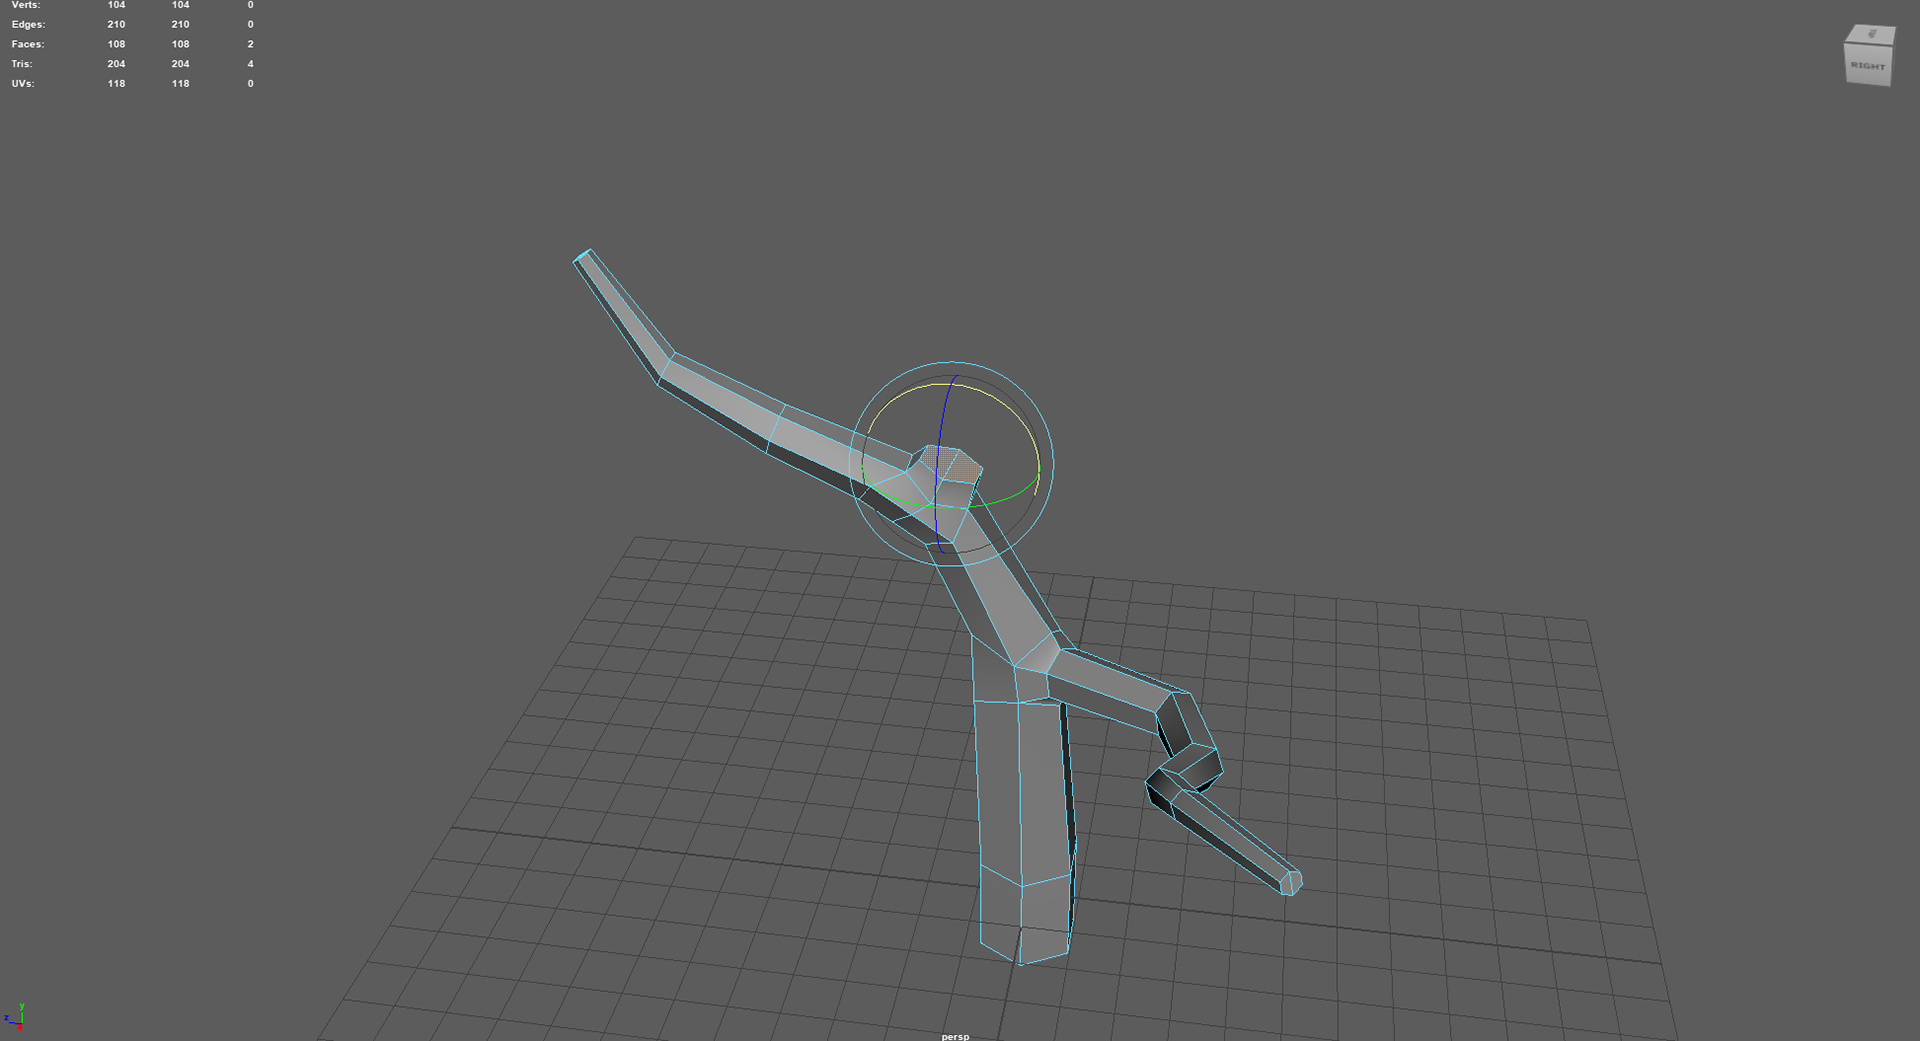
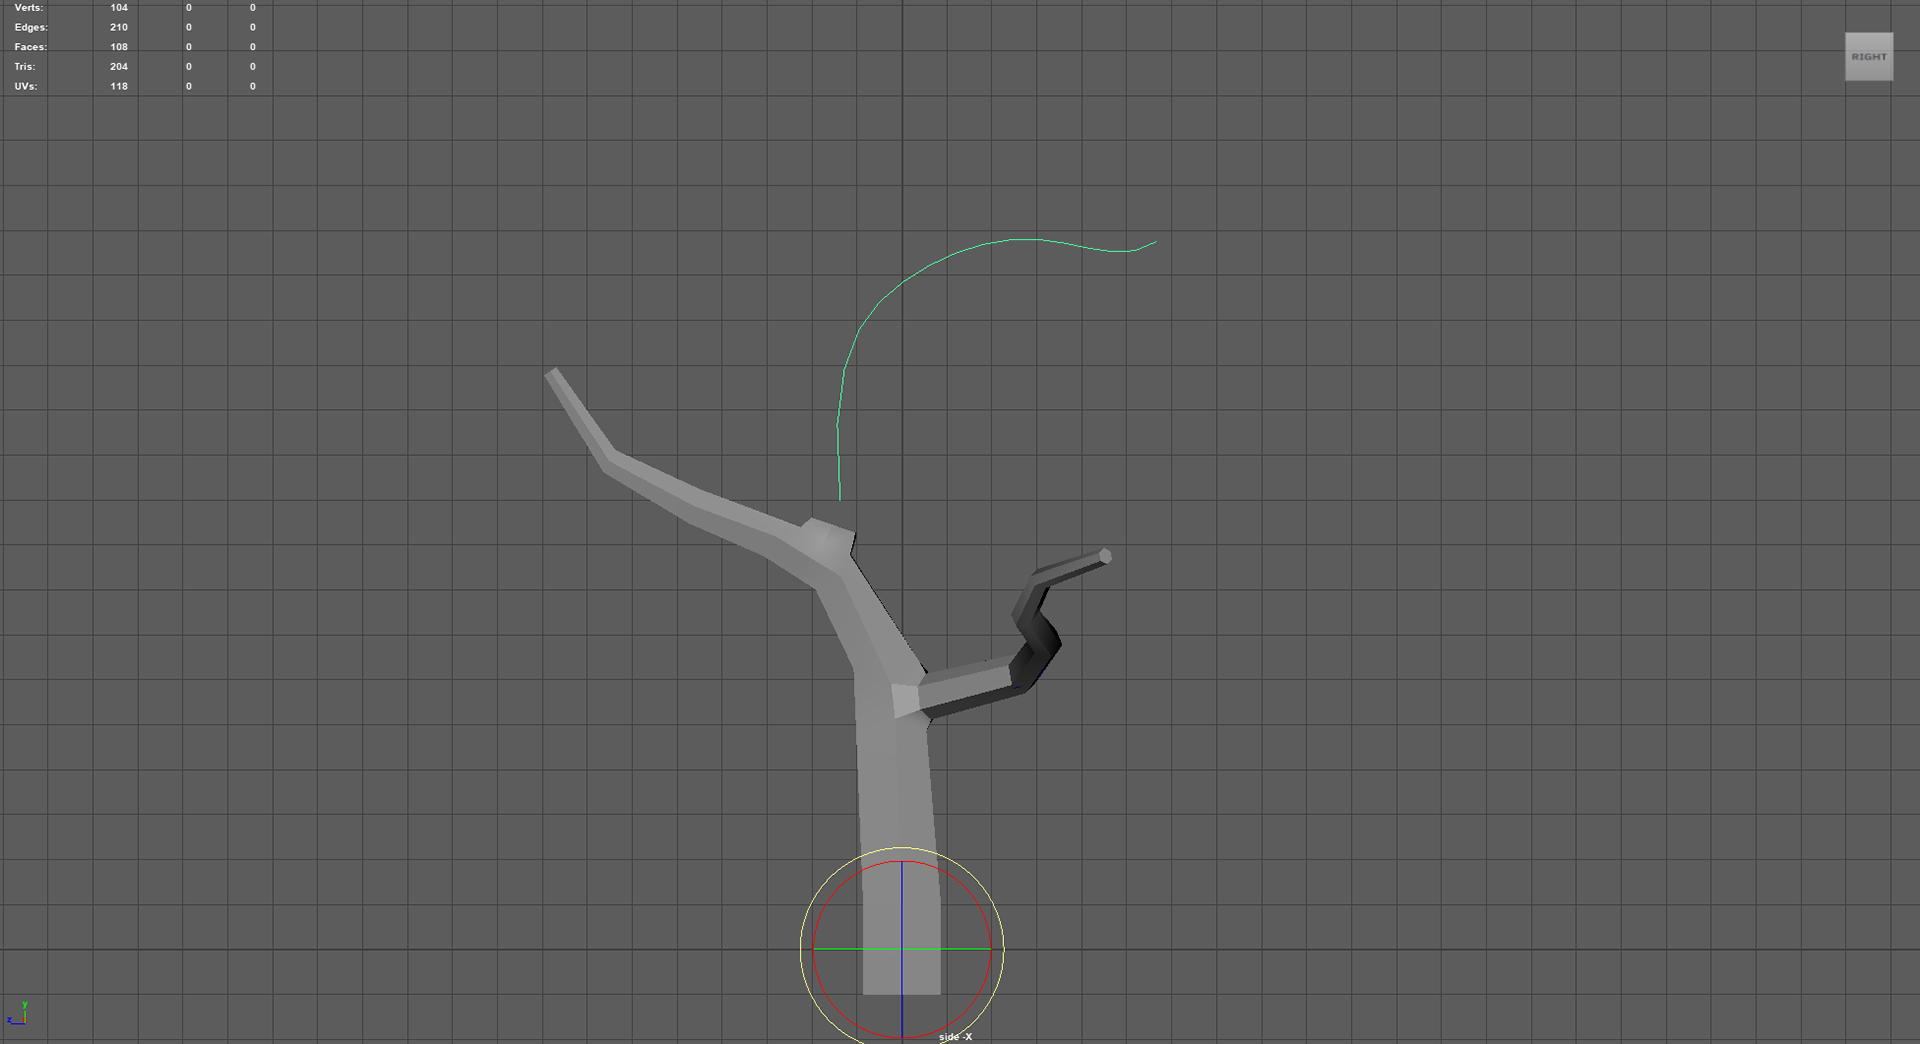
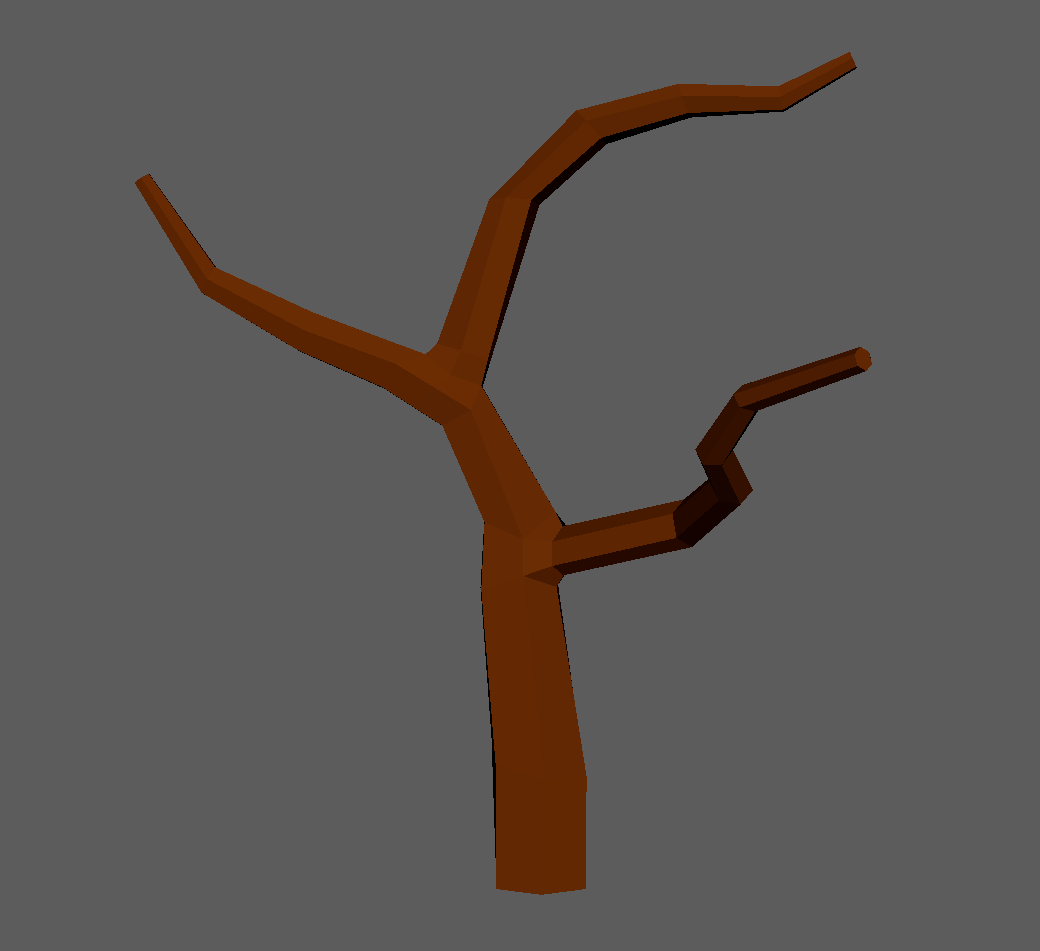
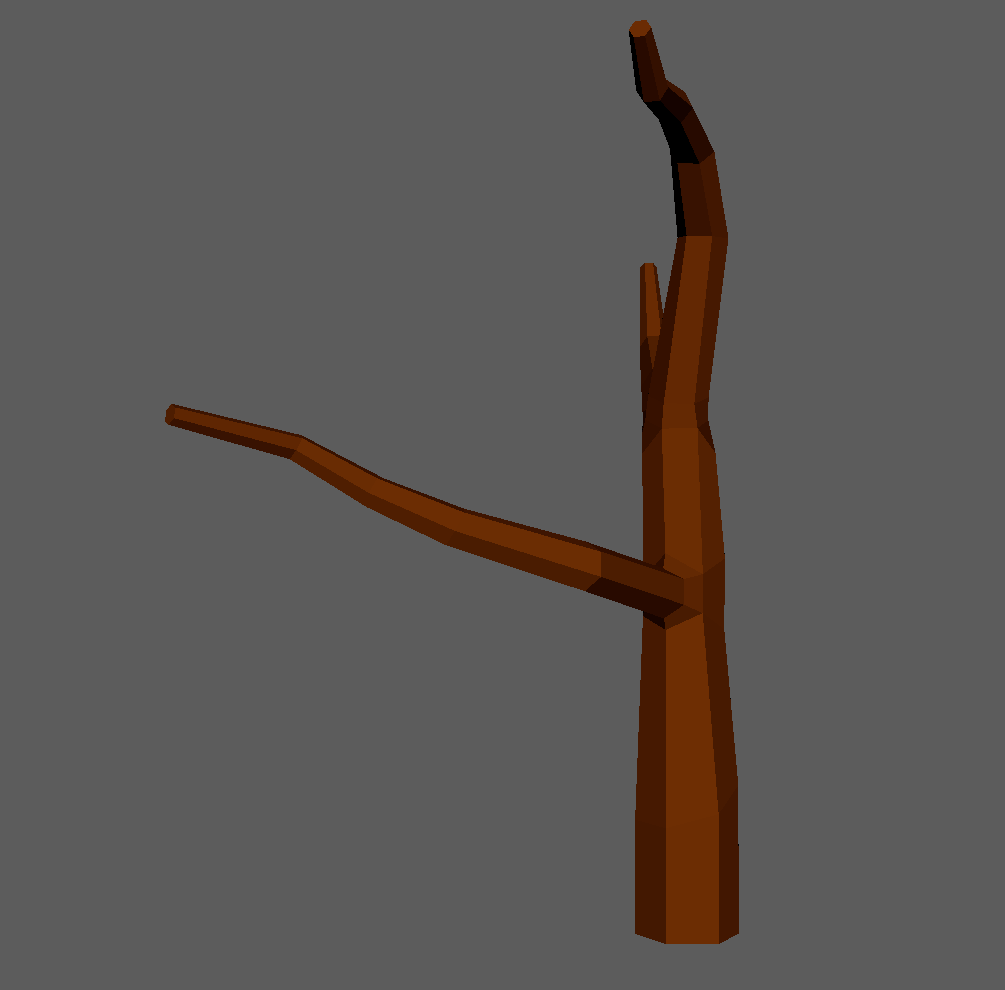
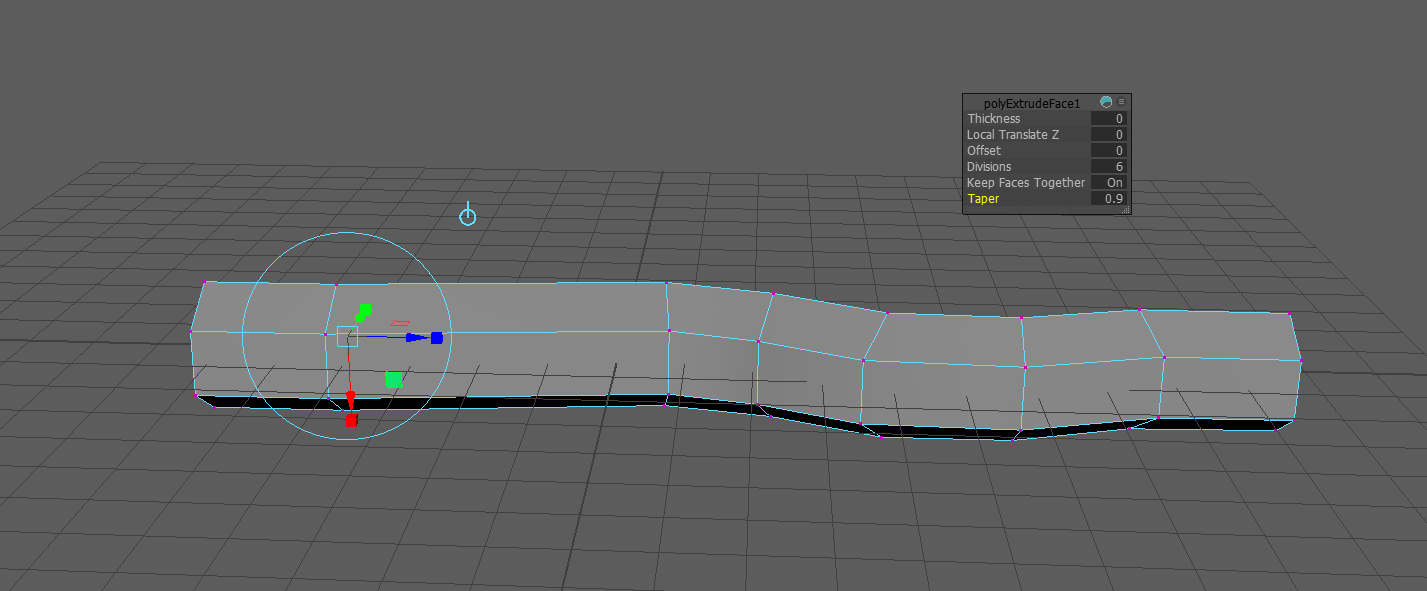
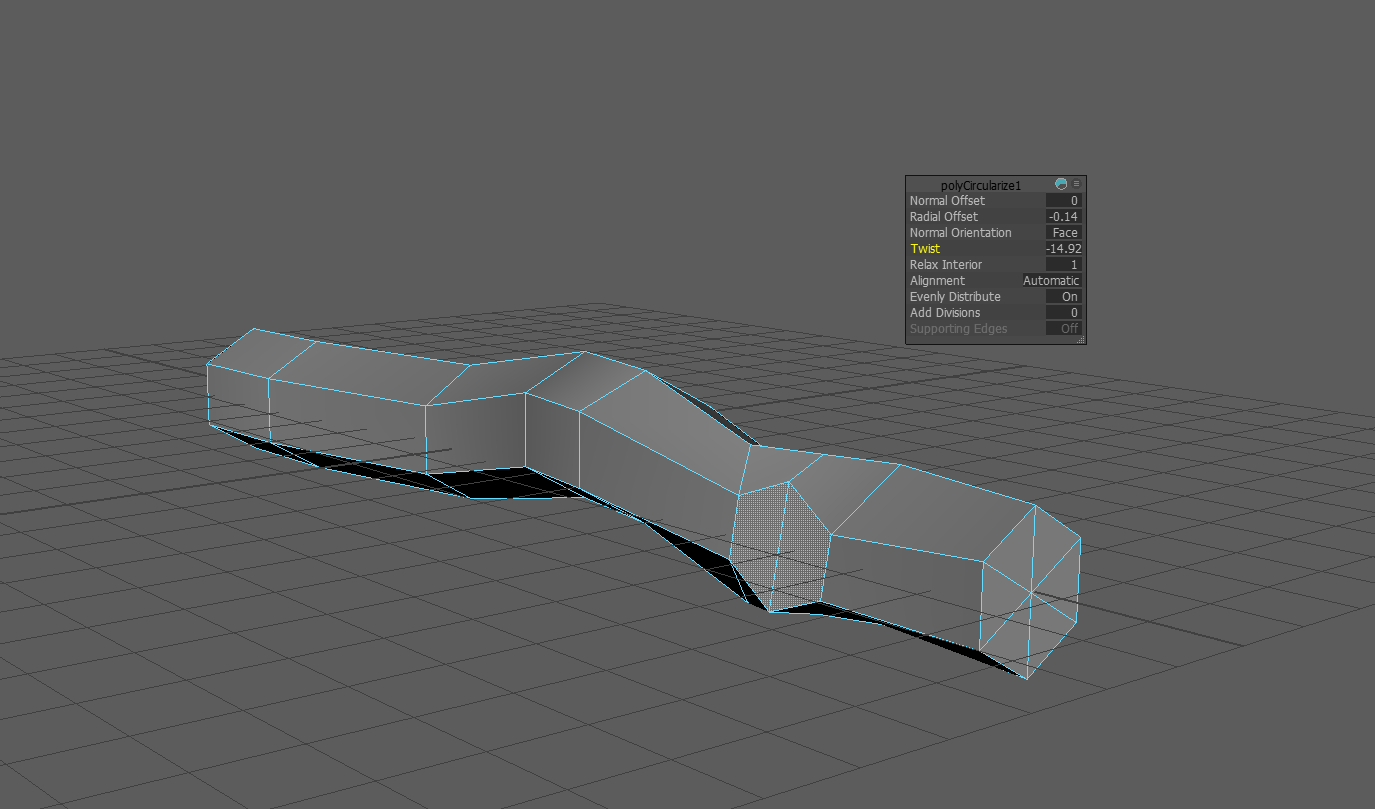
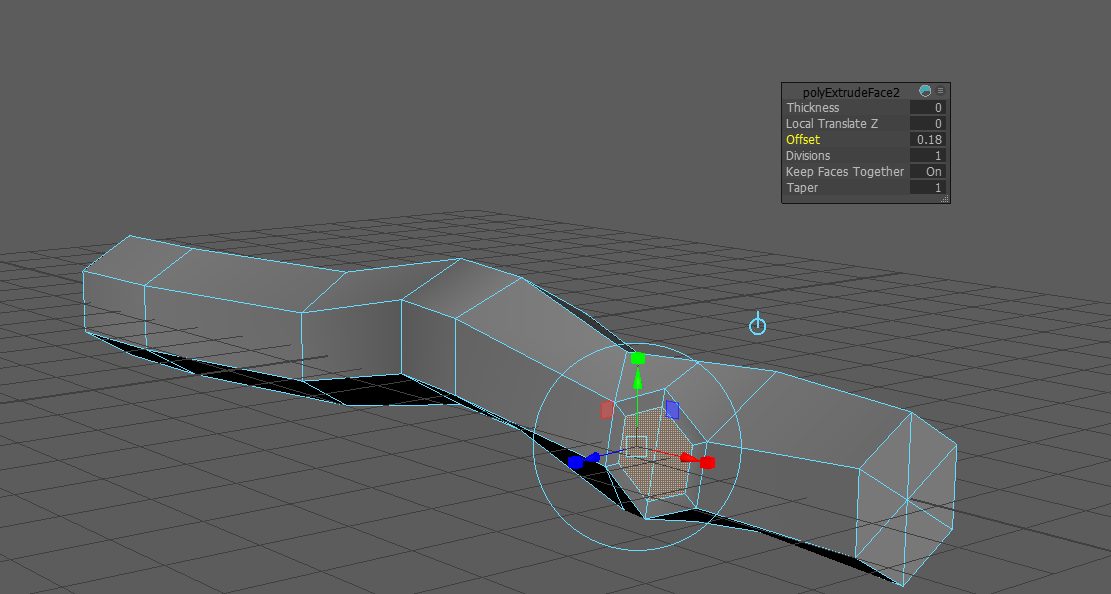
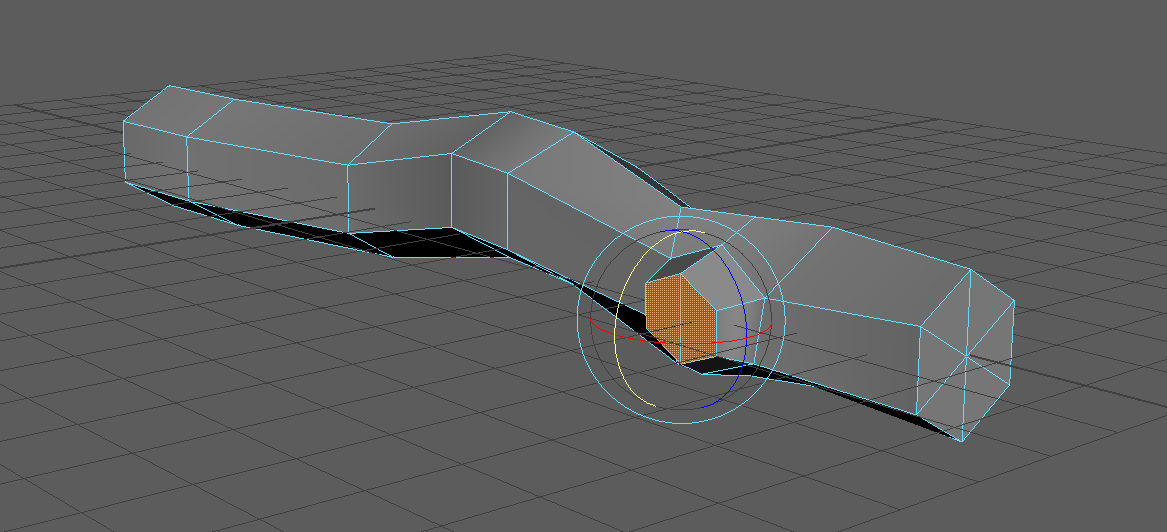
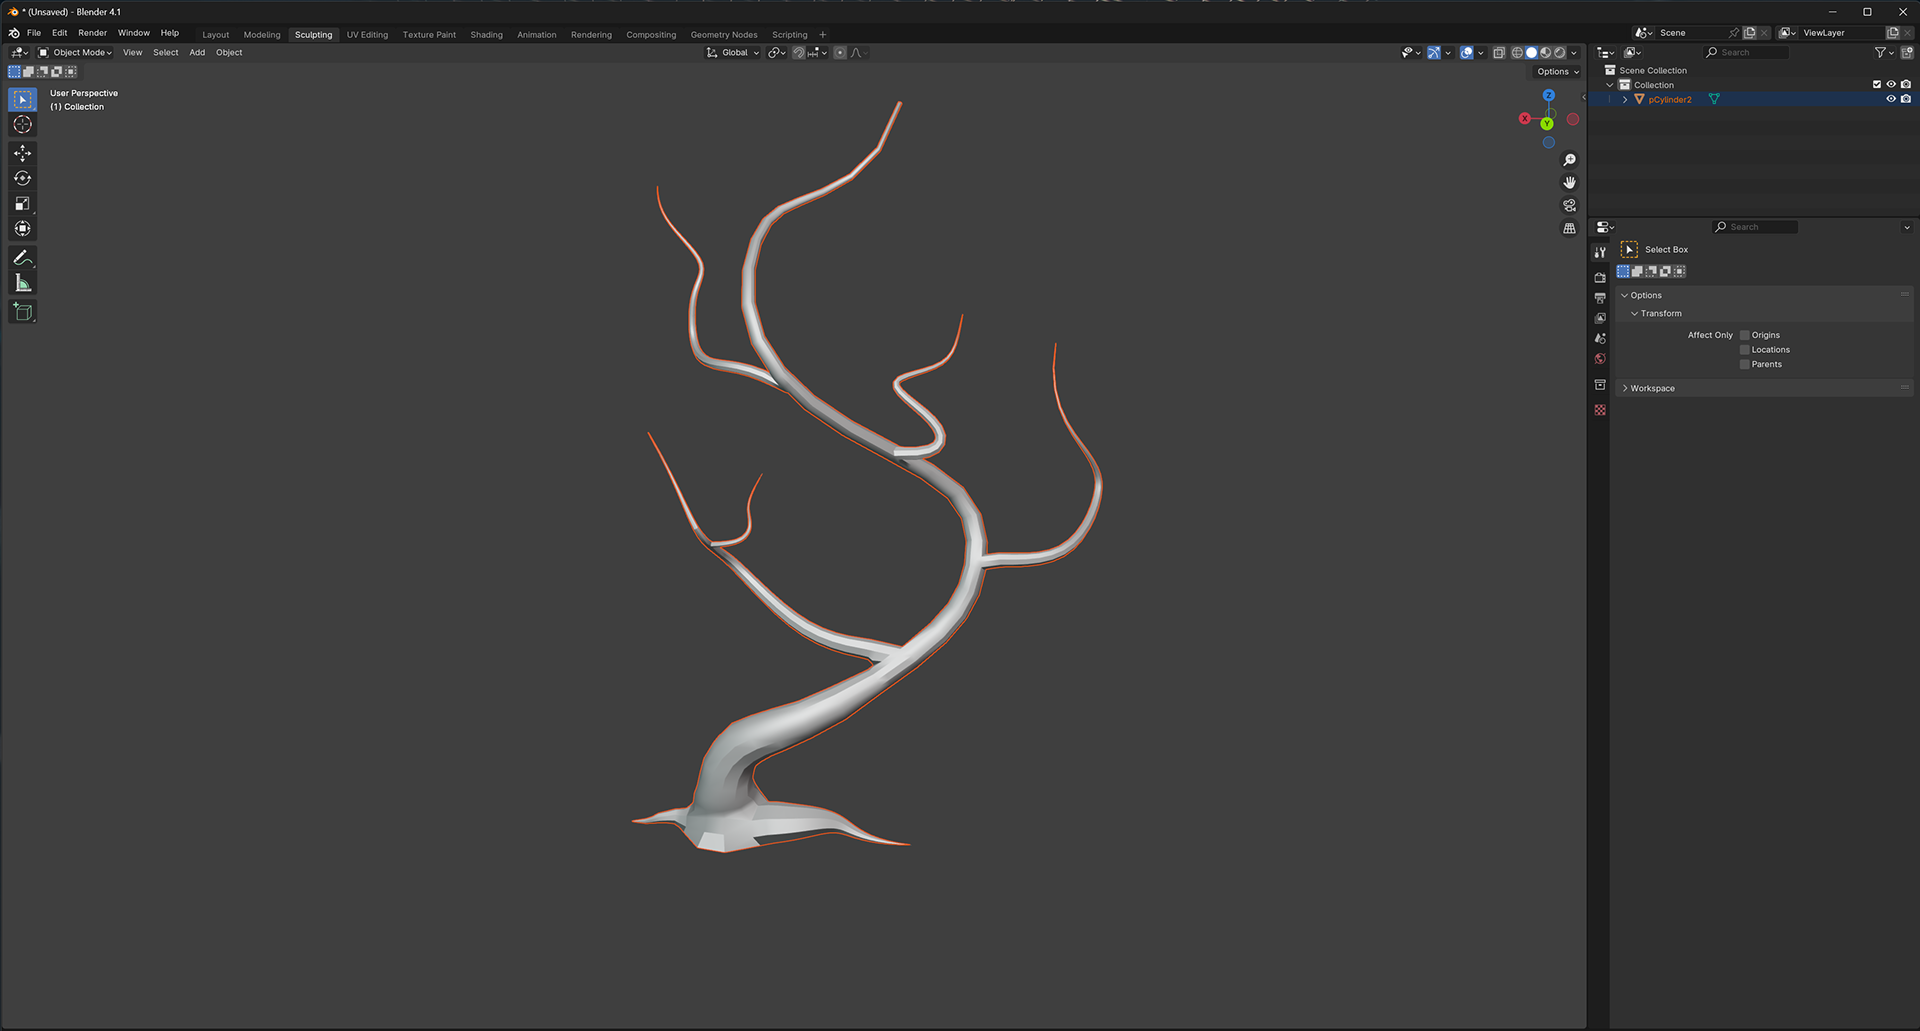
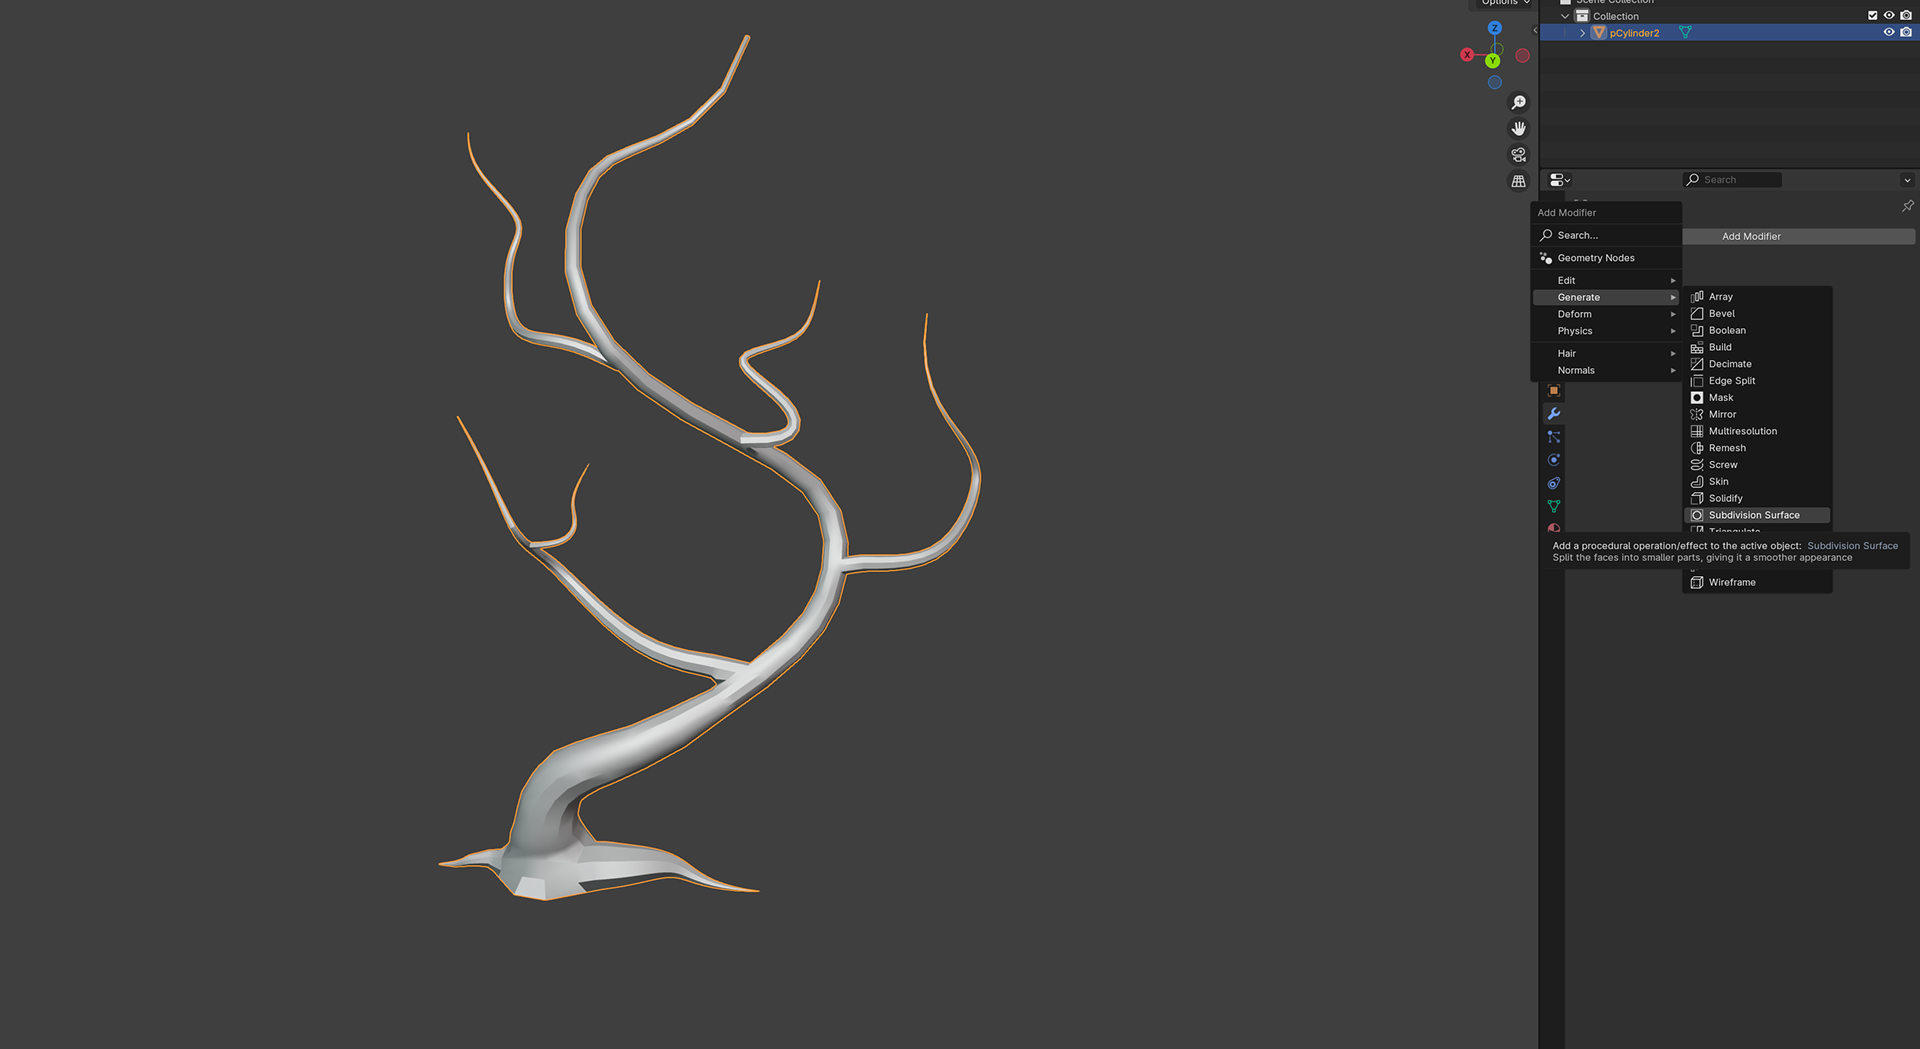
TREE NO FOLIAGE ASSET
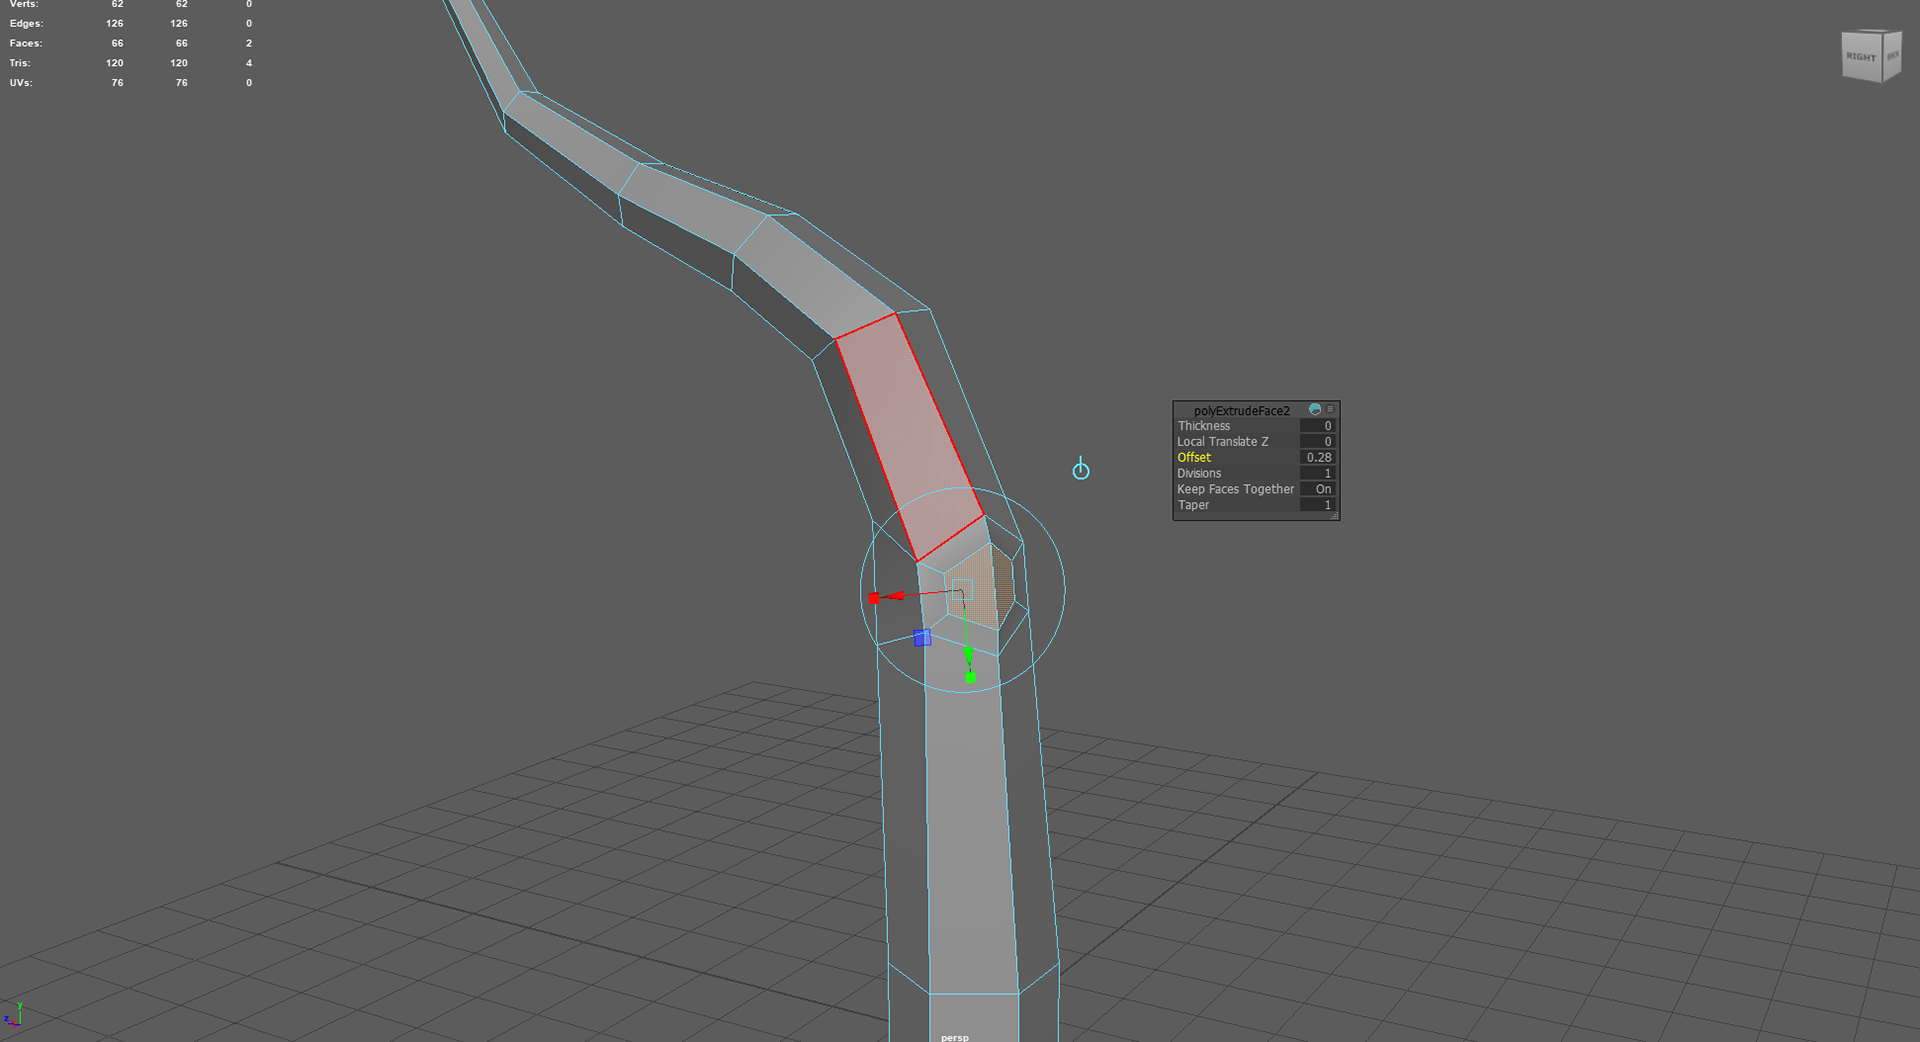
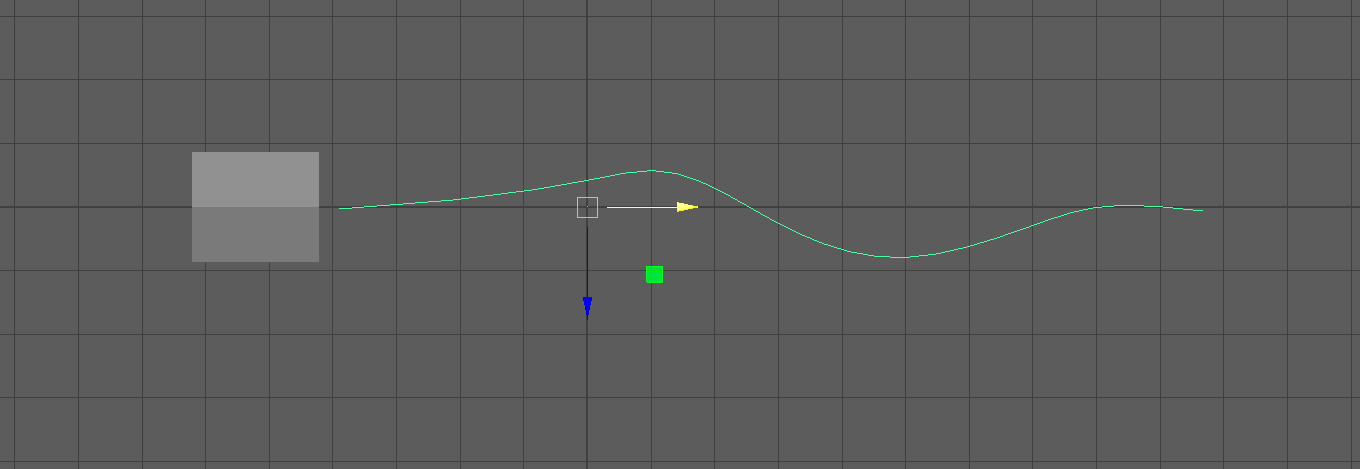
Similar to the Fern asset, I used the curve tool to create the shape of this tree extruding it along the curve from a cylinder polygon, I then used Taper to slim it down at the top and give it that branch like effect.
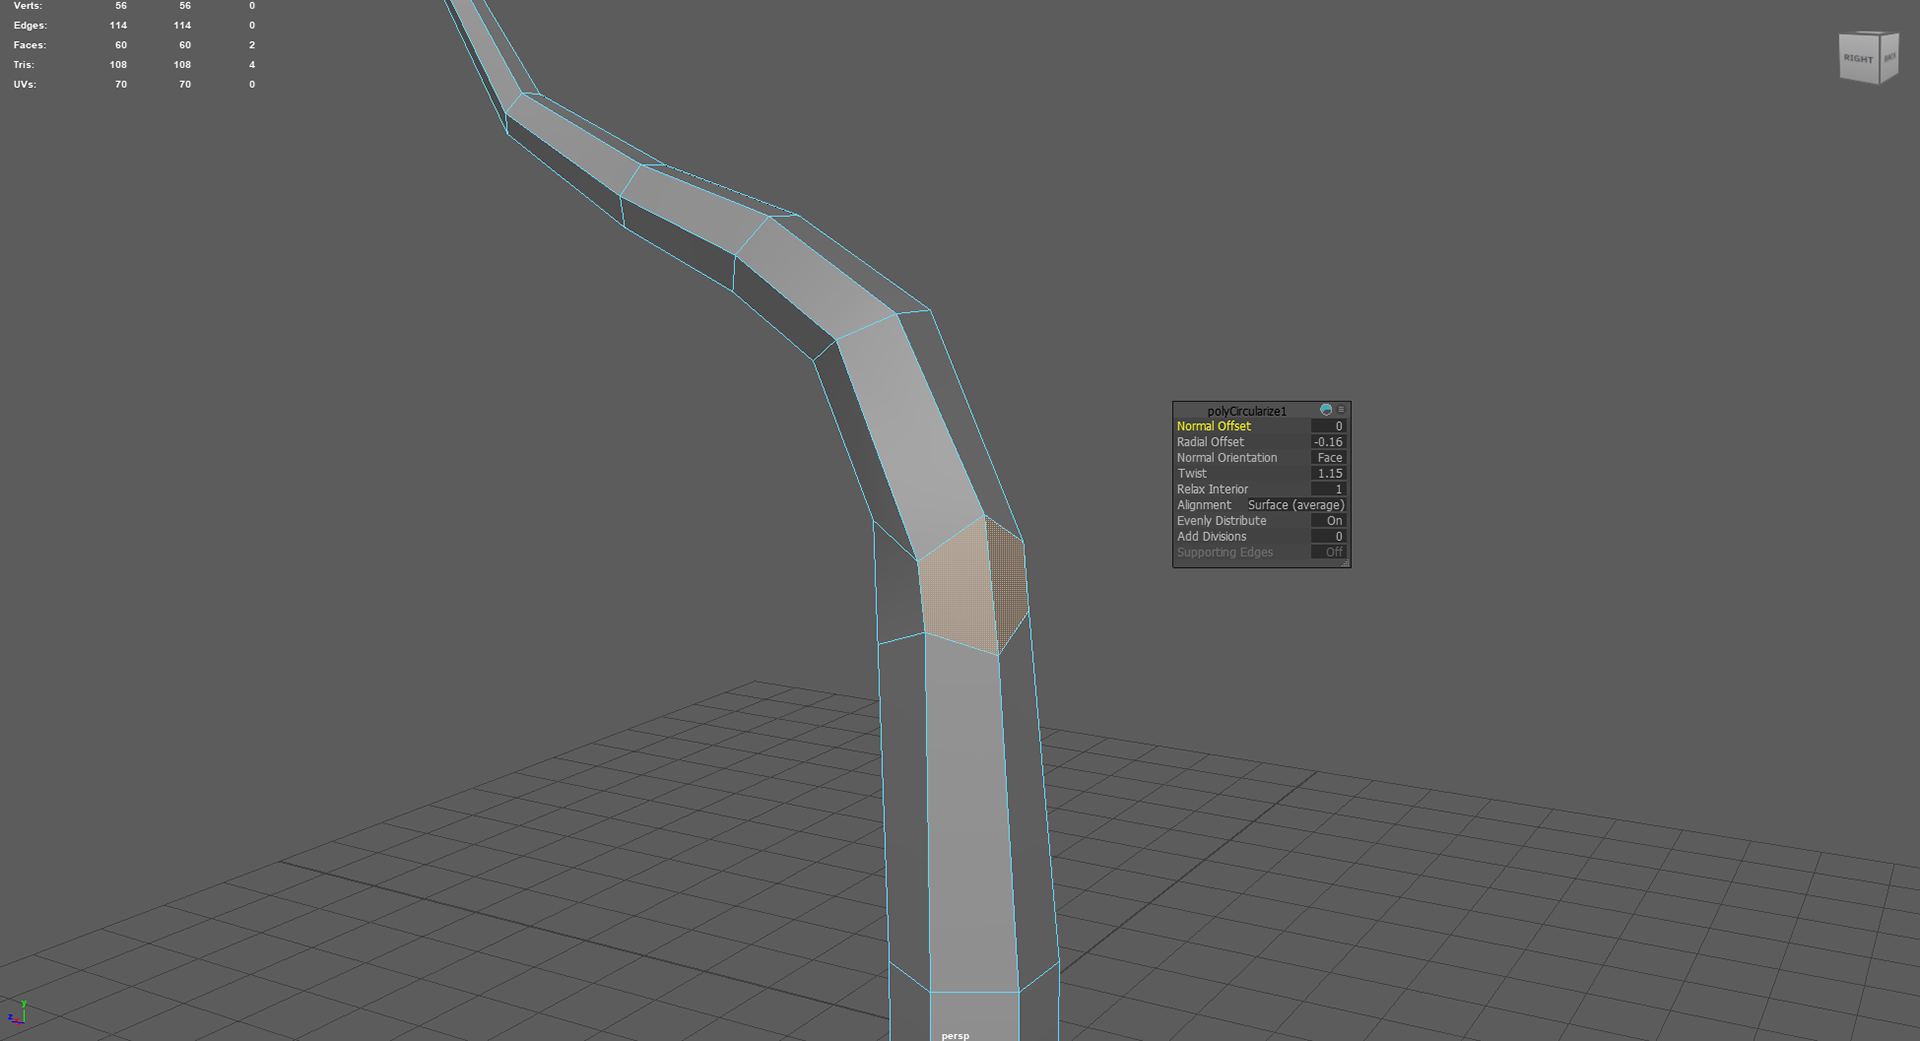
I used a new tool this time around - circularise, this helped me create branches that stemmed off the initial polygon whilst keeping topology clean.


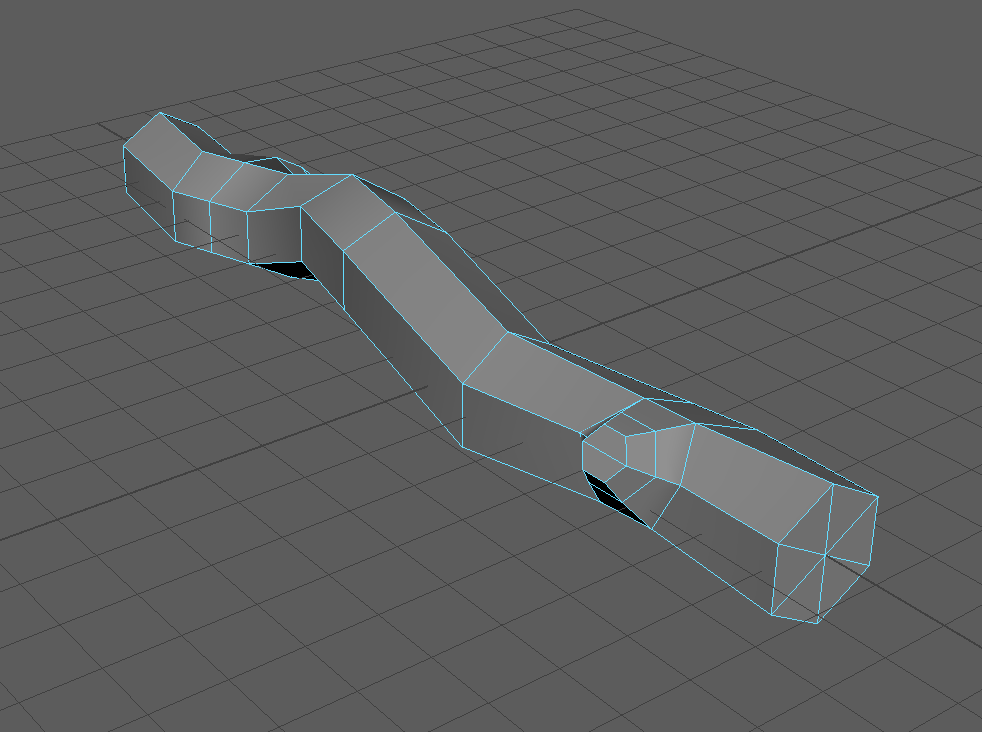
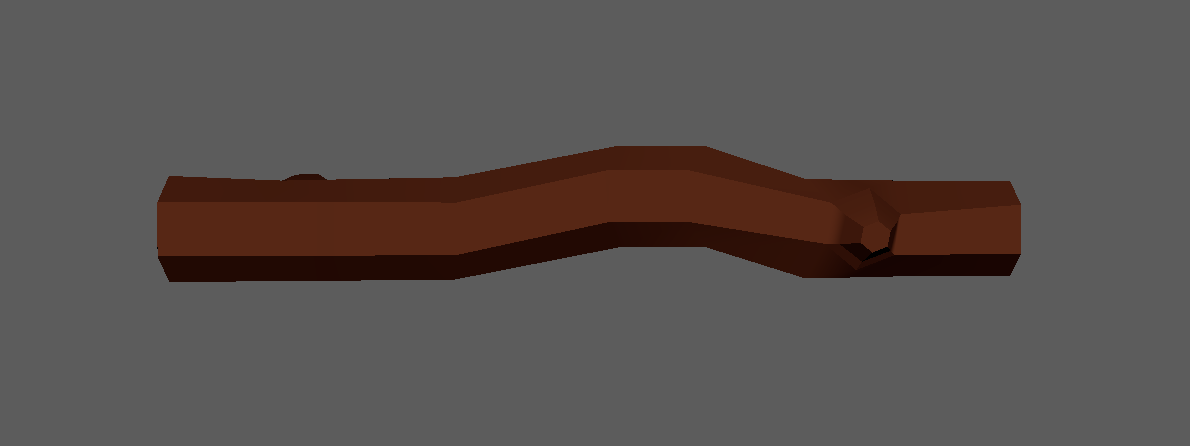
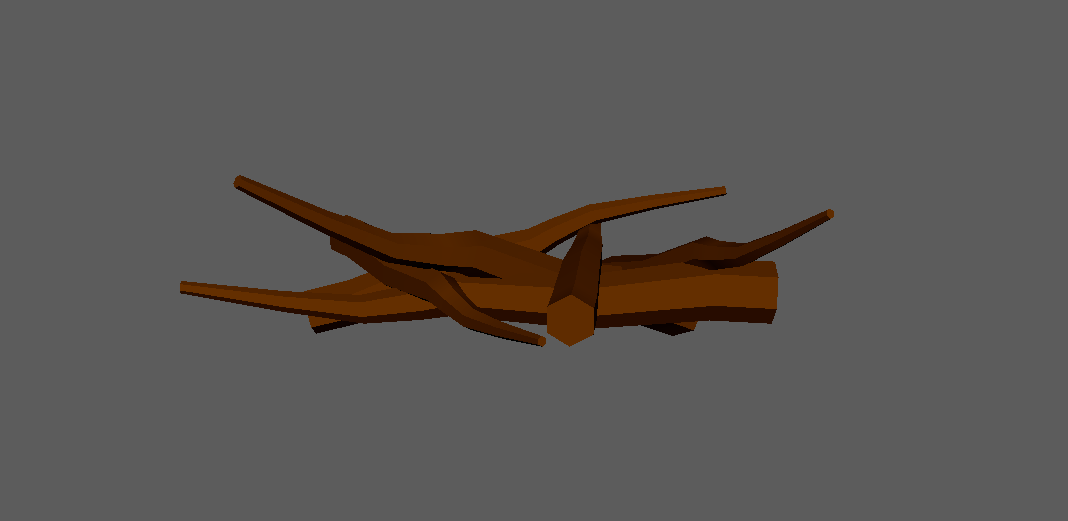
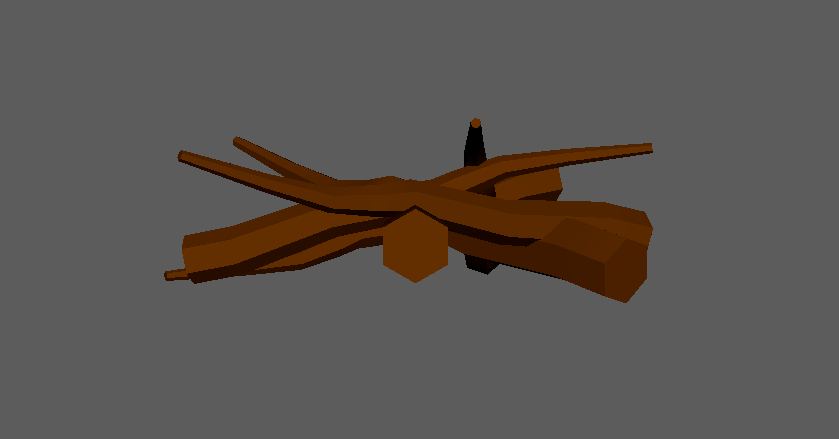
FALLEN TREE TRUNK ASSET
This asset was created entirely using the same tools as the previous asset but with a different vision in mind.
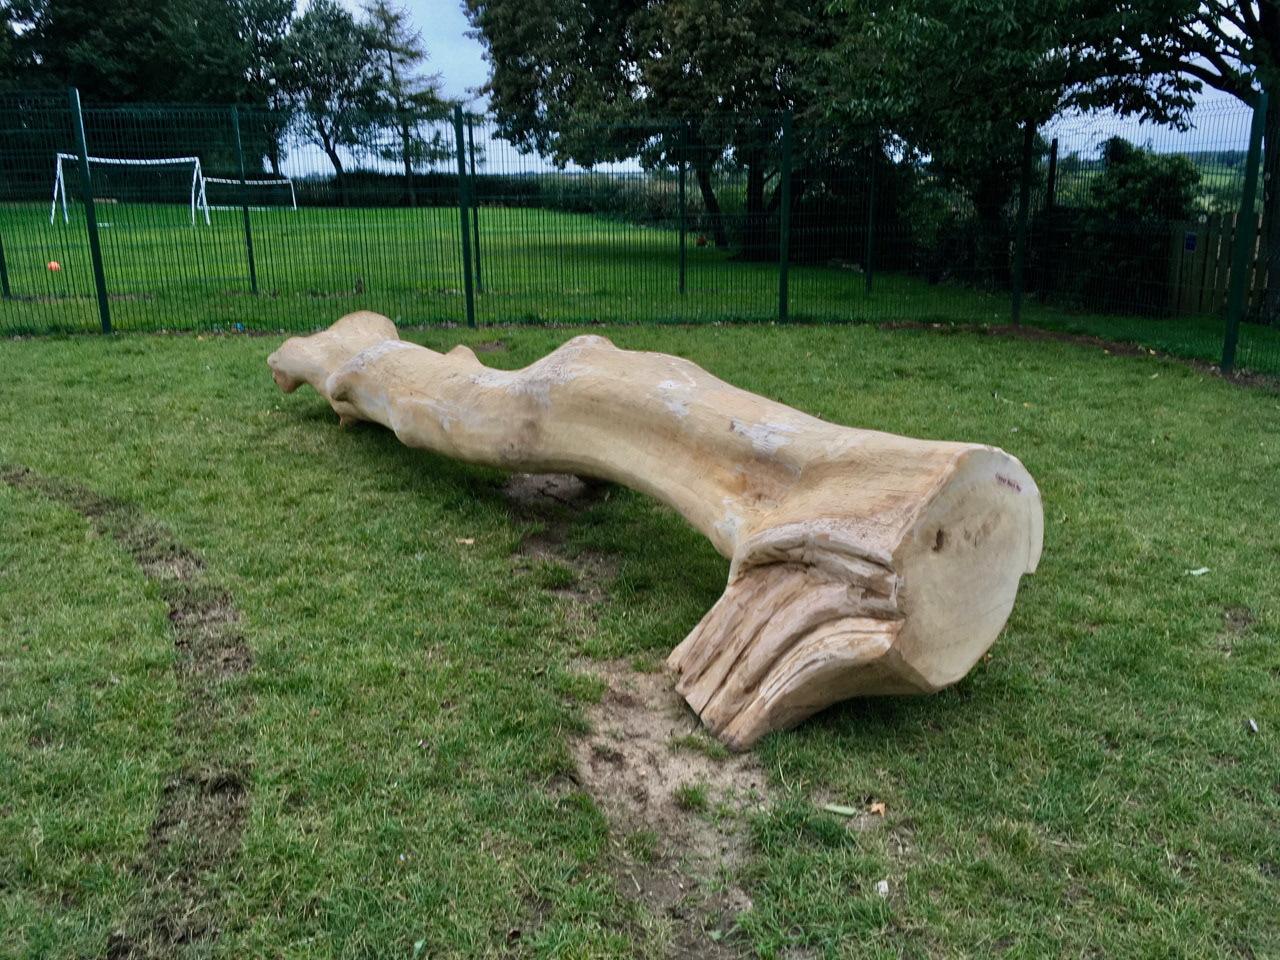
I actually based it loosely on this reference image.
PILE OF STICKS ASSET
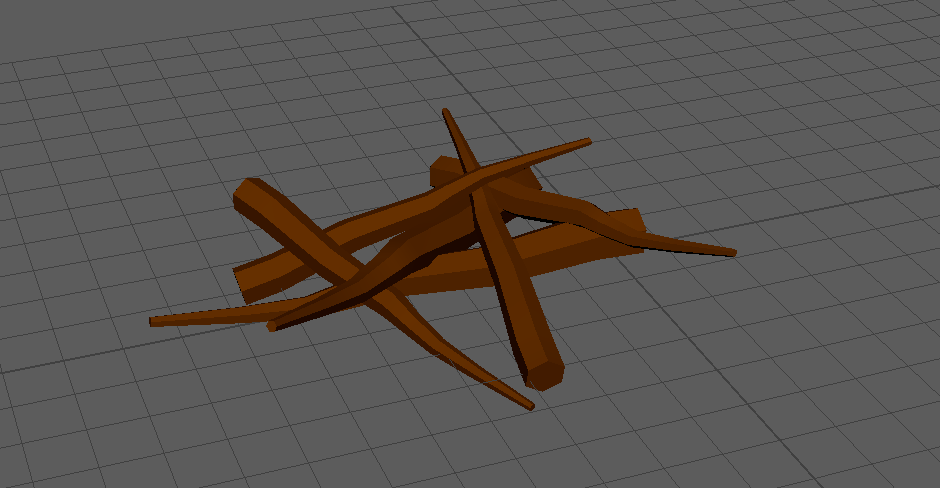
That is 10 assets so far!
Although its very much so time consuming and sometimes exhausting, I have been enjoying using 3D modelling more.
That brings us to todays workshop.
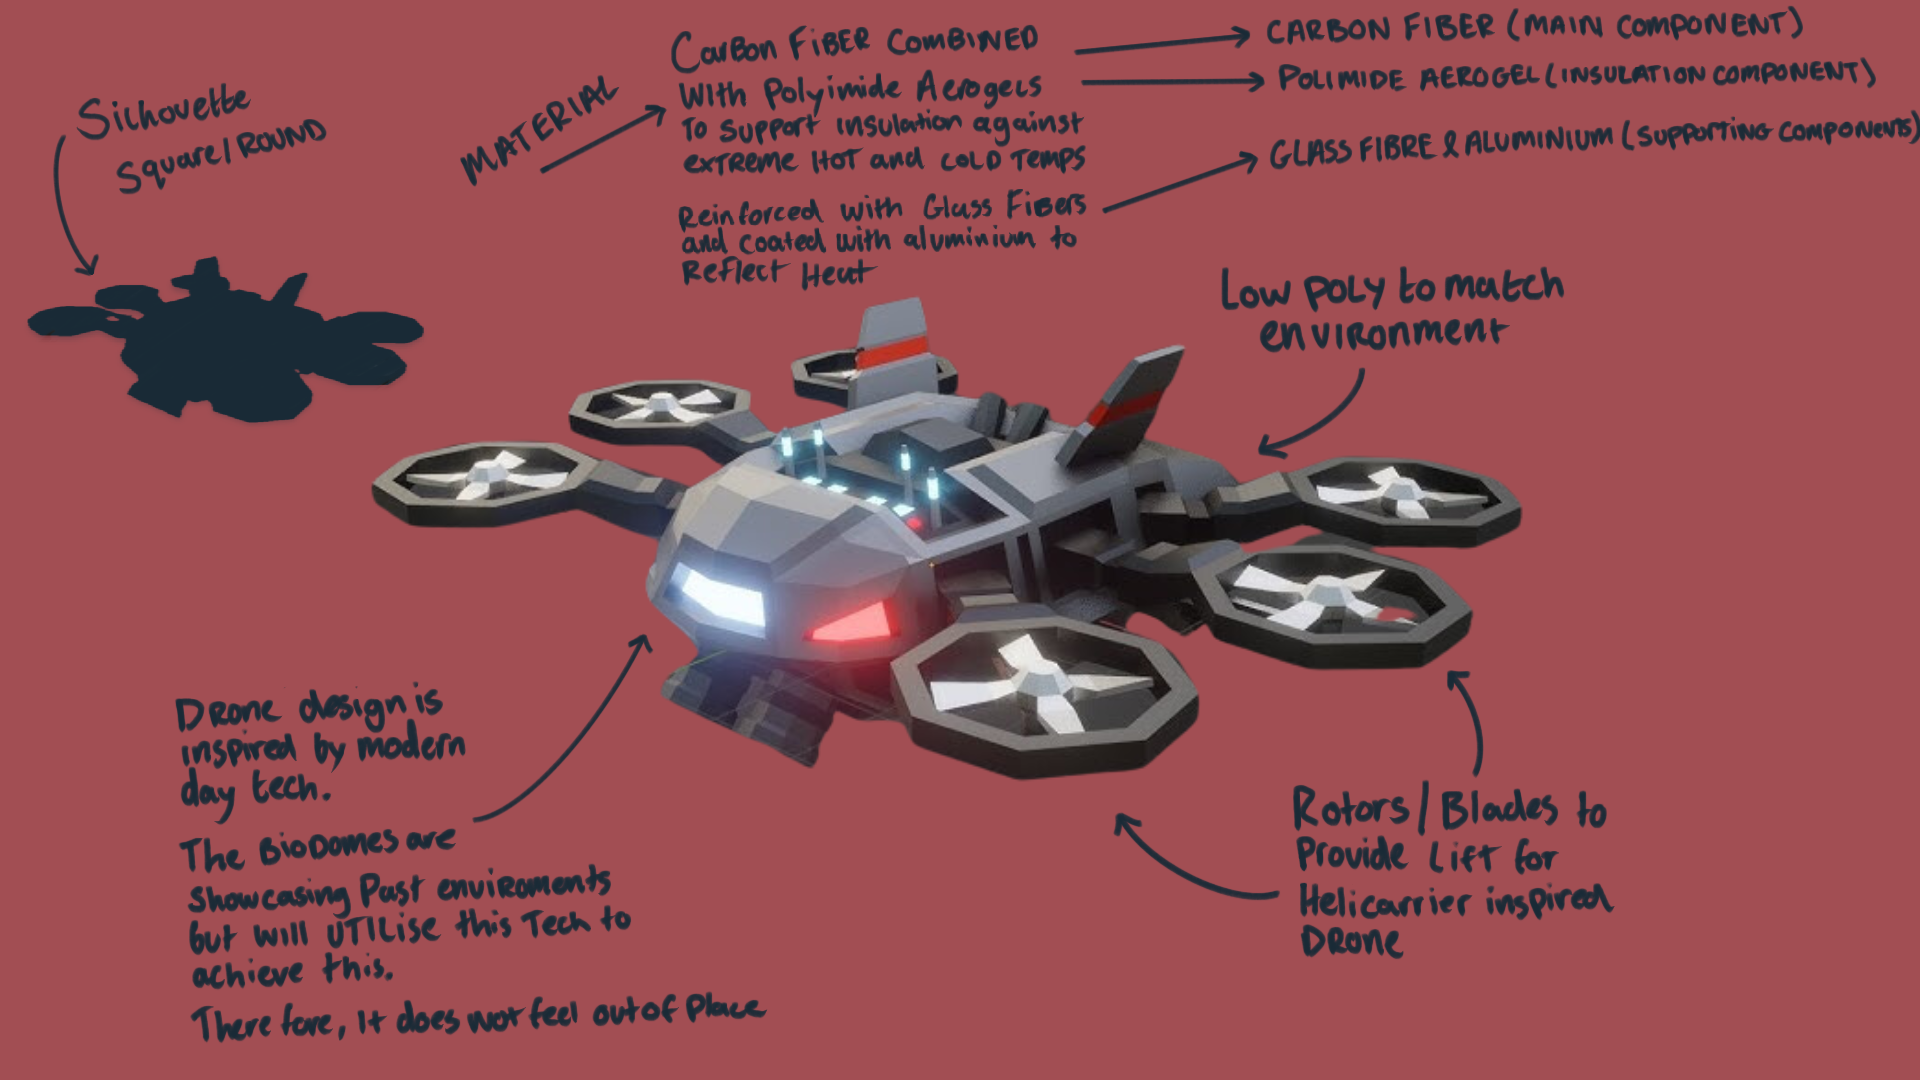
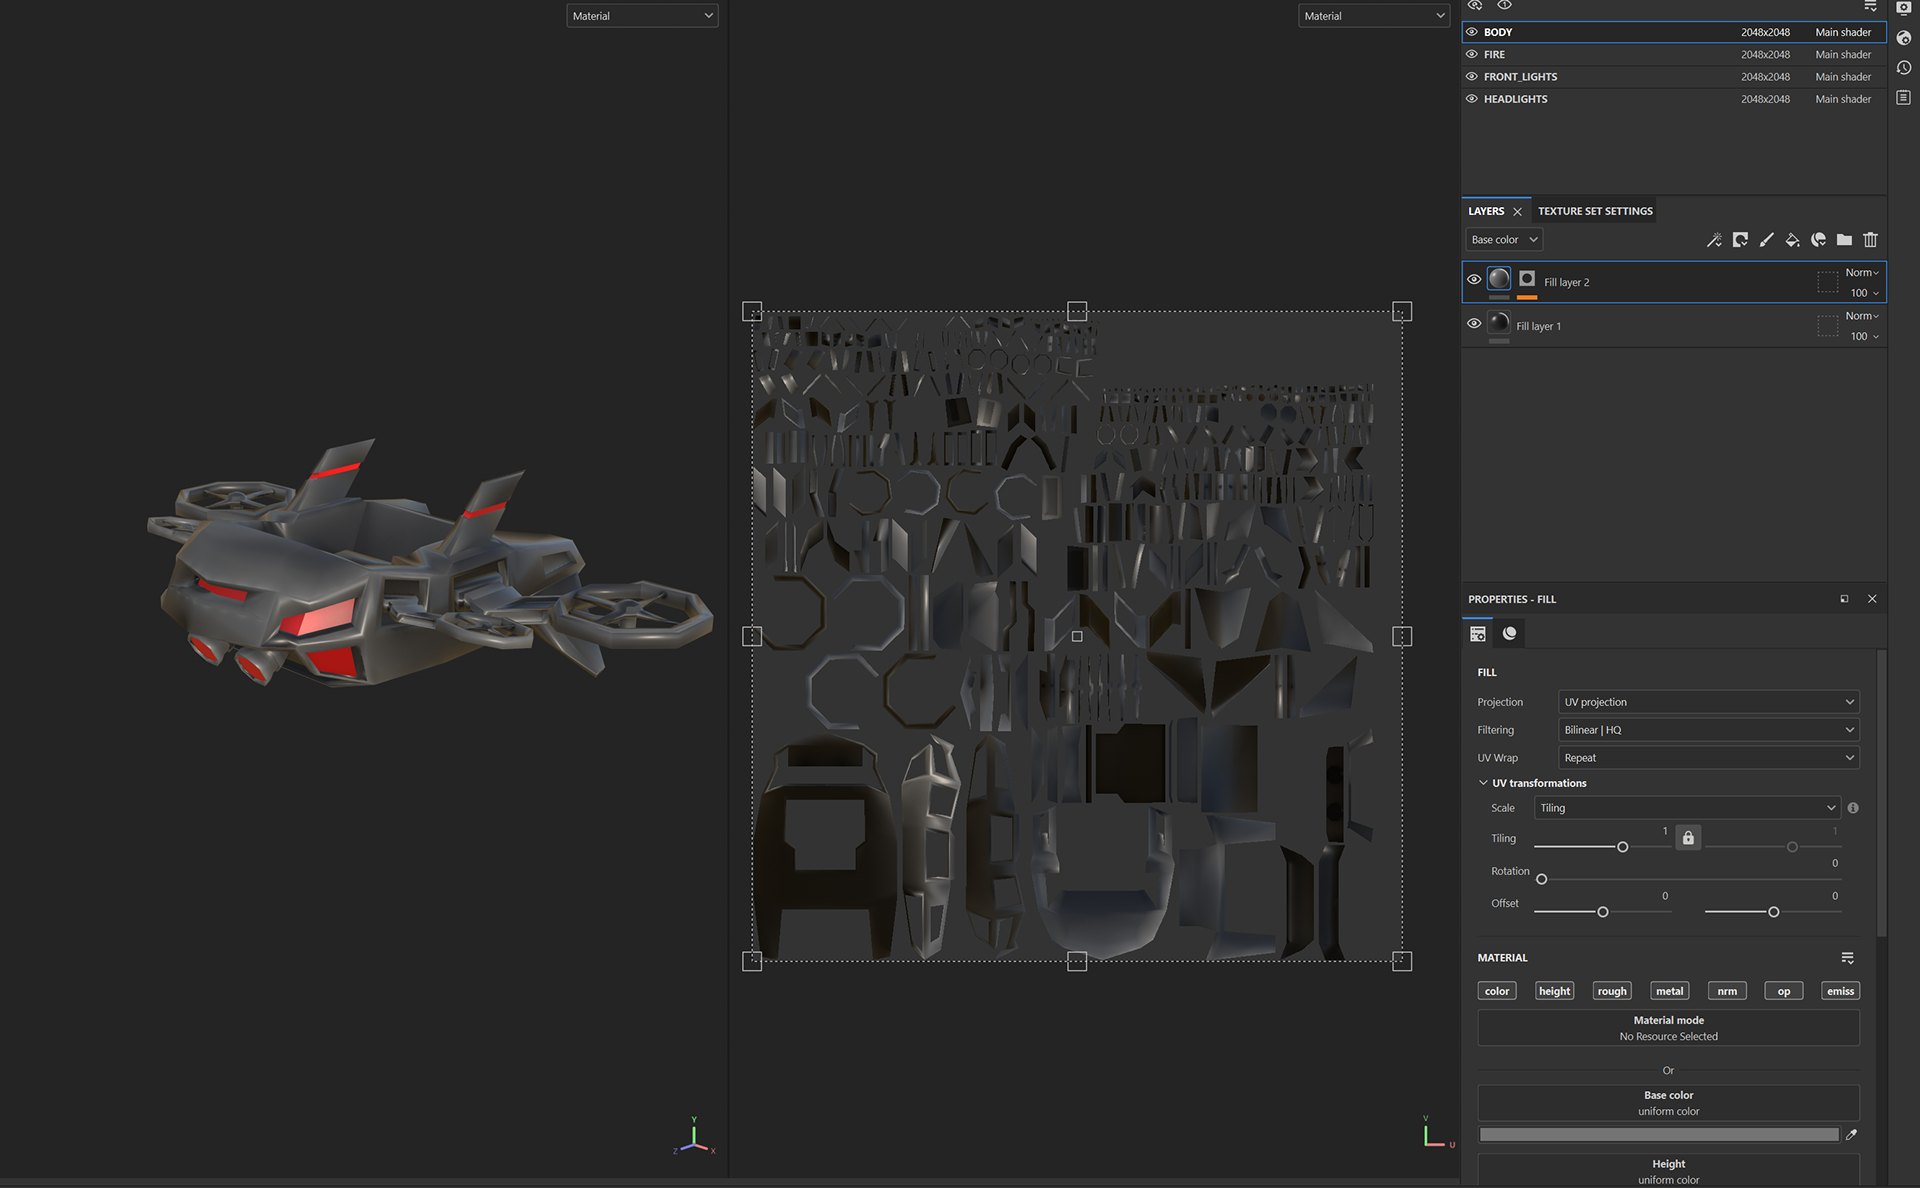
Last week in Art Fundamentals we designed some drones that we were to start modelling in this Thursday class.
We had a couple hours to get to work so thats exactly what I did!
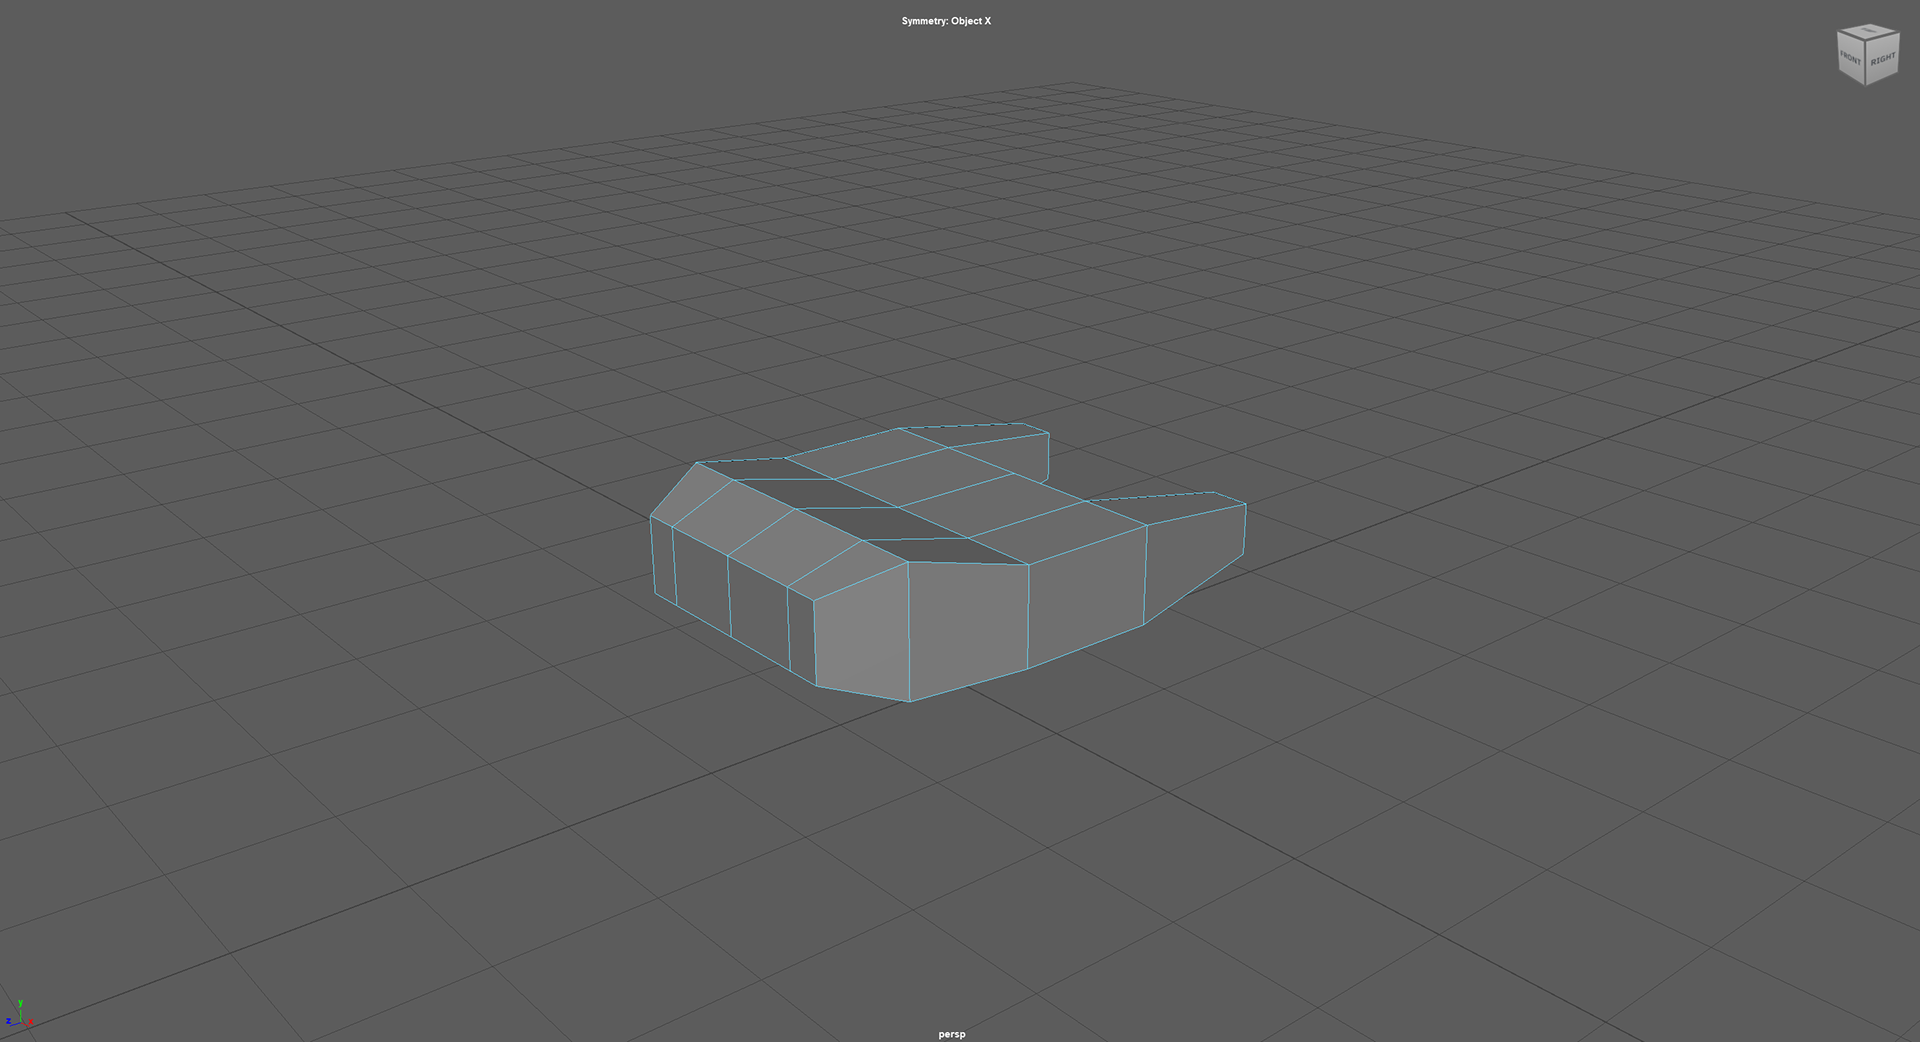
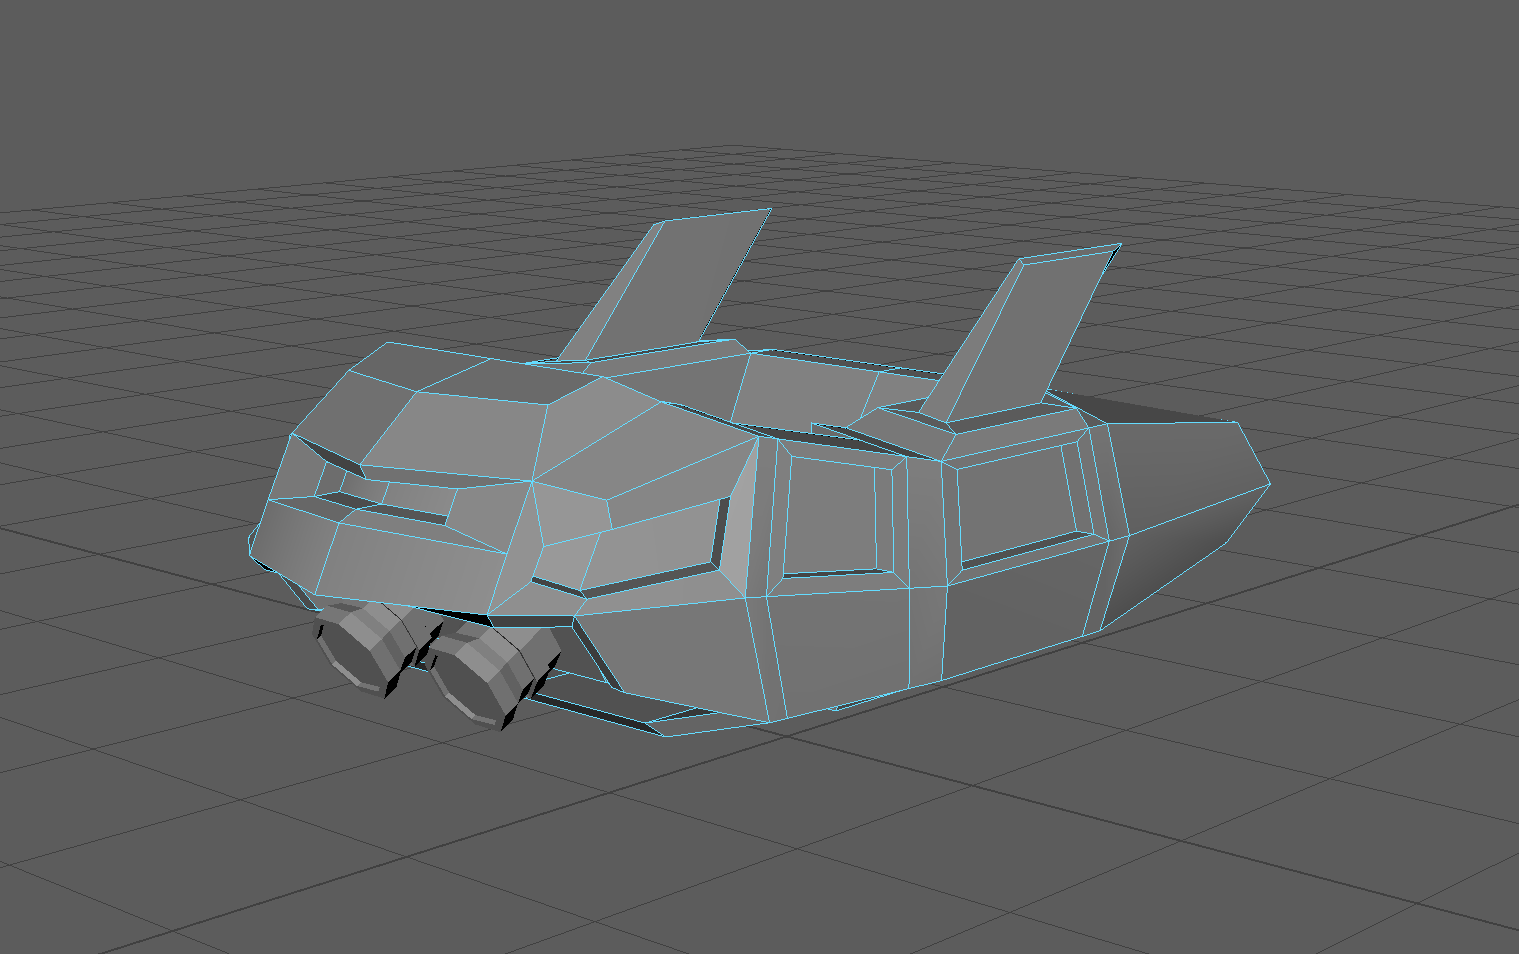
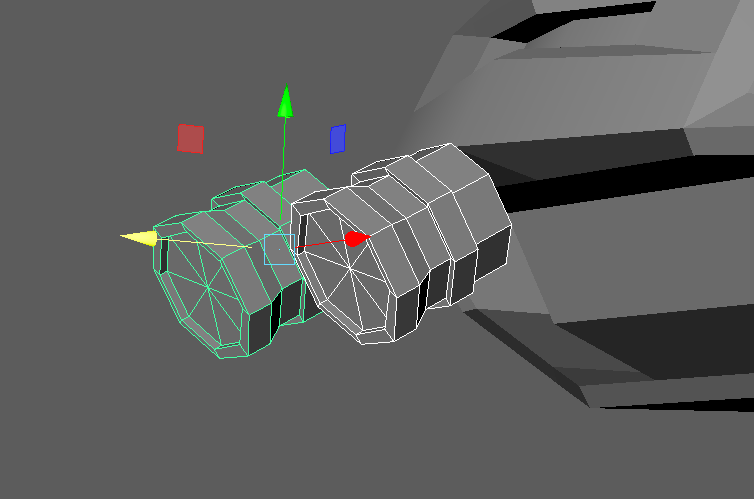
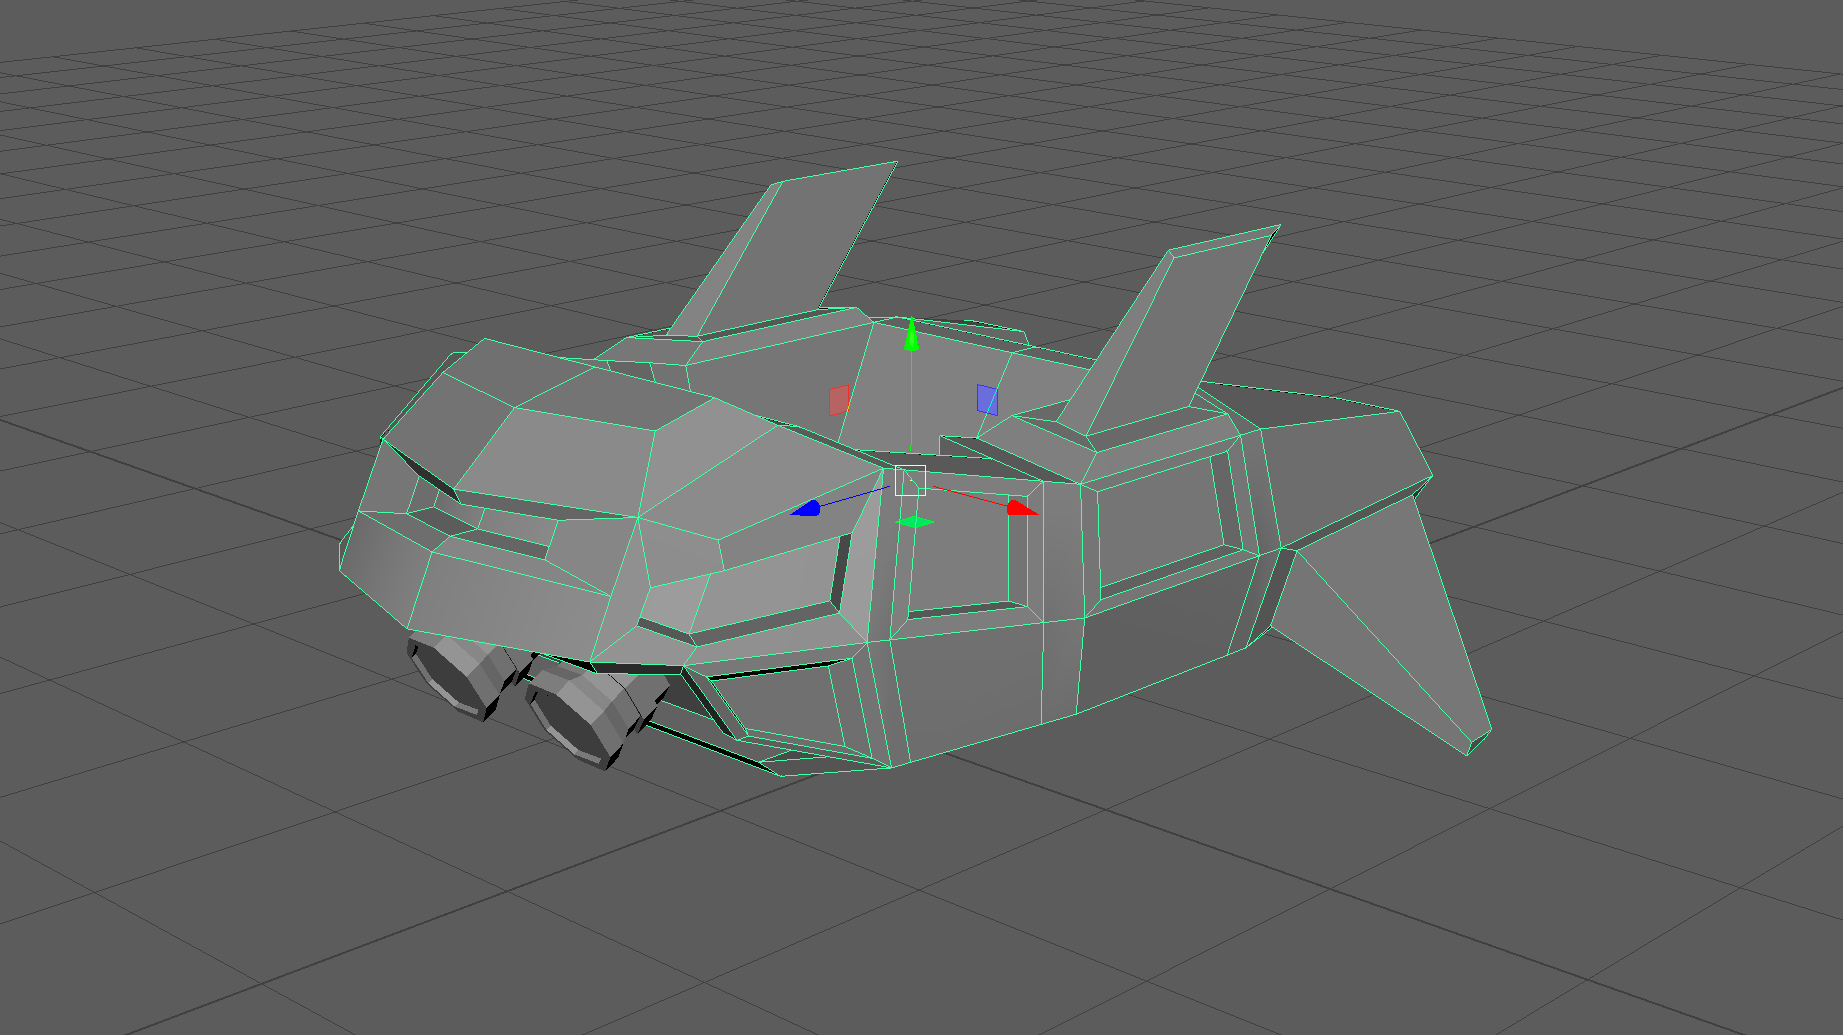
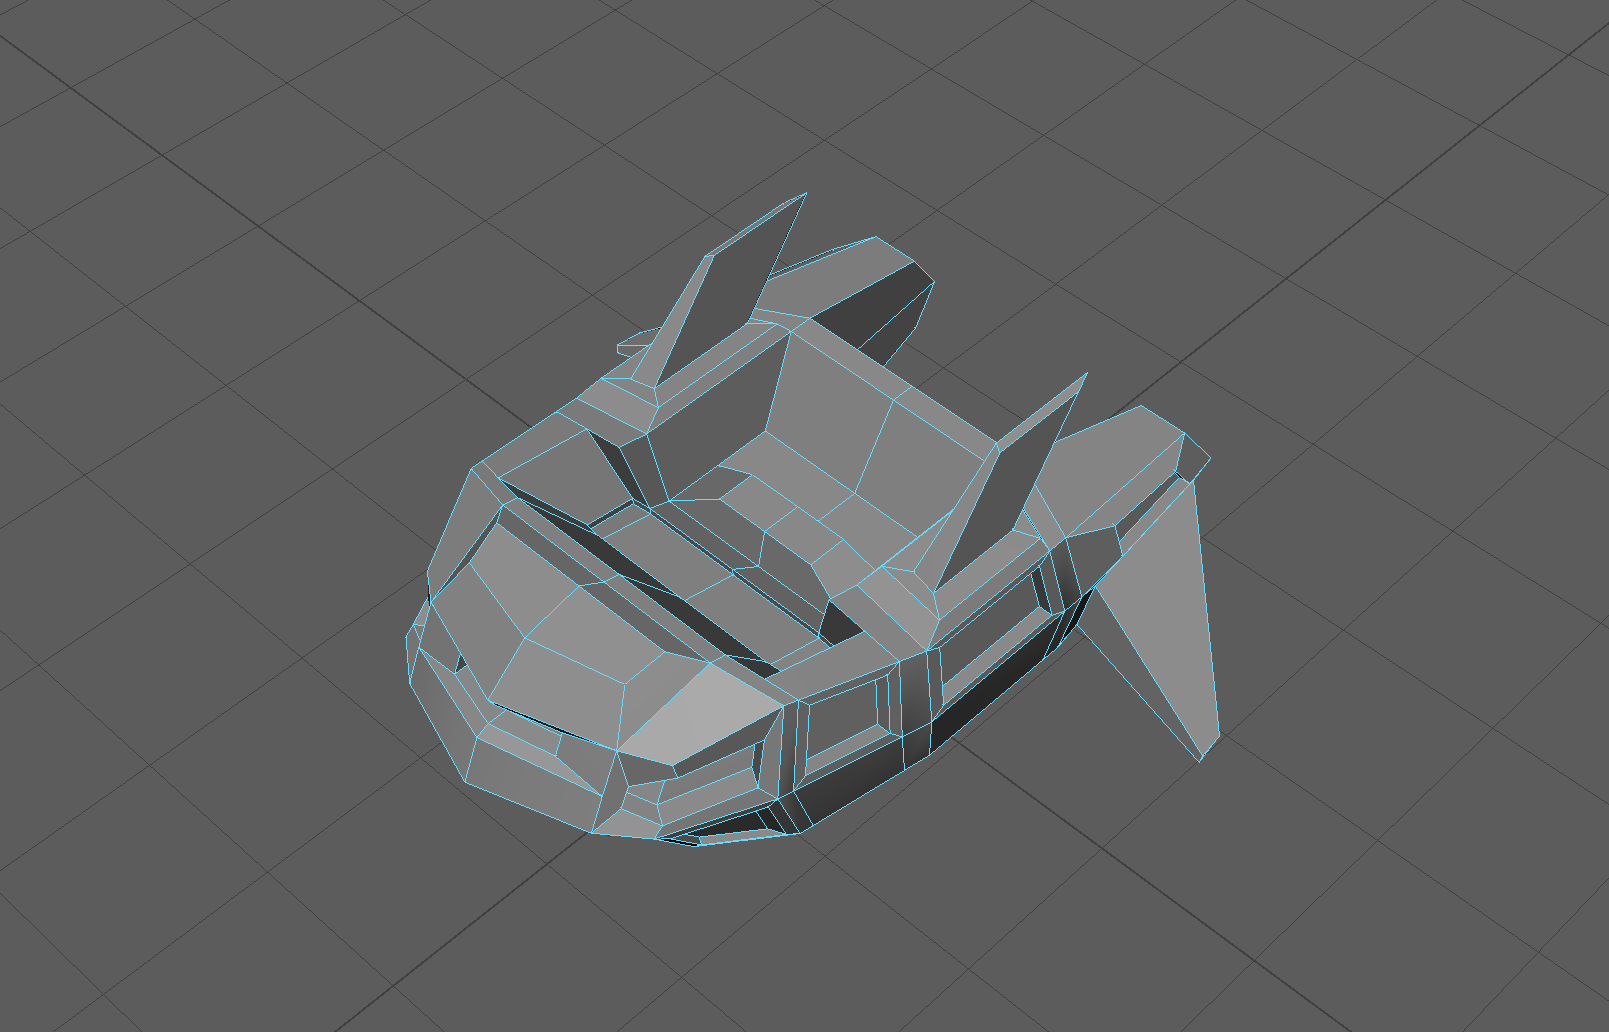
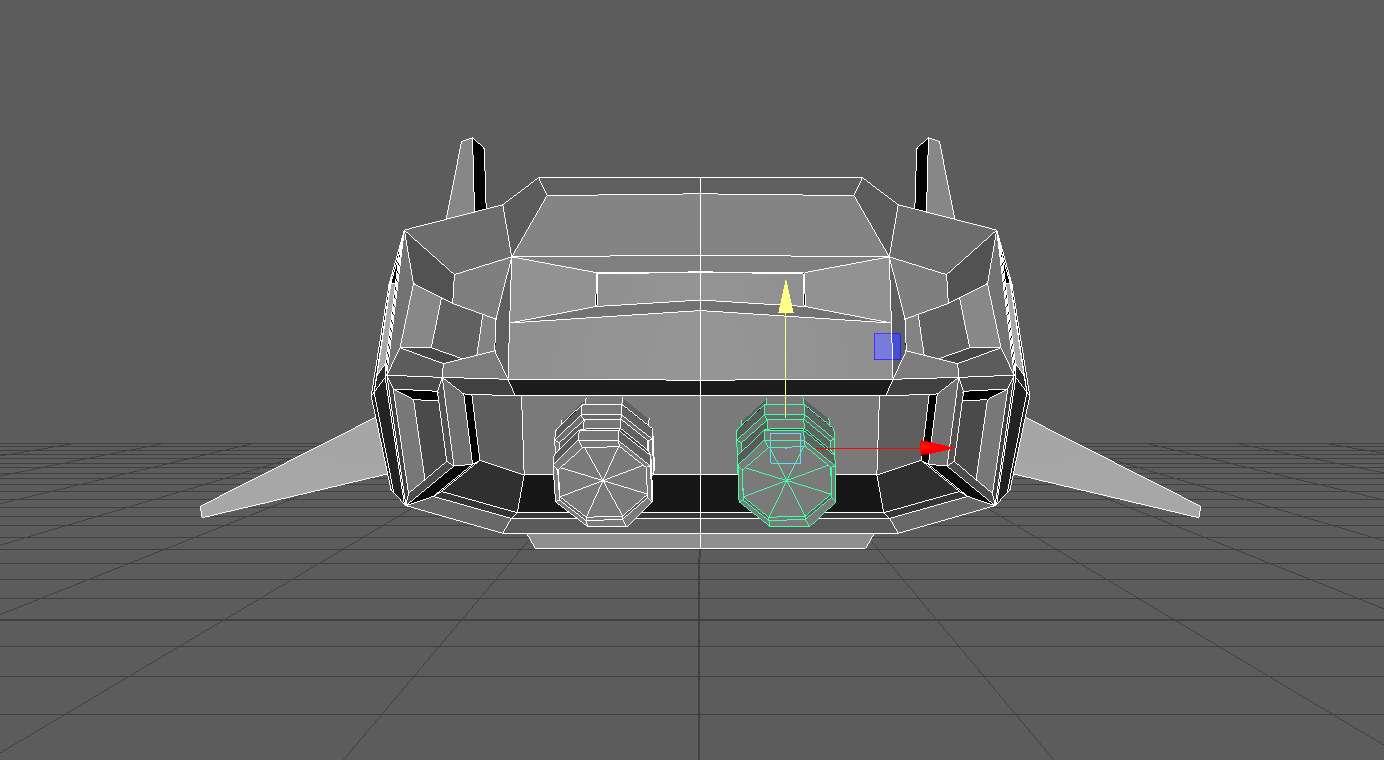
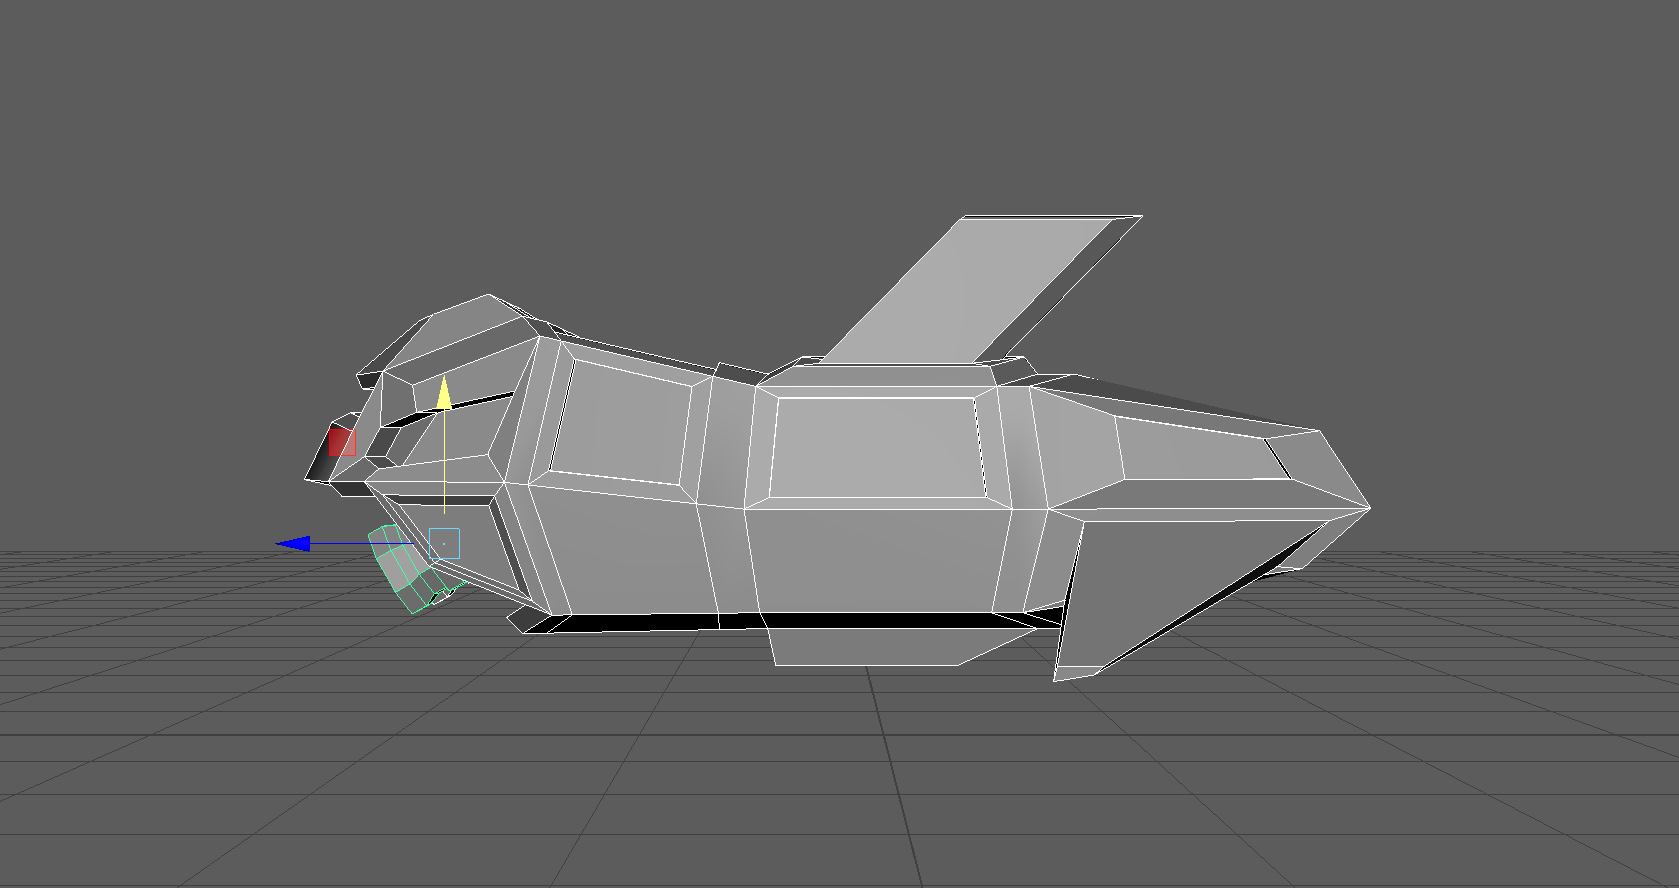
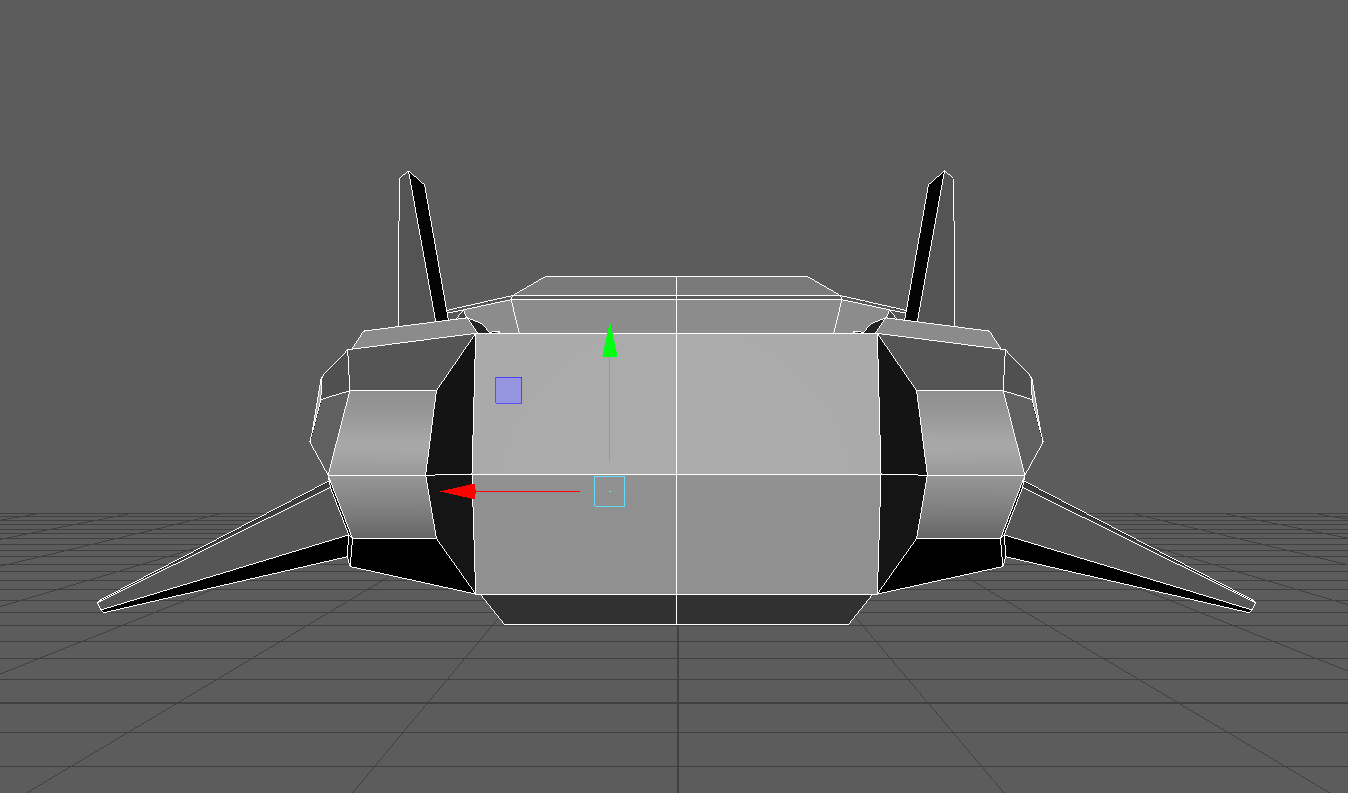
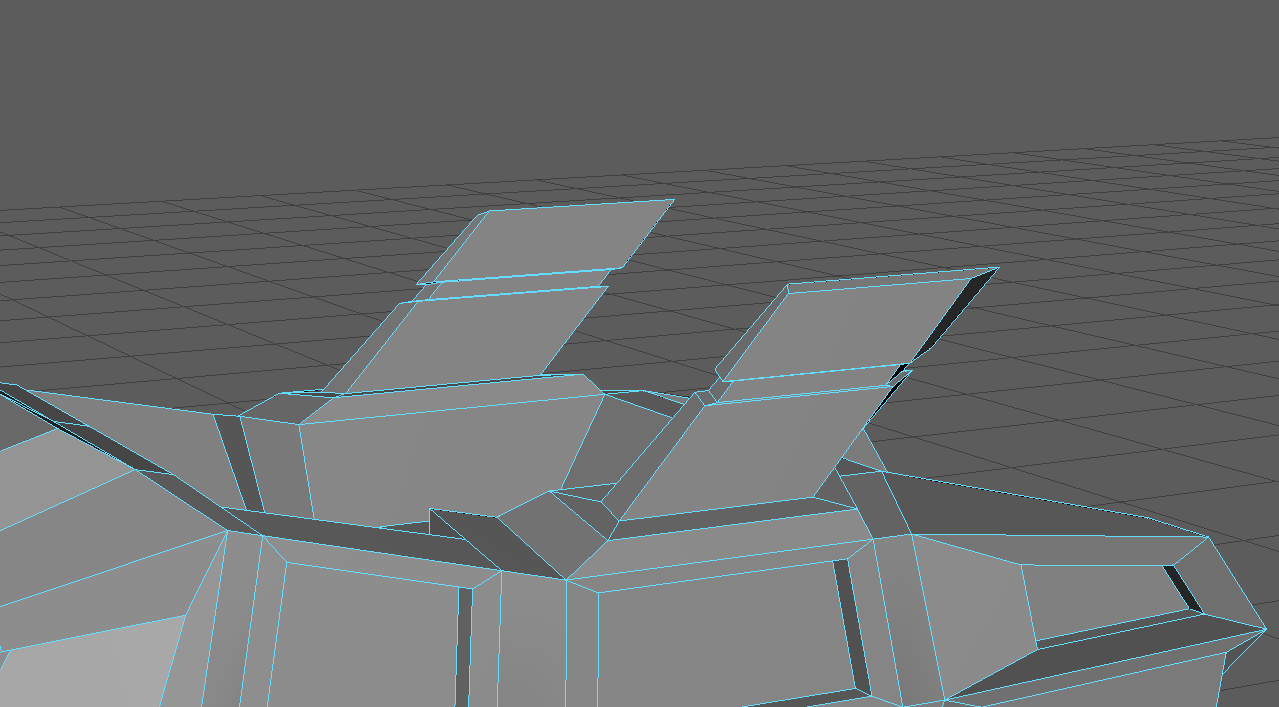
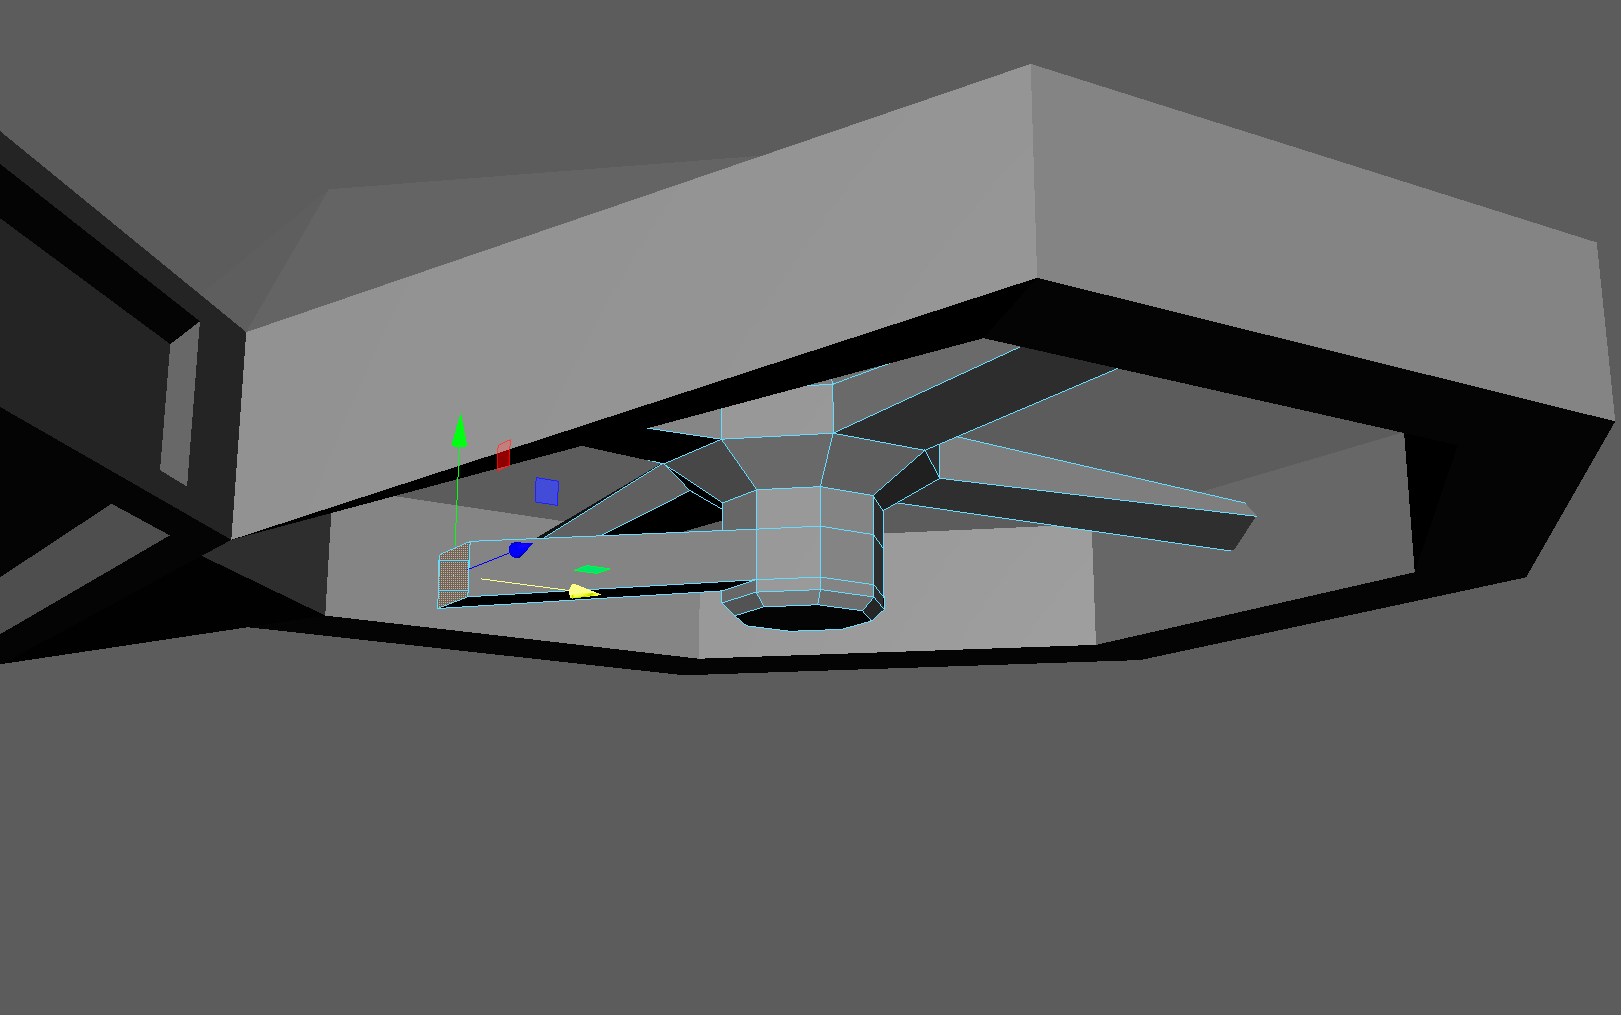
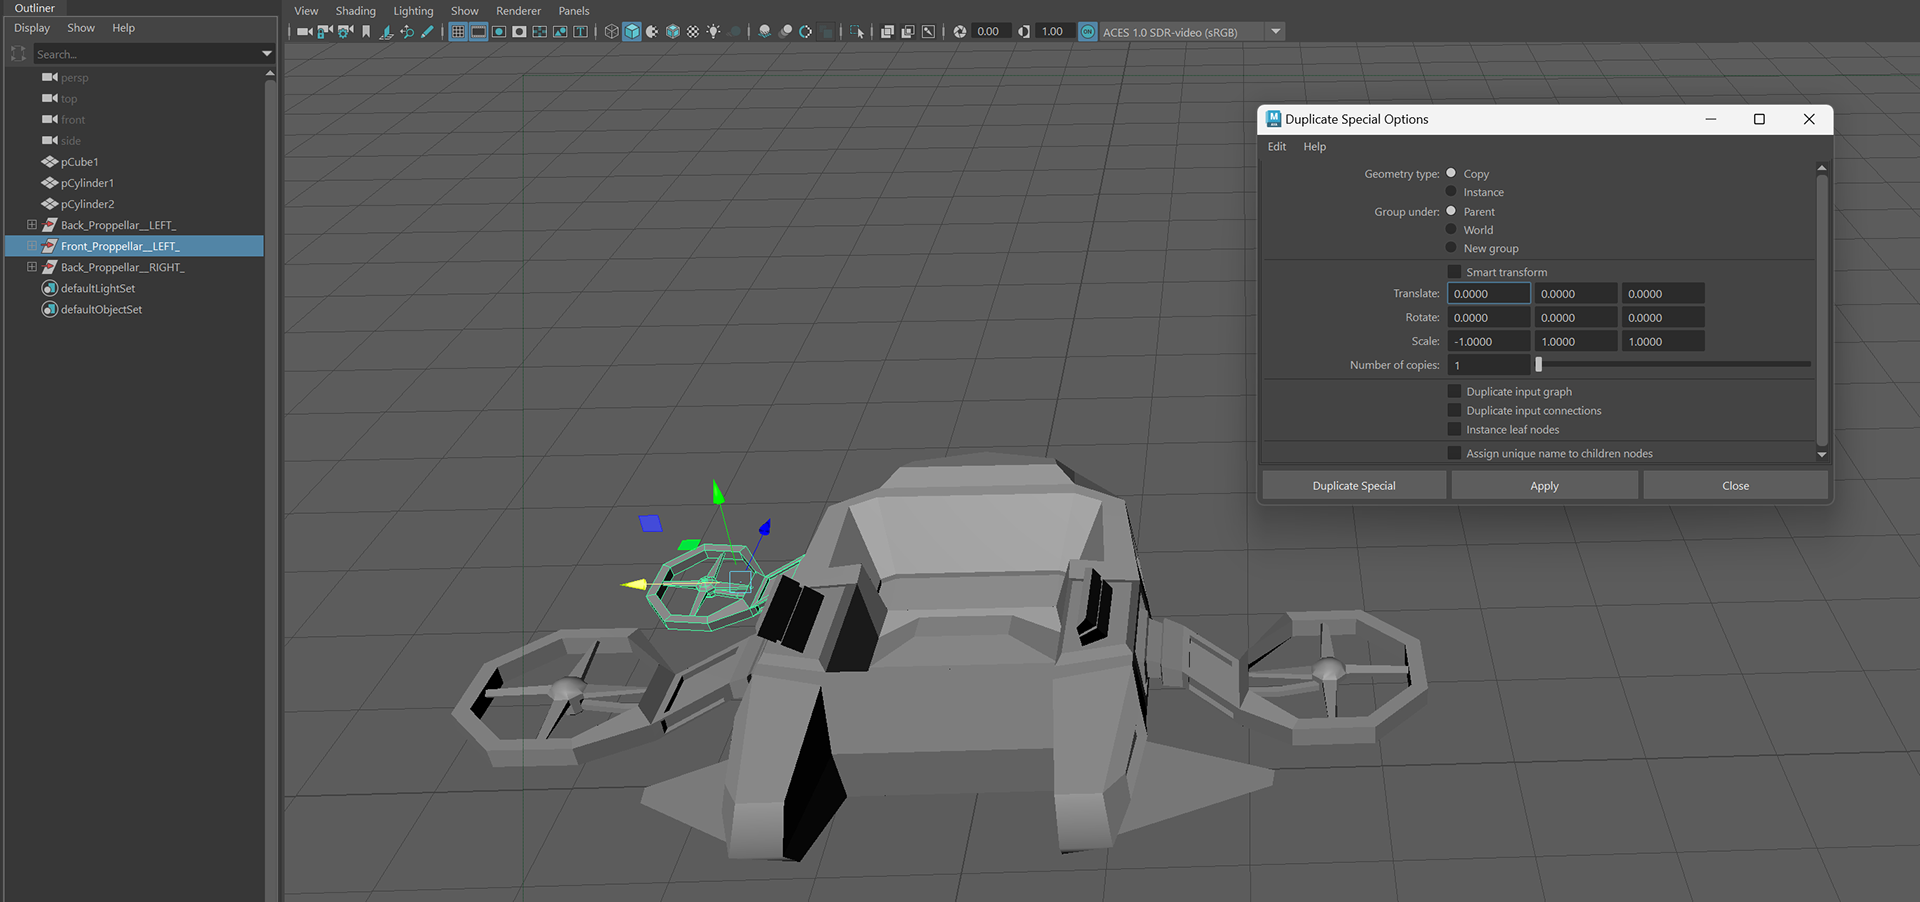
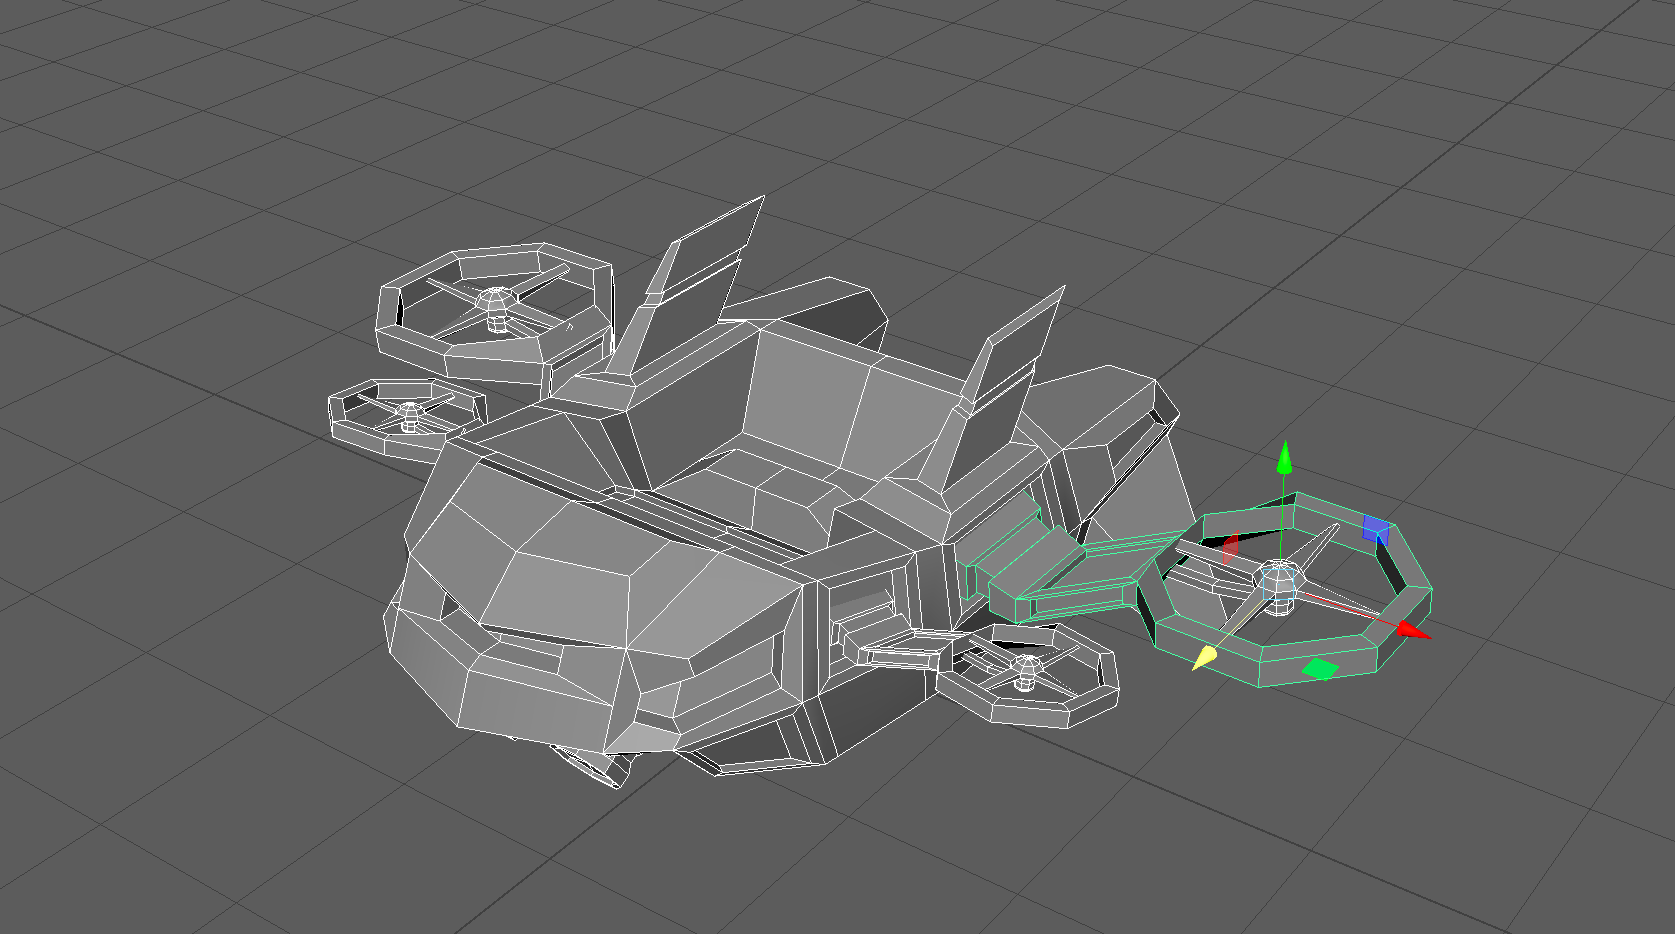
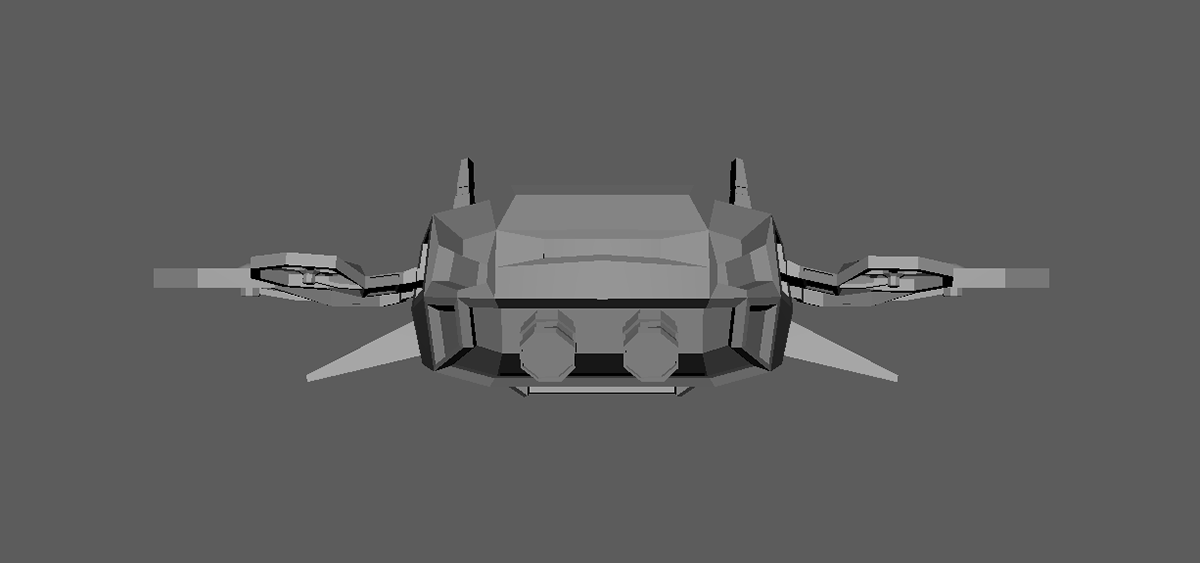
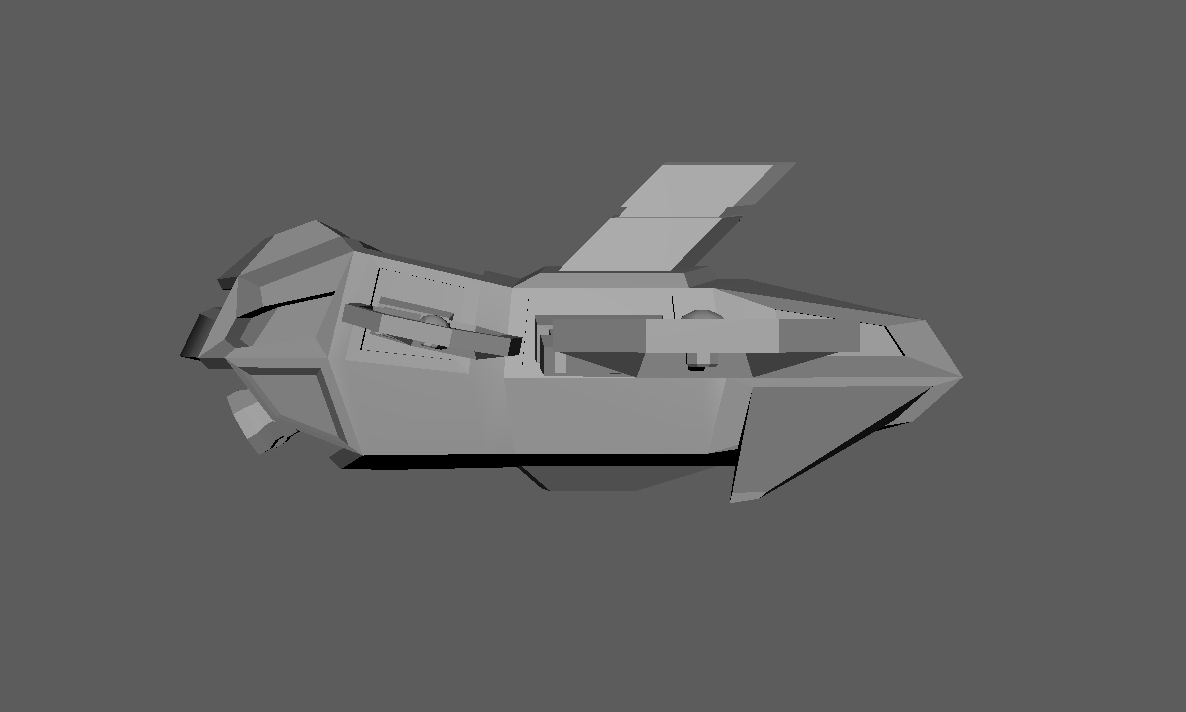
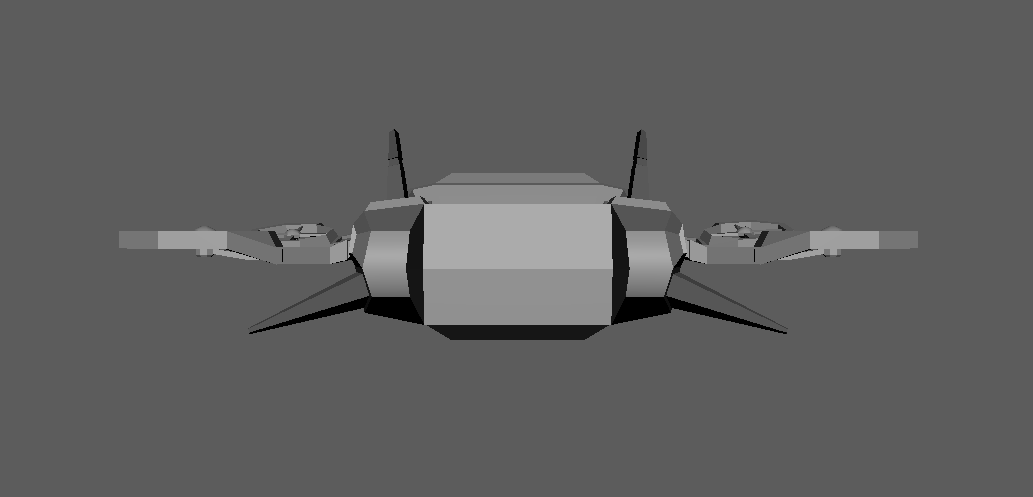
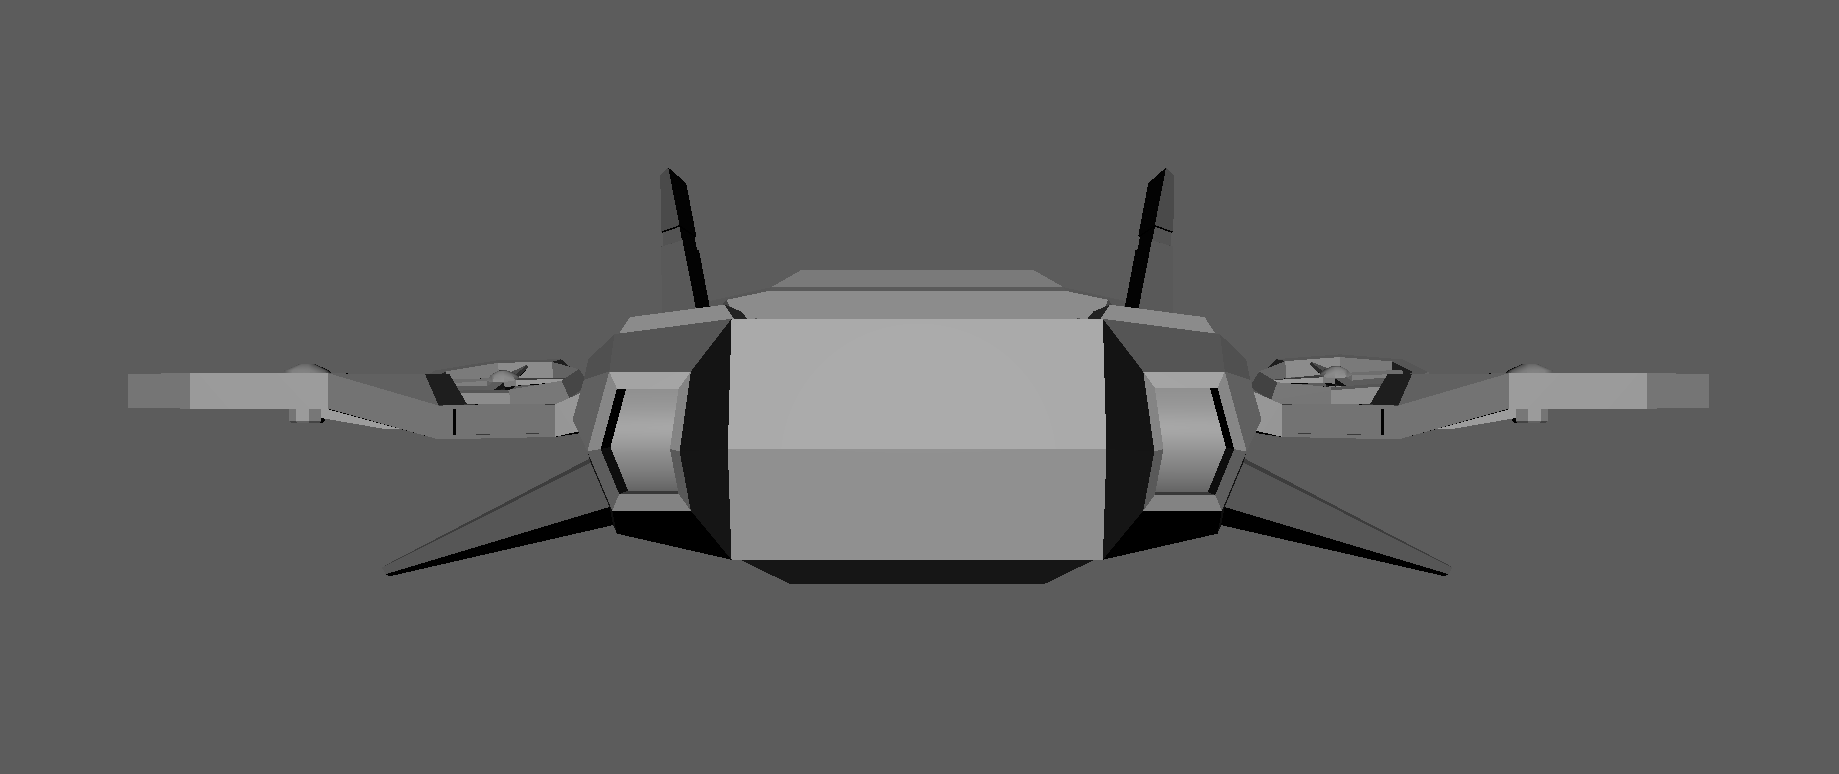
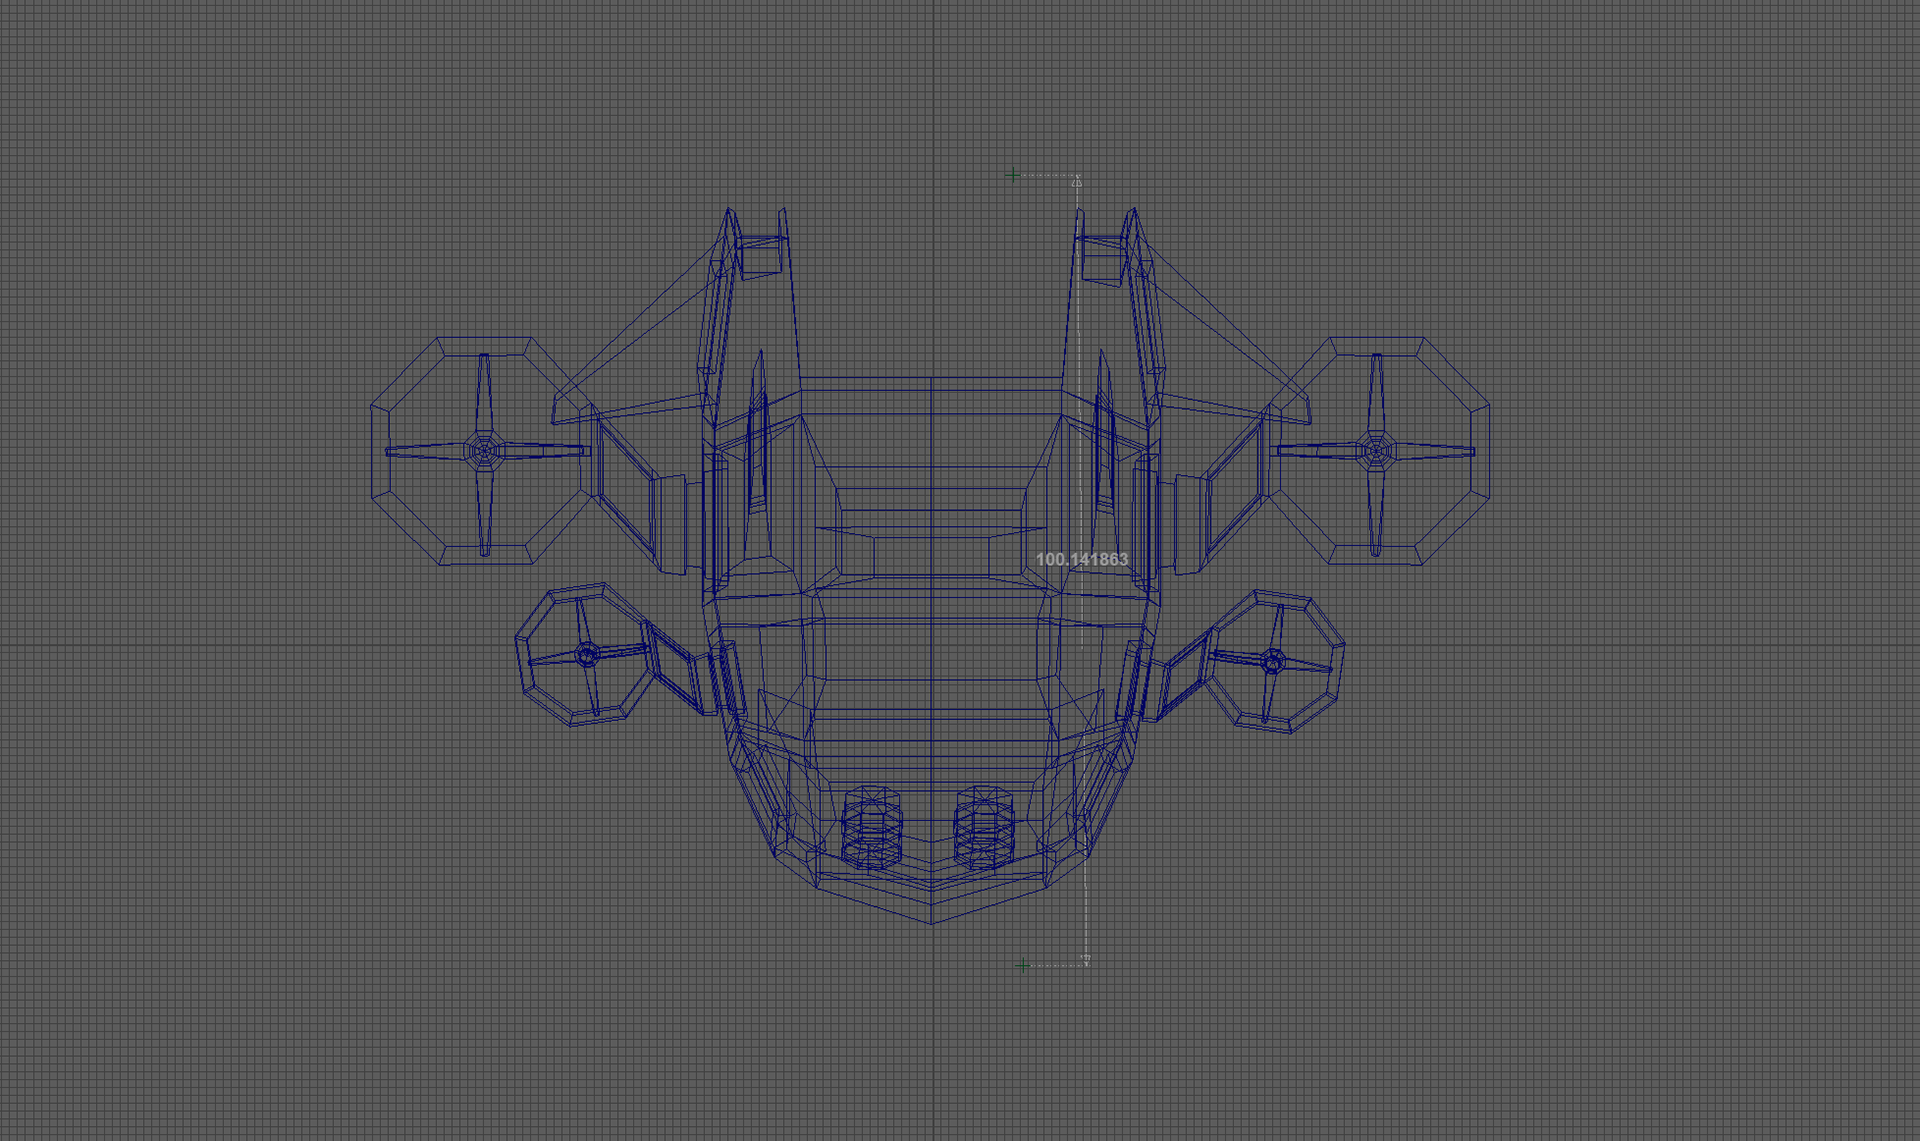
I hope the process is clear from the photos without me saying too much.
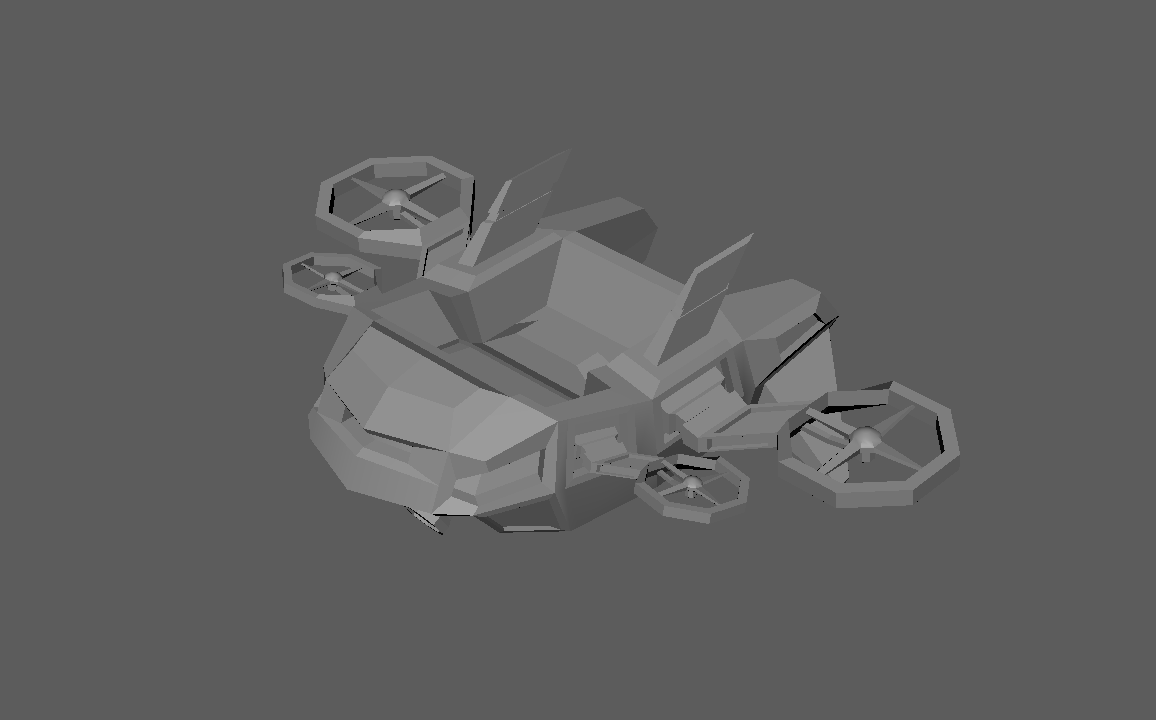
It was essentially a lot of extruding and re-shaping to create the desired effect.
I then took this and put it into an unreal drone template so I could get a feel for how it would fly around!
I told you. Hefty.


INT- ROOM 902 07- 03 - 25
I am going to be honest, today this class was quite confusing and I'm not sure I took much away from it but I tried!
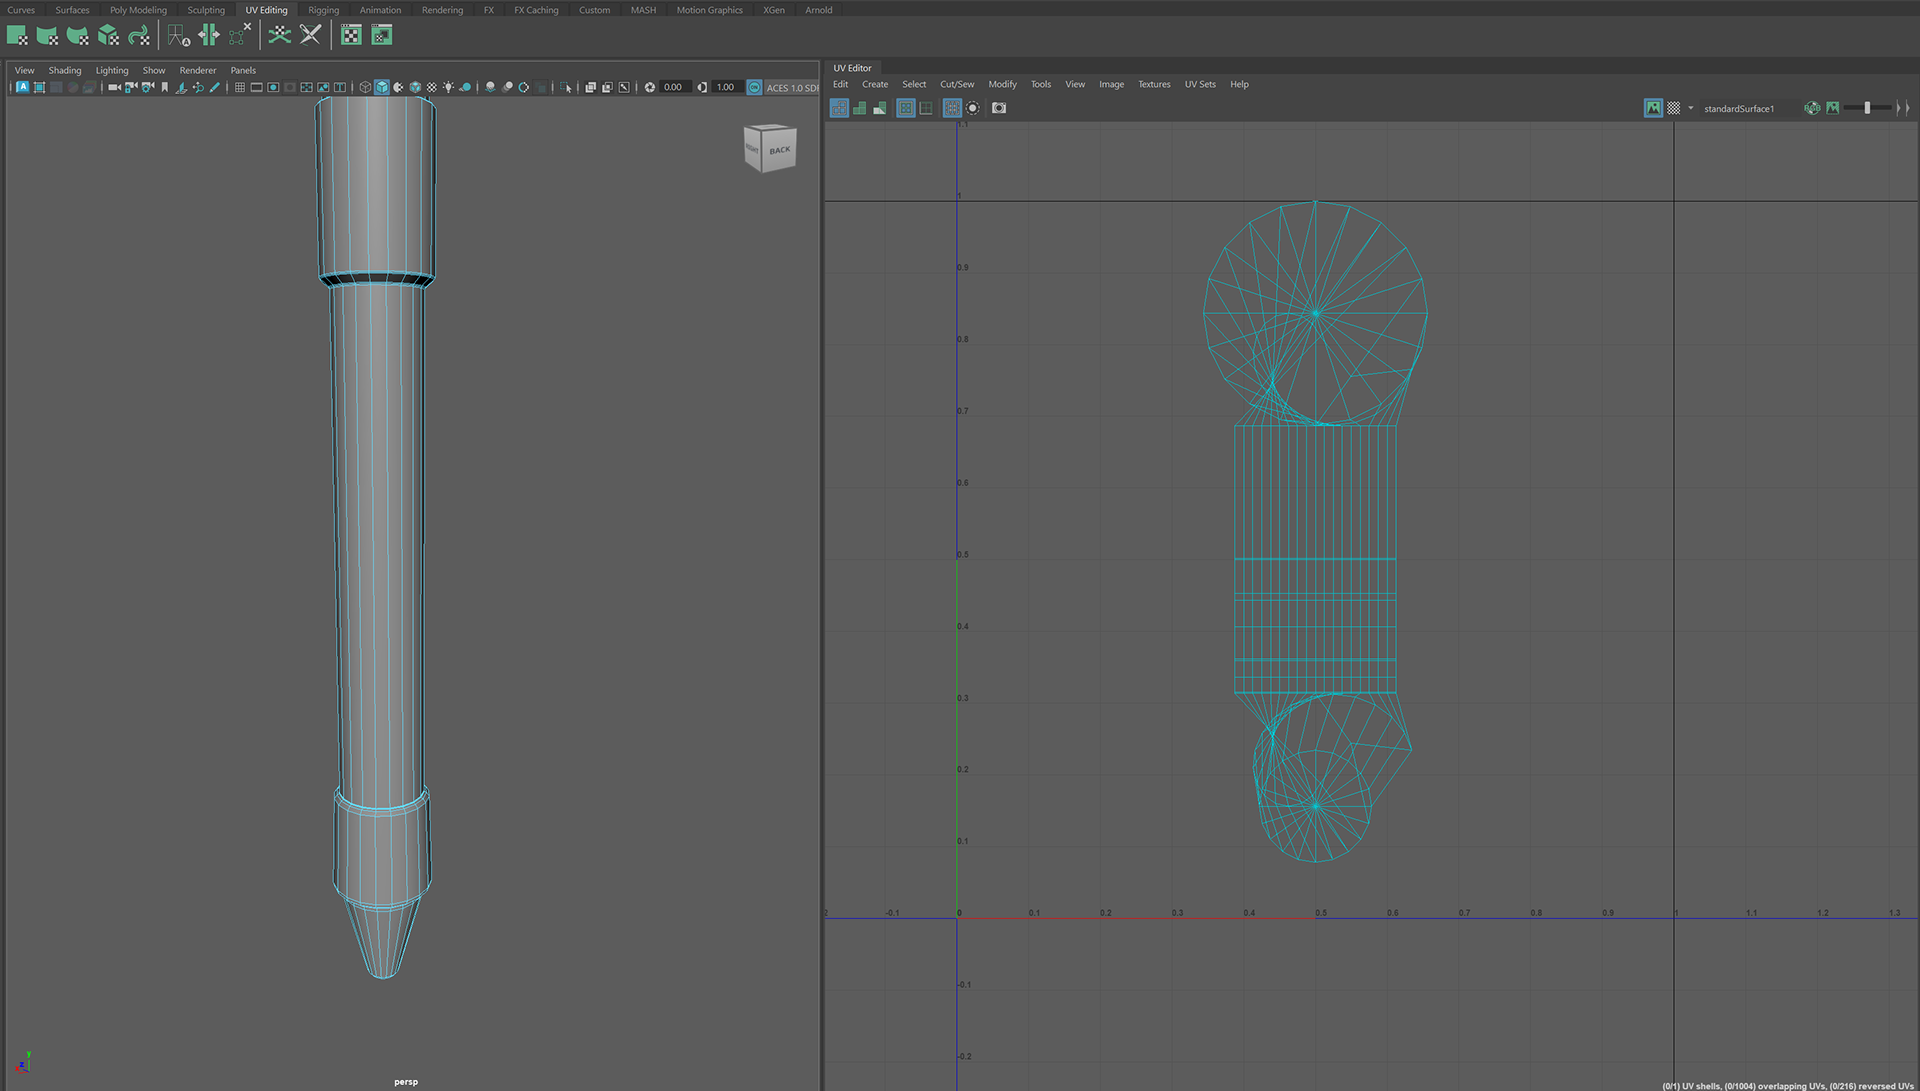
The focus was UV Mapping & Texel density
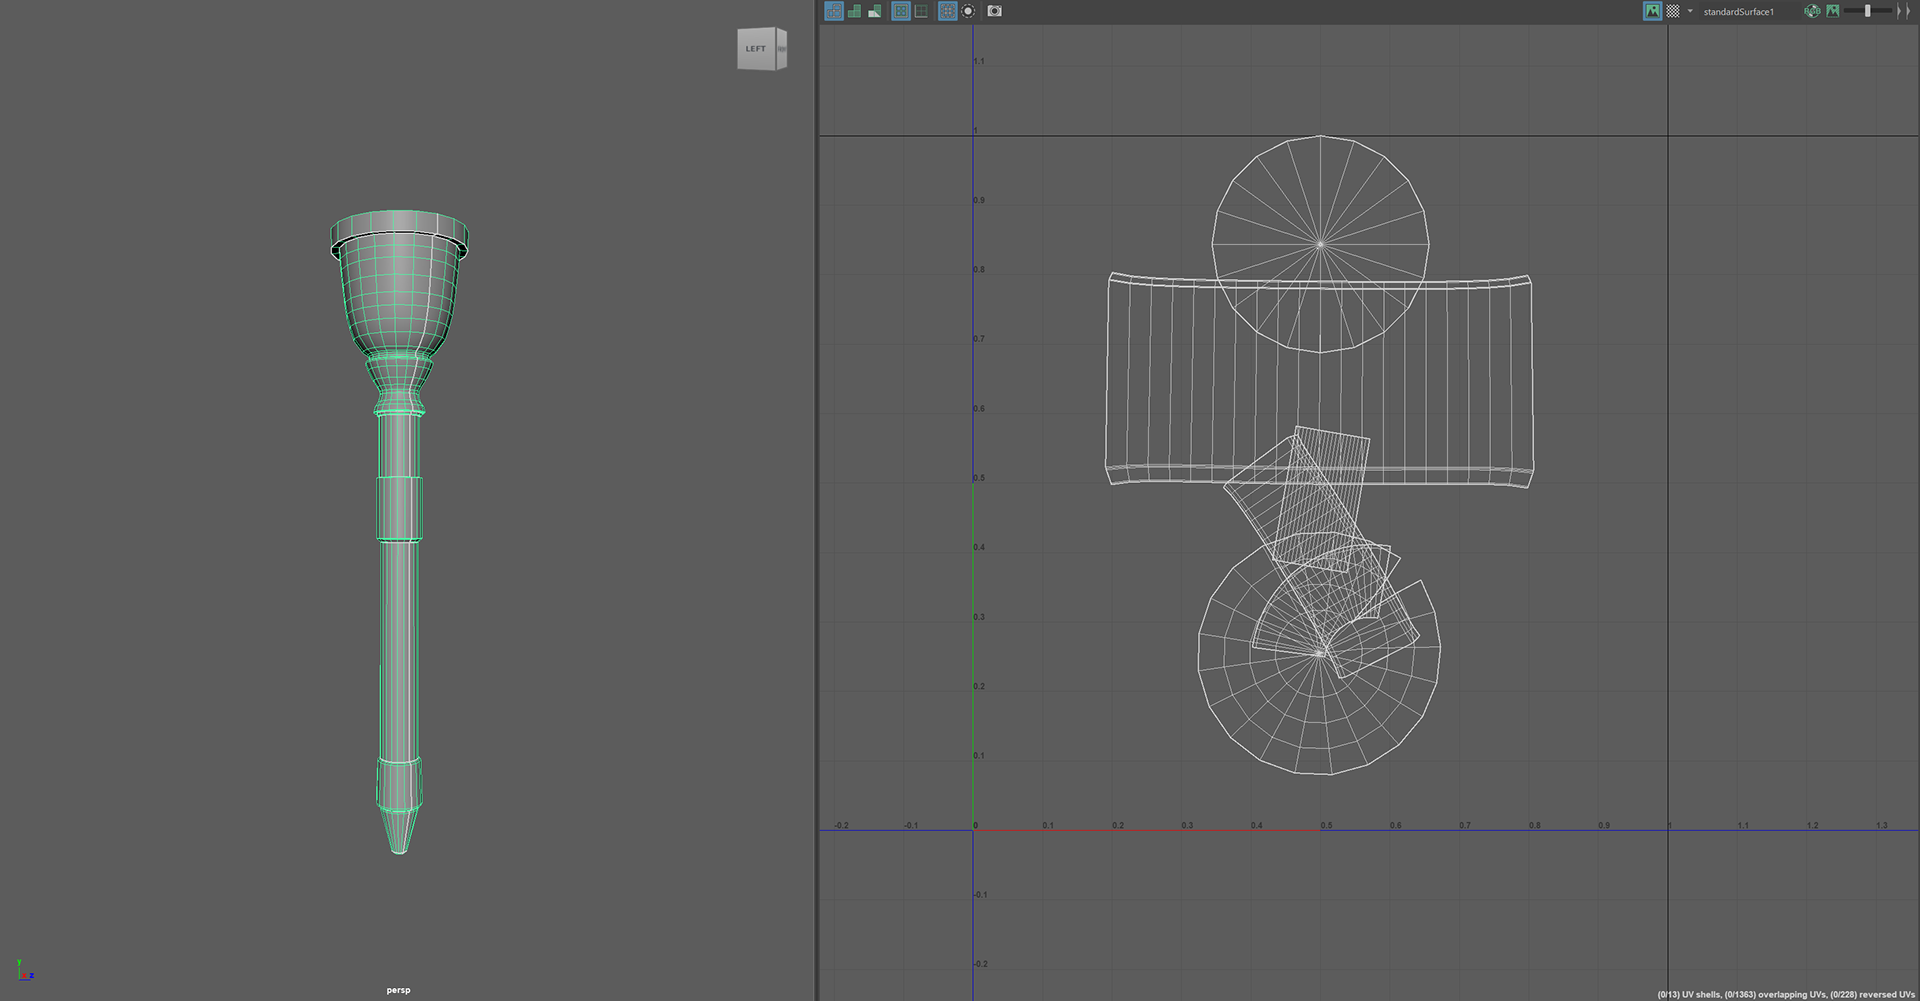
We started the day by learning how to properly map a model of a torch.
The focus was UV Mapping & Texel density
We started the day by learning how to properly map a model of a torch.
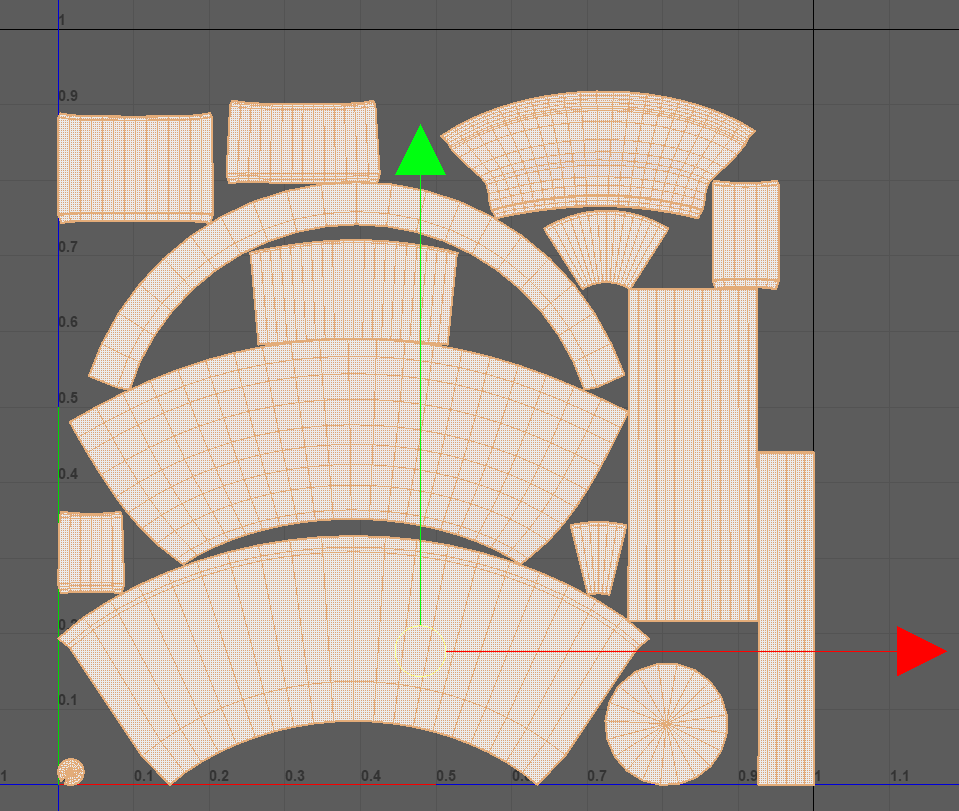
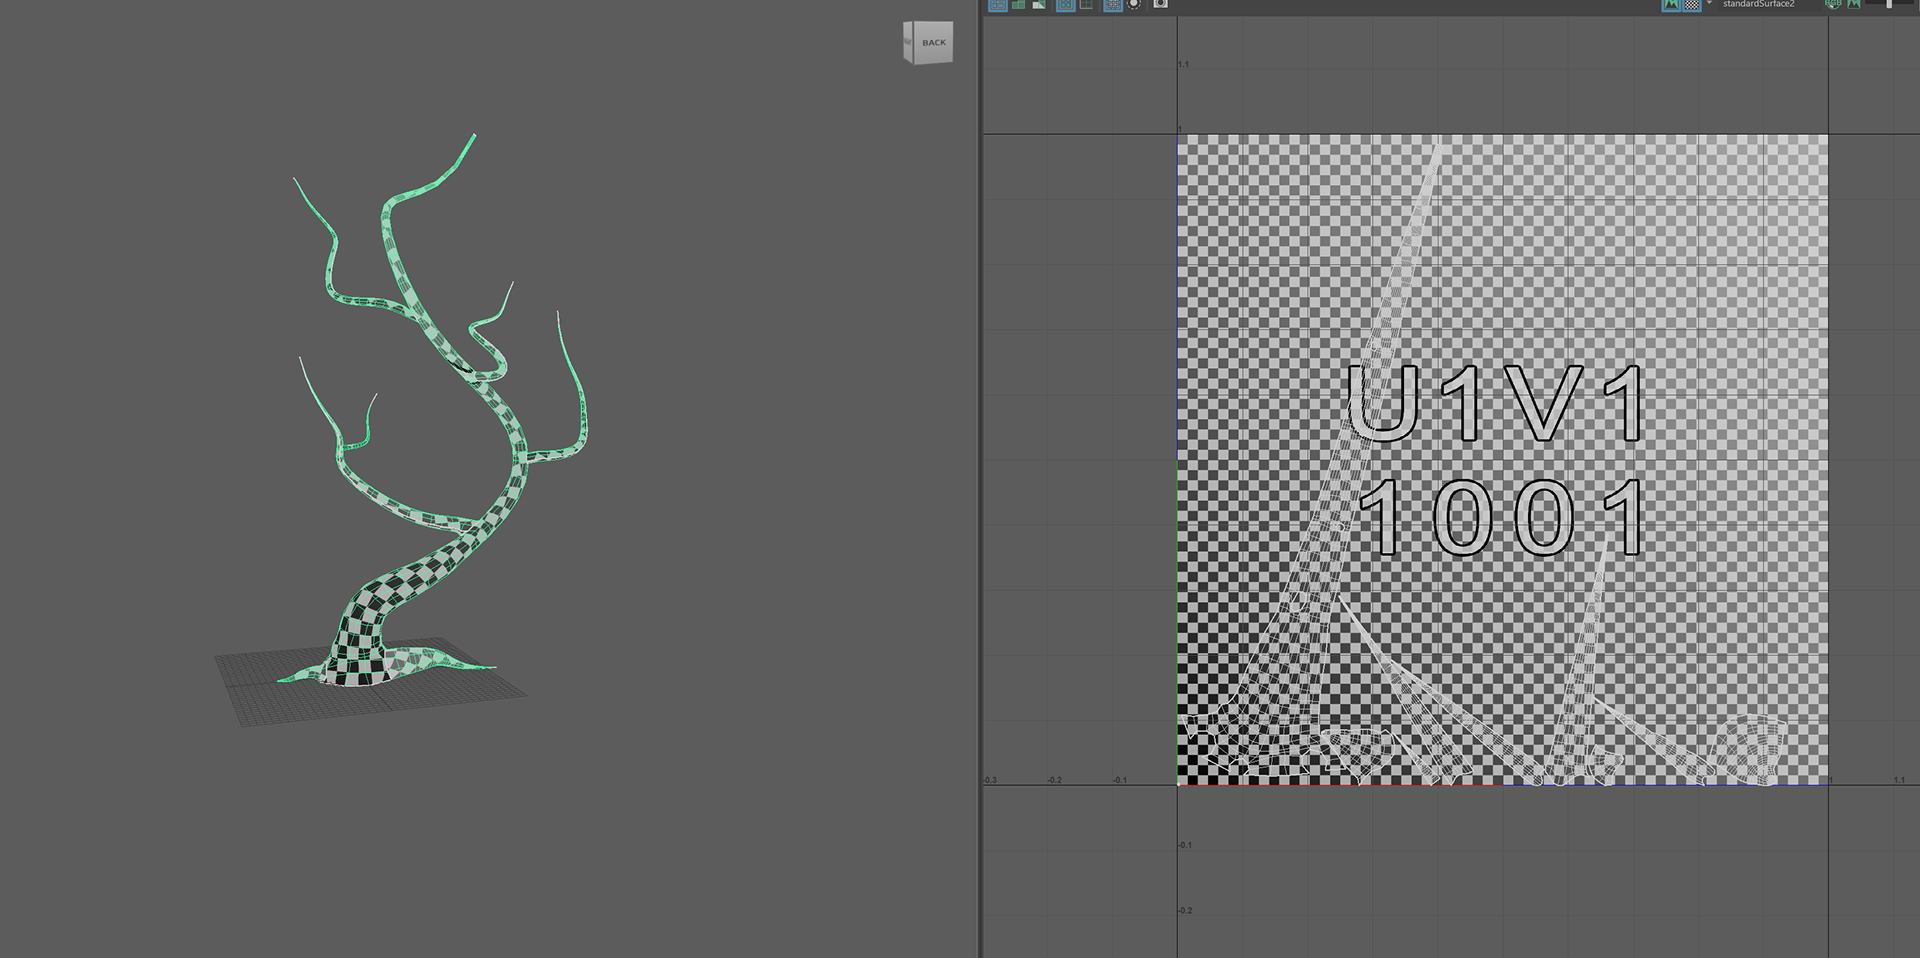
You start by sewing everything together and it creates this spiral type UV but now its time to go and make some cuts.
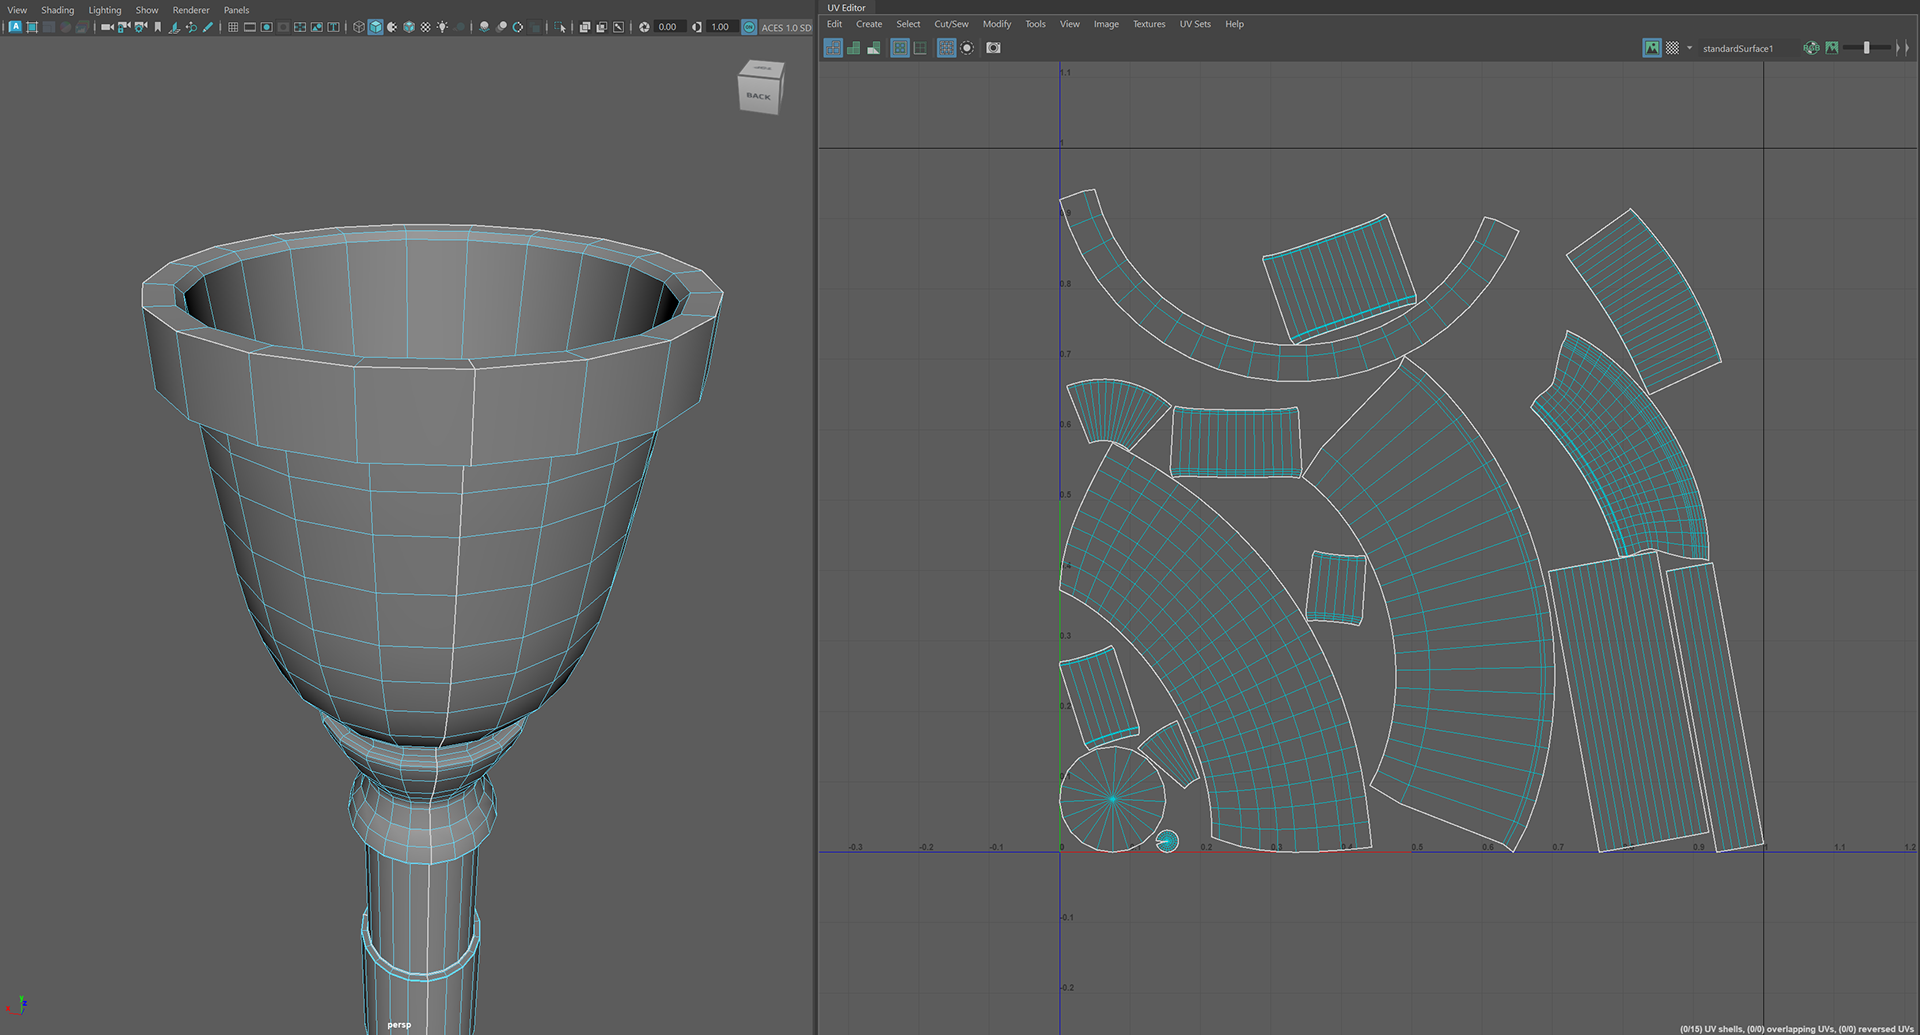
Cuts are made at every crease, this allows the UV to be broken up into several parts to make texturing easier.
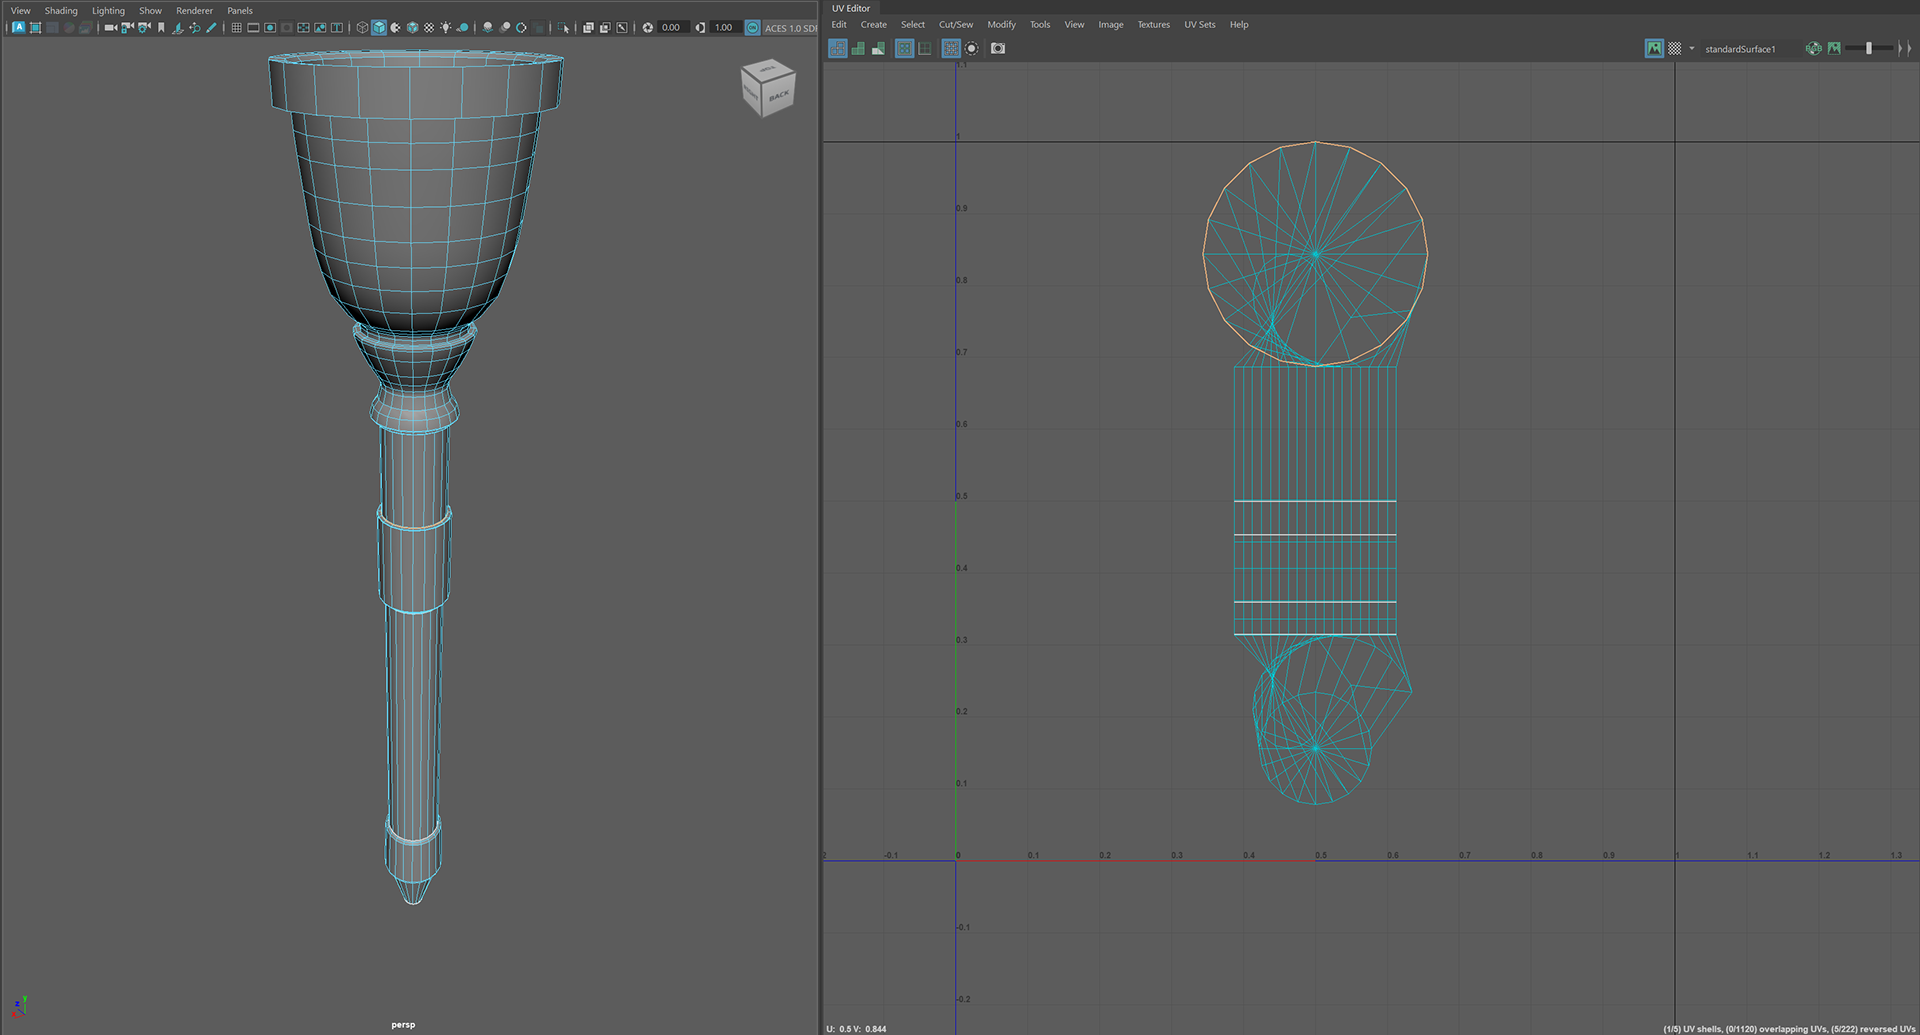
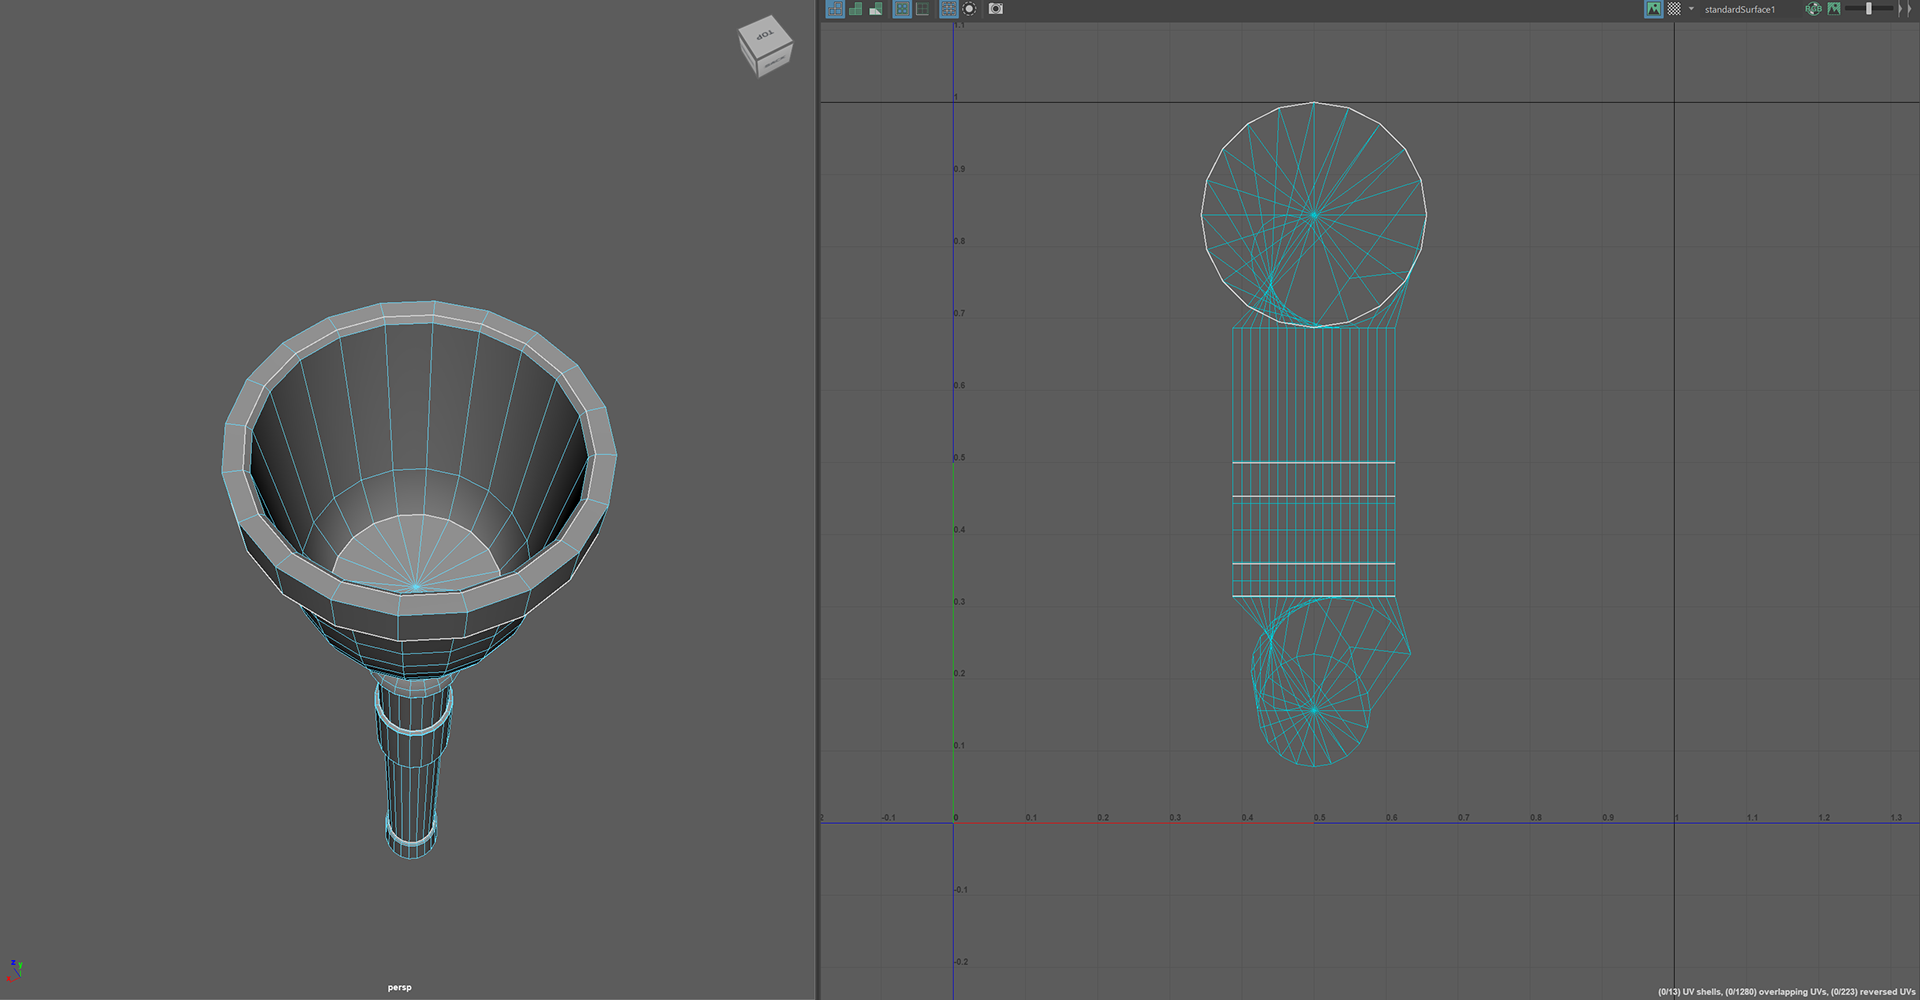
Once the cuts were made, we unfolded them so they become independent UV's and then put them in shaded mode to see any errors.
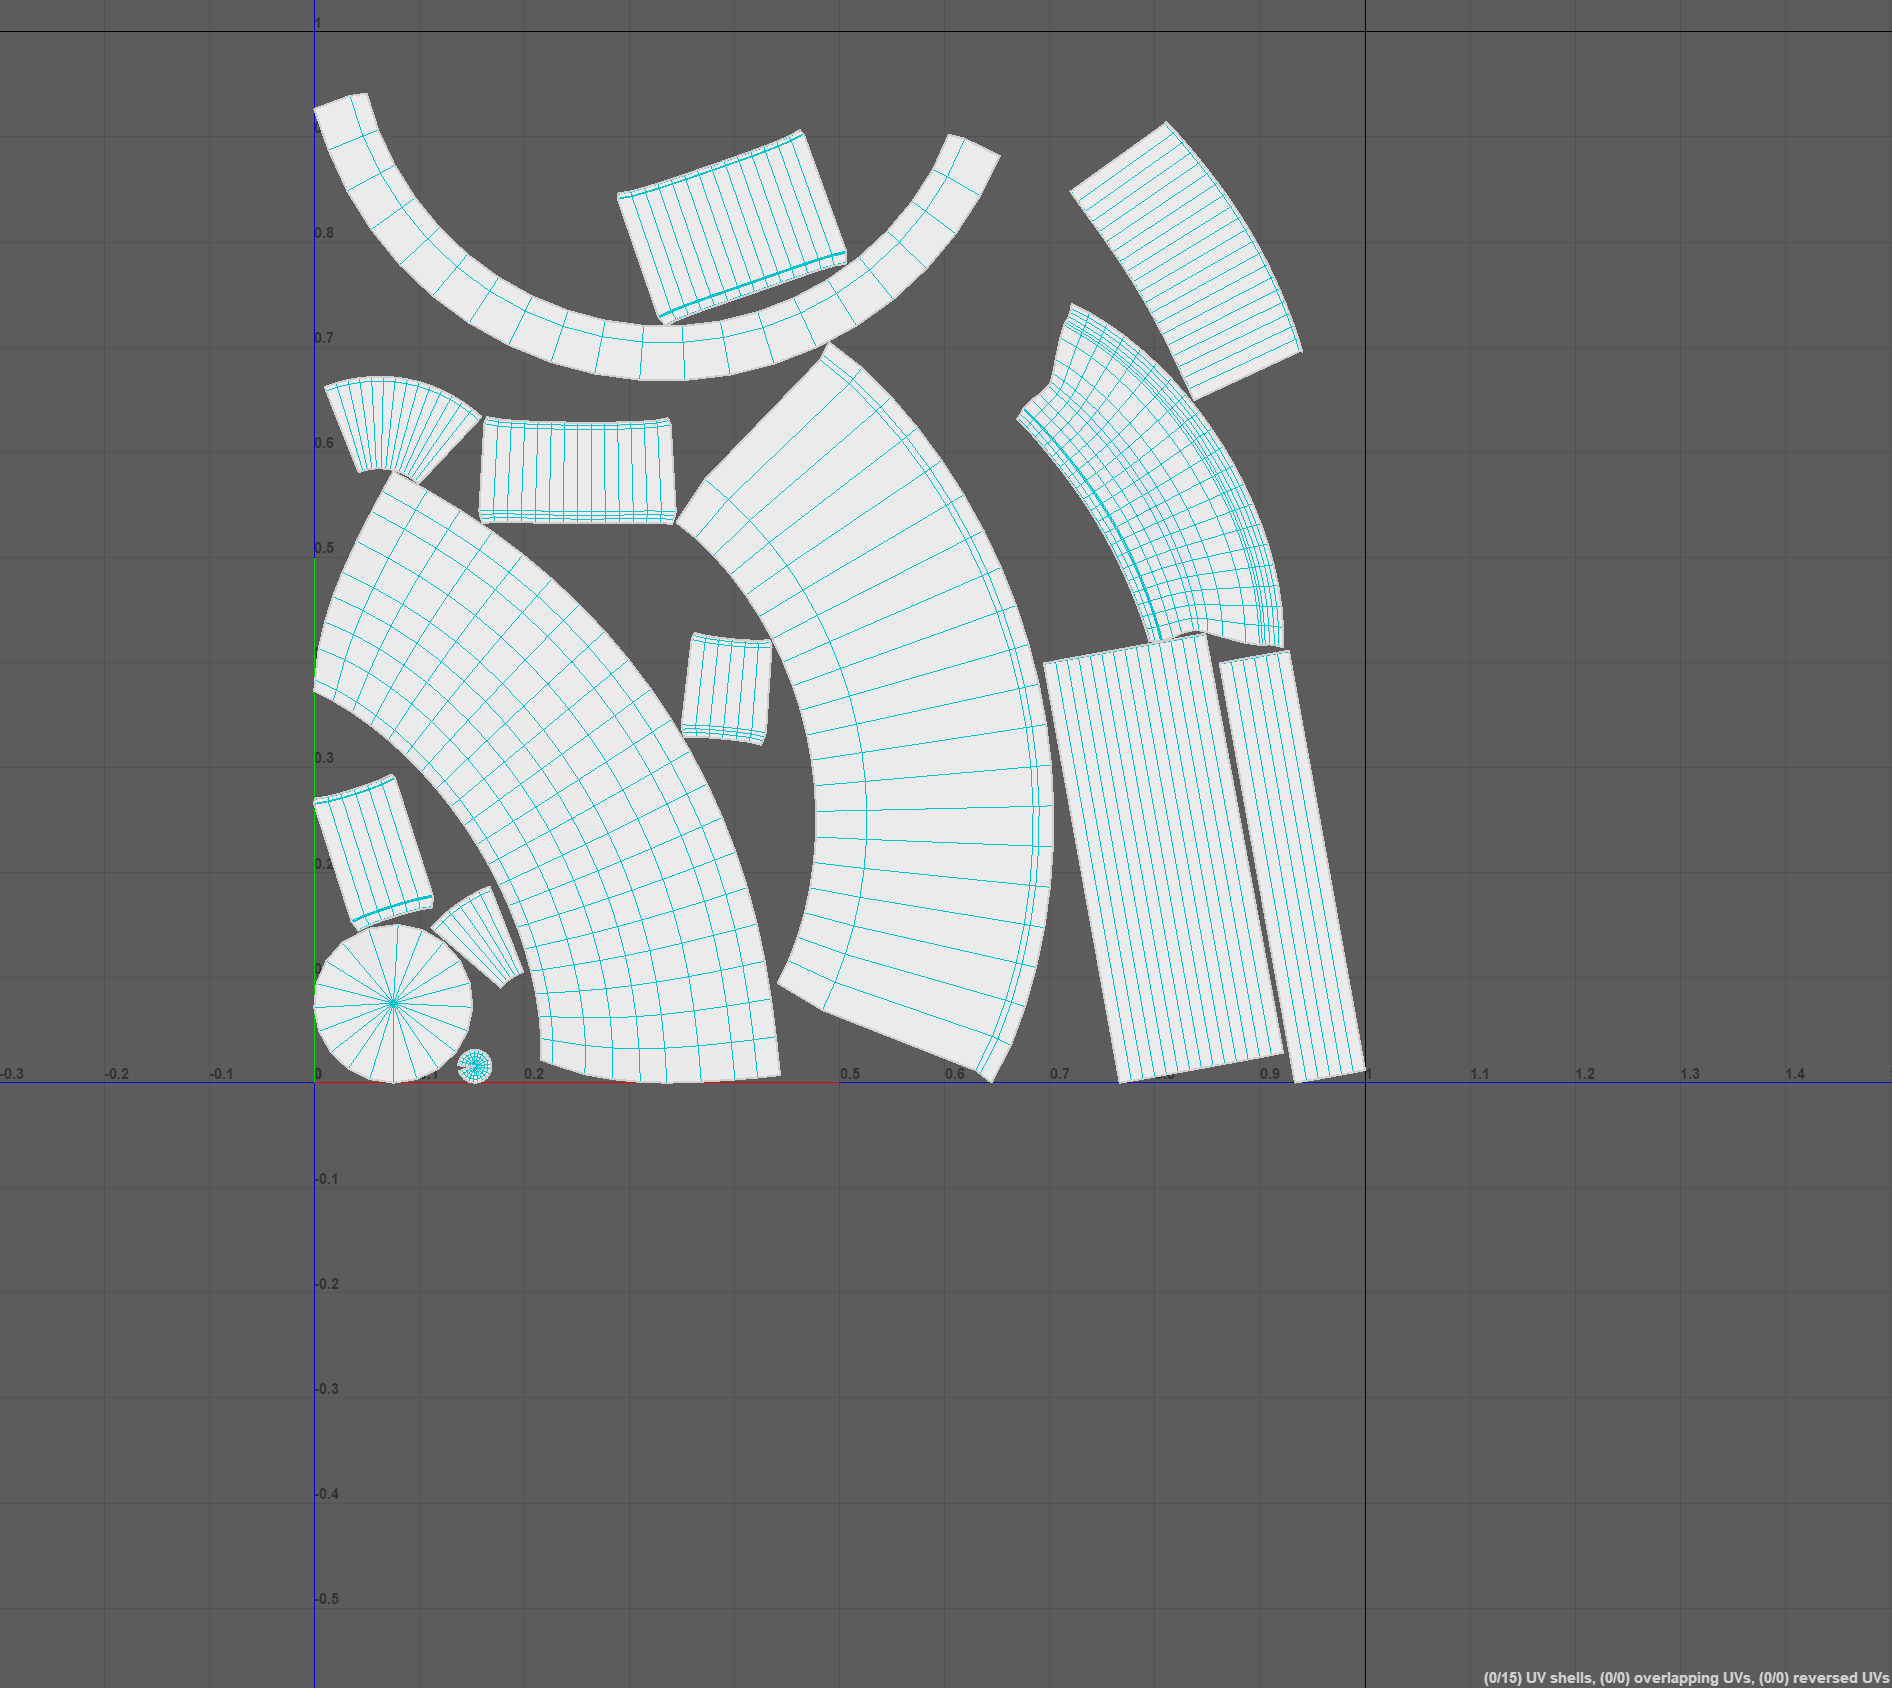
After checking it and things looking clear, some extra cuts were made using the same process as above.
After checking it and things looking clear, some extra cuts were made using the same process as above.

The UV's were then orientated properly and re-fit within the UV Box which is important for texturing purposes.
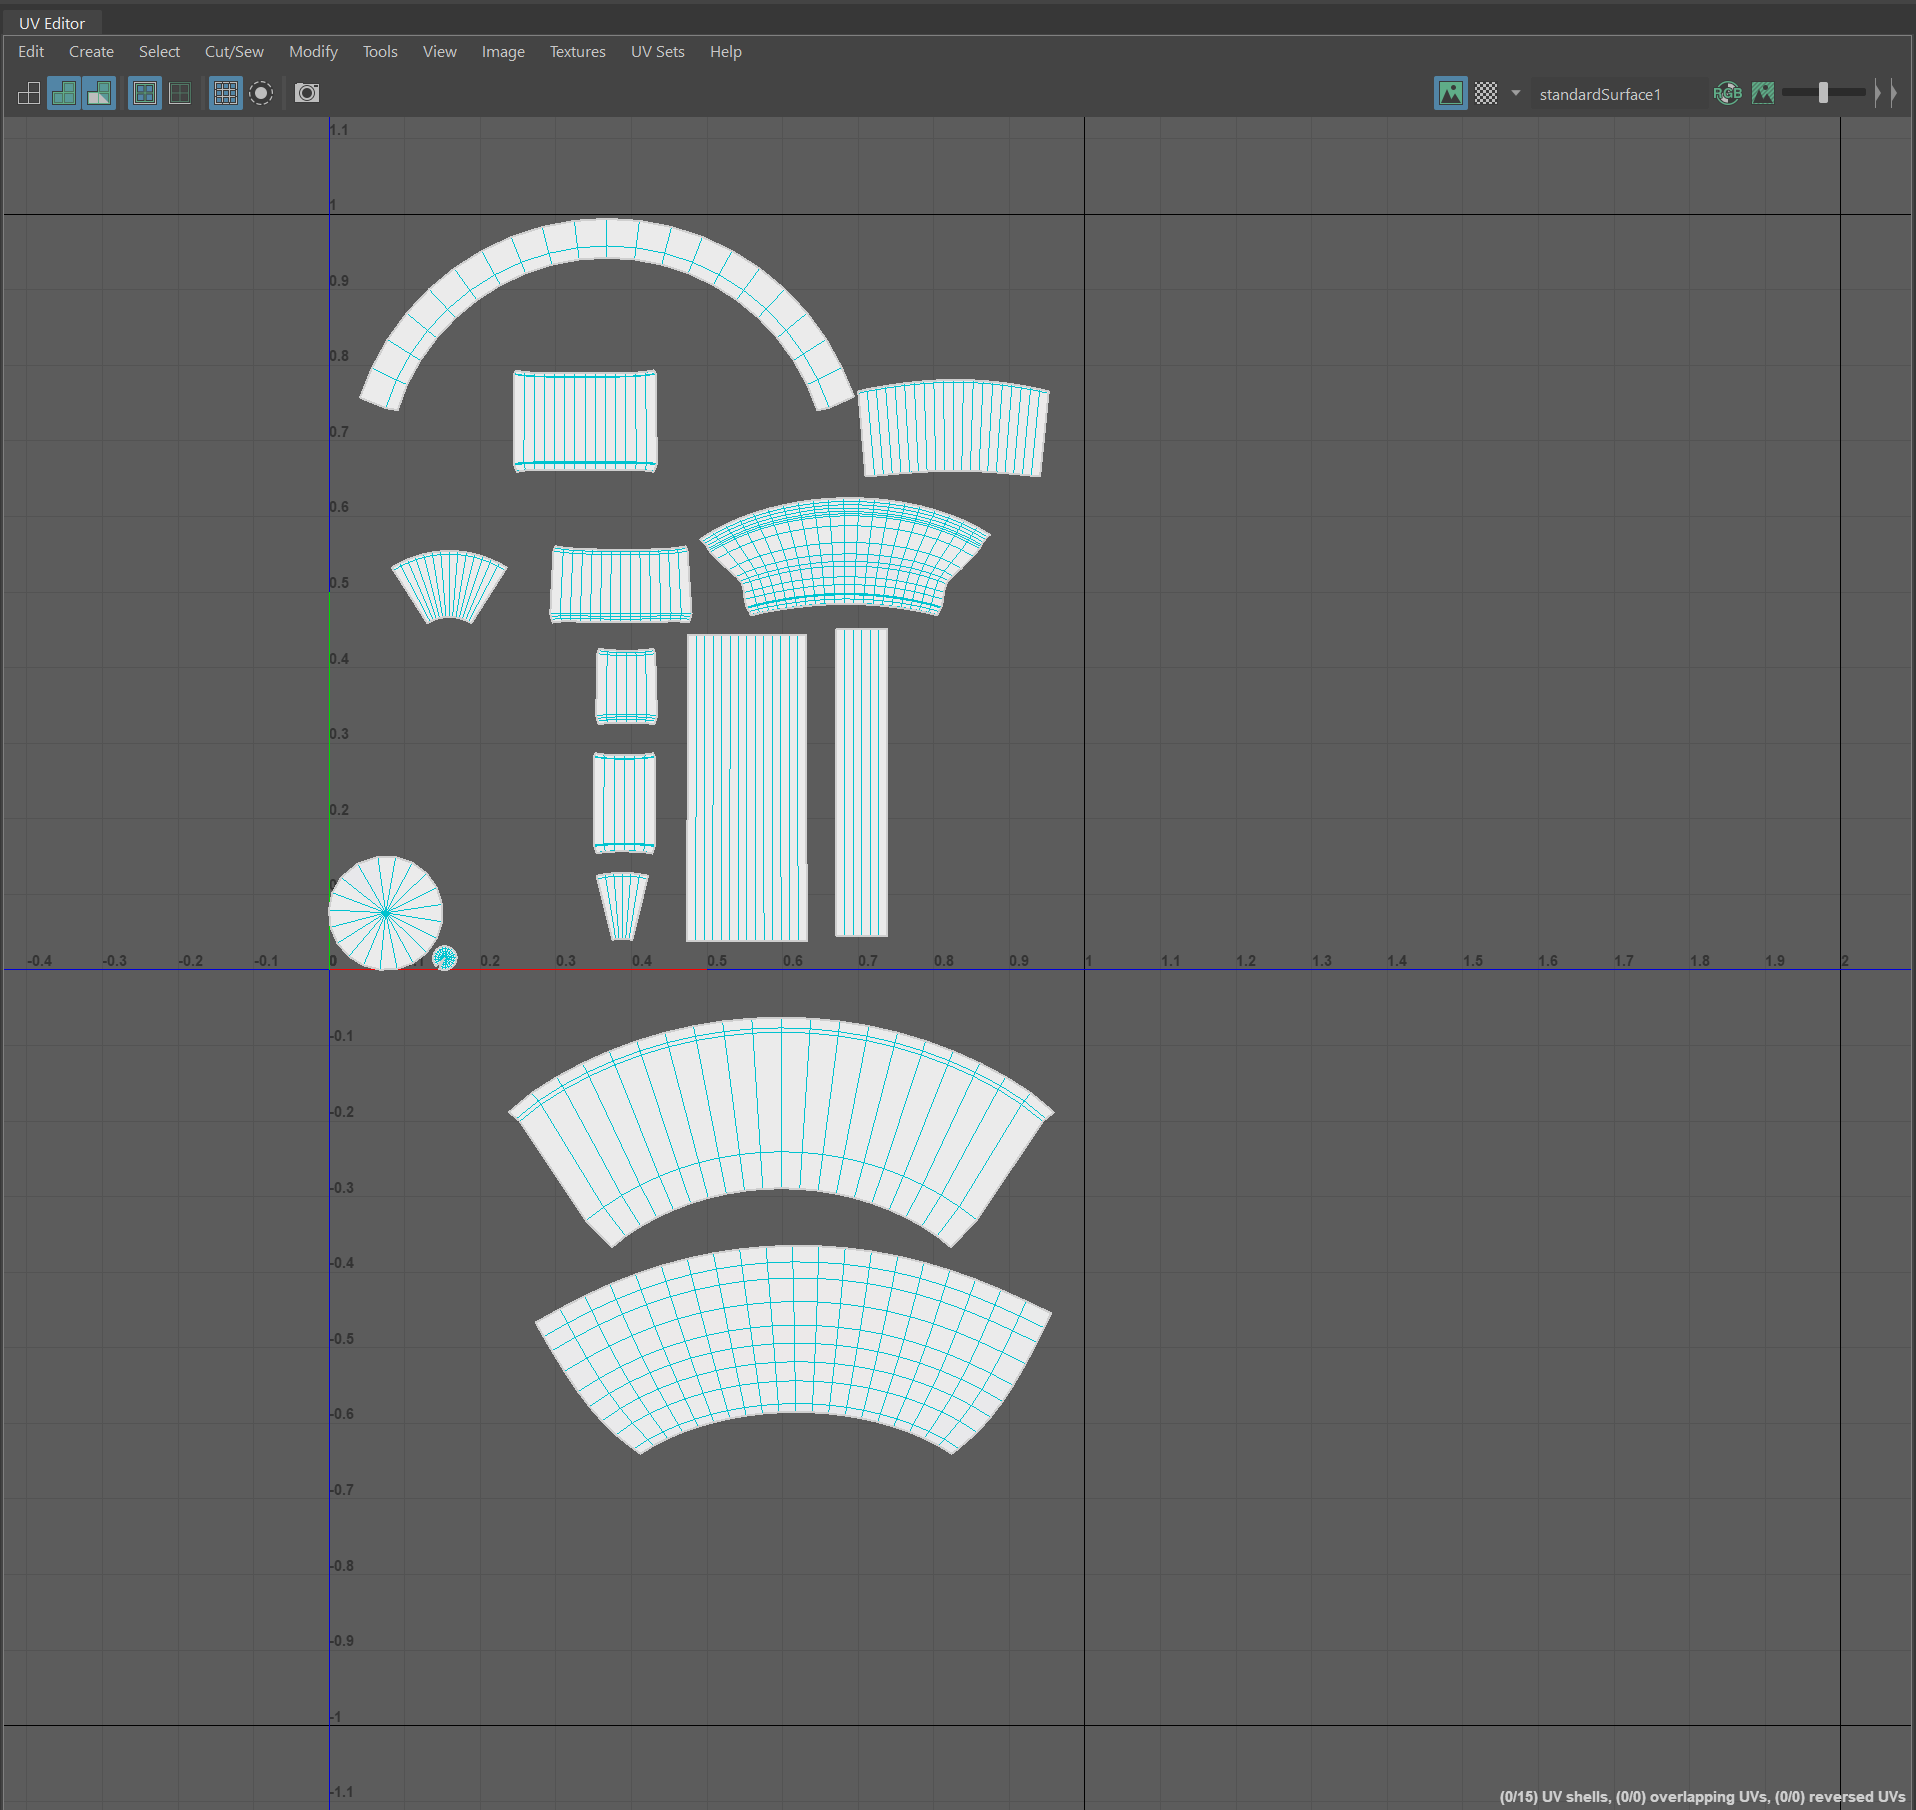
All in all, I wasnt sure how I felt about this because I tried to apply the same process to my own models and it did not work at all.
So I have had some difficulties in figuring this part of the module out.
cry.


INT- ROOM 902 14- 03 - 25
INTRODUCTION TO SUBSTANCE PAINTER!
Guisi took us through substance today!
Guisi took us through substance today!
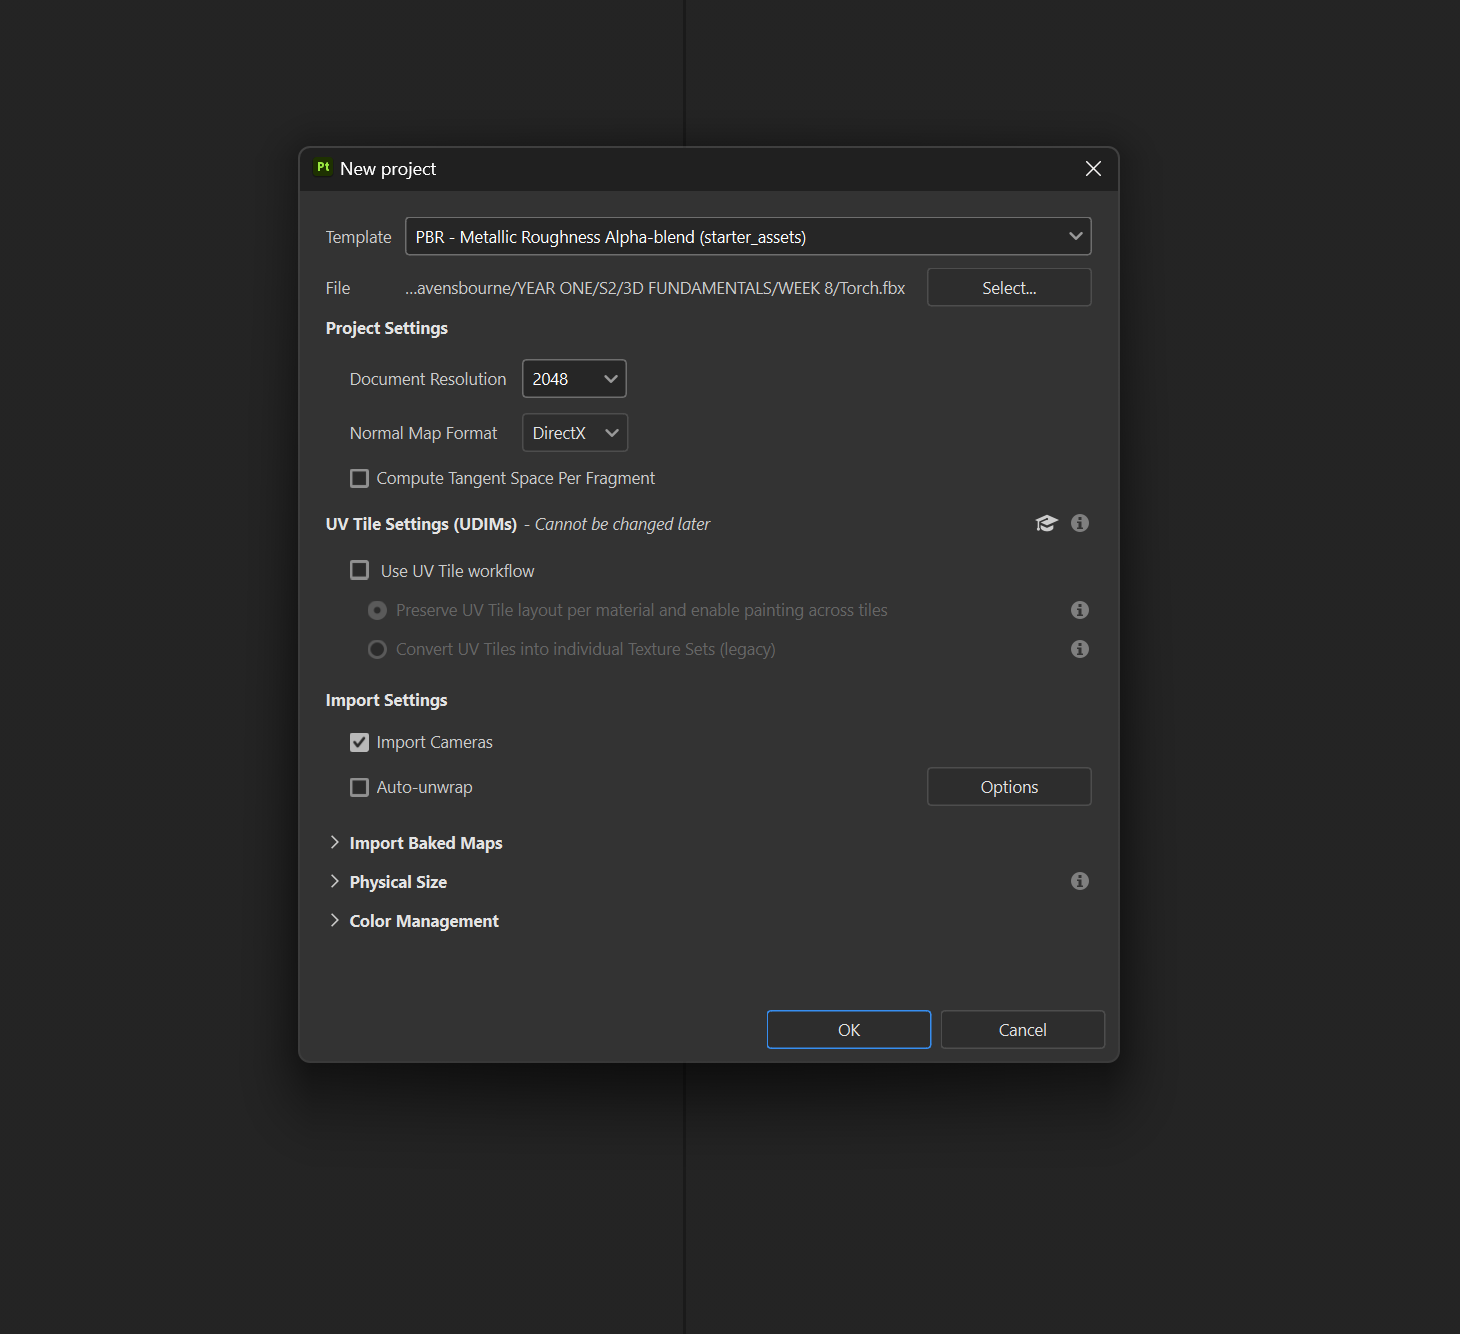
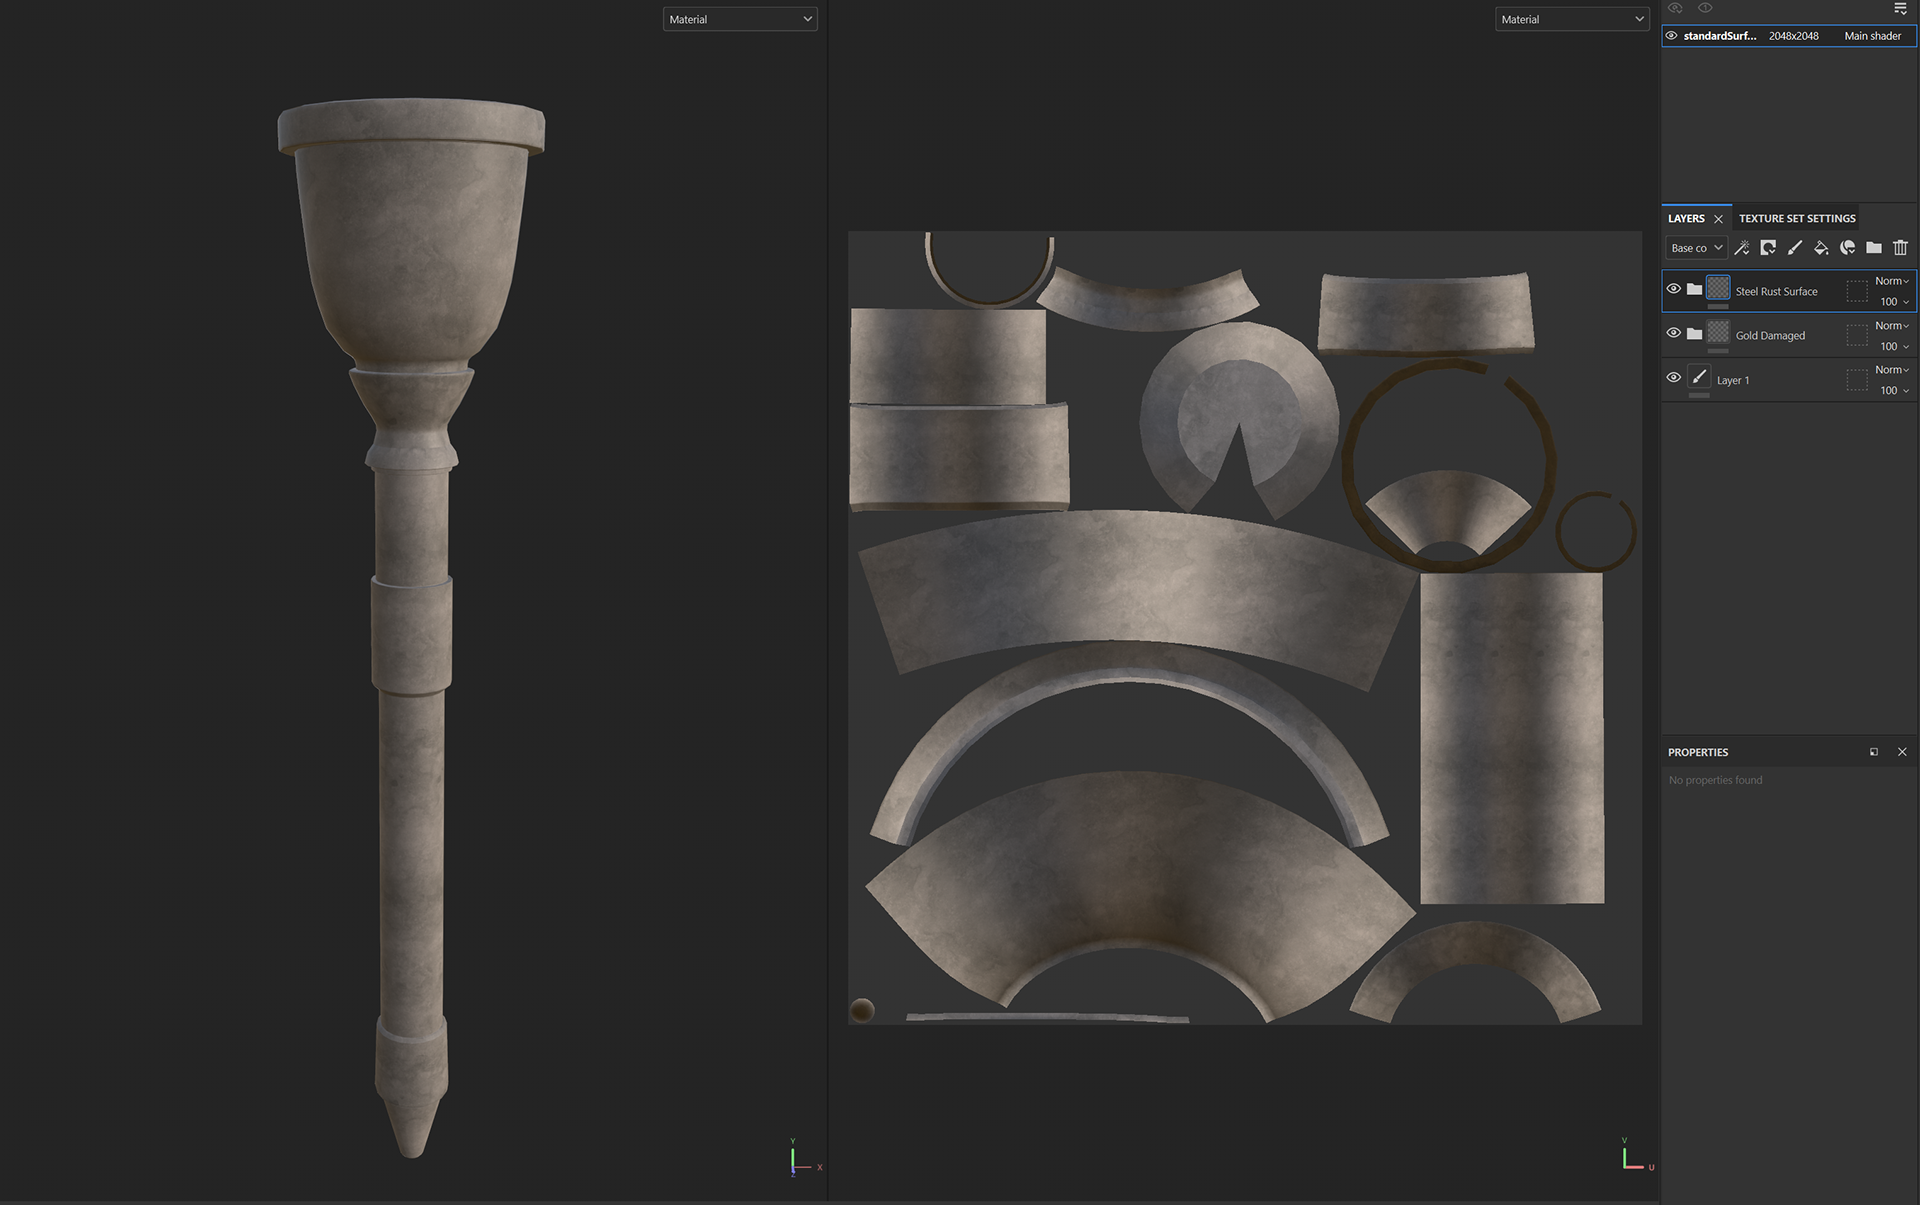
Last week, we took the Torch once it was properly UV Mapped and imported it into Substance 3D Painter.
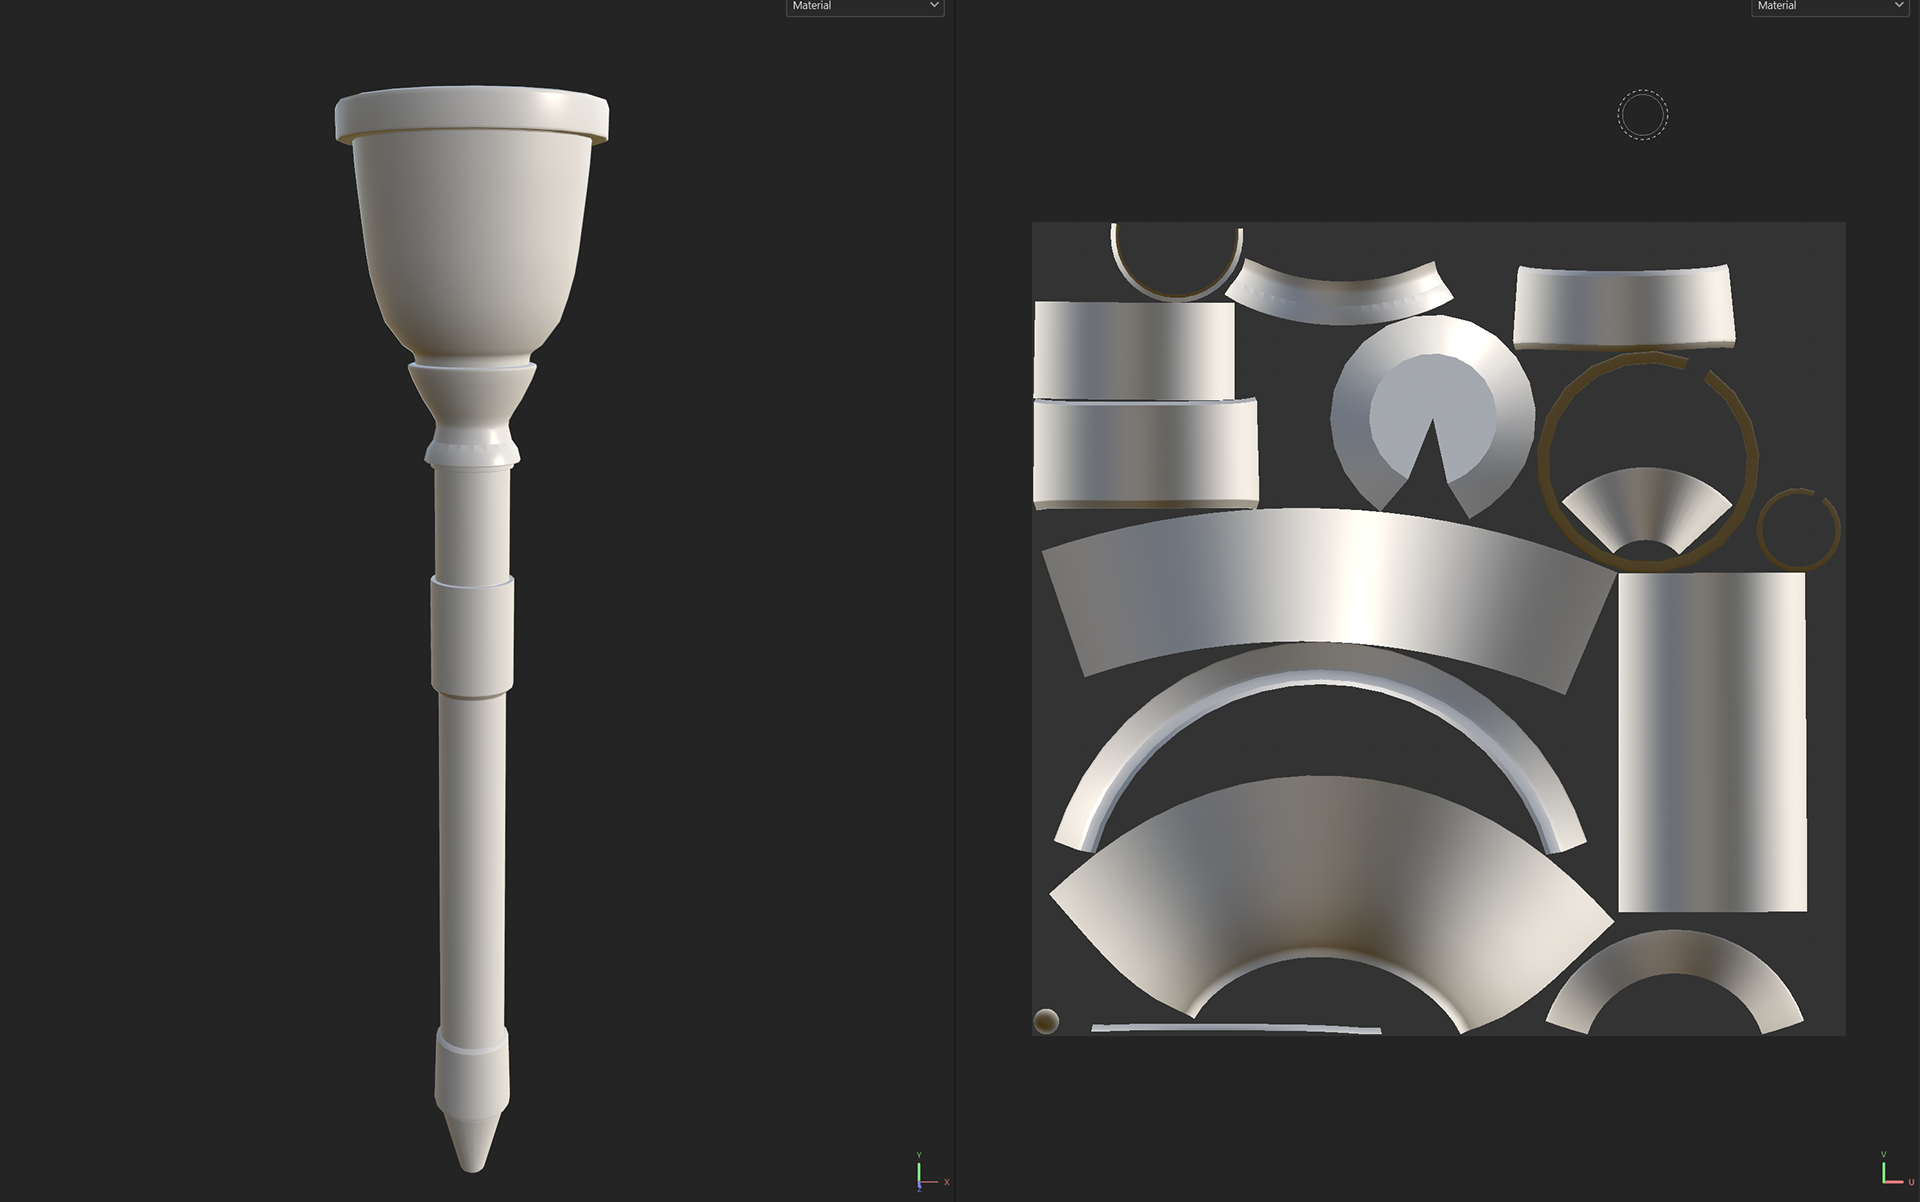
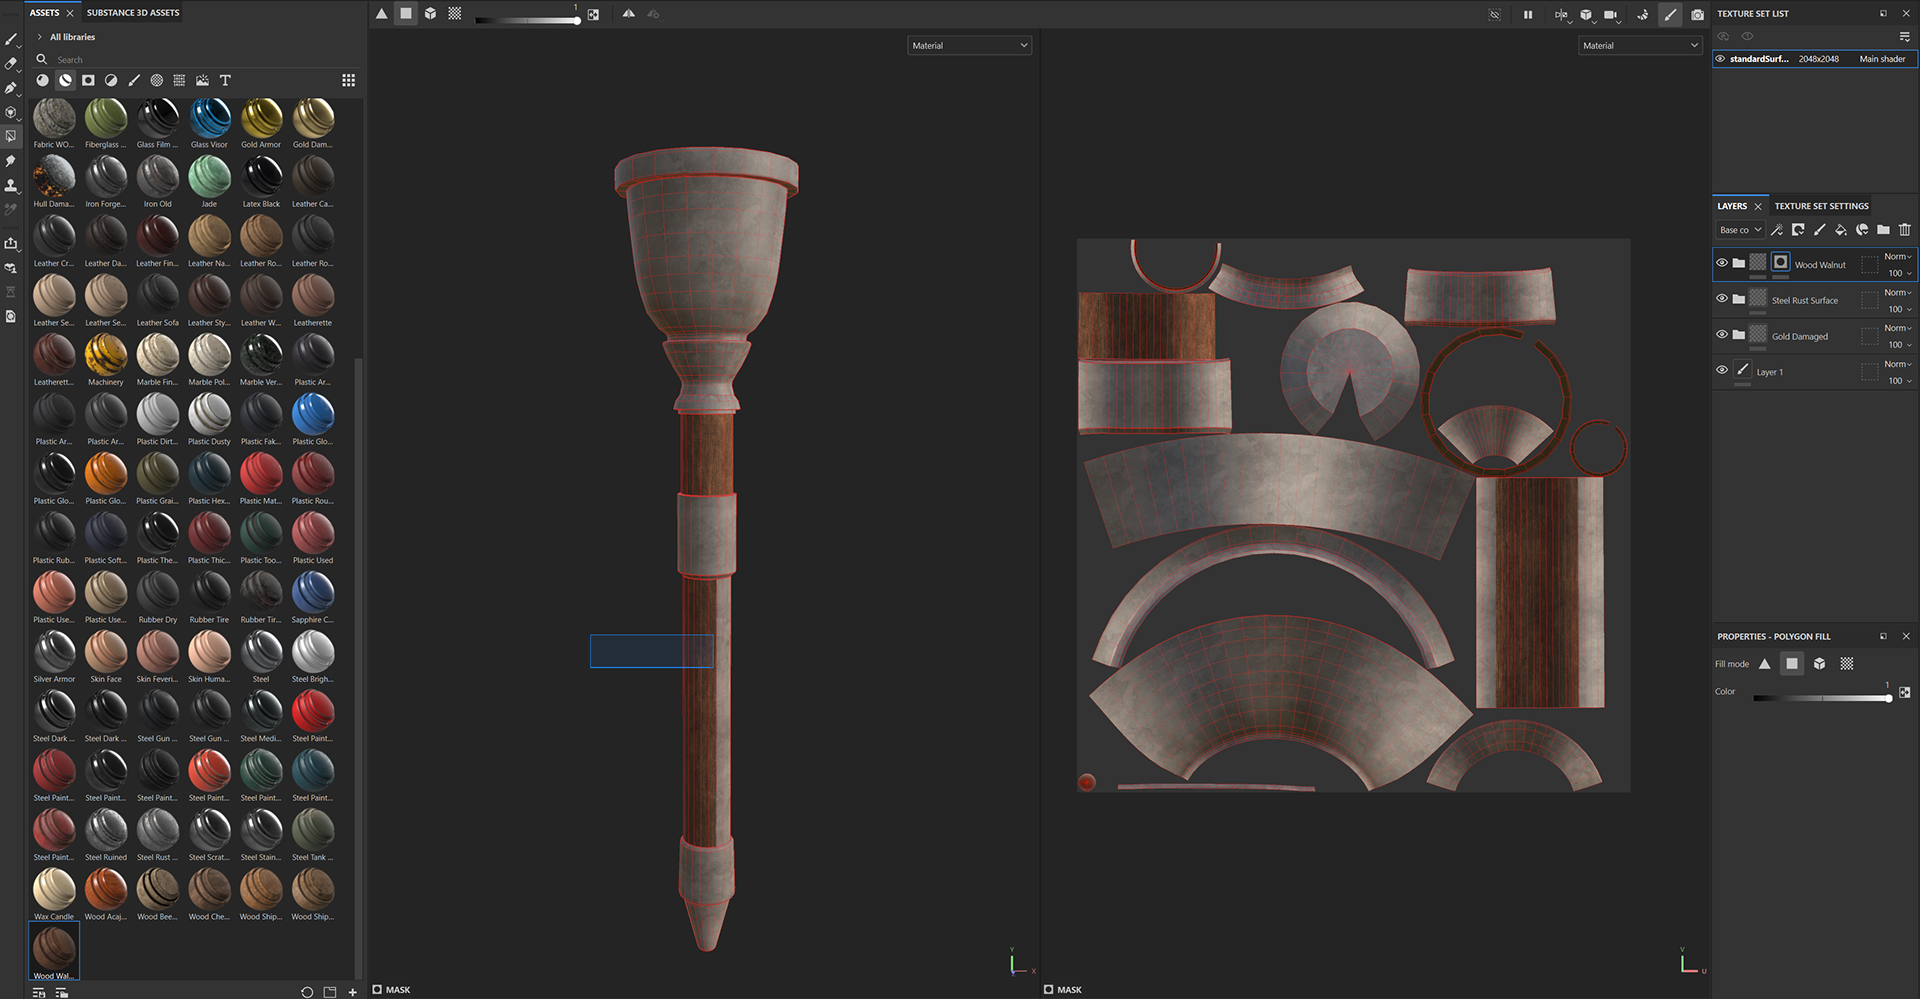
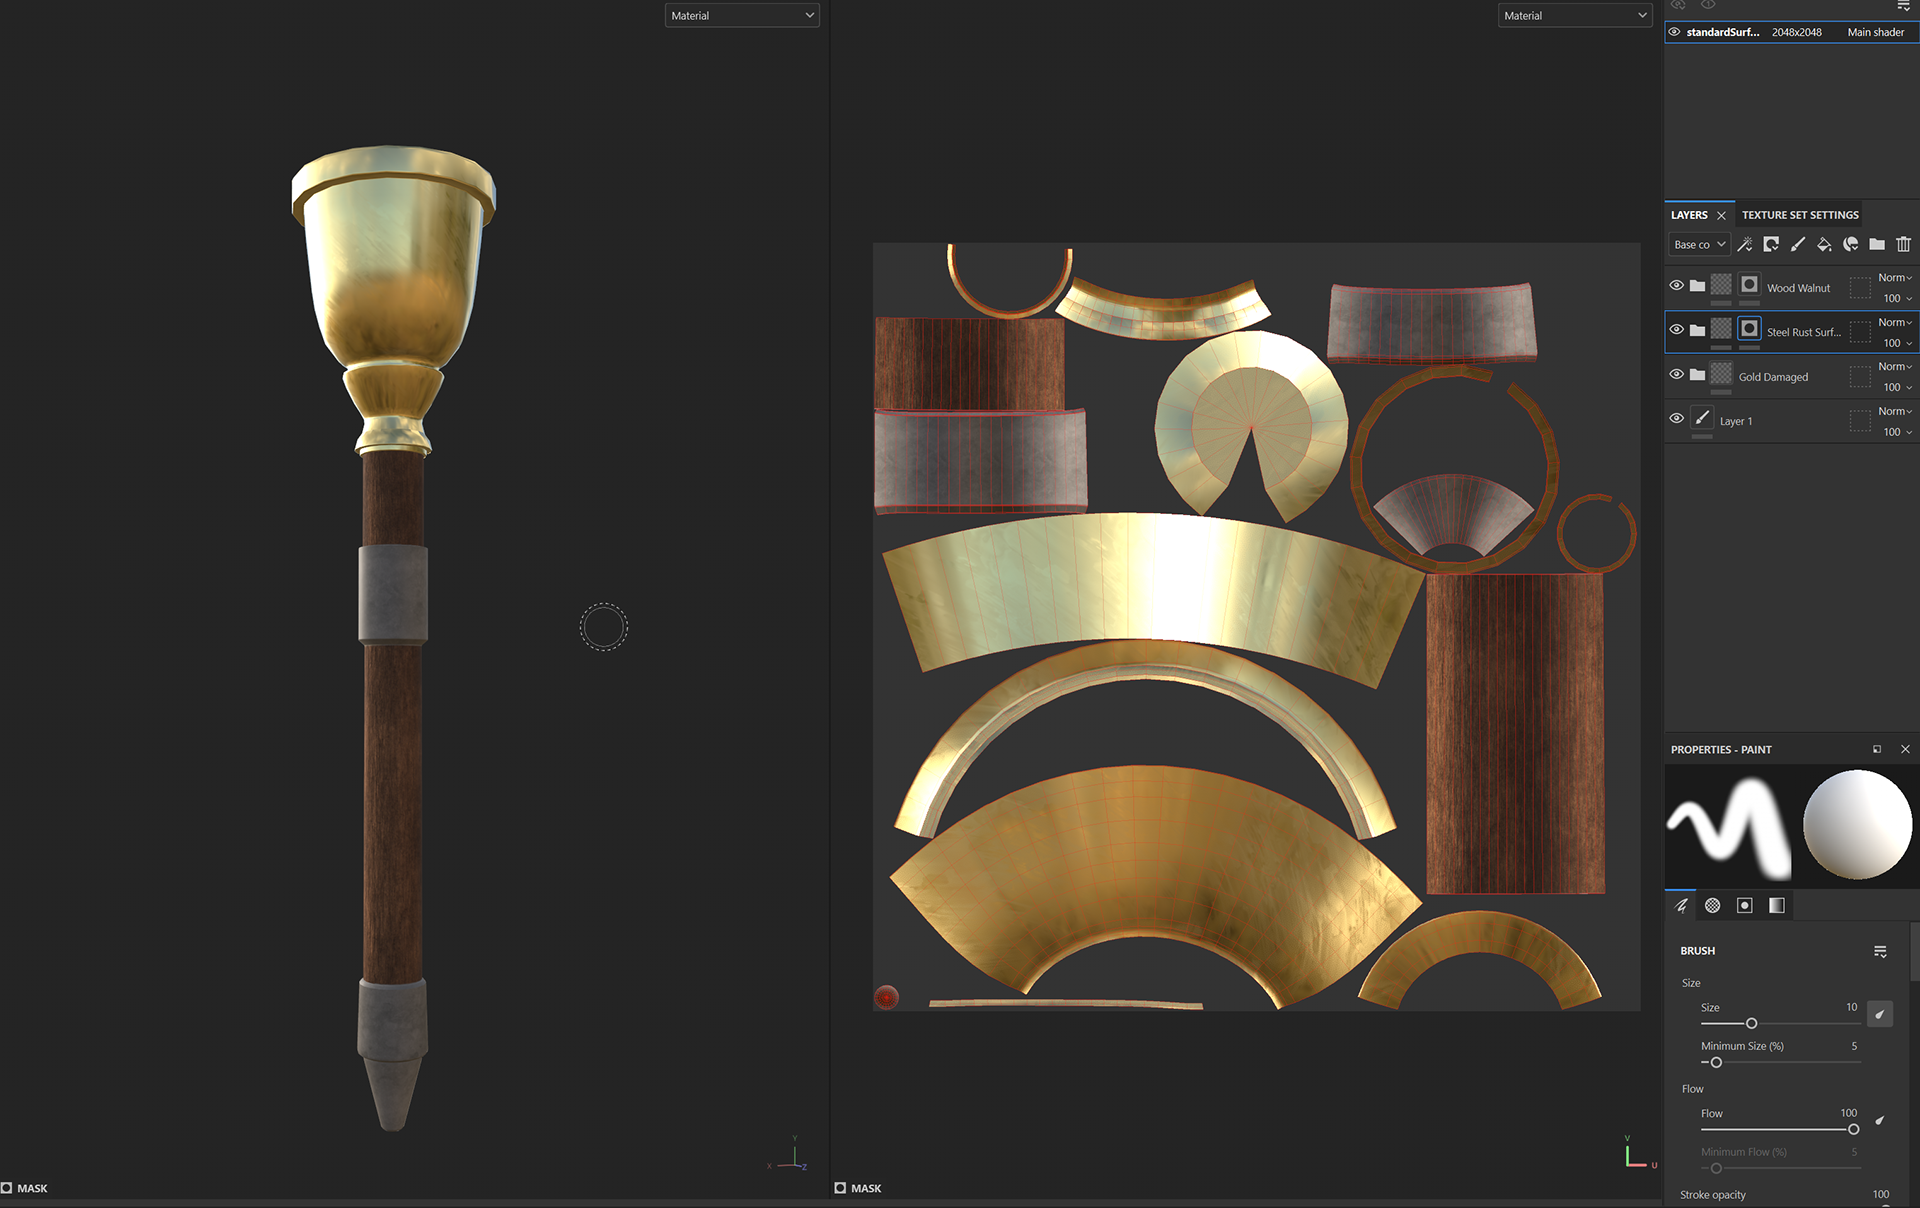
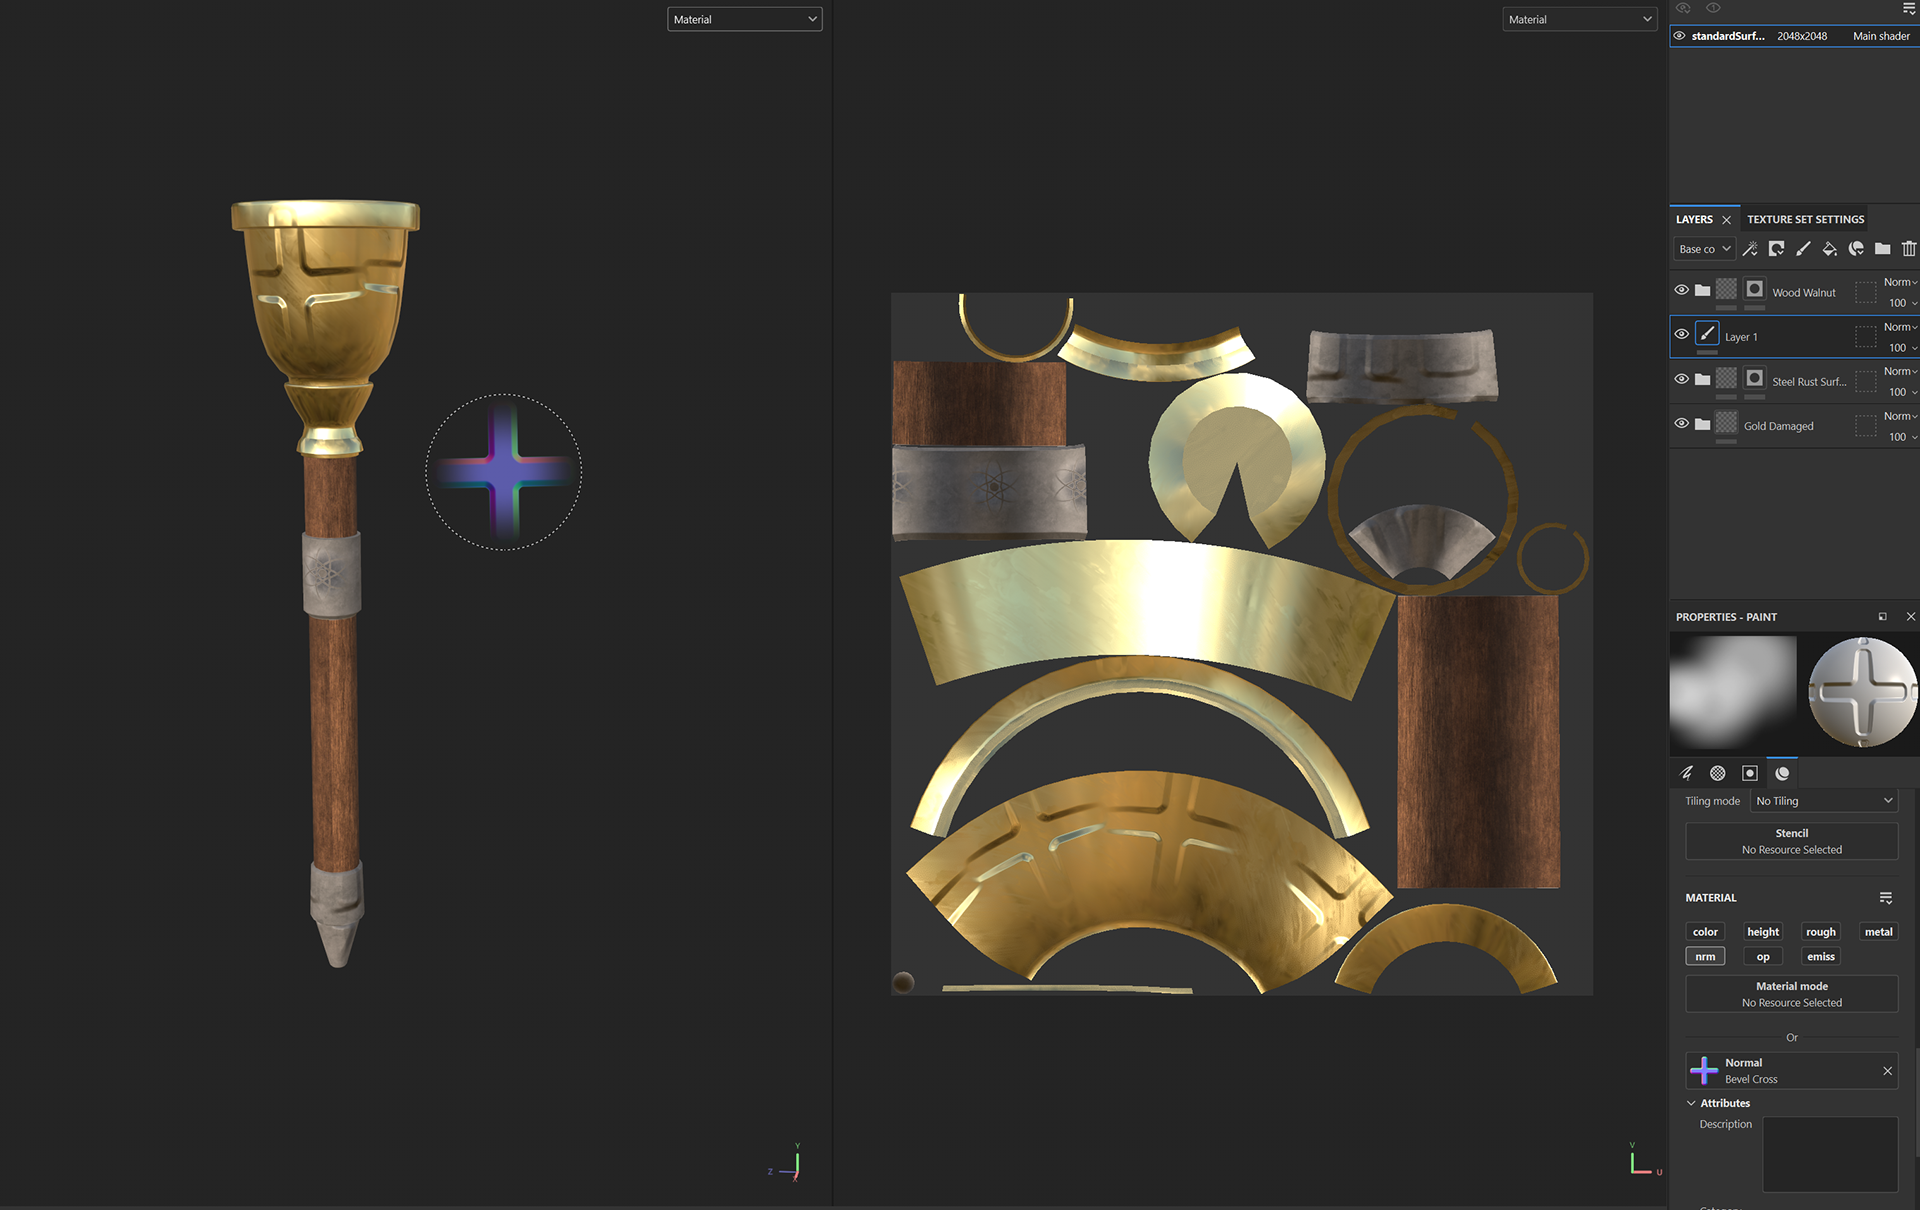
Then we add the smart textures to the torch one by one, in this case, I added Gold for the cup, wood for the handle and a steel accent for the handle as well.
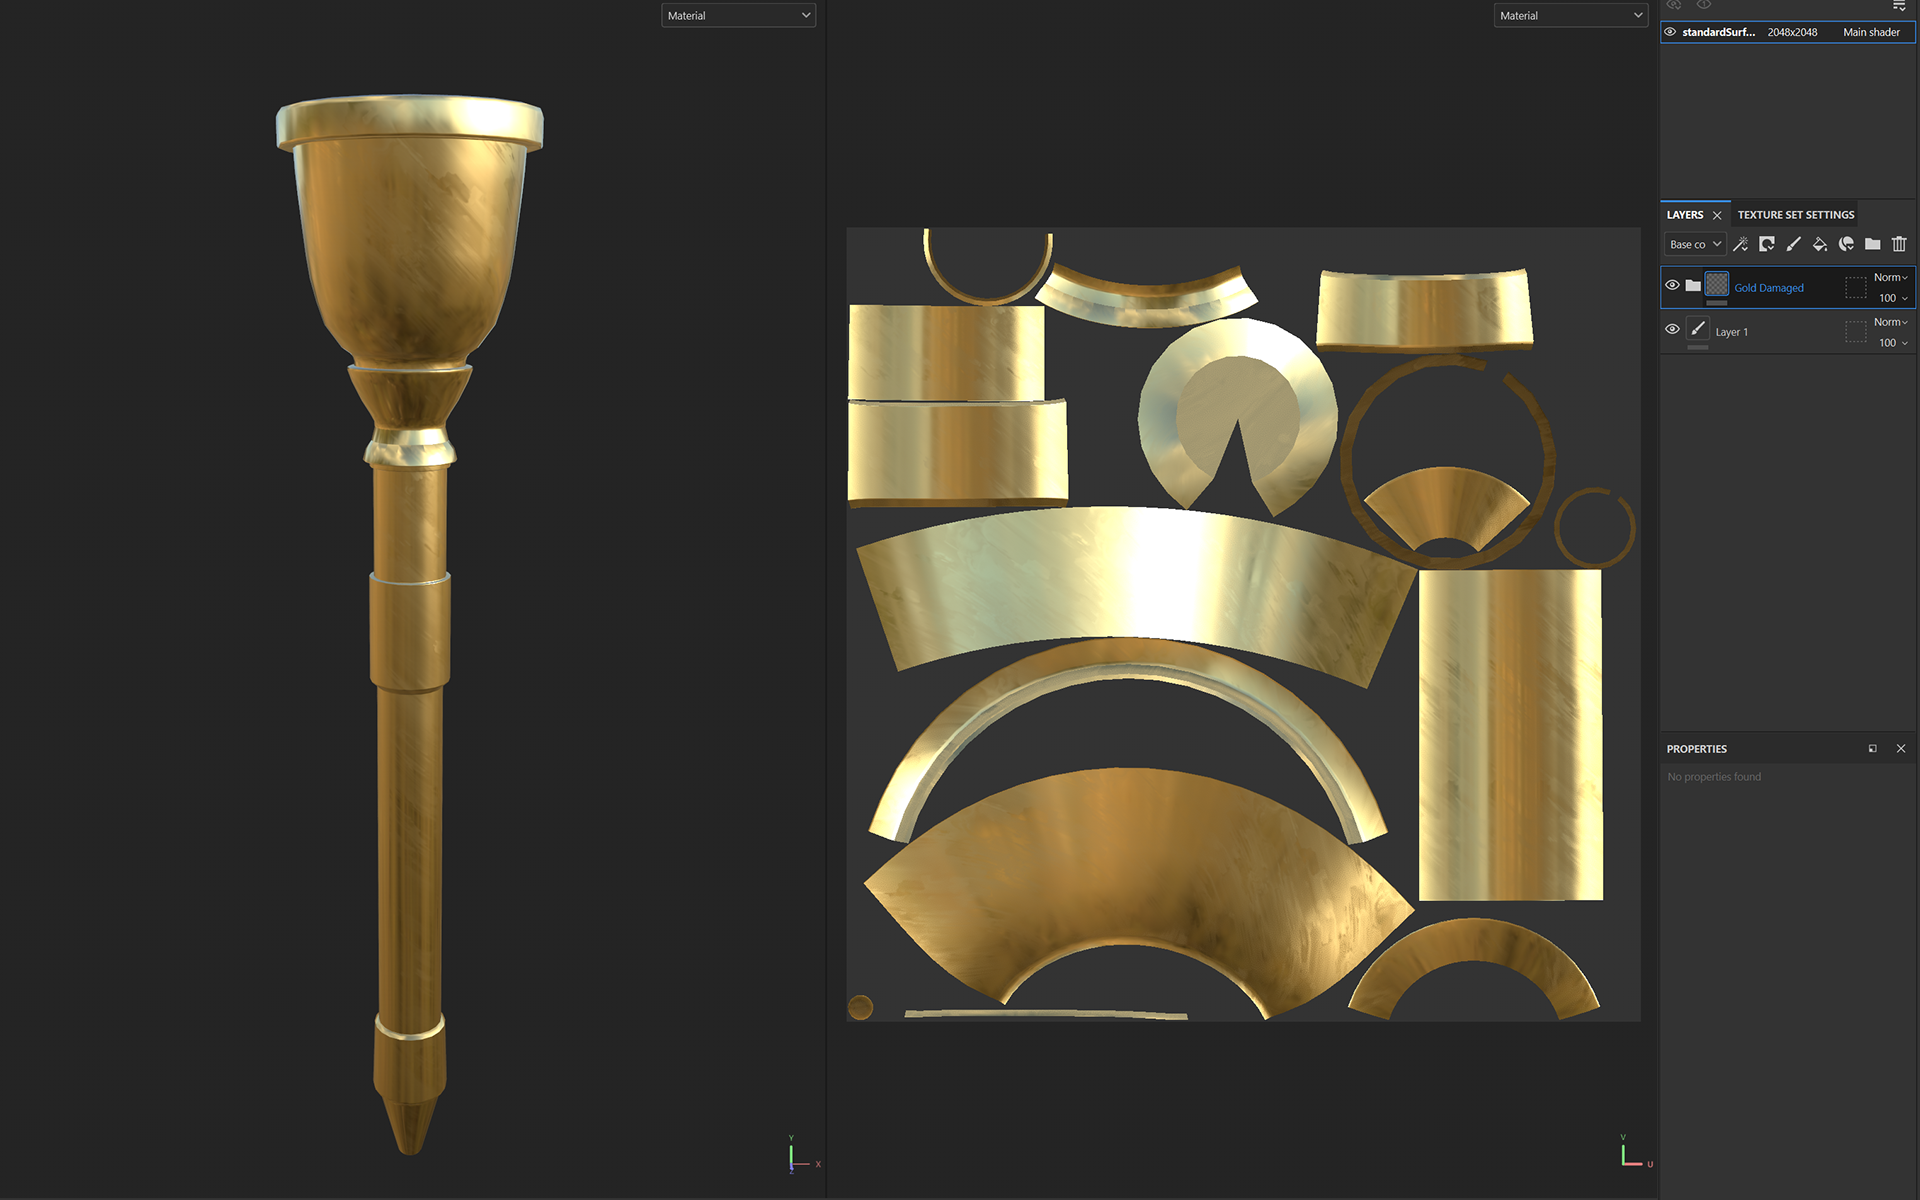

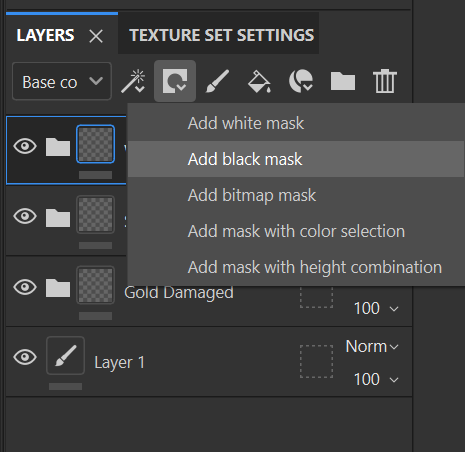
Applying a black mask on the texture layer and painting the respective areas.
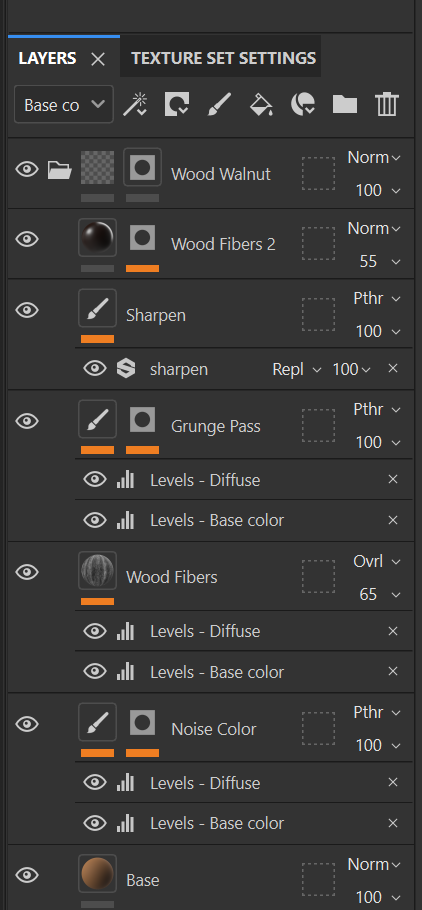
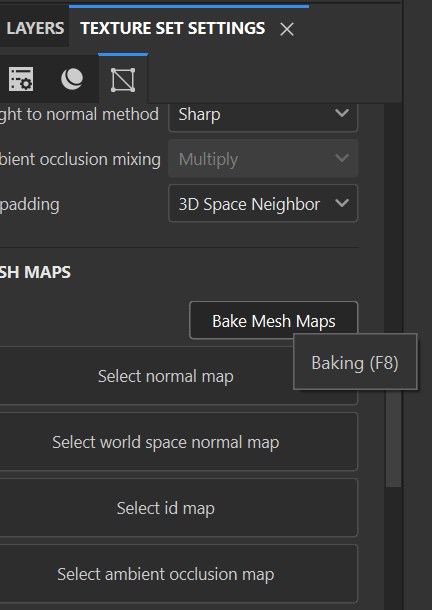
Played around with Normal Maps and applied a cross pattern onto the top of the torch and once this was done, I baked the textures.
Finally, the baked textures.


INT- ROOM 902 21- 03 - 25
FOLLOWING LAST WEEK
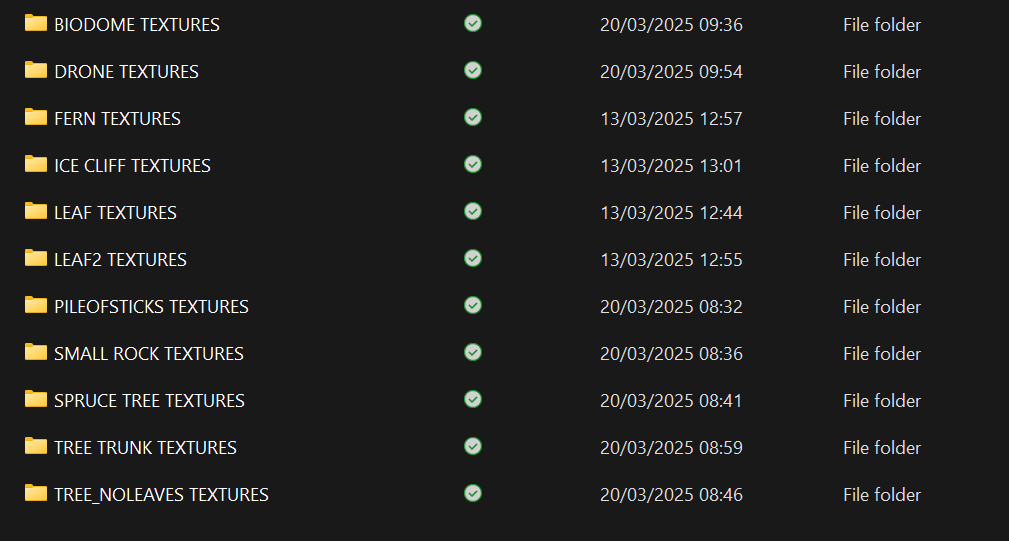
I UV Mapped my assets and then exported them to FBX files ready for painting in substance painter.
Using a technique we learnt in class today, I actually went back and re-painted all my assets again to help add a little more texture / depth to it.
I will go more into the method a little later in this section with the class workshop we did but for now, I will show you my assets.

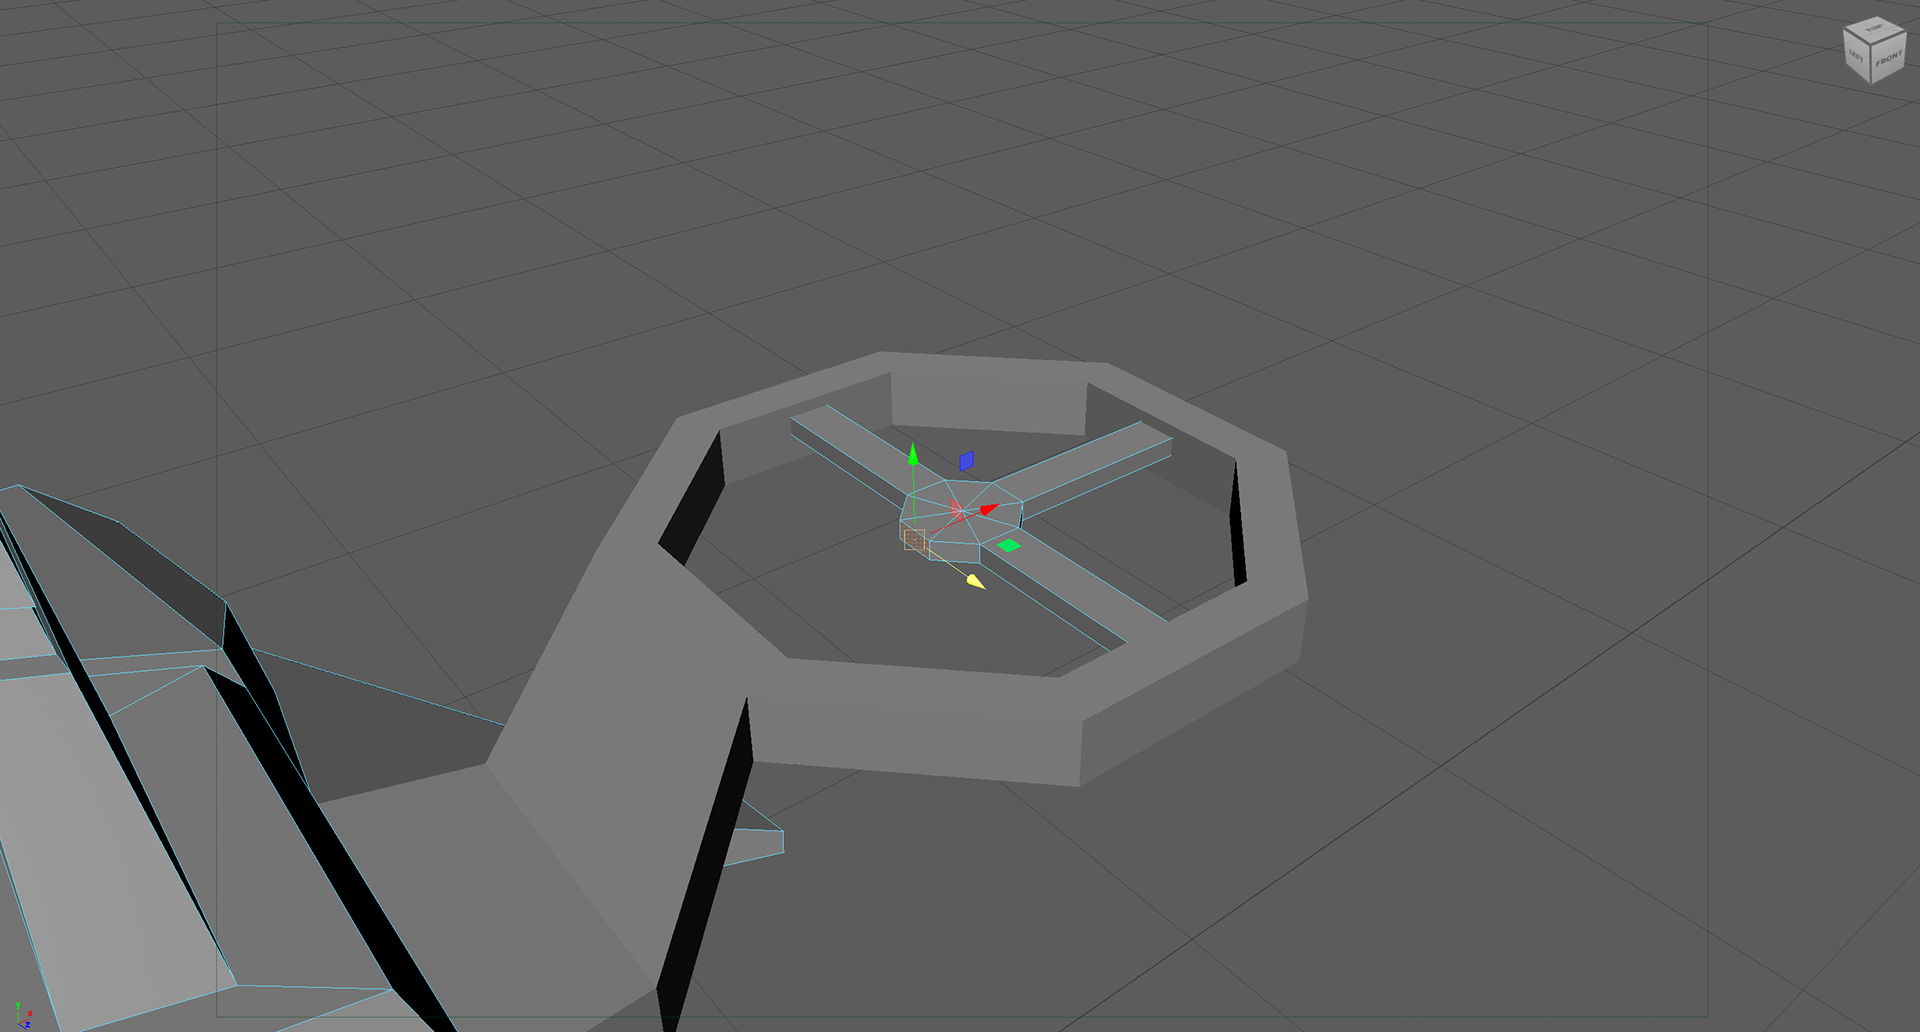
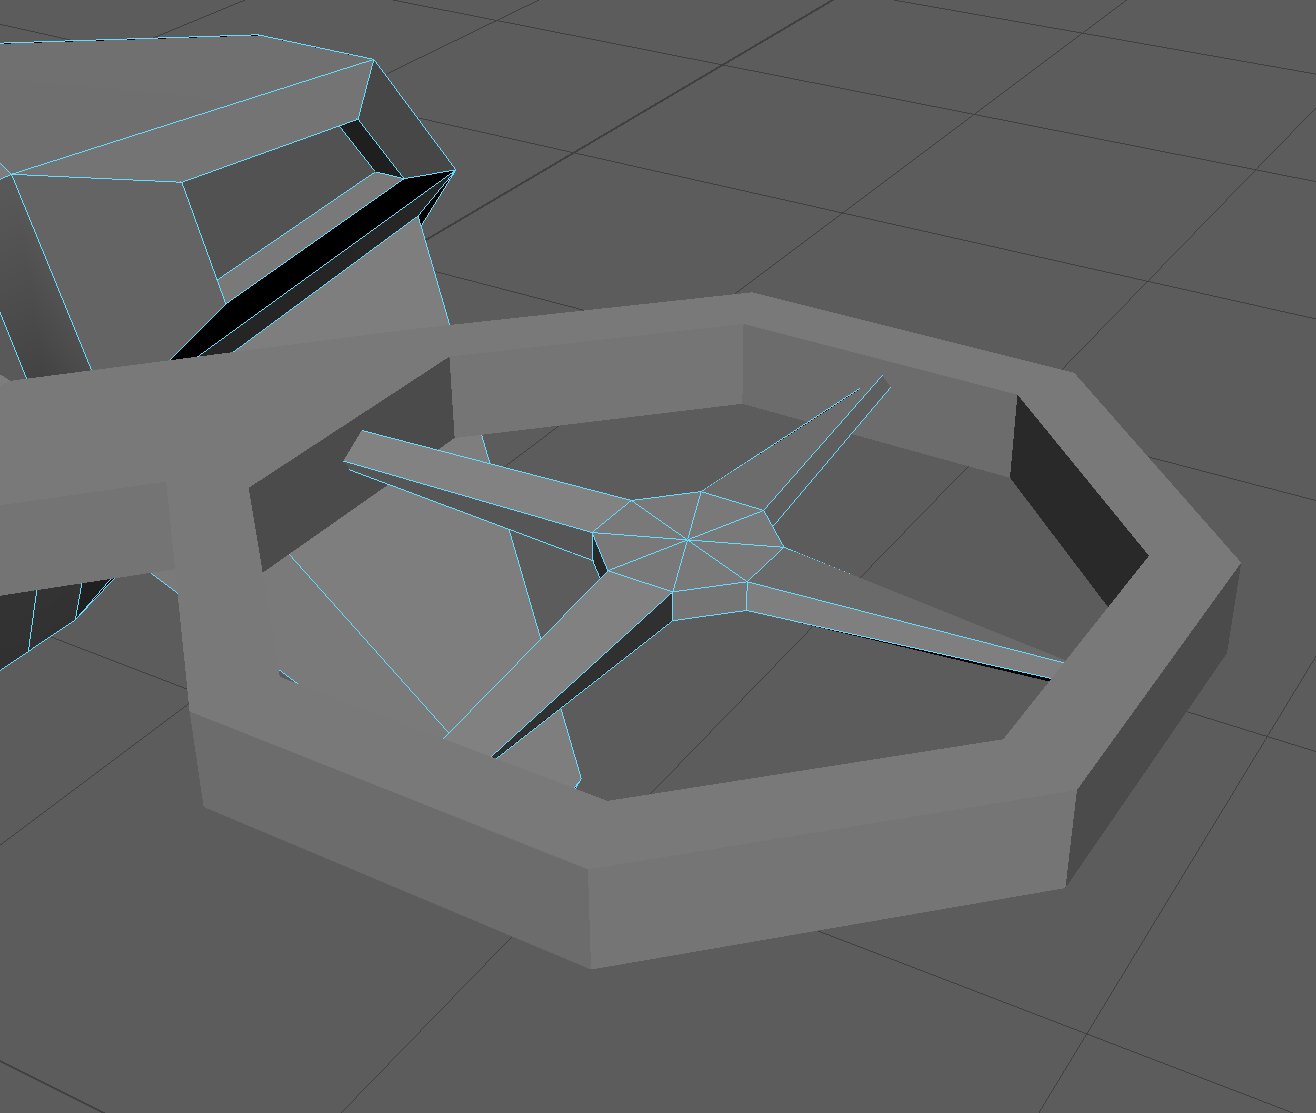
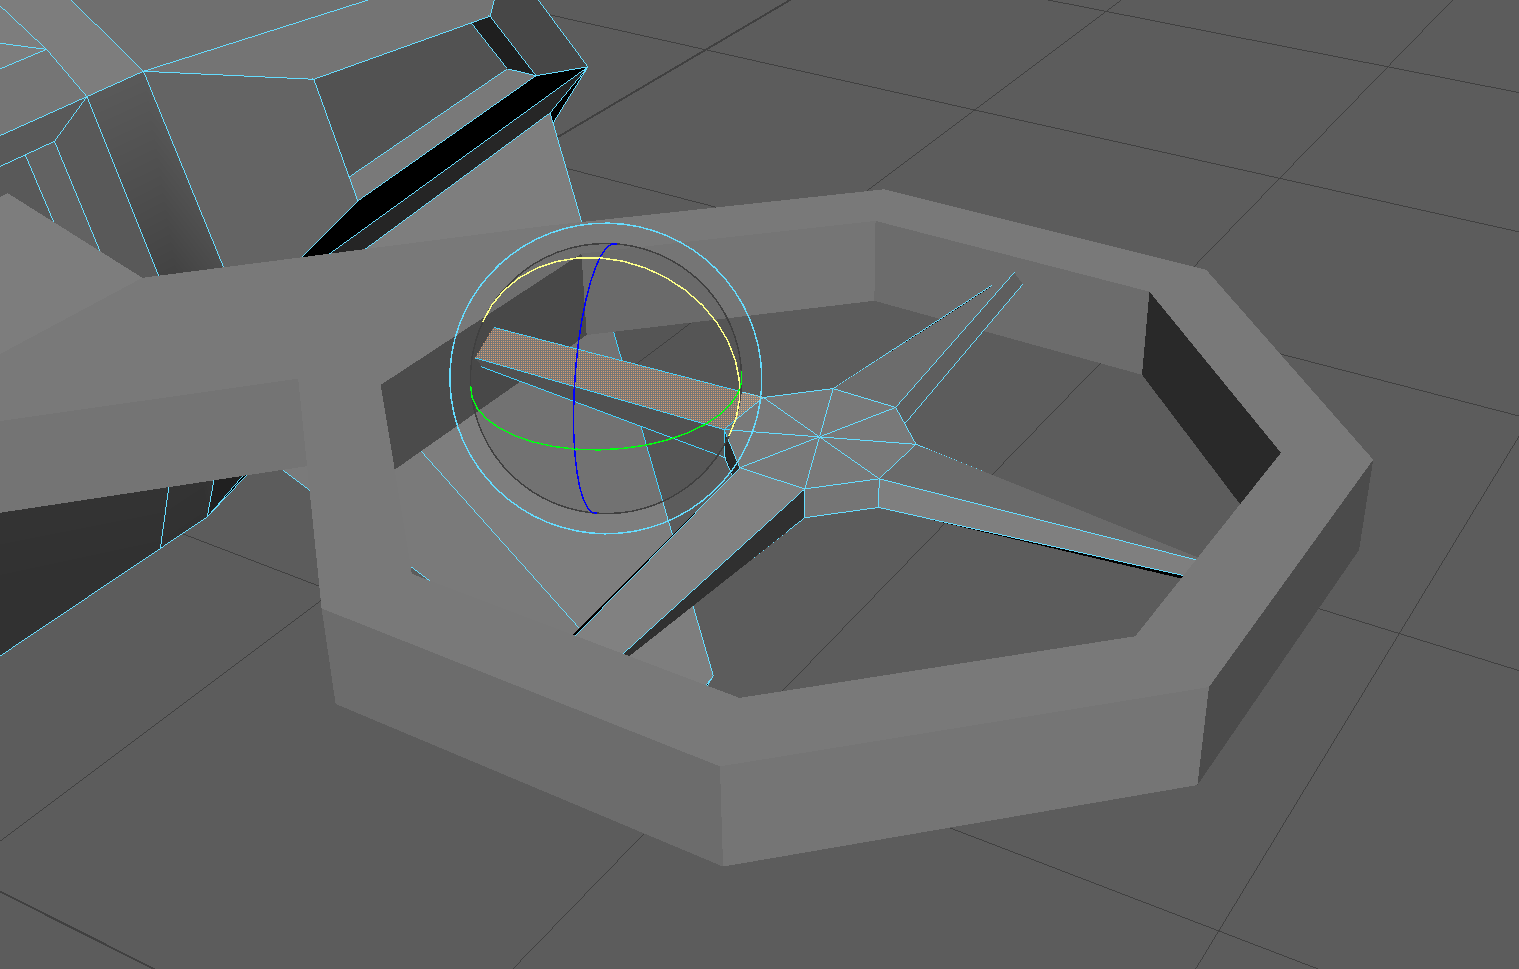
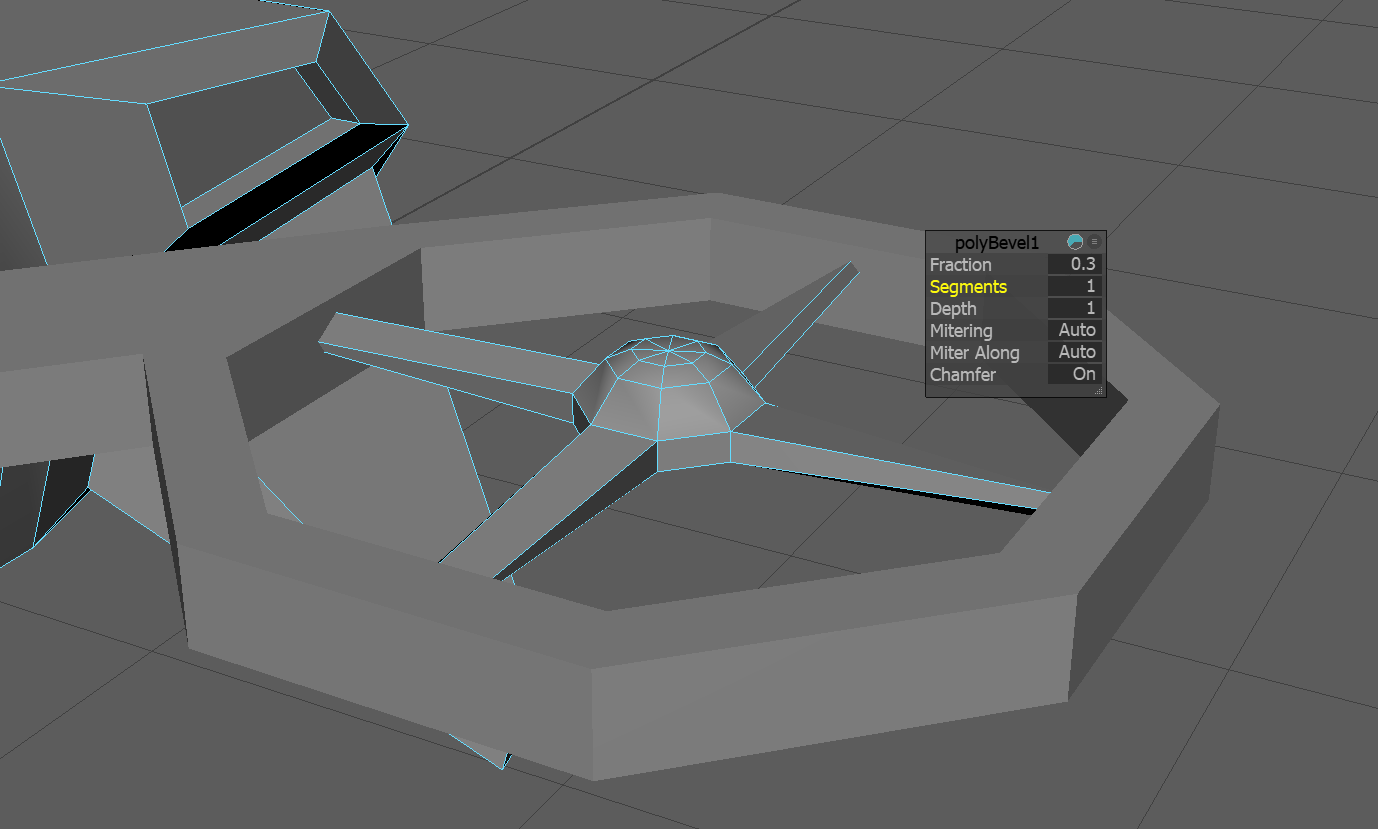
I'd like to also throw in that I re-visited my bio dome and implemented the 360 walkway I had initially planned for before.
This process was done by extruding inwards on a cylinder, deleting the centre and then bridging the bottom and top walls. Then it was a matter of stretching out the base and extruding the edge of the inner ring upwards to signify a fence/barrier.
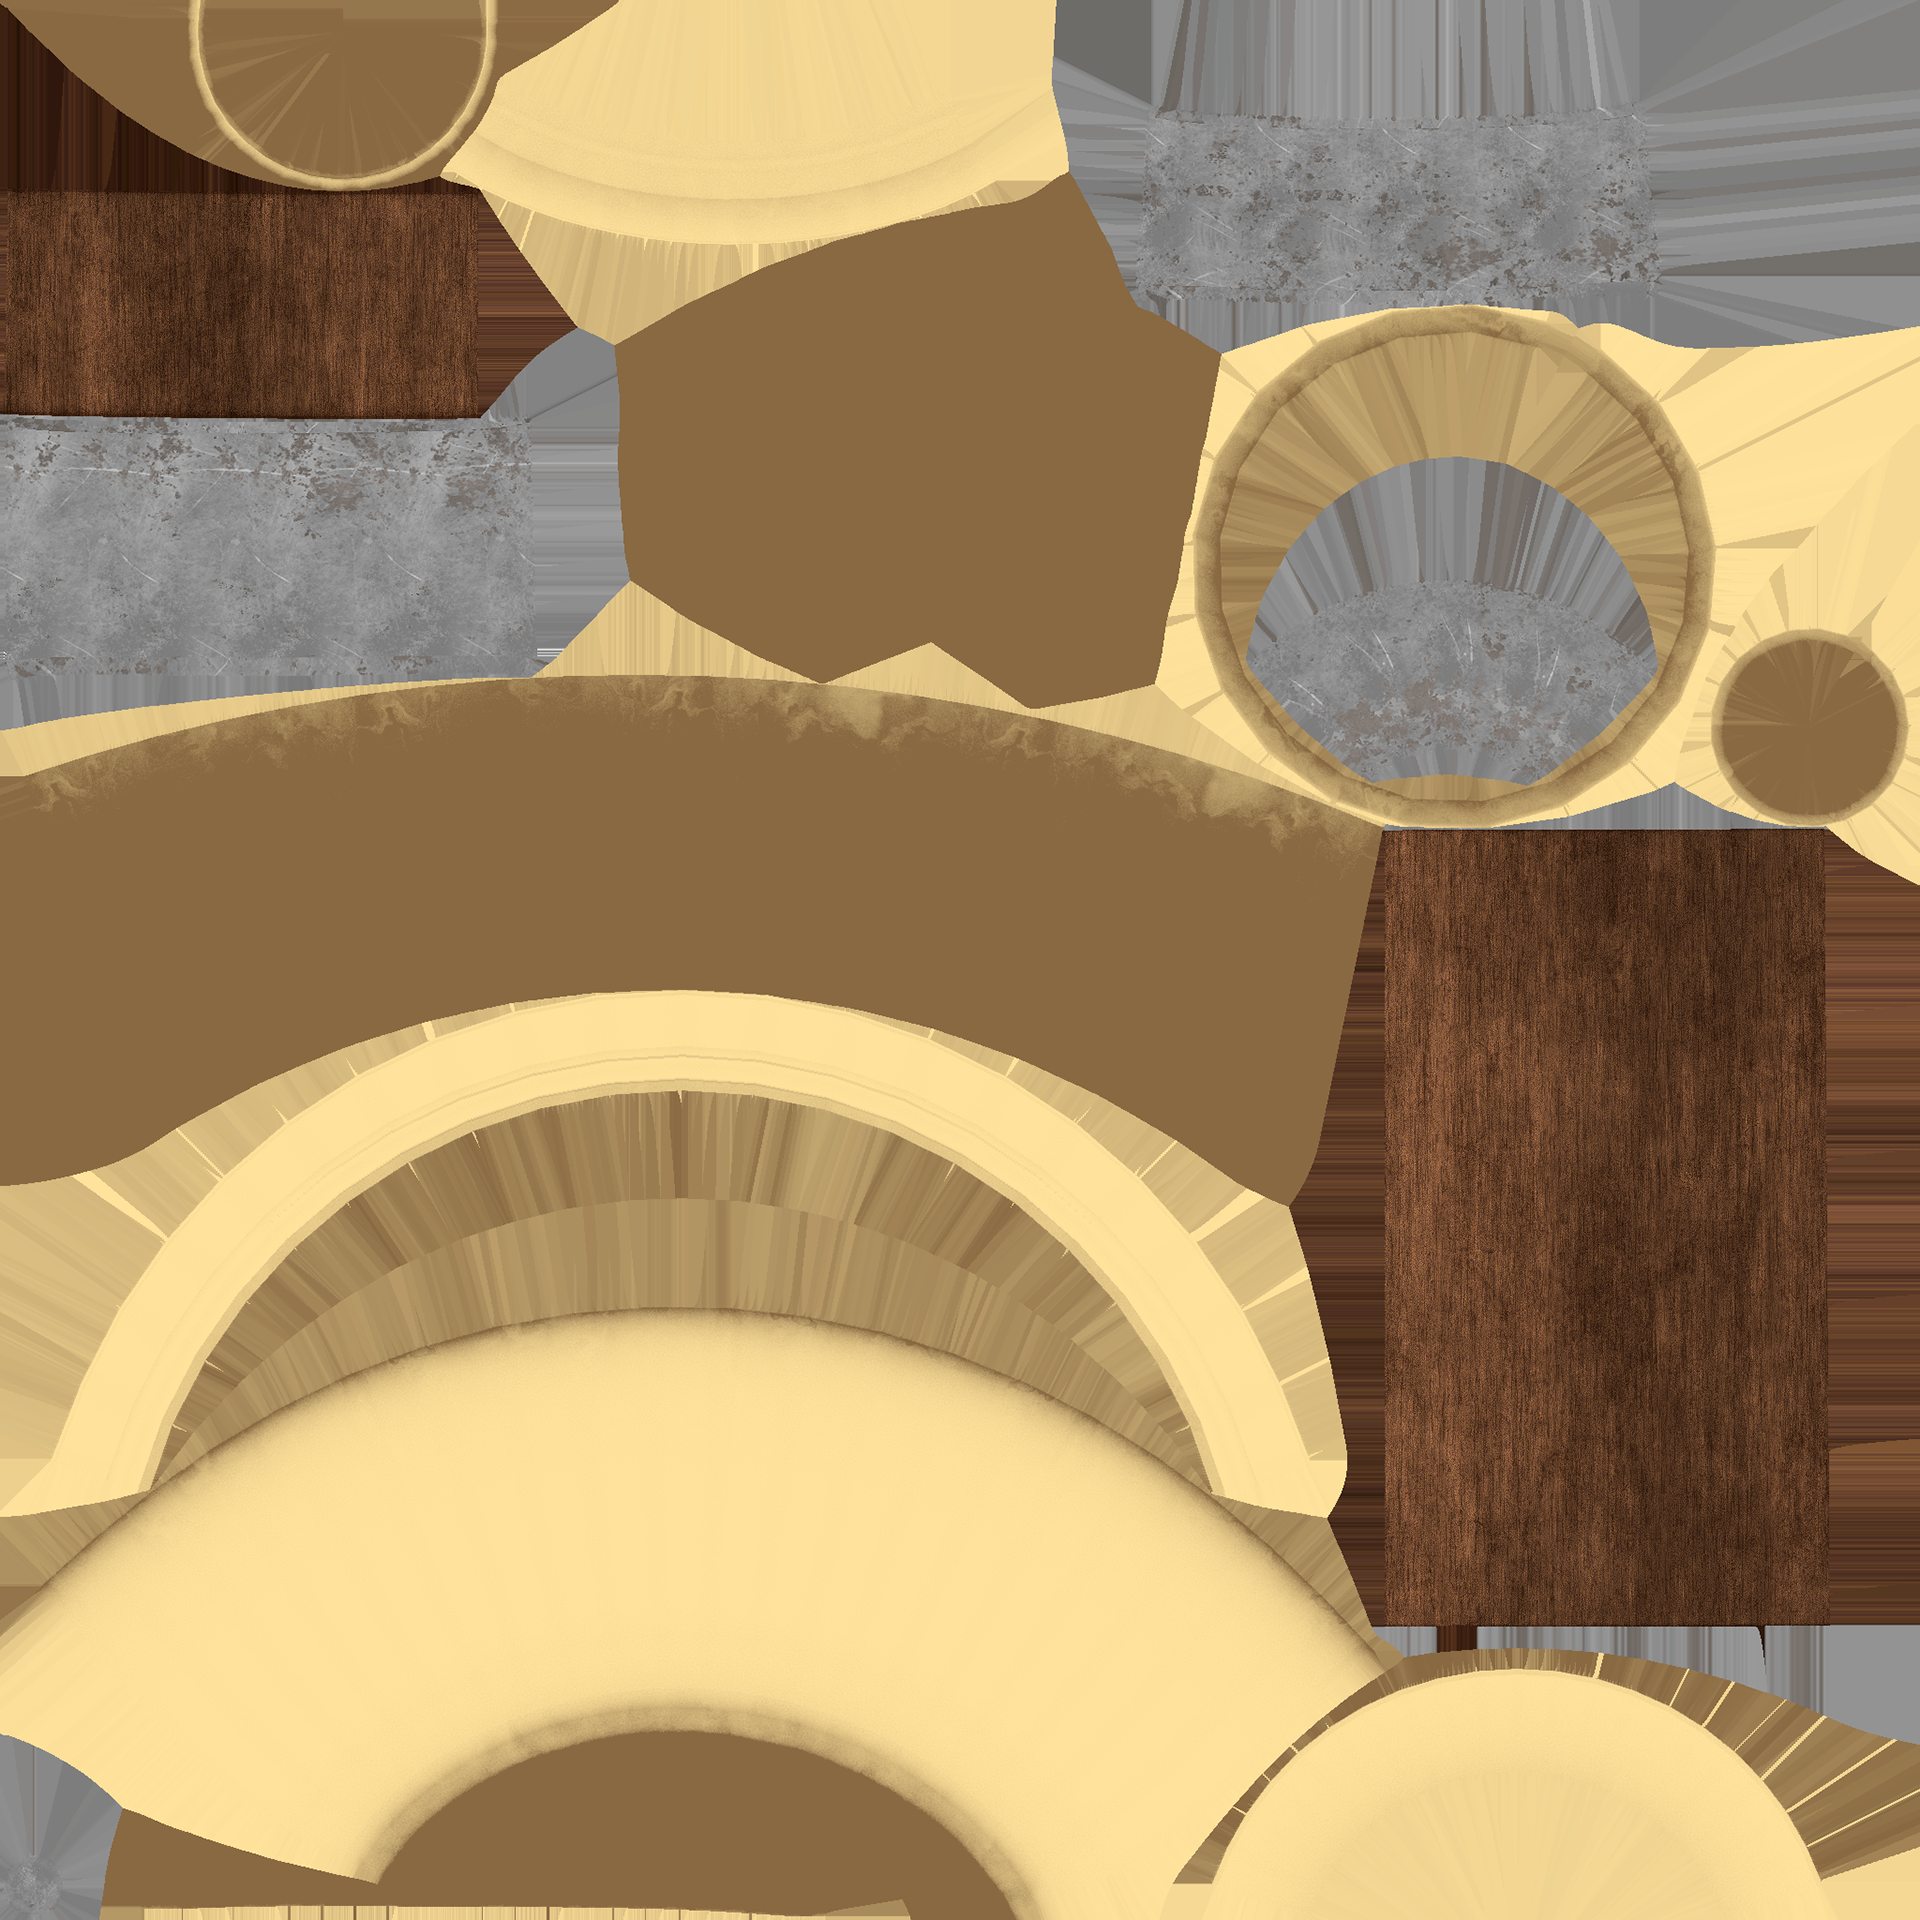
THE ASSETS BUT TEXTURED


This was a similar process to the torch from last week.
These Assets are now ready for importing into unreal engine.
CLASS WORKSHOP
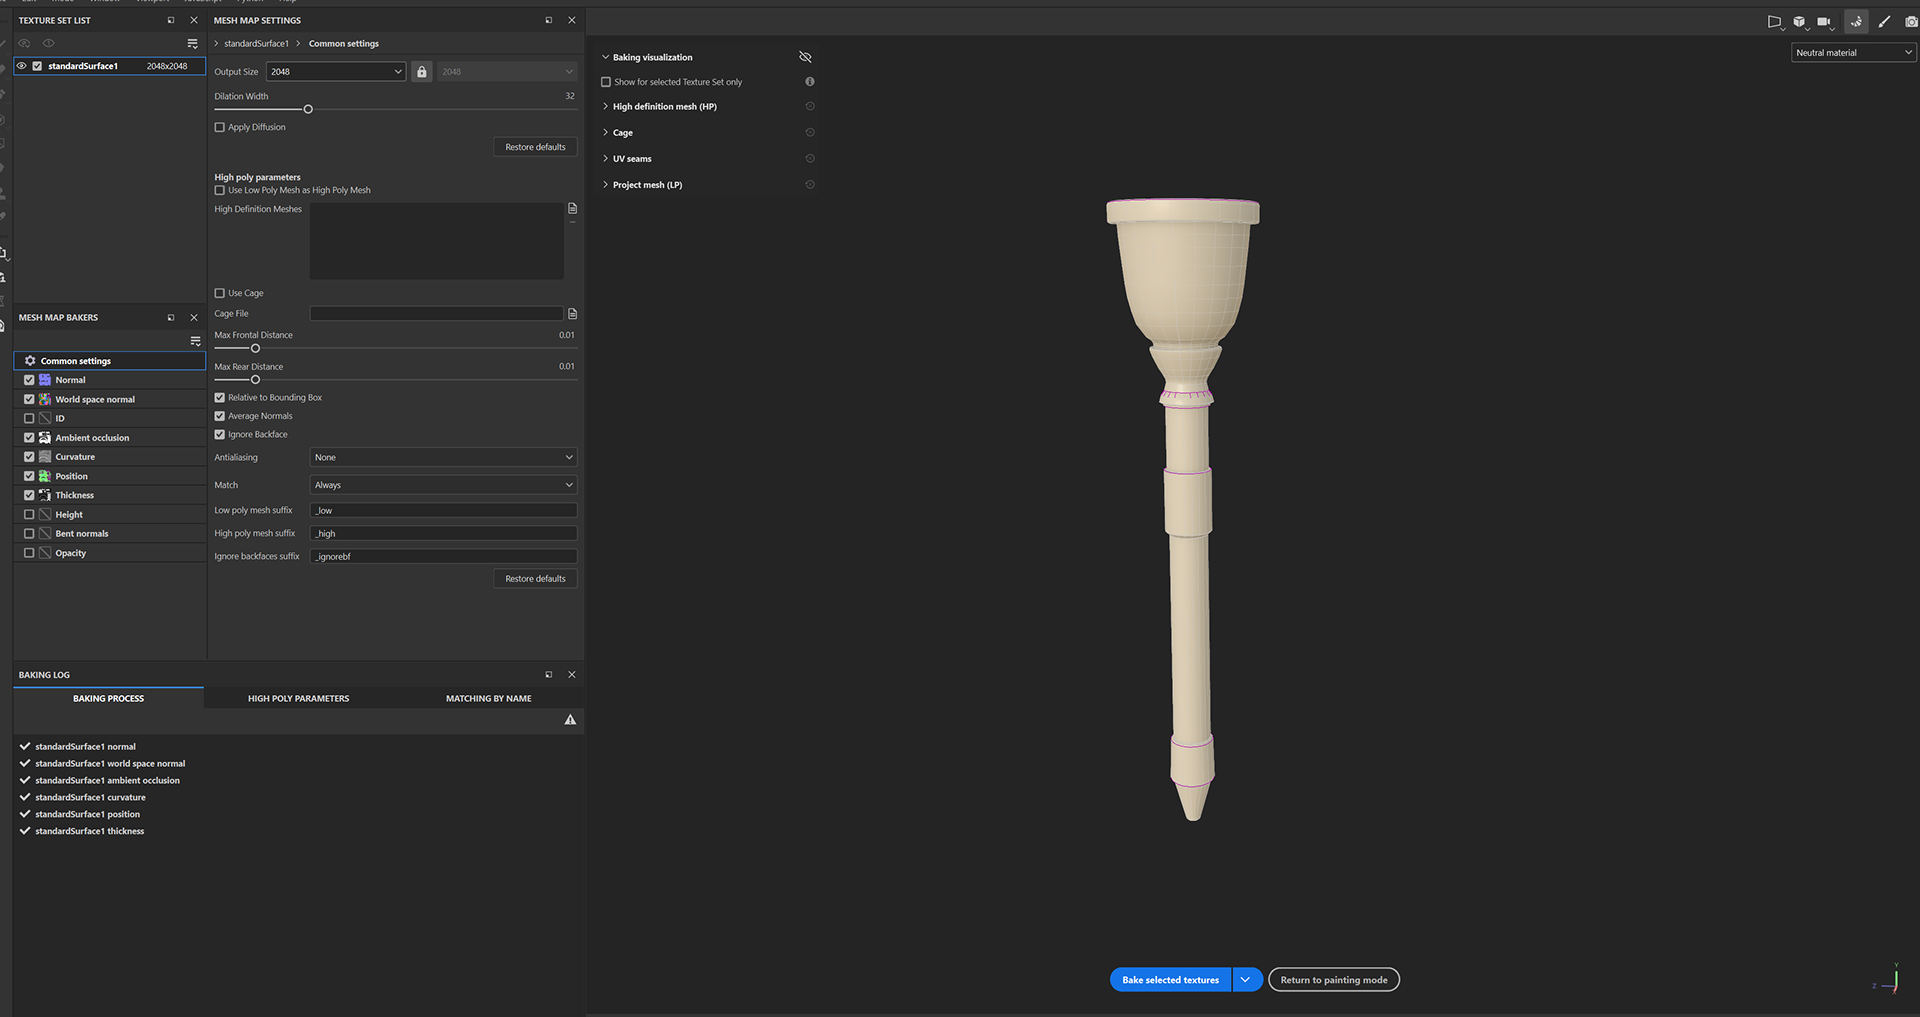
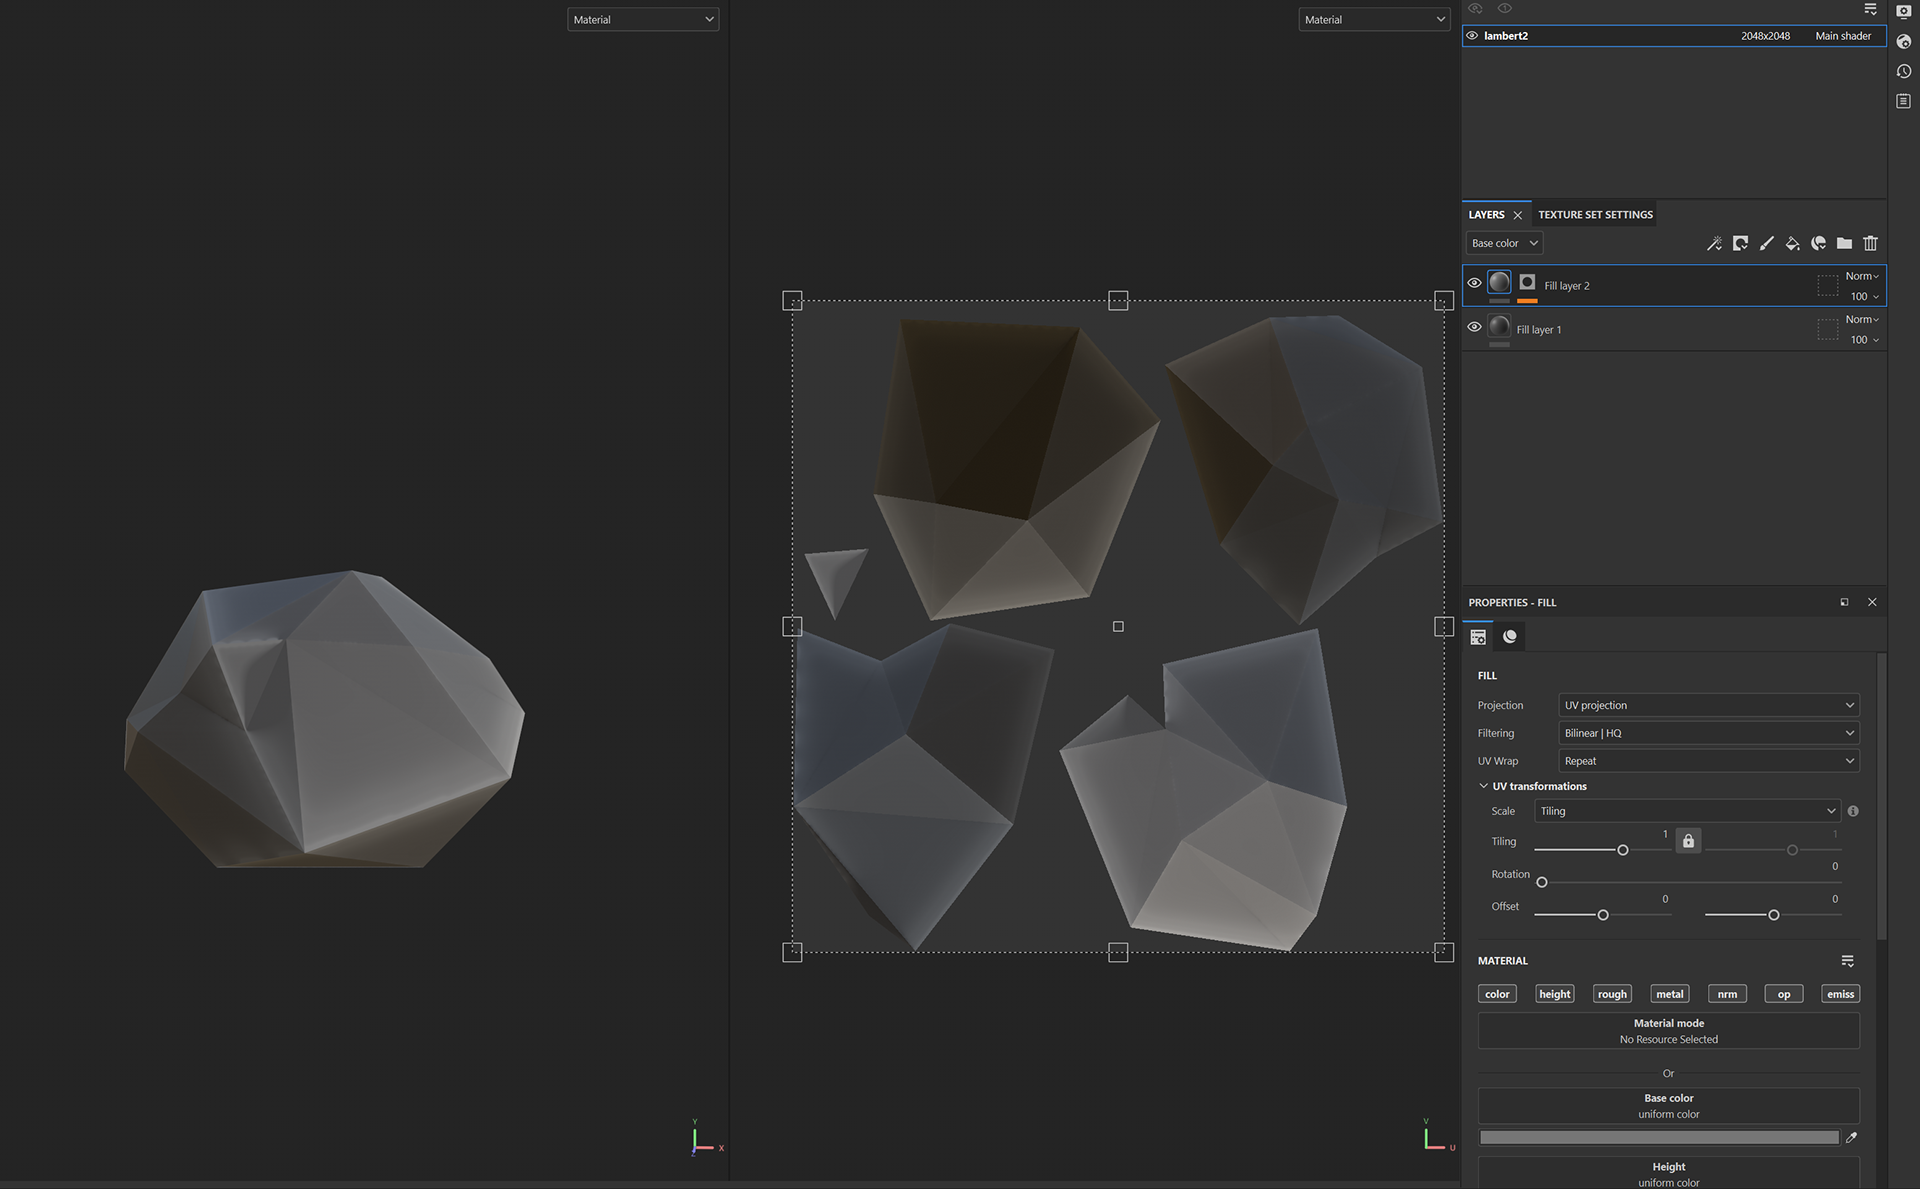
To achieve the above results, Guisi took us through a workshop on how to bake high poly textures onto low poly models, we do this to achieve maximum optimisation for the games and model.
Then you import the low poly FBX into substance and go to the bake mesh maps area of the software, select your new high poly FBX and this should create a little border around the preview model for you to see where the textures of the high poly will be, this can be altered for your liking.
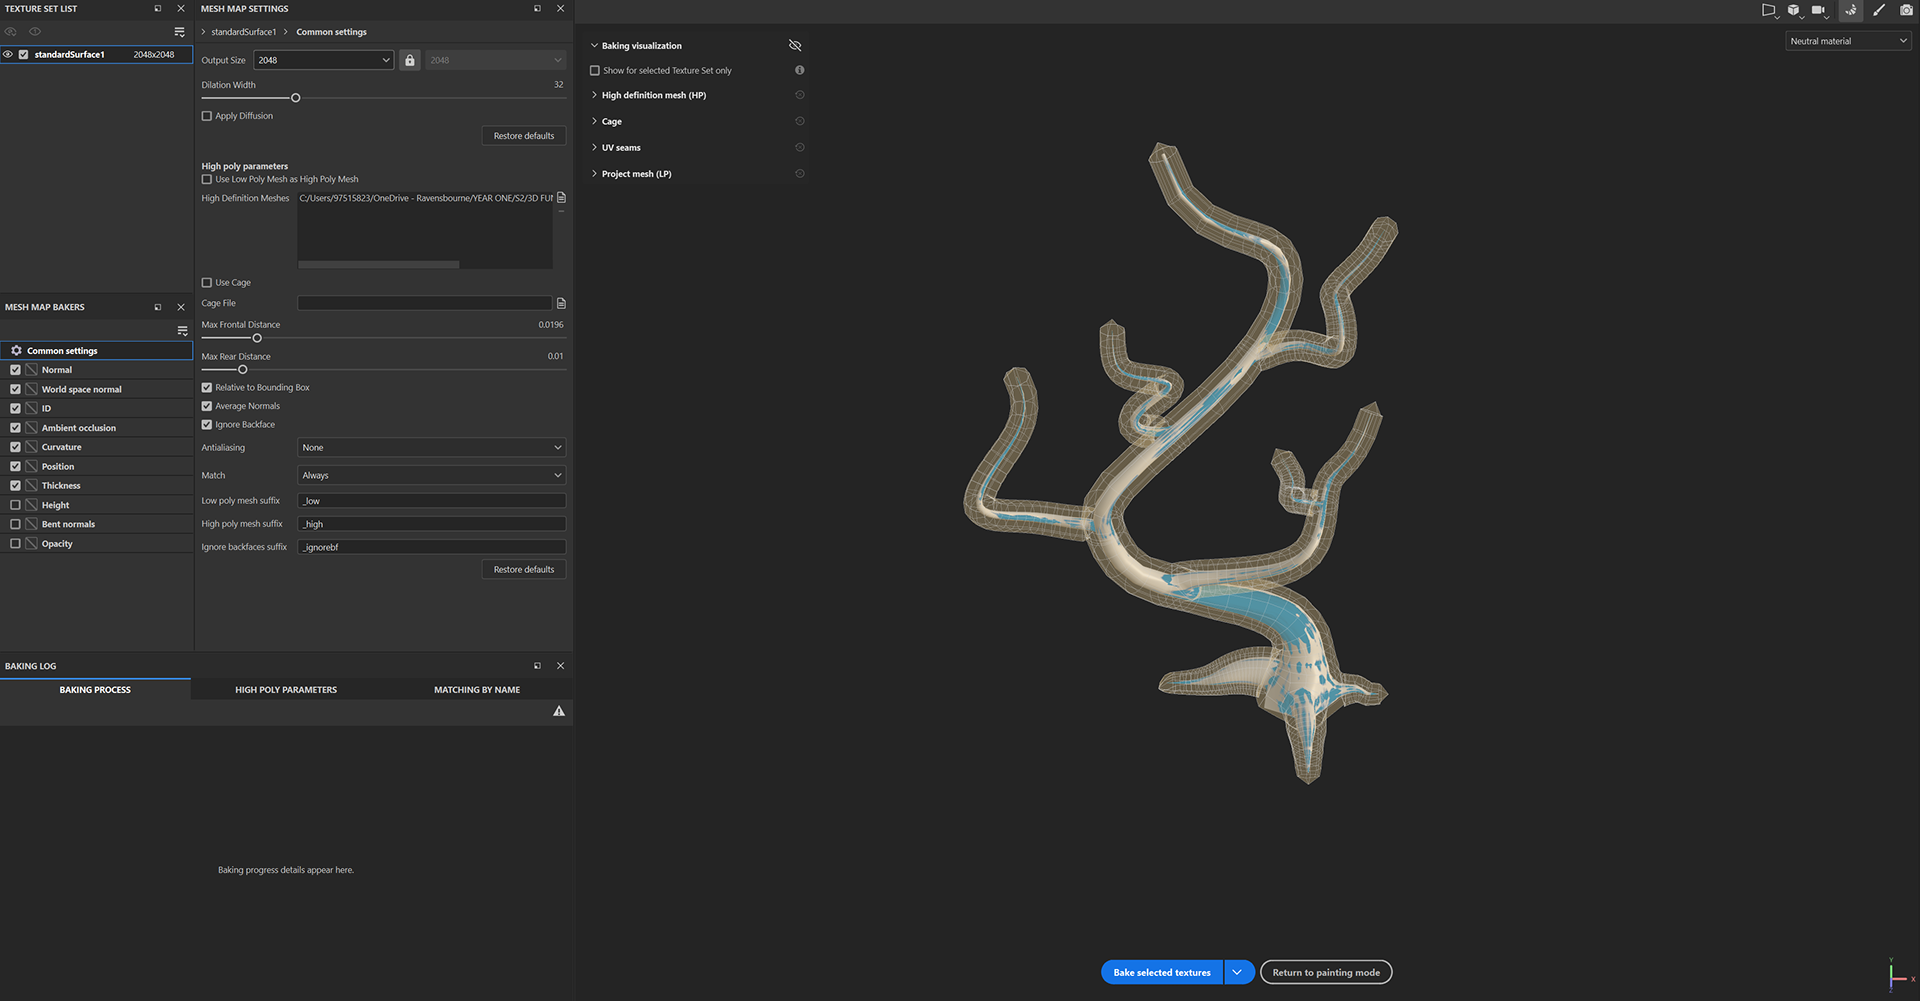

During the above process, I experienced an error when importing the high poly FBX, as I trouble-shoot the problem, I realised that the two models had different scales and this caused the high poly textures not to align with the low poly mesh
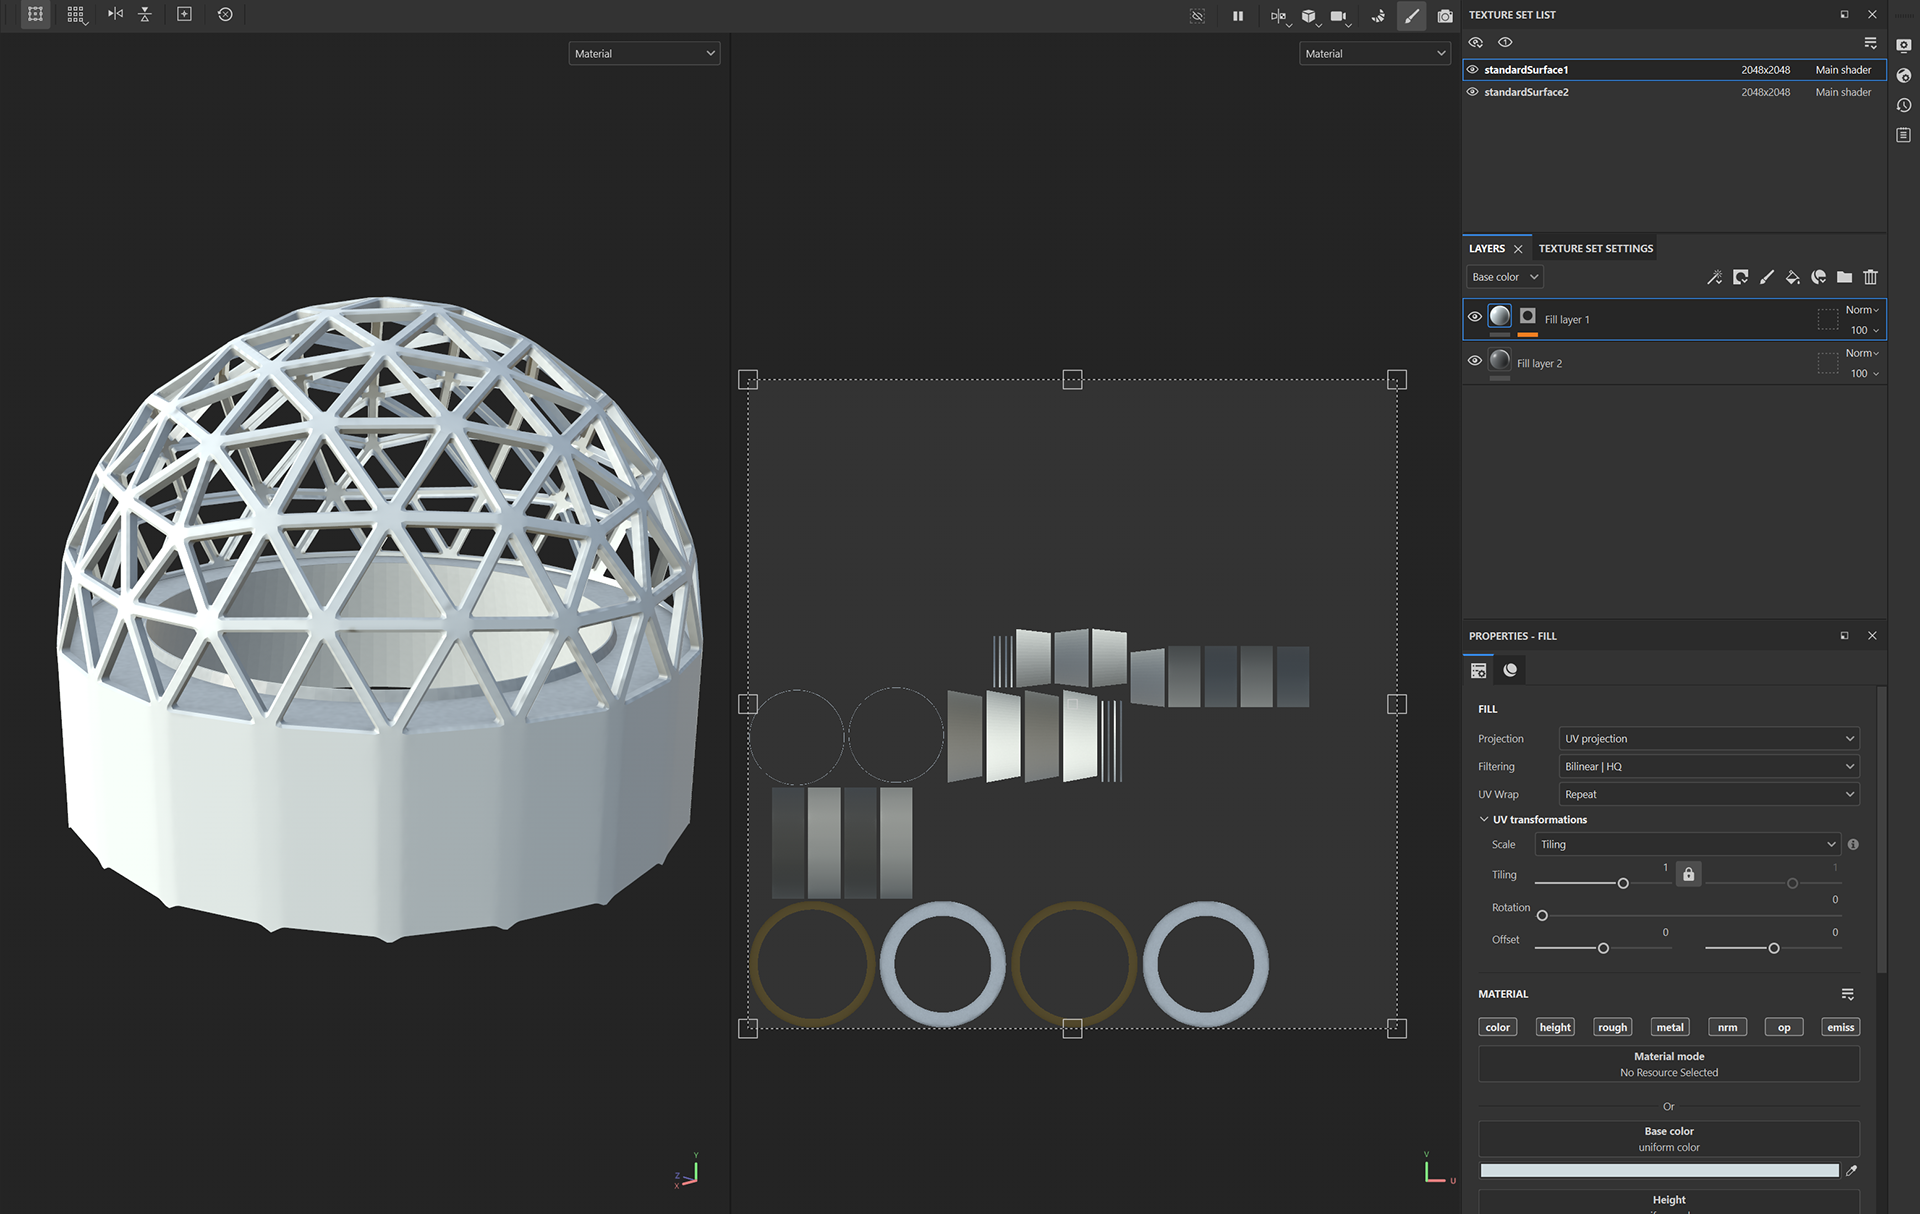
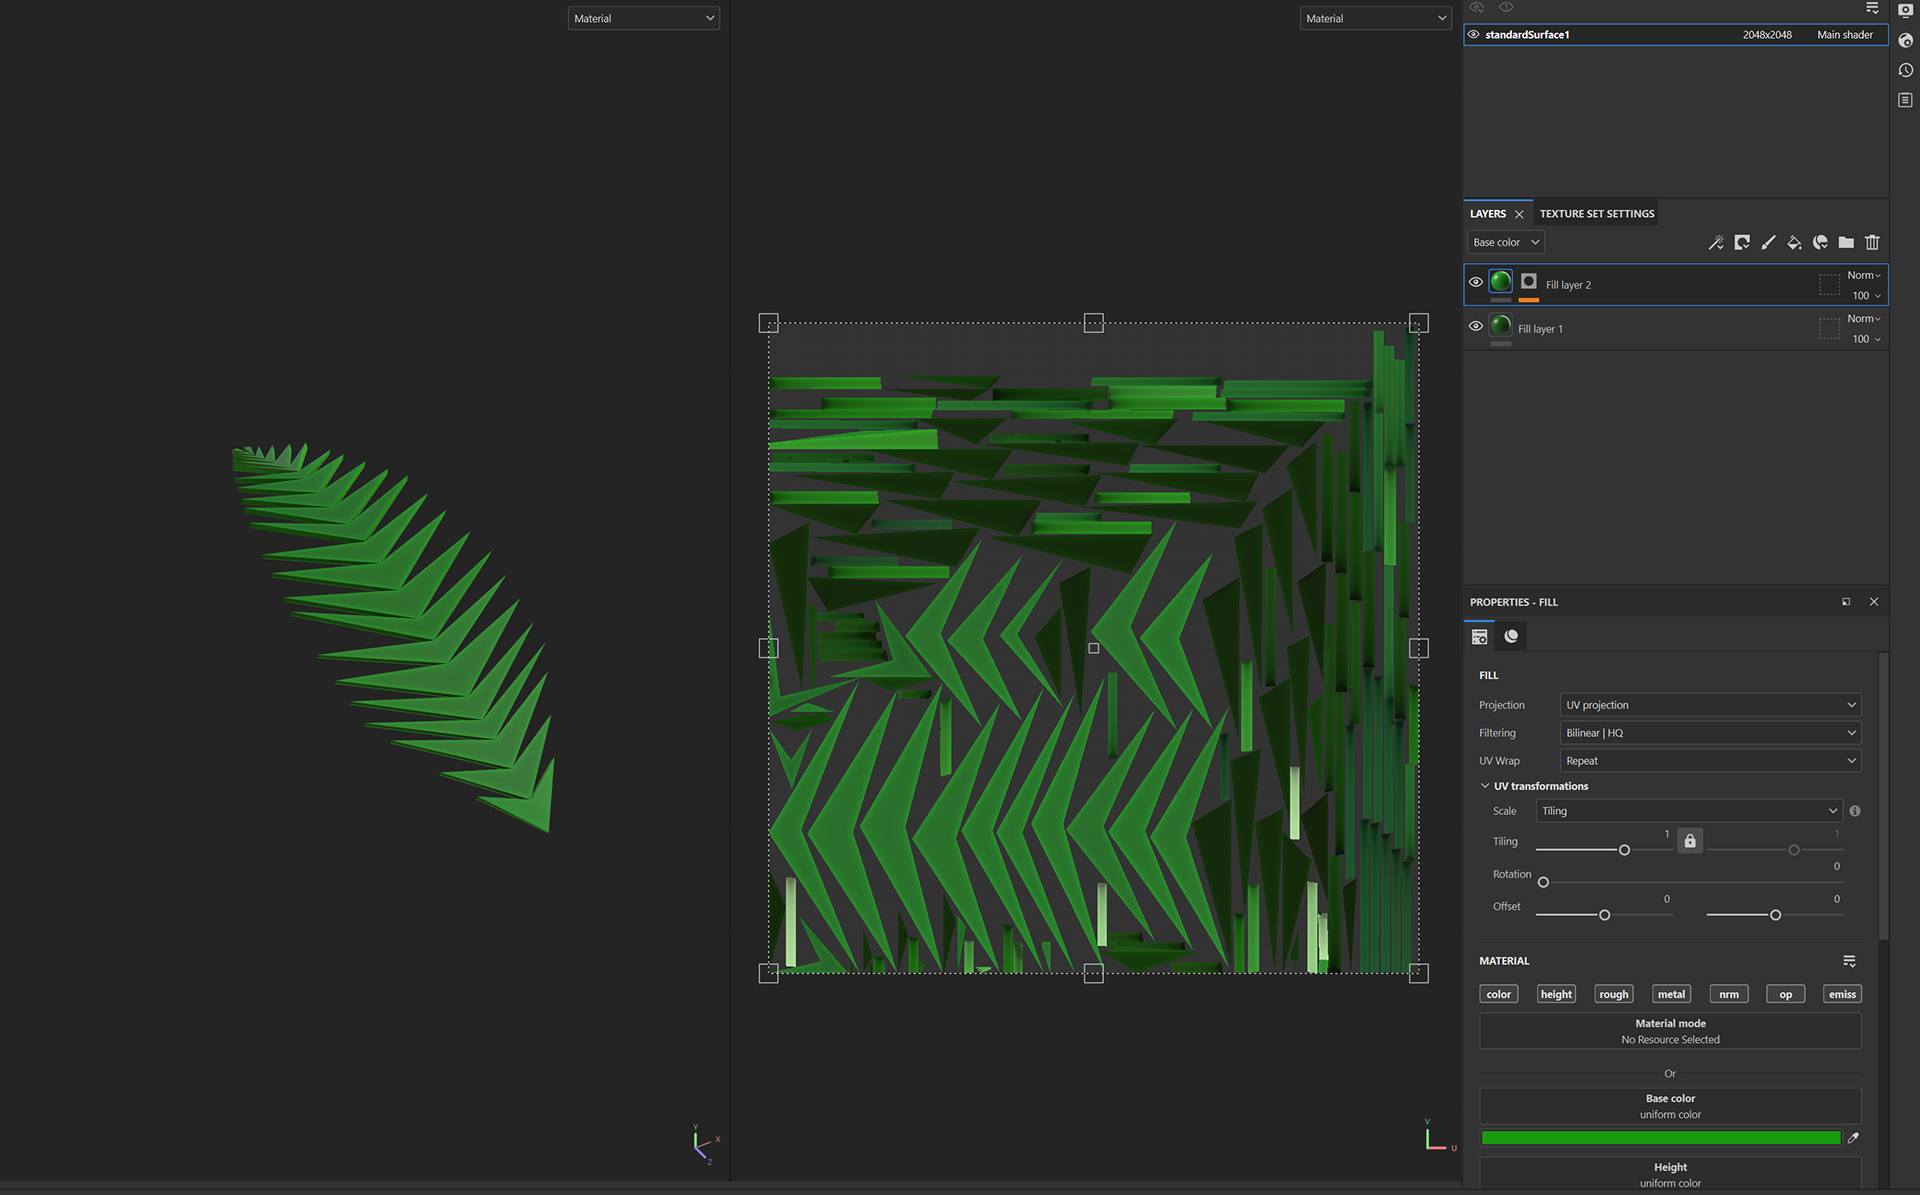
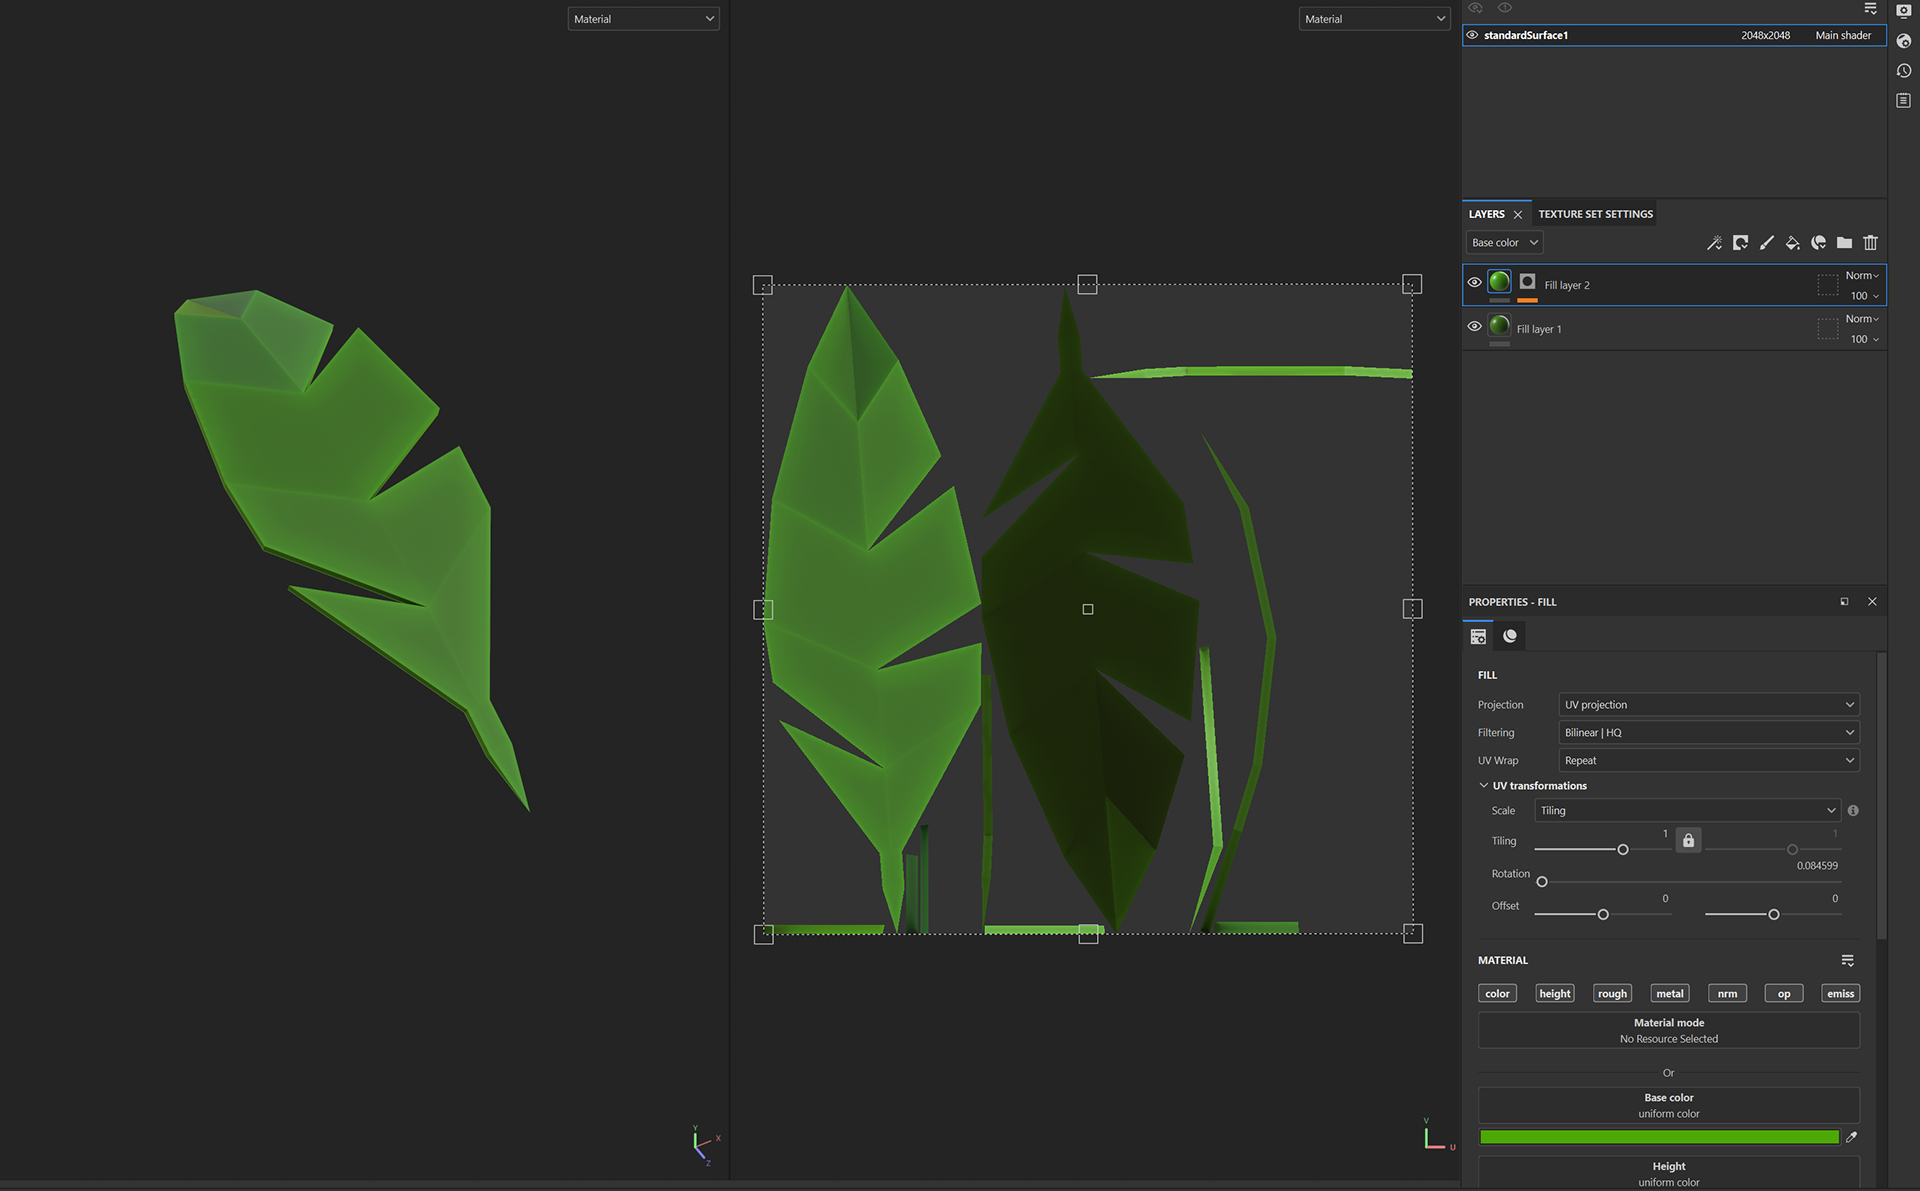
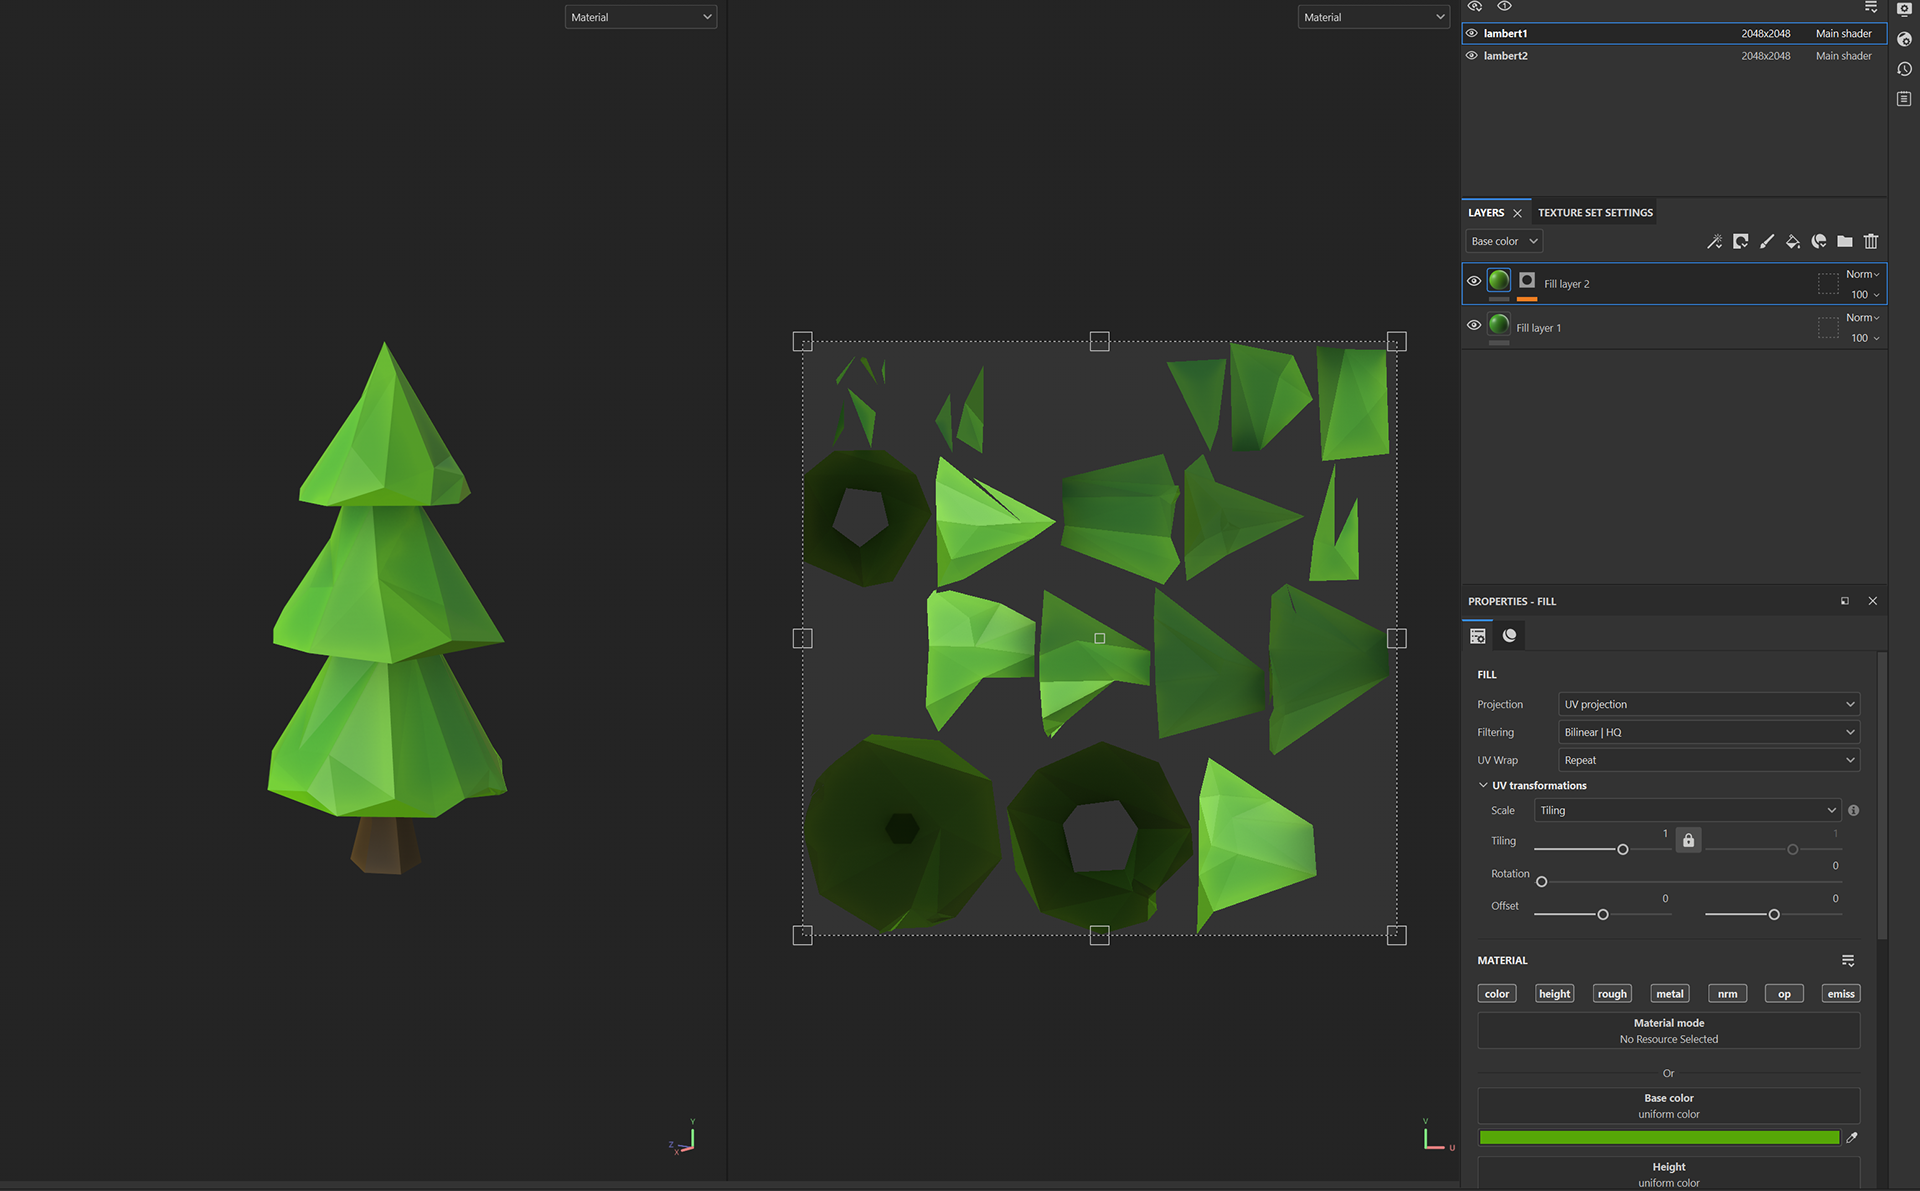
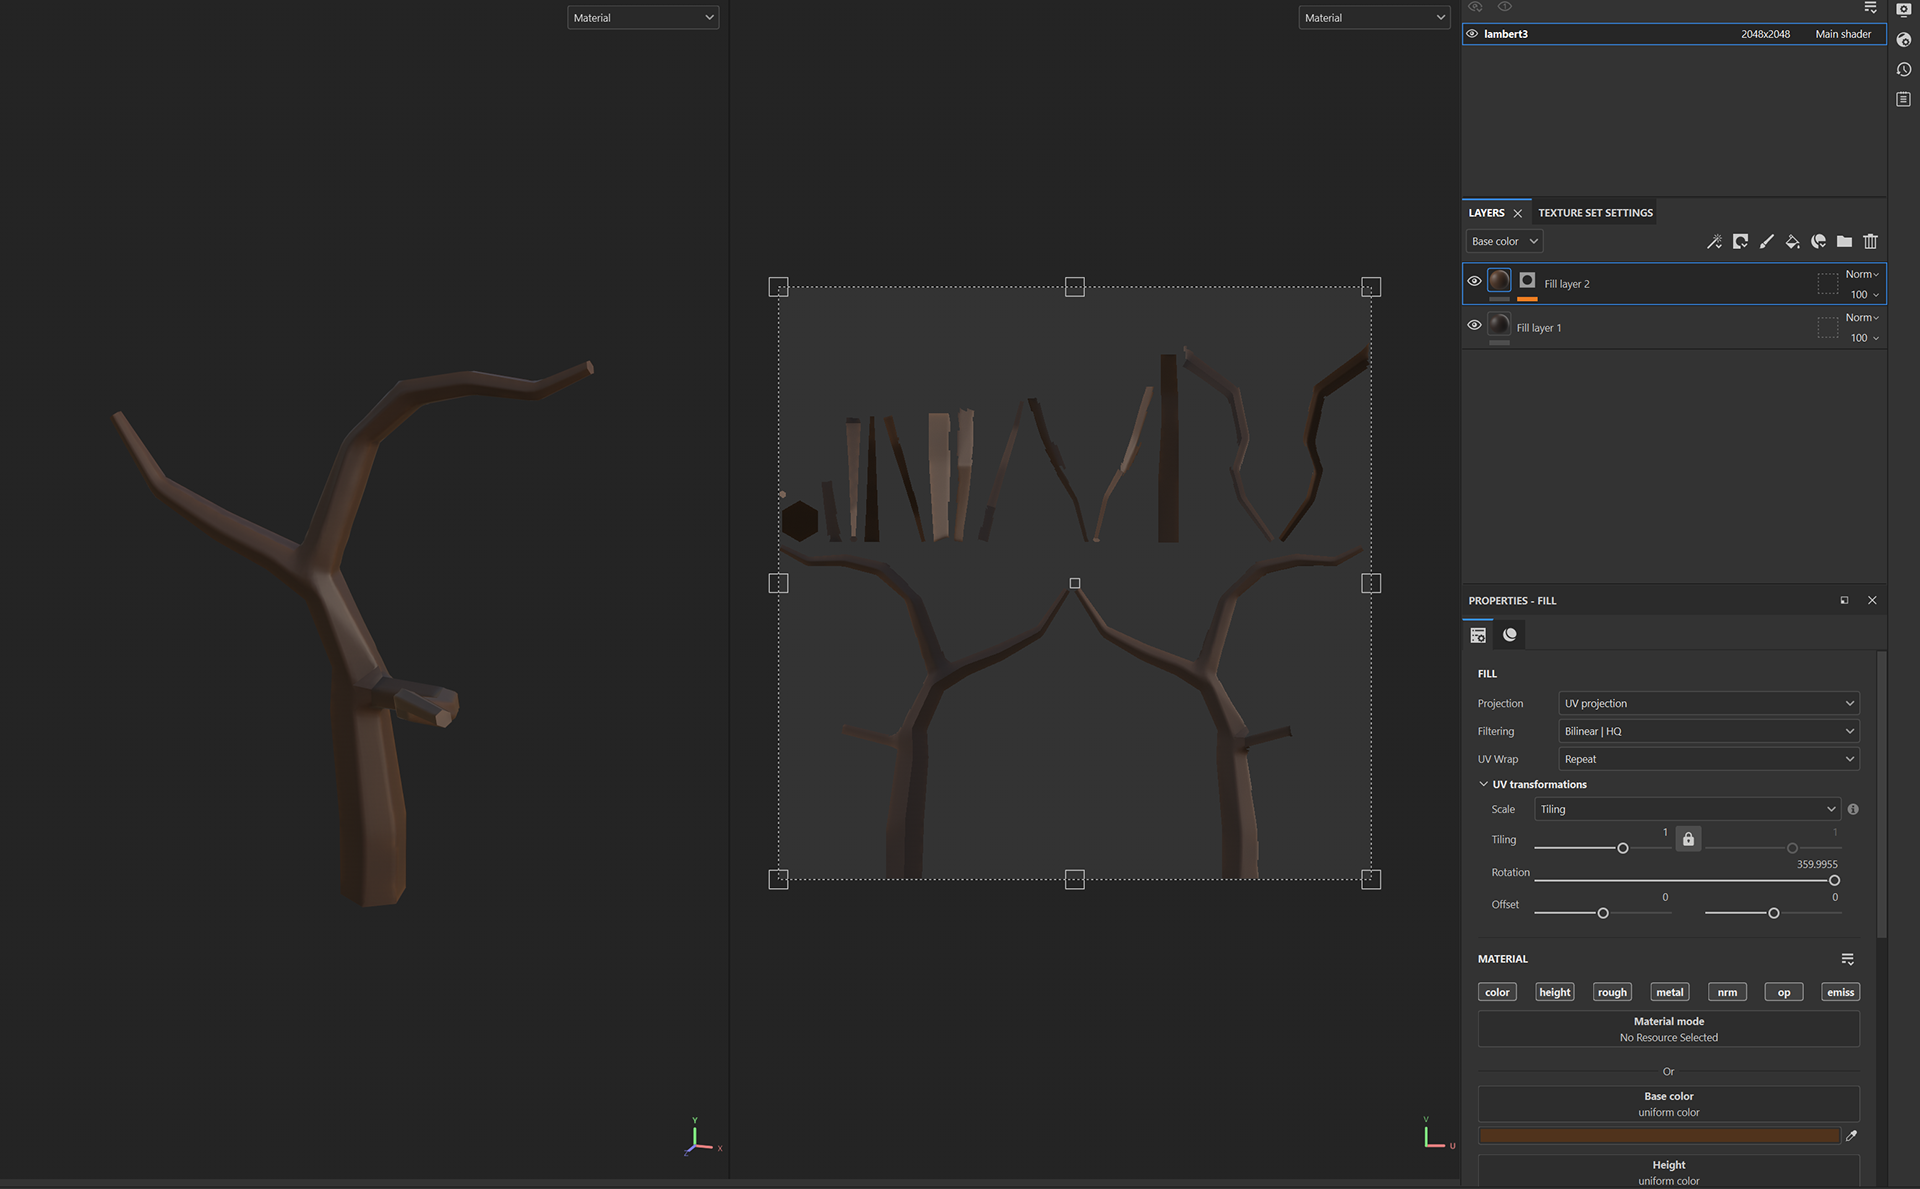
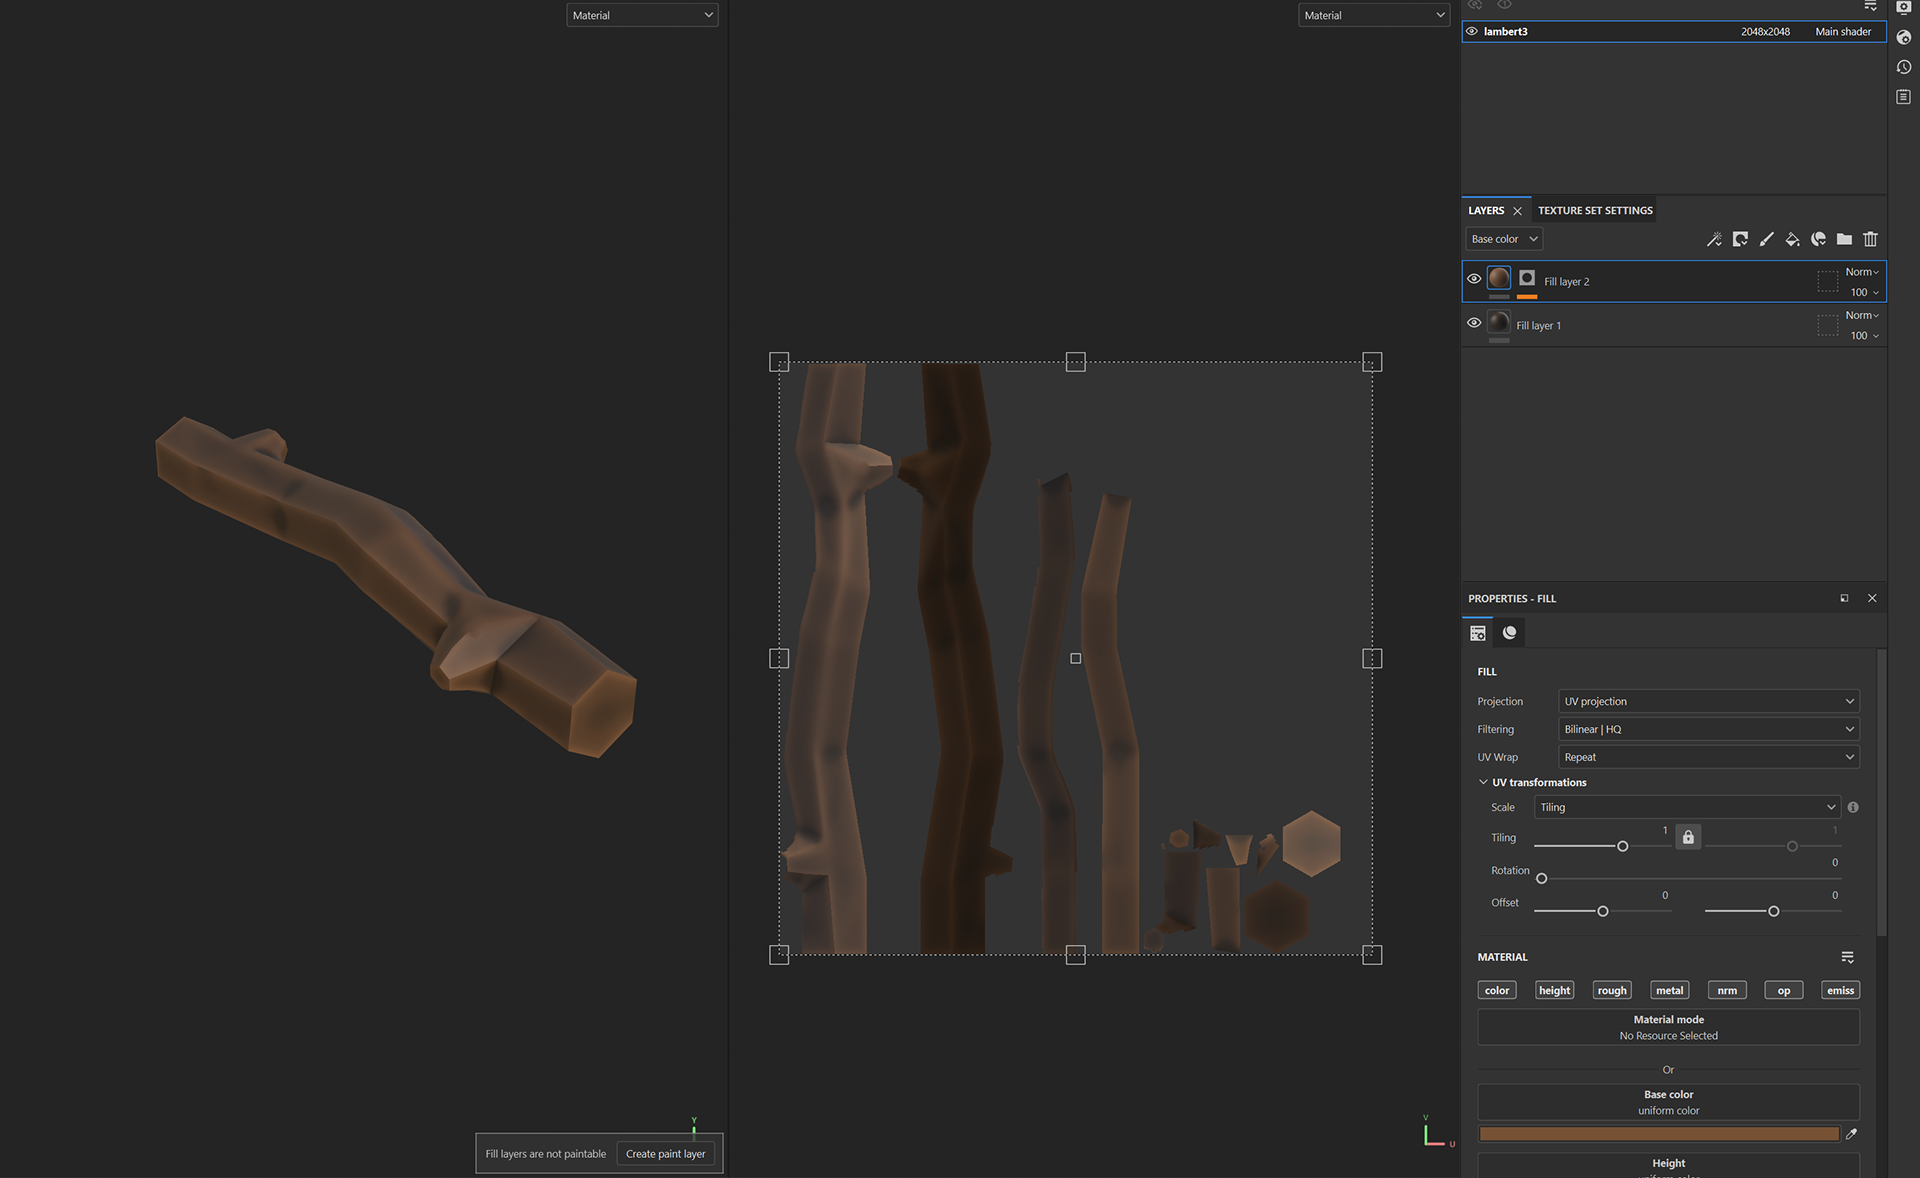
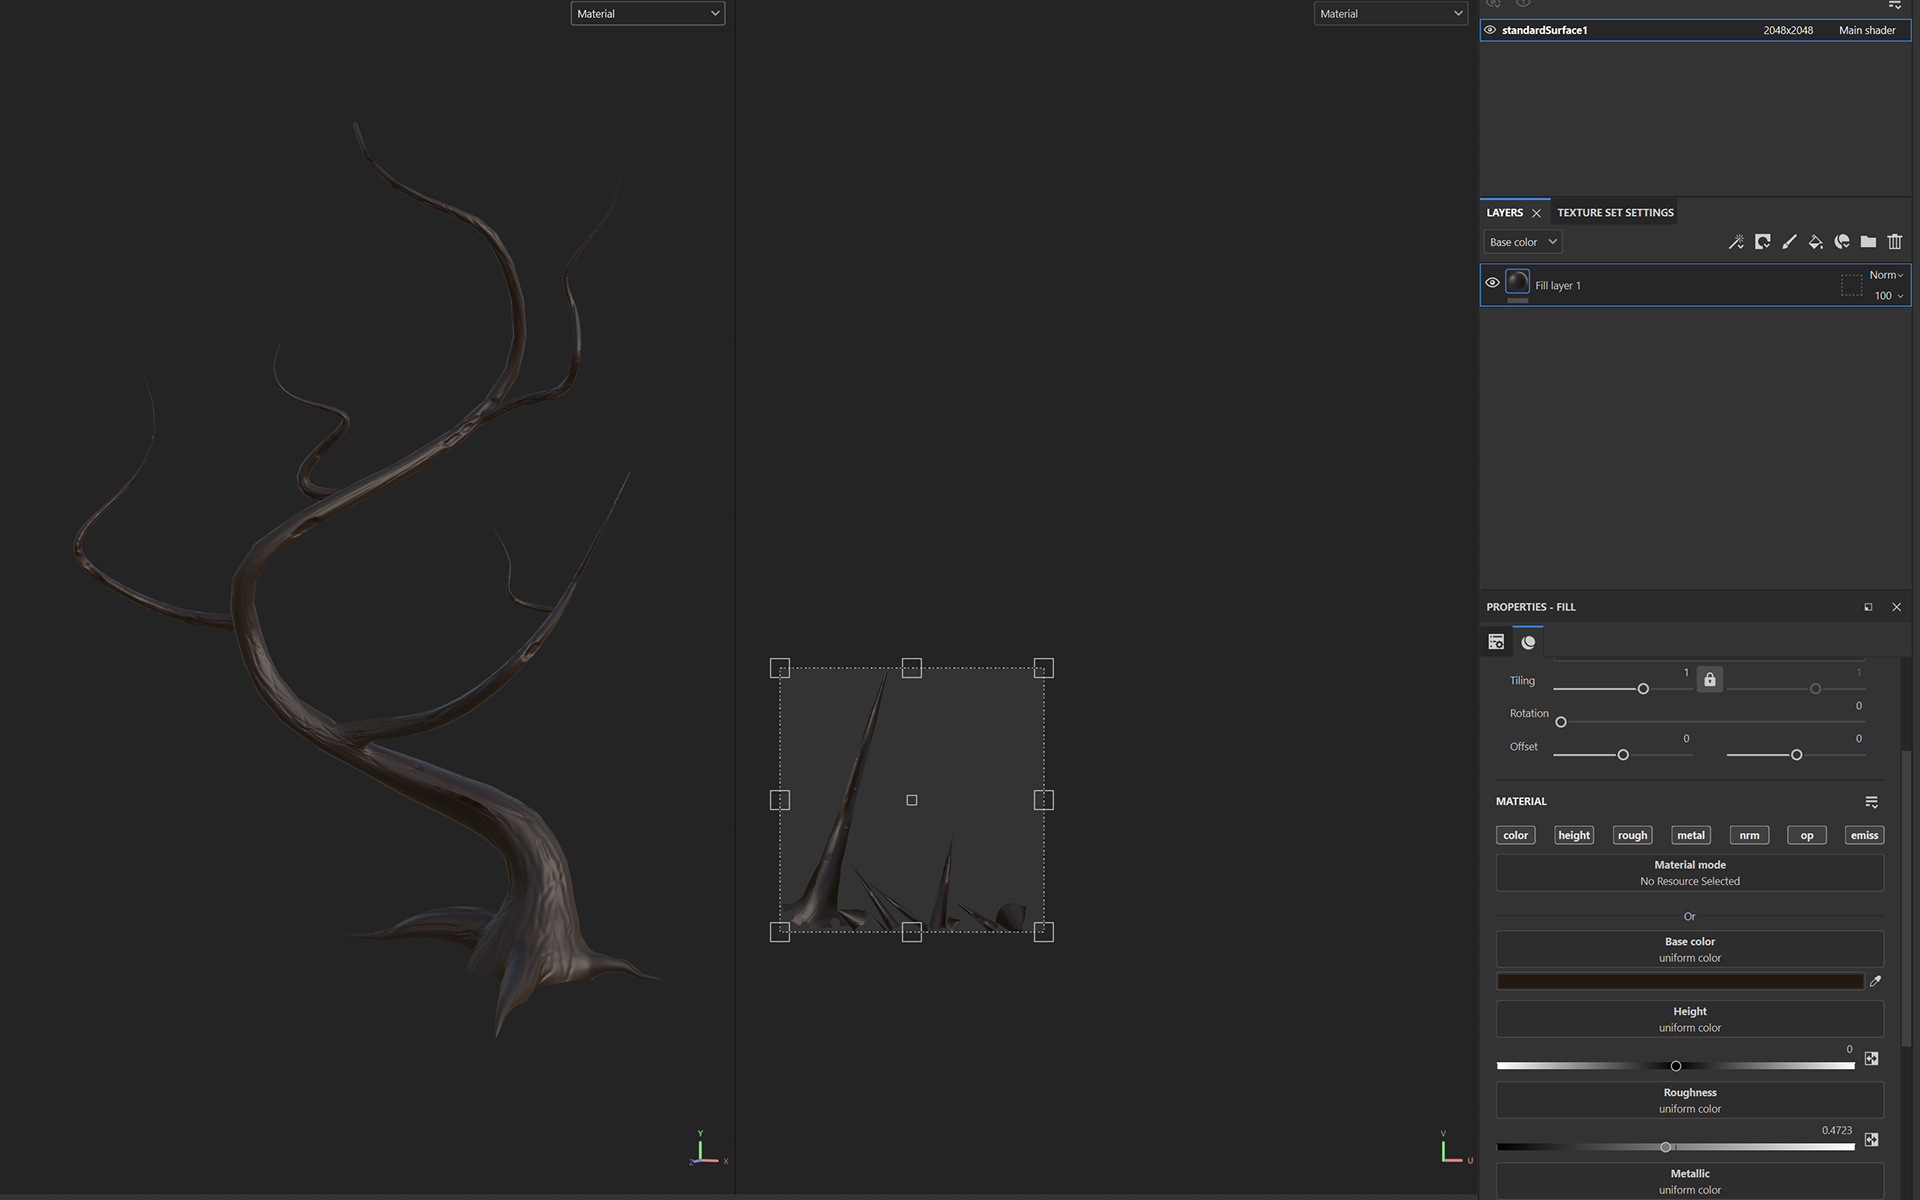
we then learned a new technique to paint and add a little bit of depth!
Start with the base colour in a fill layer (ideally a darker variant)
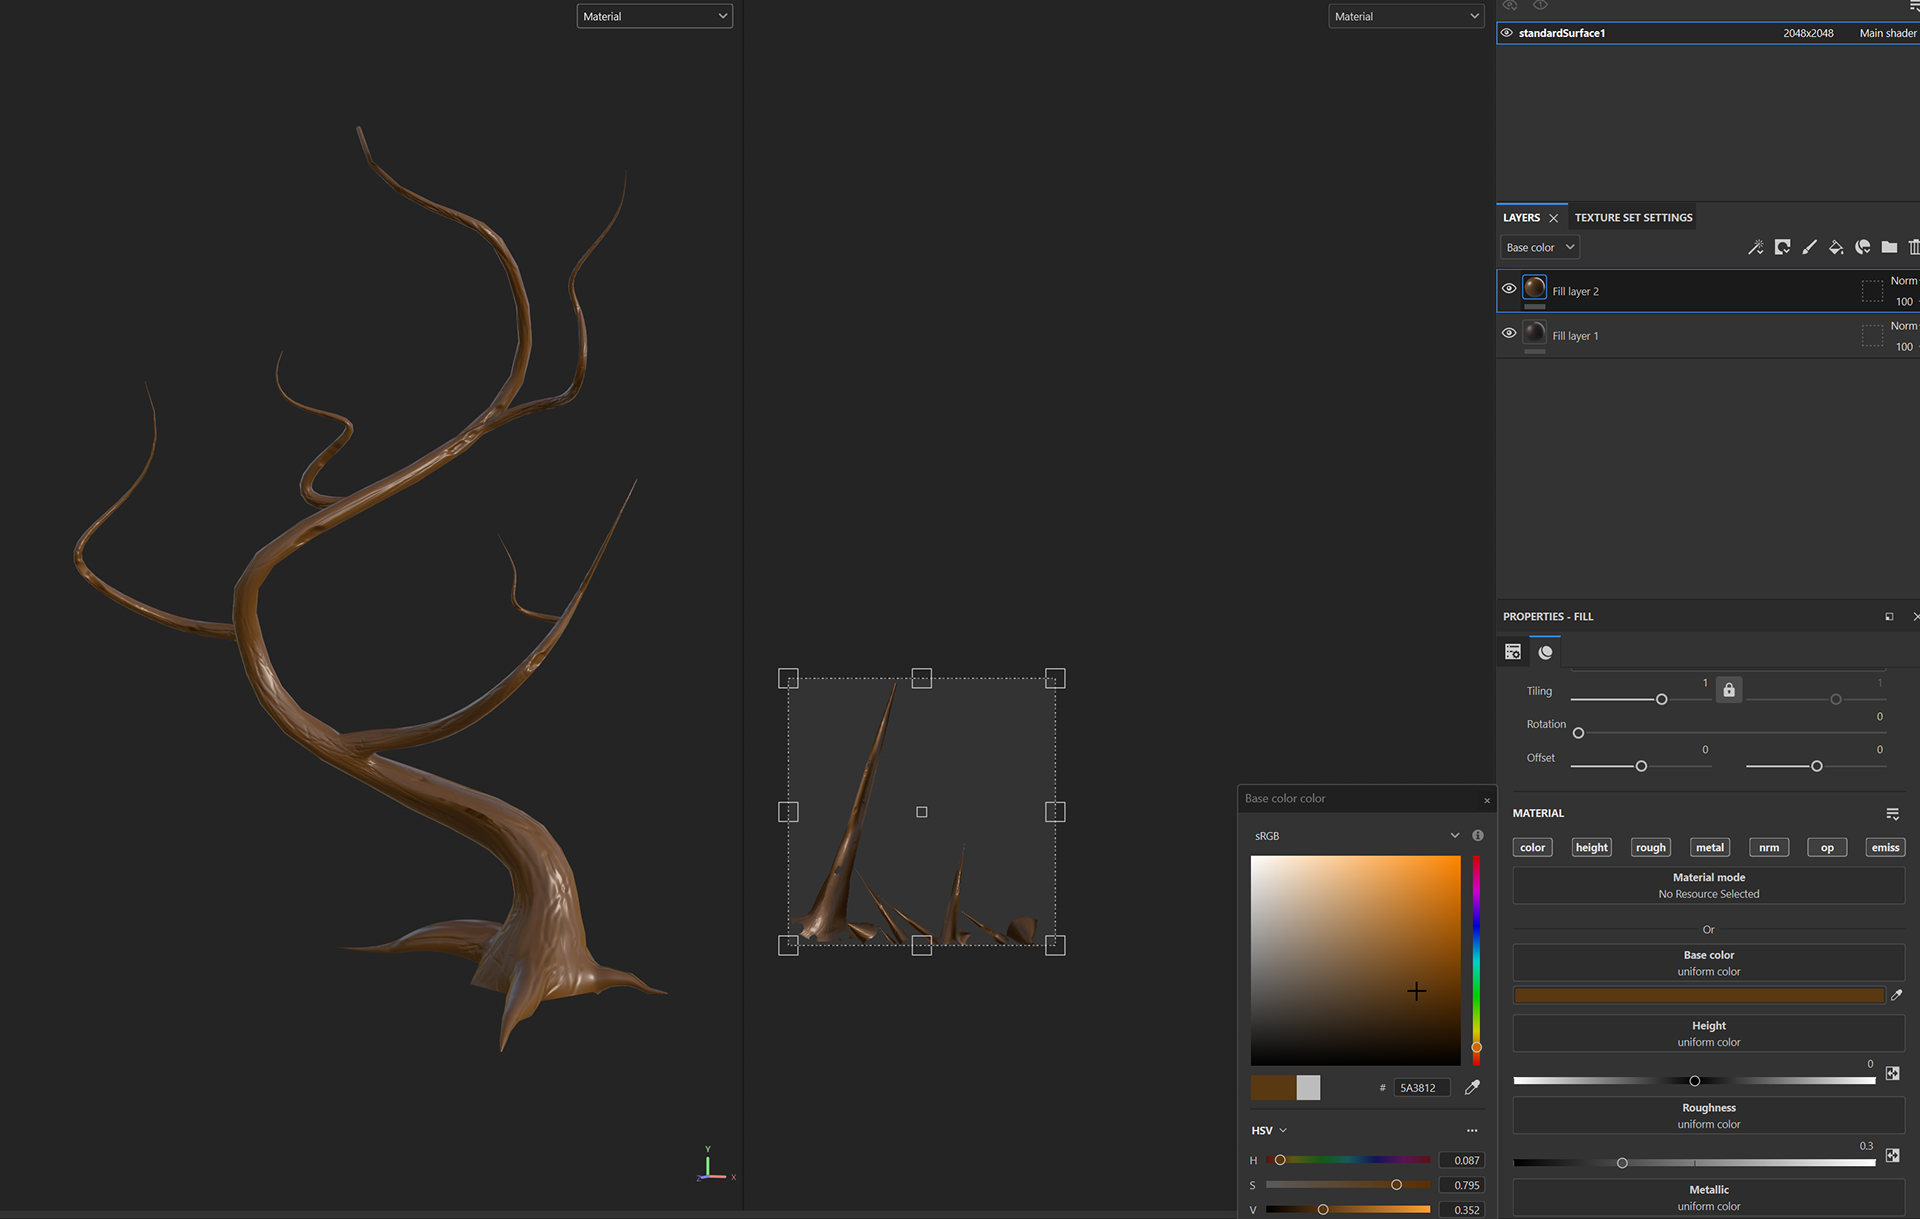
Create another fill Layer but this time choose a lighter variant
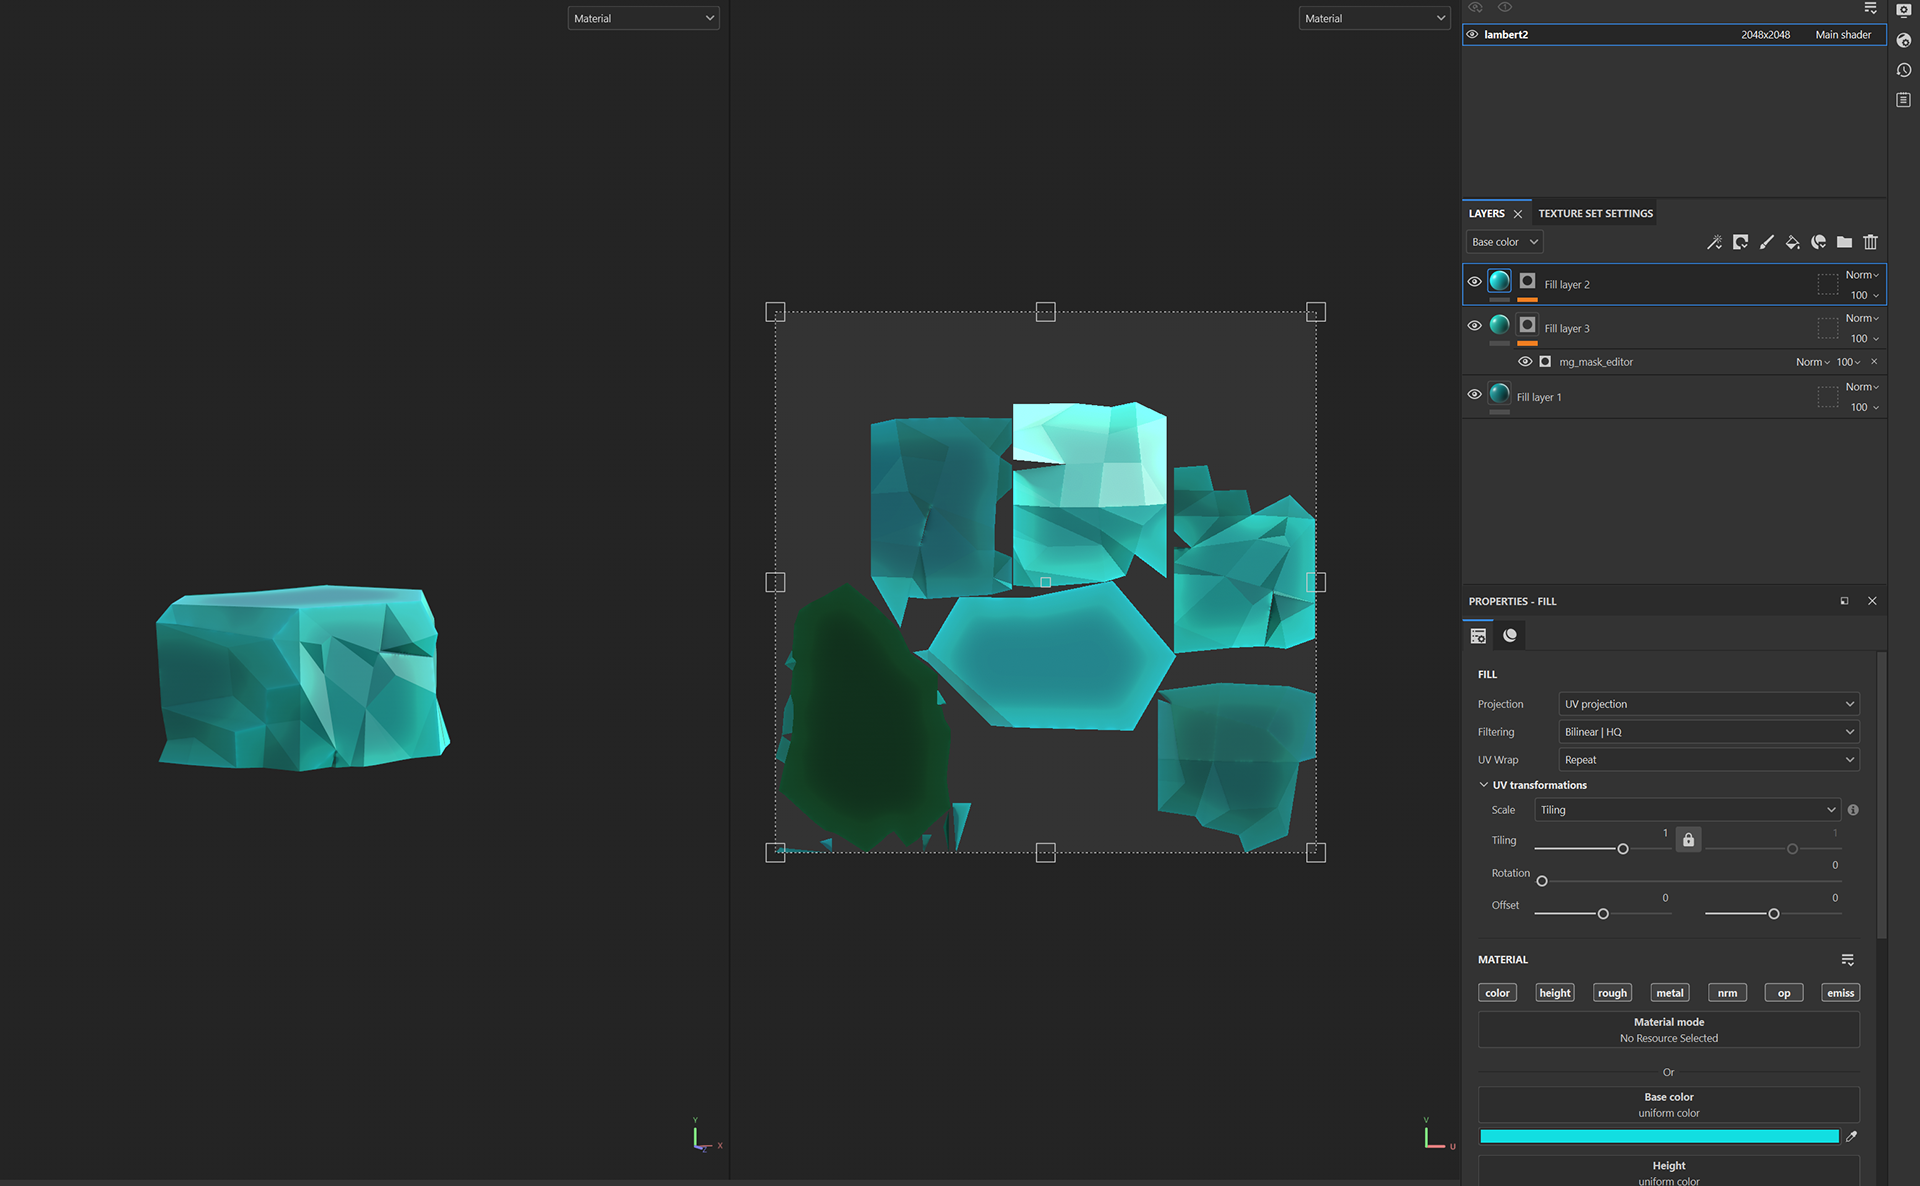
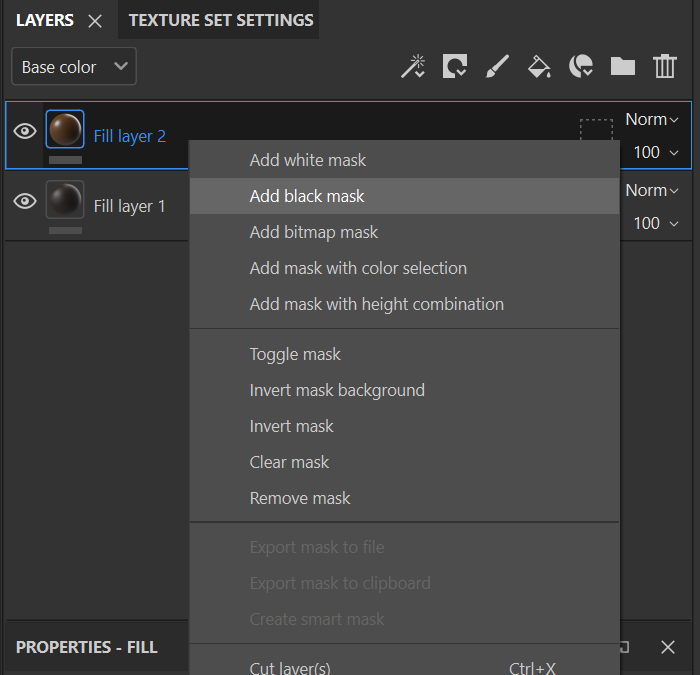
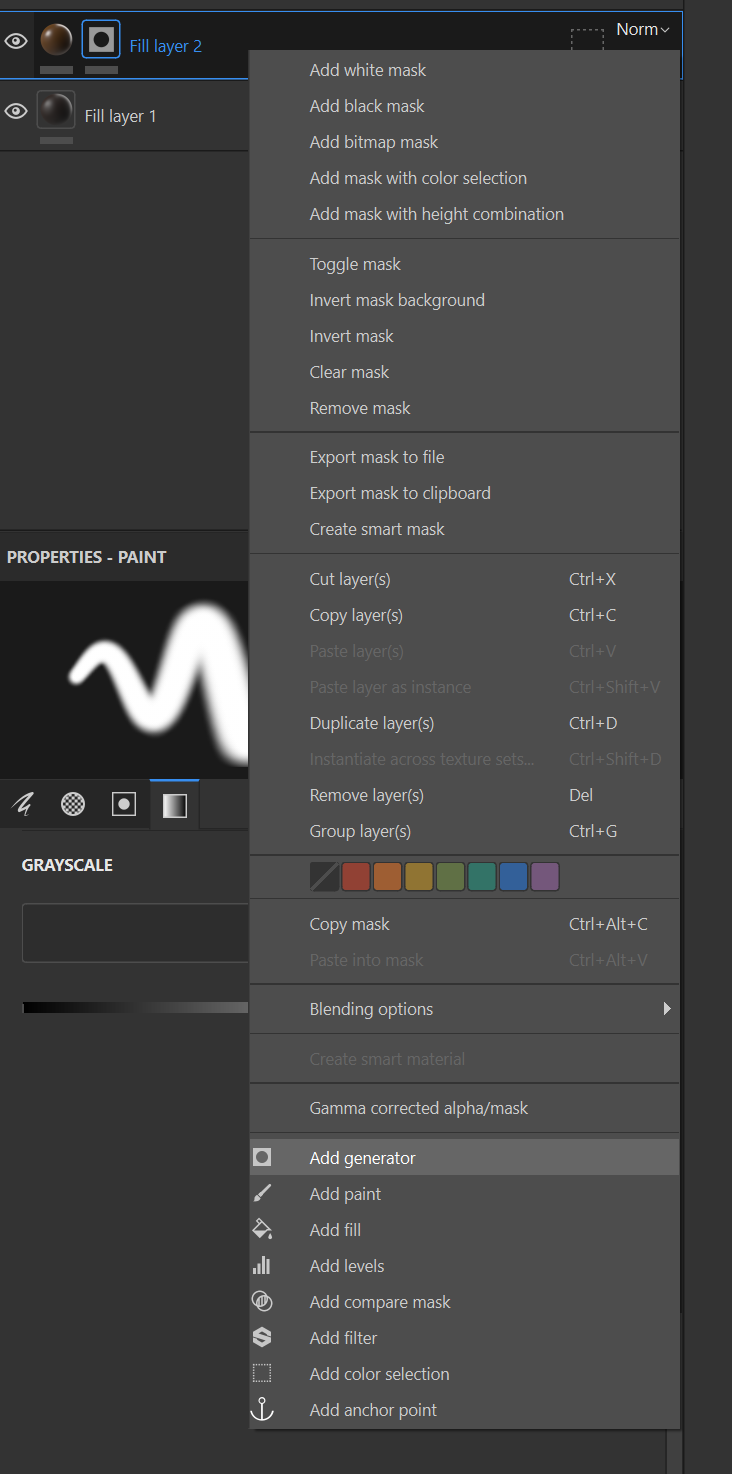
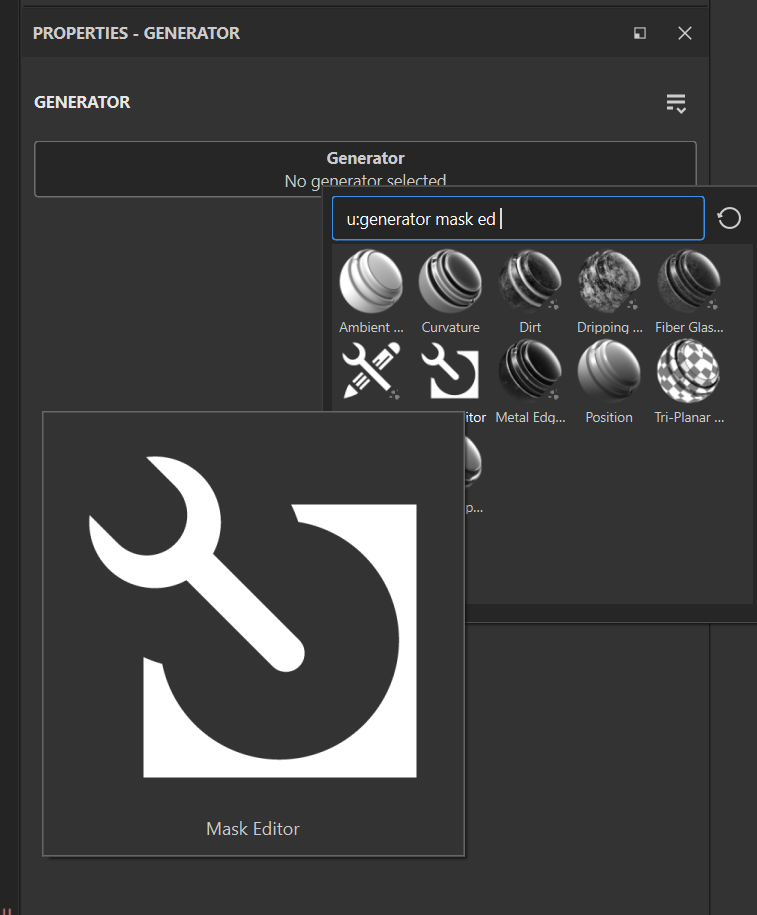
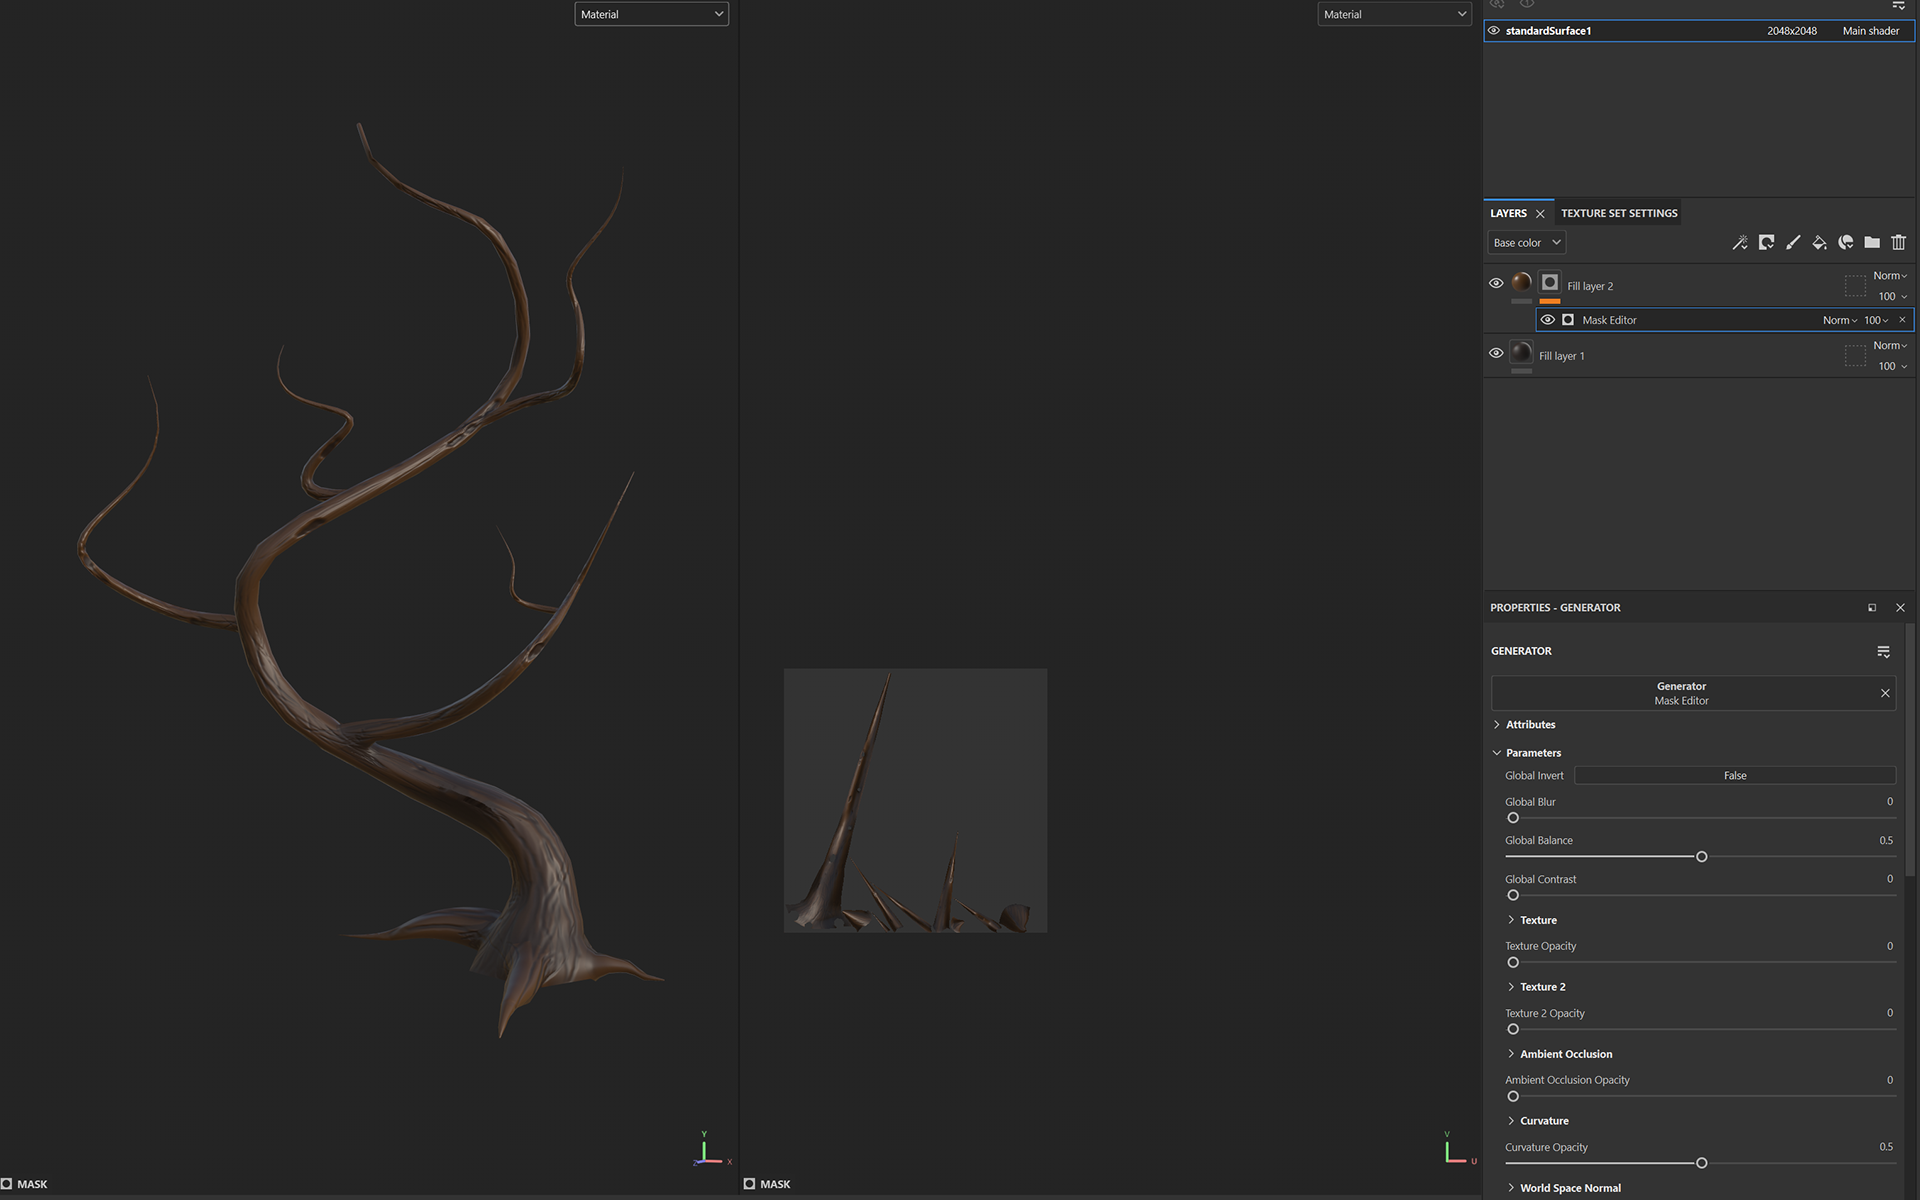
On layer two, we are going to add a black mask and then we will add a generator to that black mask - you want to search for the Mask Editor generator and apply that.
You can play around with levels but you will see your tree start to merge colours and this alone adds depth.
Textures were then baked and imported alongside the model into Unreal Engine on my test world.
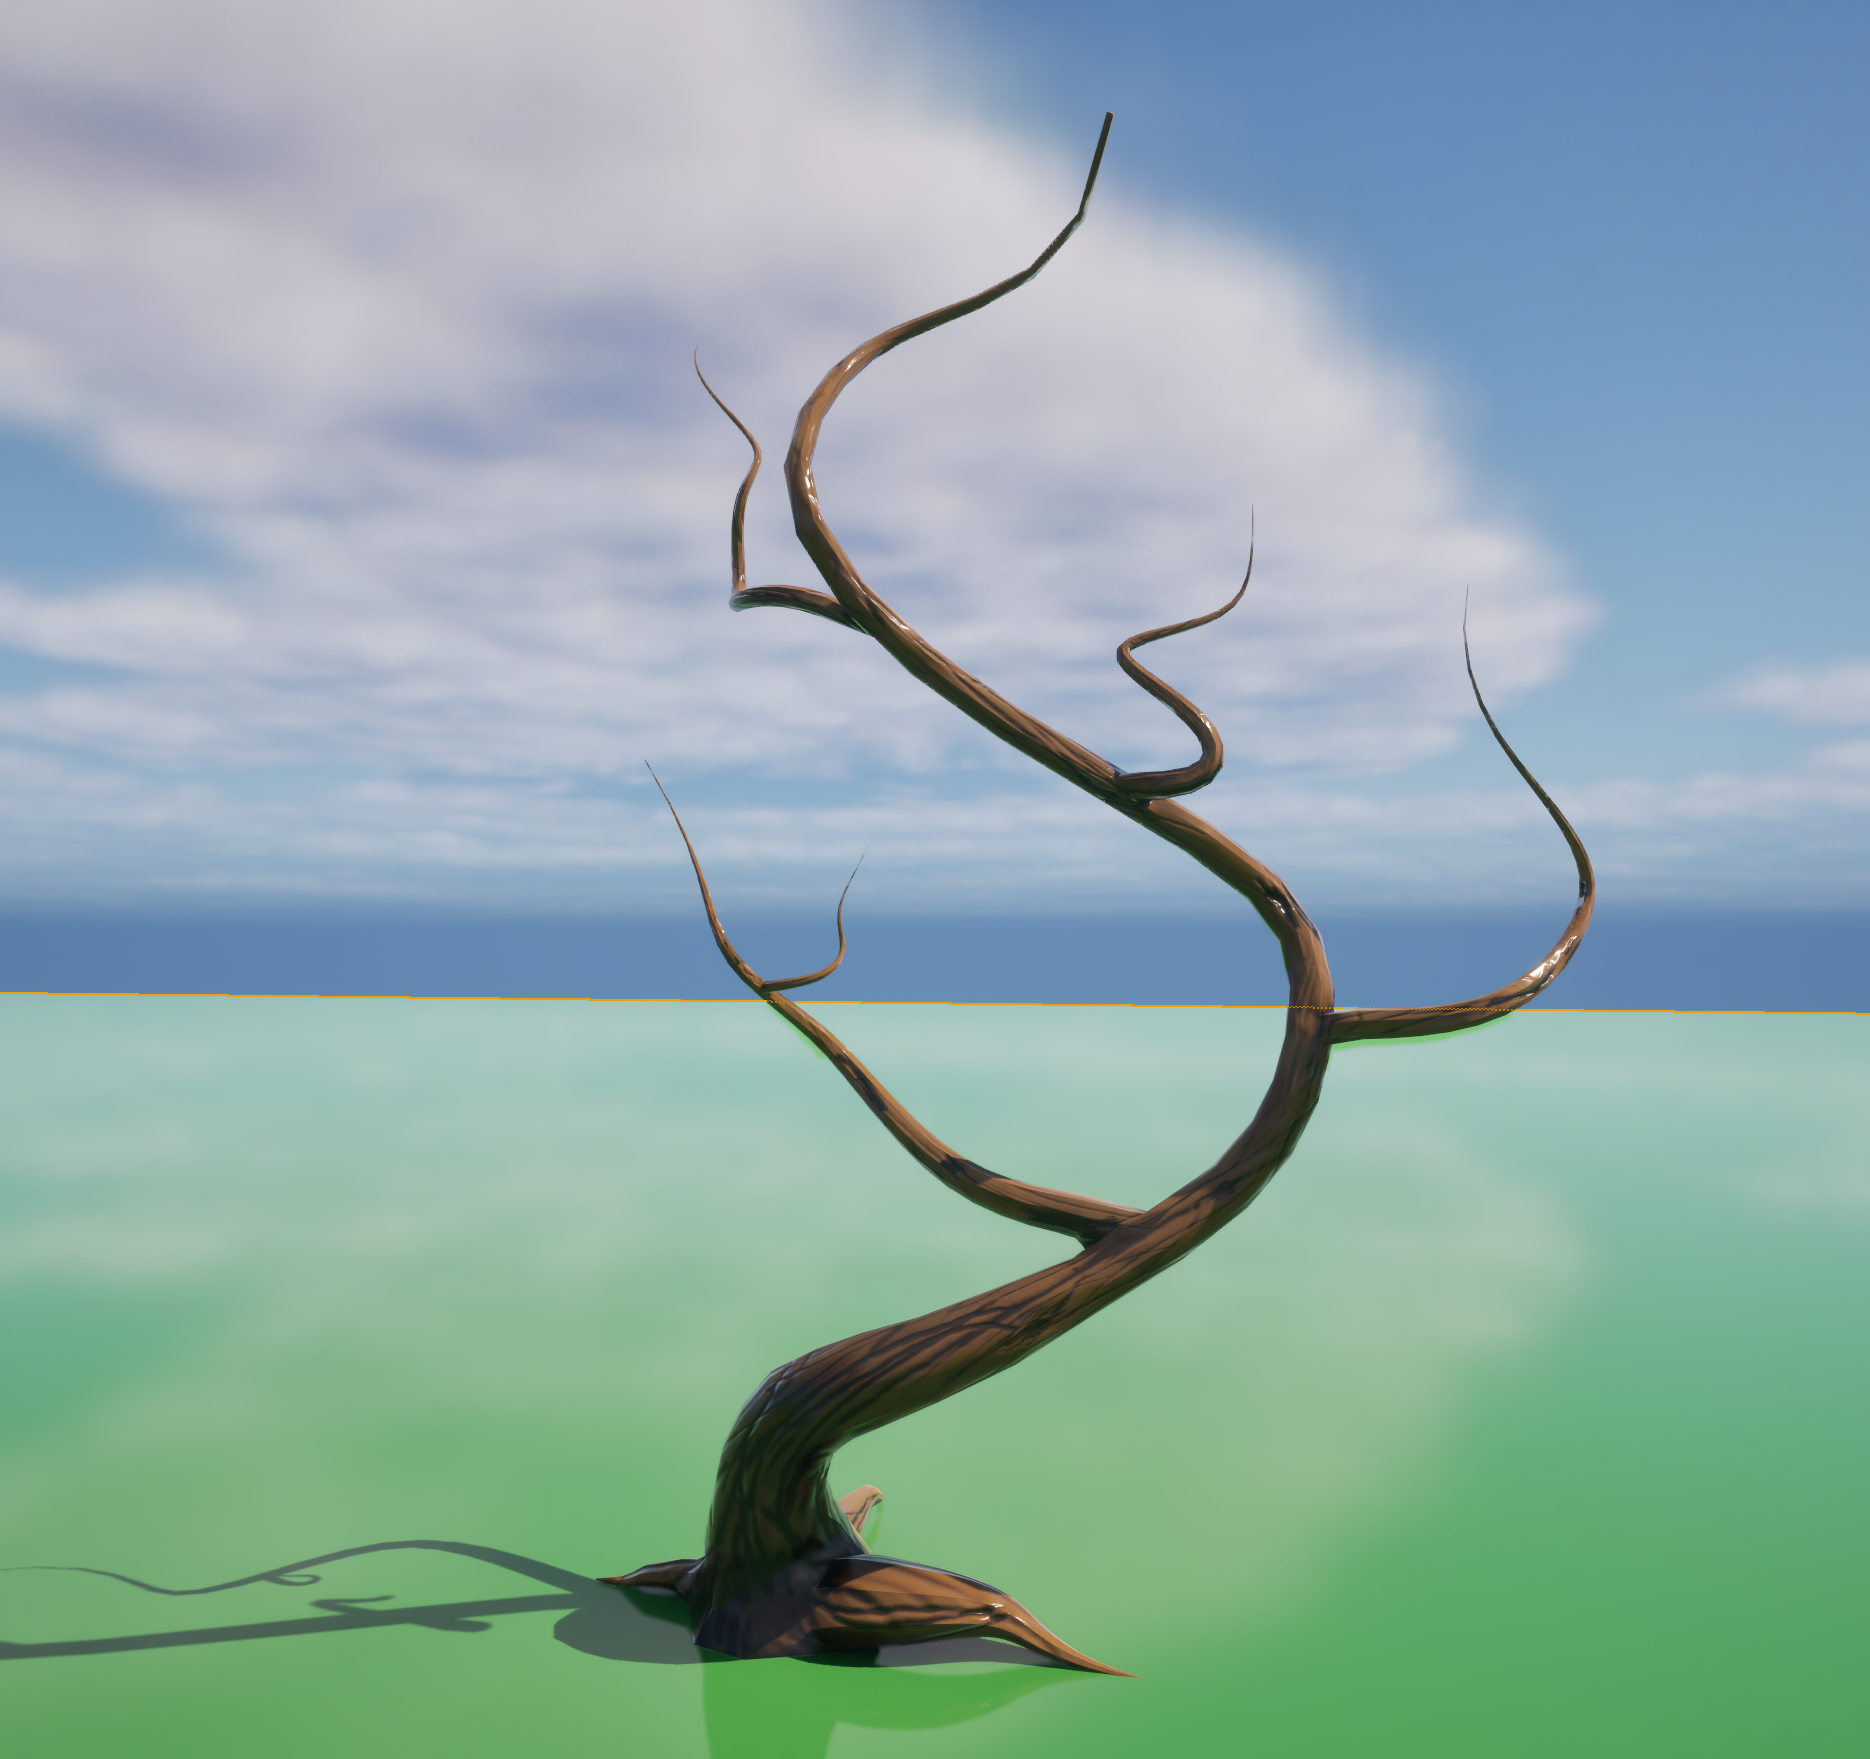
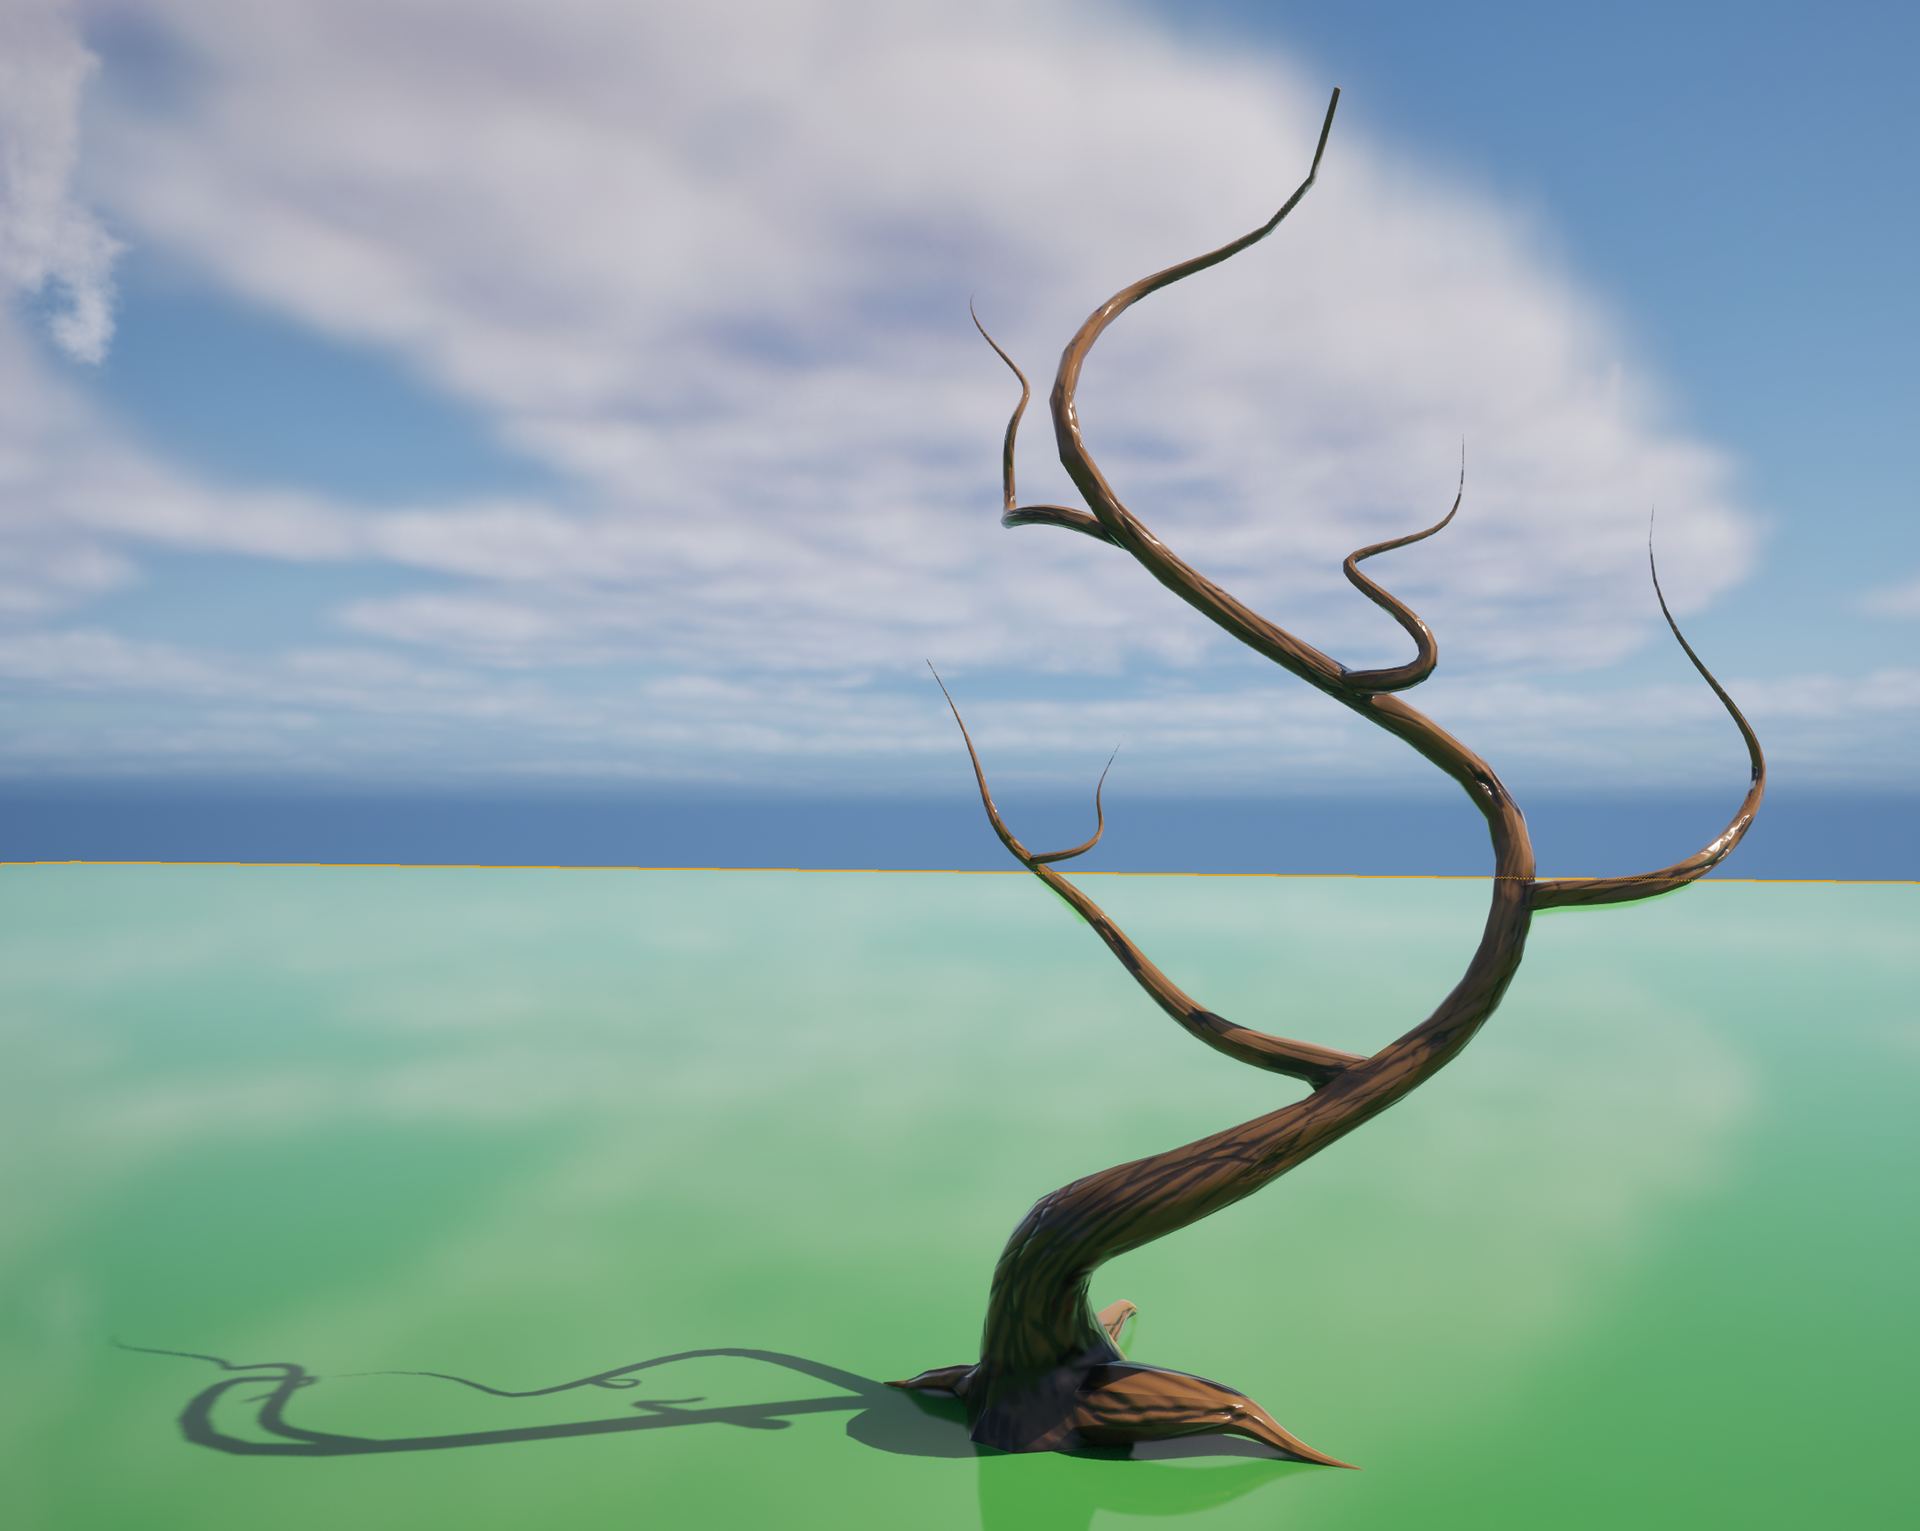


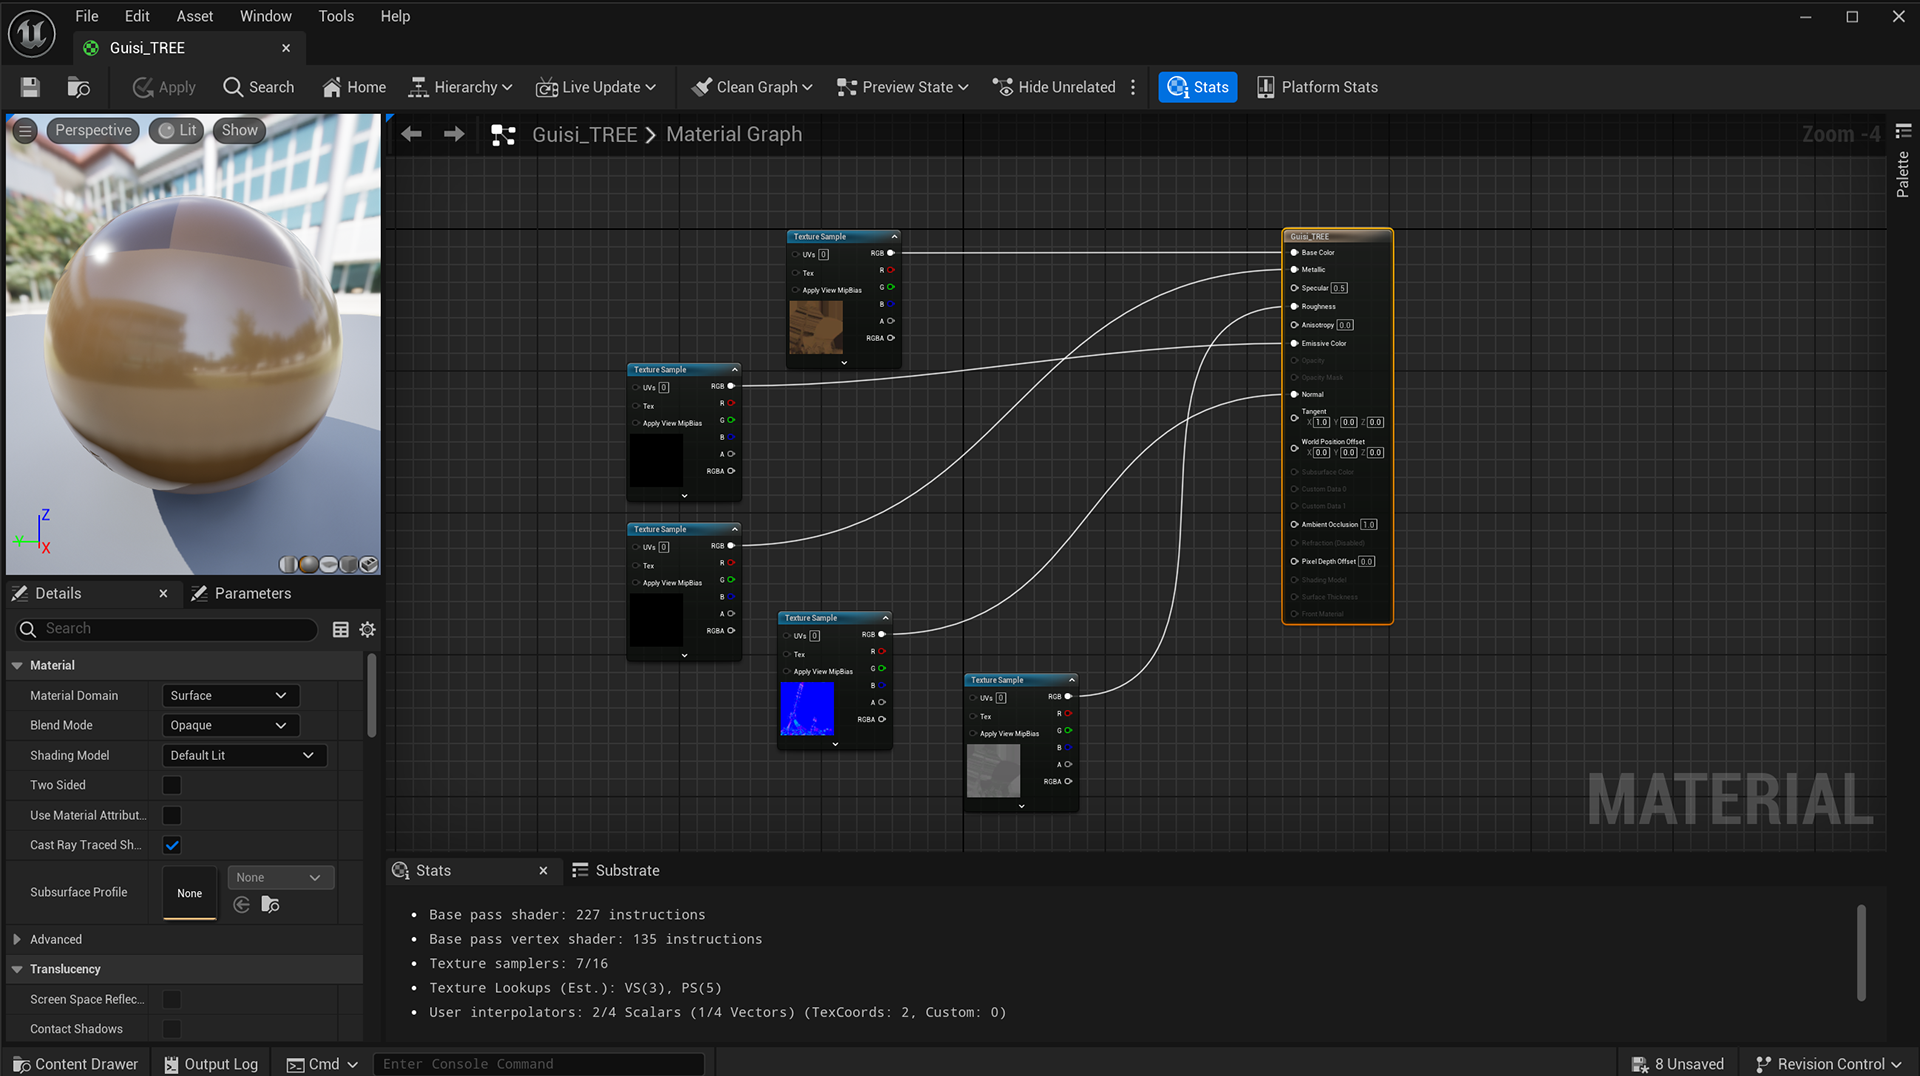
Material made through Unreal Engine blueprints.


INT- ROOM 905 08 - 04 - 25
For the sake of simplicity and for the fact that I have neglected my journal whilst I have been locked in the last few weeks, here is a collection of the work I have been doing following week nine.
I started by importing all my textures from substance and applying them to my models in unreal engine using the same method in week nine

once I had completed this process I started to build the environment within the dome!
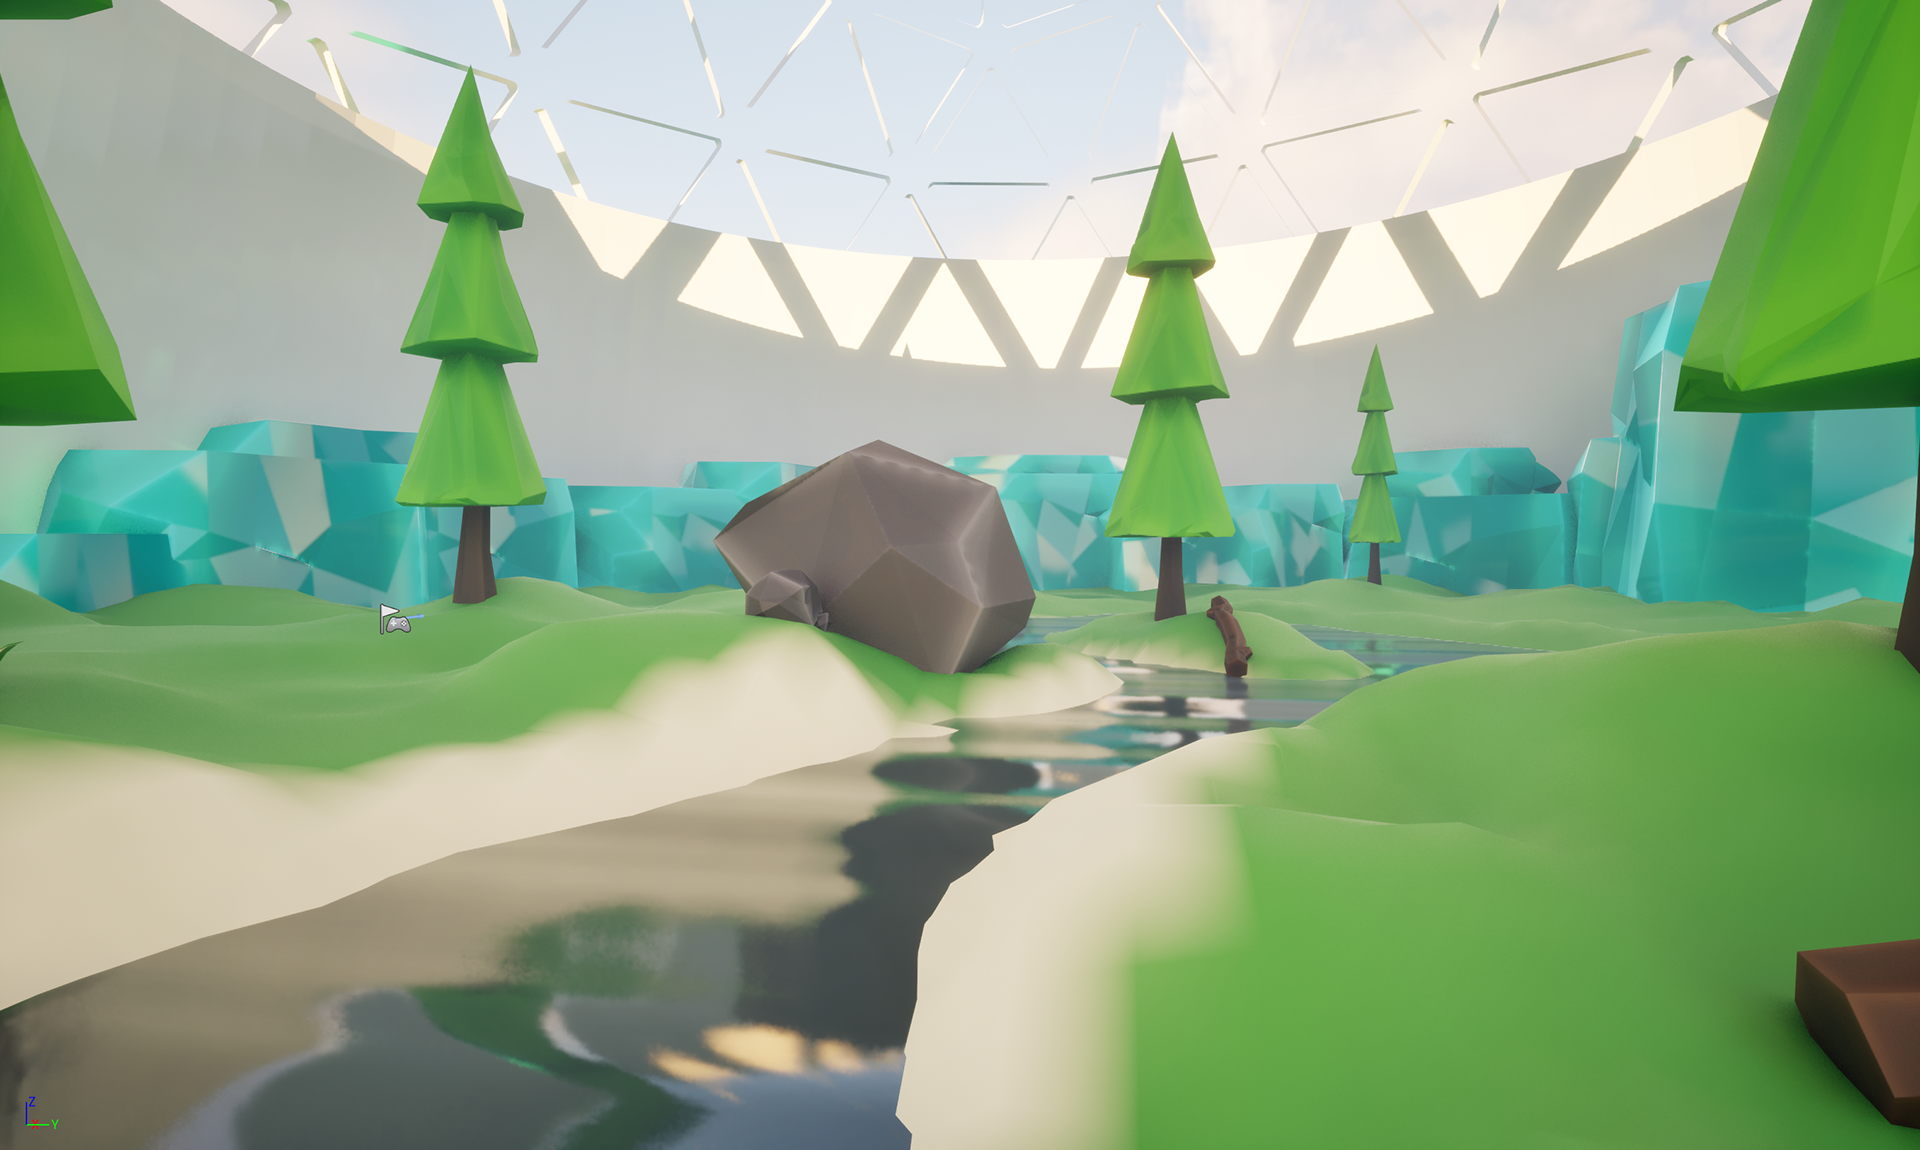
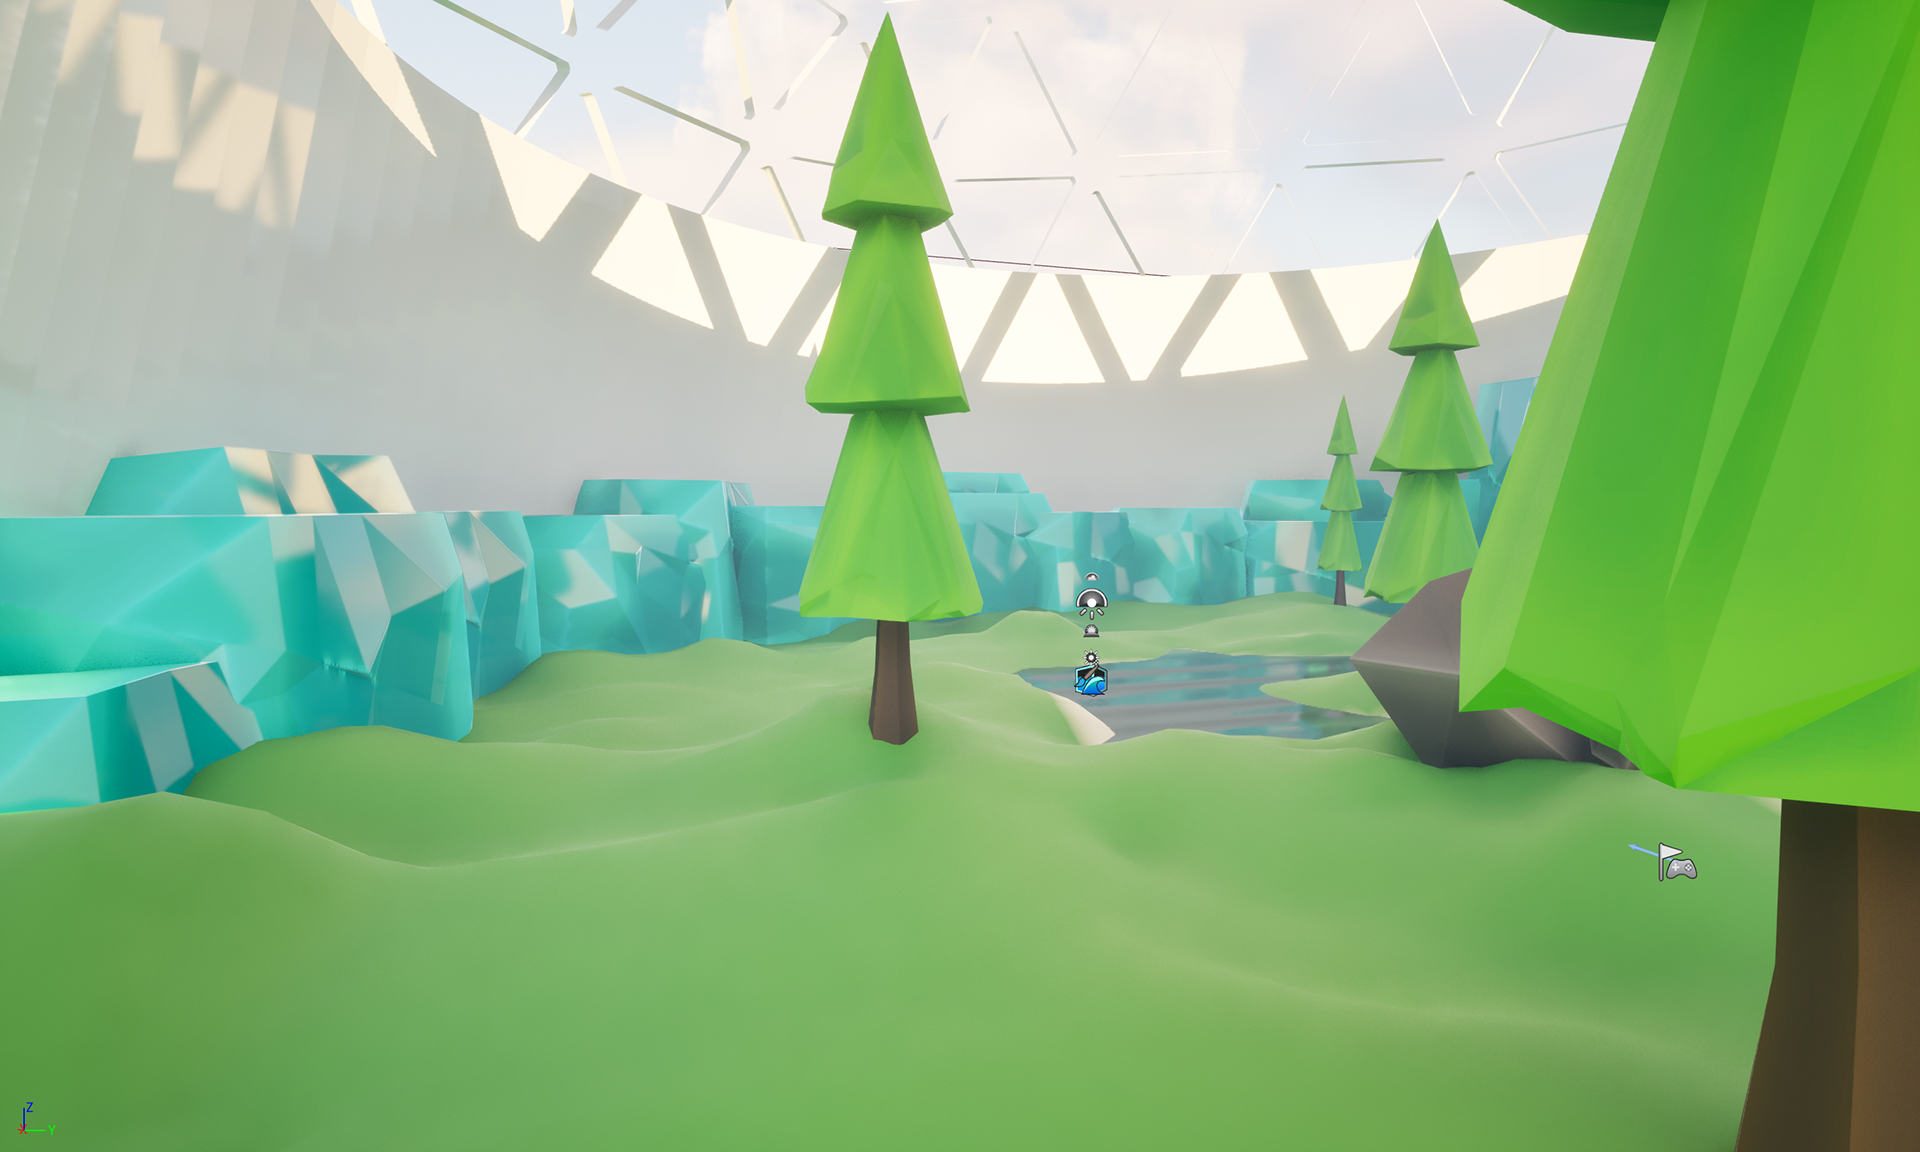
Once i had the assets blocked out, i then started to insert the smaller details and fill up the space
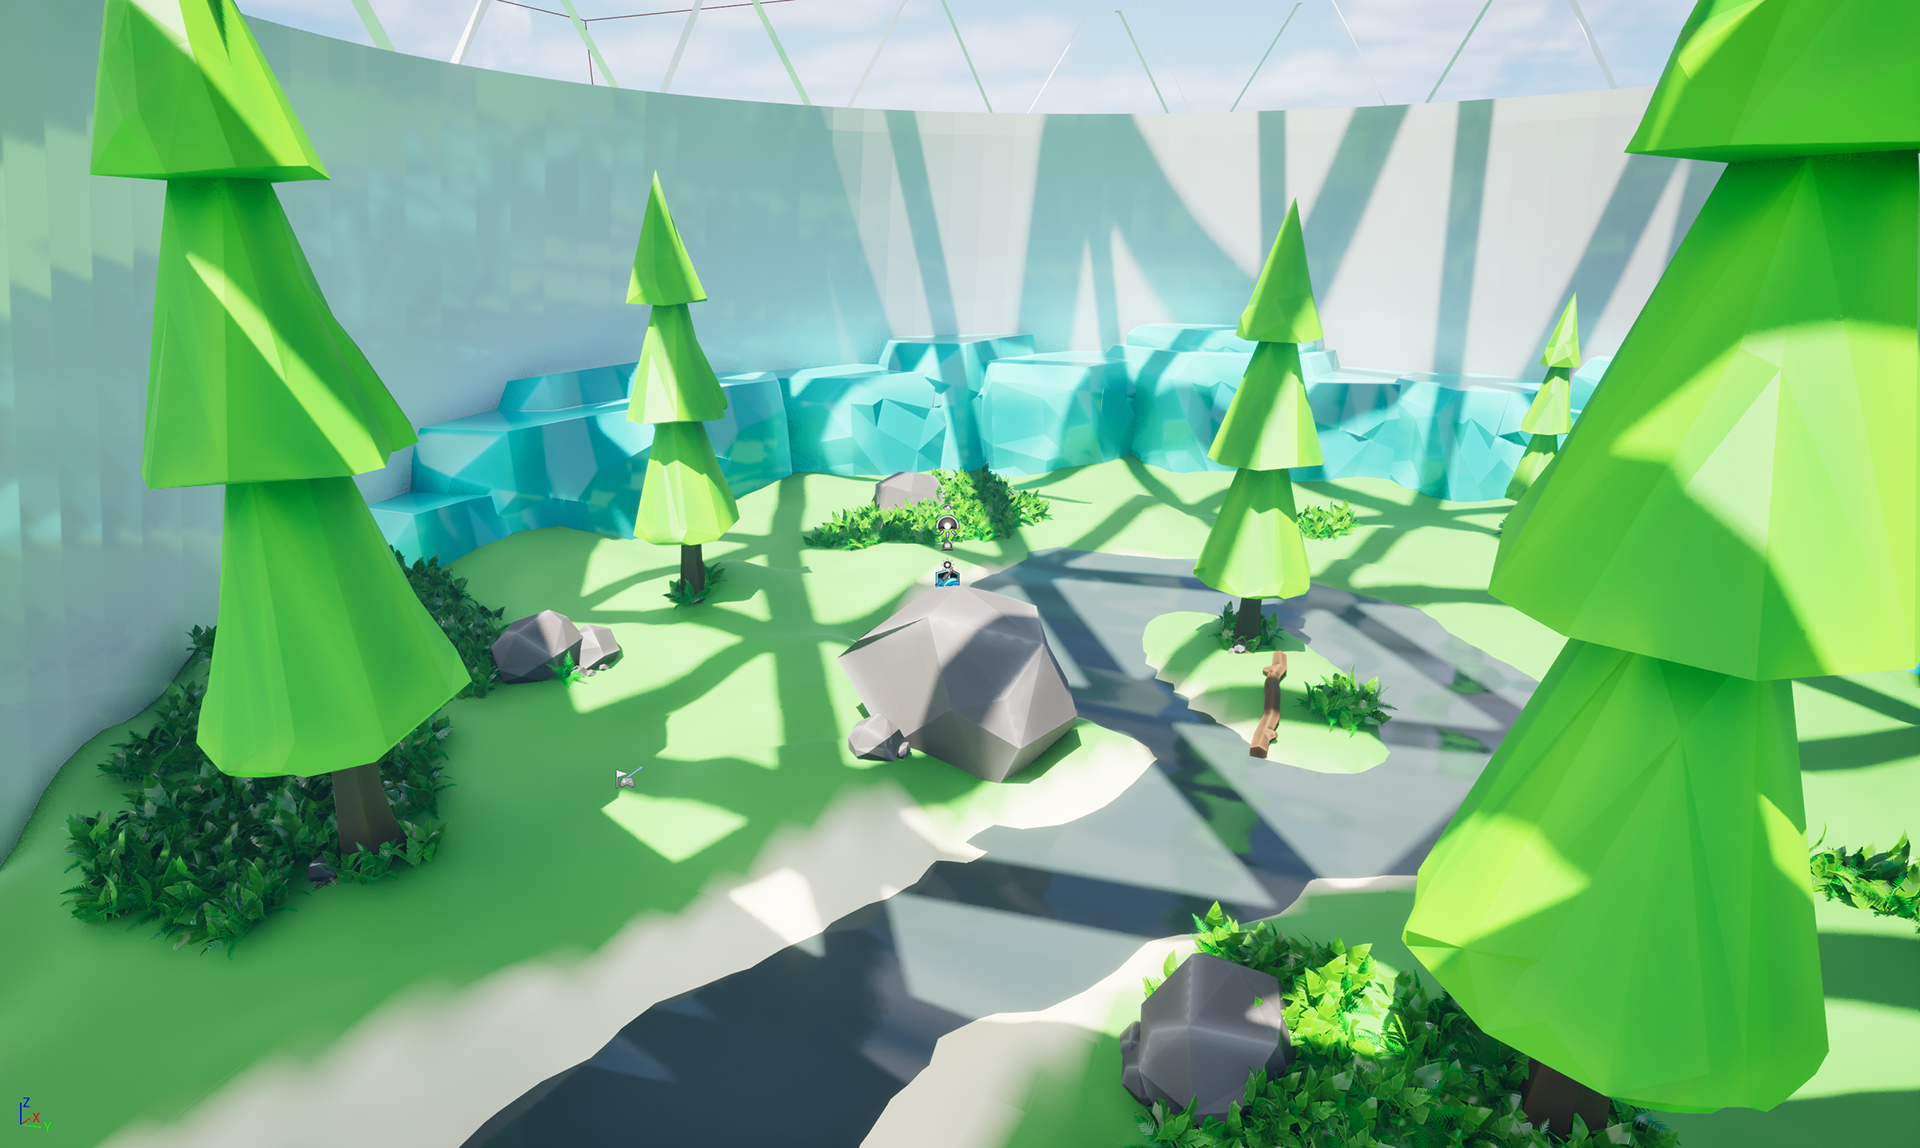
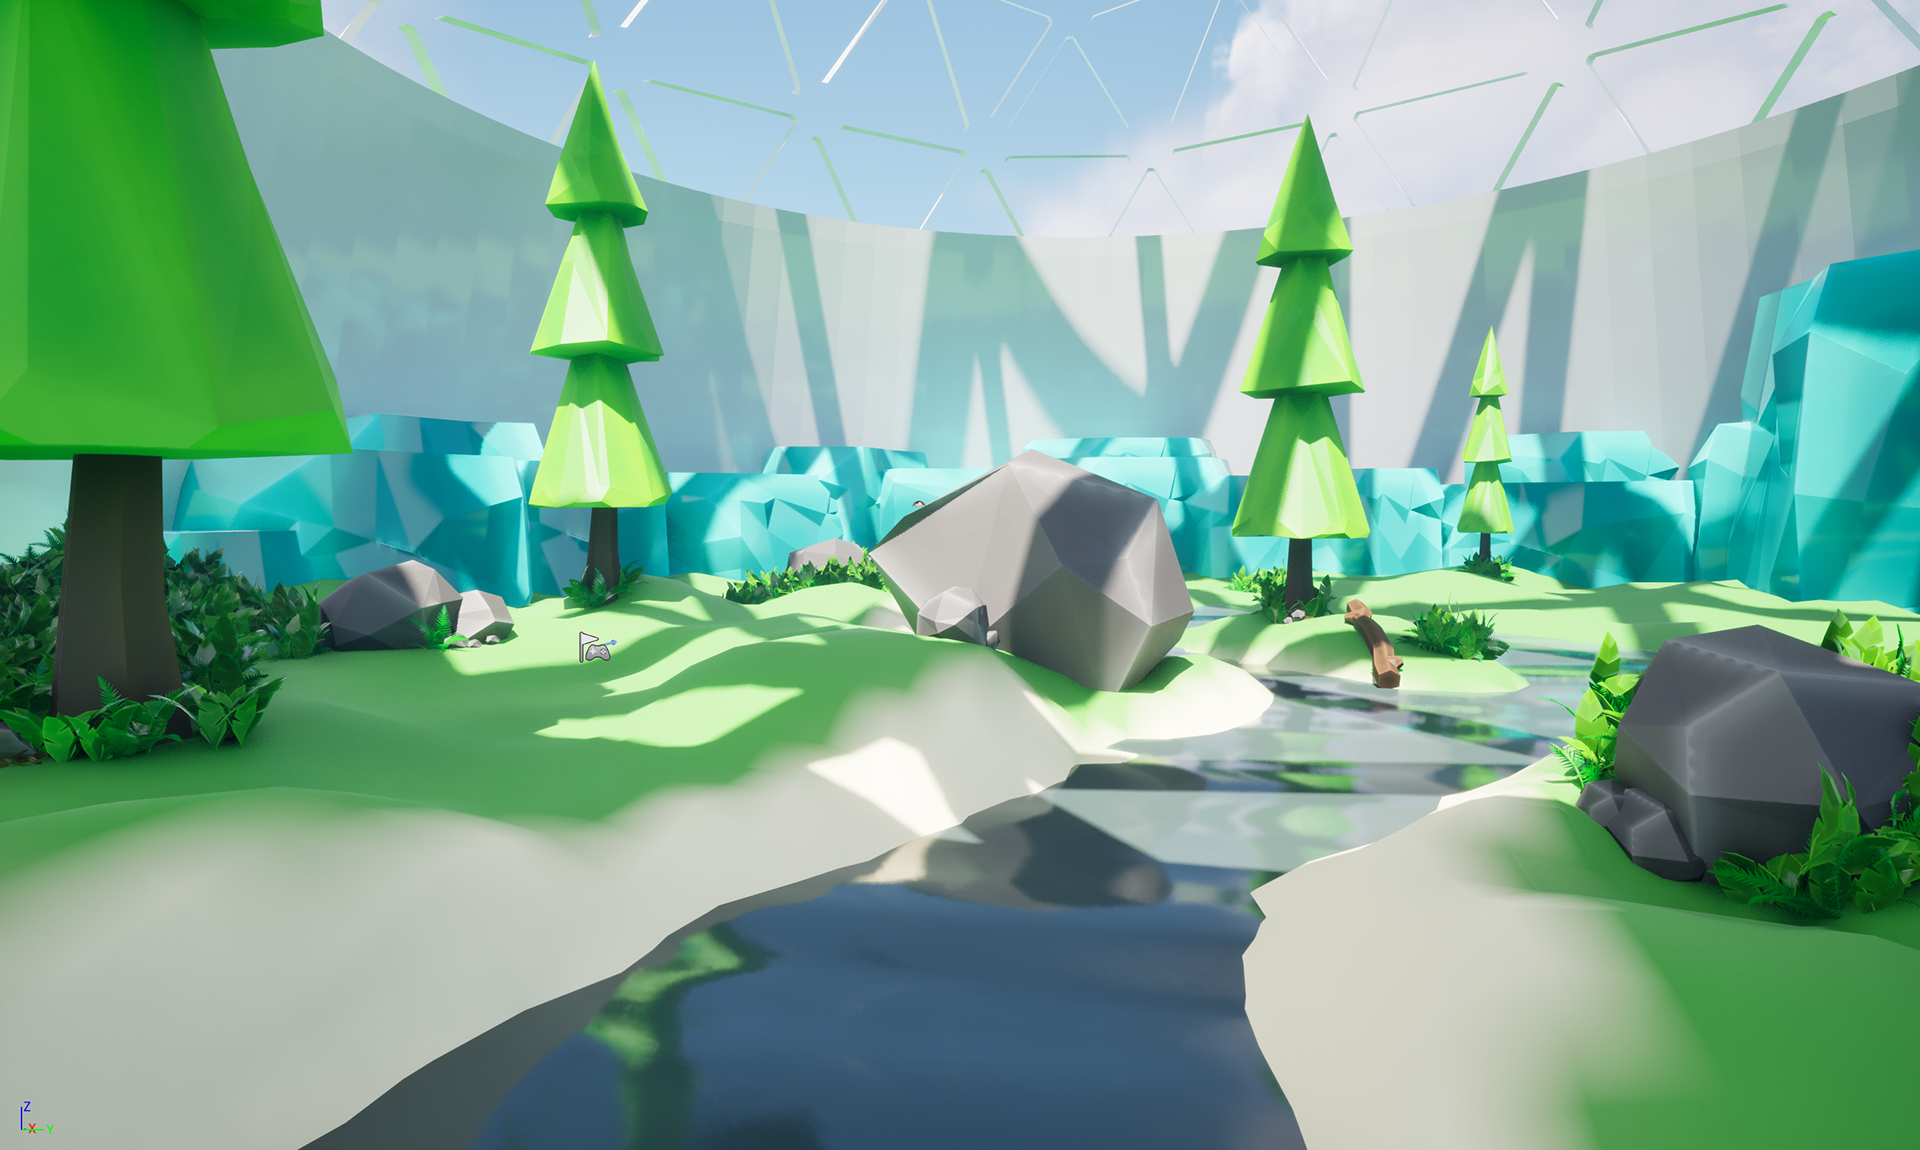
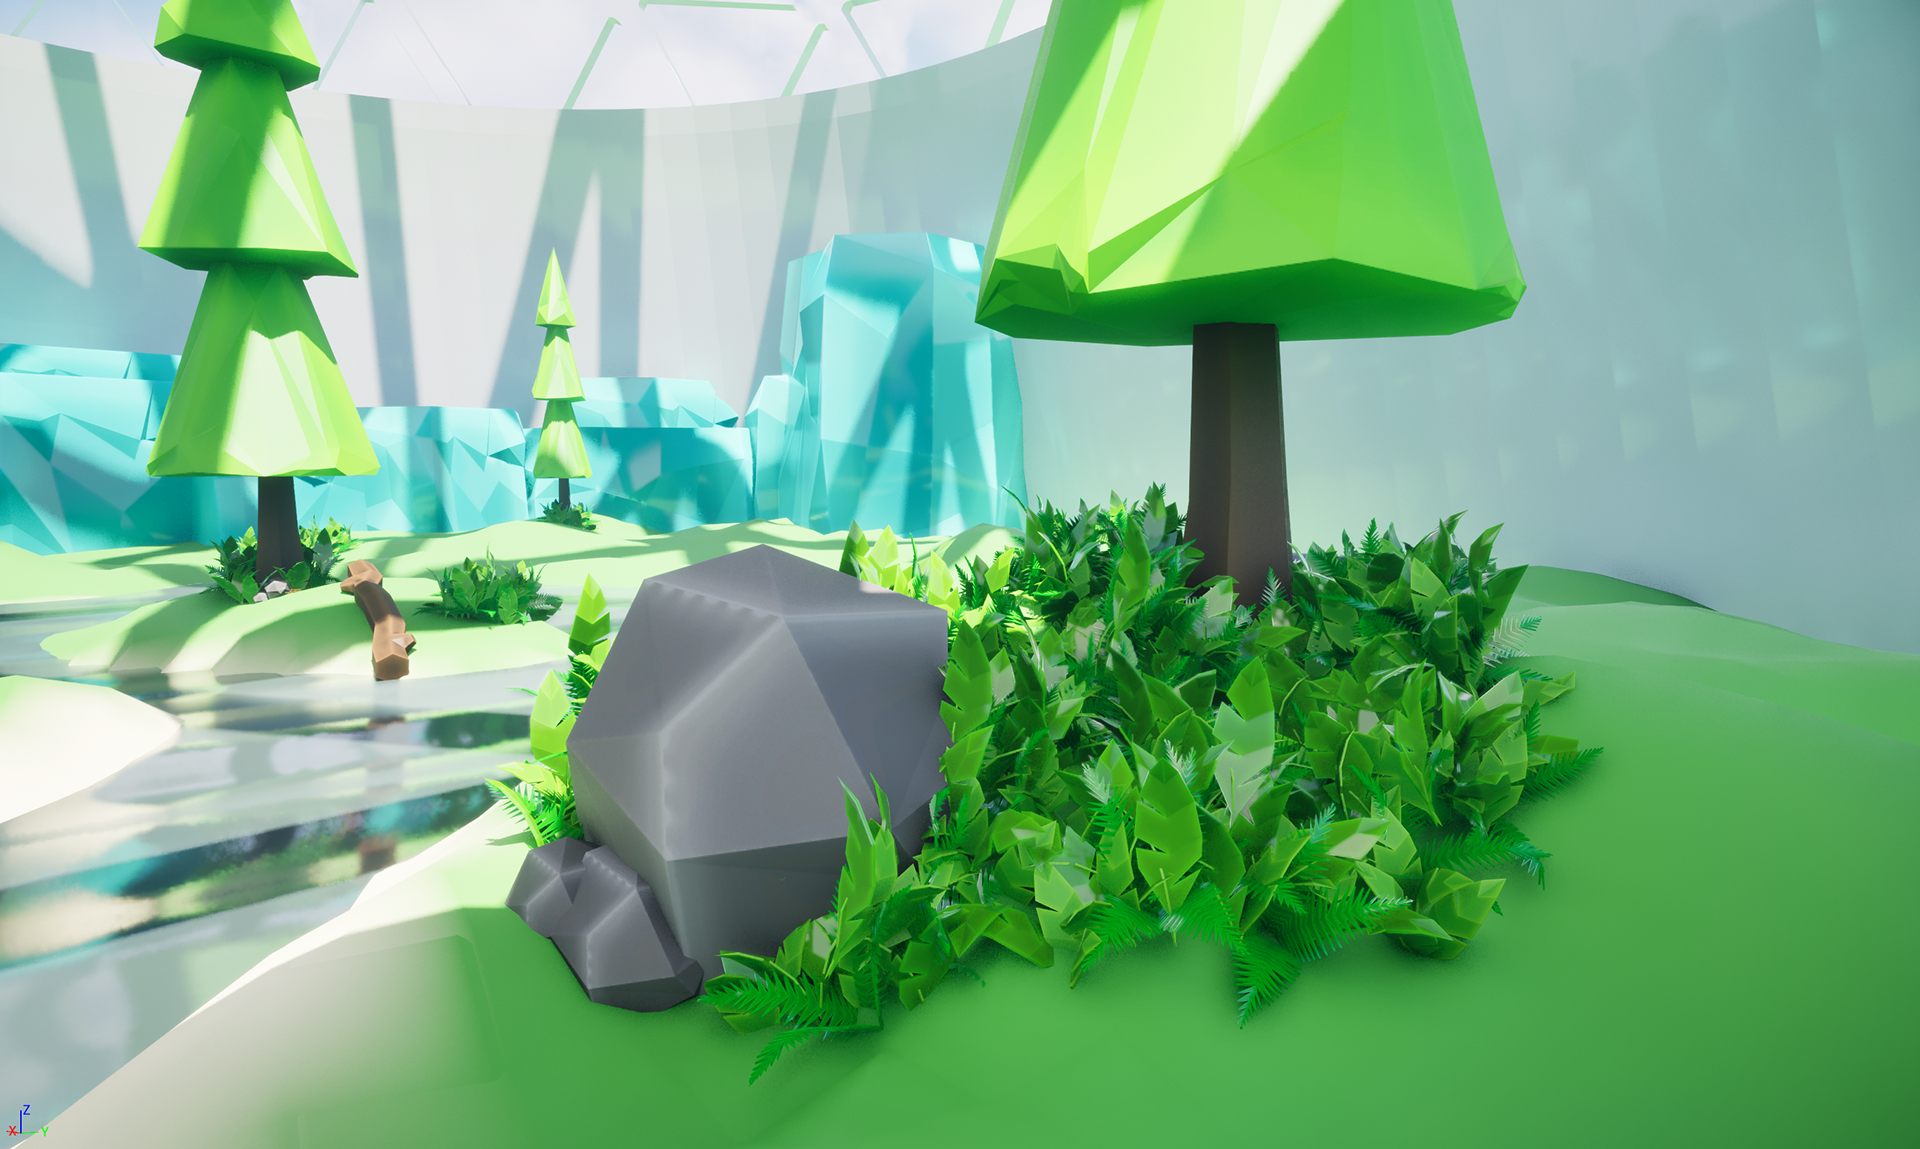
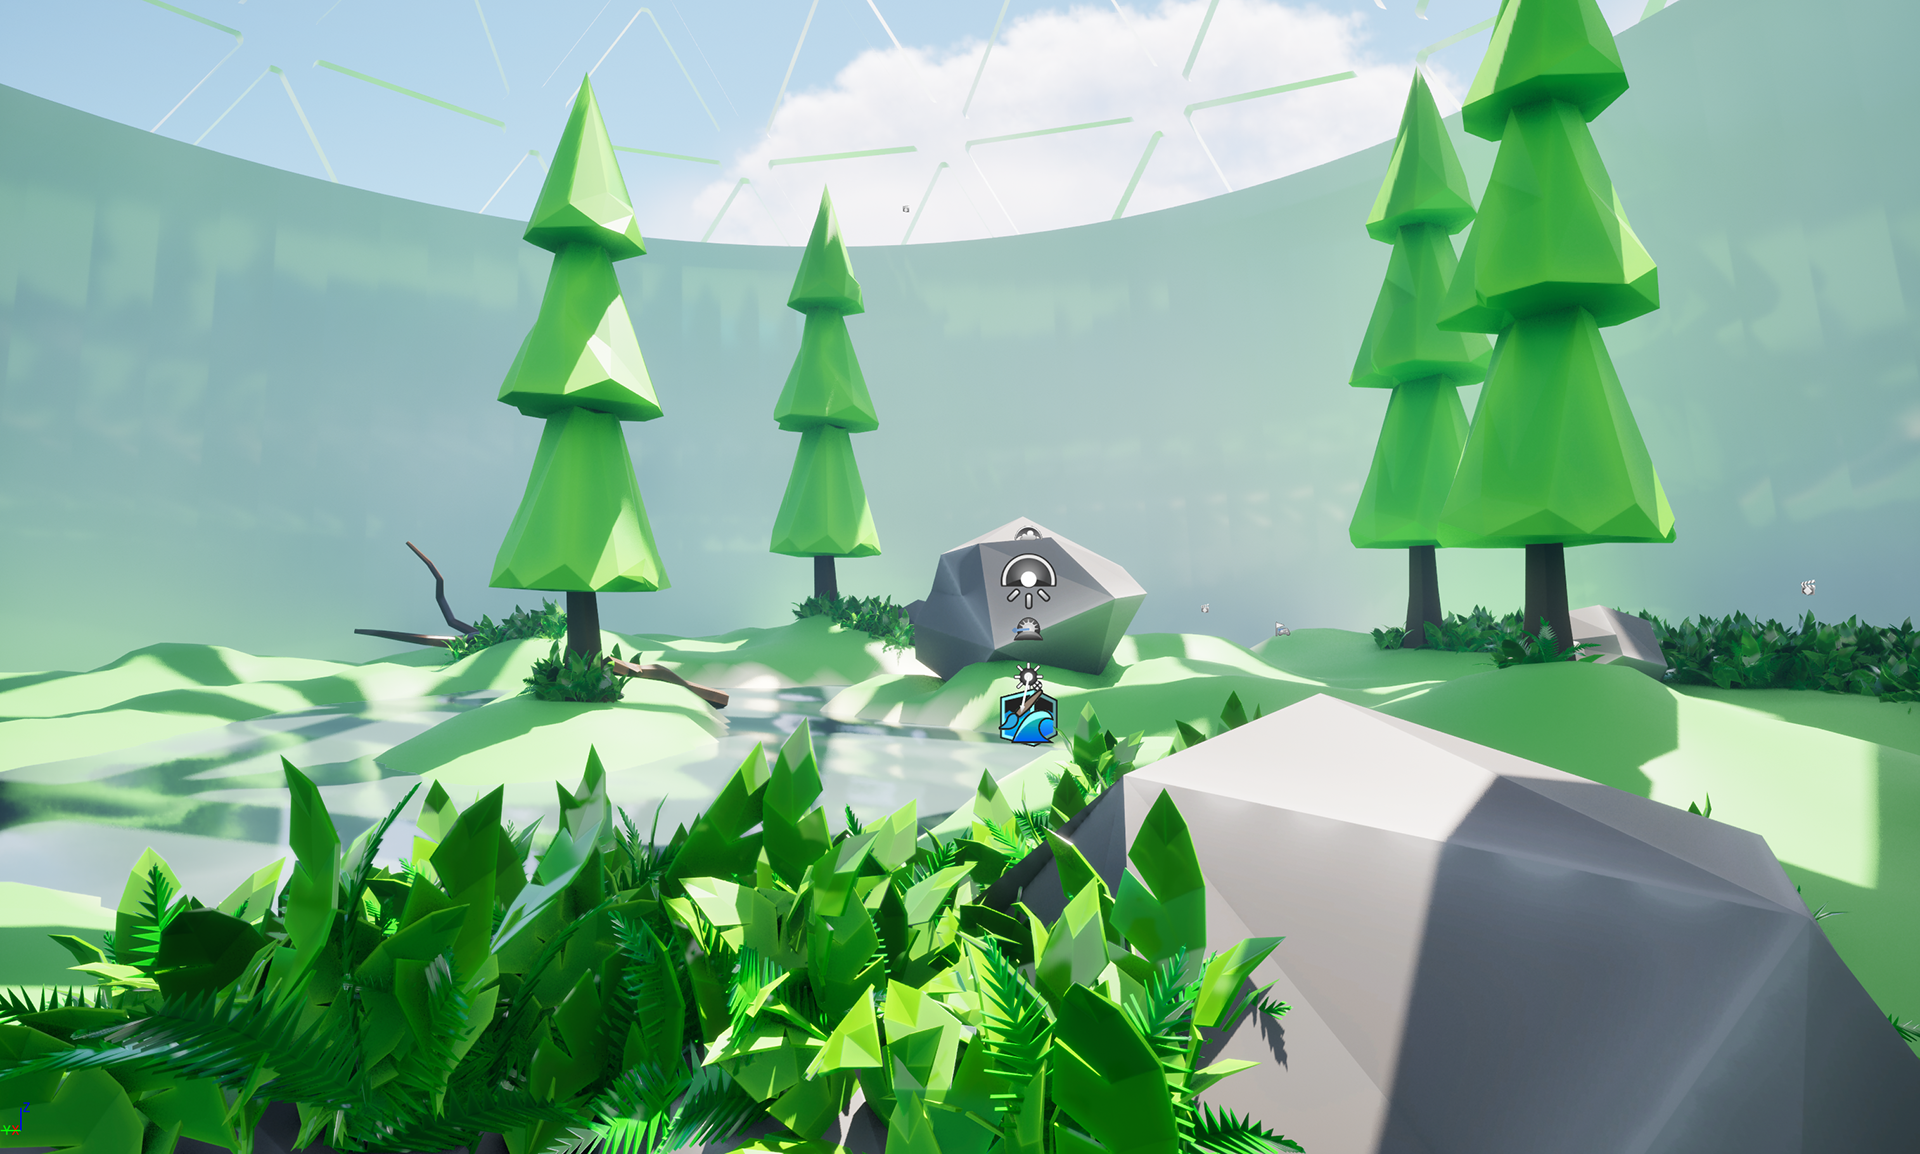
here is a little walk-around!
A CINEMATIC TO WRAP IT UP!
Whilst I might be completely over with this project, I will say that I am actually quite proud of the work I have done this semester - I could have definitely pushed myself a lot more and I think going forward I will (famous last words)
I learnt a lot of new stuff and reinforced previously learned things which I am glad about. It has been both challenging and rewarding and I am really happy with the final result.
I learnt a lot of new stuff and reinforced previously learned things which I am glad about. It has been both challenging and rewarding and I am really happy with the final result.
THANK YOU FOR COMING ALONG MY JOURNEY AND SEE YOU NEXT YEAR!!!