25 - 09 - 25
CHARACTER PITCH
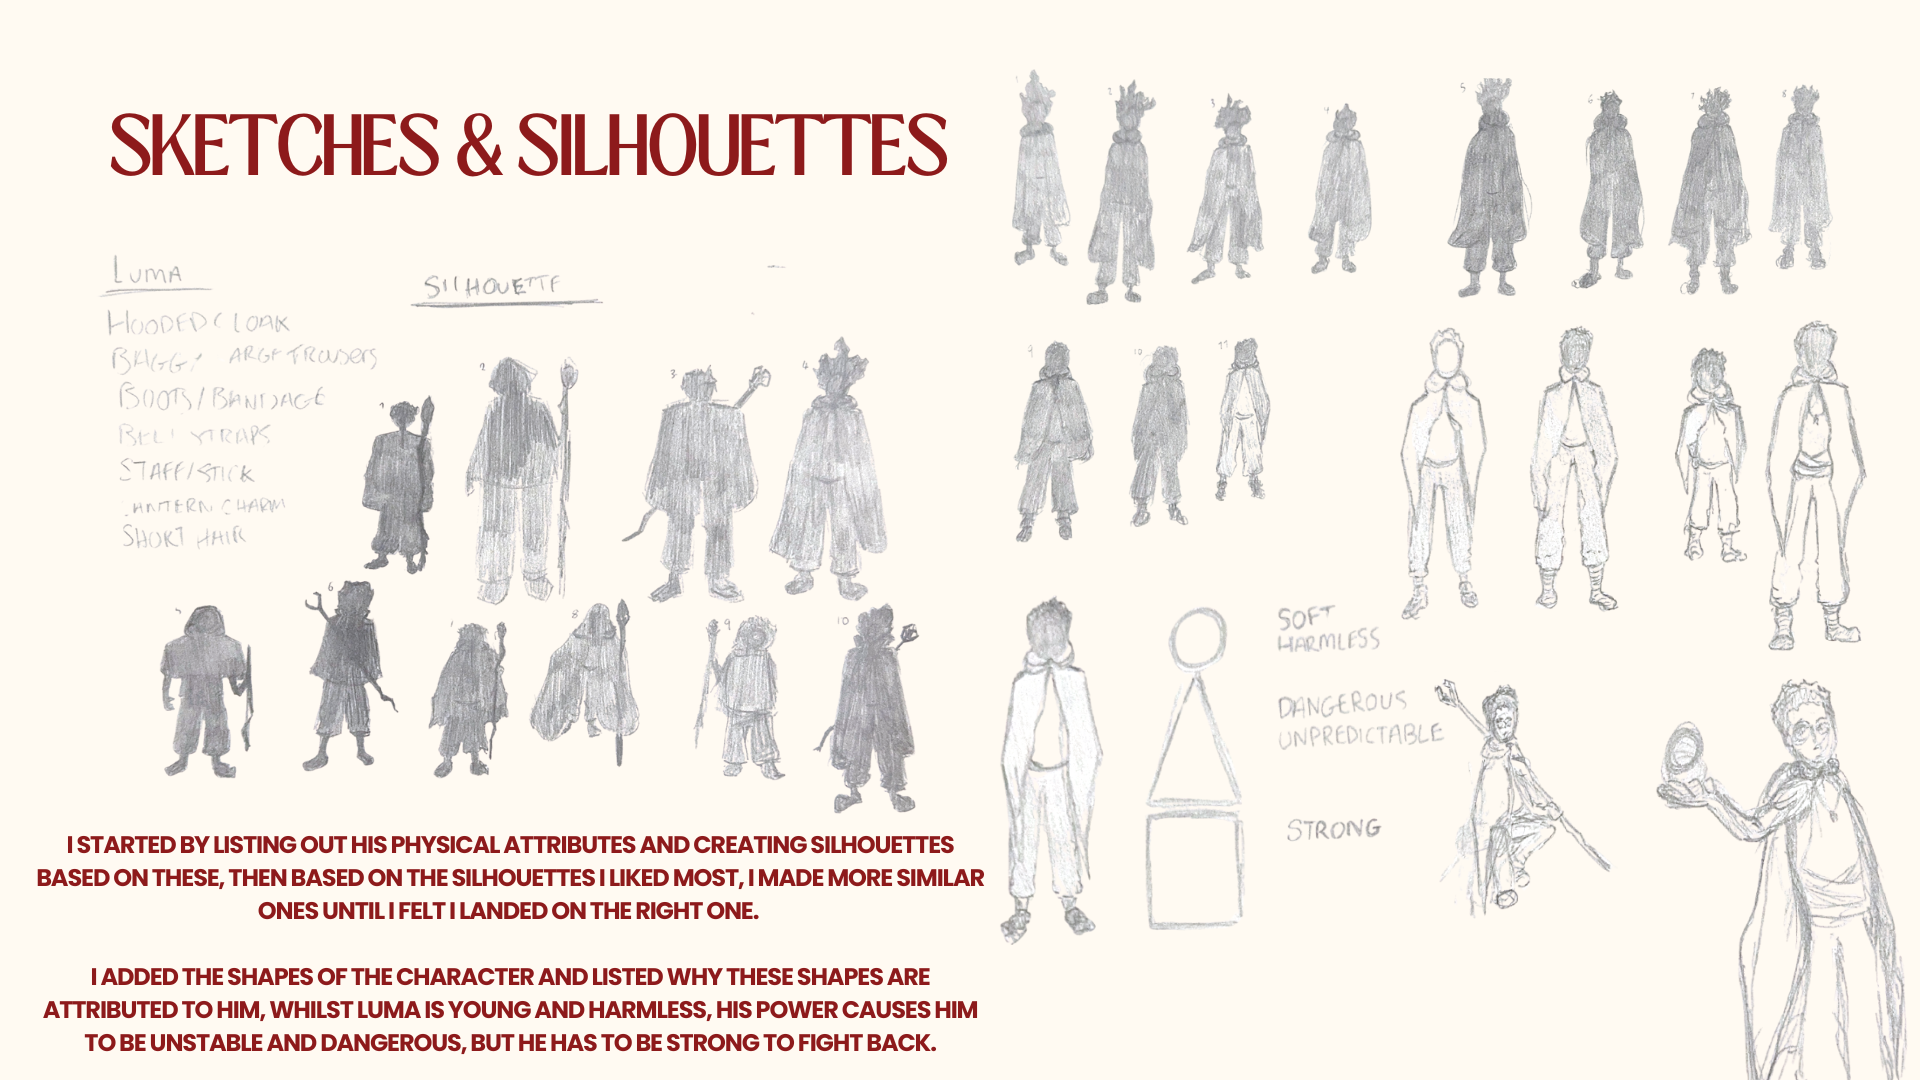
Developing our characters further from our Character Design Class Giusi tasked us to create presentations pitching our Characters ready for modelling



02 - 10 - 25
Z-BRUSH
Z-Brush was on the agenda today! Its a new software we are trying and boy oh boy is she tricky!
we started by learning the basics with Giusi and then we got some time to play around ourselves.
So I made some weird devilish Pingu..
We then were tasked to create a Teddy Bear with the tools we had just learnt, I didn't finished the bear, it was just missing the snout.
Z-Brush will definitely take some getting used to but this was a good way of learning how to use the software!
09 - 10 - 25
TOPOLOGY
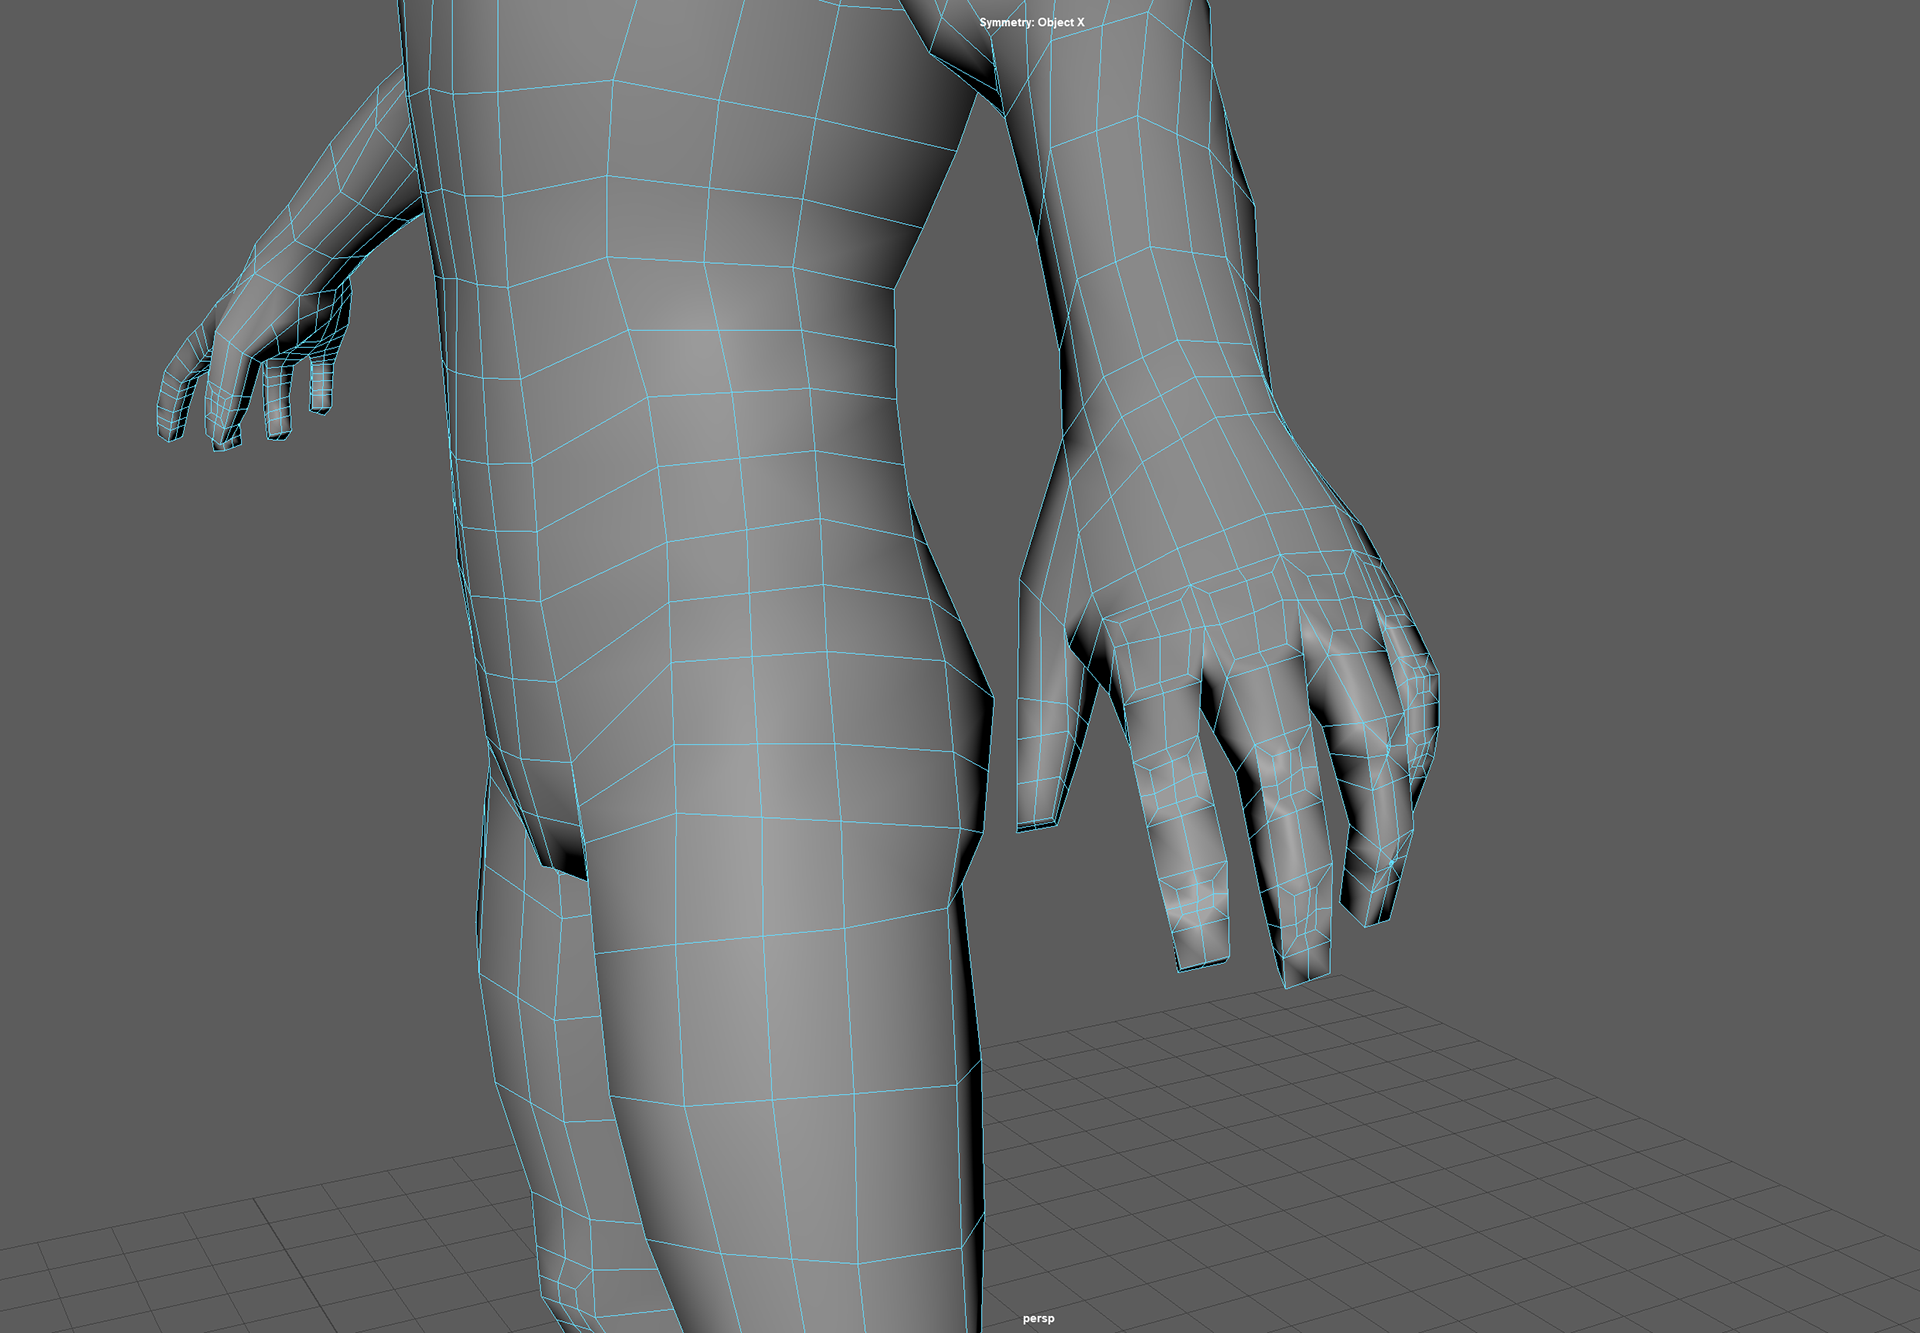
Lilya joined us today to show us how to Re-topologize a human body using Maya
We started with the Knees, I added edge loop cuts and selected a 2x2 area to make the knee, the elbow followed the same process.
The hands are a little bit more complex to explain, it was definitely a more technical process but somehow it went wrong so I will revisit this in the future.
I also added edge loop cuts to the body but I forgot to take process screenshots.
part of our self-directed is to continue working on the model and fully Re-topologize then adjust the body to fit our character more.




16 - 10 - 25
UV UNWRAPPING
After the retopology last week, we started to UV Unwrap the model.
I started by making cuts in areas around the clothing and body parts so that it can unwrap naturally.
I started by making cuts in areas around the clothing and body parts so that it can unwrap naturally.


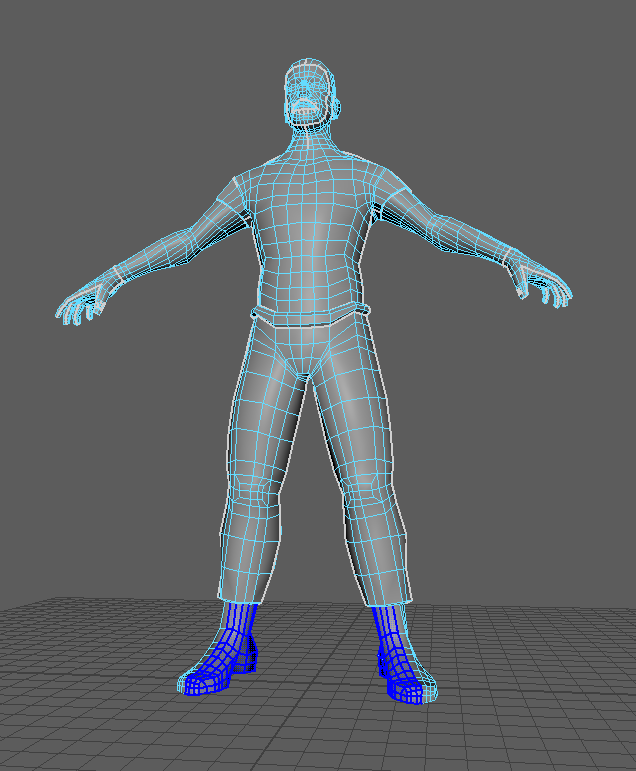


Although, I ran into some issues when unwrapping it, the bits highlighted said that it had non-manifold geometry and I honestly could not figure out how to fix it.
FIXED
I sat with Guisi and although we couldnt locate the root of the problem, we did find a solution. It is possible that the Non-Manifold geometry was hidden within the UV Editor itself and not on the model (not sure how that works)
The solution was simple, I reprojected the UV's and then had to make each respective cut again.
The solution was simple, I reprojected the UV's and then had to make each respective cut again.
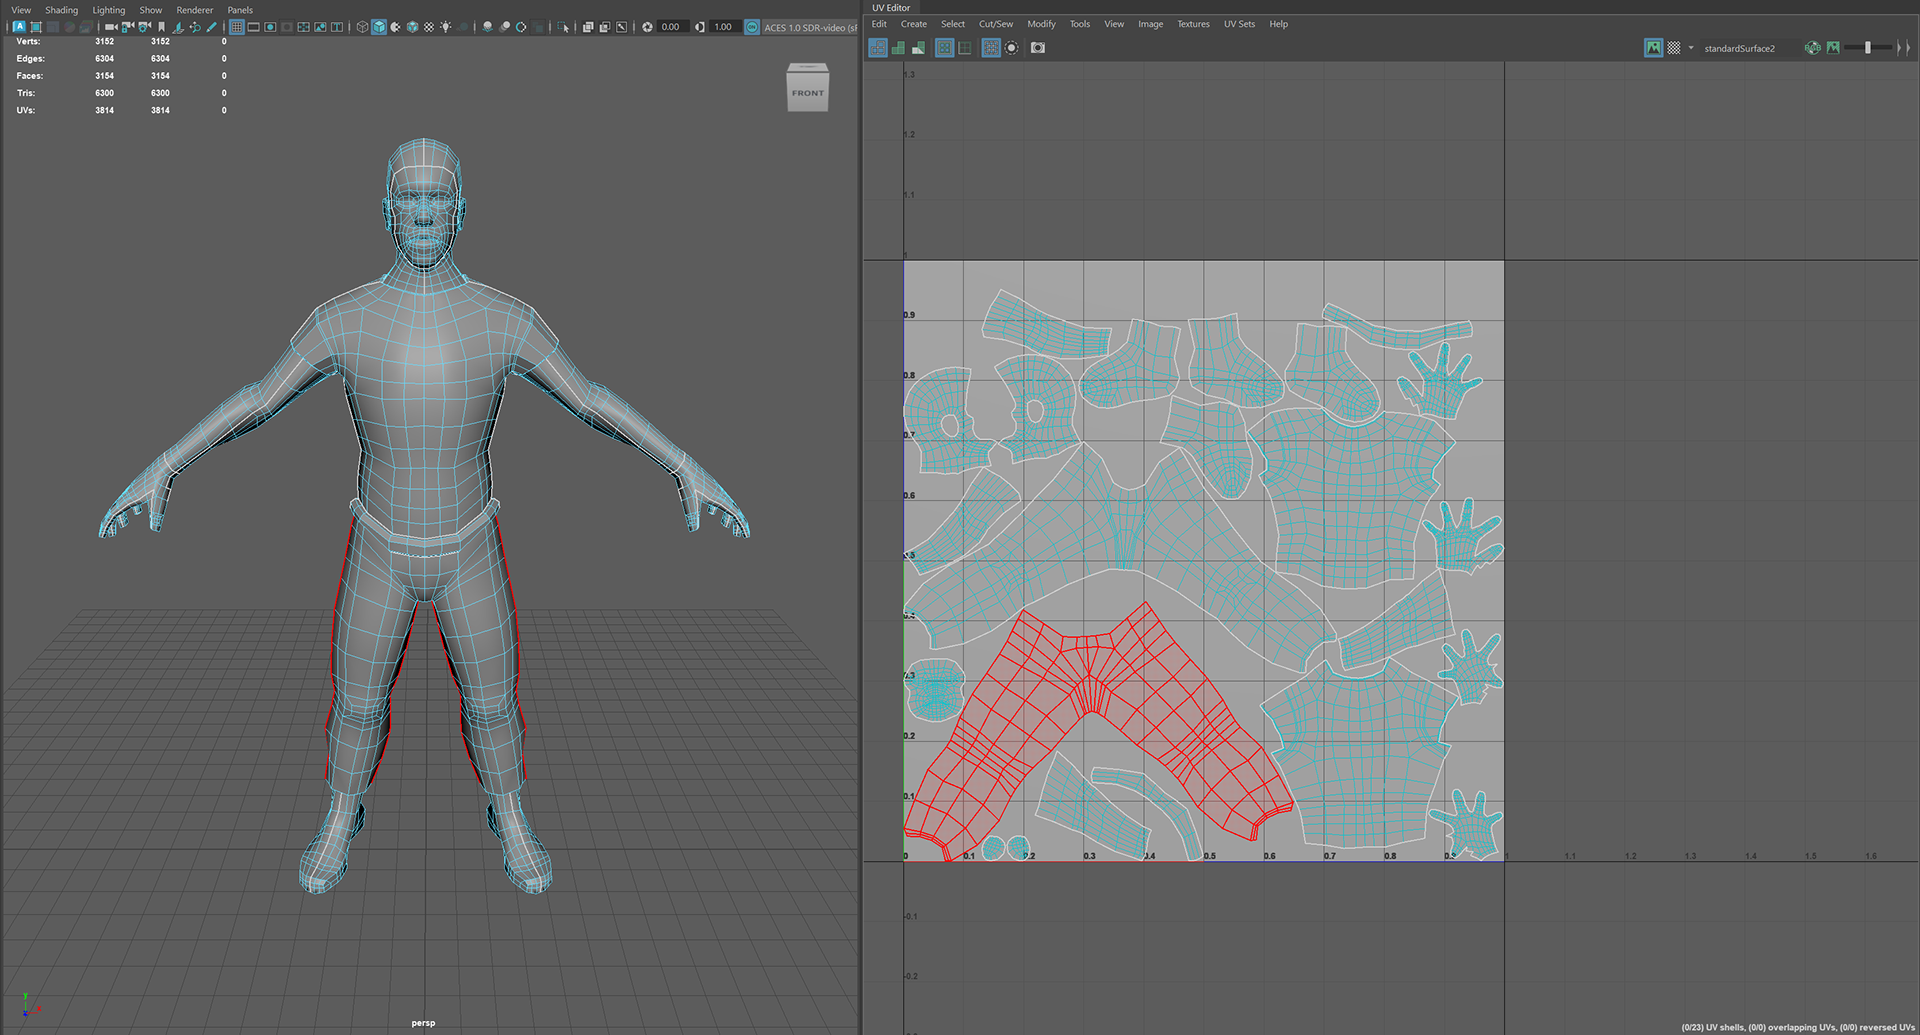
below is the final clean and optimized UV MAPS ready for sculpting in Z-Brush
23 - 10 - 25
LOW POLY TO HIGH POLY SCULPTING IN Z-BRUSH
Technical wise - I think I have faced a lot of challenges with this model but I have overcome them and made it work!
Aesthetically, I absolutely hate it, but I am not focusing on that. Its important for me to understand the technical elements so that I can apply it to any future and polished models I make.
Aesthetically, I absolutely hate it, but I am not focusing on that. Its important for me to understand the technical elements so that I can apply it to any future and polished models I make.
I imported the low poly into Z-Brush, subdivided it once, exported it as an FBX and then re-imported it into Z-Brush, adding a few more subdivisions so I could sculpt nicely and clean.
I used the DimStandard tool, Move, grab and Clay buildup to achieve this. I also smoothed certain areas and added movement to the clothes, but forgot to take screenshots.
I used the DimStandard tool, Move, grab and Clay buildup to achieve this. I also smoothed certain areas and added movement to the clothes, but forgot to take screenshots.


06 - 11 - 25
SUBSTANCE PAINTER
As my model wasn't ready, I used Lilya's character to do this workshop; it was fairly straightforward.
We started by baking the high poly onto the low poly model and then I applied textures on using the polygon fill tool and a black mask to single out specific areas of the model. This made the process quite simple and easy so I felt I could comfortably do this with my own model.
We started by baking the high poly onto the low poly model and then I applied textures on using the polygon fill tool and a black mask to single out specific areas of the model. This made the process quite simple and easy so I felt I could comfortably do this with my own model.
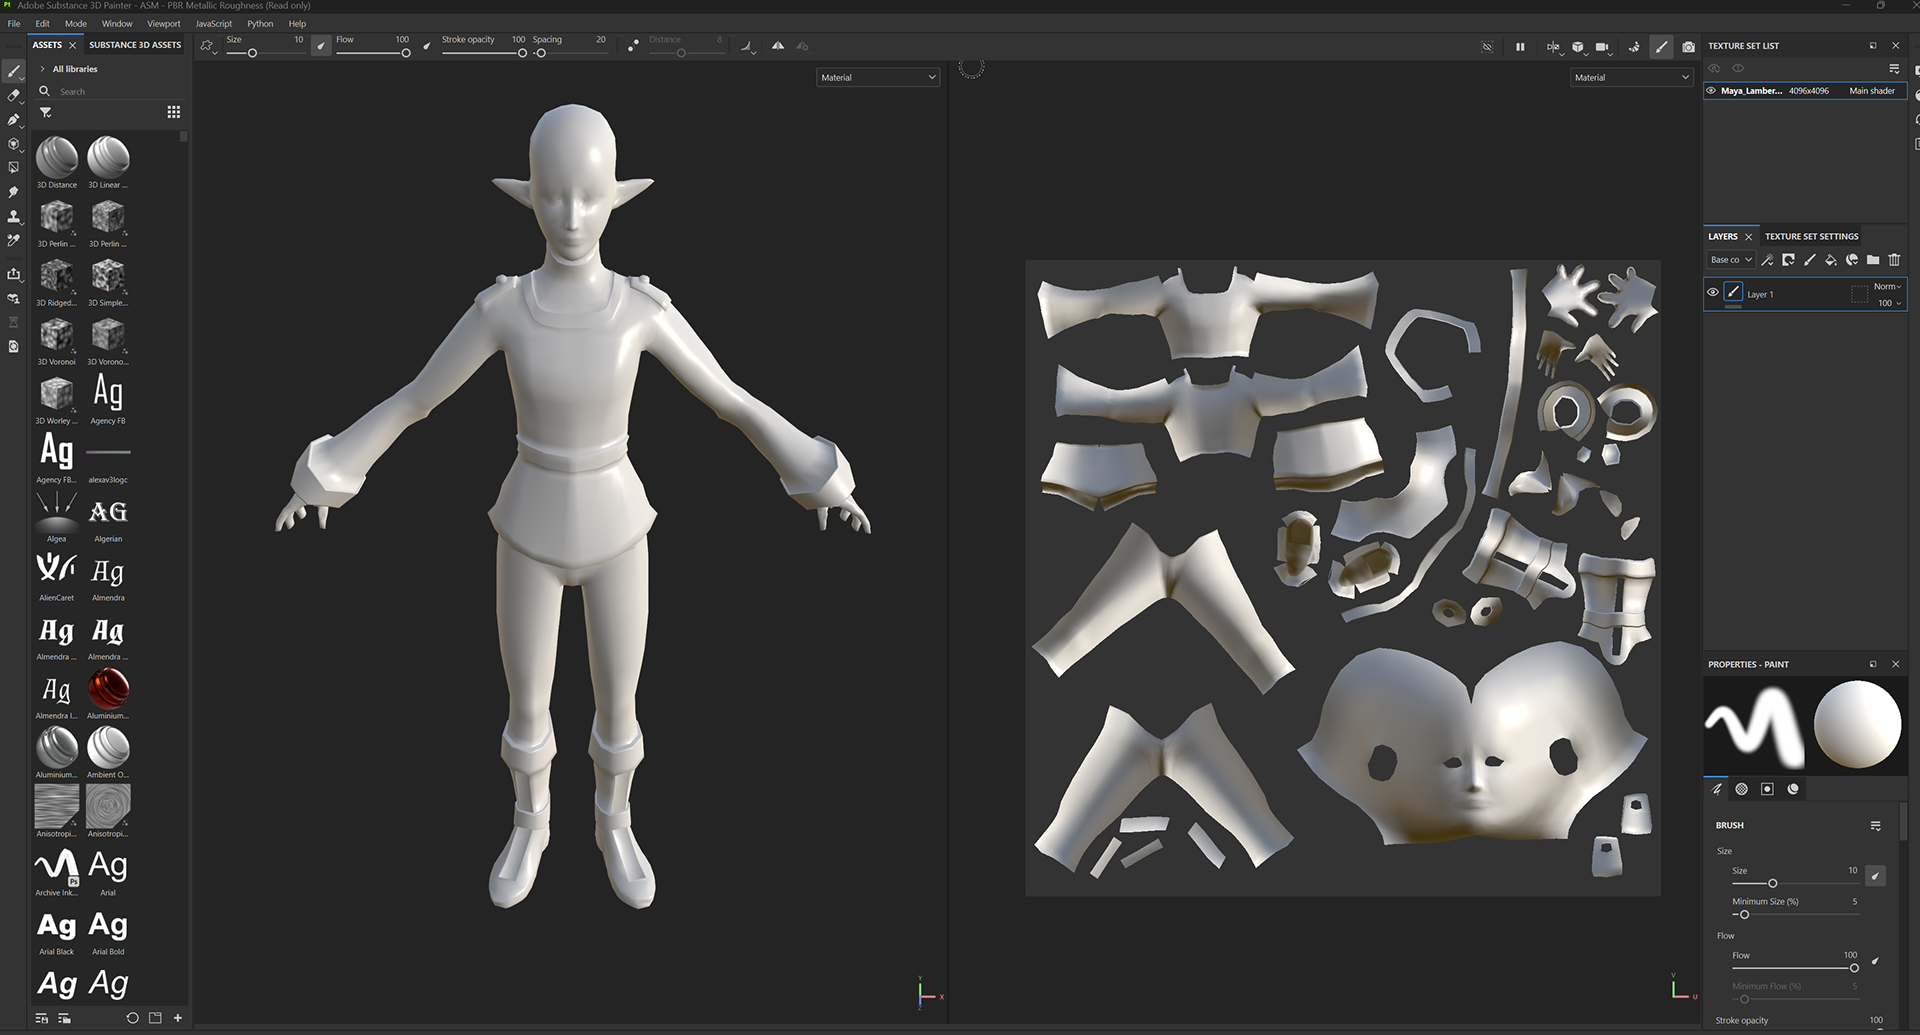


I applied the same skills to my model, and in the final picture is the textured character, of course, without hair!

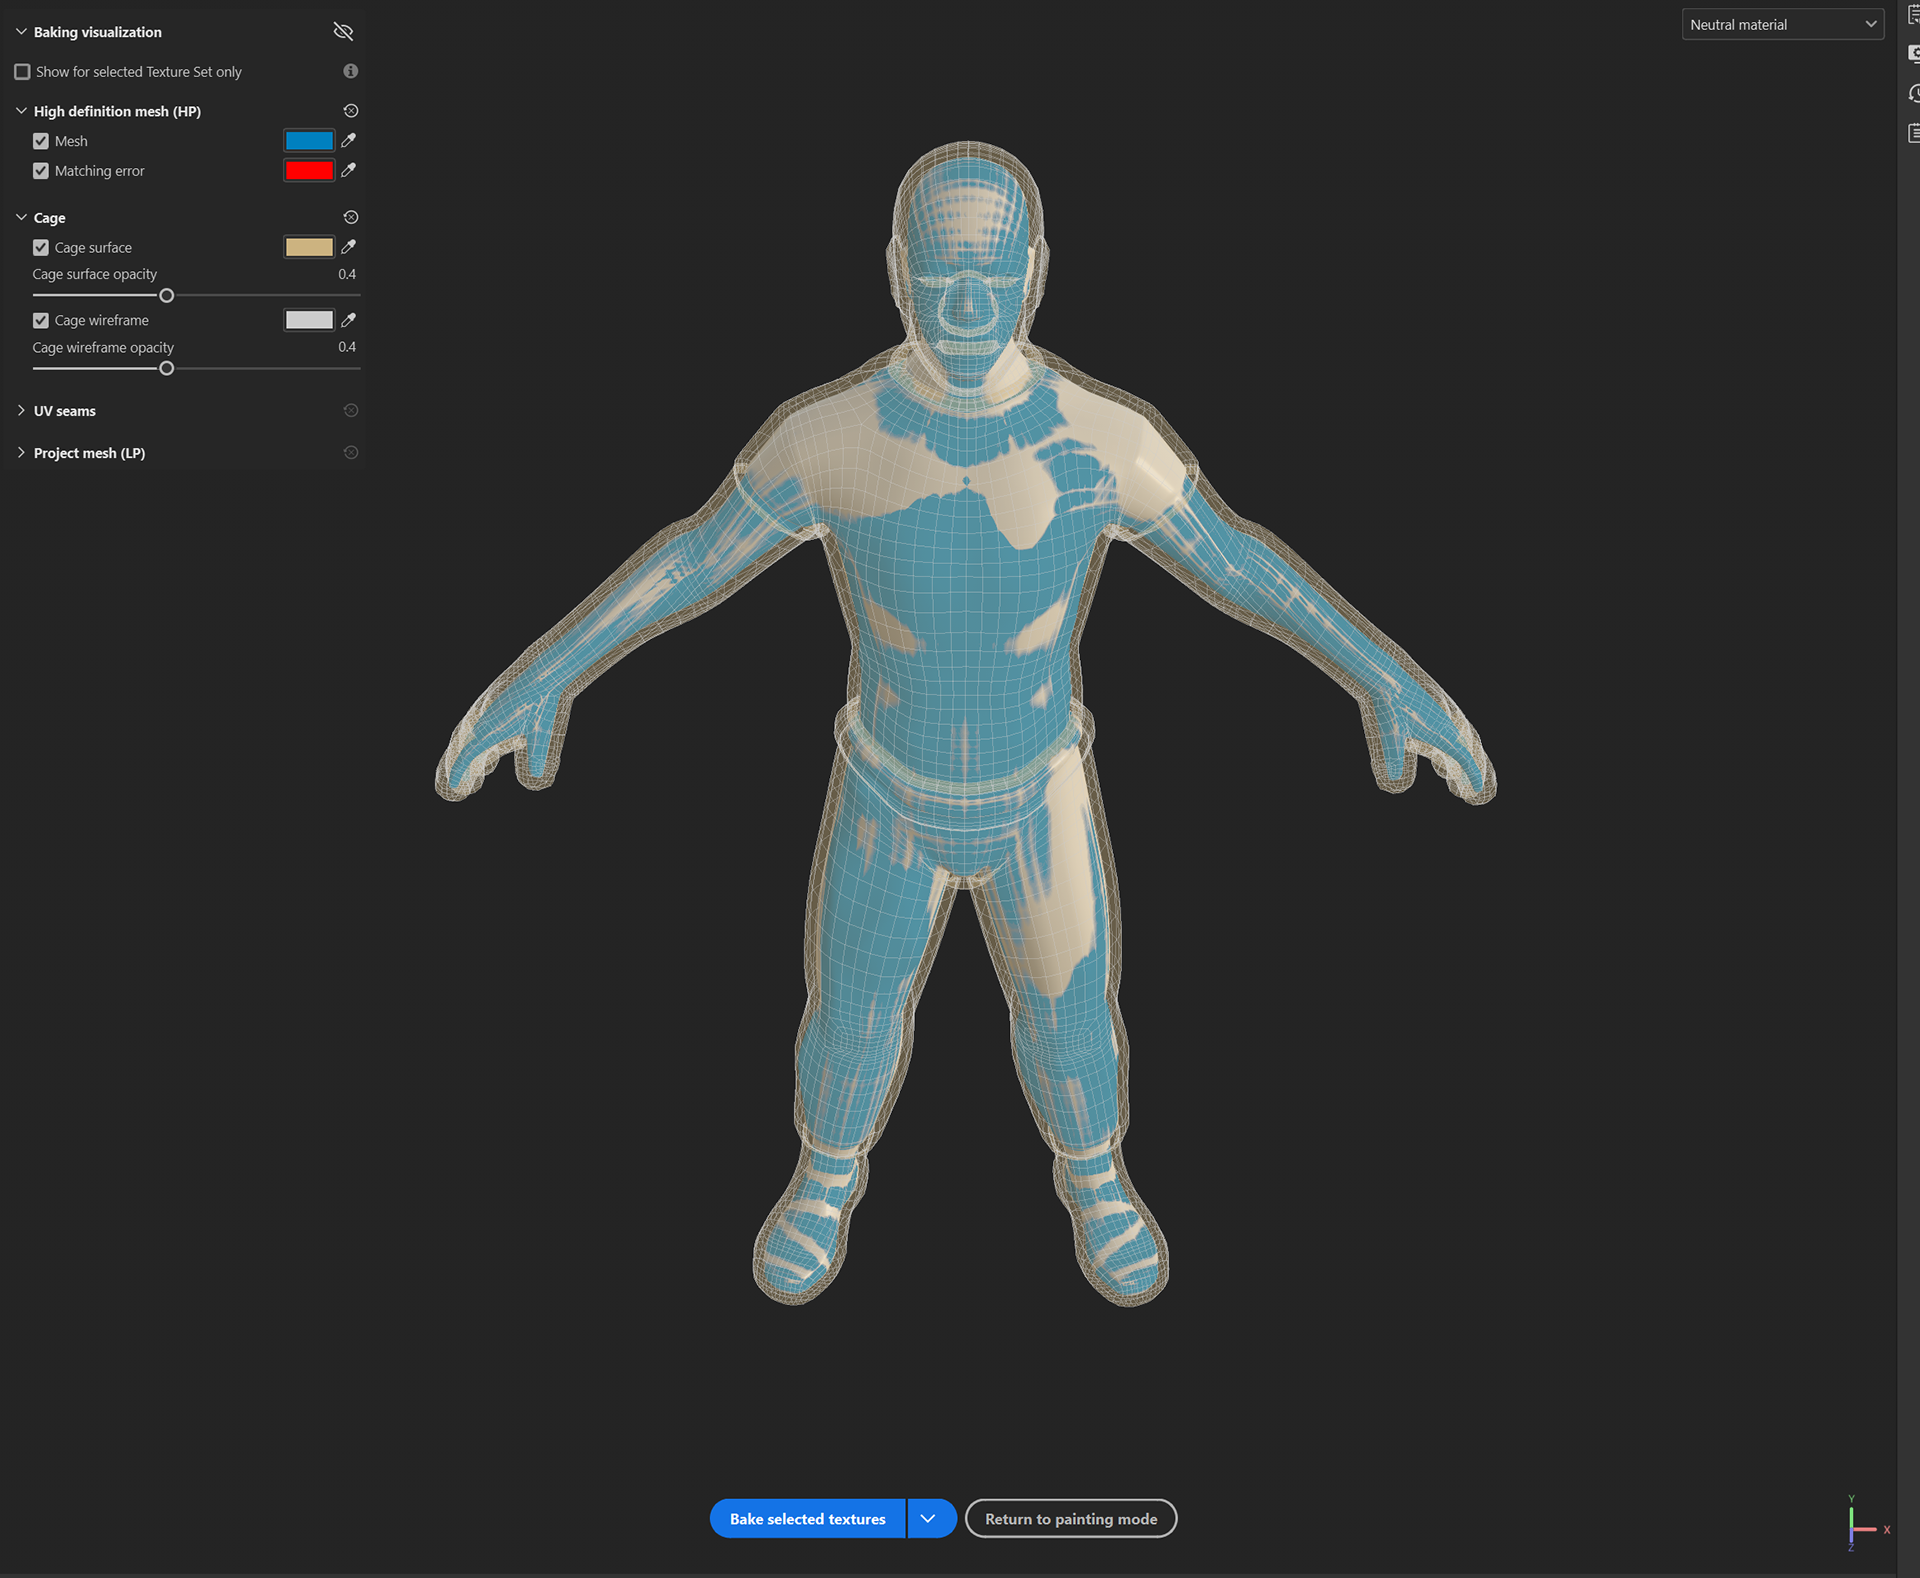
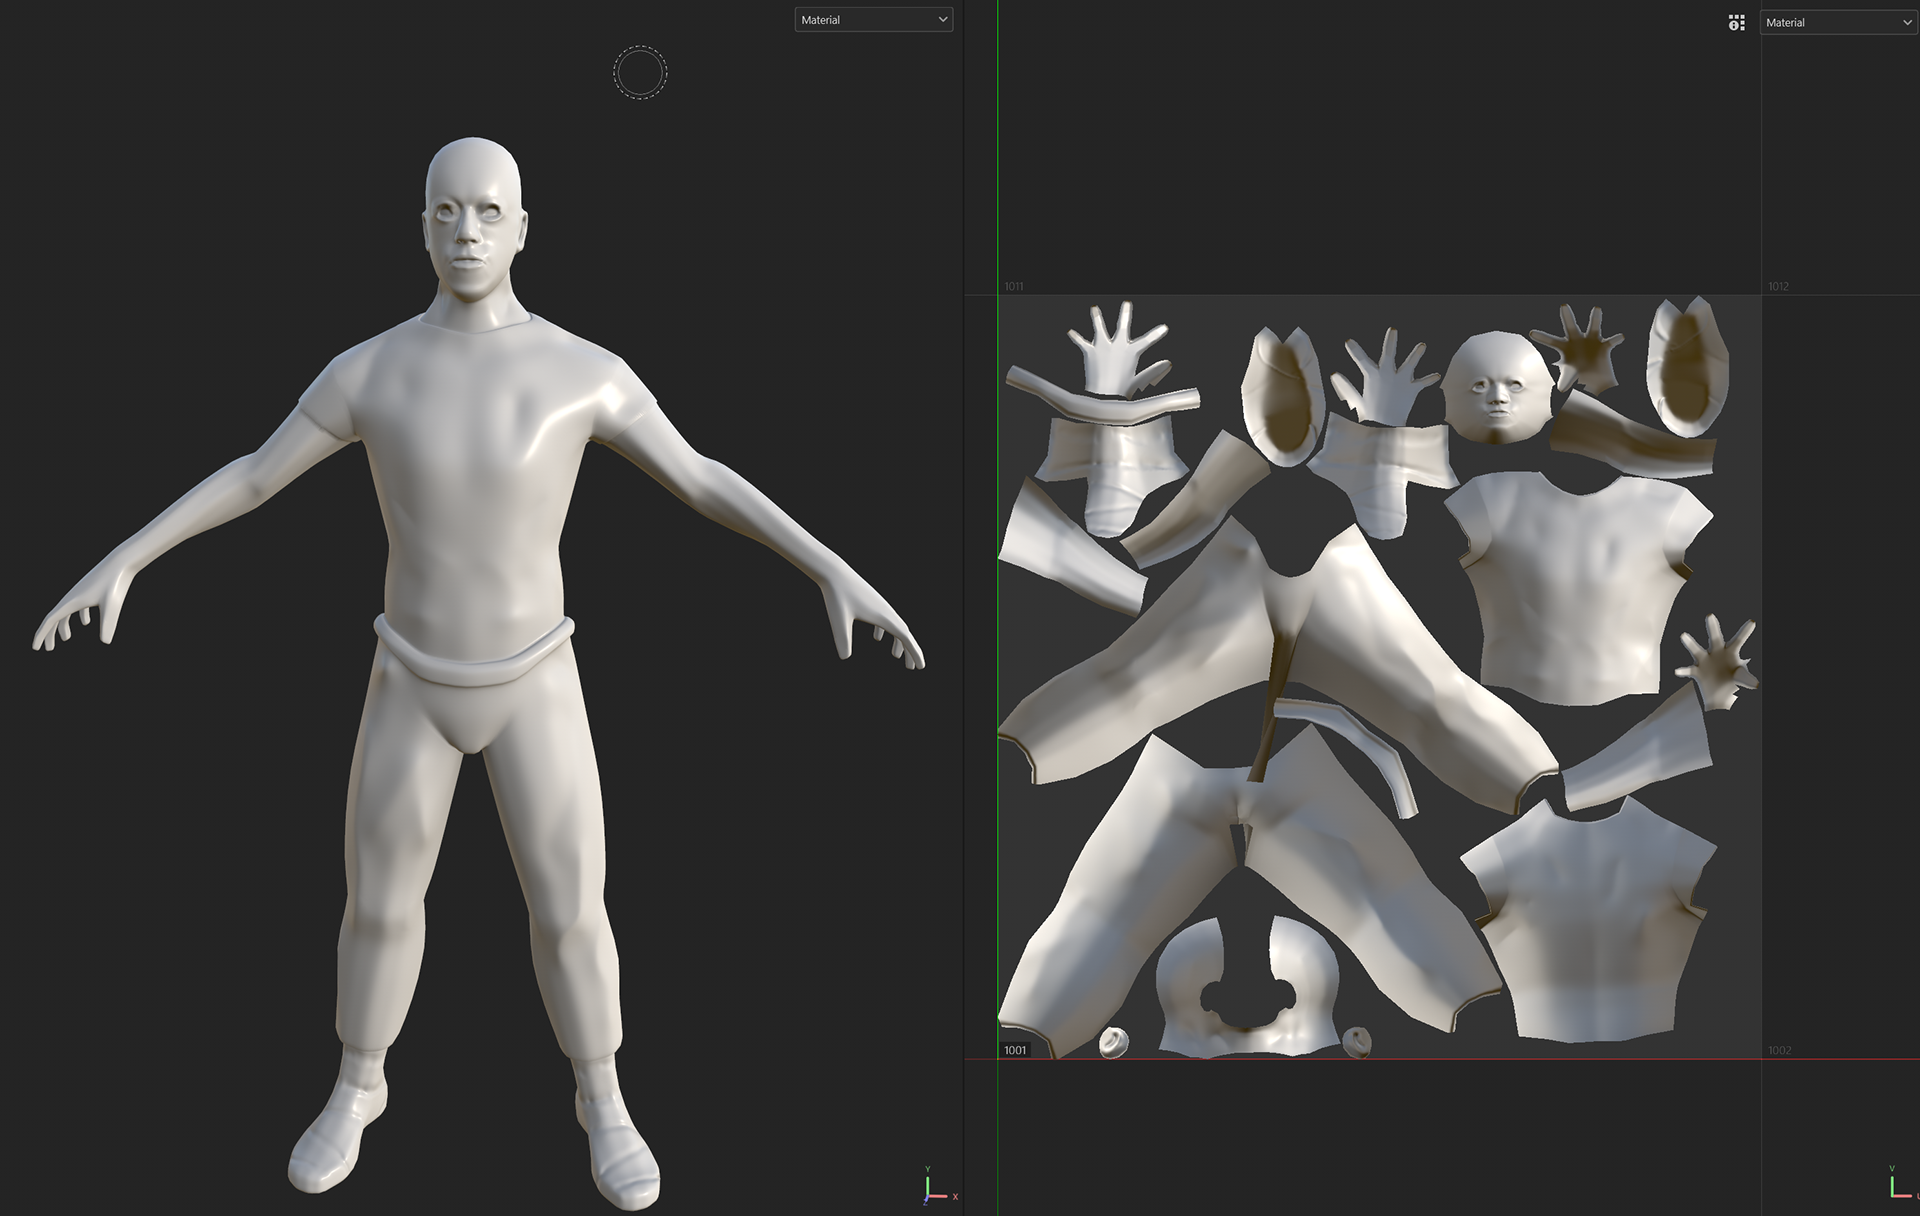

(WEEK NINE EDITS)
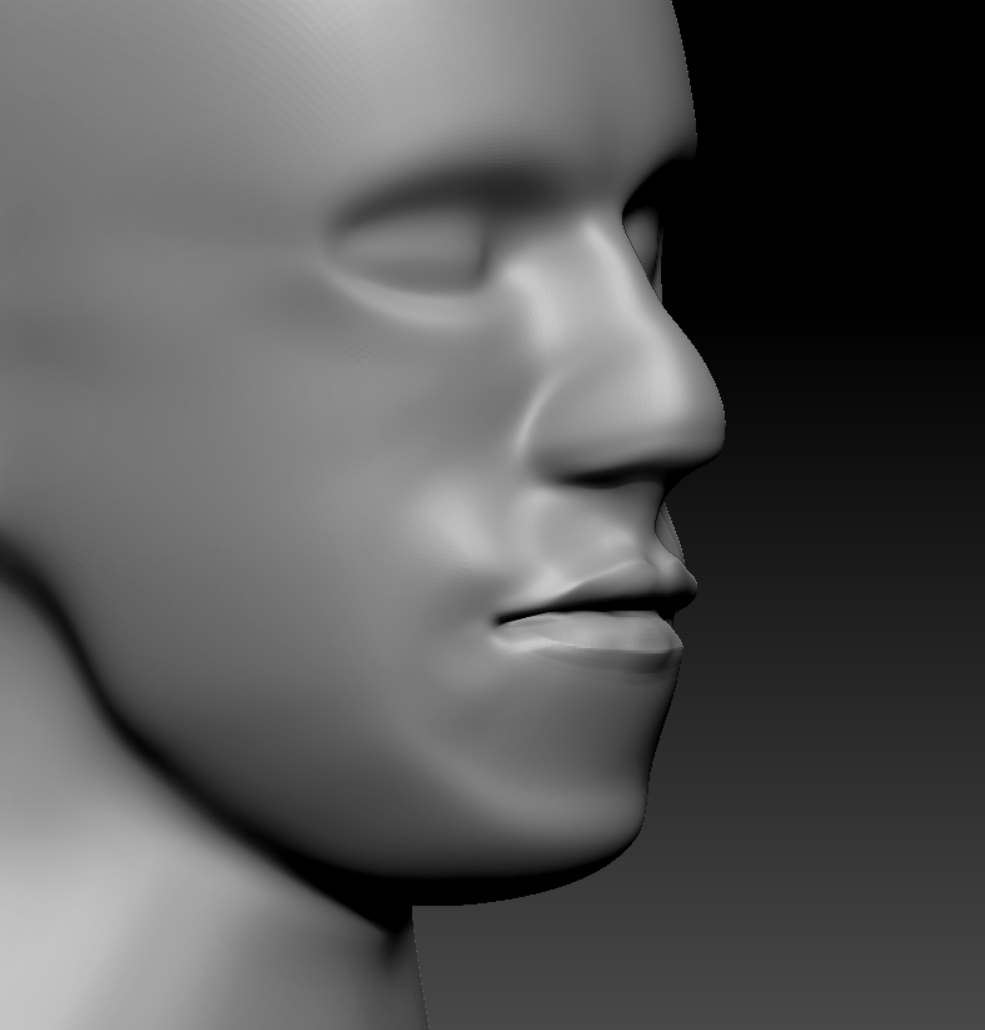
After reviewing with Guisi, we both decided that my standard of work was not good and could definitely be better. I revisited the high-poly sculpting stage and refined the sculpt further.
I sculpted the lips, changed and defined the nose and ears, and then I added details to the clothes, it wasnt anything crazy but creases to insinuate movement.



FIBERSHOP & HAIR
13 - 11 - 25
To be honest with you, I thought this process of making hair was quite tedious and unnecessary - I think the characters I had in mind would be stylised and not realistic, so this method wouldn't really apply to it.
I will revisit the hair for my model as a sculpt.


