
INT- ROOM 905 21 - 01 - 25
After a long winter slumber, we finally returned to our nothing-but-blissful paradise, classroom 905, which is where we were introduced to our new workload over the next 12 weeks. In week one, our focus was on research pages, something I wasn't particularly confident about last semester and still am not entirely confident about now, but sometimes, you just have to get on with it.
So I did (after 20 minutes of staring hopelessly into space).
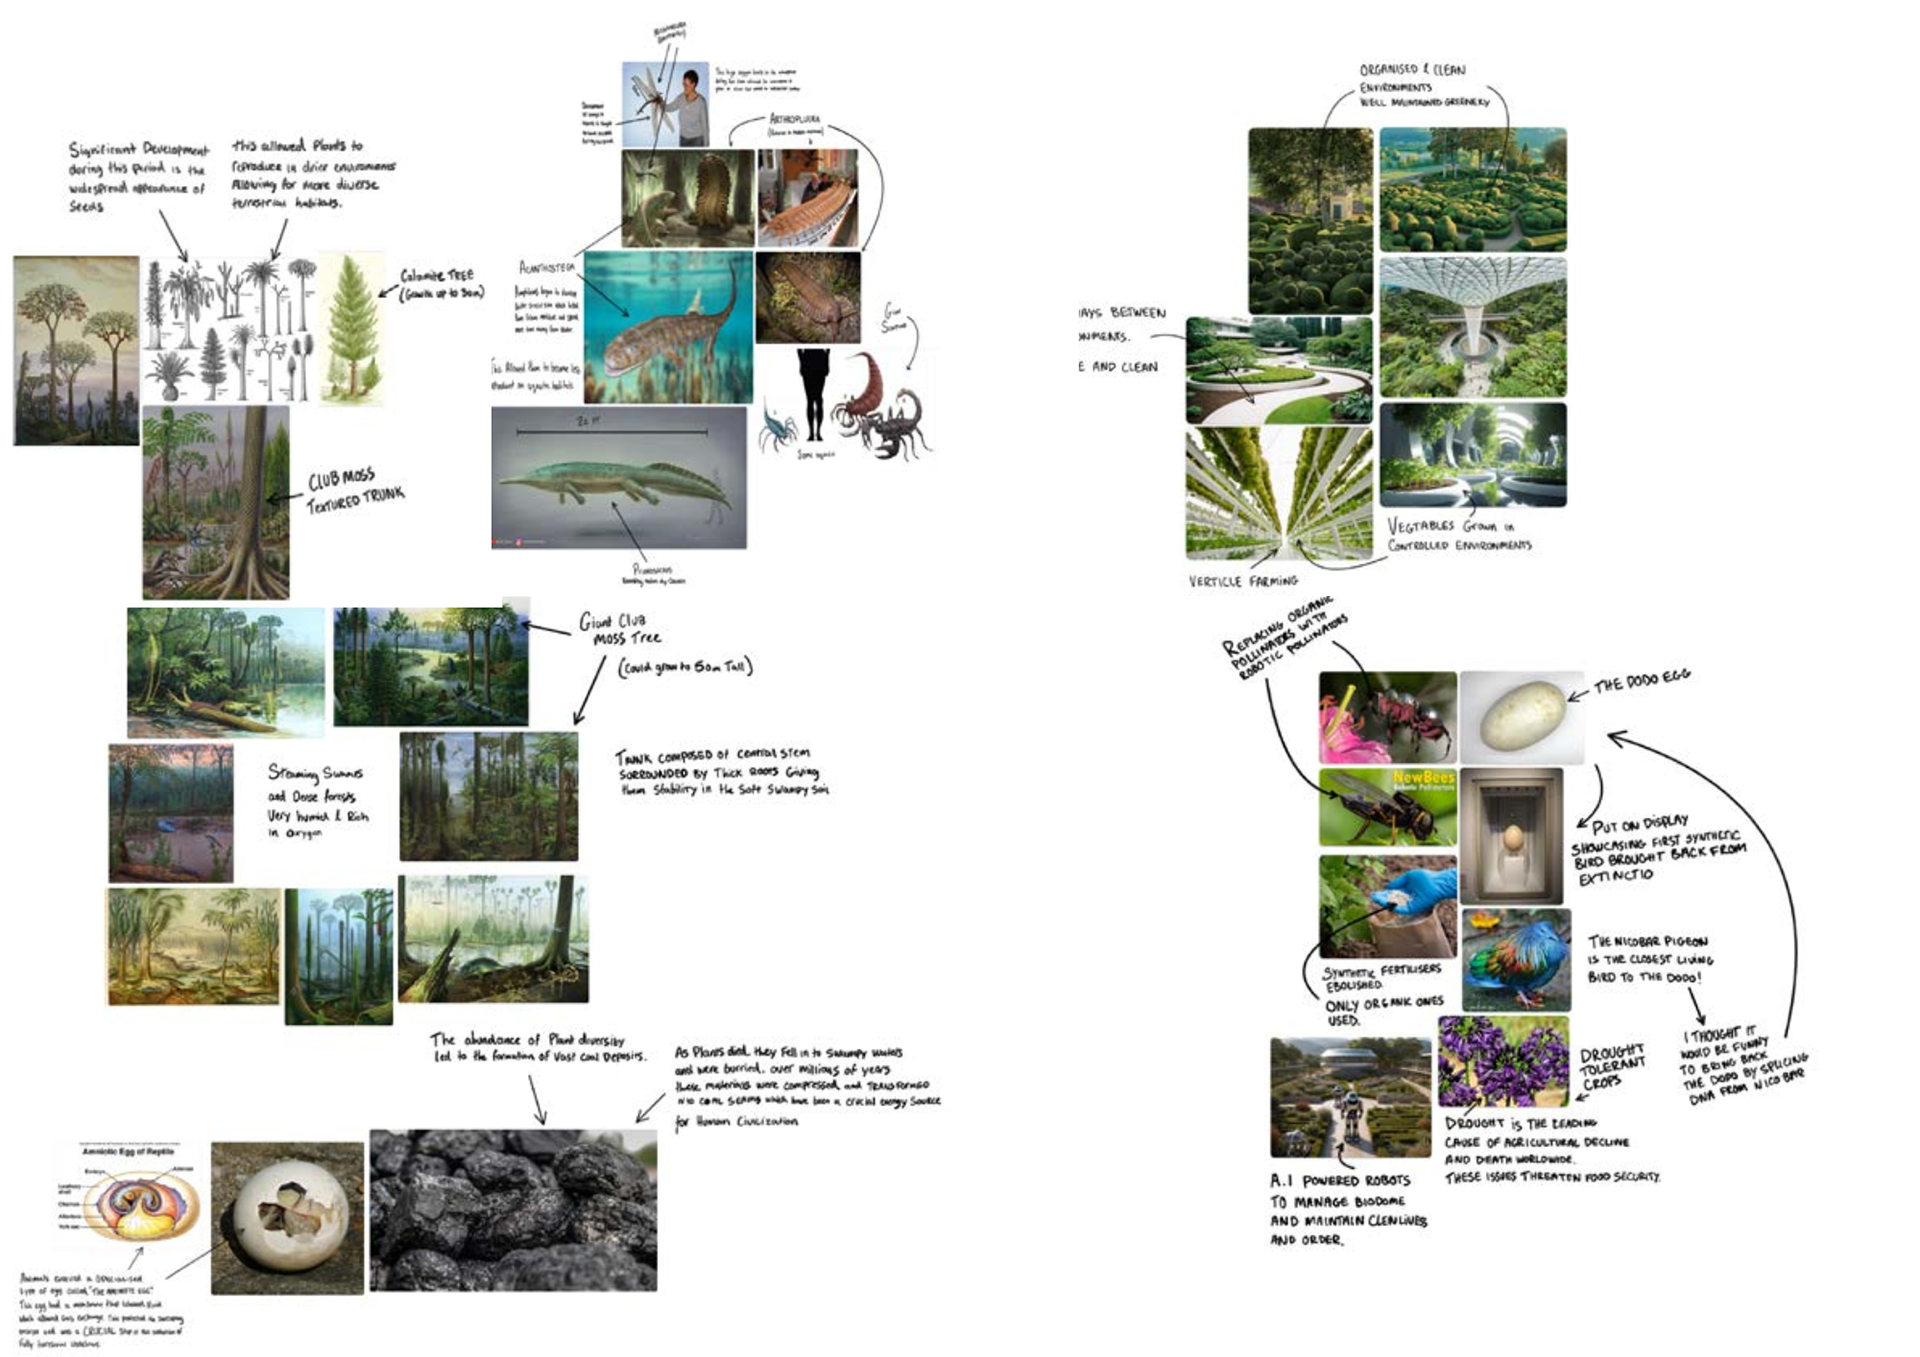
Our brief for this module was to create and design 3 Biodomes, each with a unique environment and a strong narrative binding them all. During our workshop, we put together active research pages.

I put my headphones on and enjoyed this task once I started to get into the flow.
I thought more about which direction I wanted my biodome narrative to go in, and I also struggled a lot during this period. Still, after a little while, I thought about time travel, which then led me to think about exhibitions within the biodomes, showcasing the journey through time.
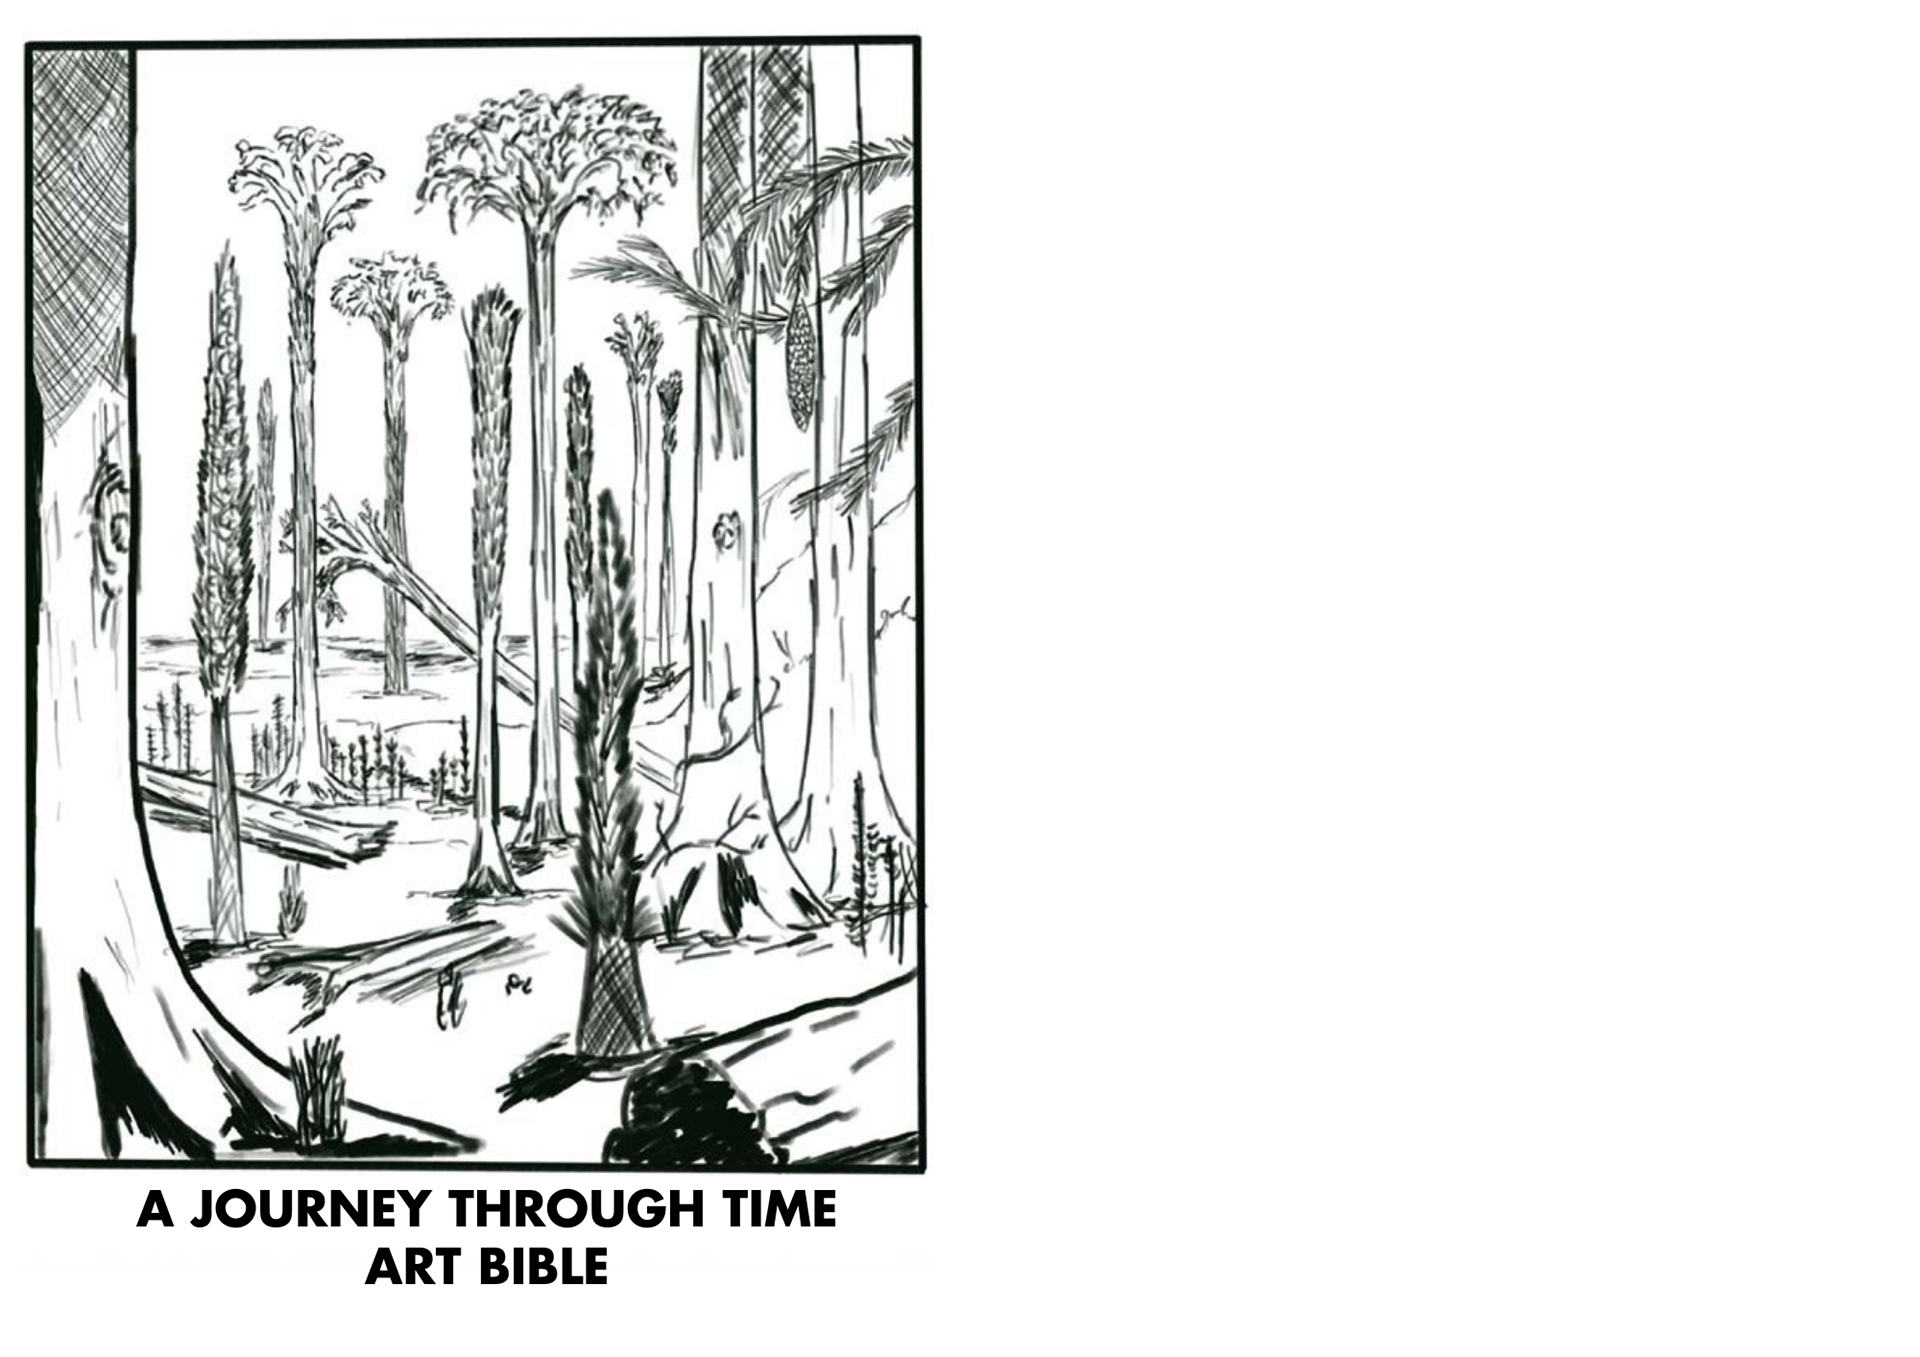
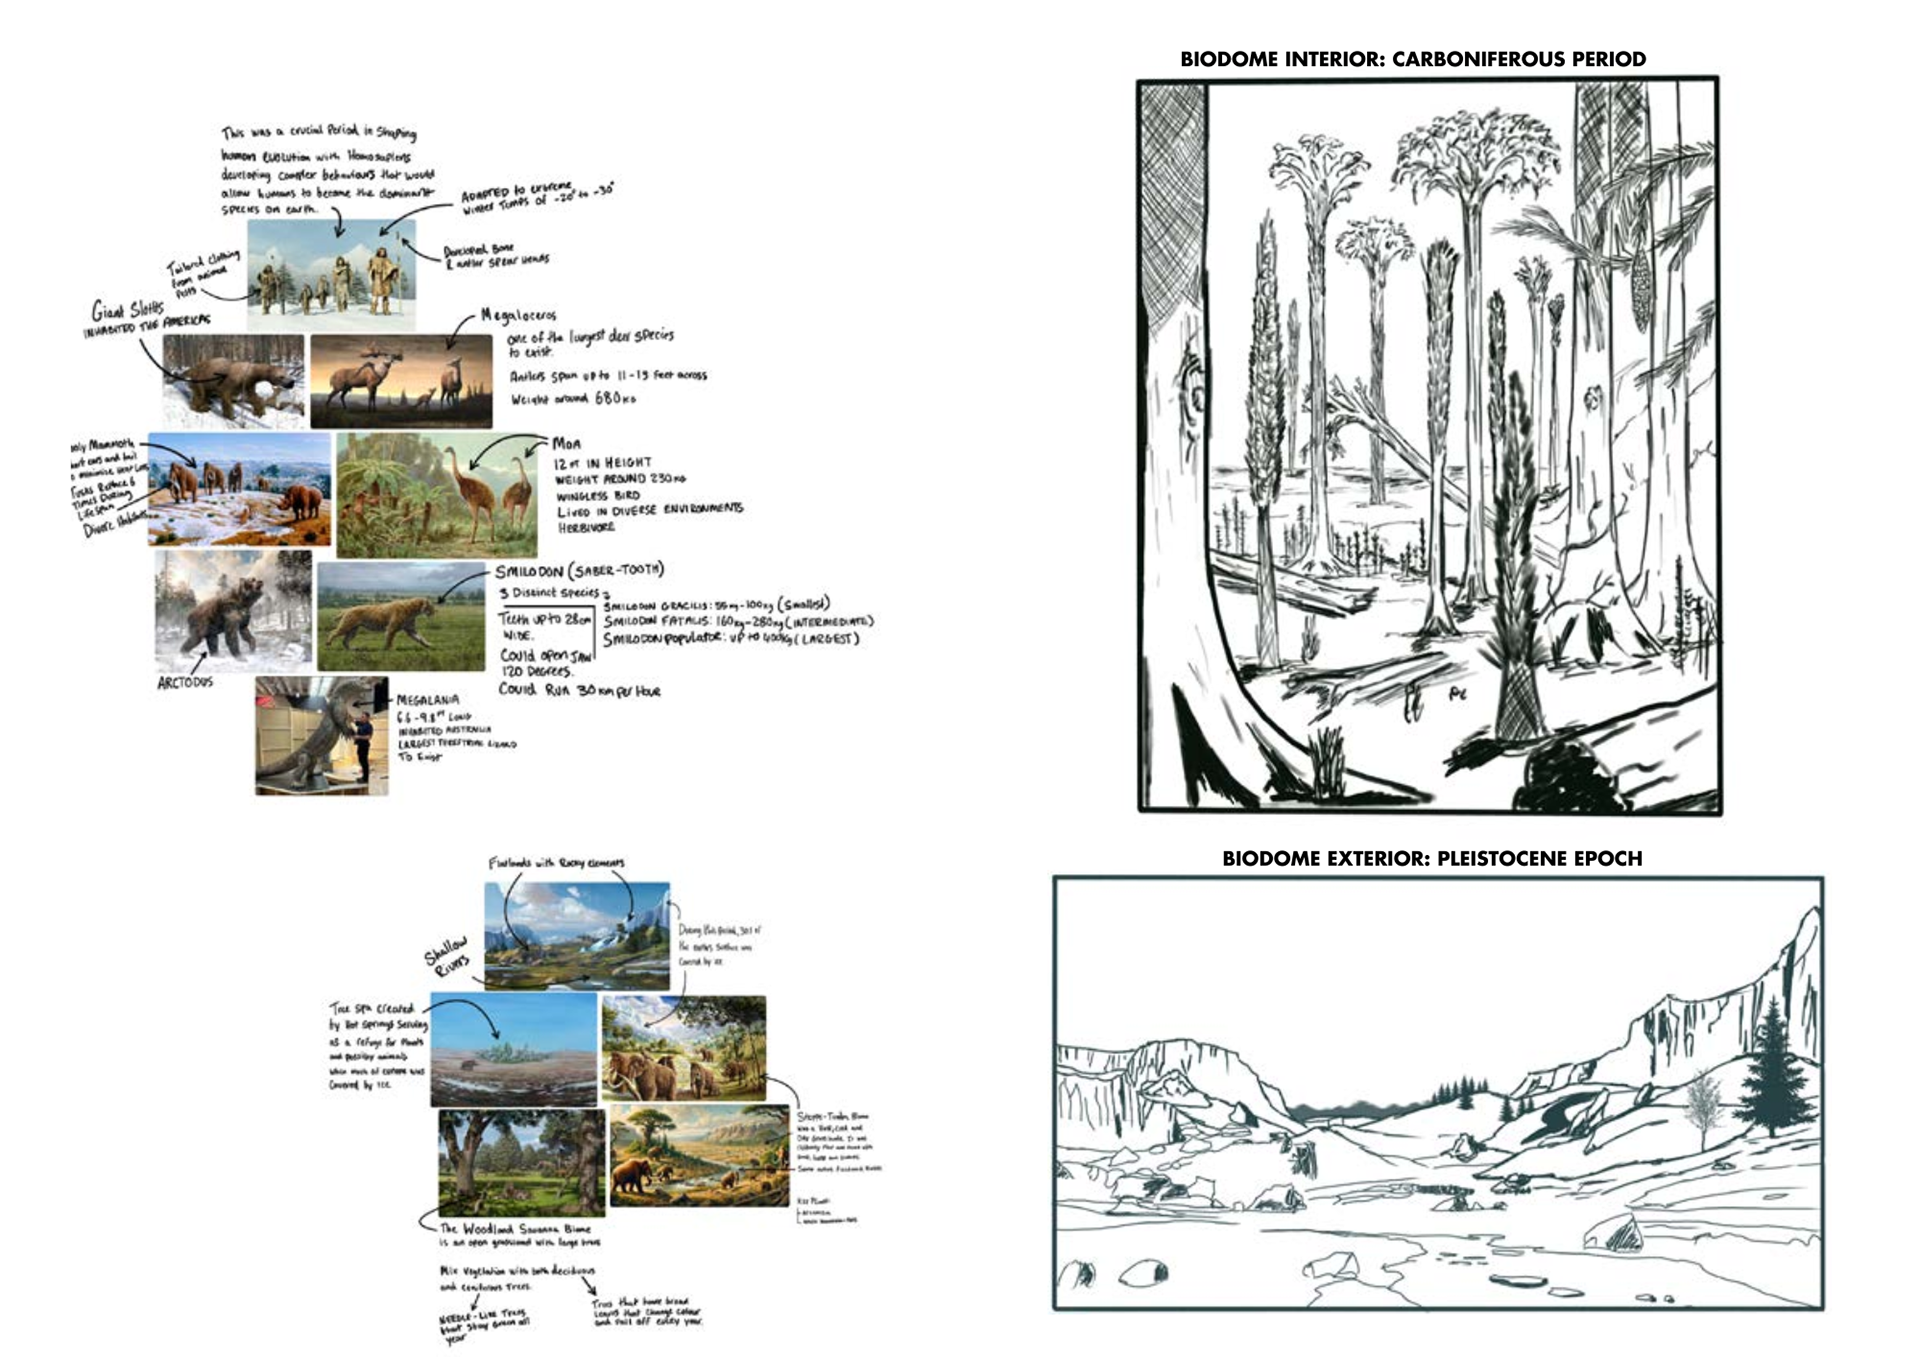
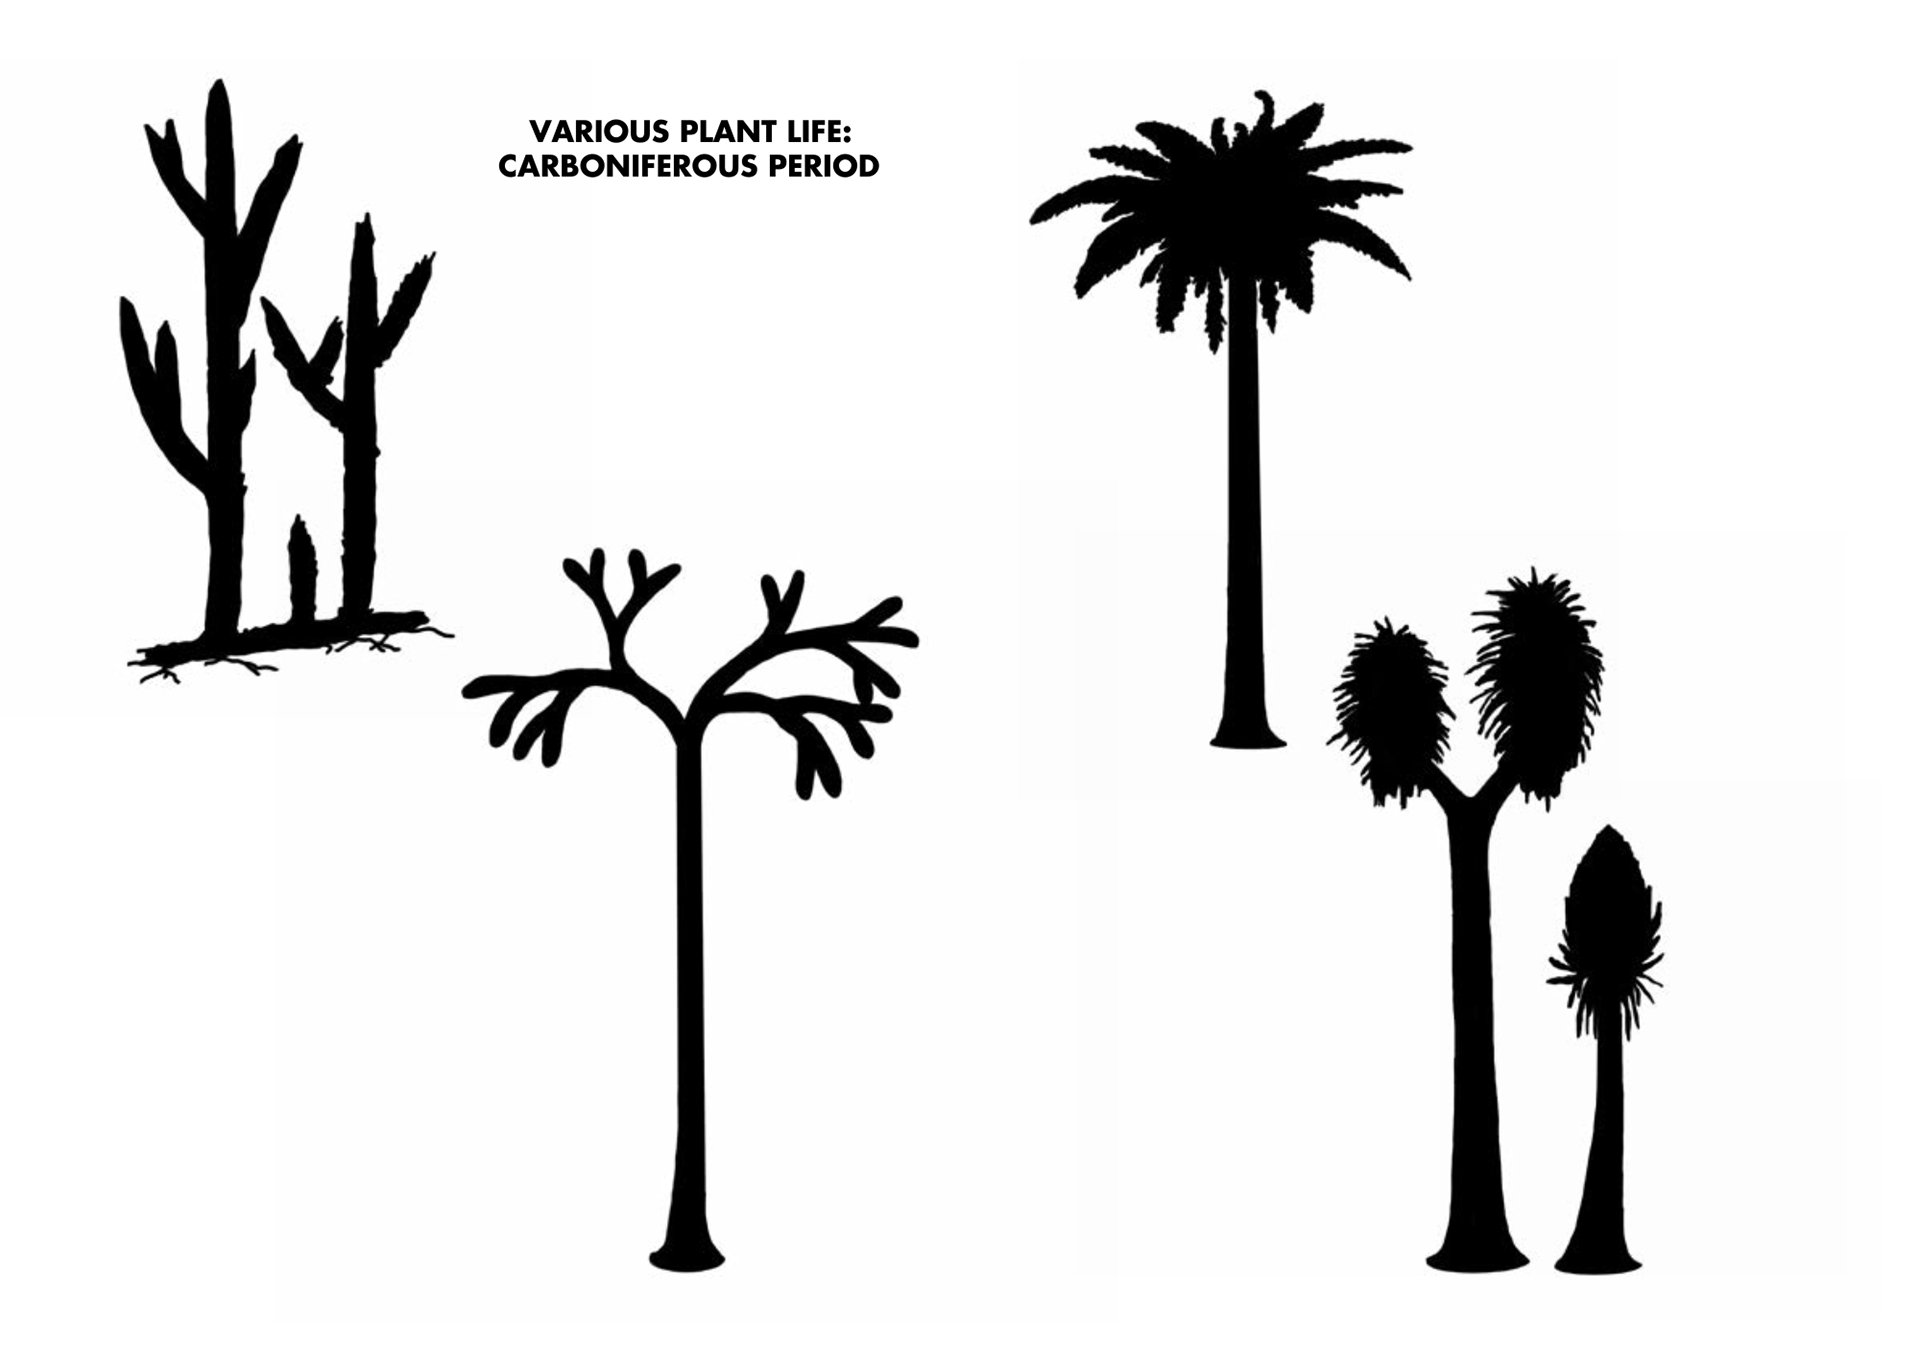
BIODOME ONE: THE CARBONIFEROUS PERIOD

More biodome's to come :)


INT- ROOM 905 28 - 01 - 25
We kicked off week two with art sheets taught by none other than Gianna!
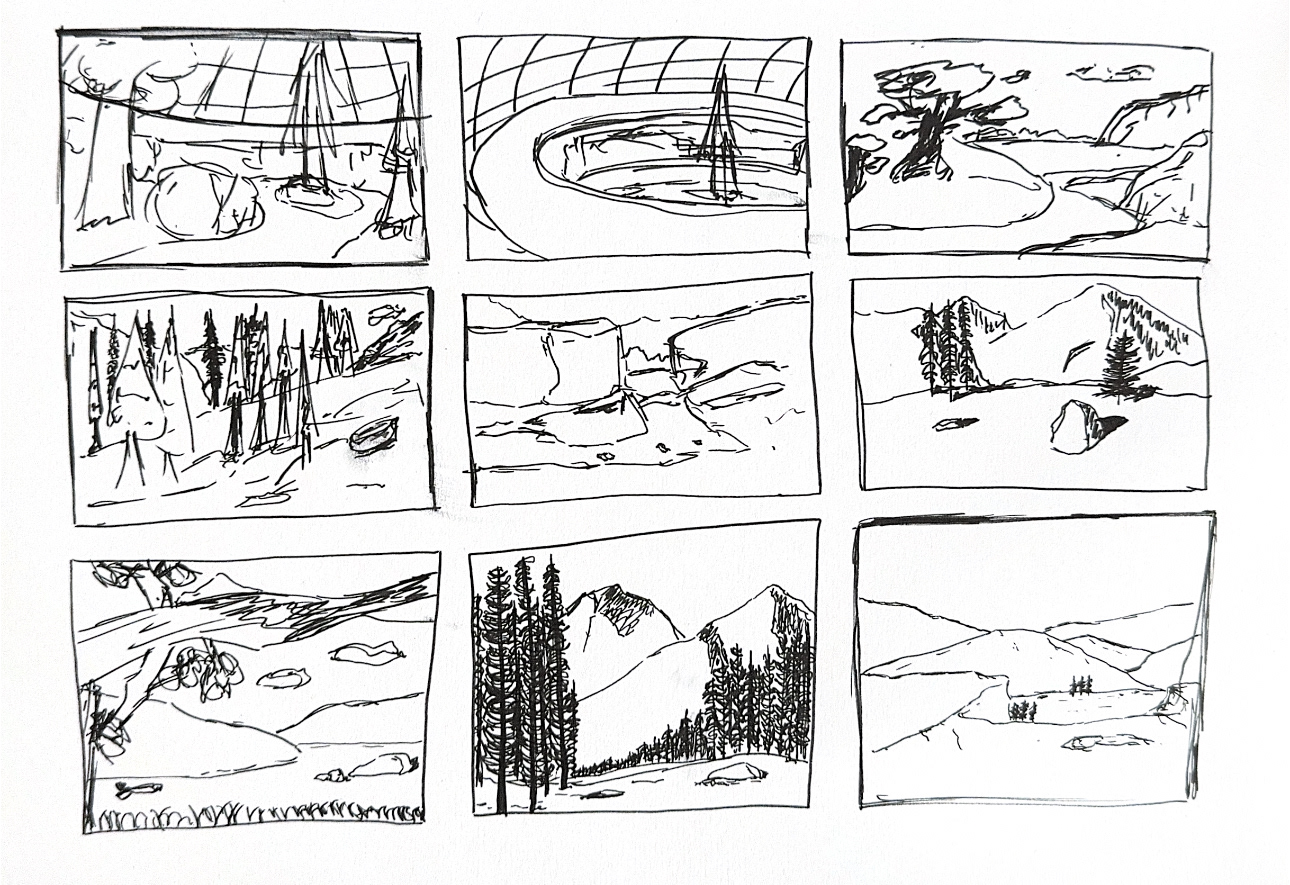
Our focus was on Assets & Thumbnailing in particular.
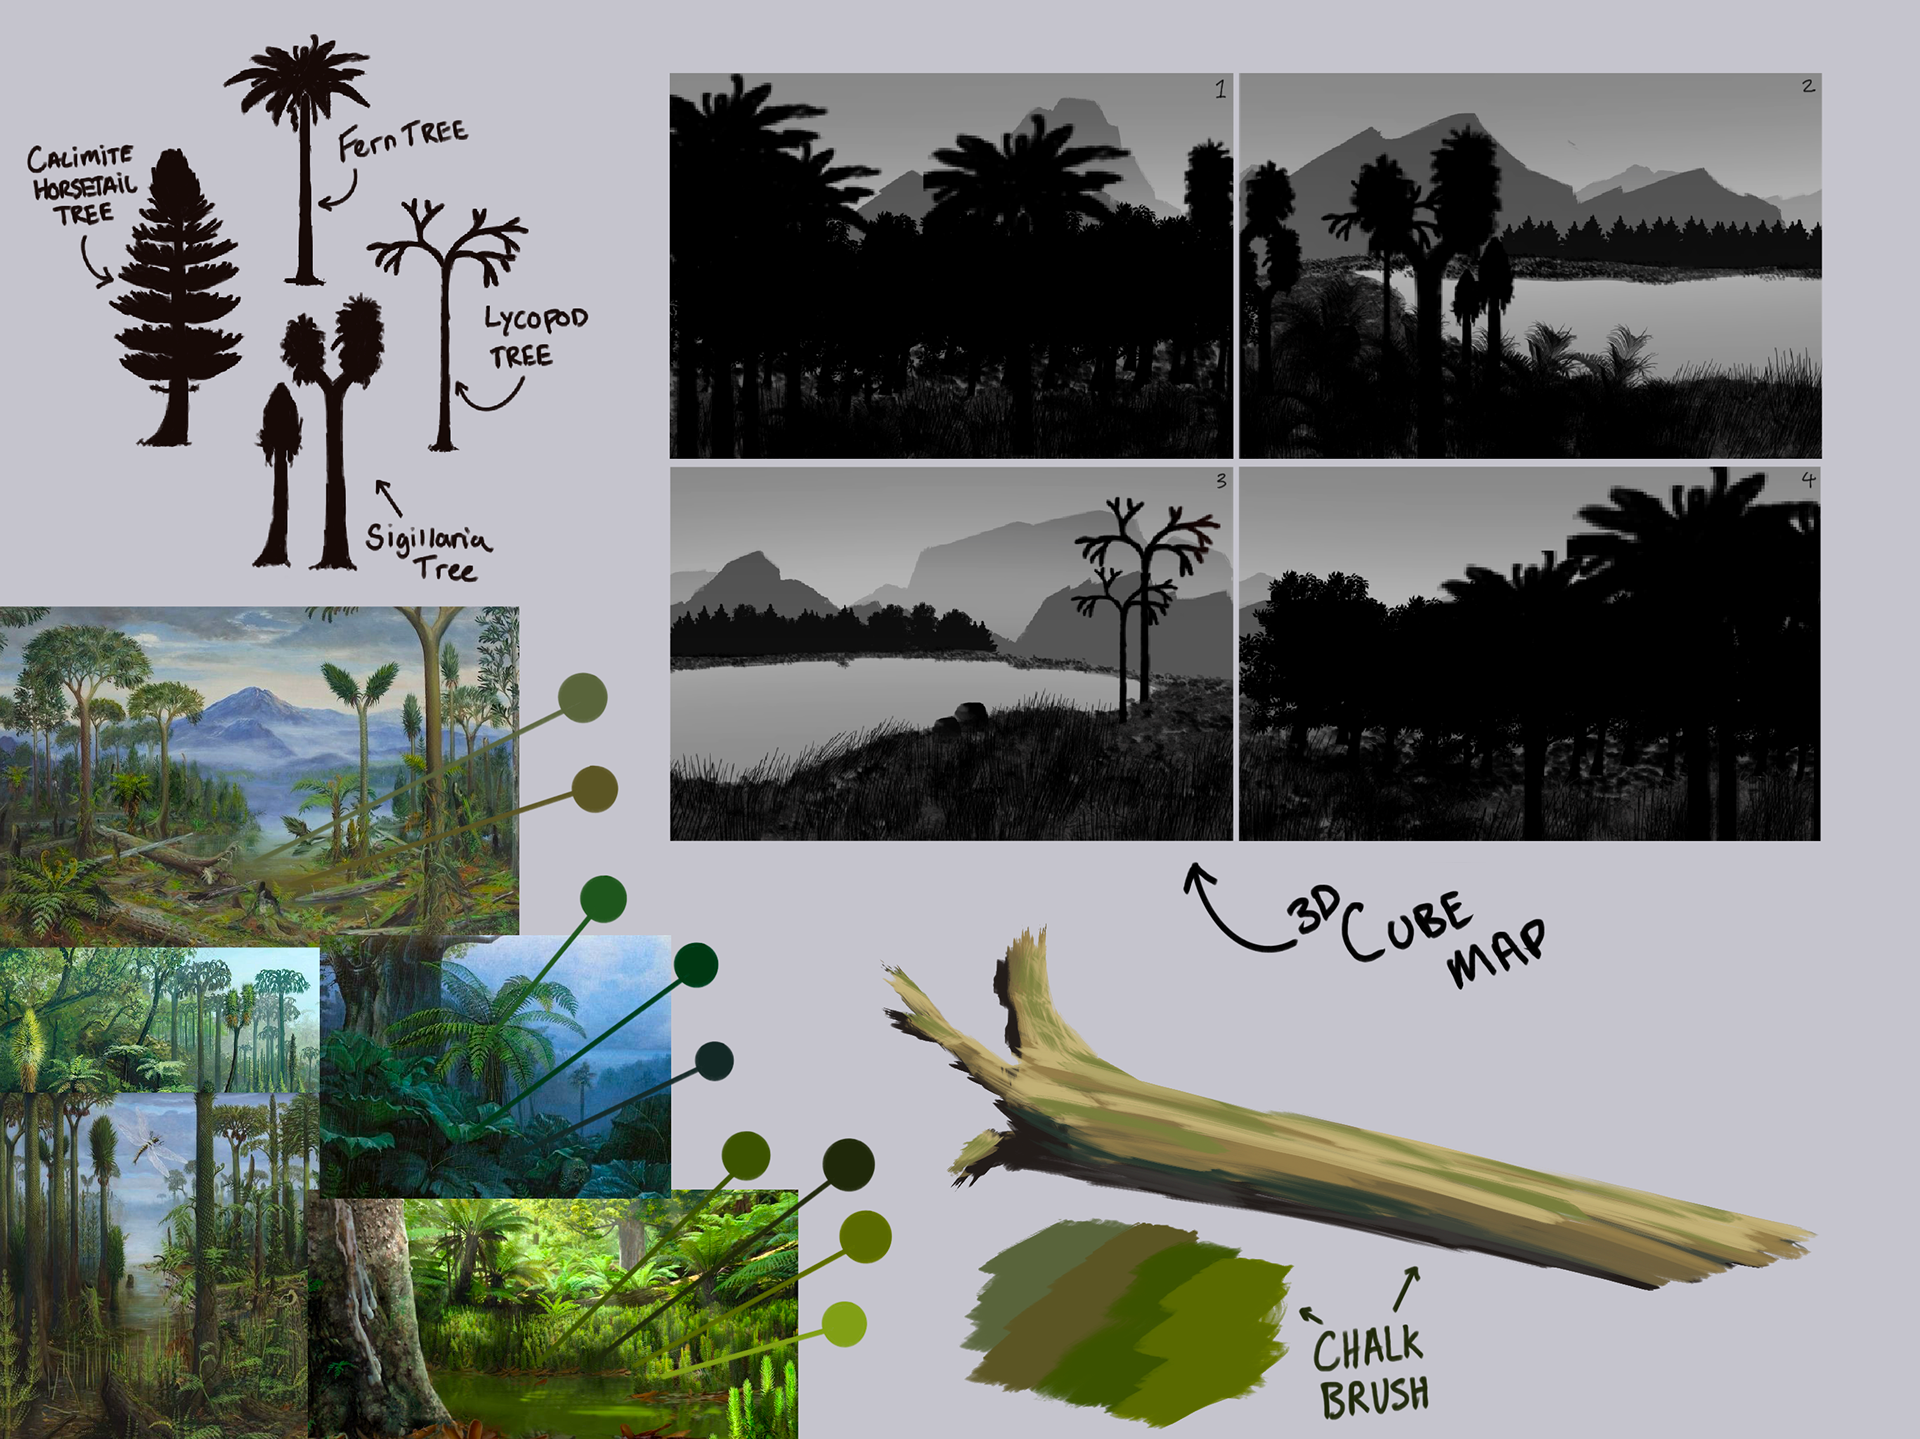
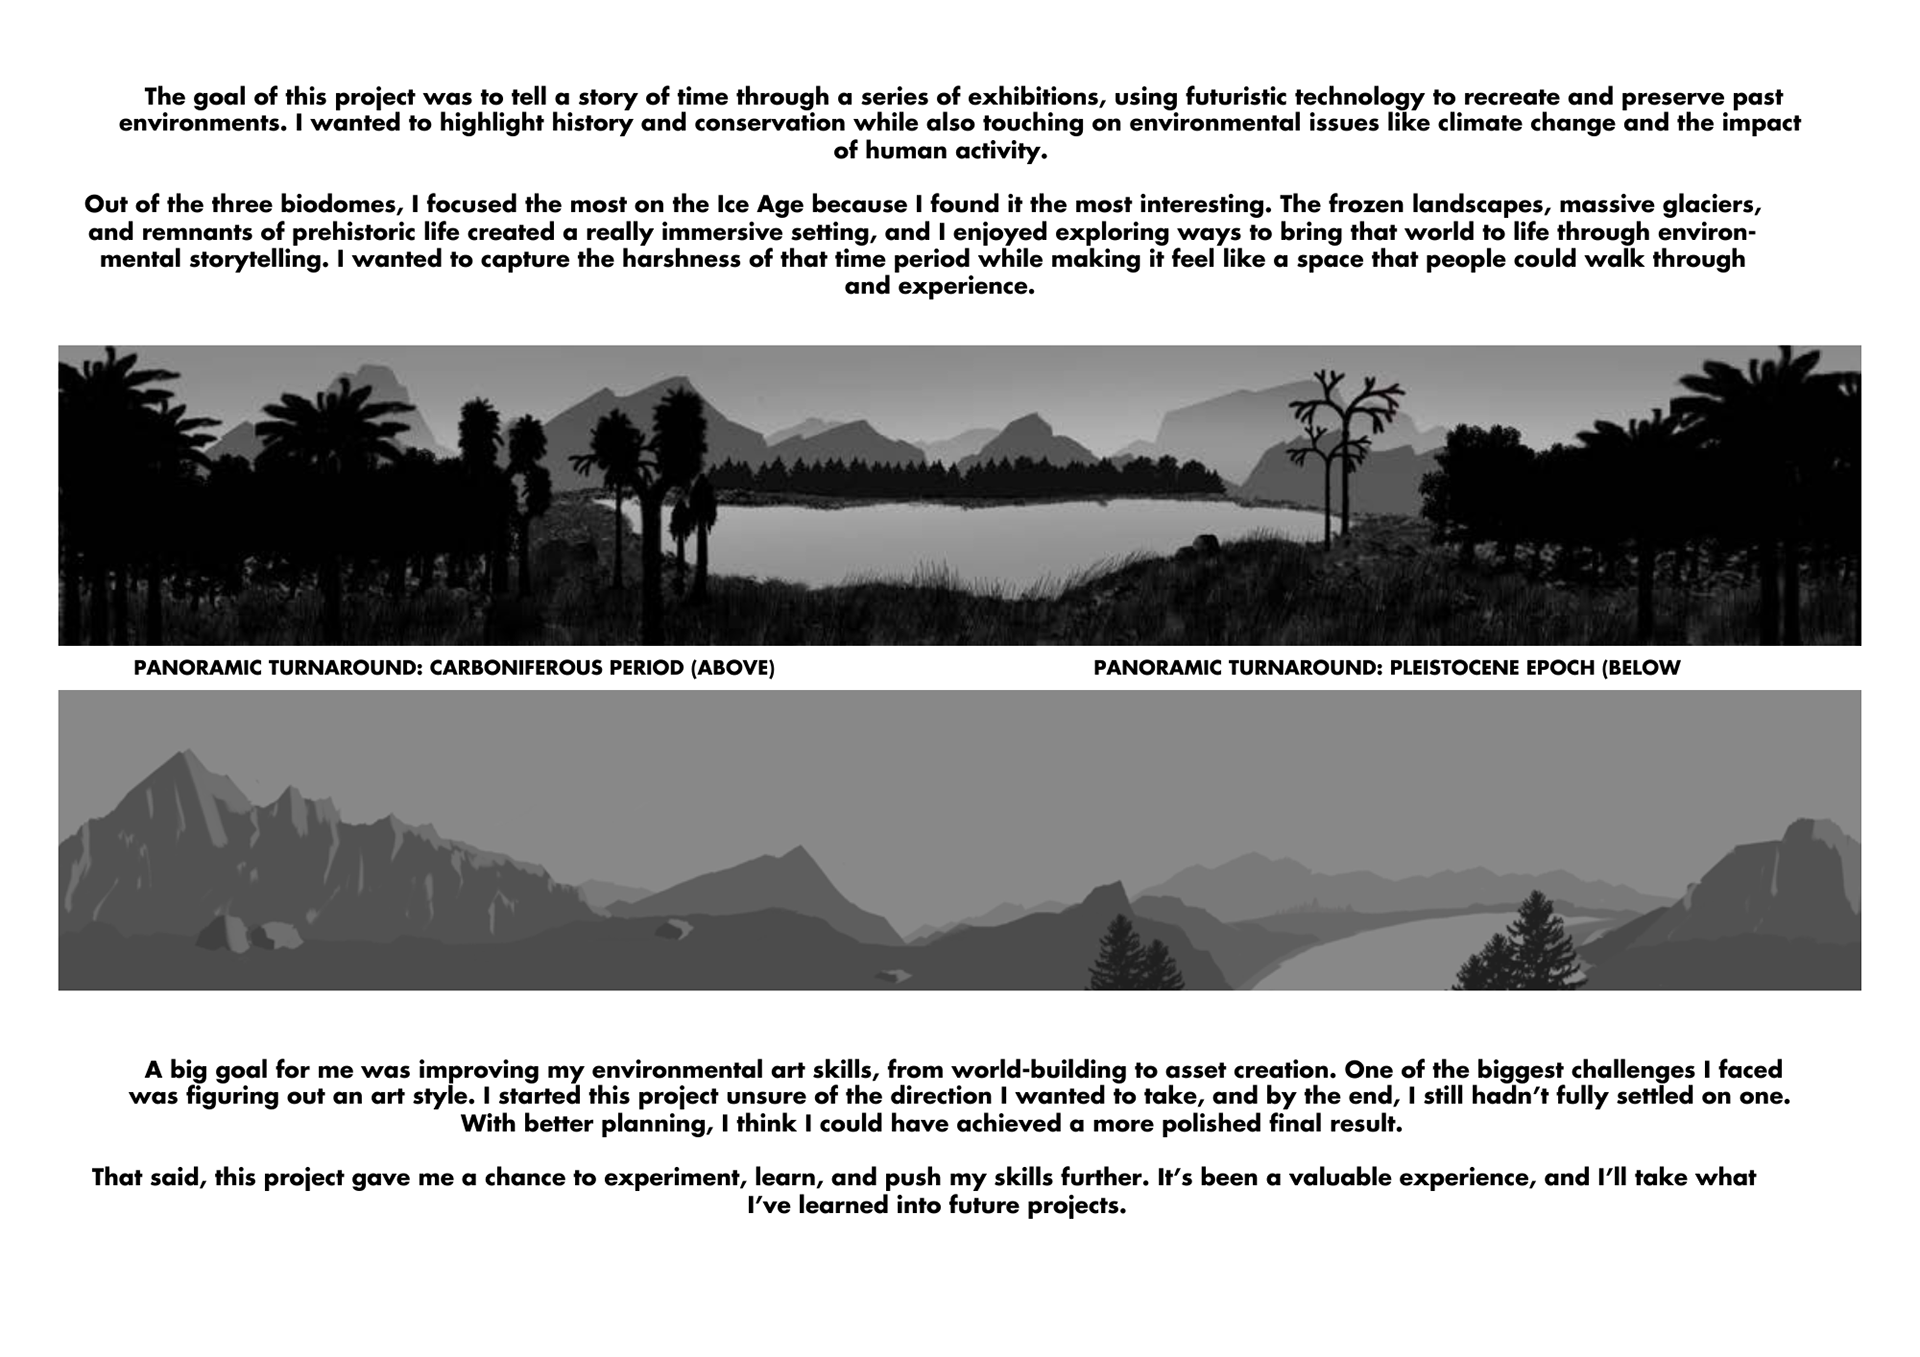
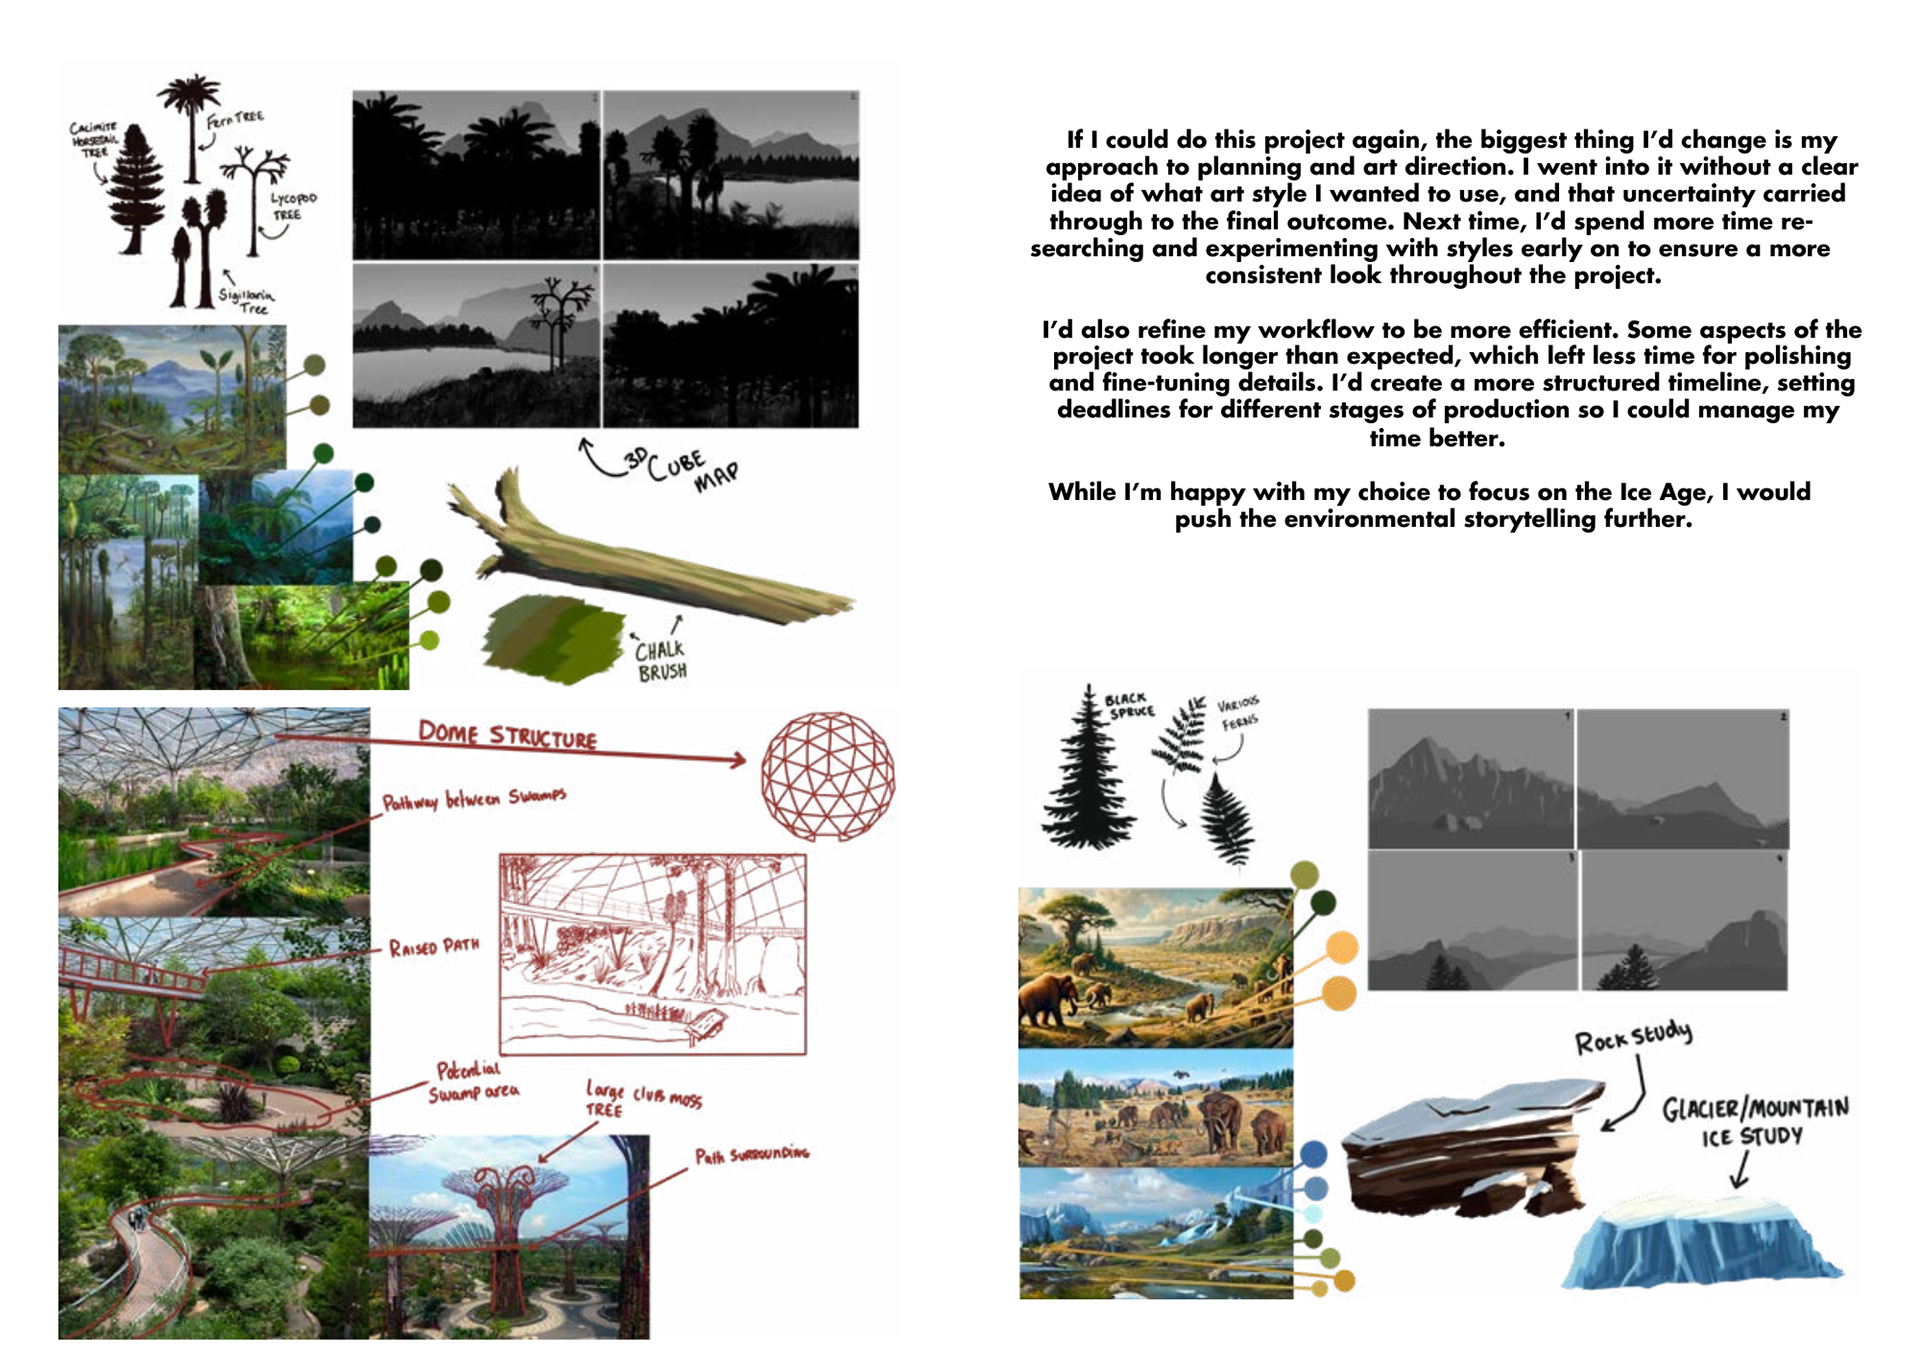
Here is the art sheet I did for my Carboniferous Biodome. The Key Points for an Art Sheet here are asset silhouettes, colour analysis, brushes used and a 3D Cube Map to give an idea of what a panoramic 360 view will look like for the player.
I couldn't fit the 3D Cube Map in a straight line, so it is also included below.
I realised immediately after that I had, in fact, put a lot more detail into this than I needed to. I enjoyed the task so I don't see it as a negative, but I understand that these are merely block outs to give an idea of landscape before further detailing.

One of the self-directed tasks for this class was to create at least four separate assets as silhouettes to be ready for our class on Thursday.


-
Over this week, I have been working on the other biodome environments. There will be more details to come, but for the most part, I have tried to catch up with the last two weeks and bring those workshops to all environments.
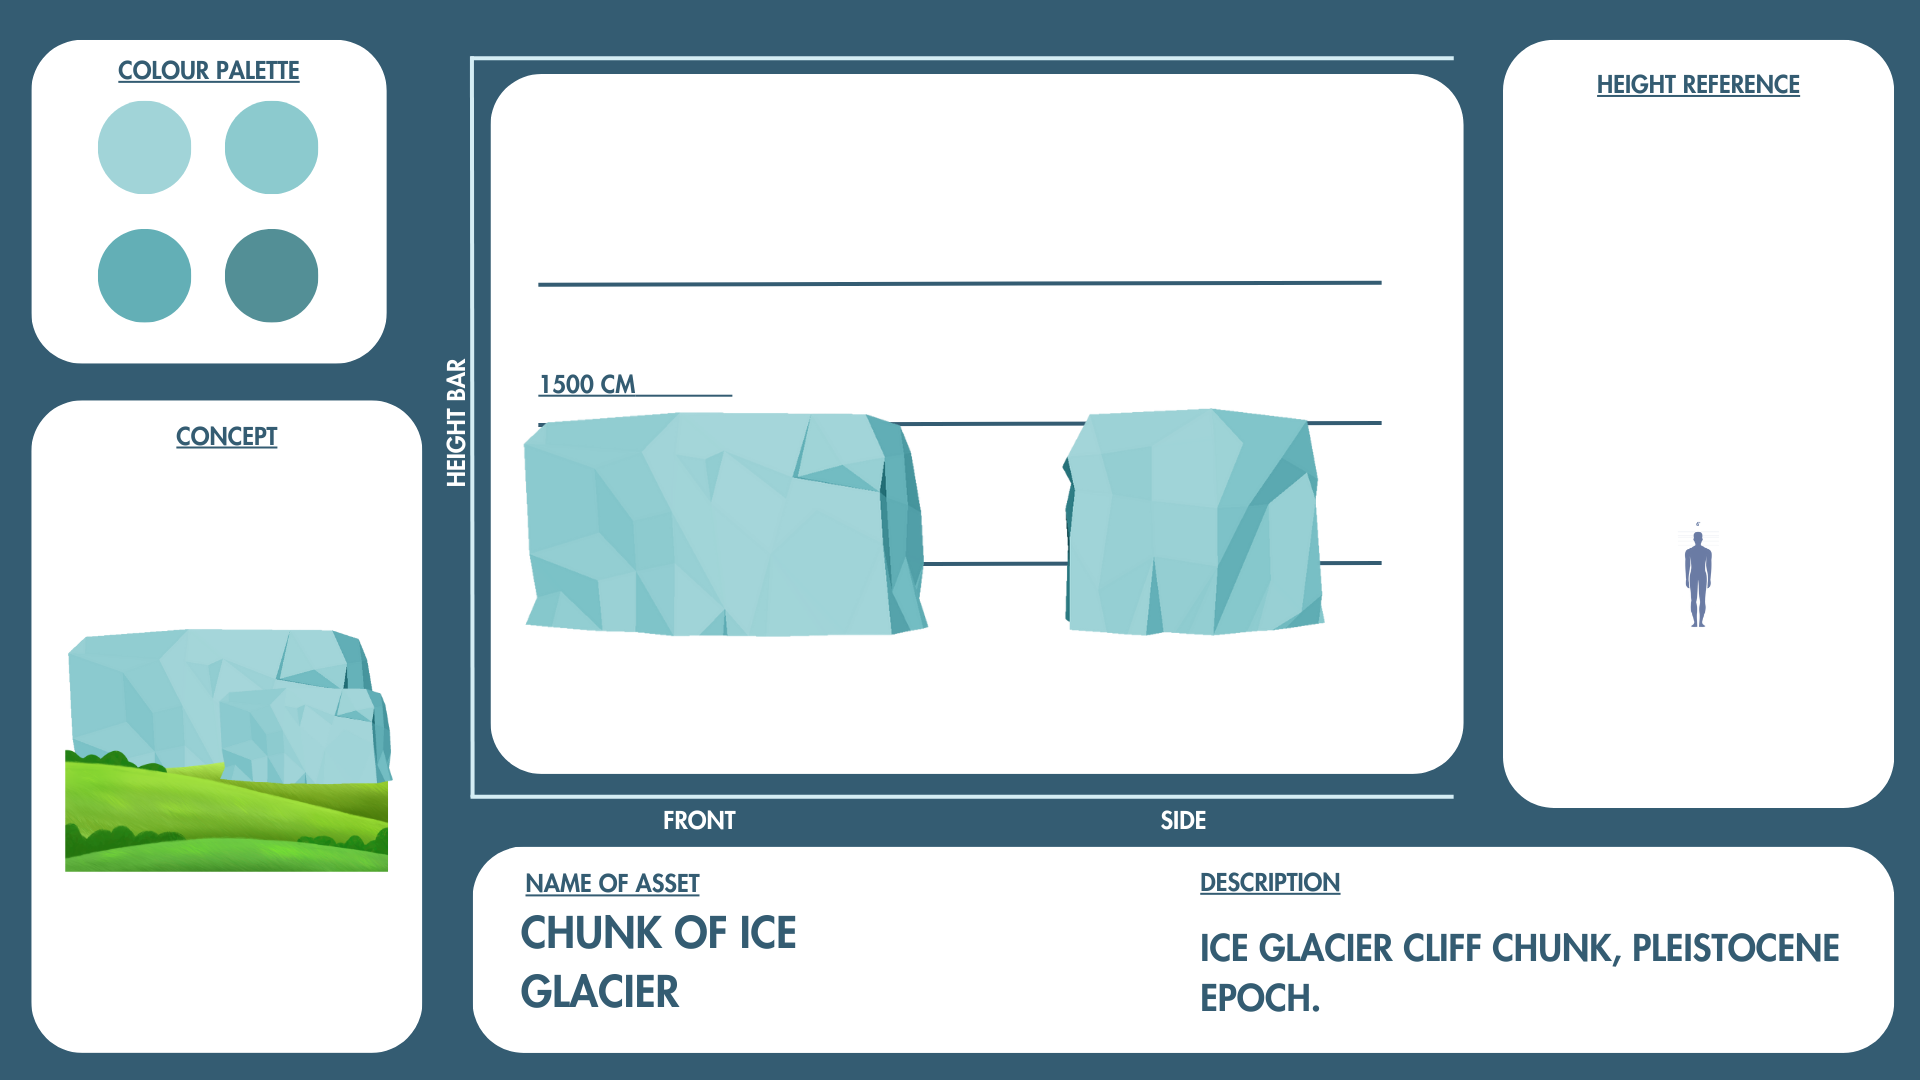
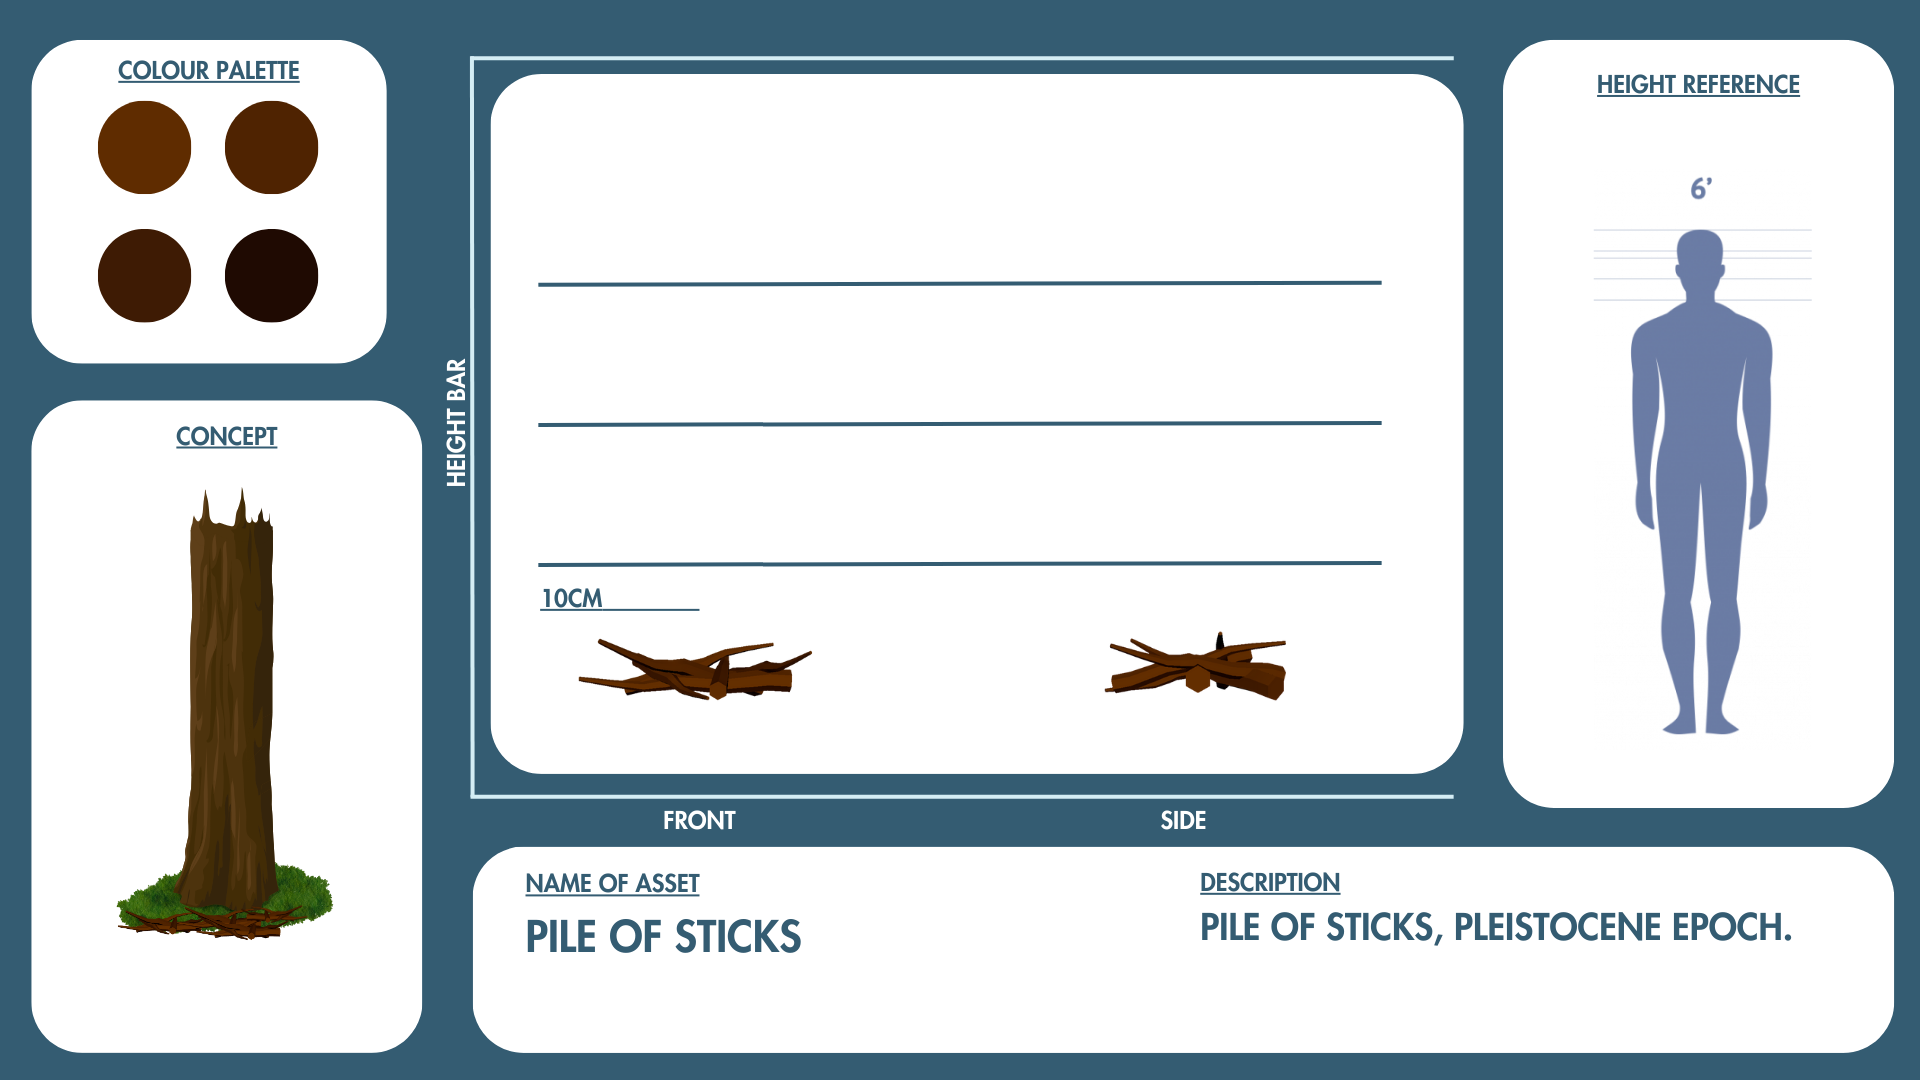
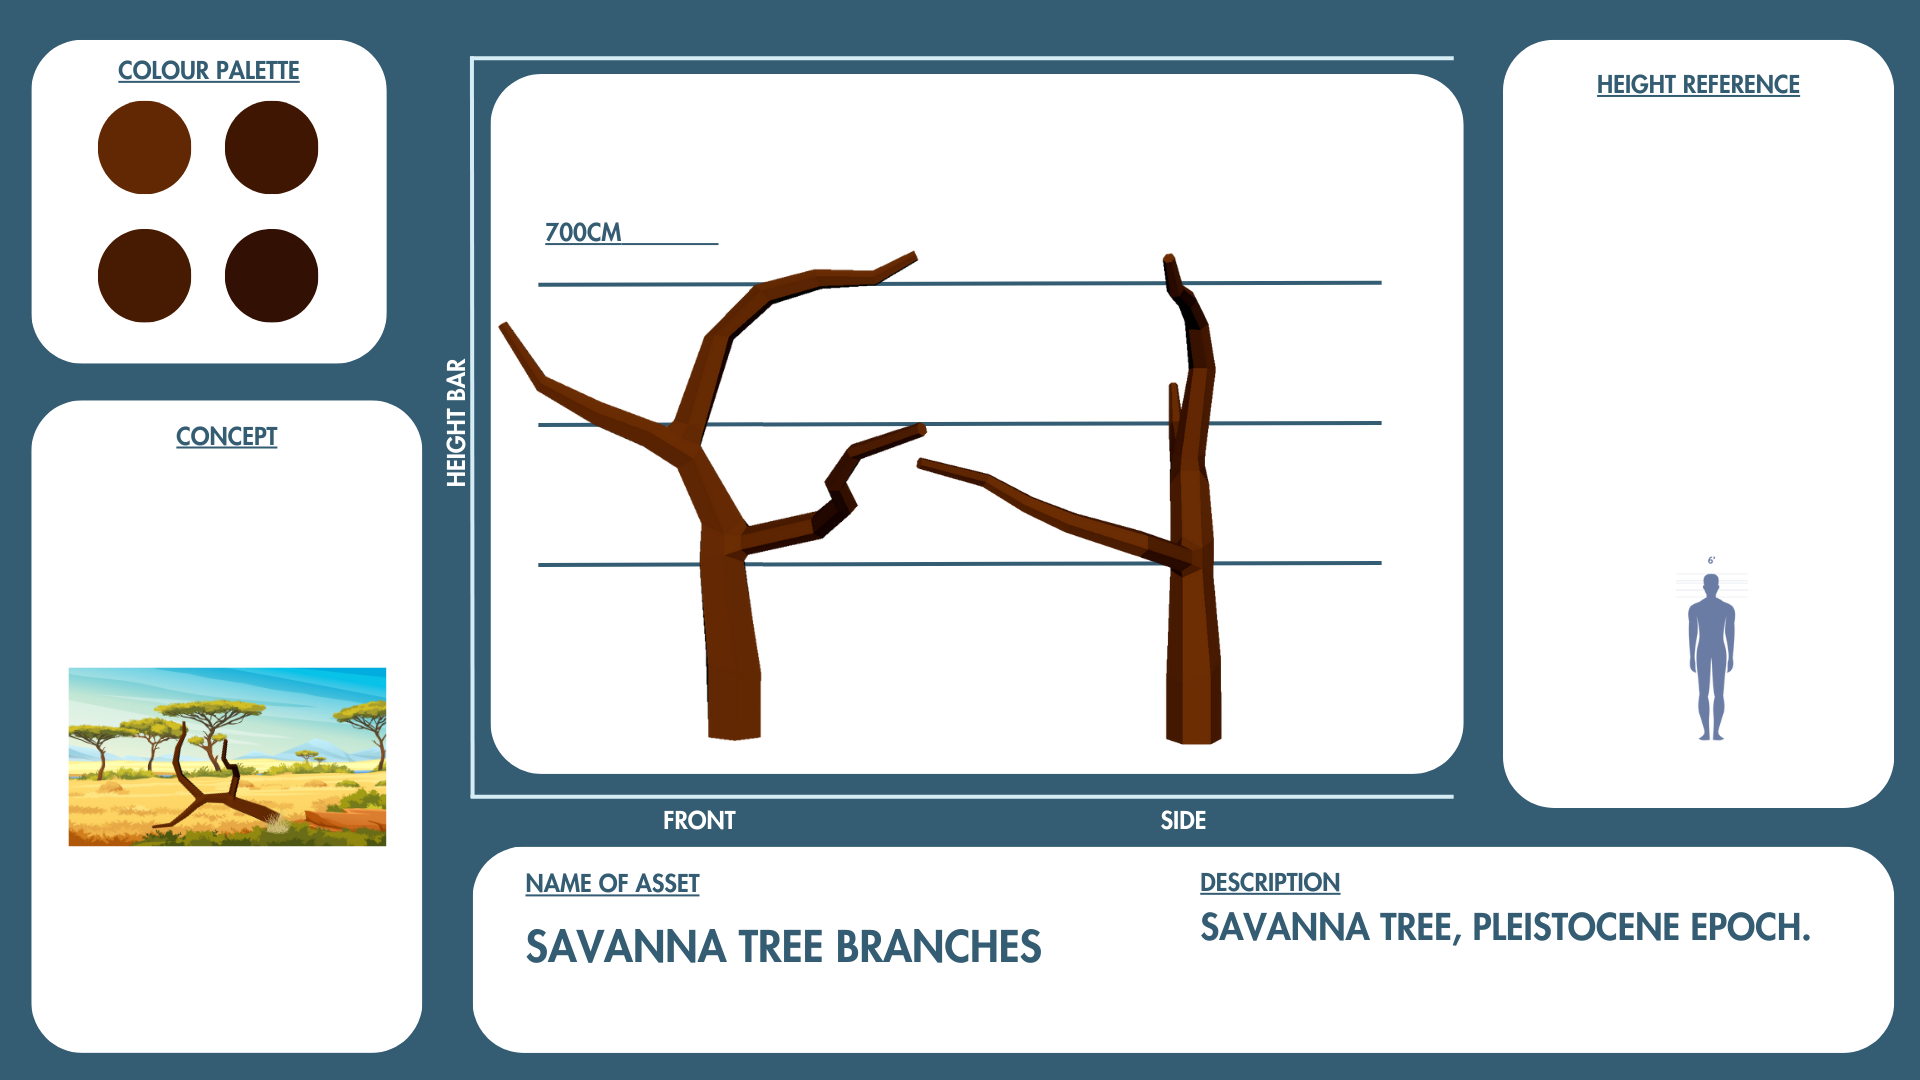
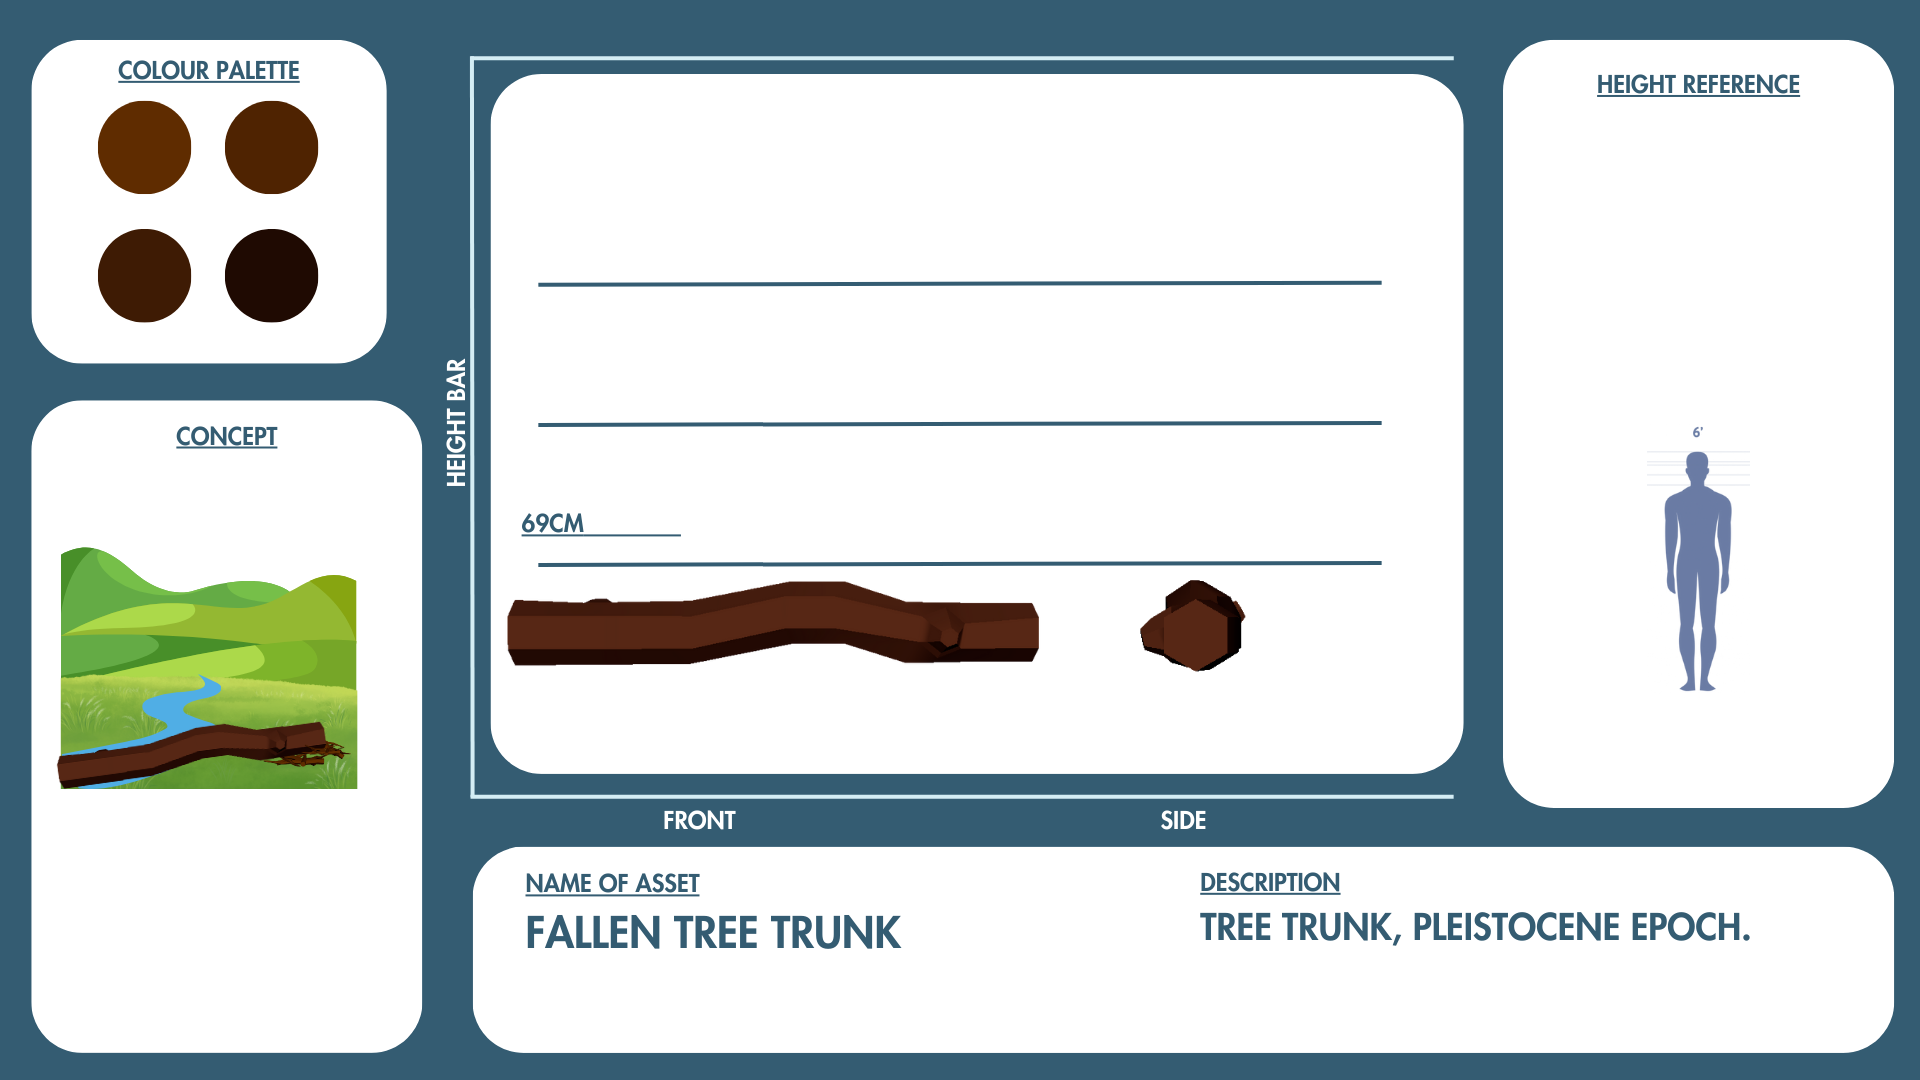
BIODOME TWO: THE PLEISTOCENE EPOCH
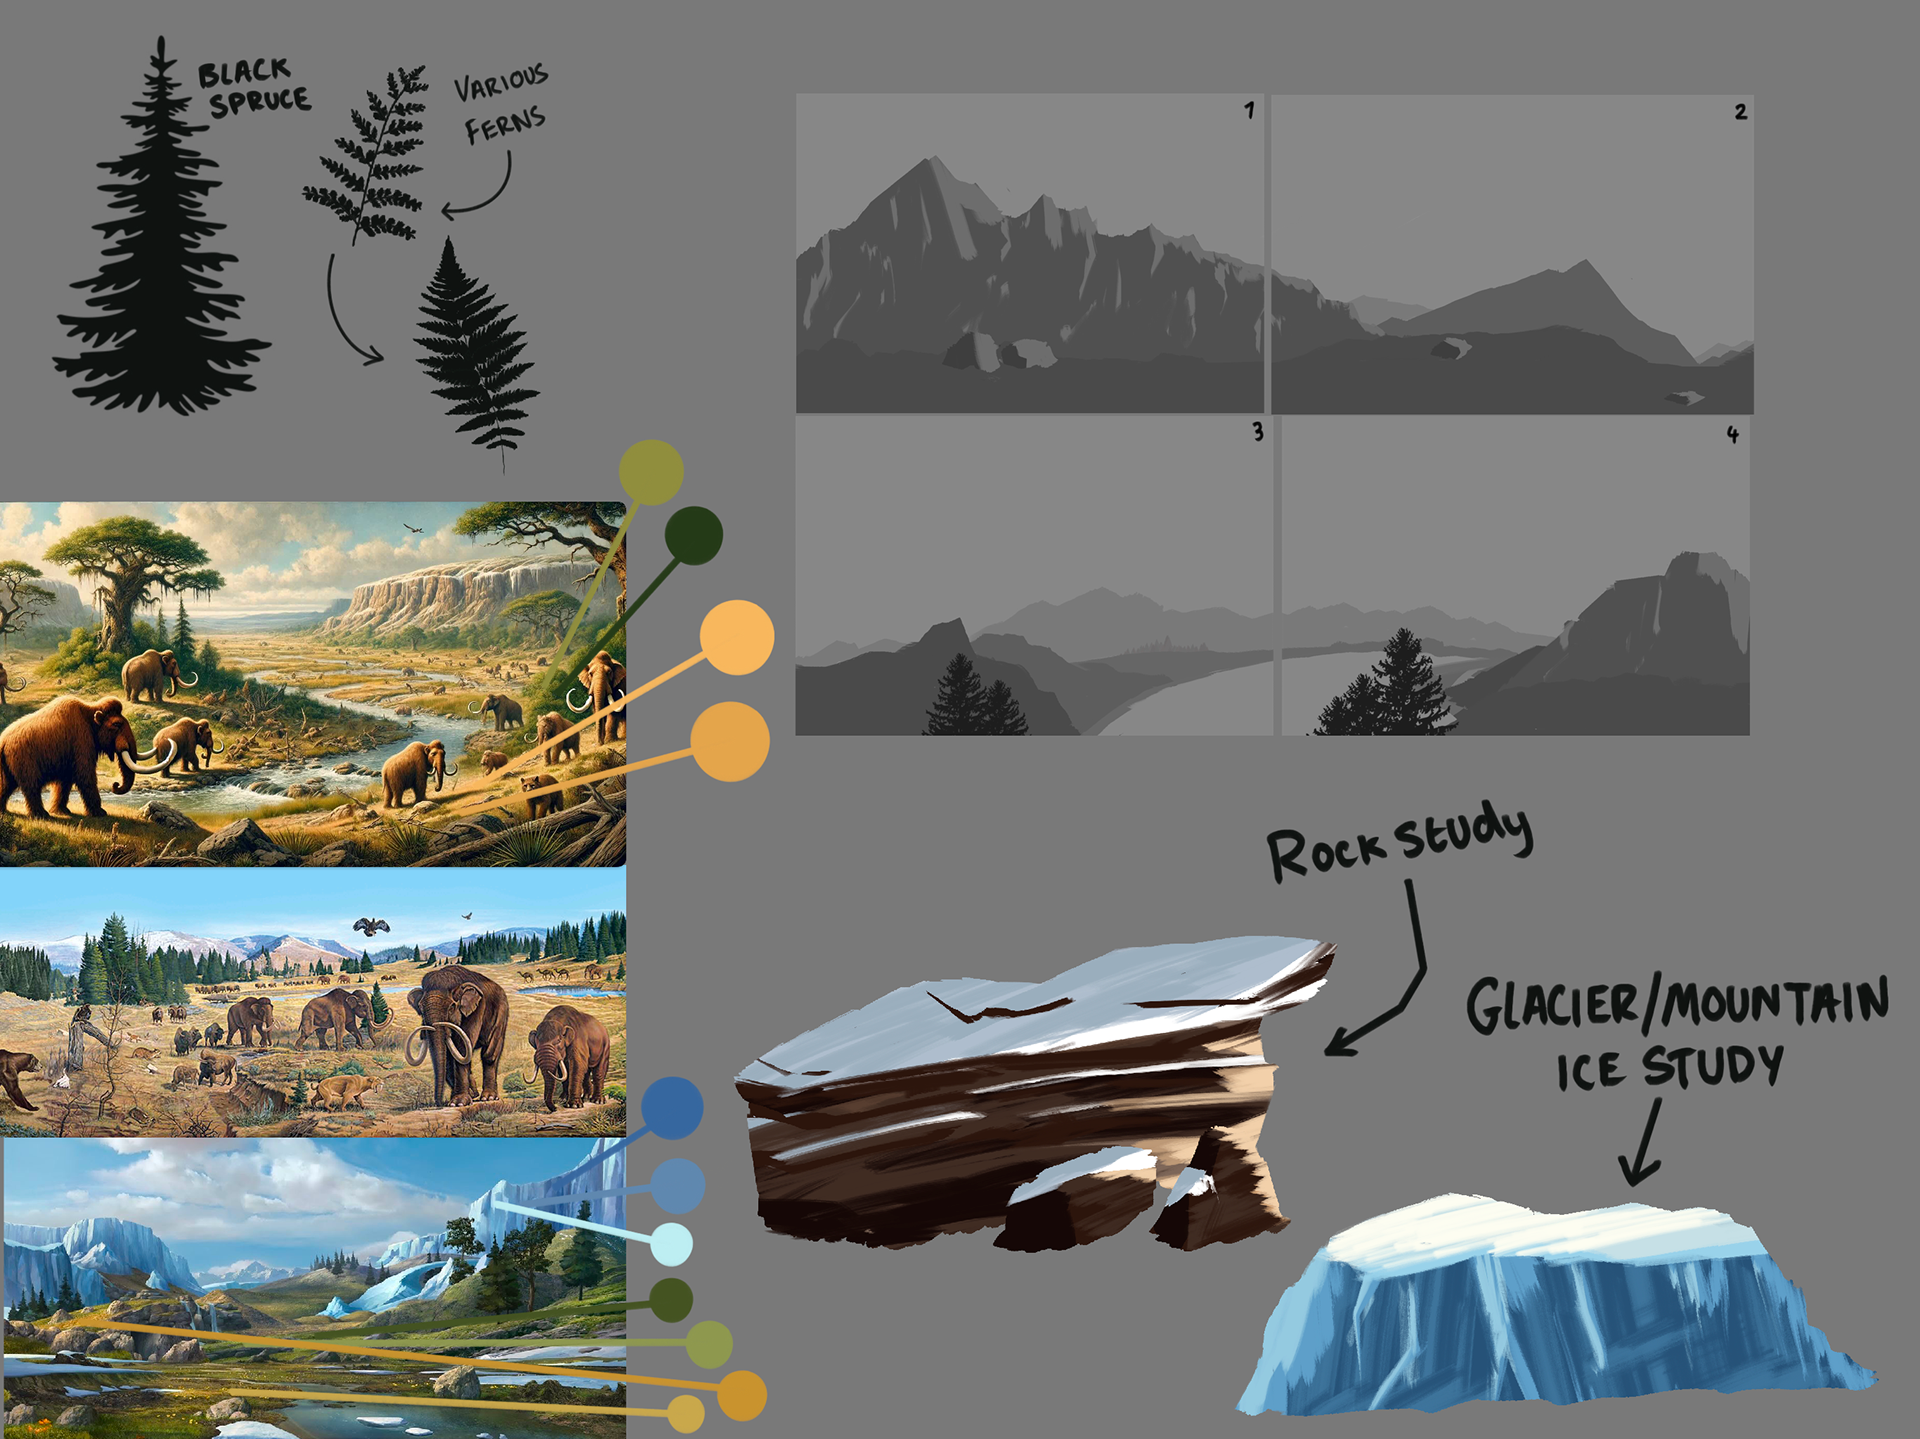
Similar to the Carboniferous Art Sheet, here is a break down of colours, studies and assets and another 3D Cube Map (scroll down for full panoramic).
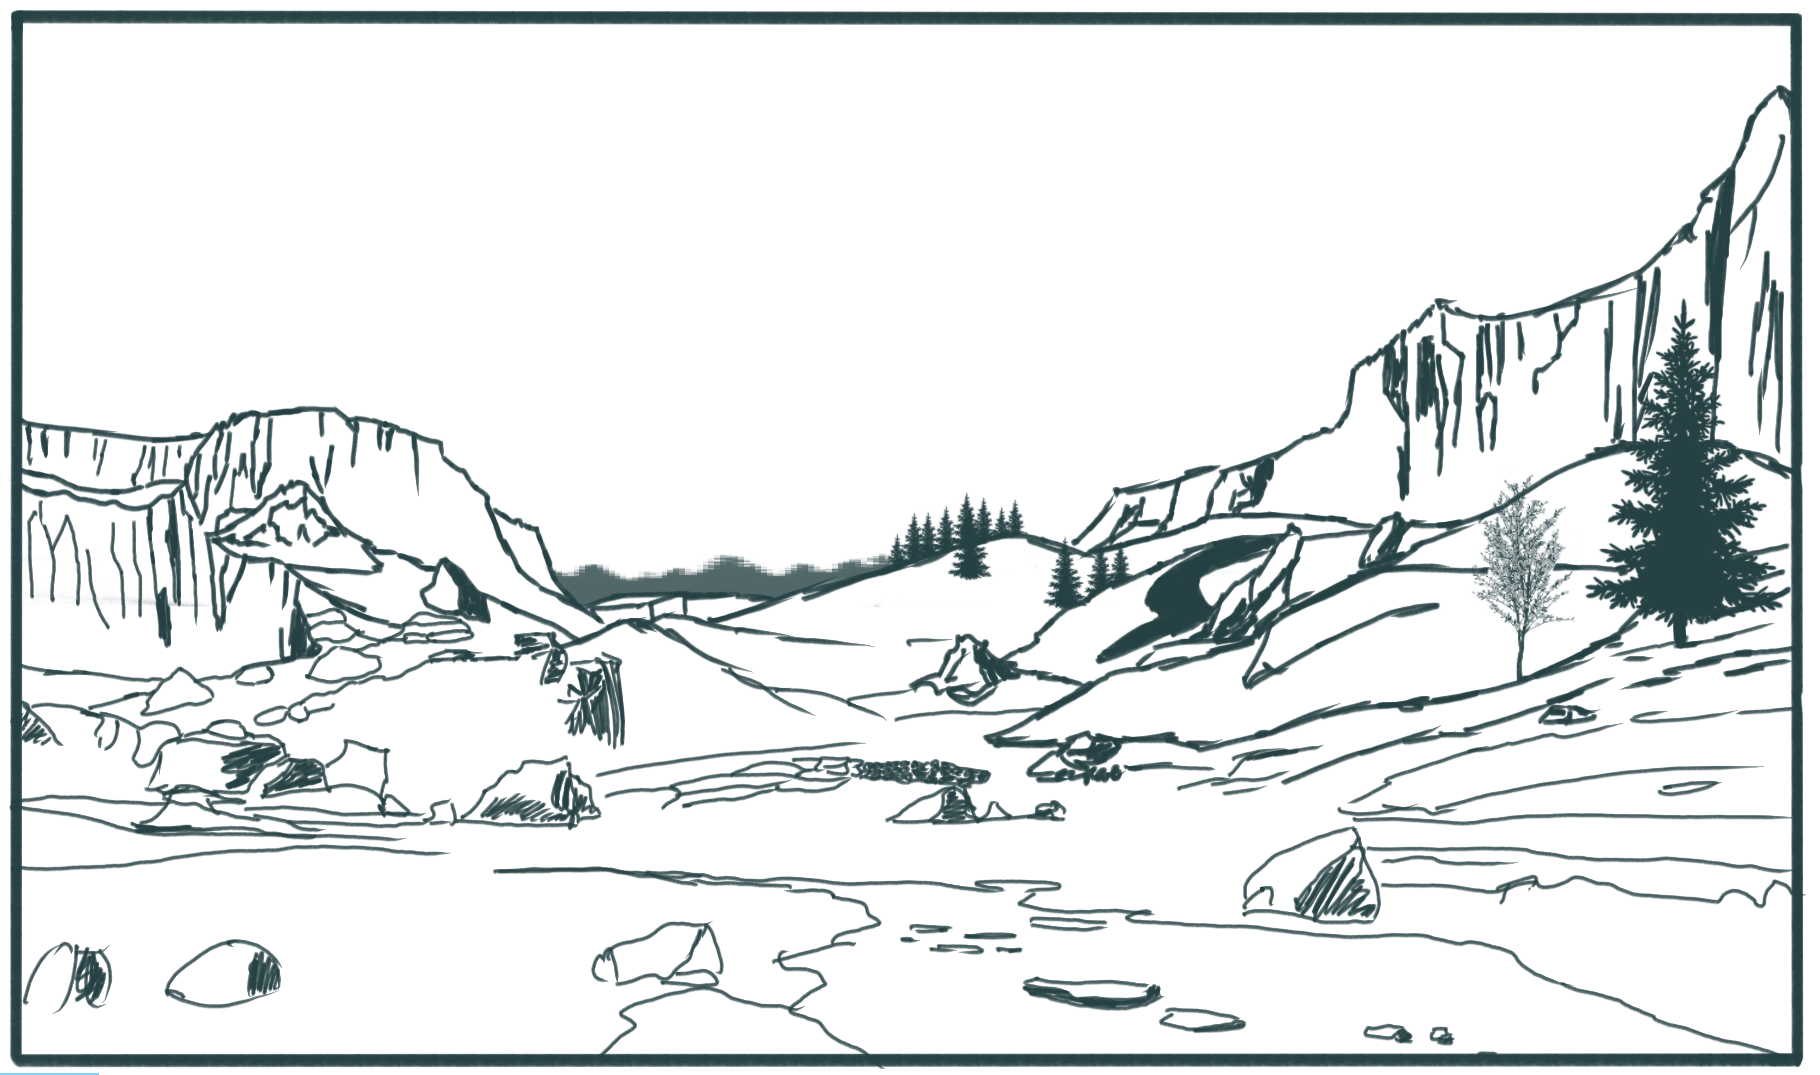
and last but not least, the panoramic view of the 3D Cube Map. Much more simplified than the last one and definitely a whole lot less stressful :D


EXT- NATURAL HISTORY MUSEUM 04 - 02 - 25
We met up at the Natural History Museum this week!
I took a lot of photos on this trip, especially of things related to the Pleistocene Epoch.
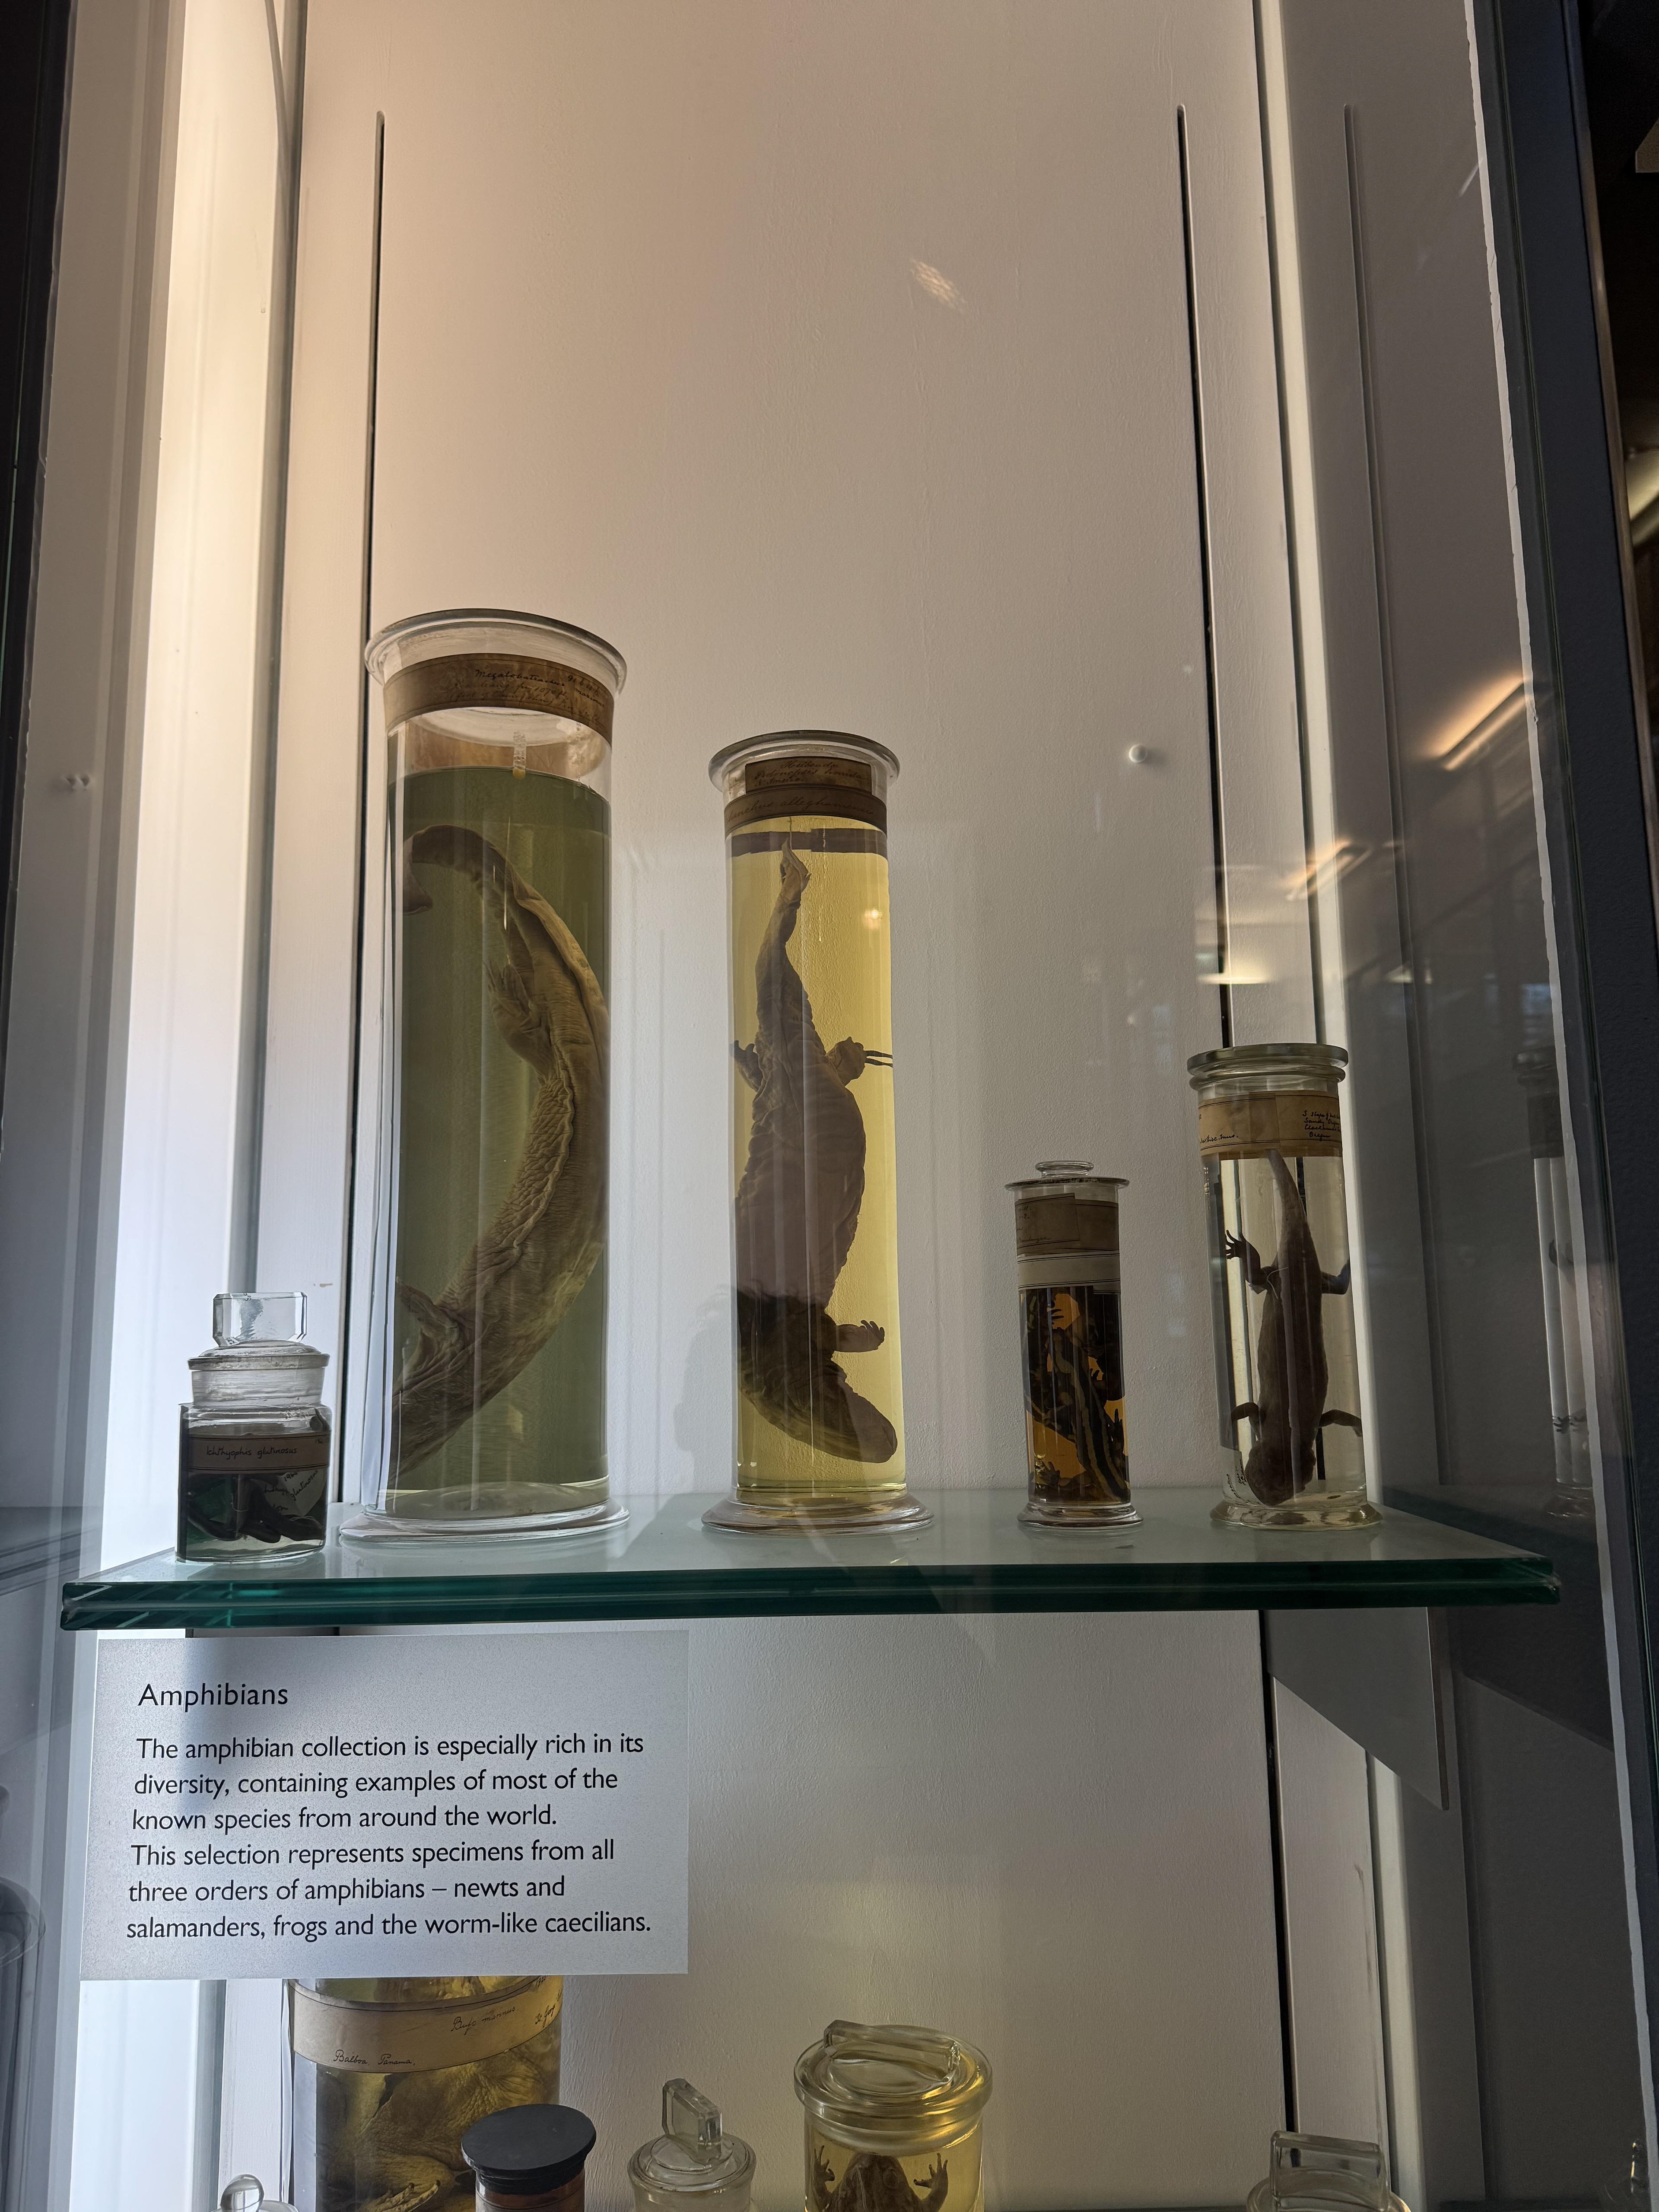
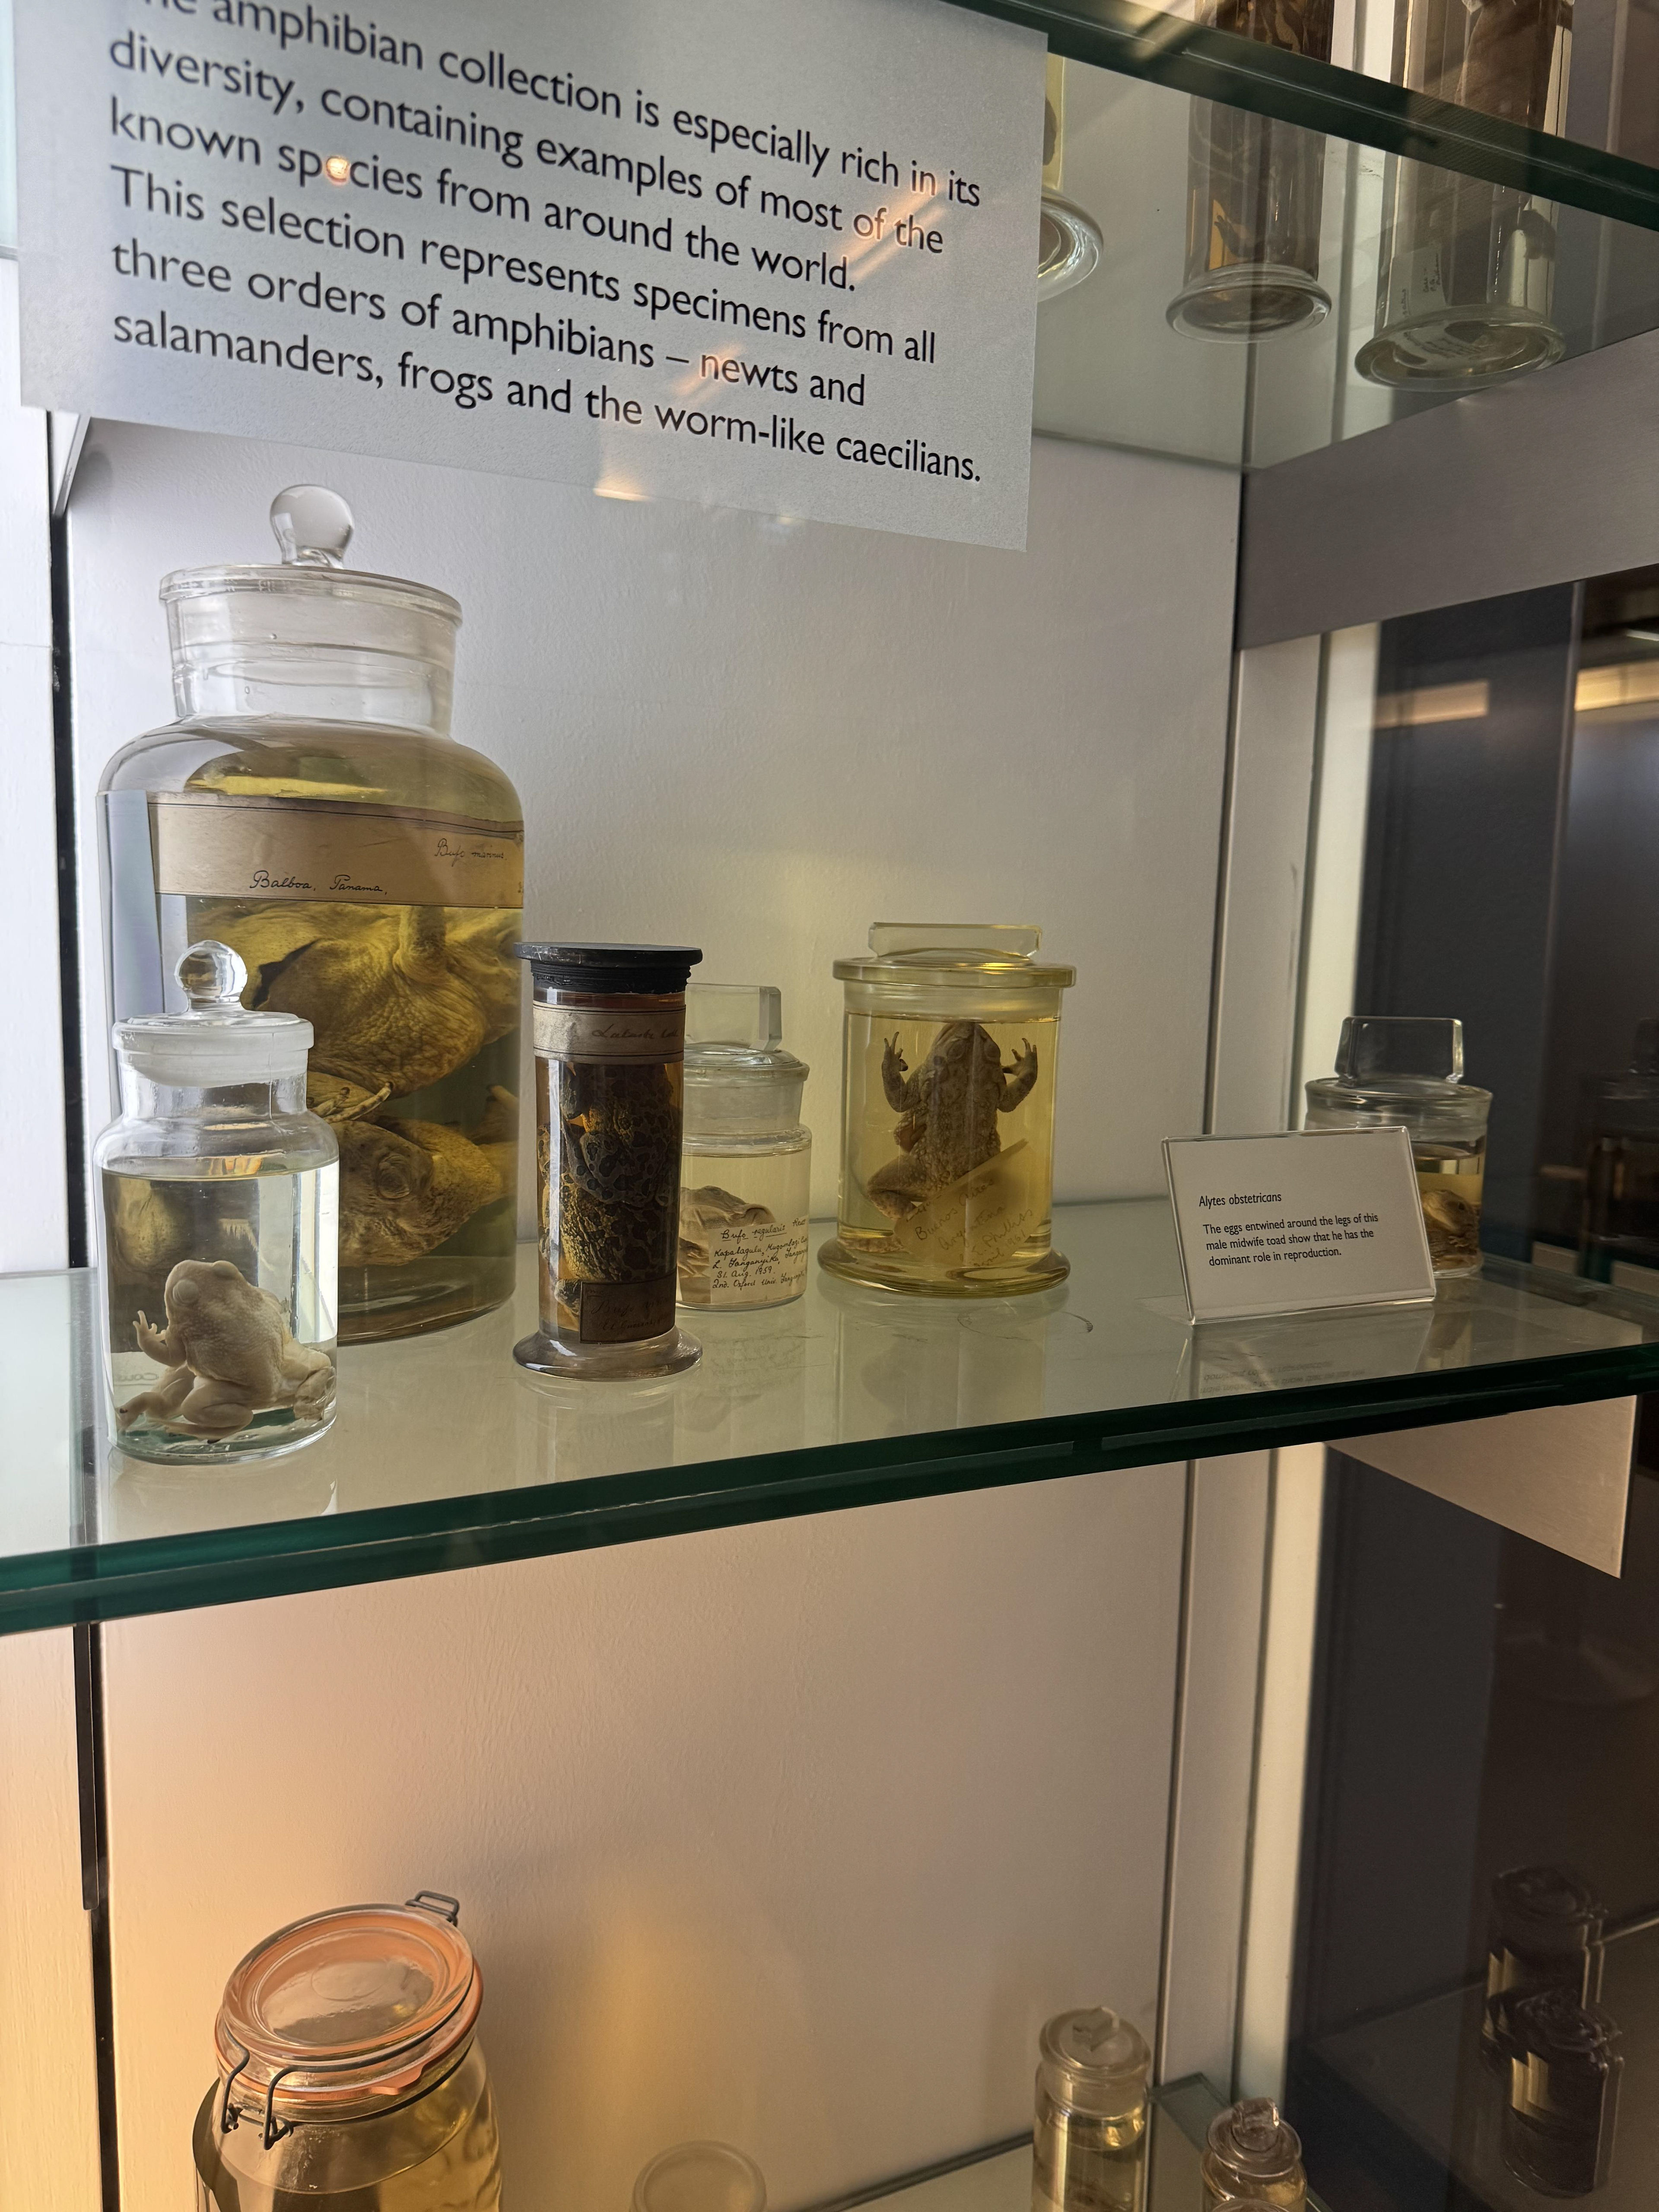
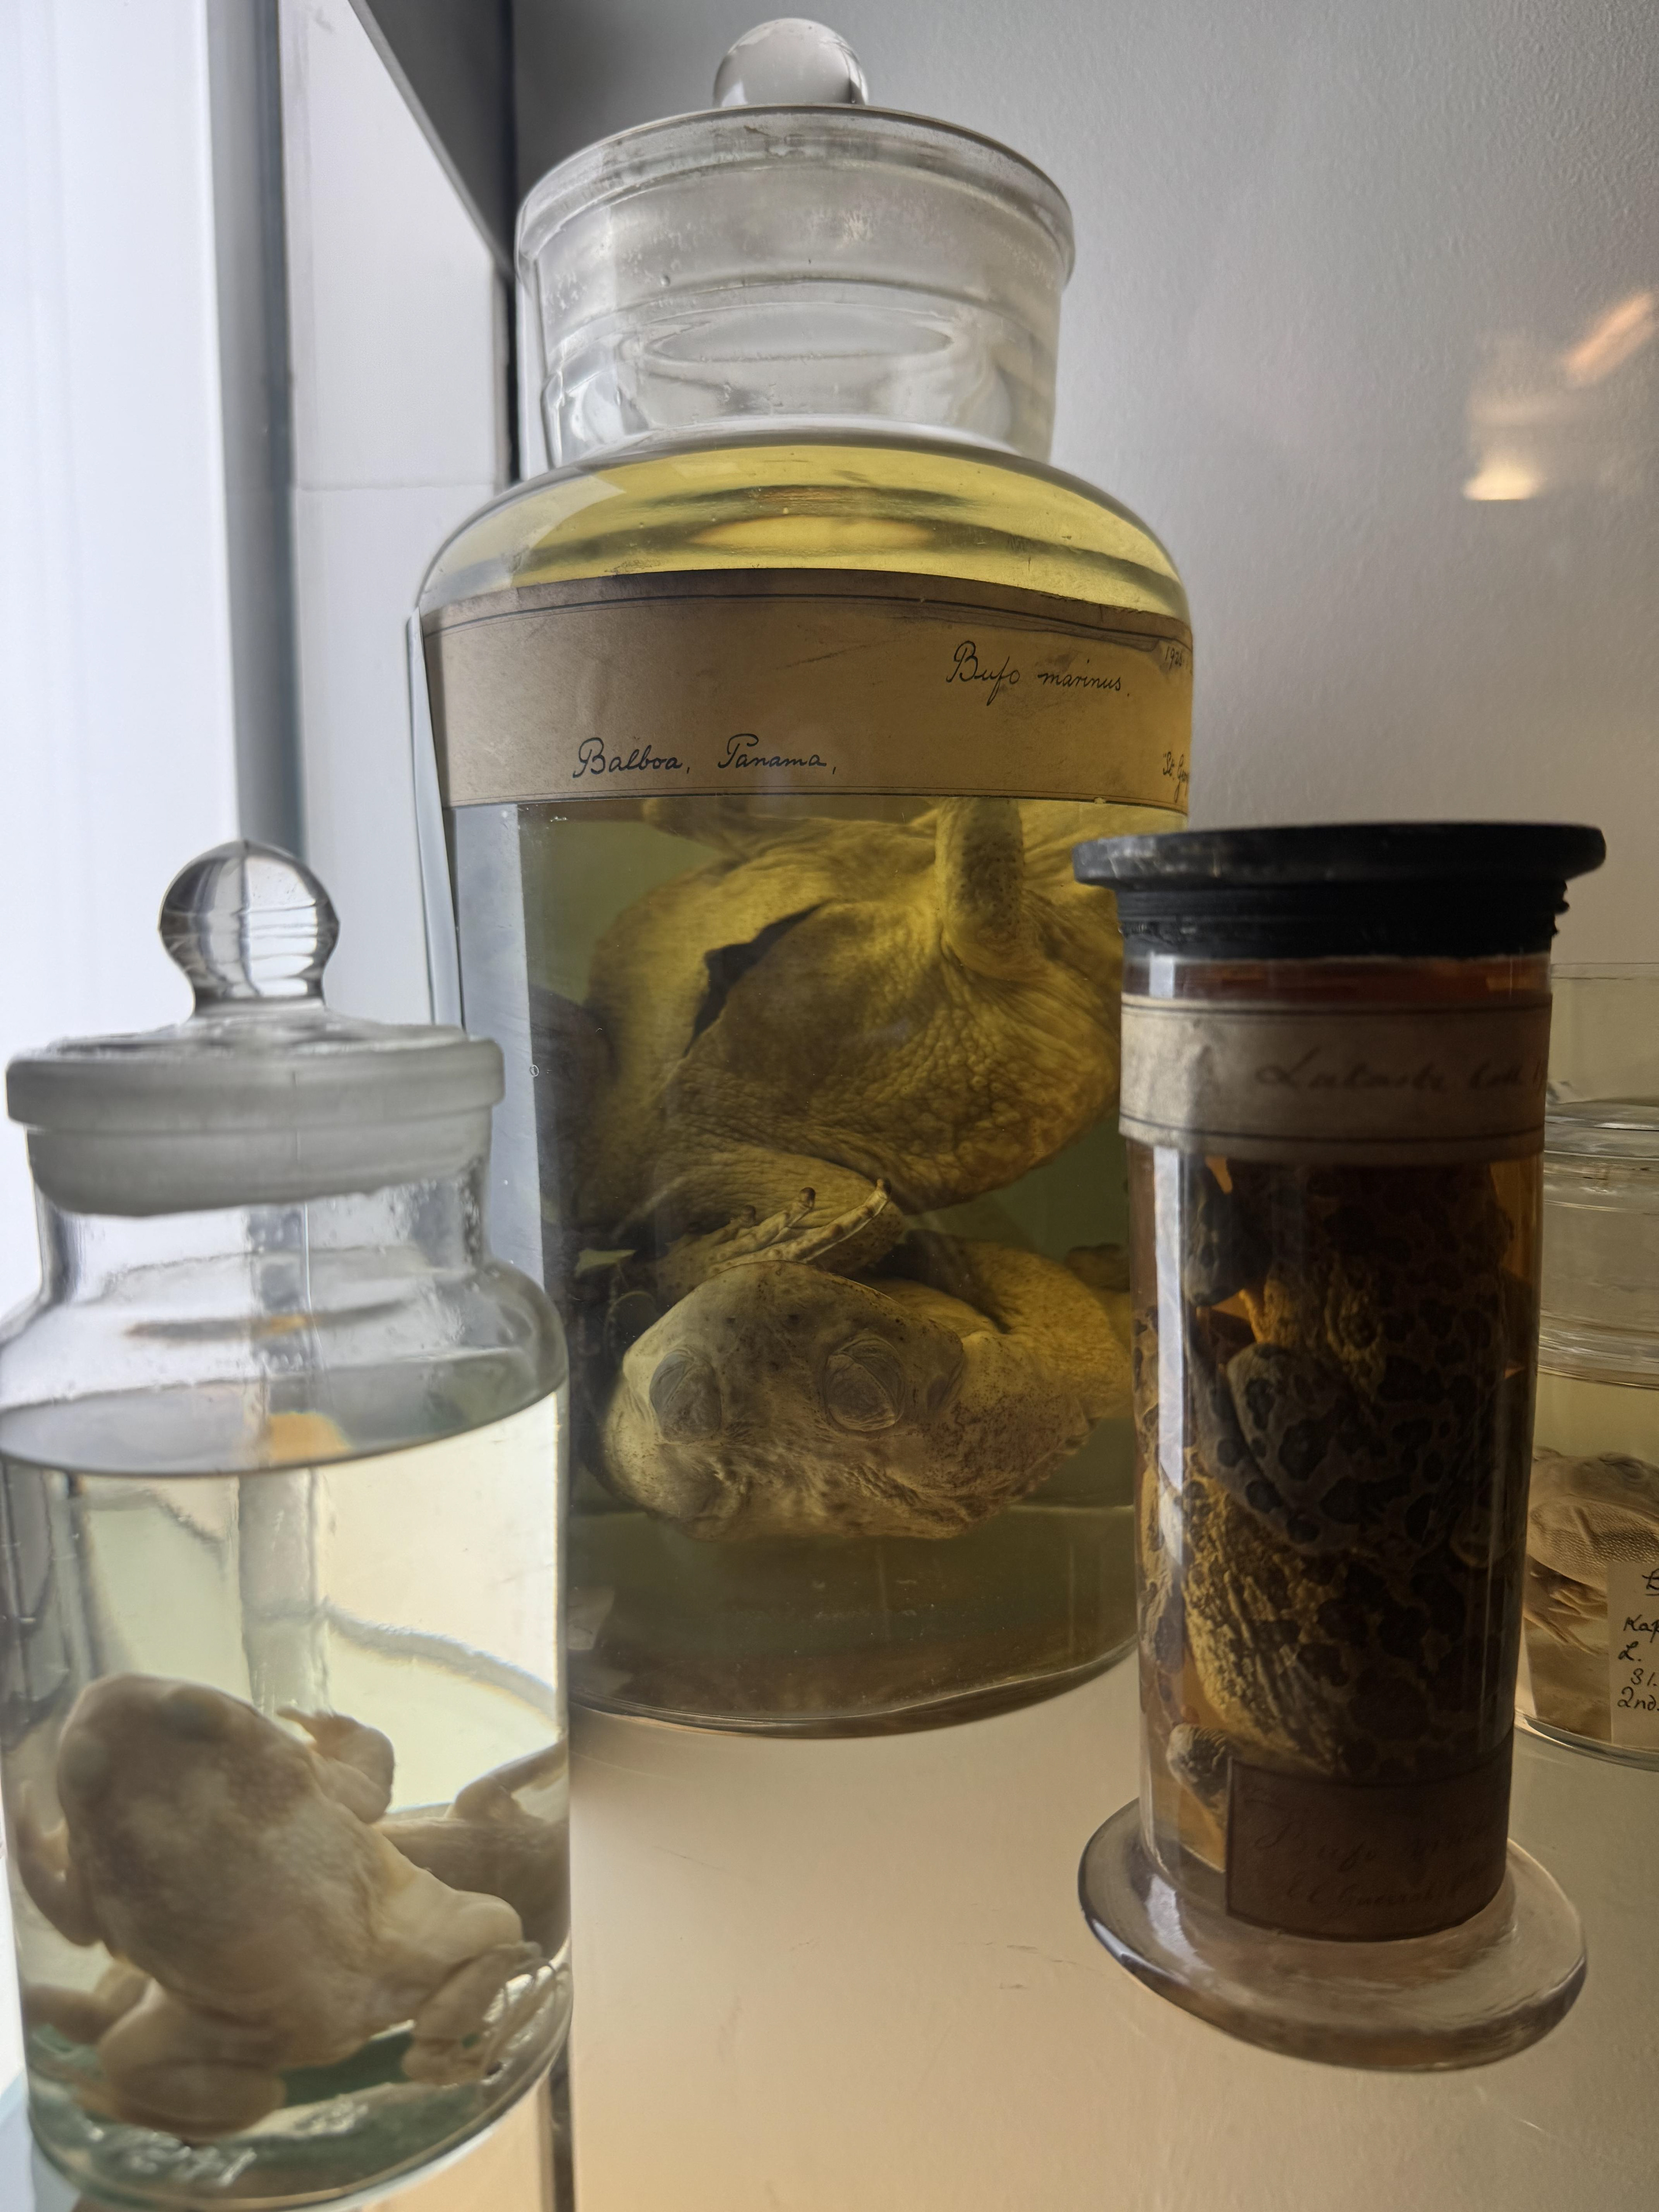
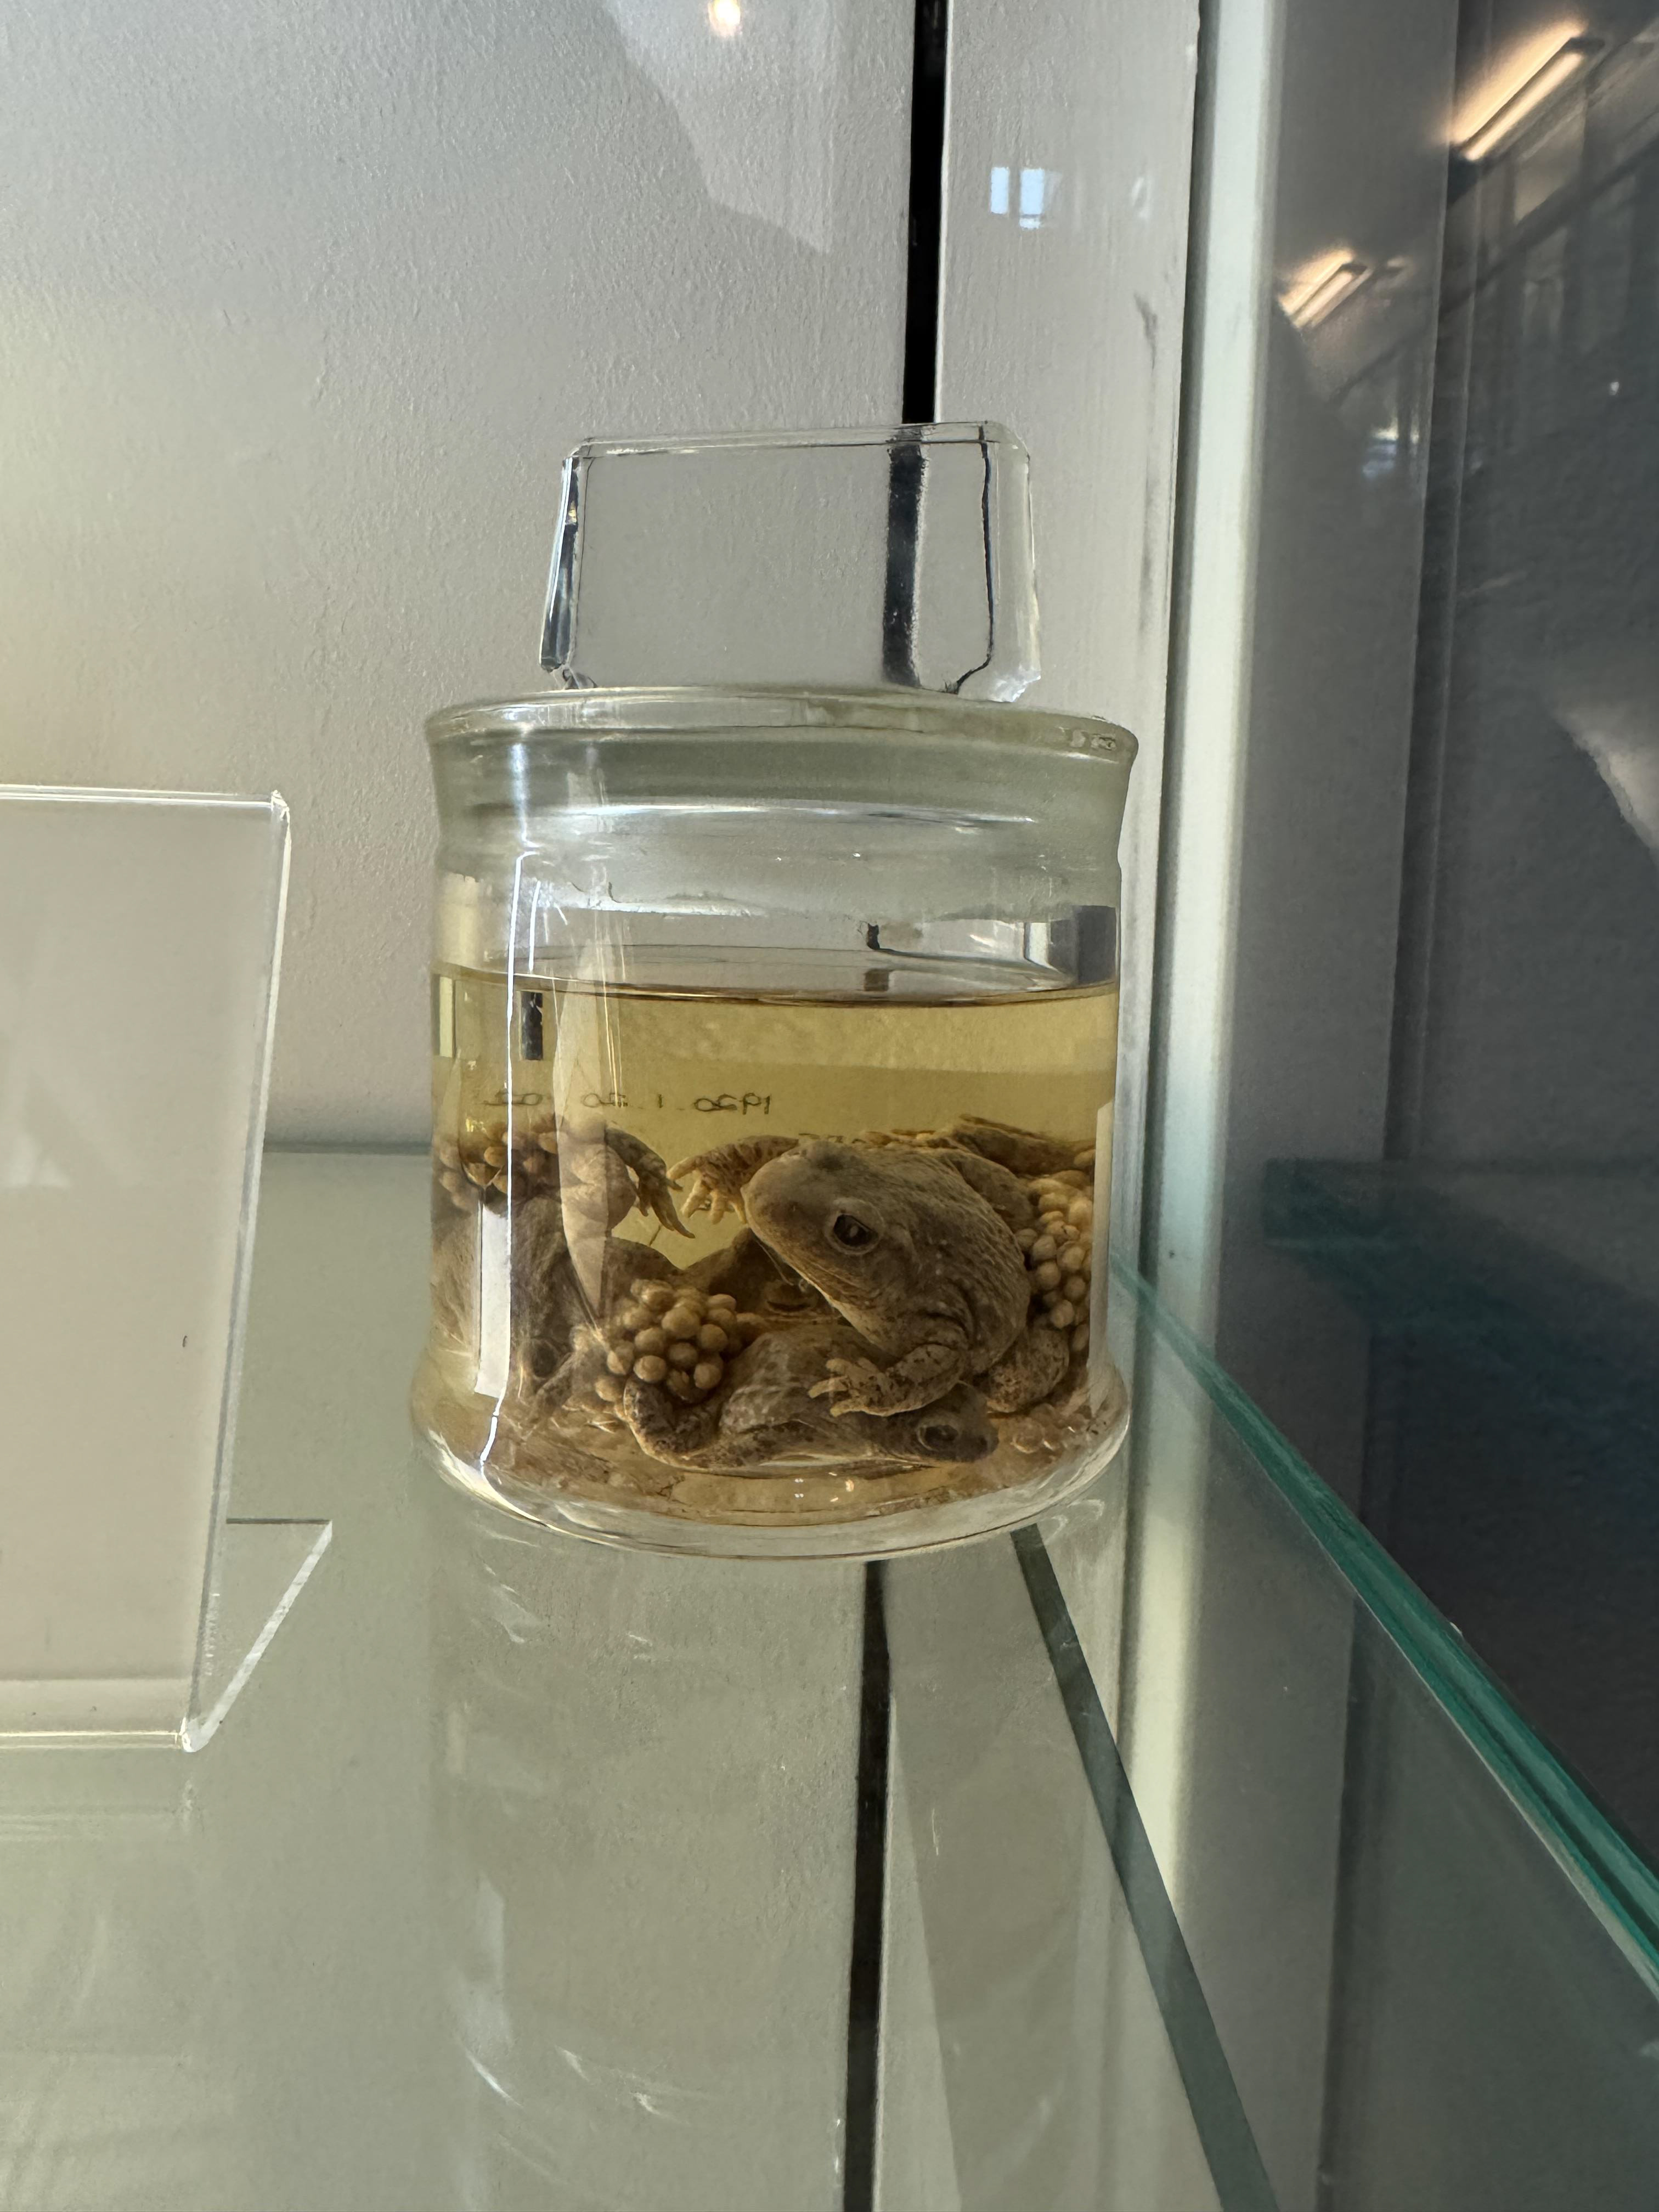
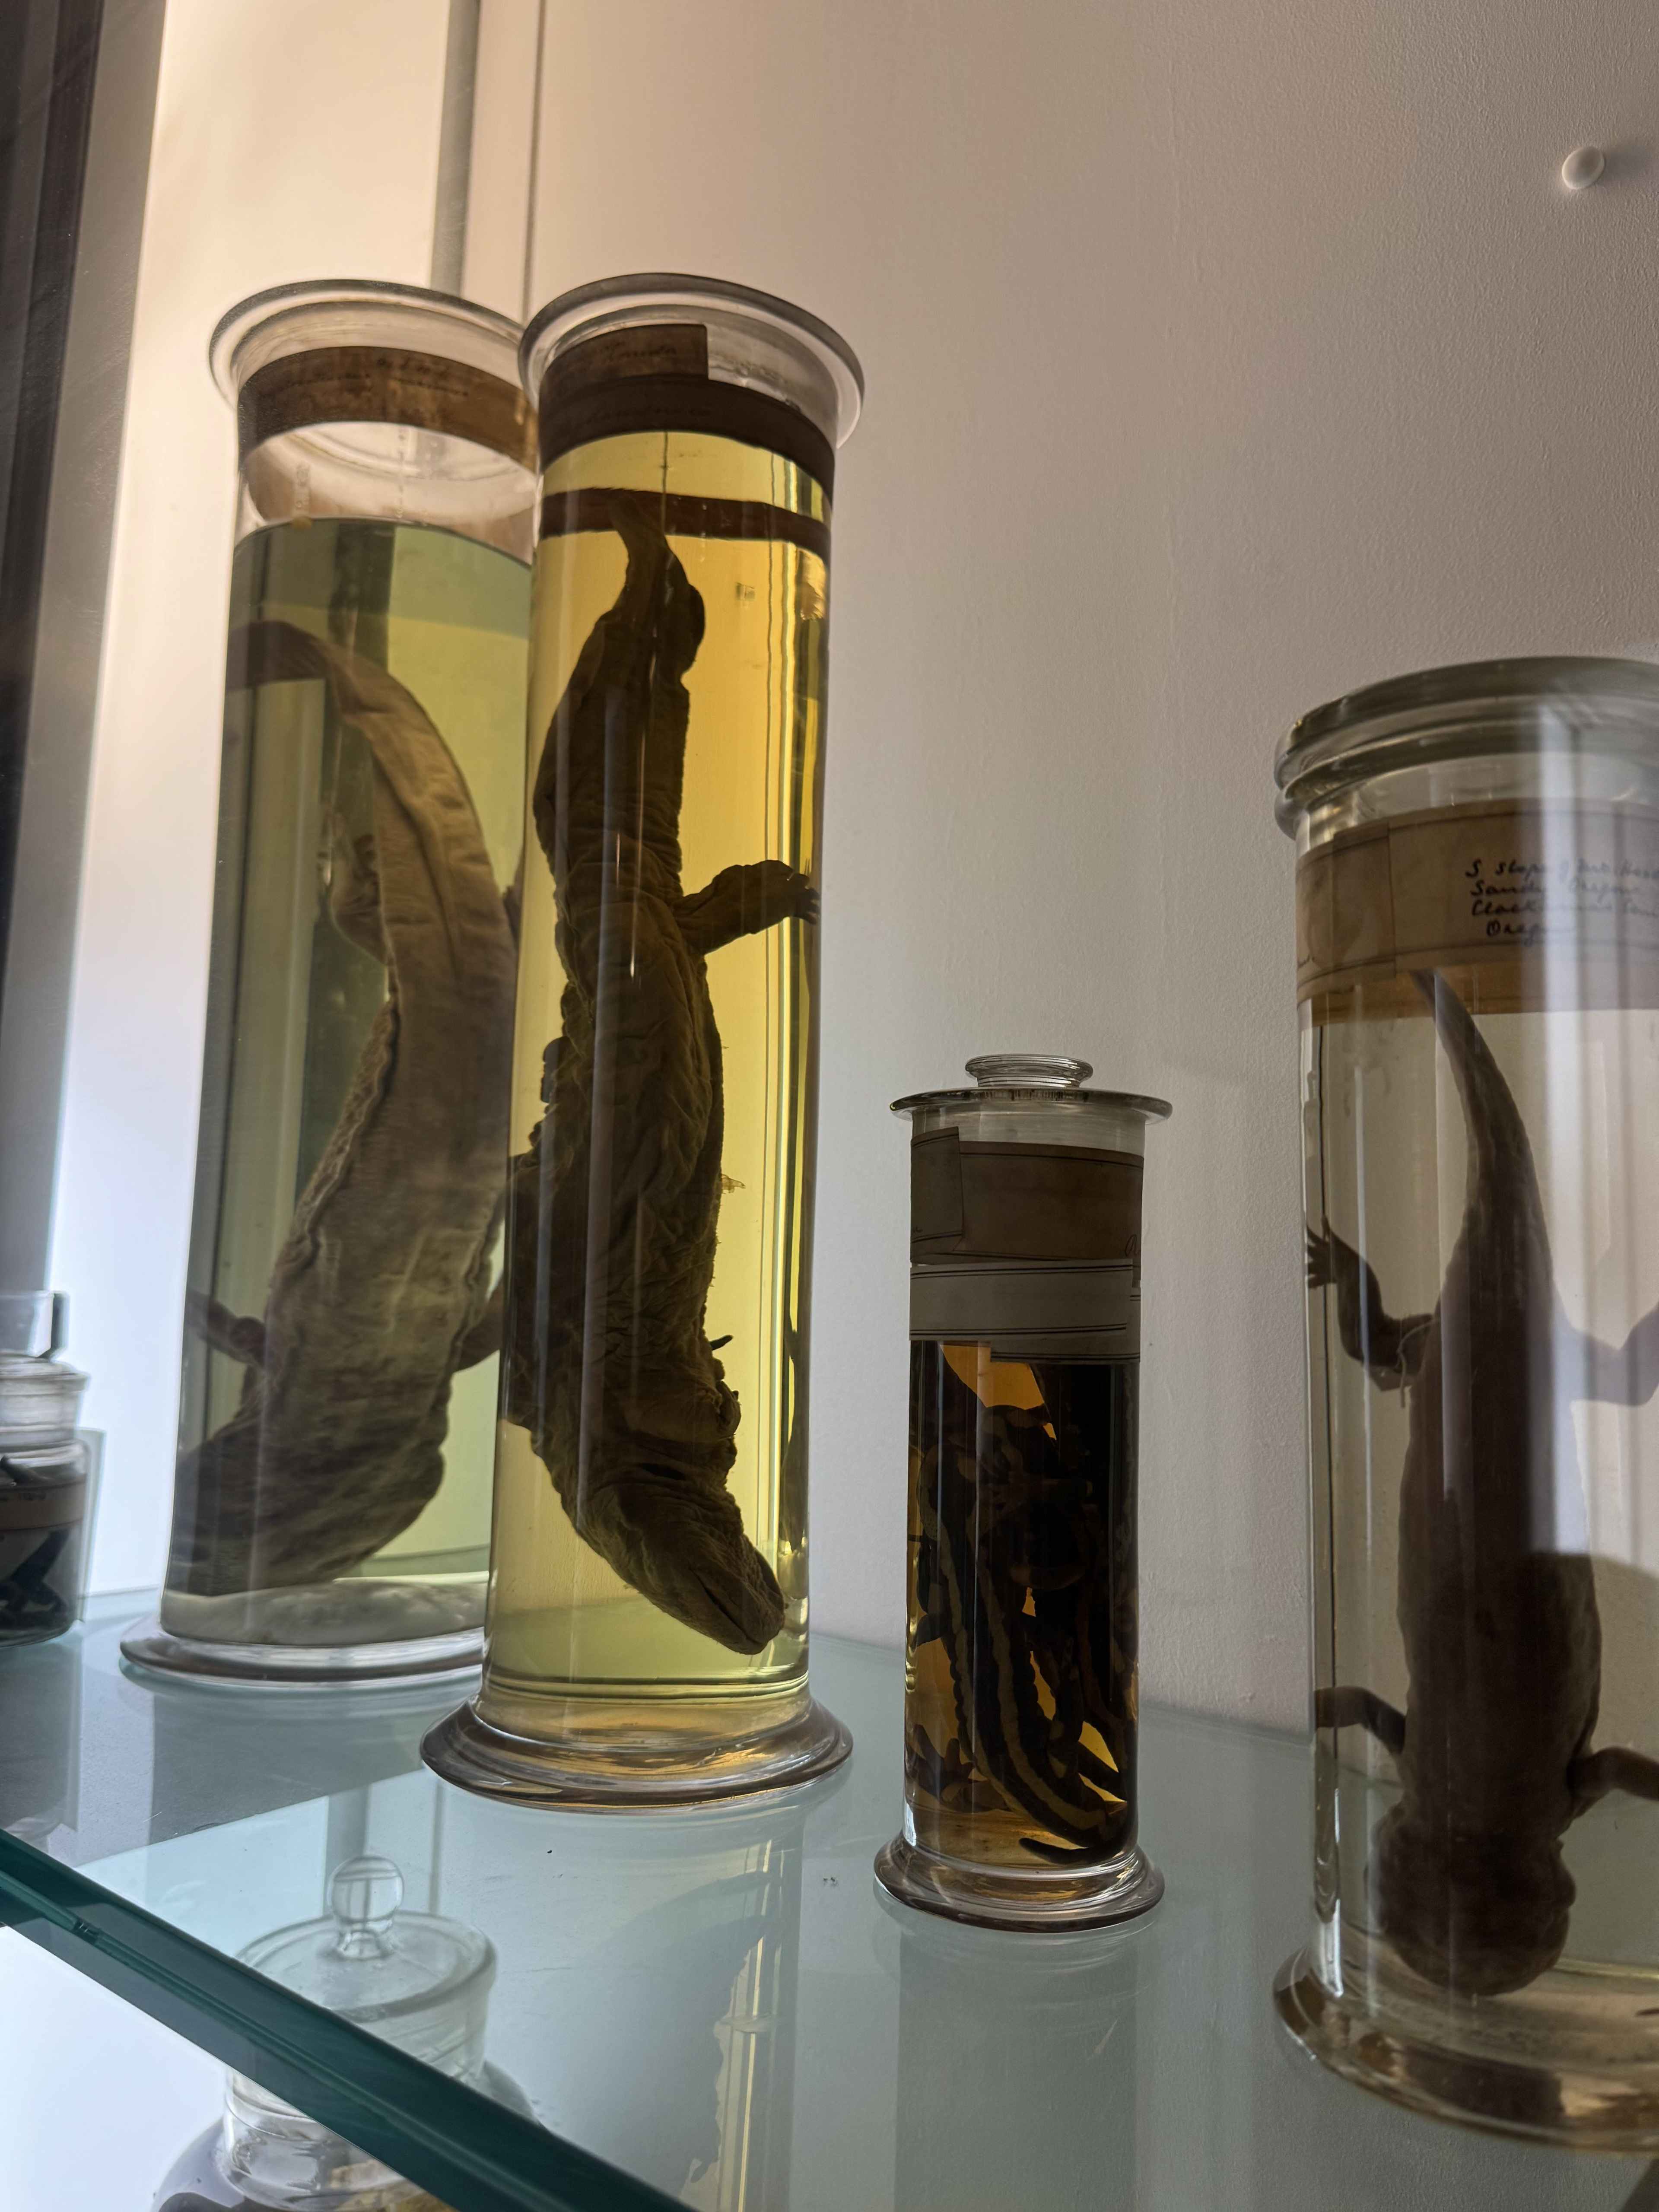
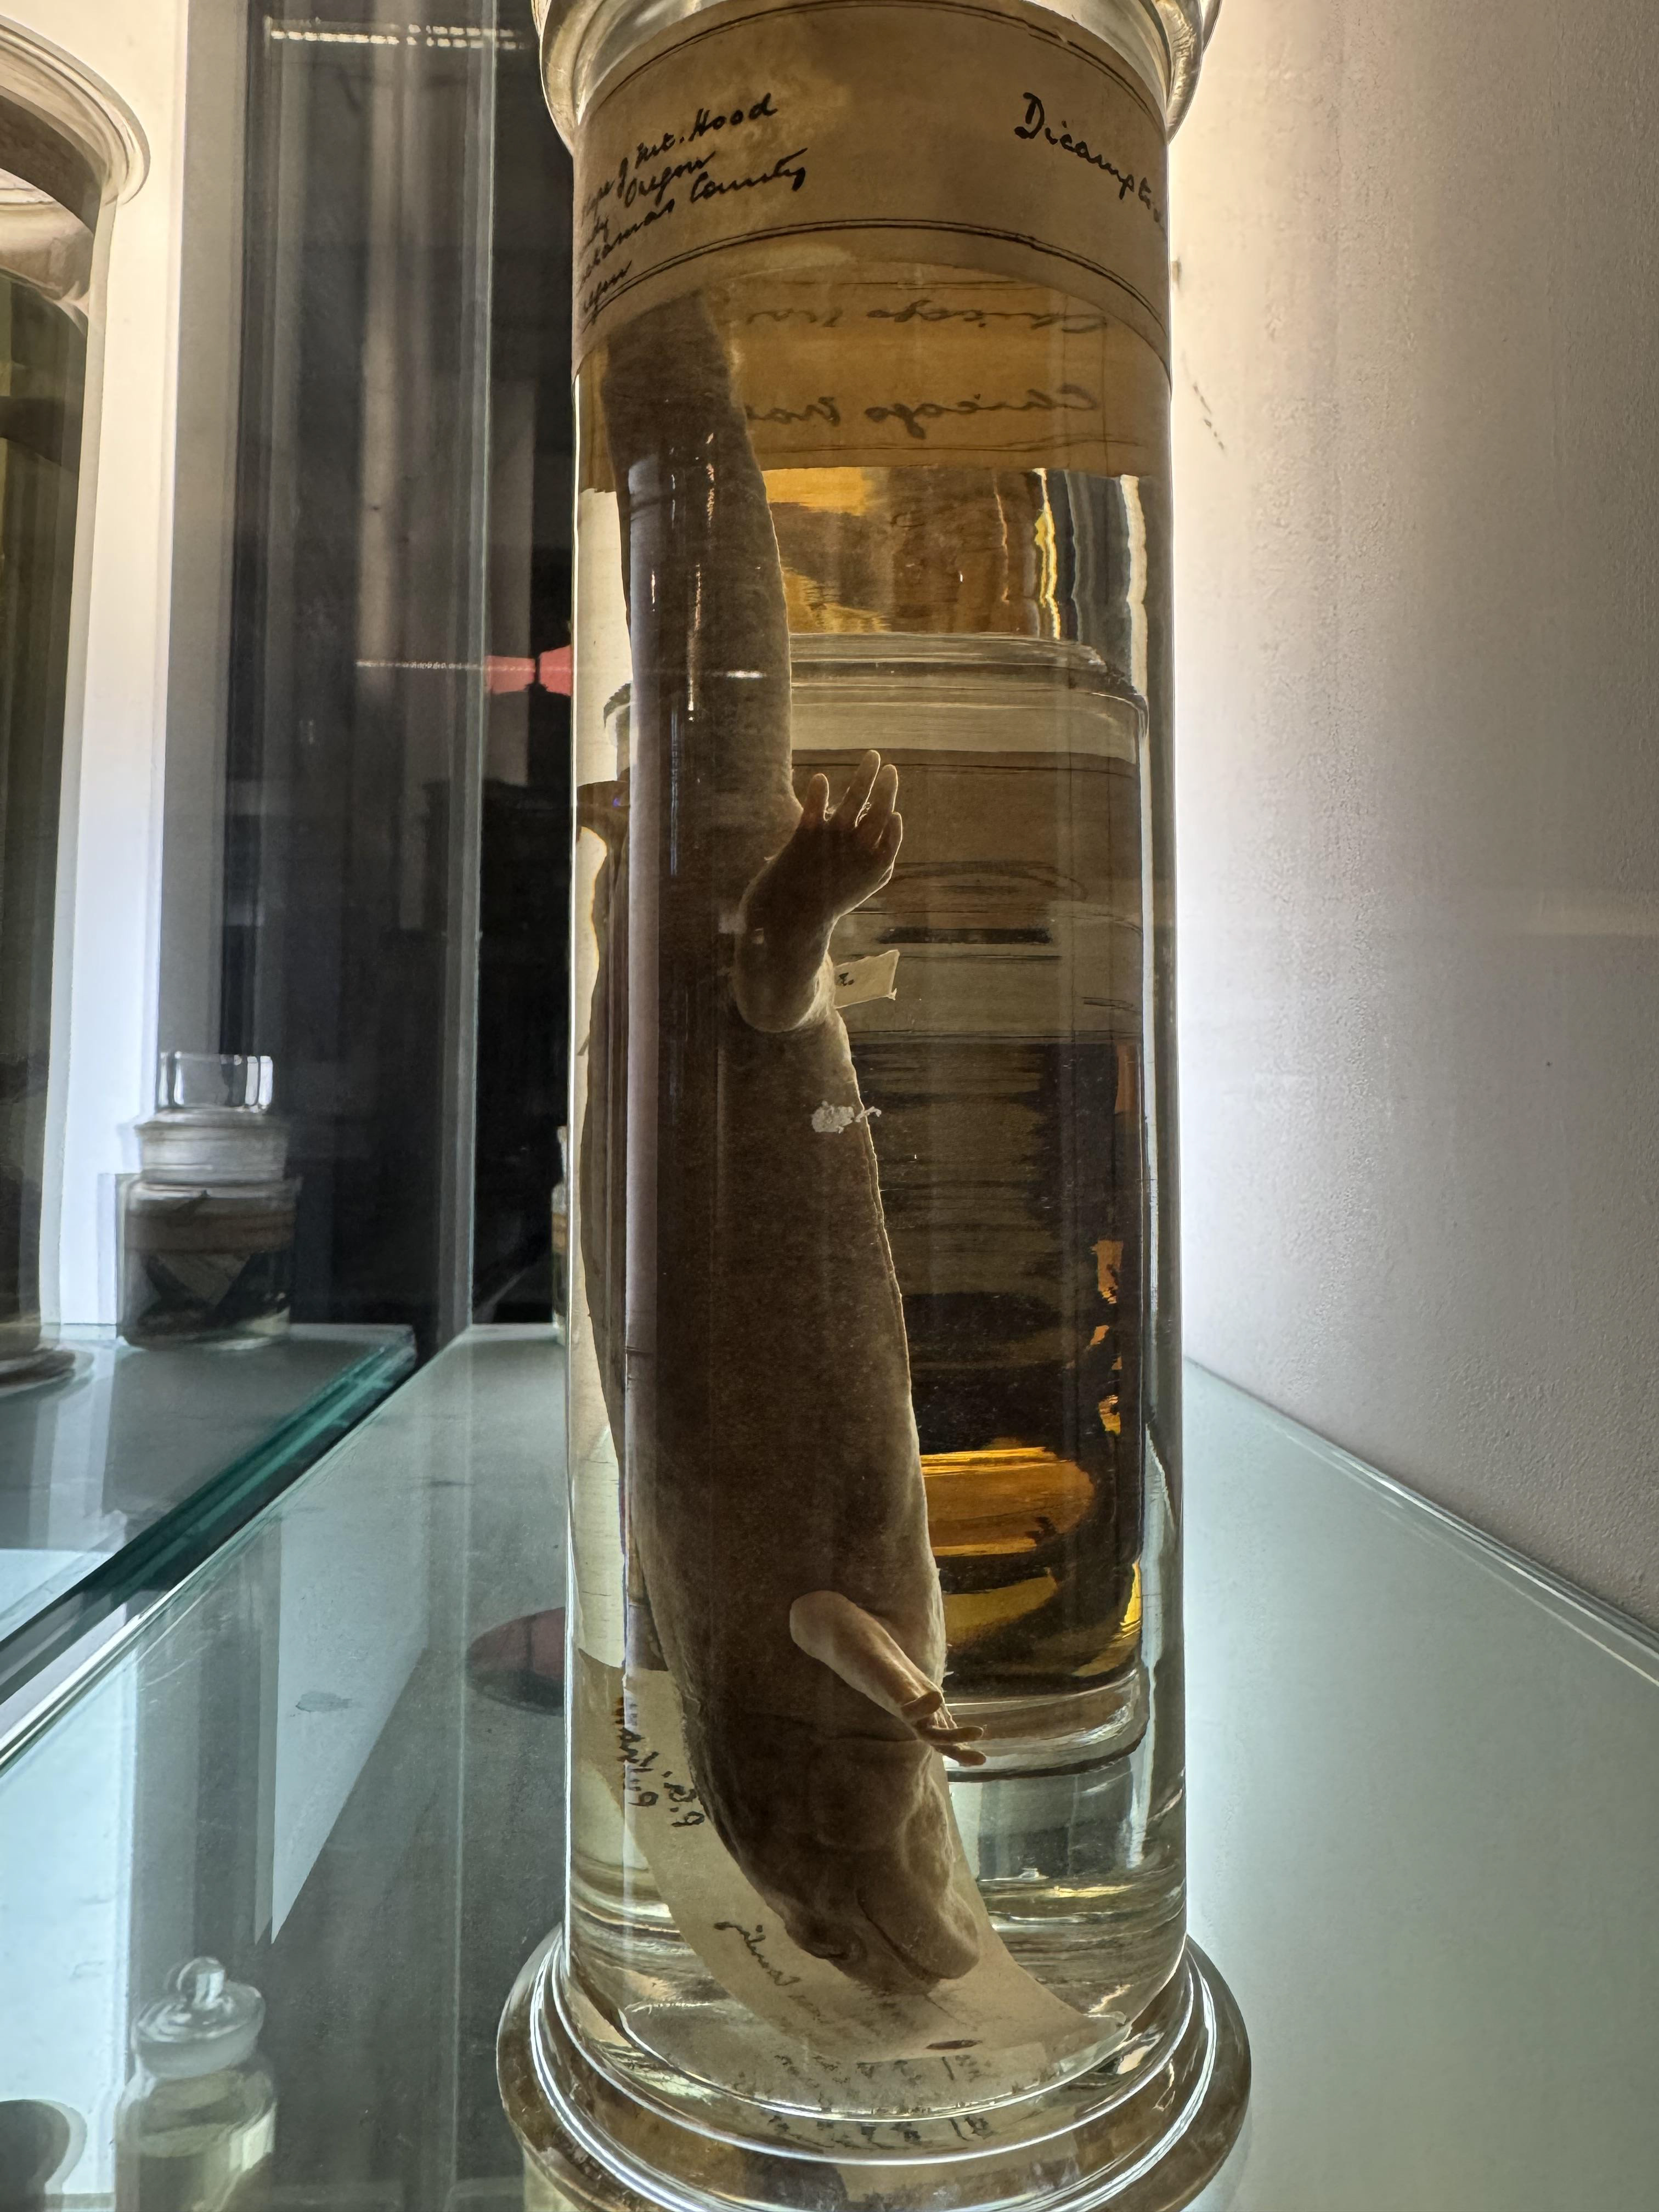

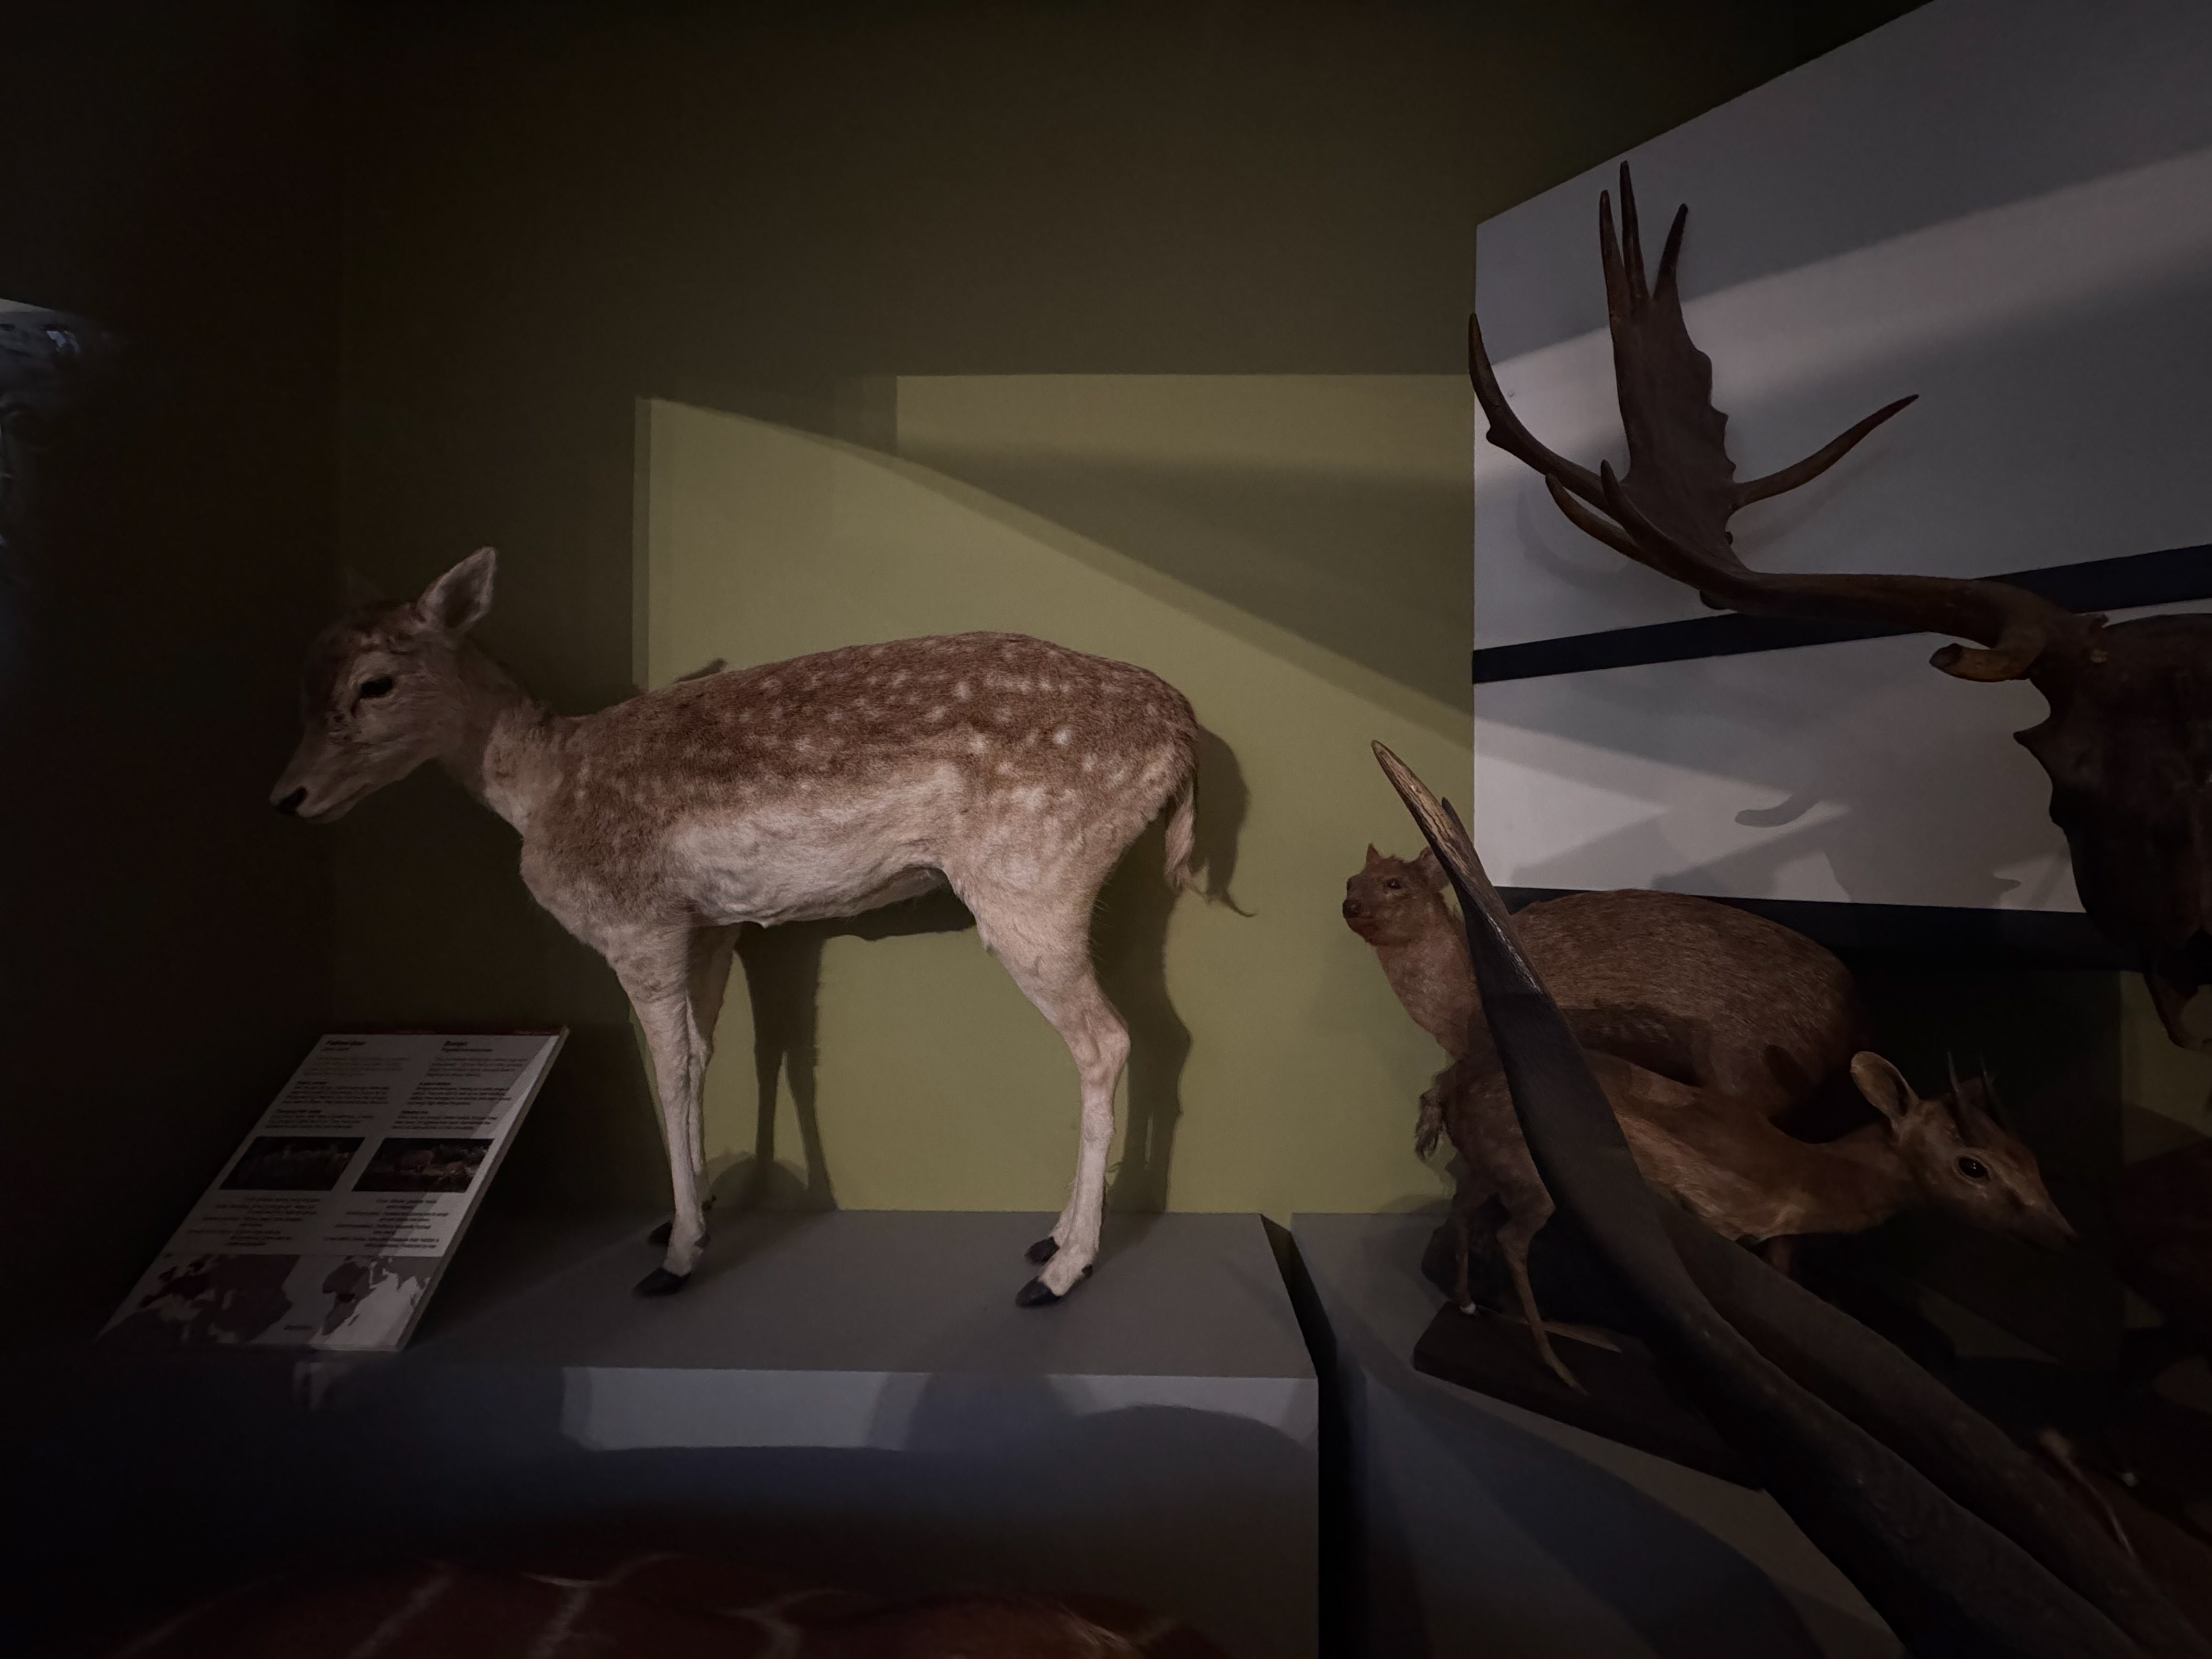
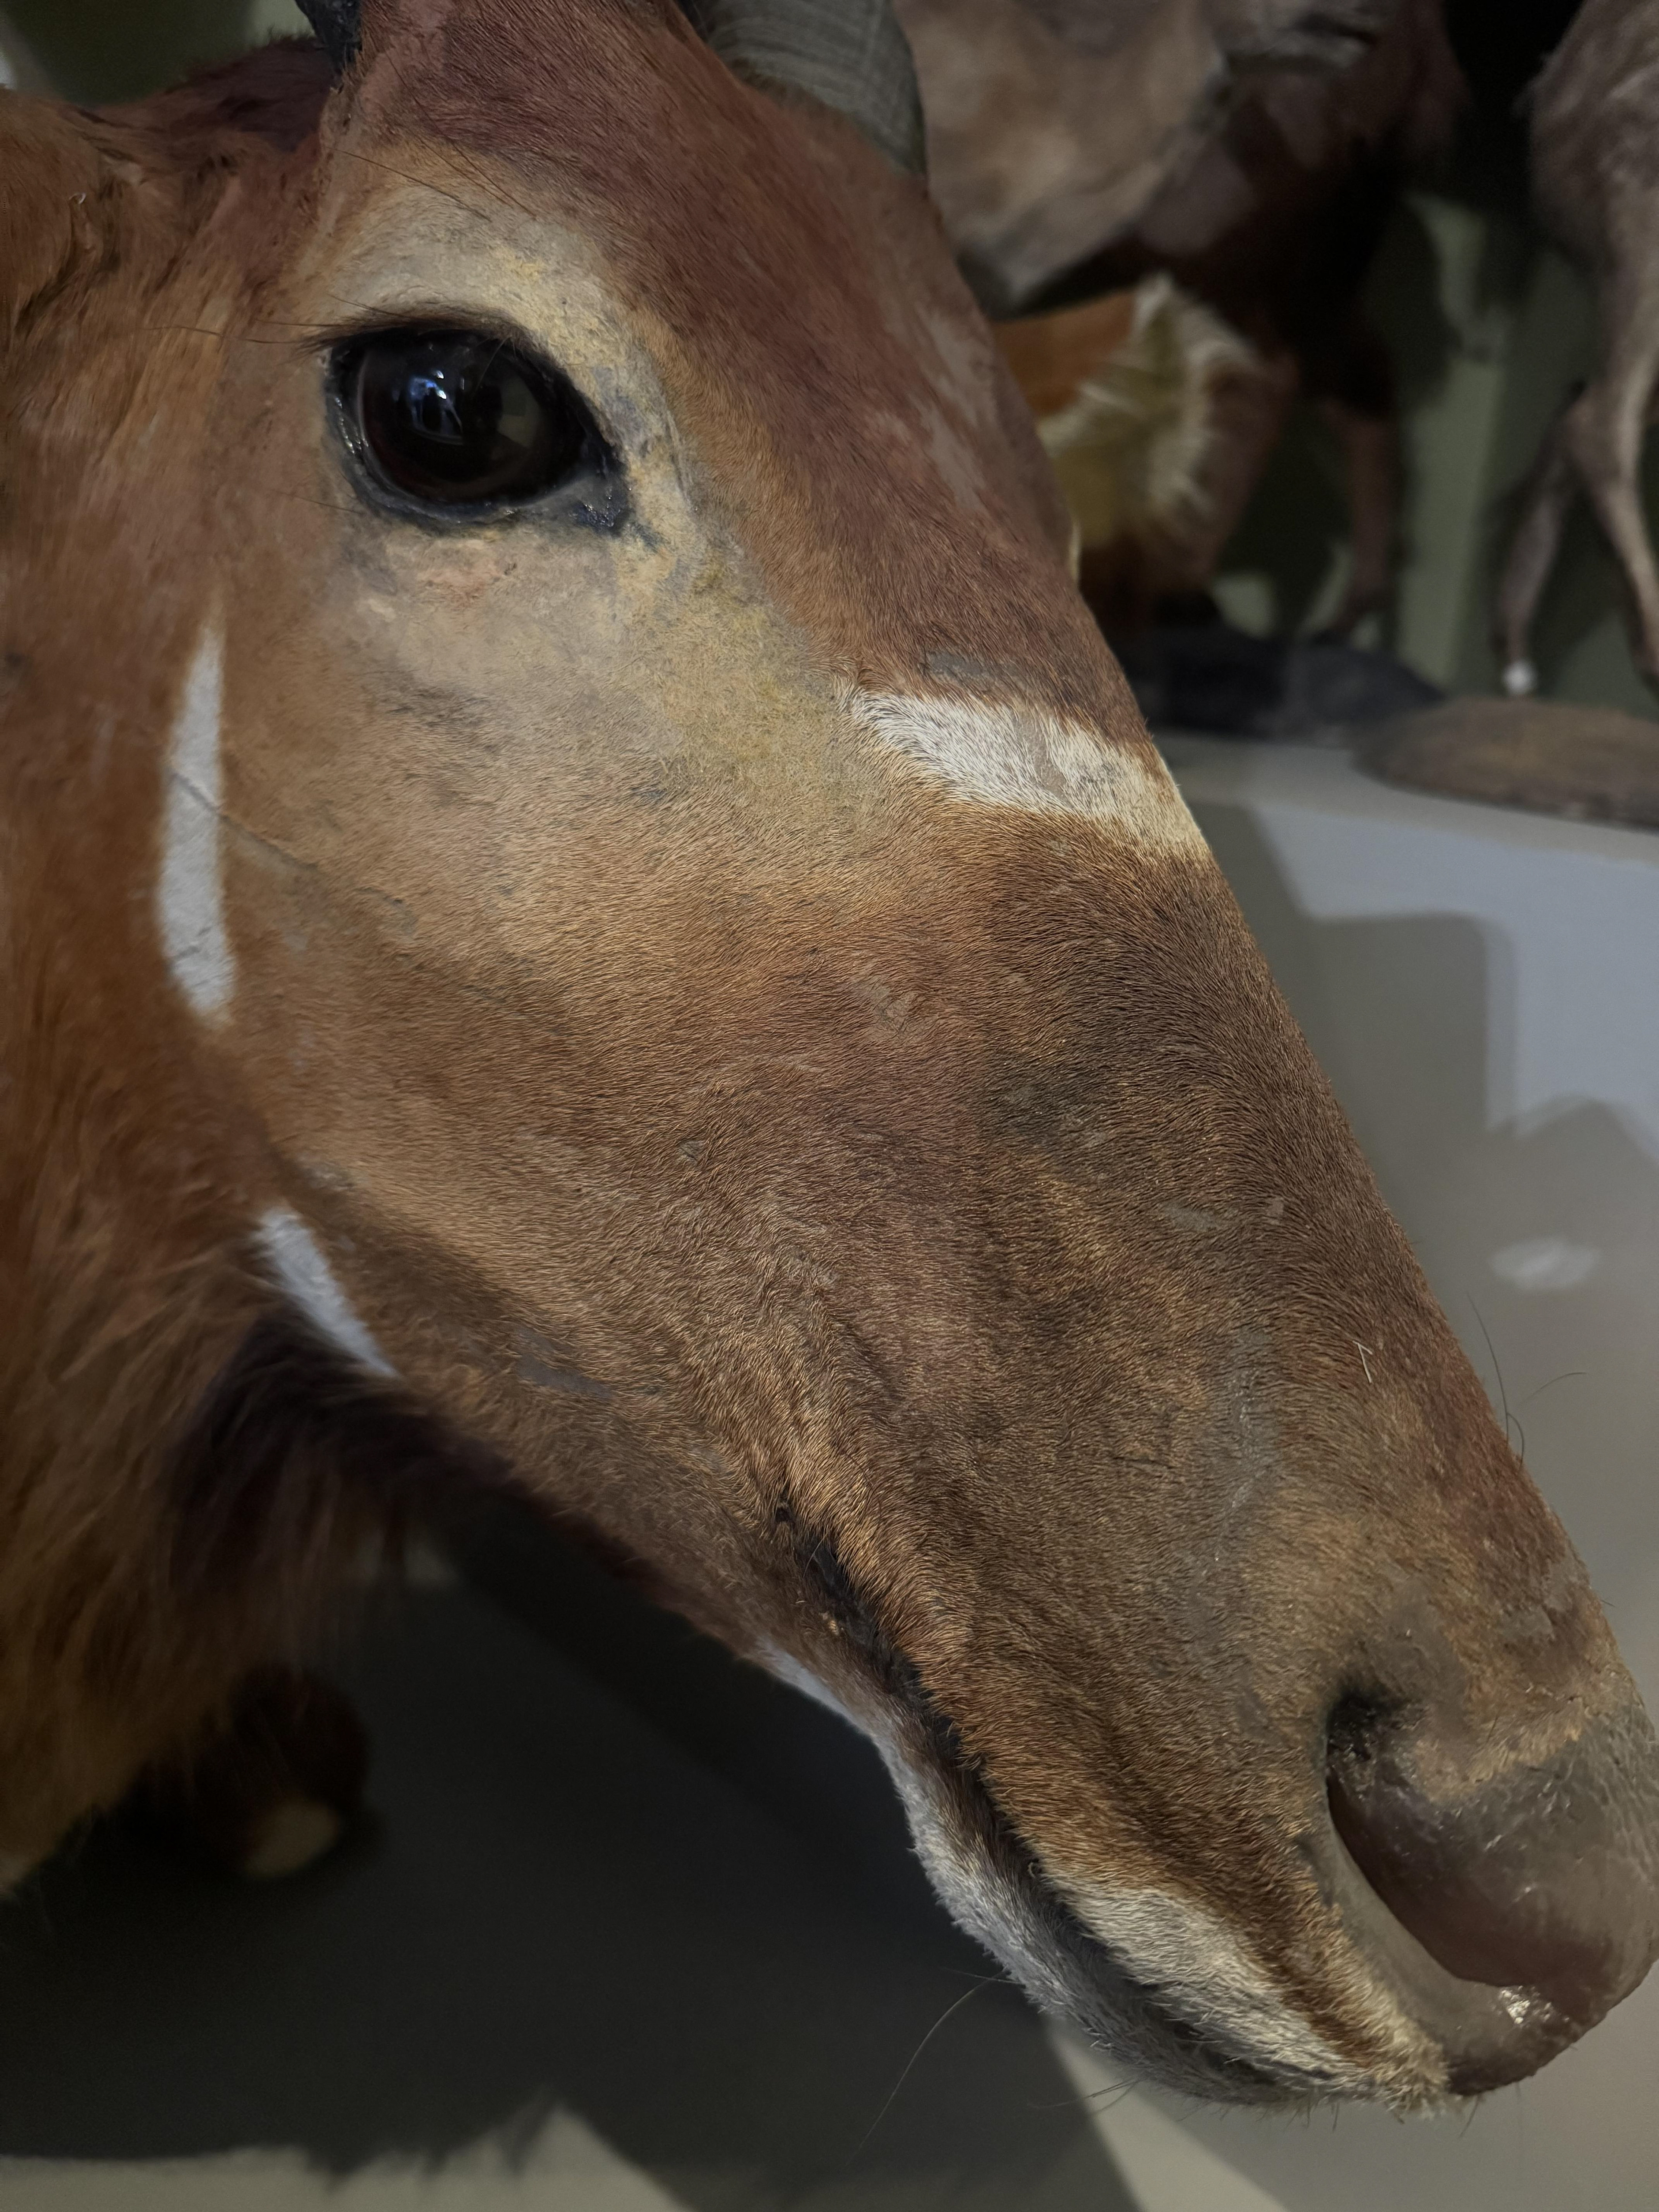
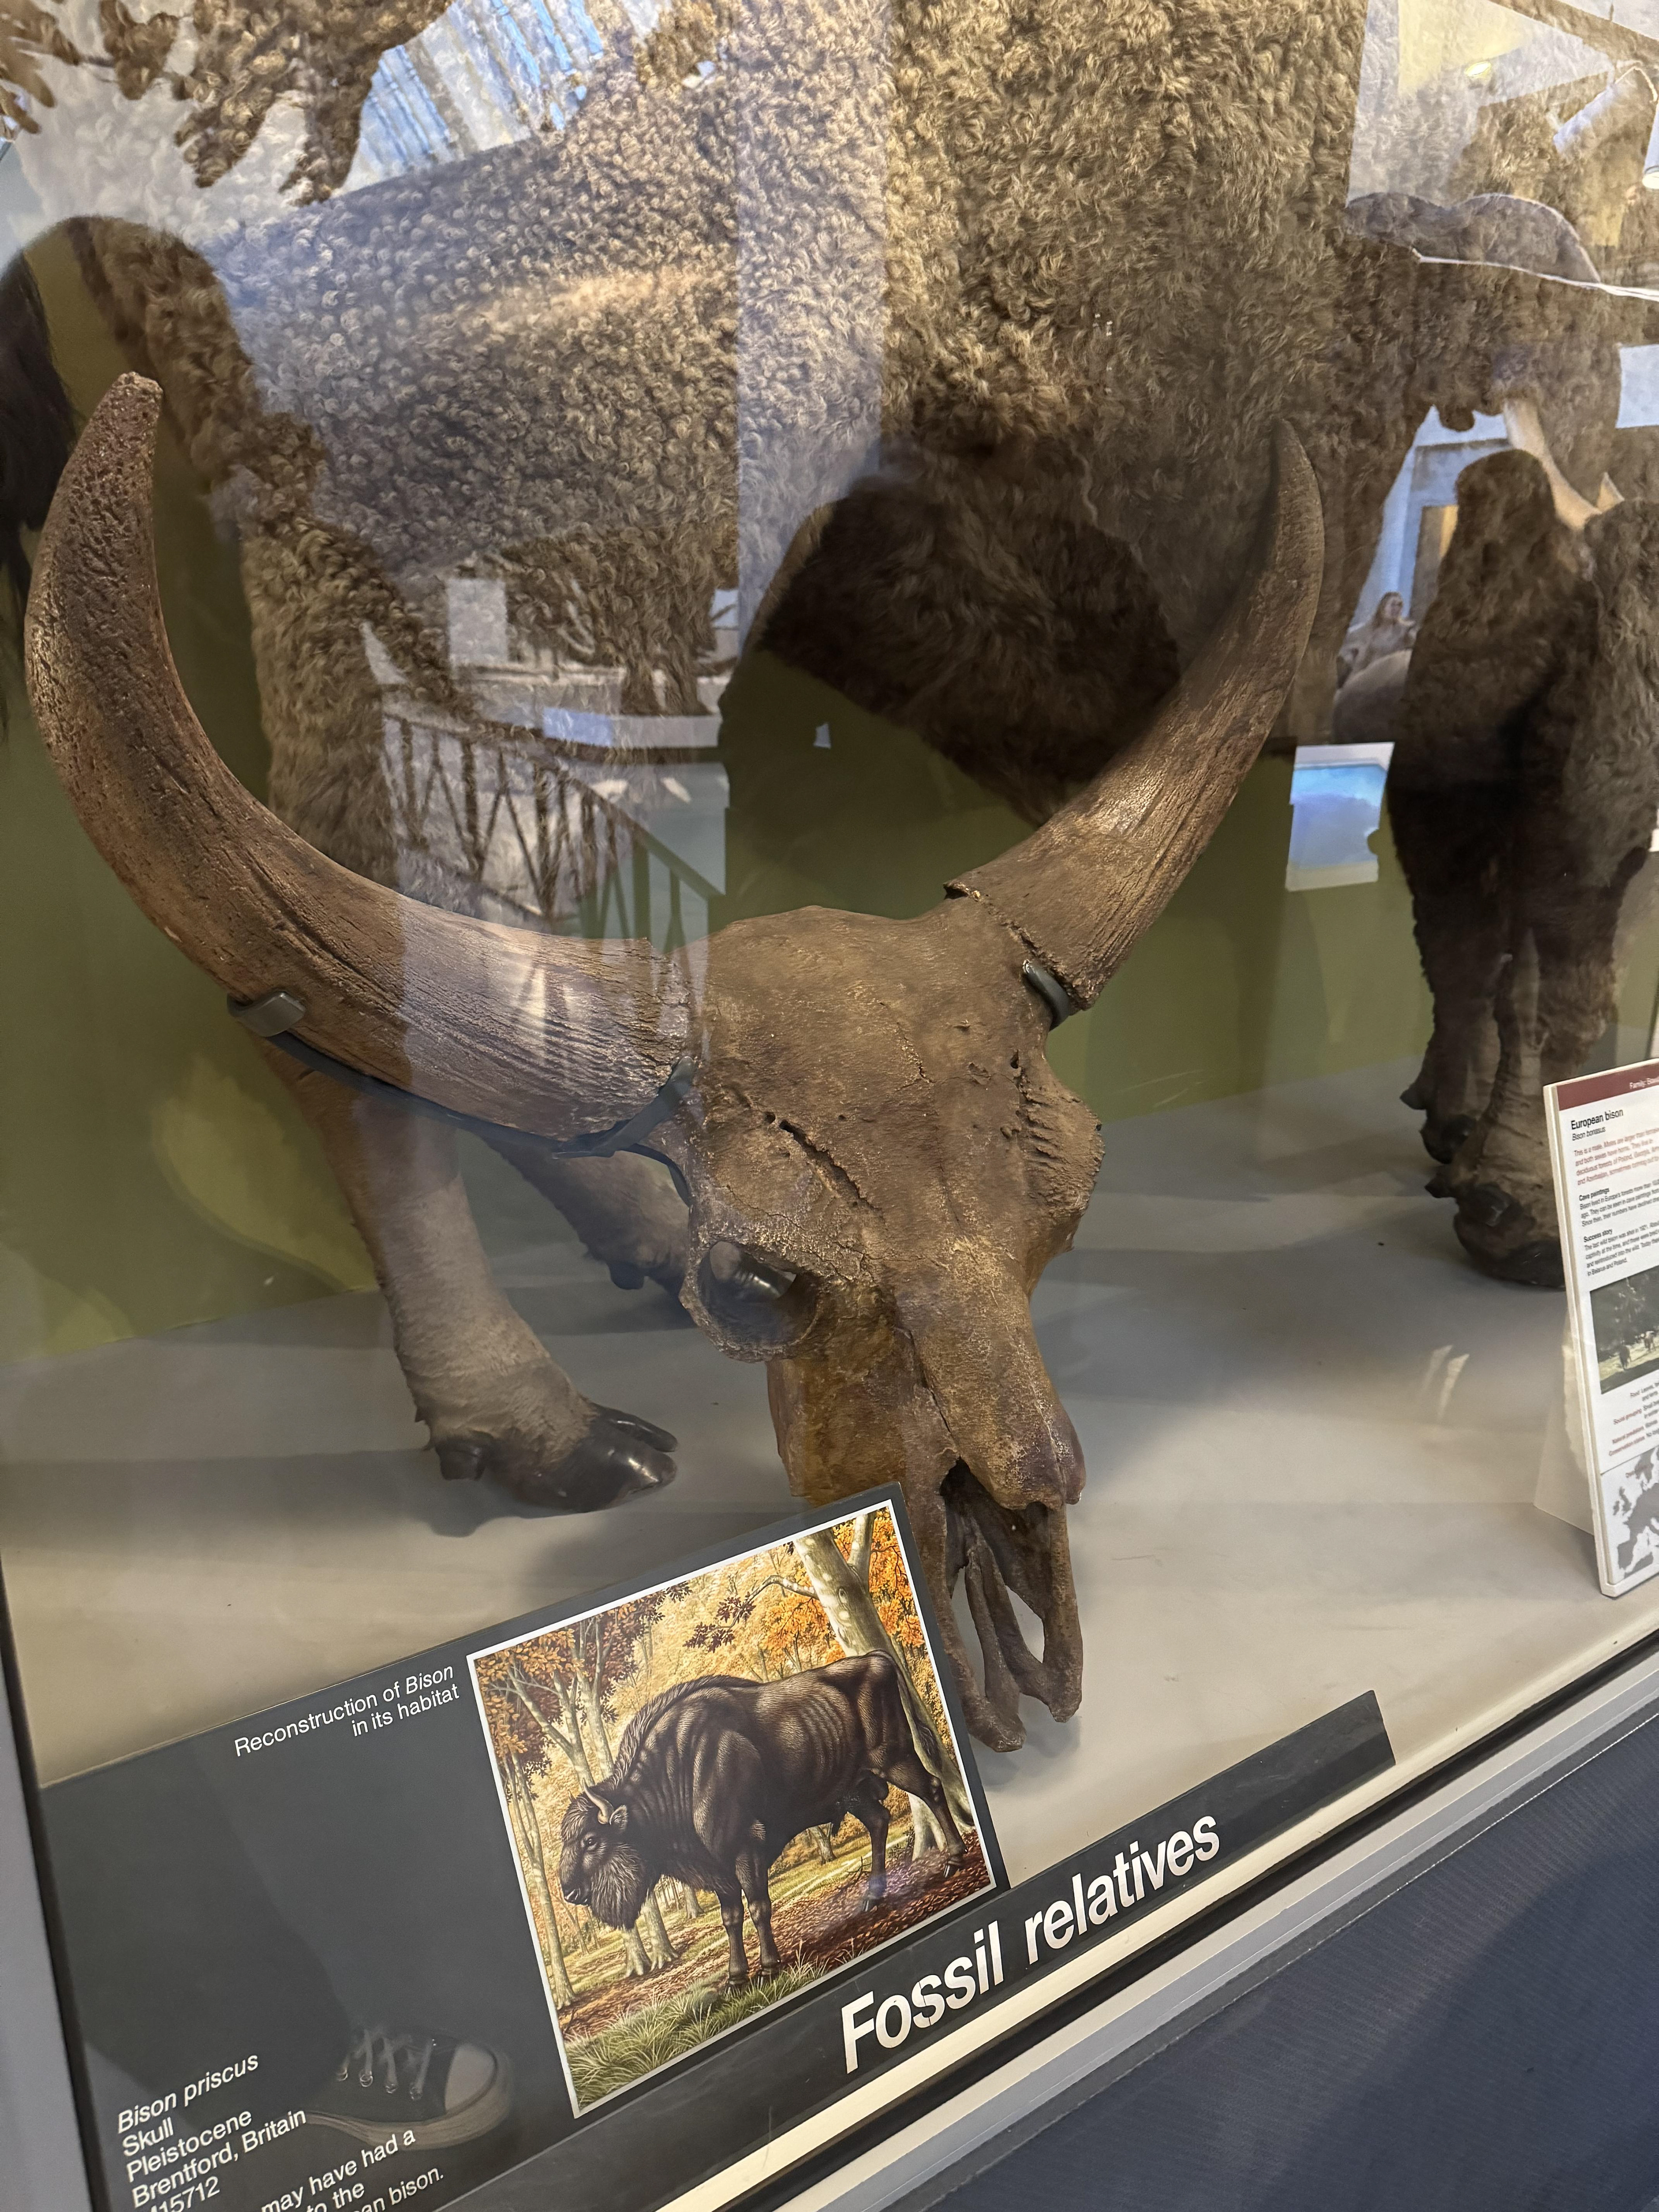
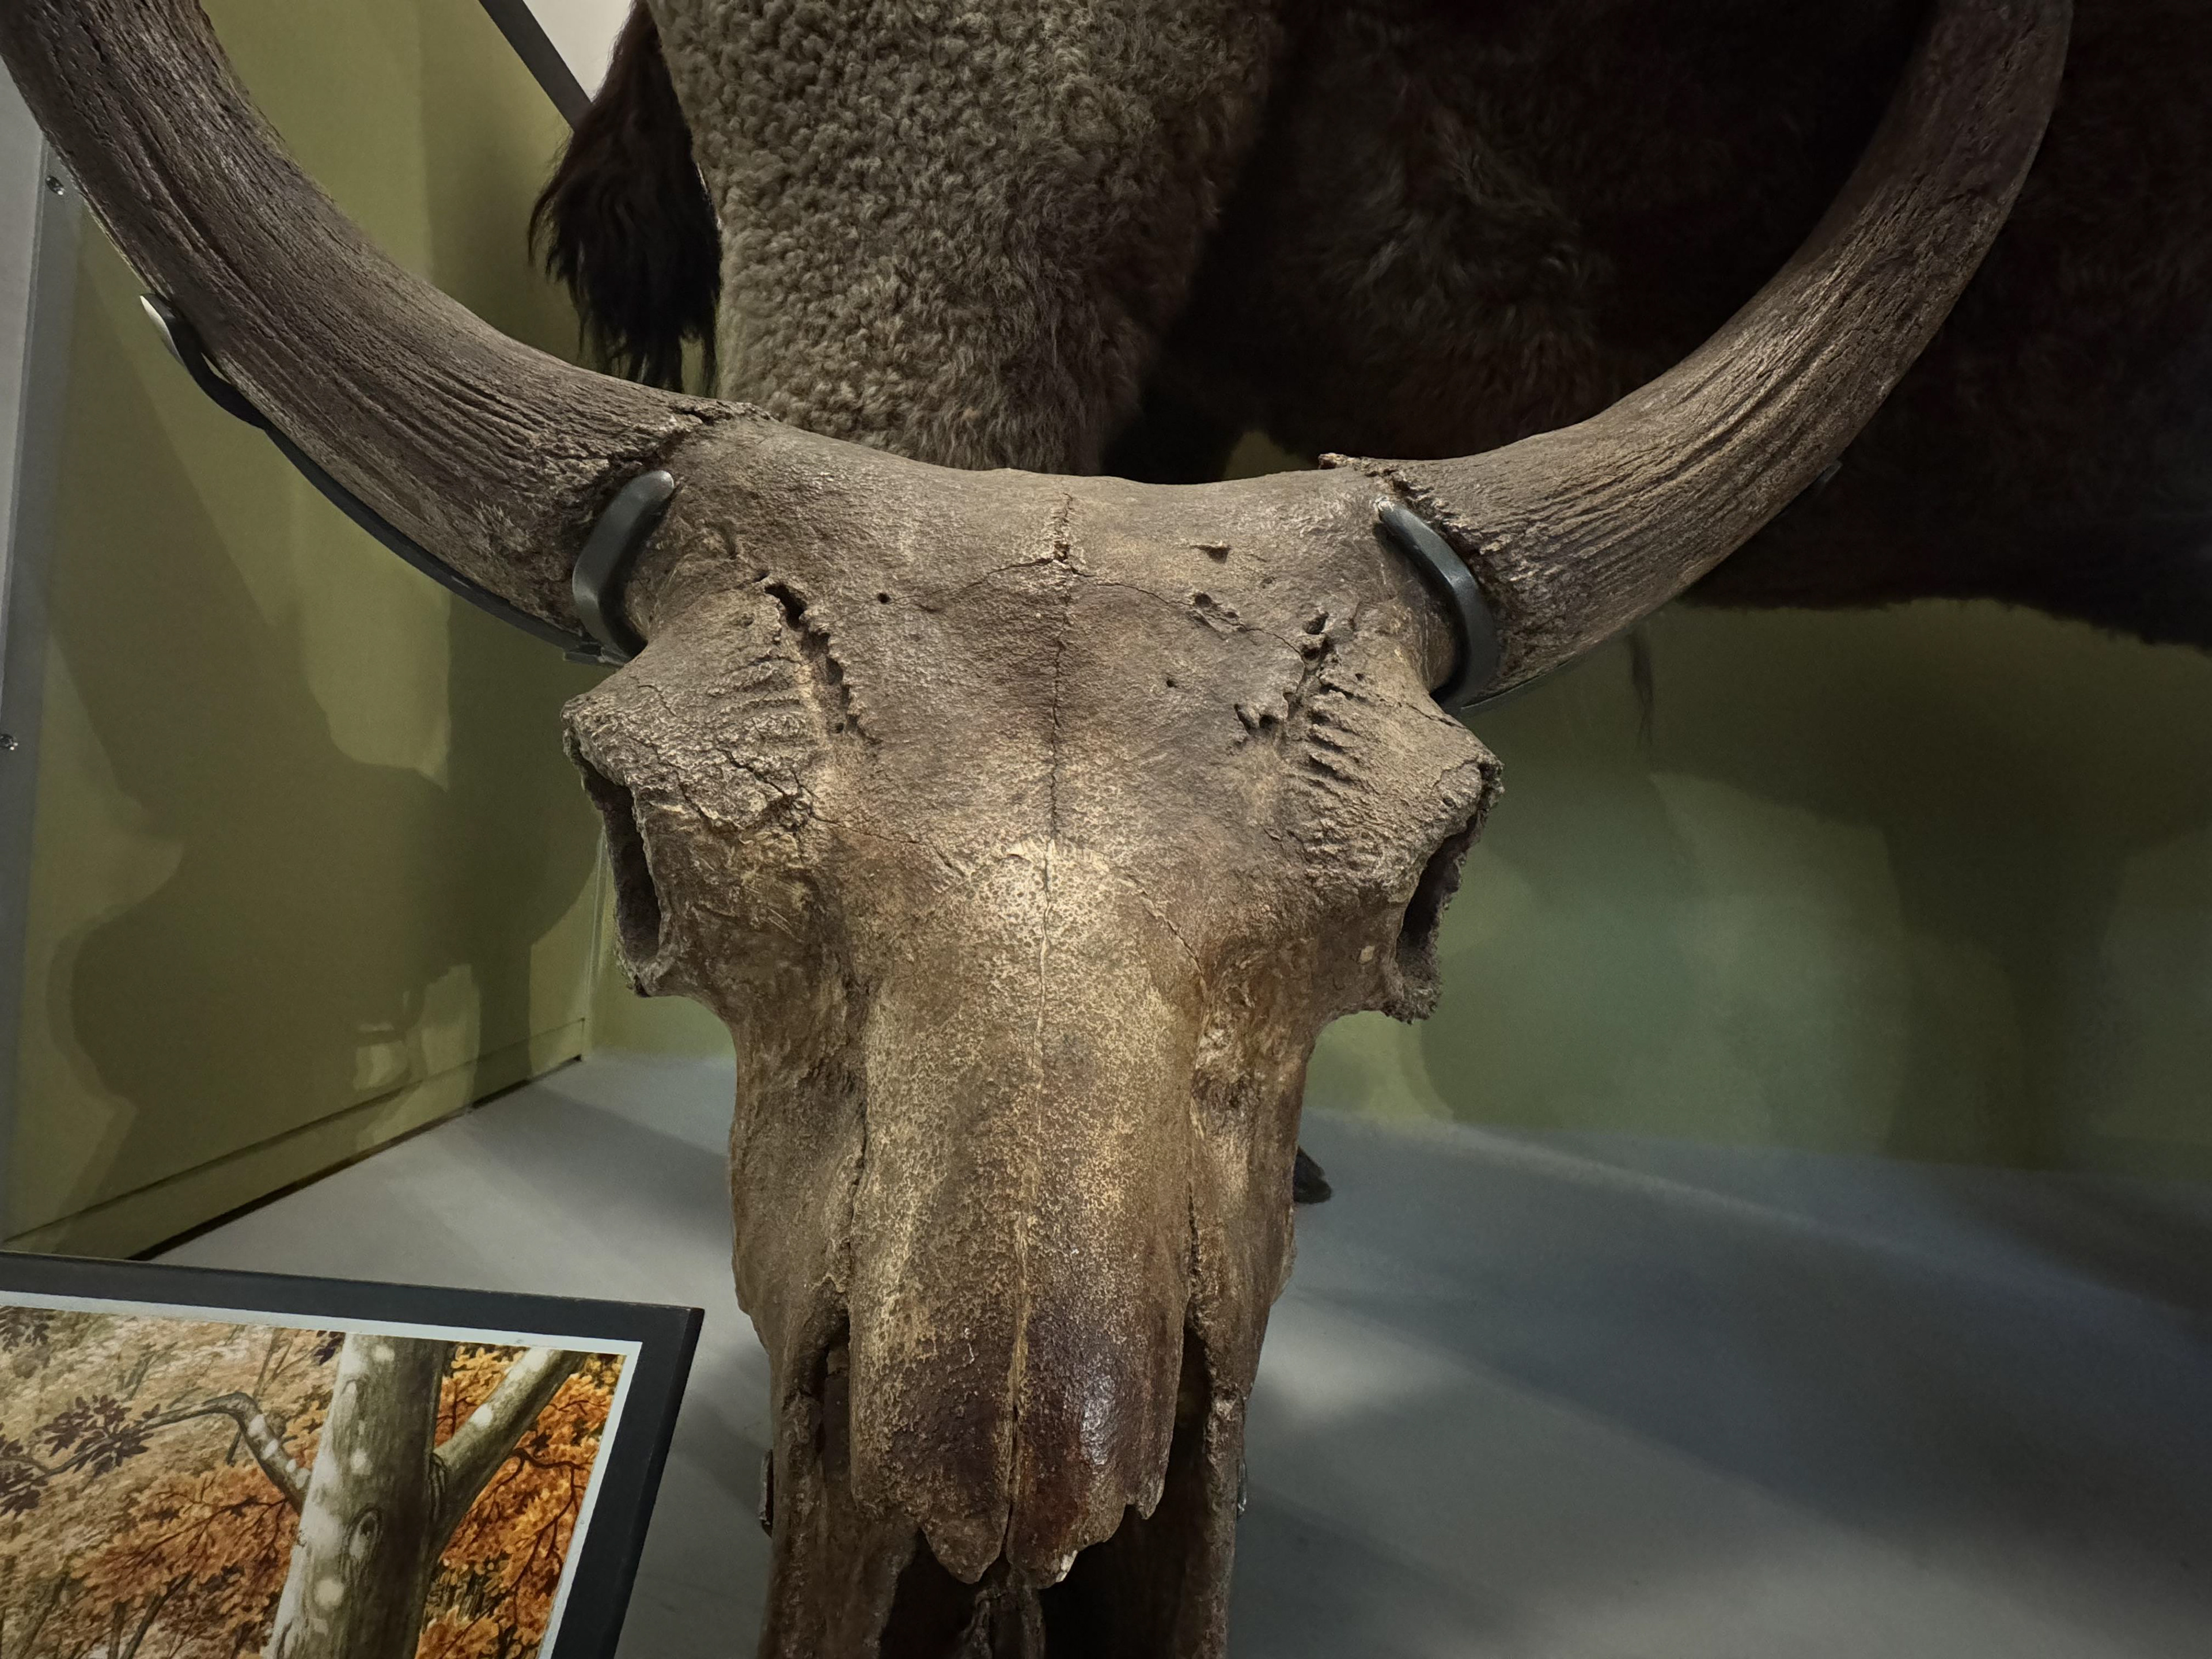
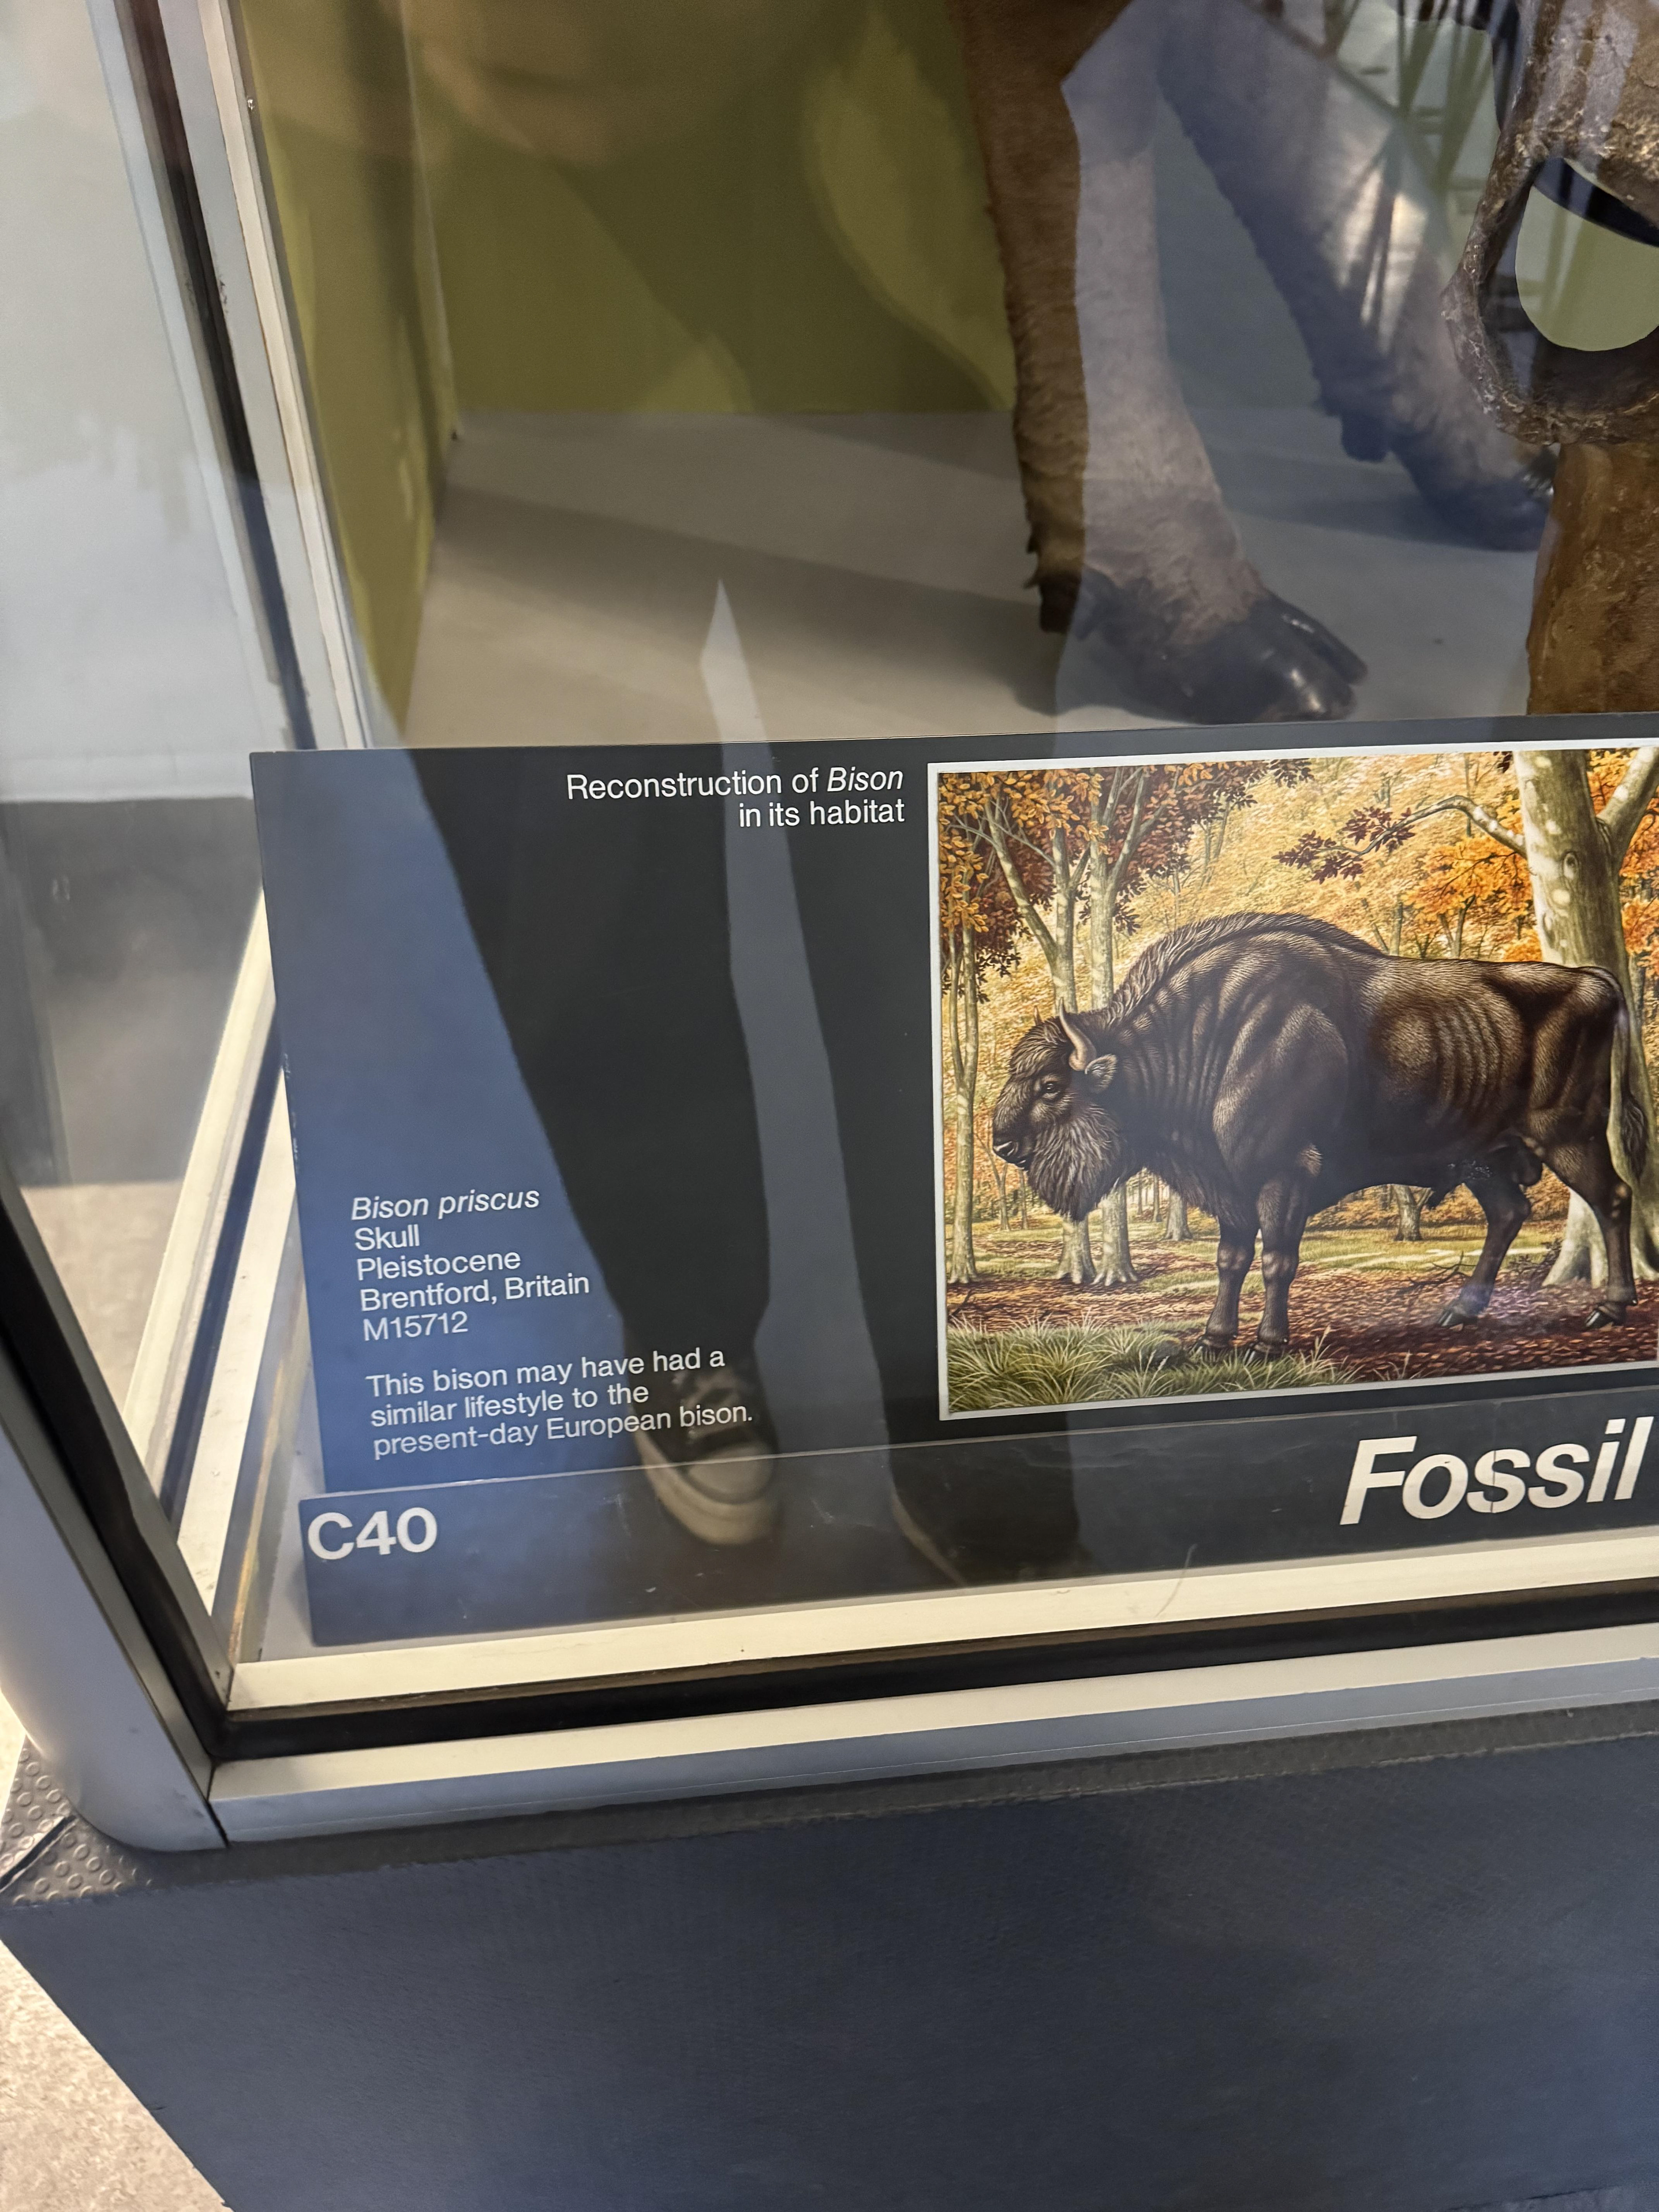
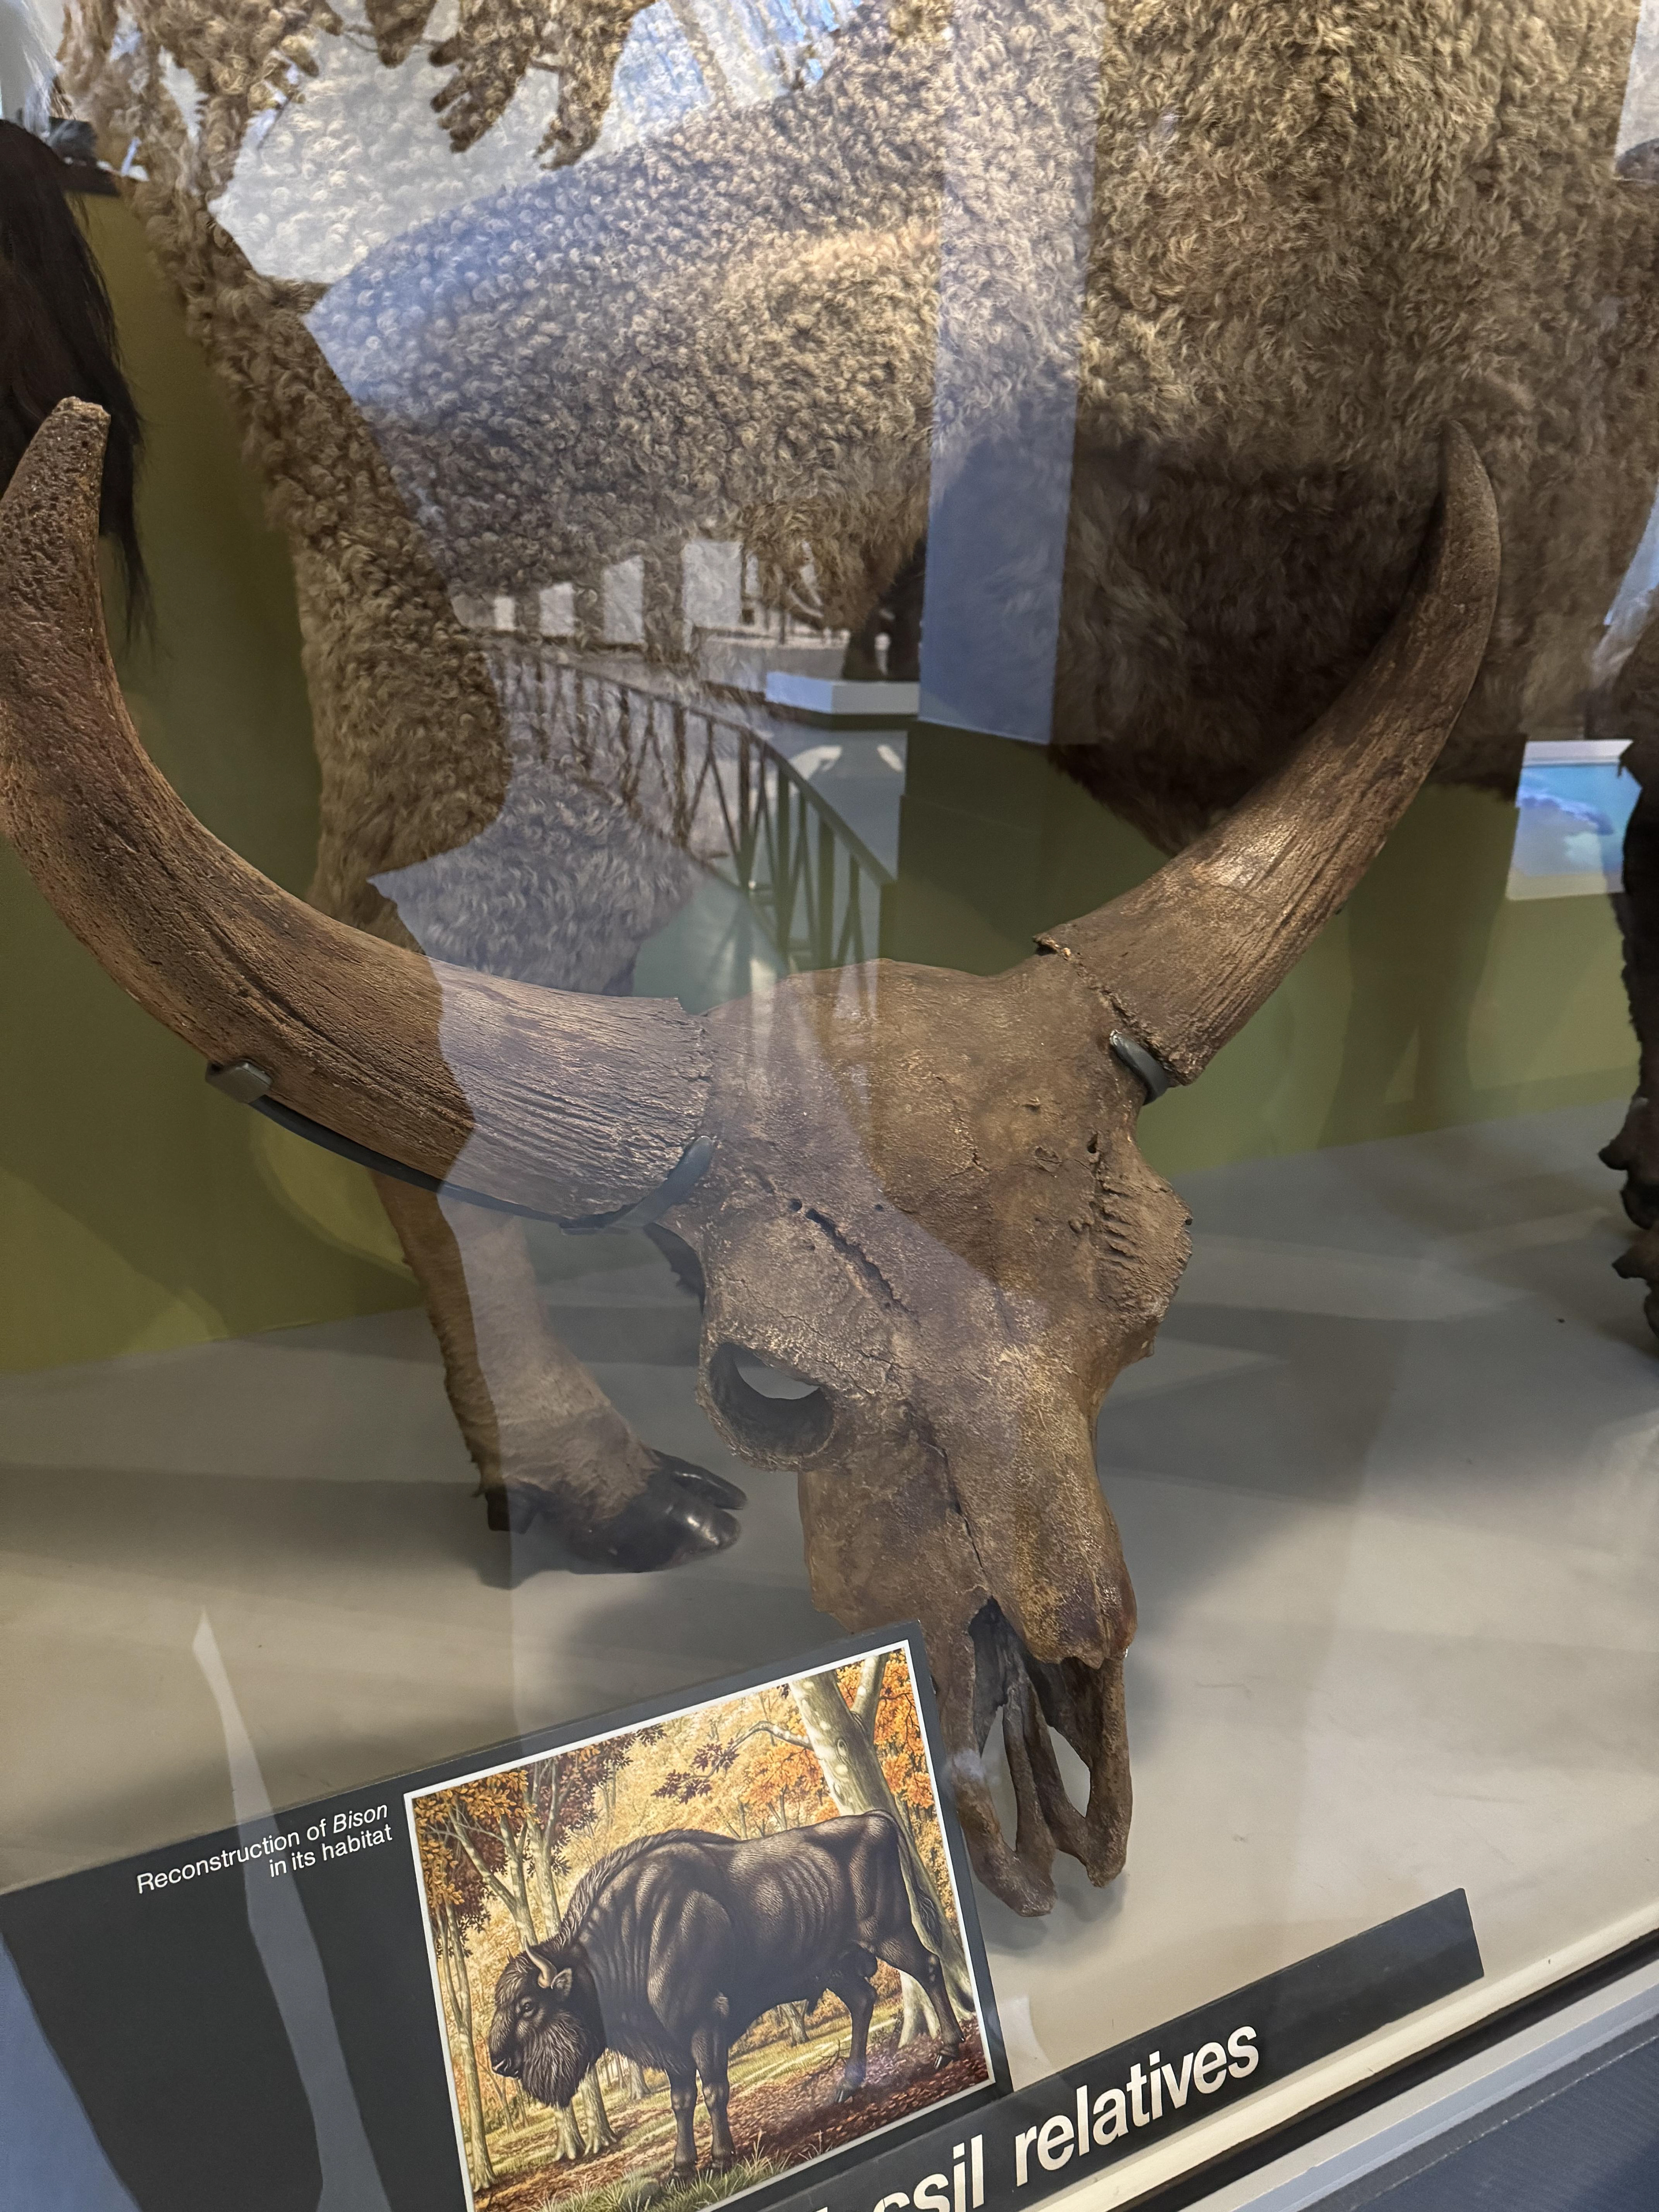
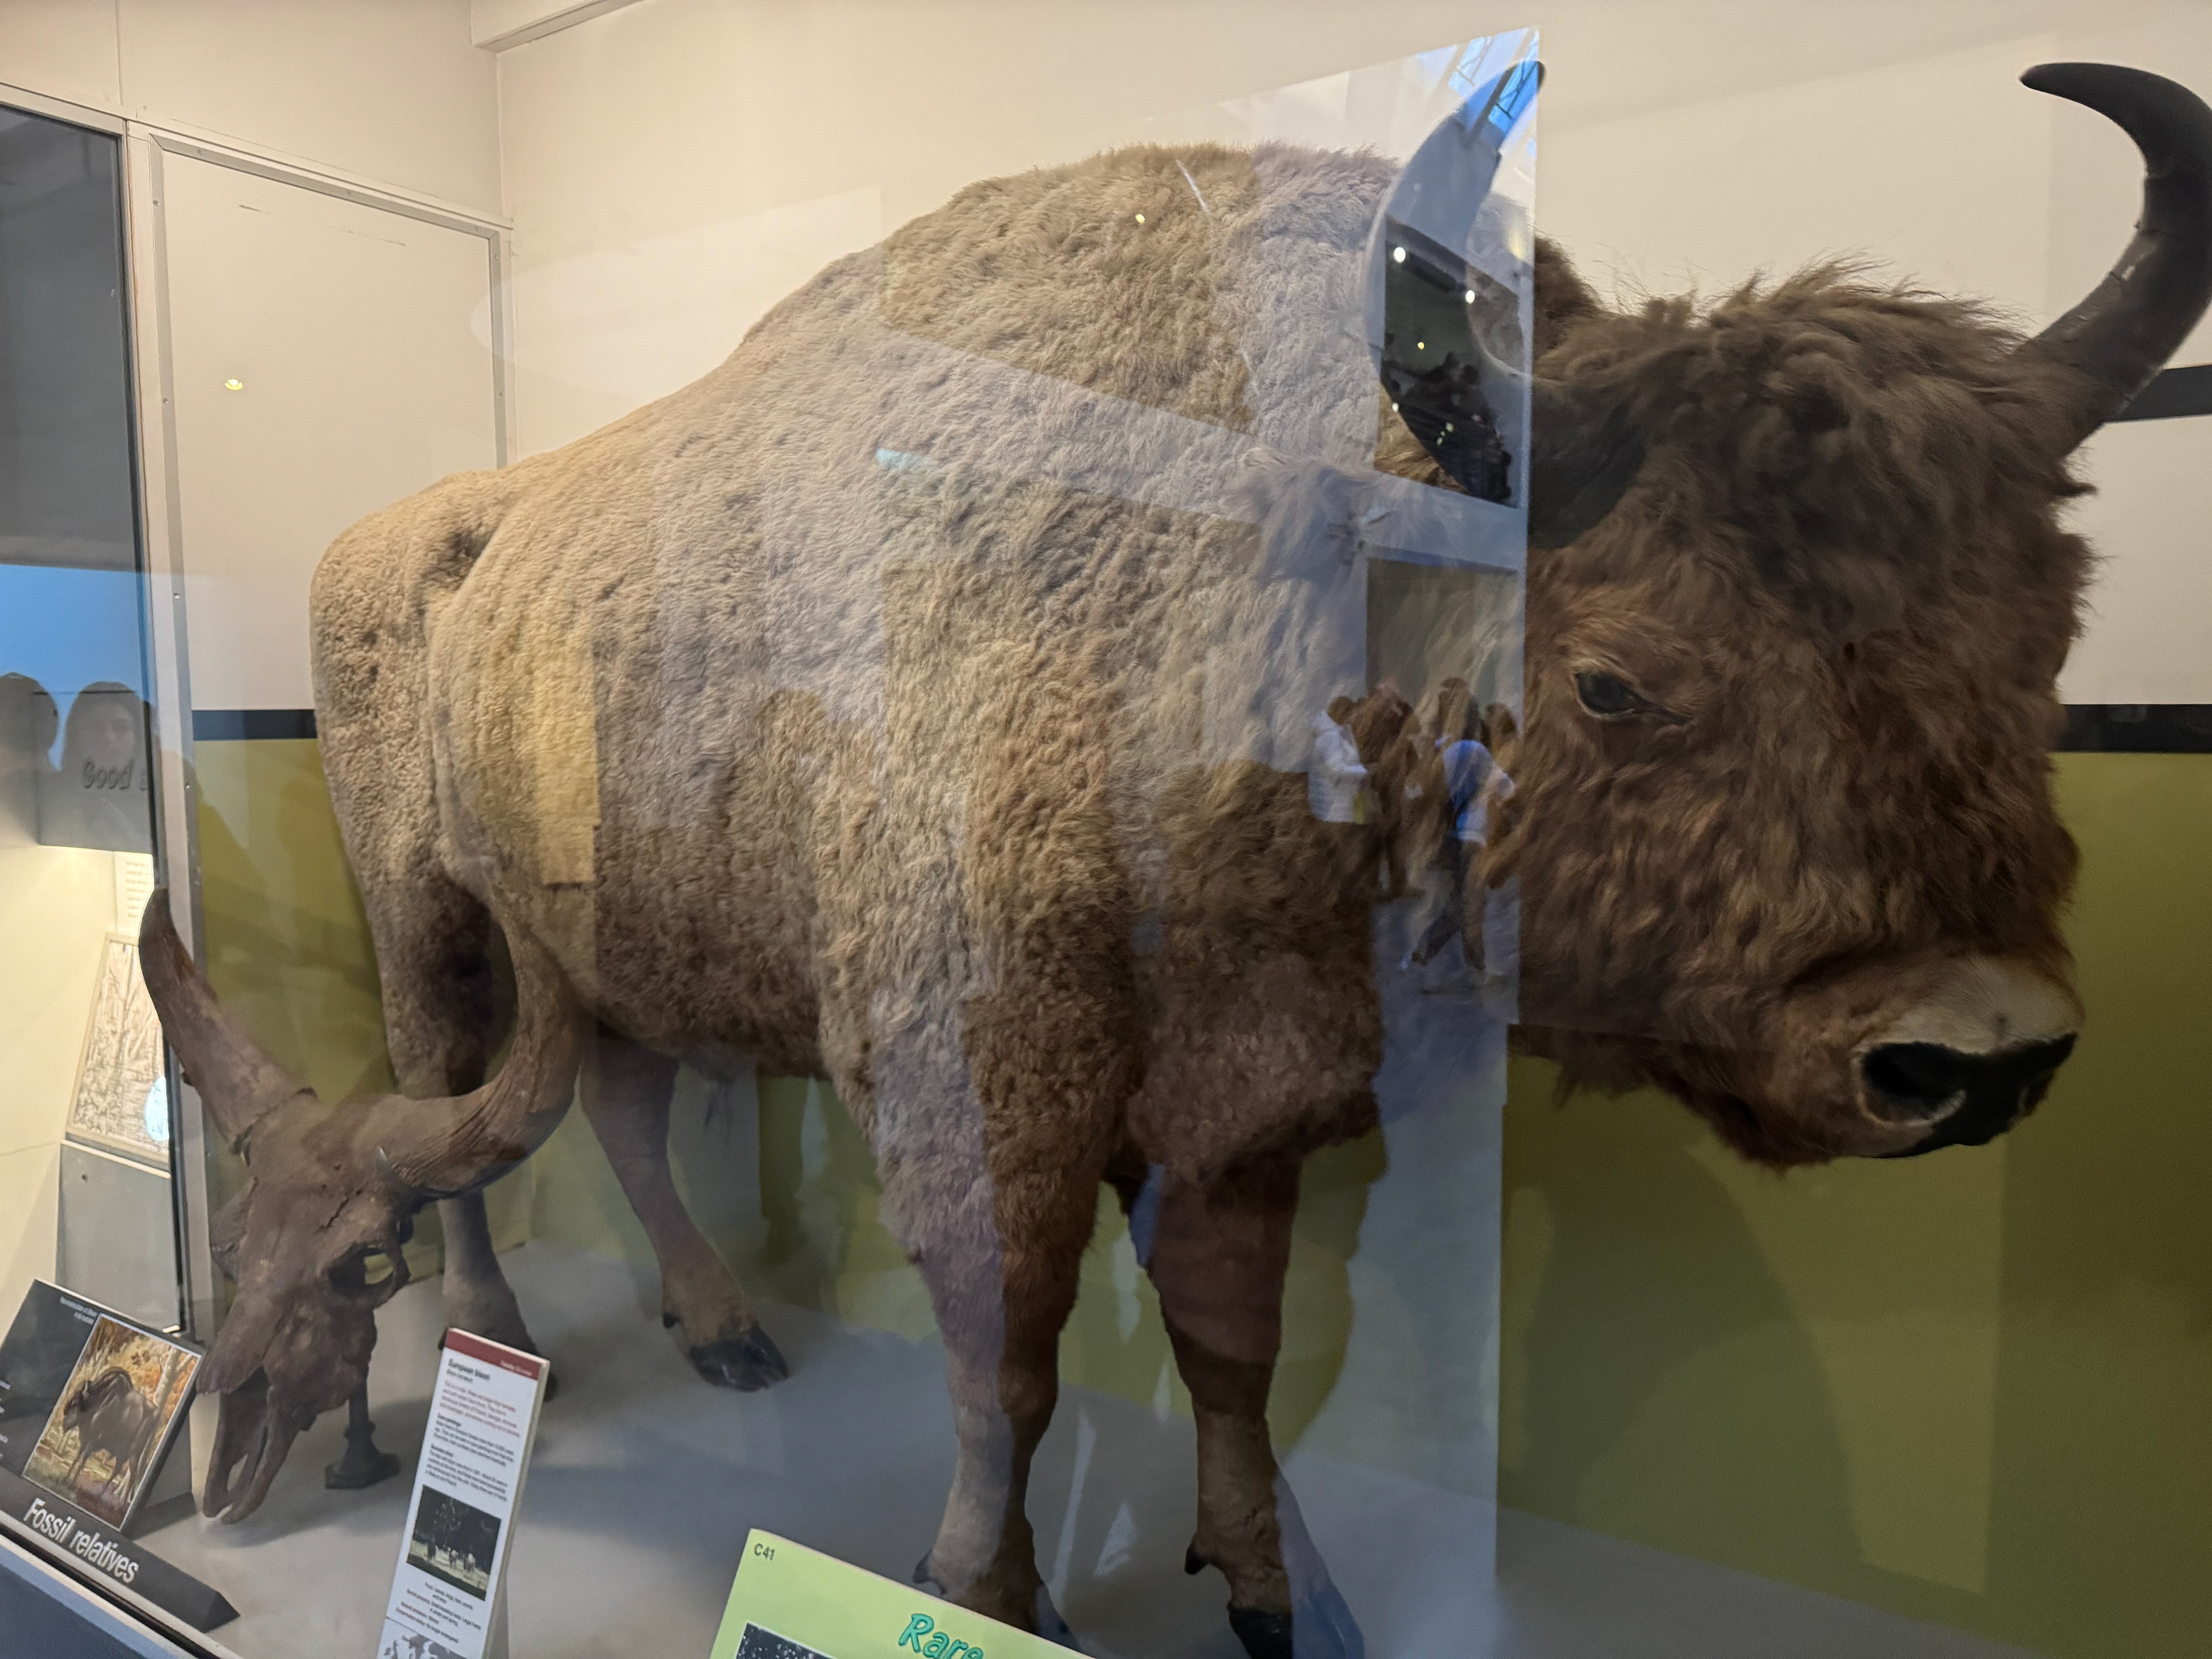
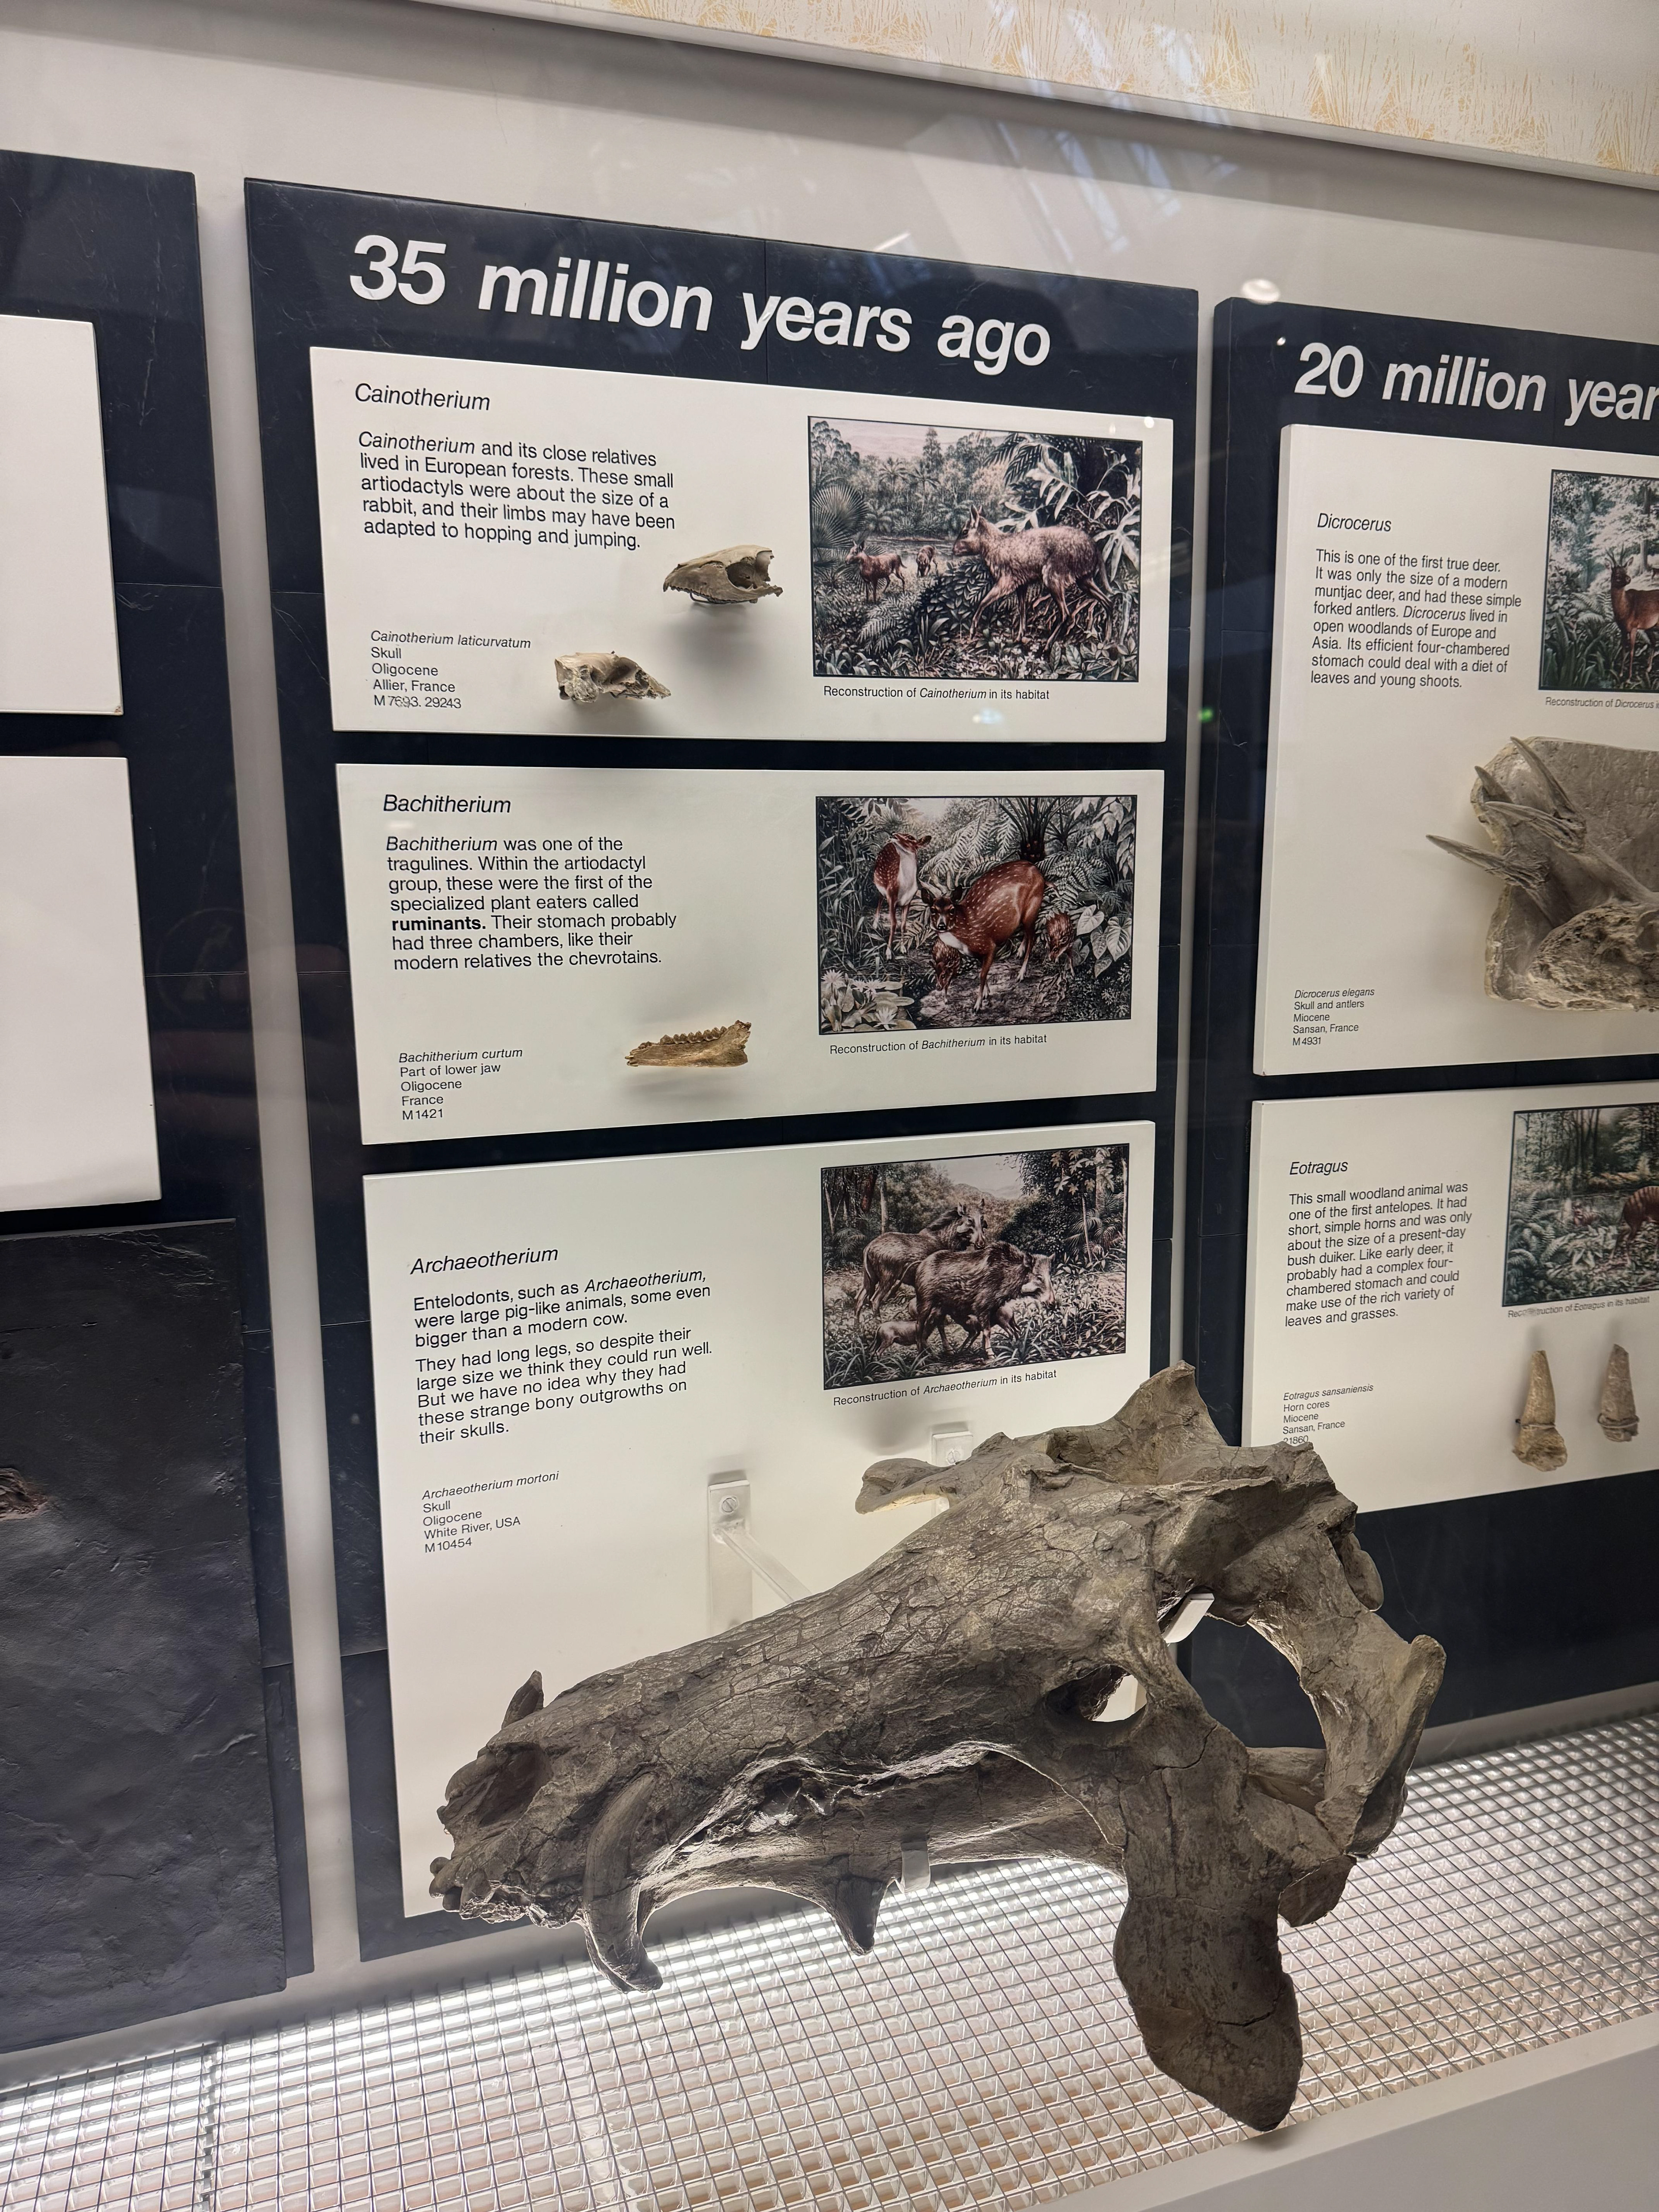

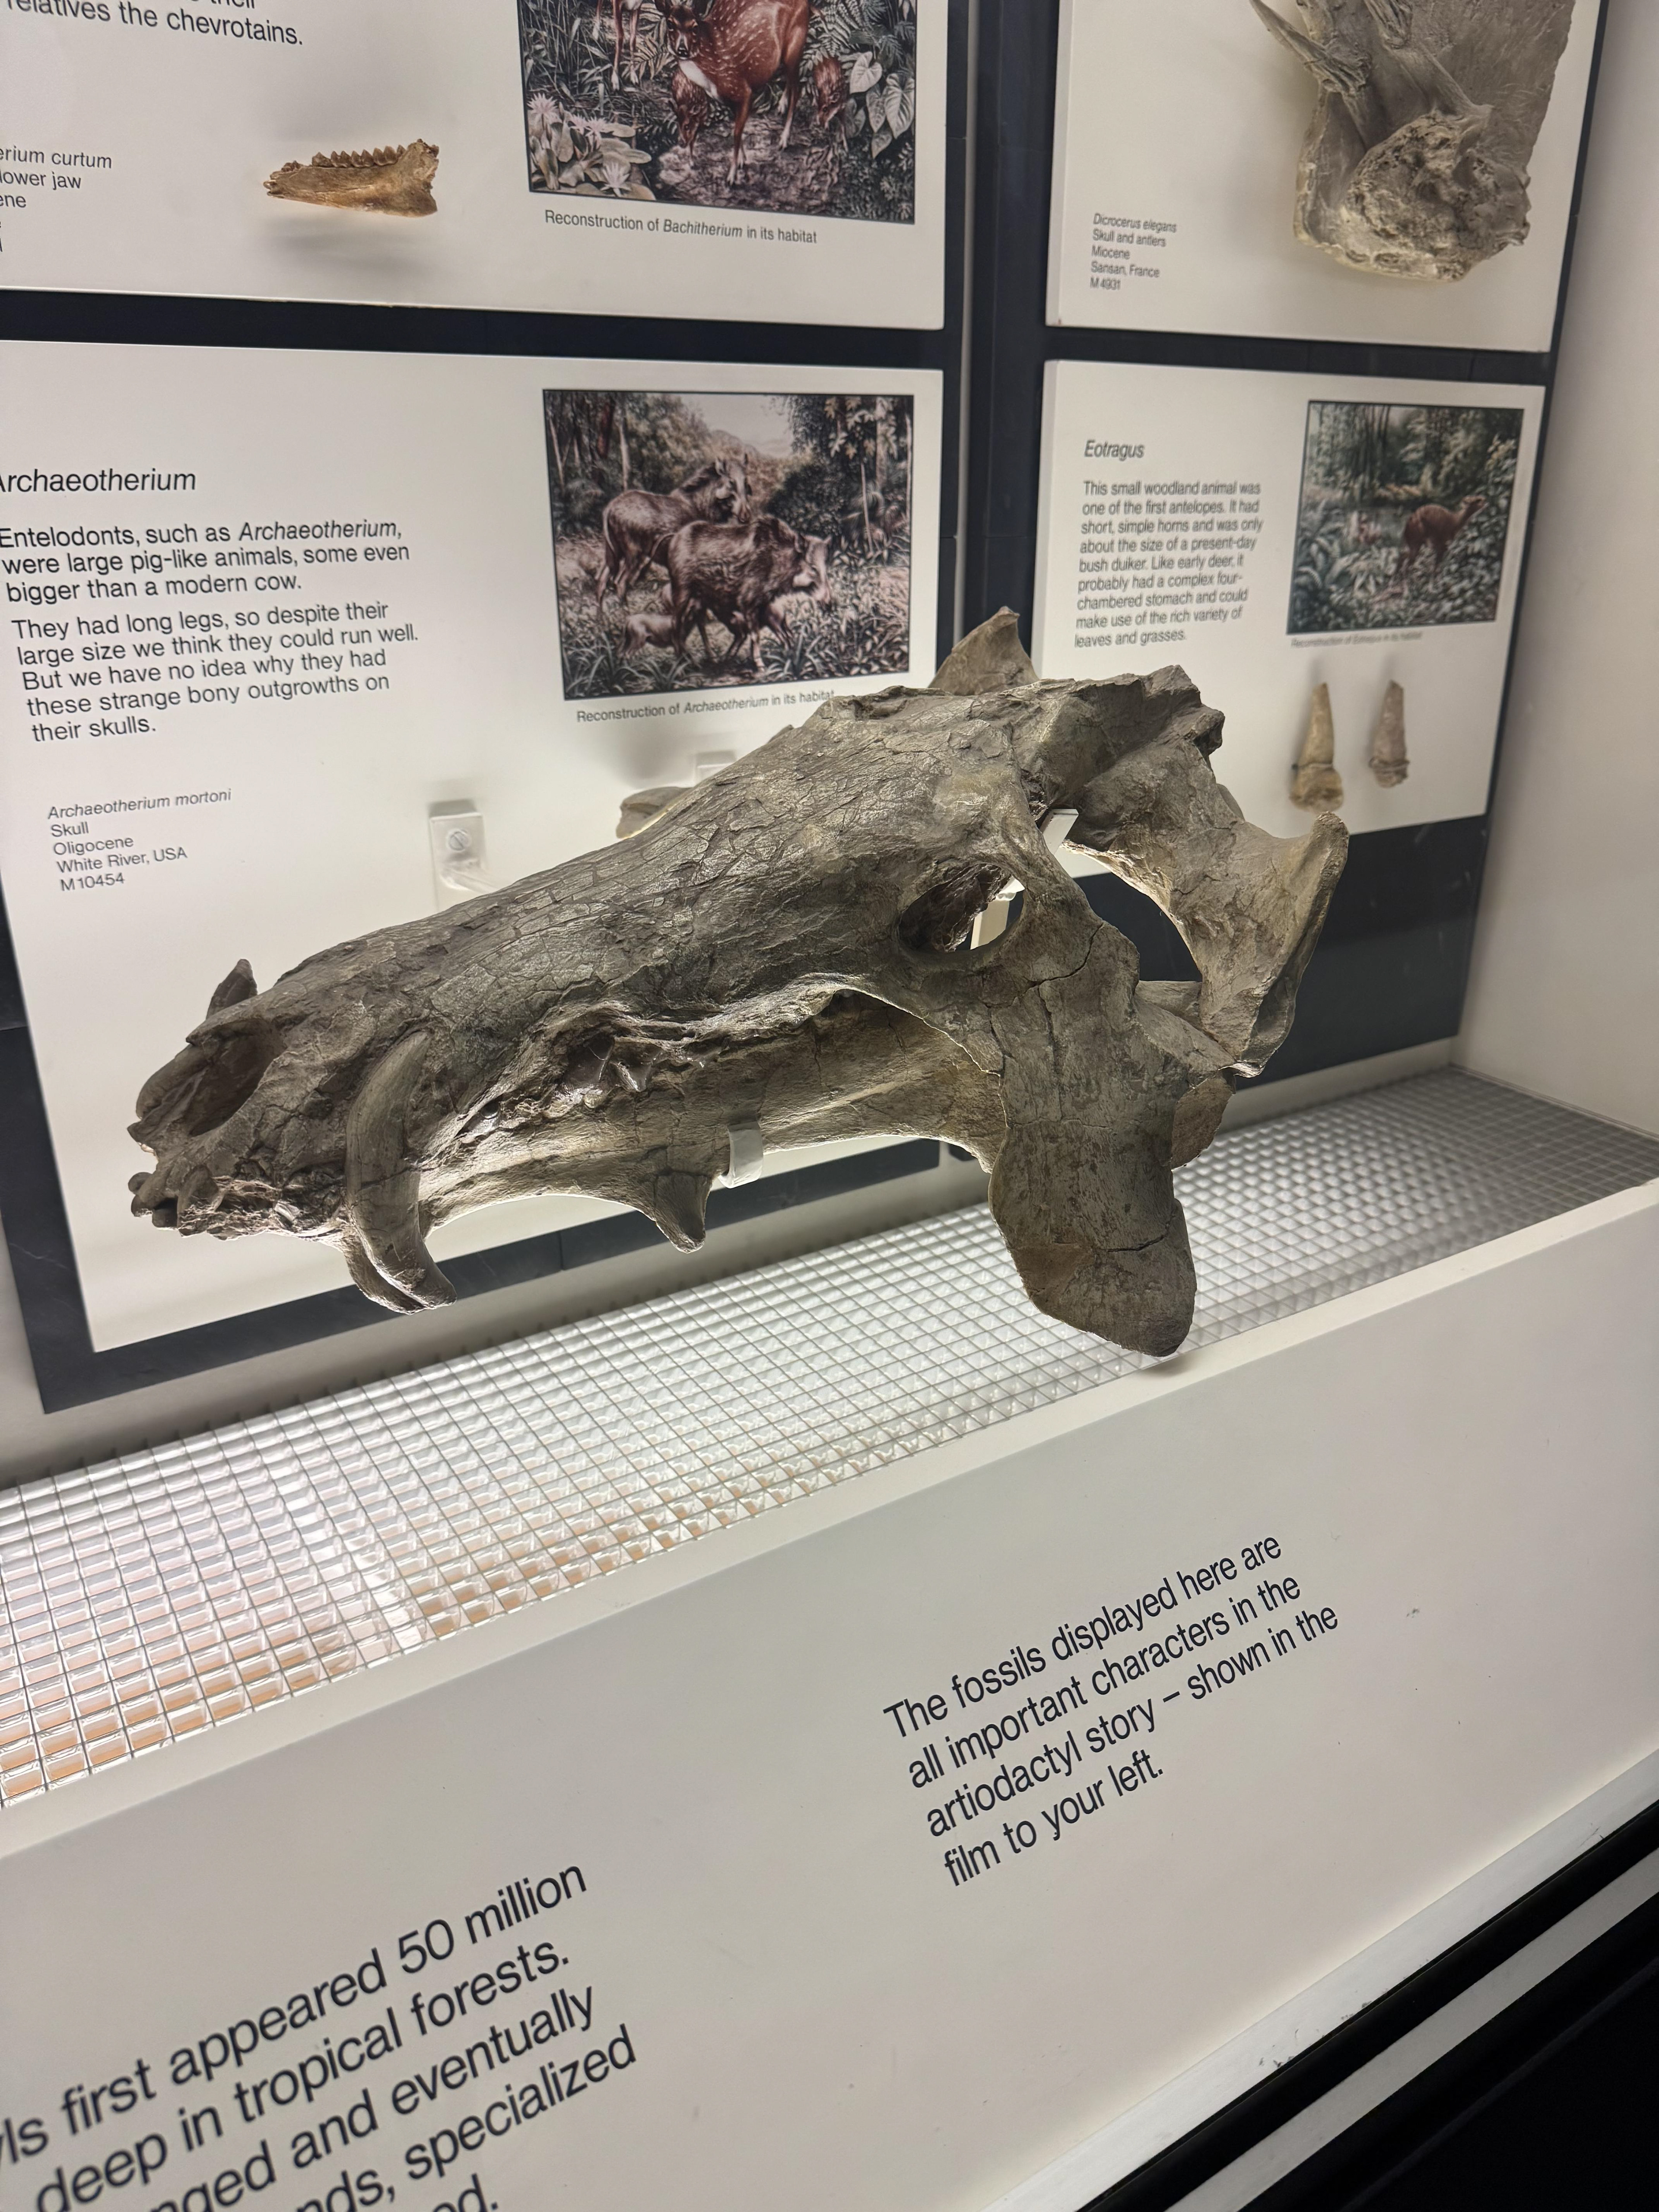
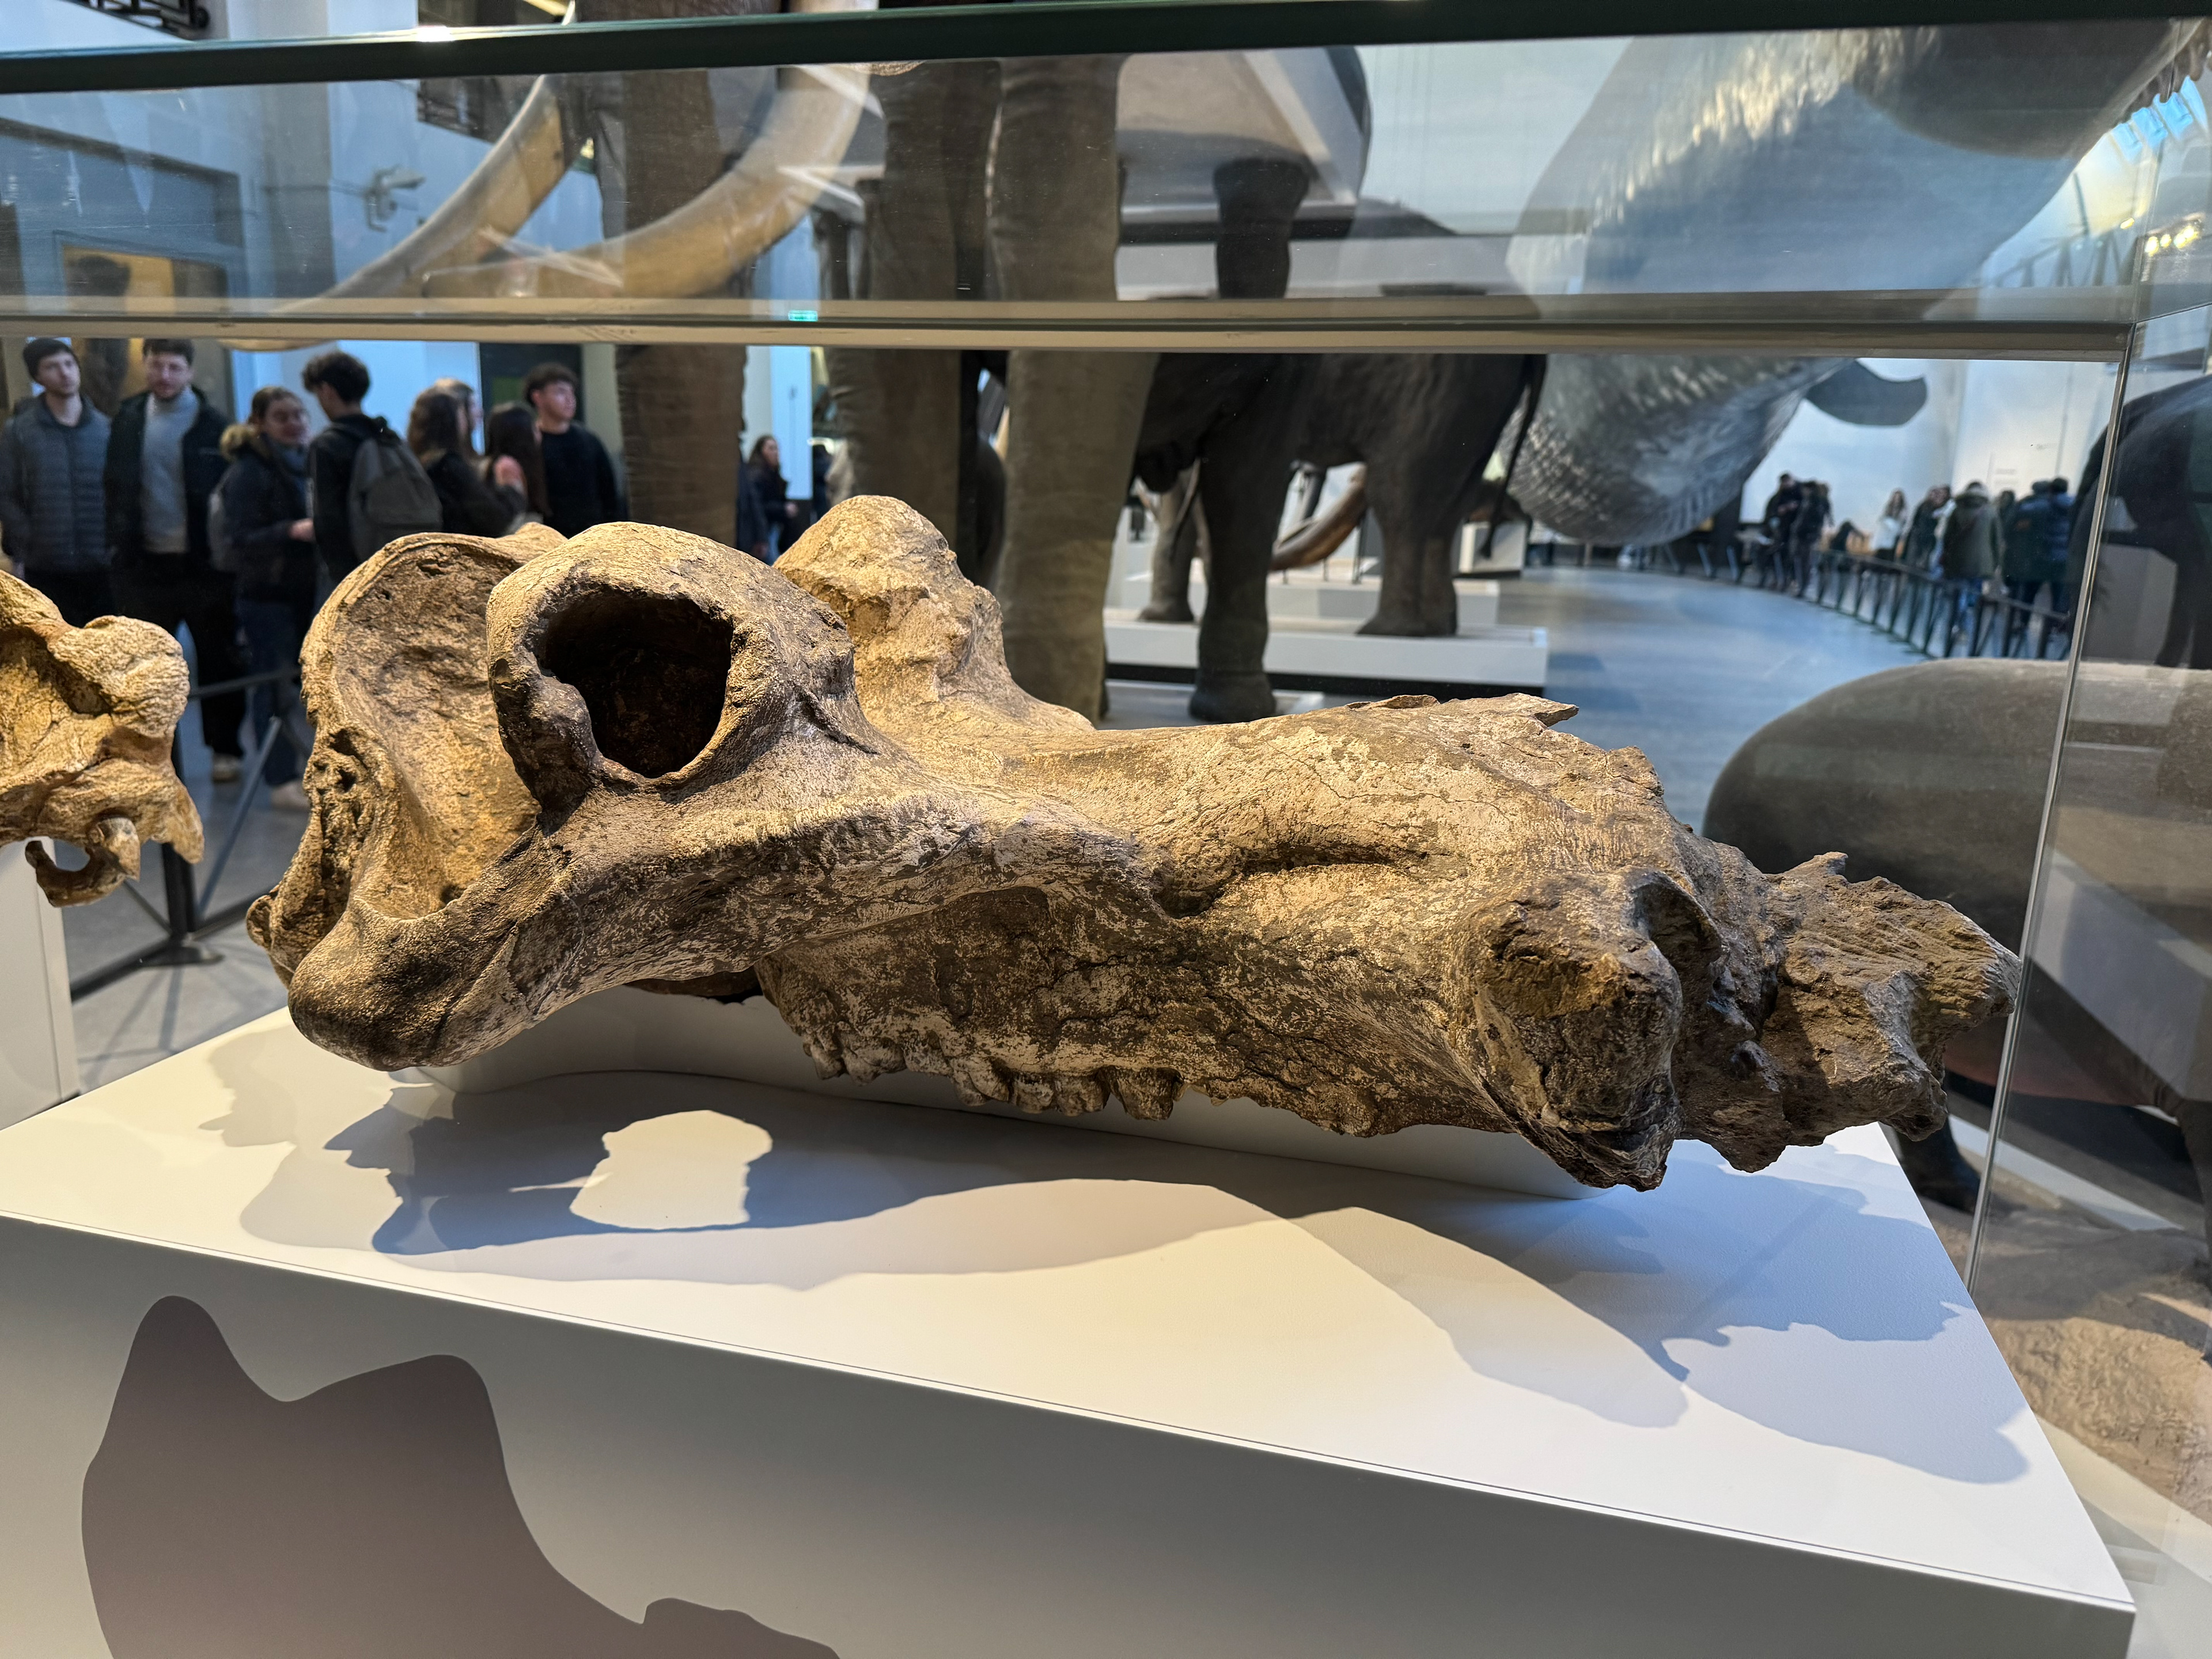
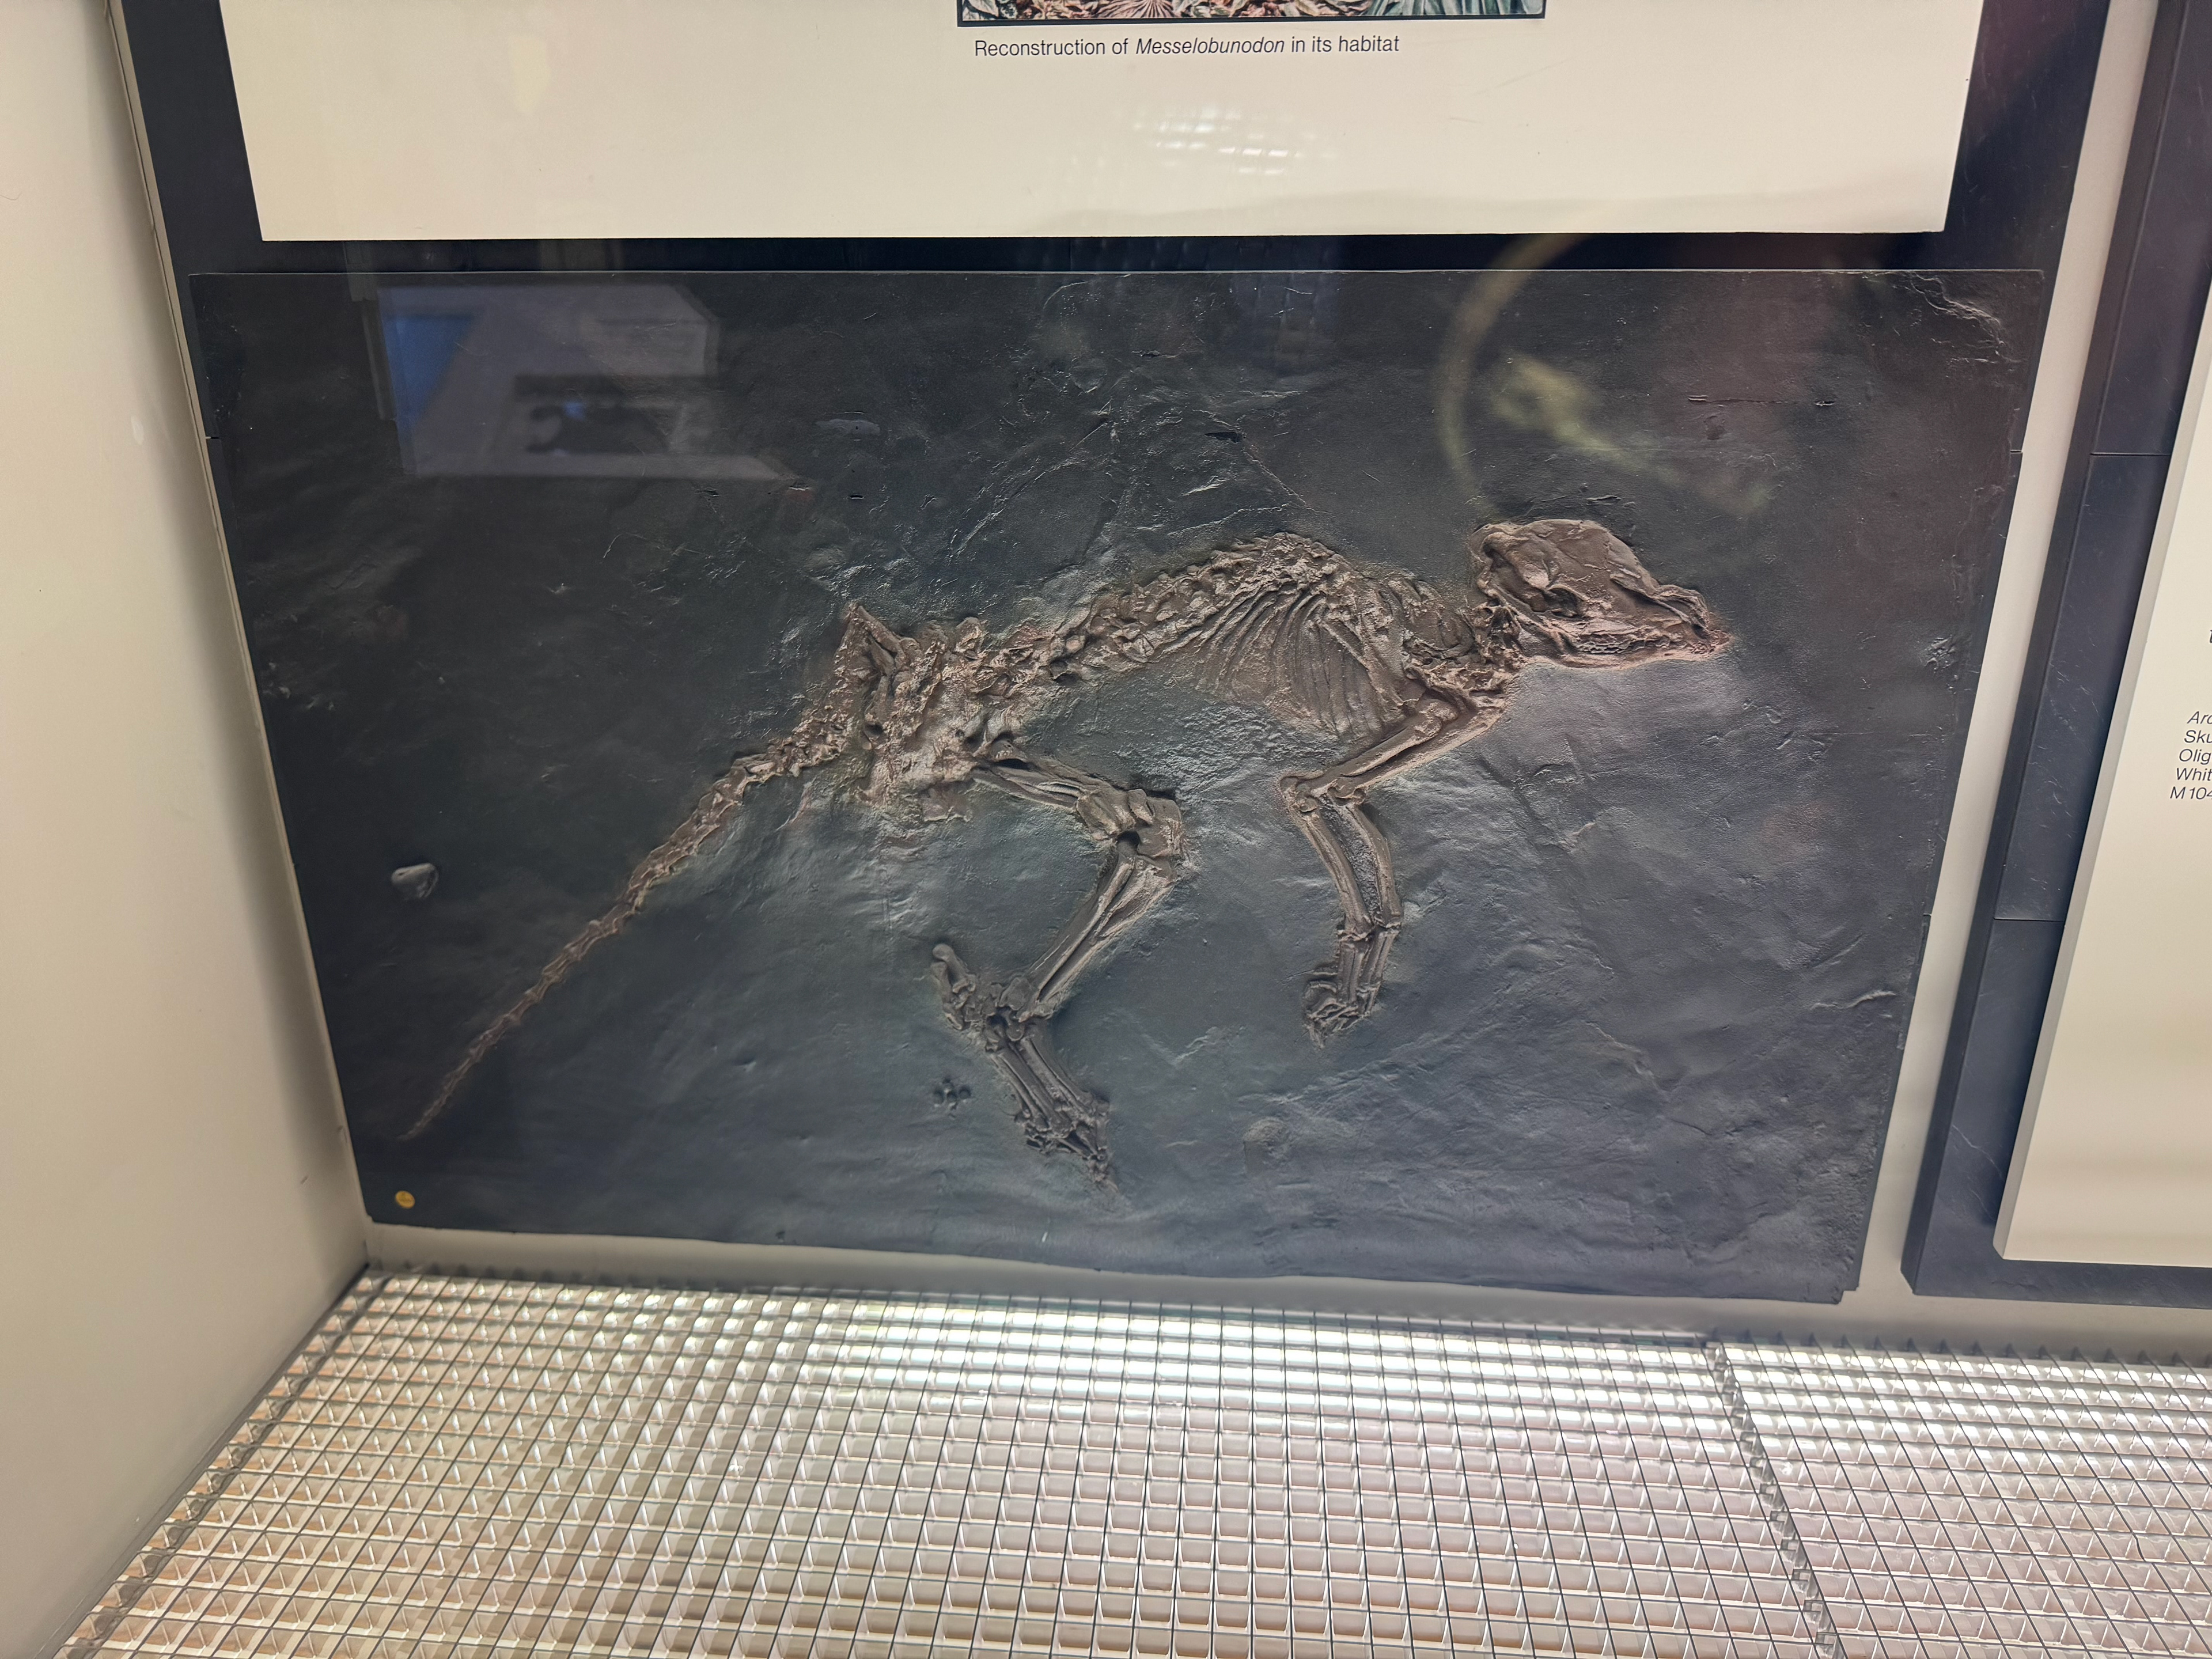
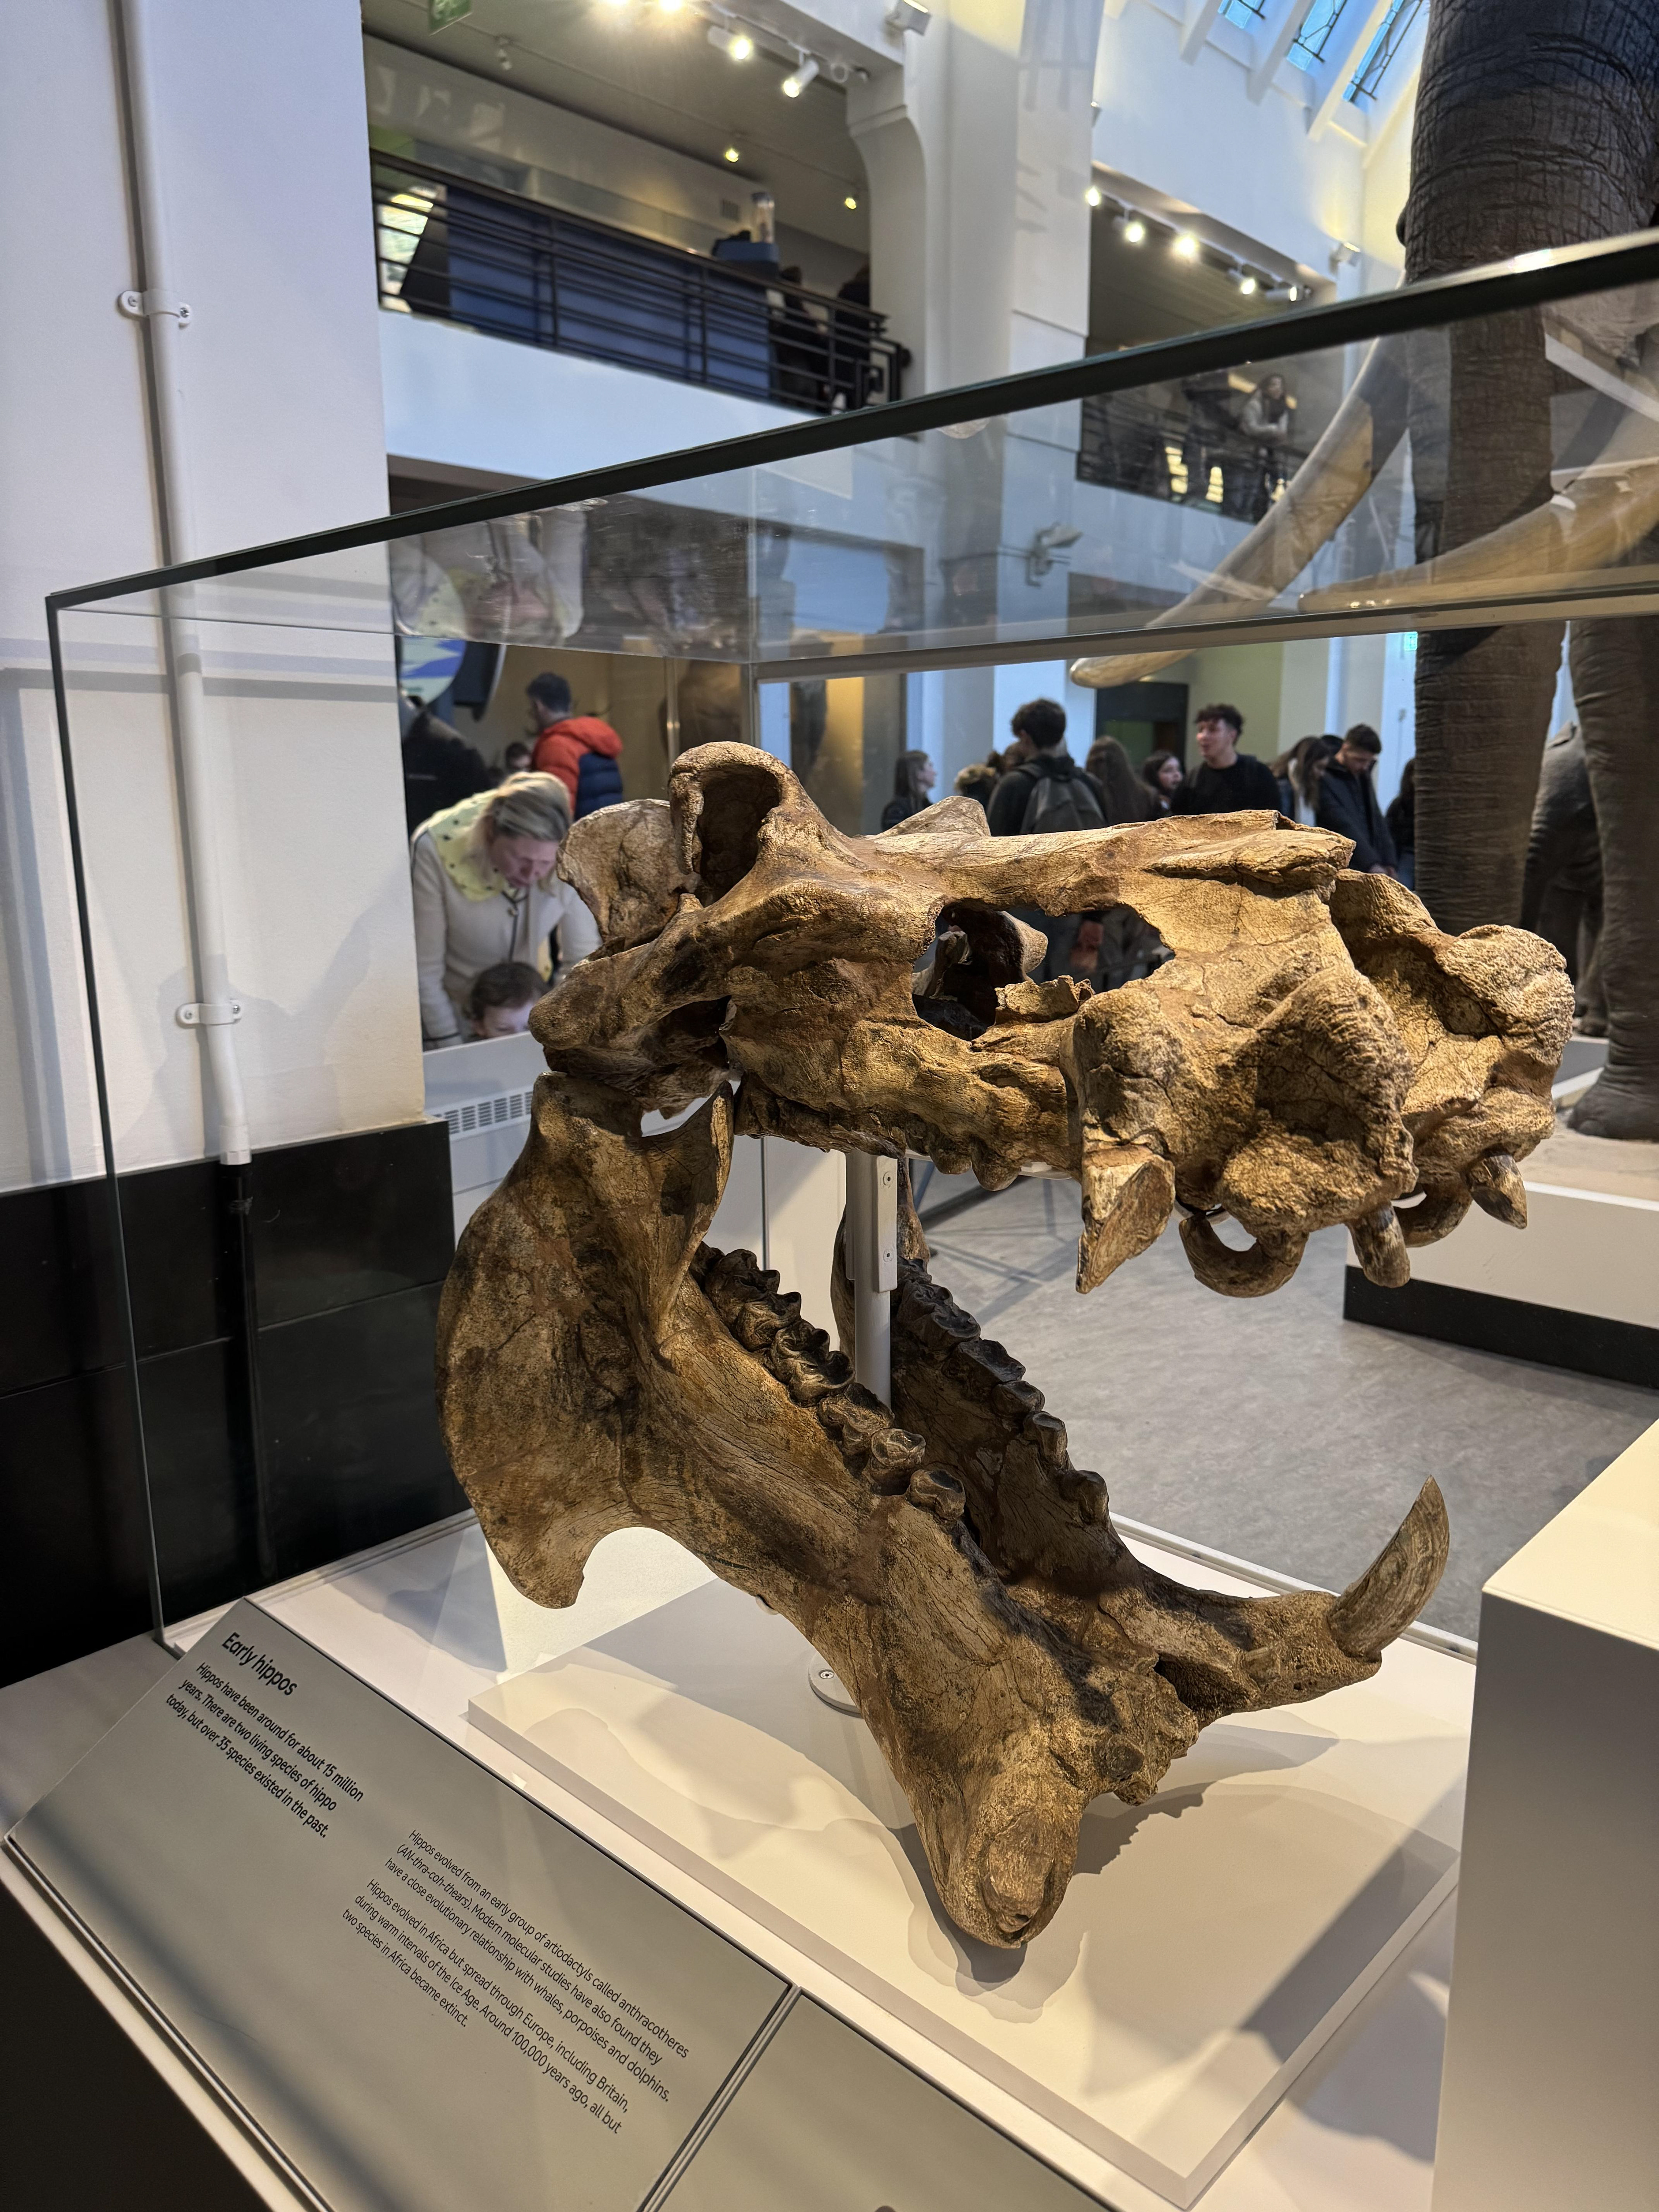
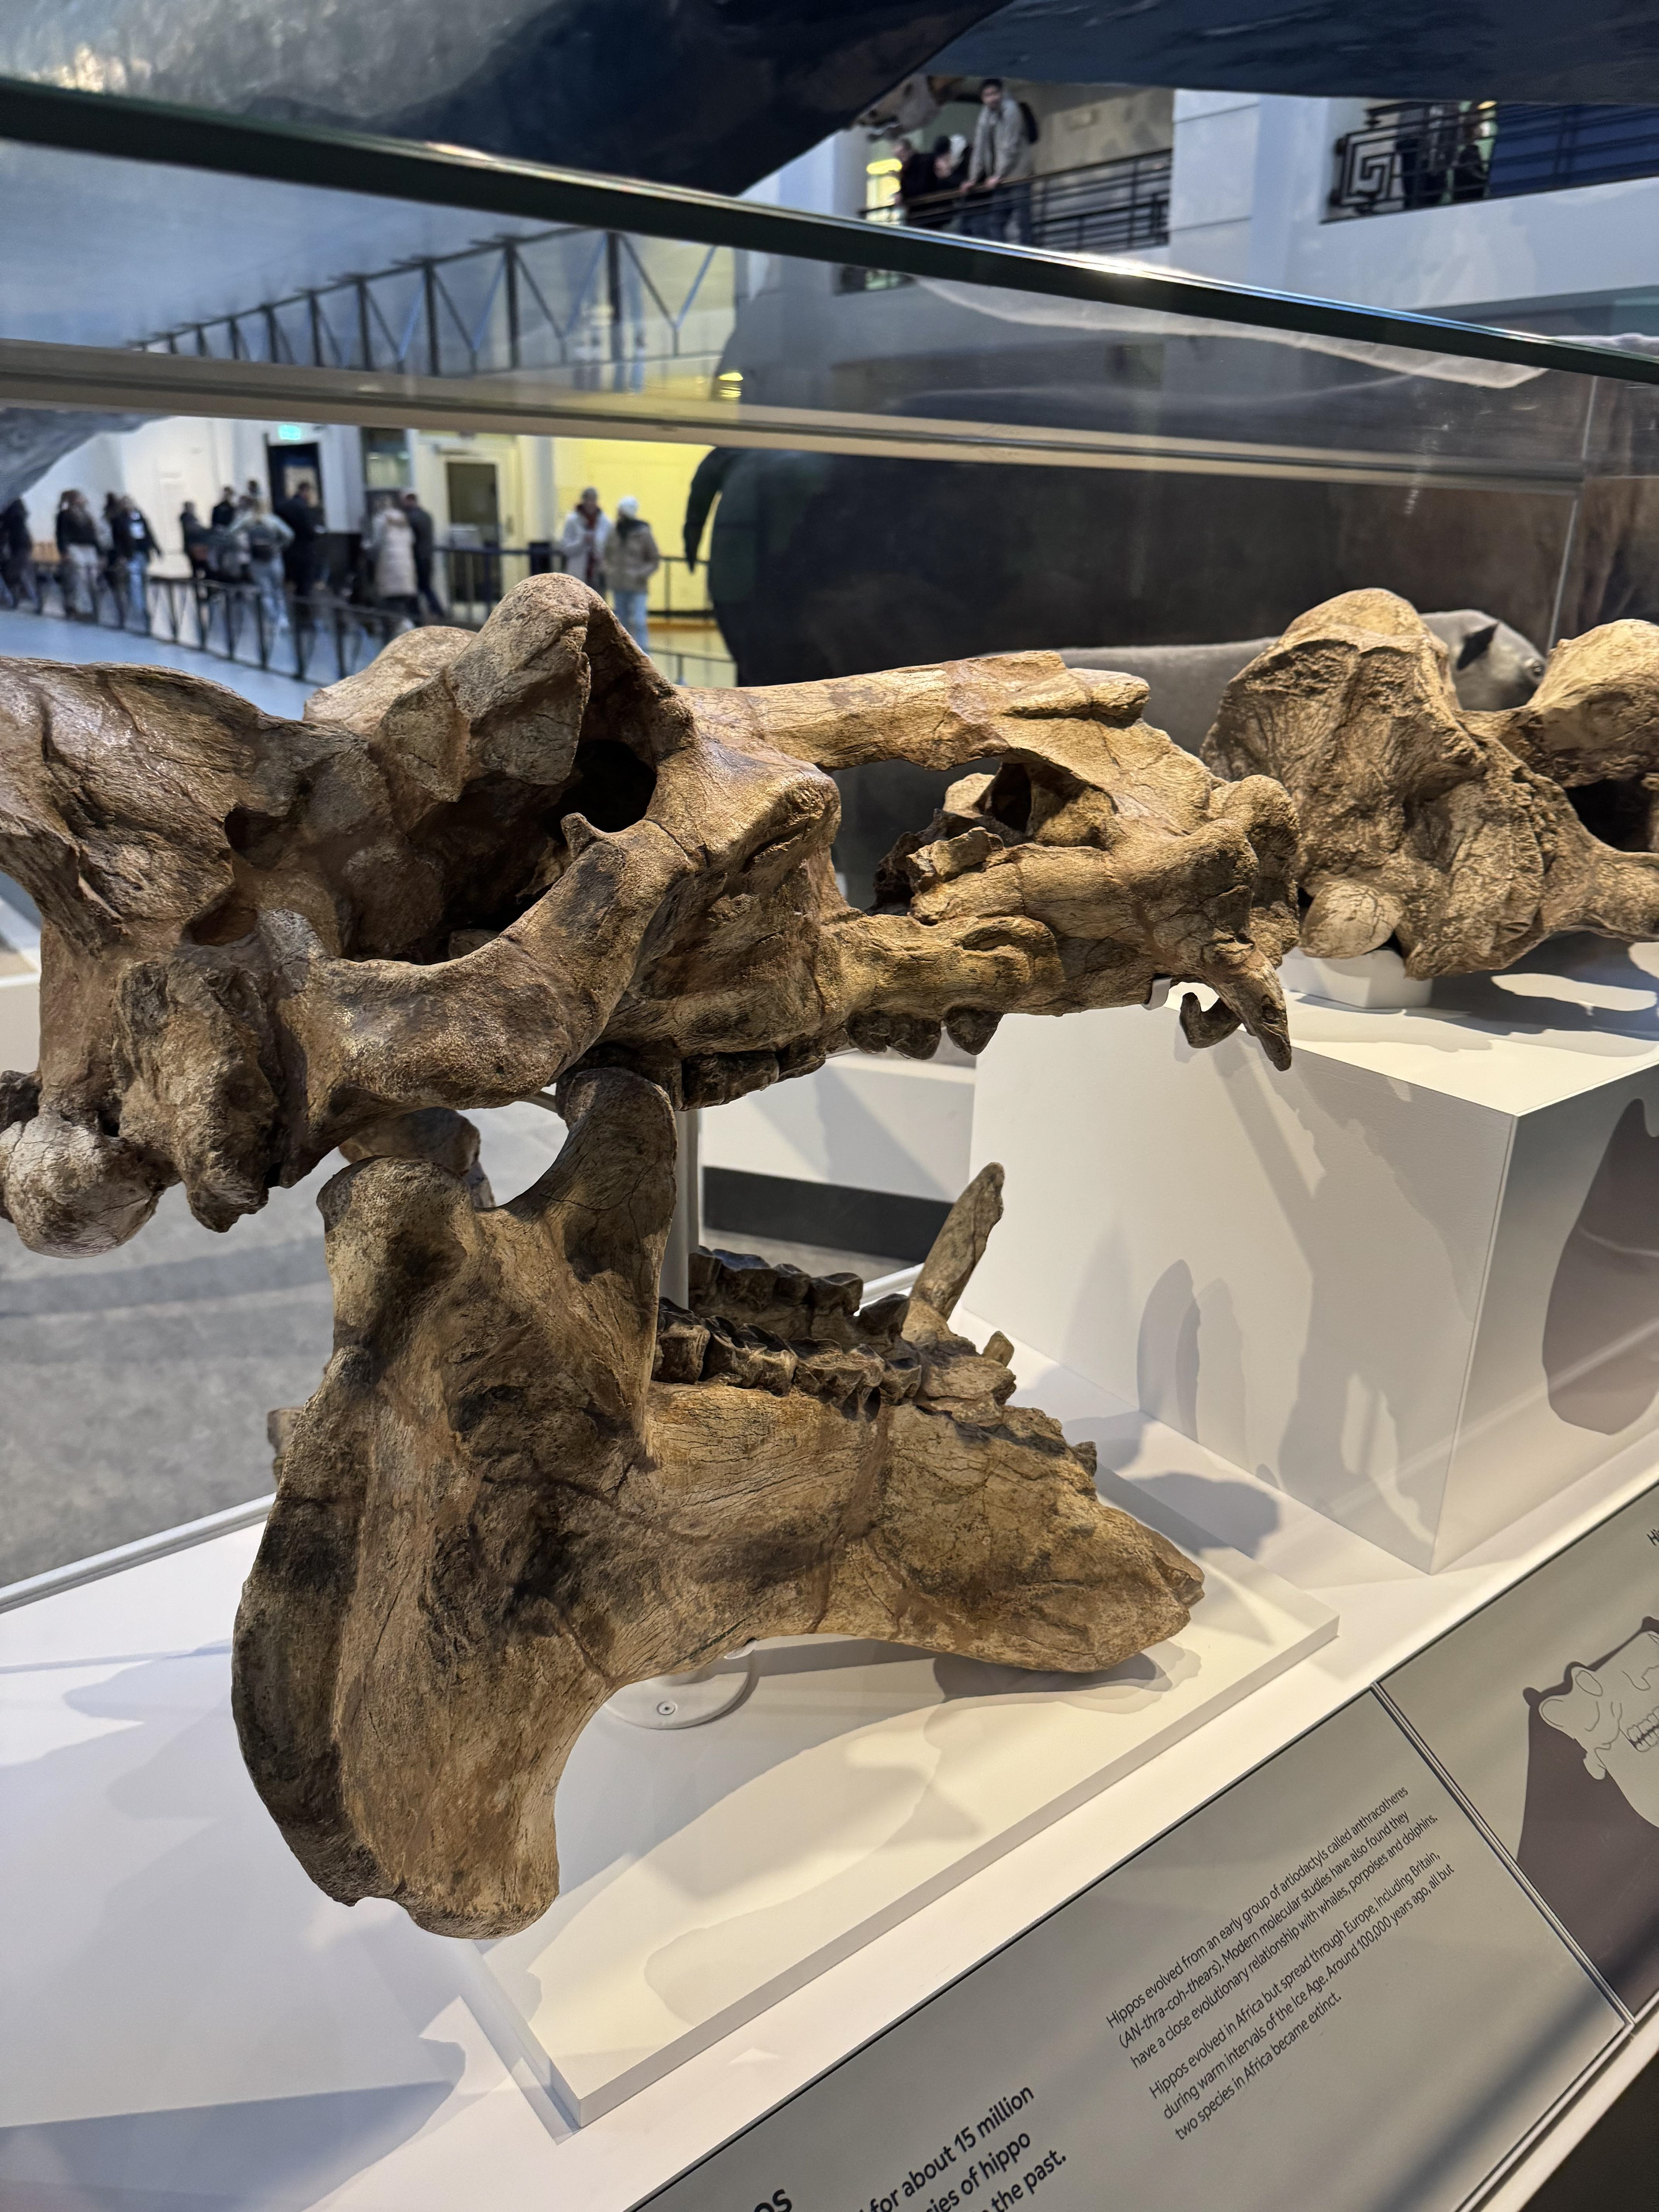
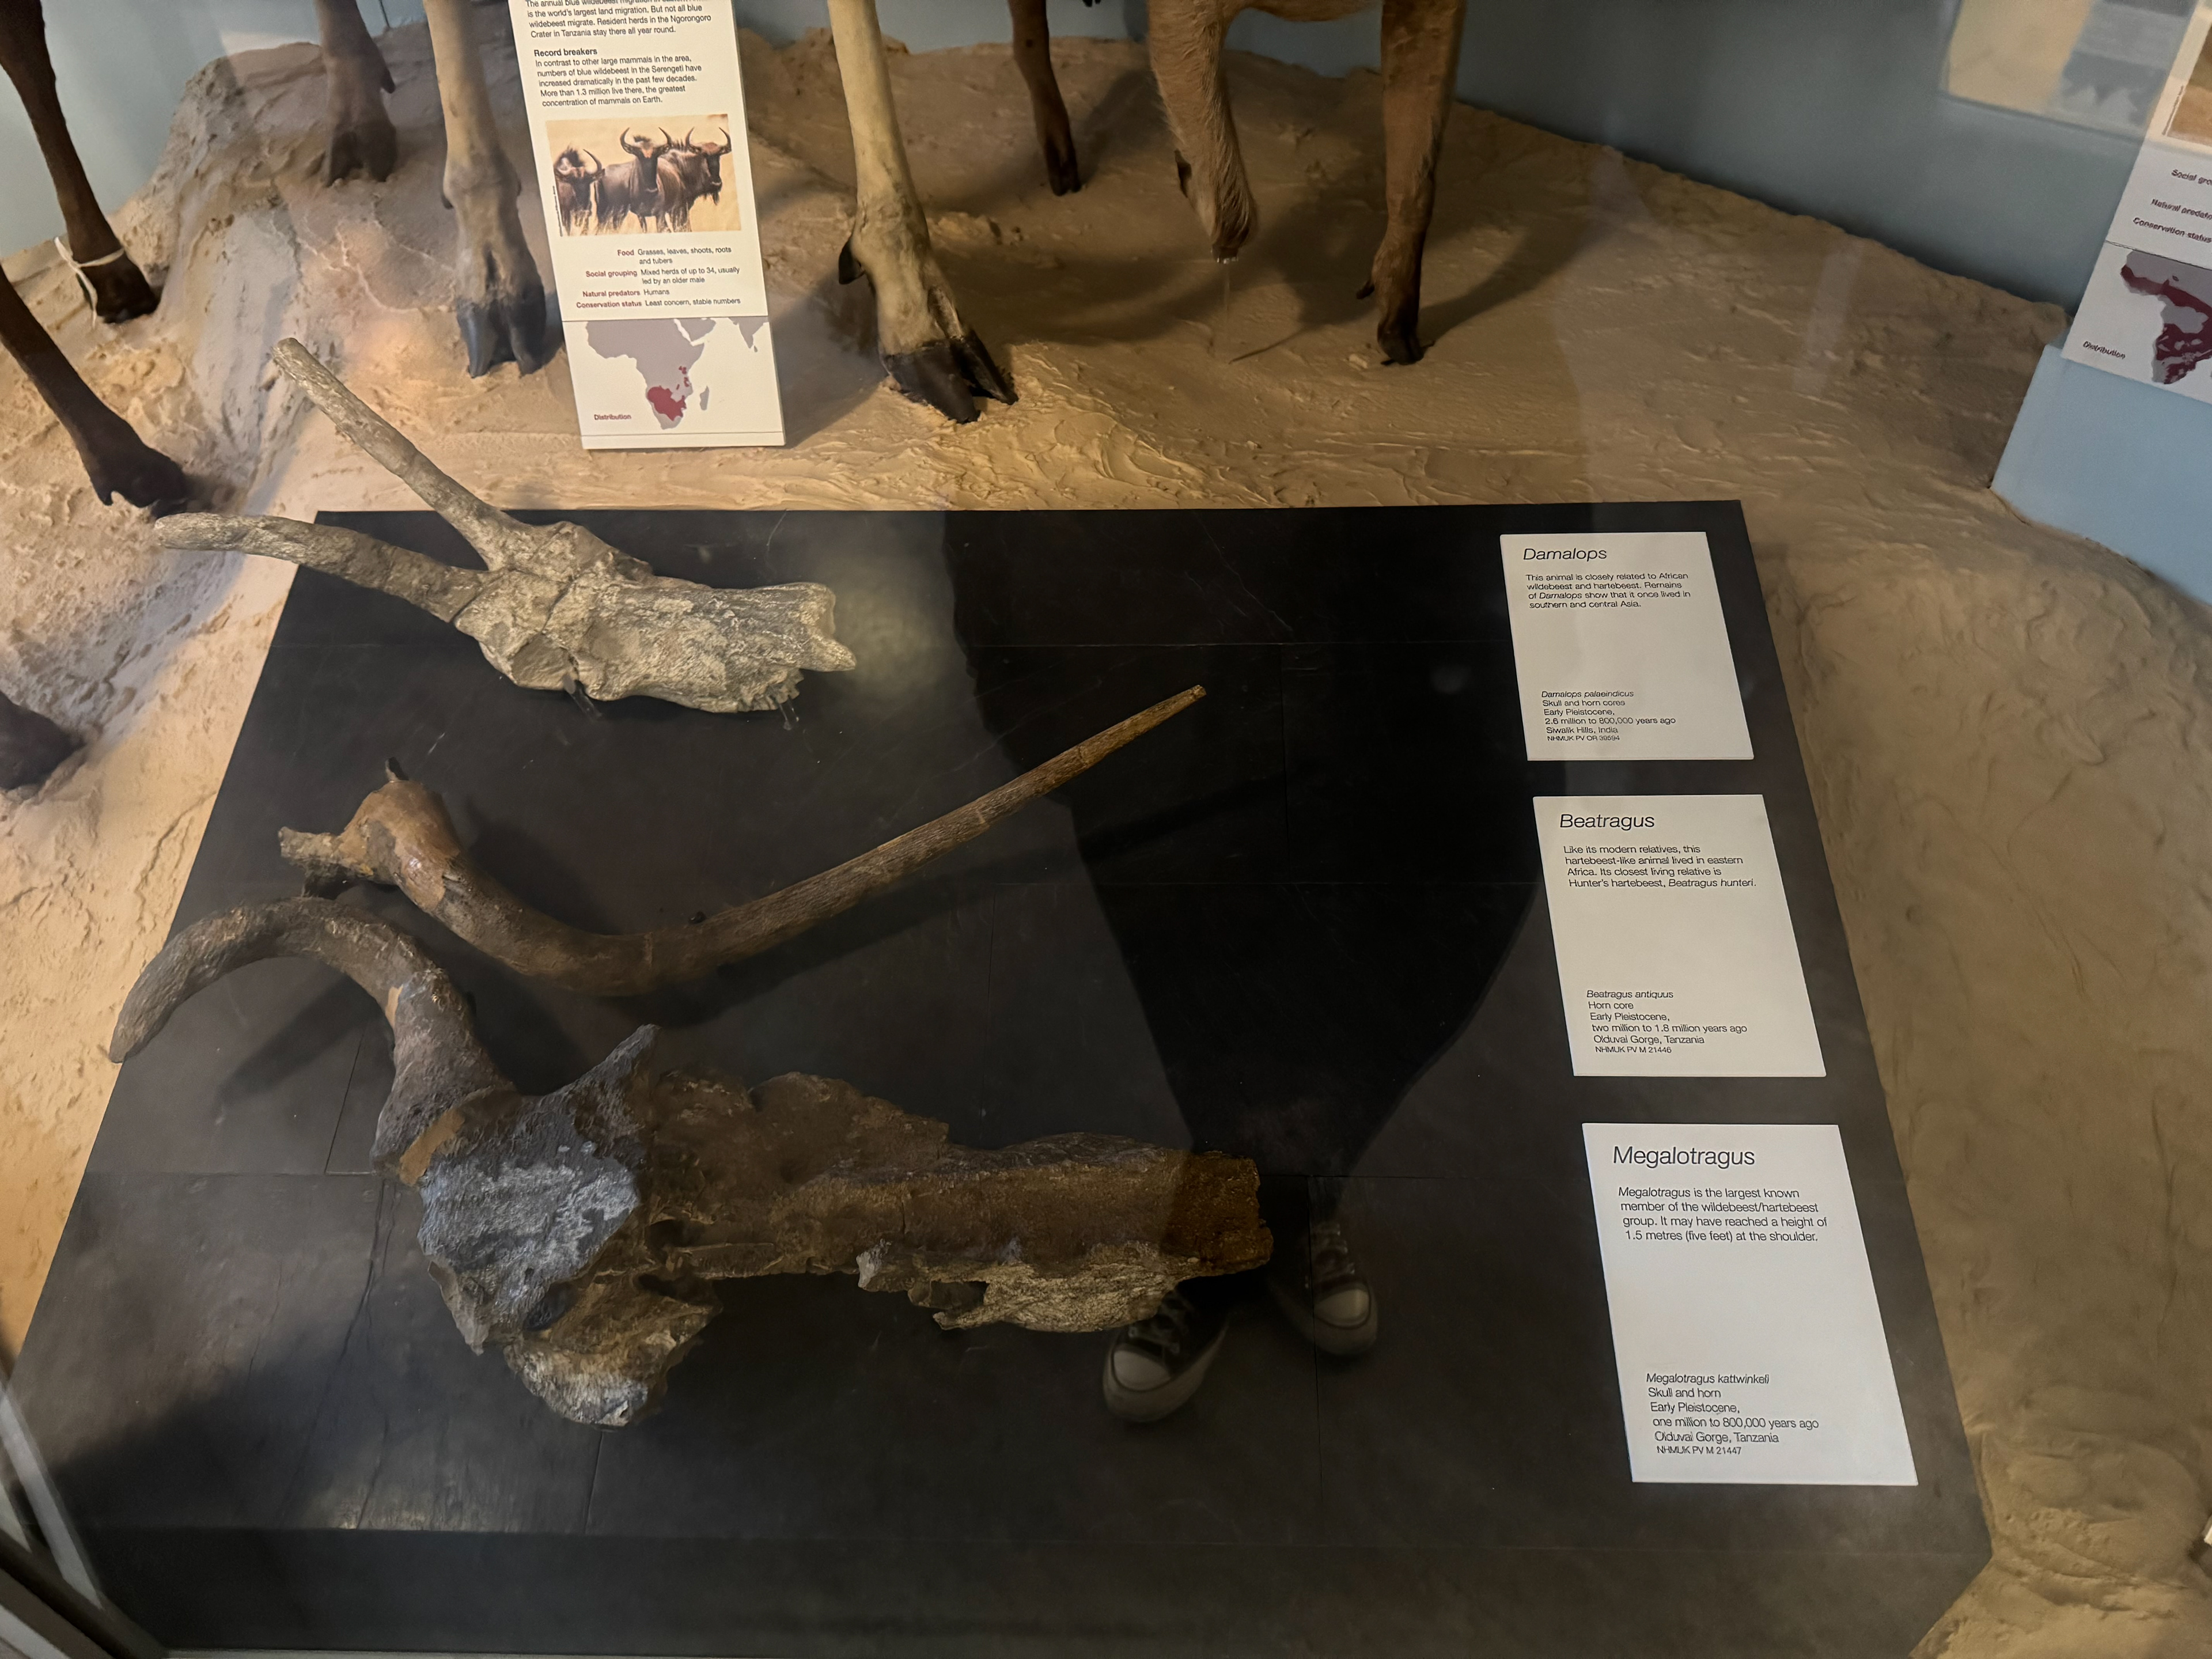


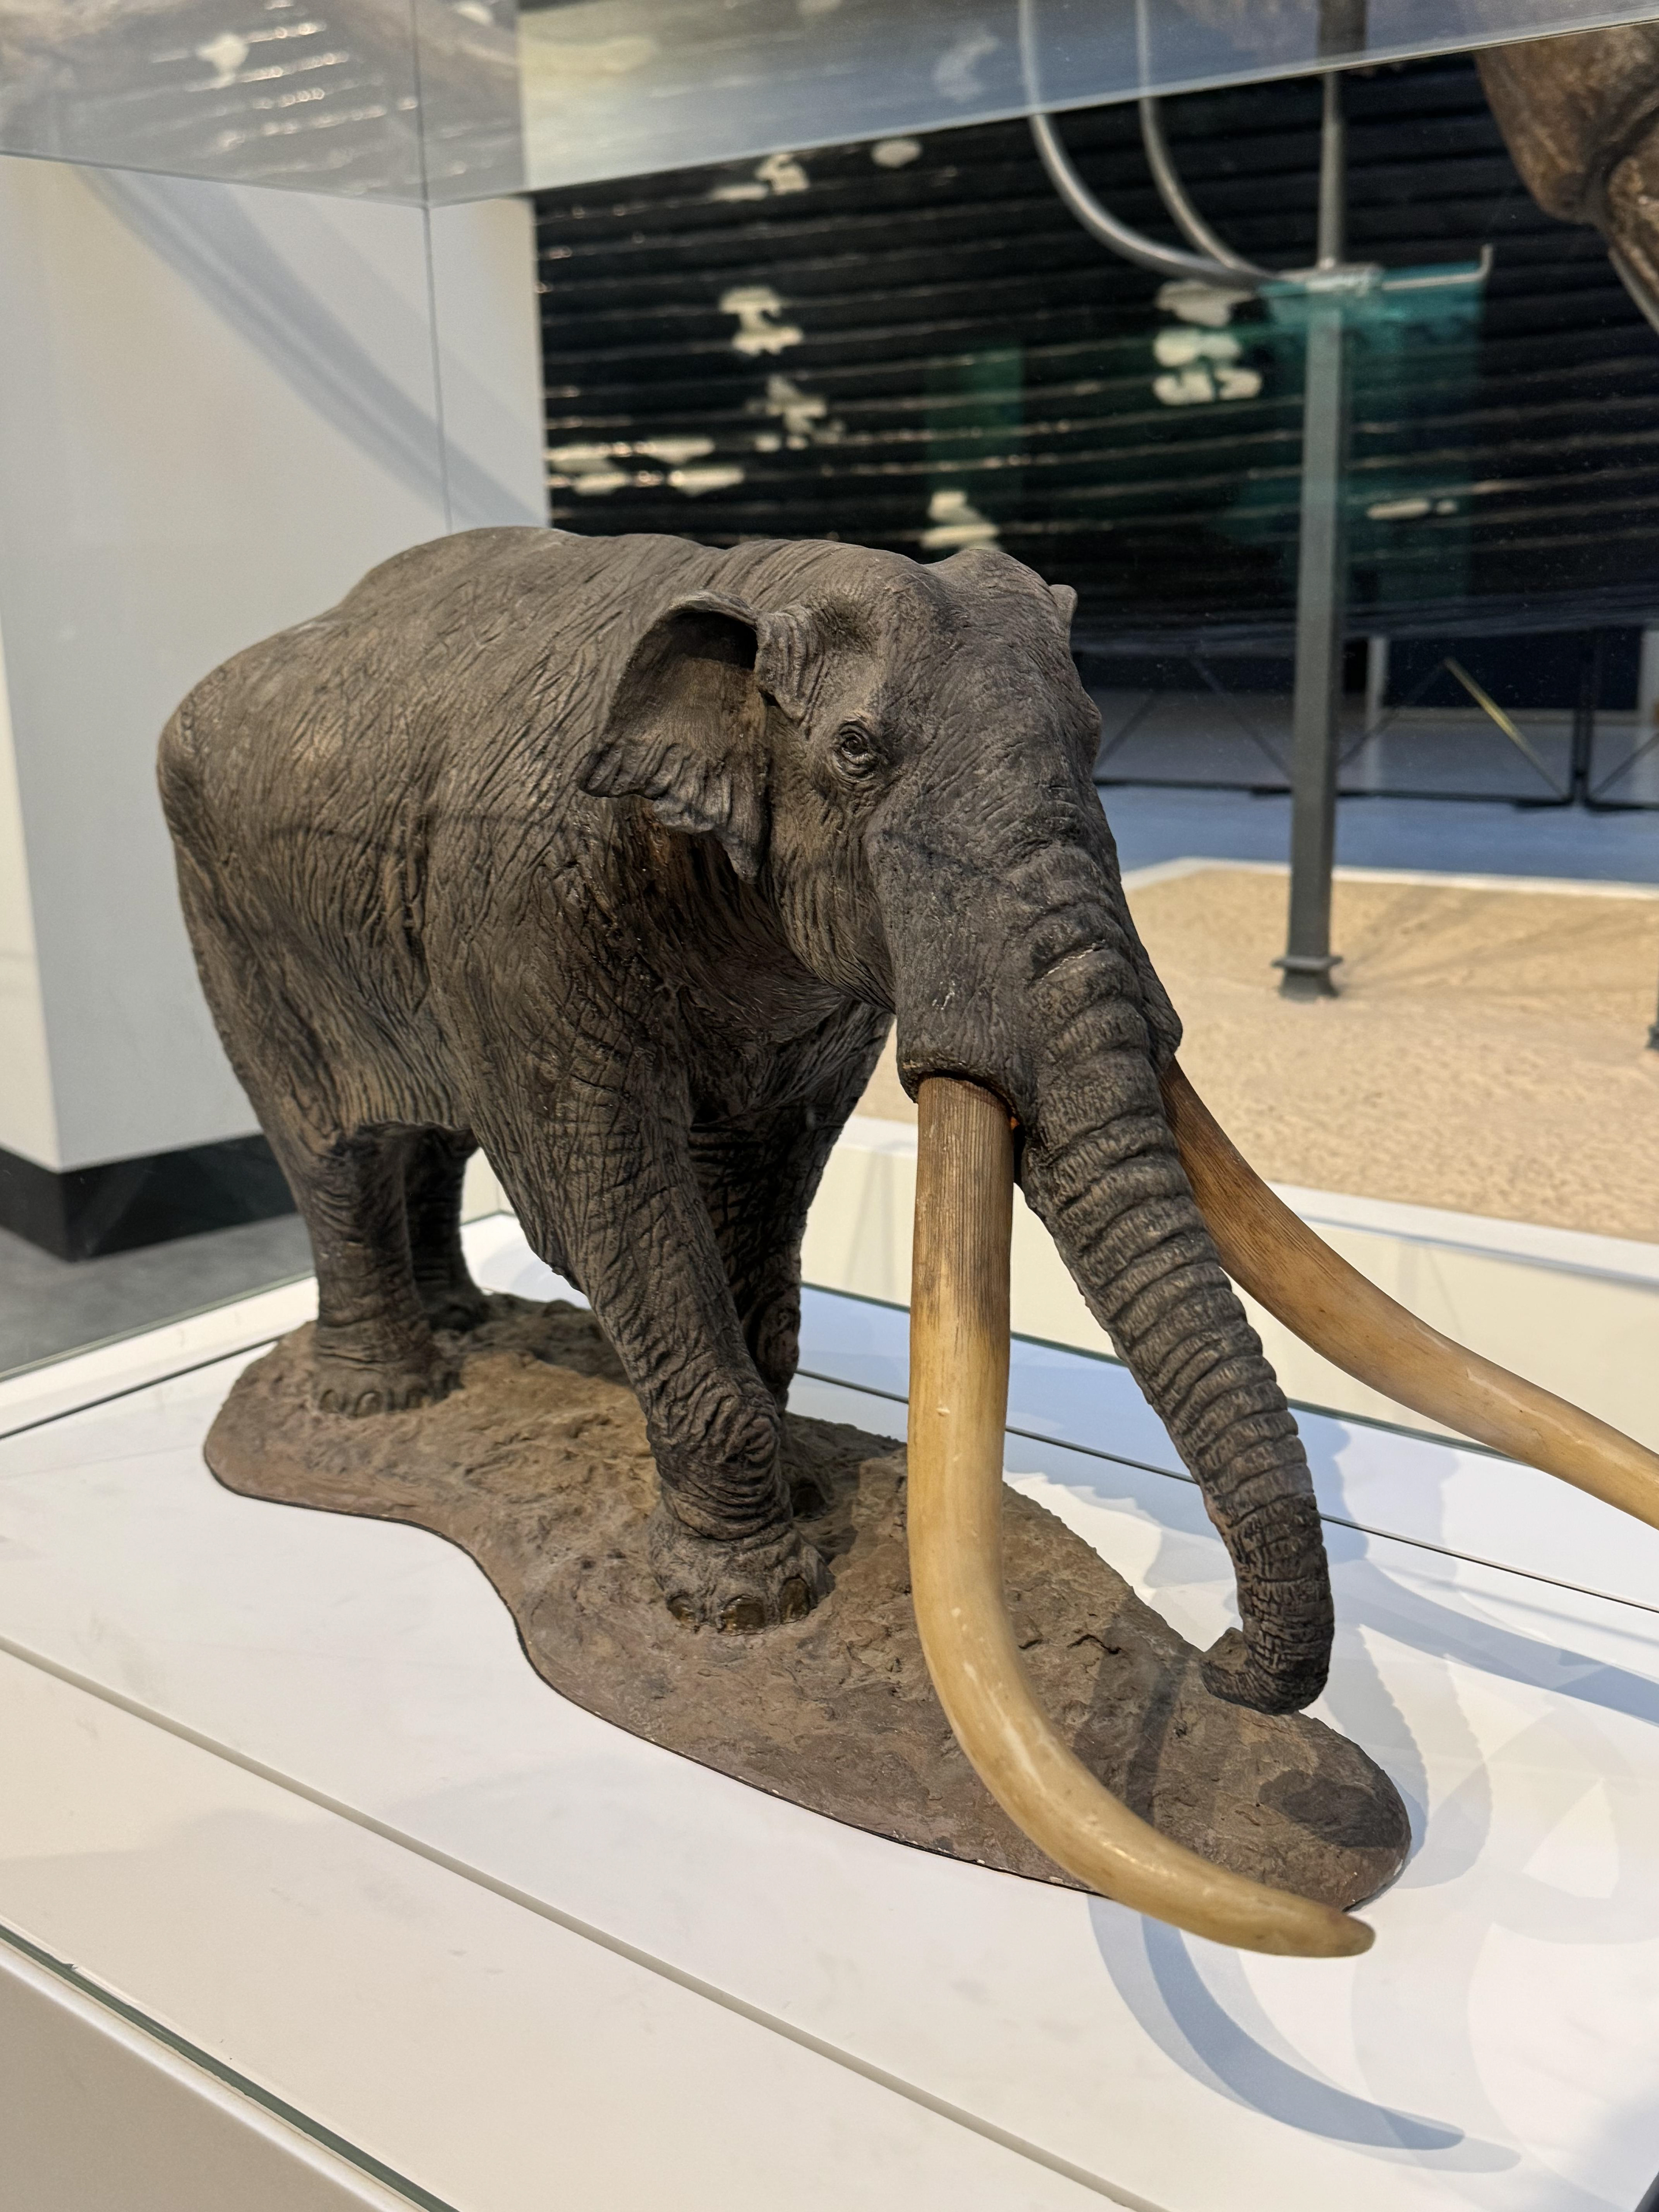
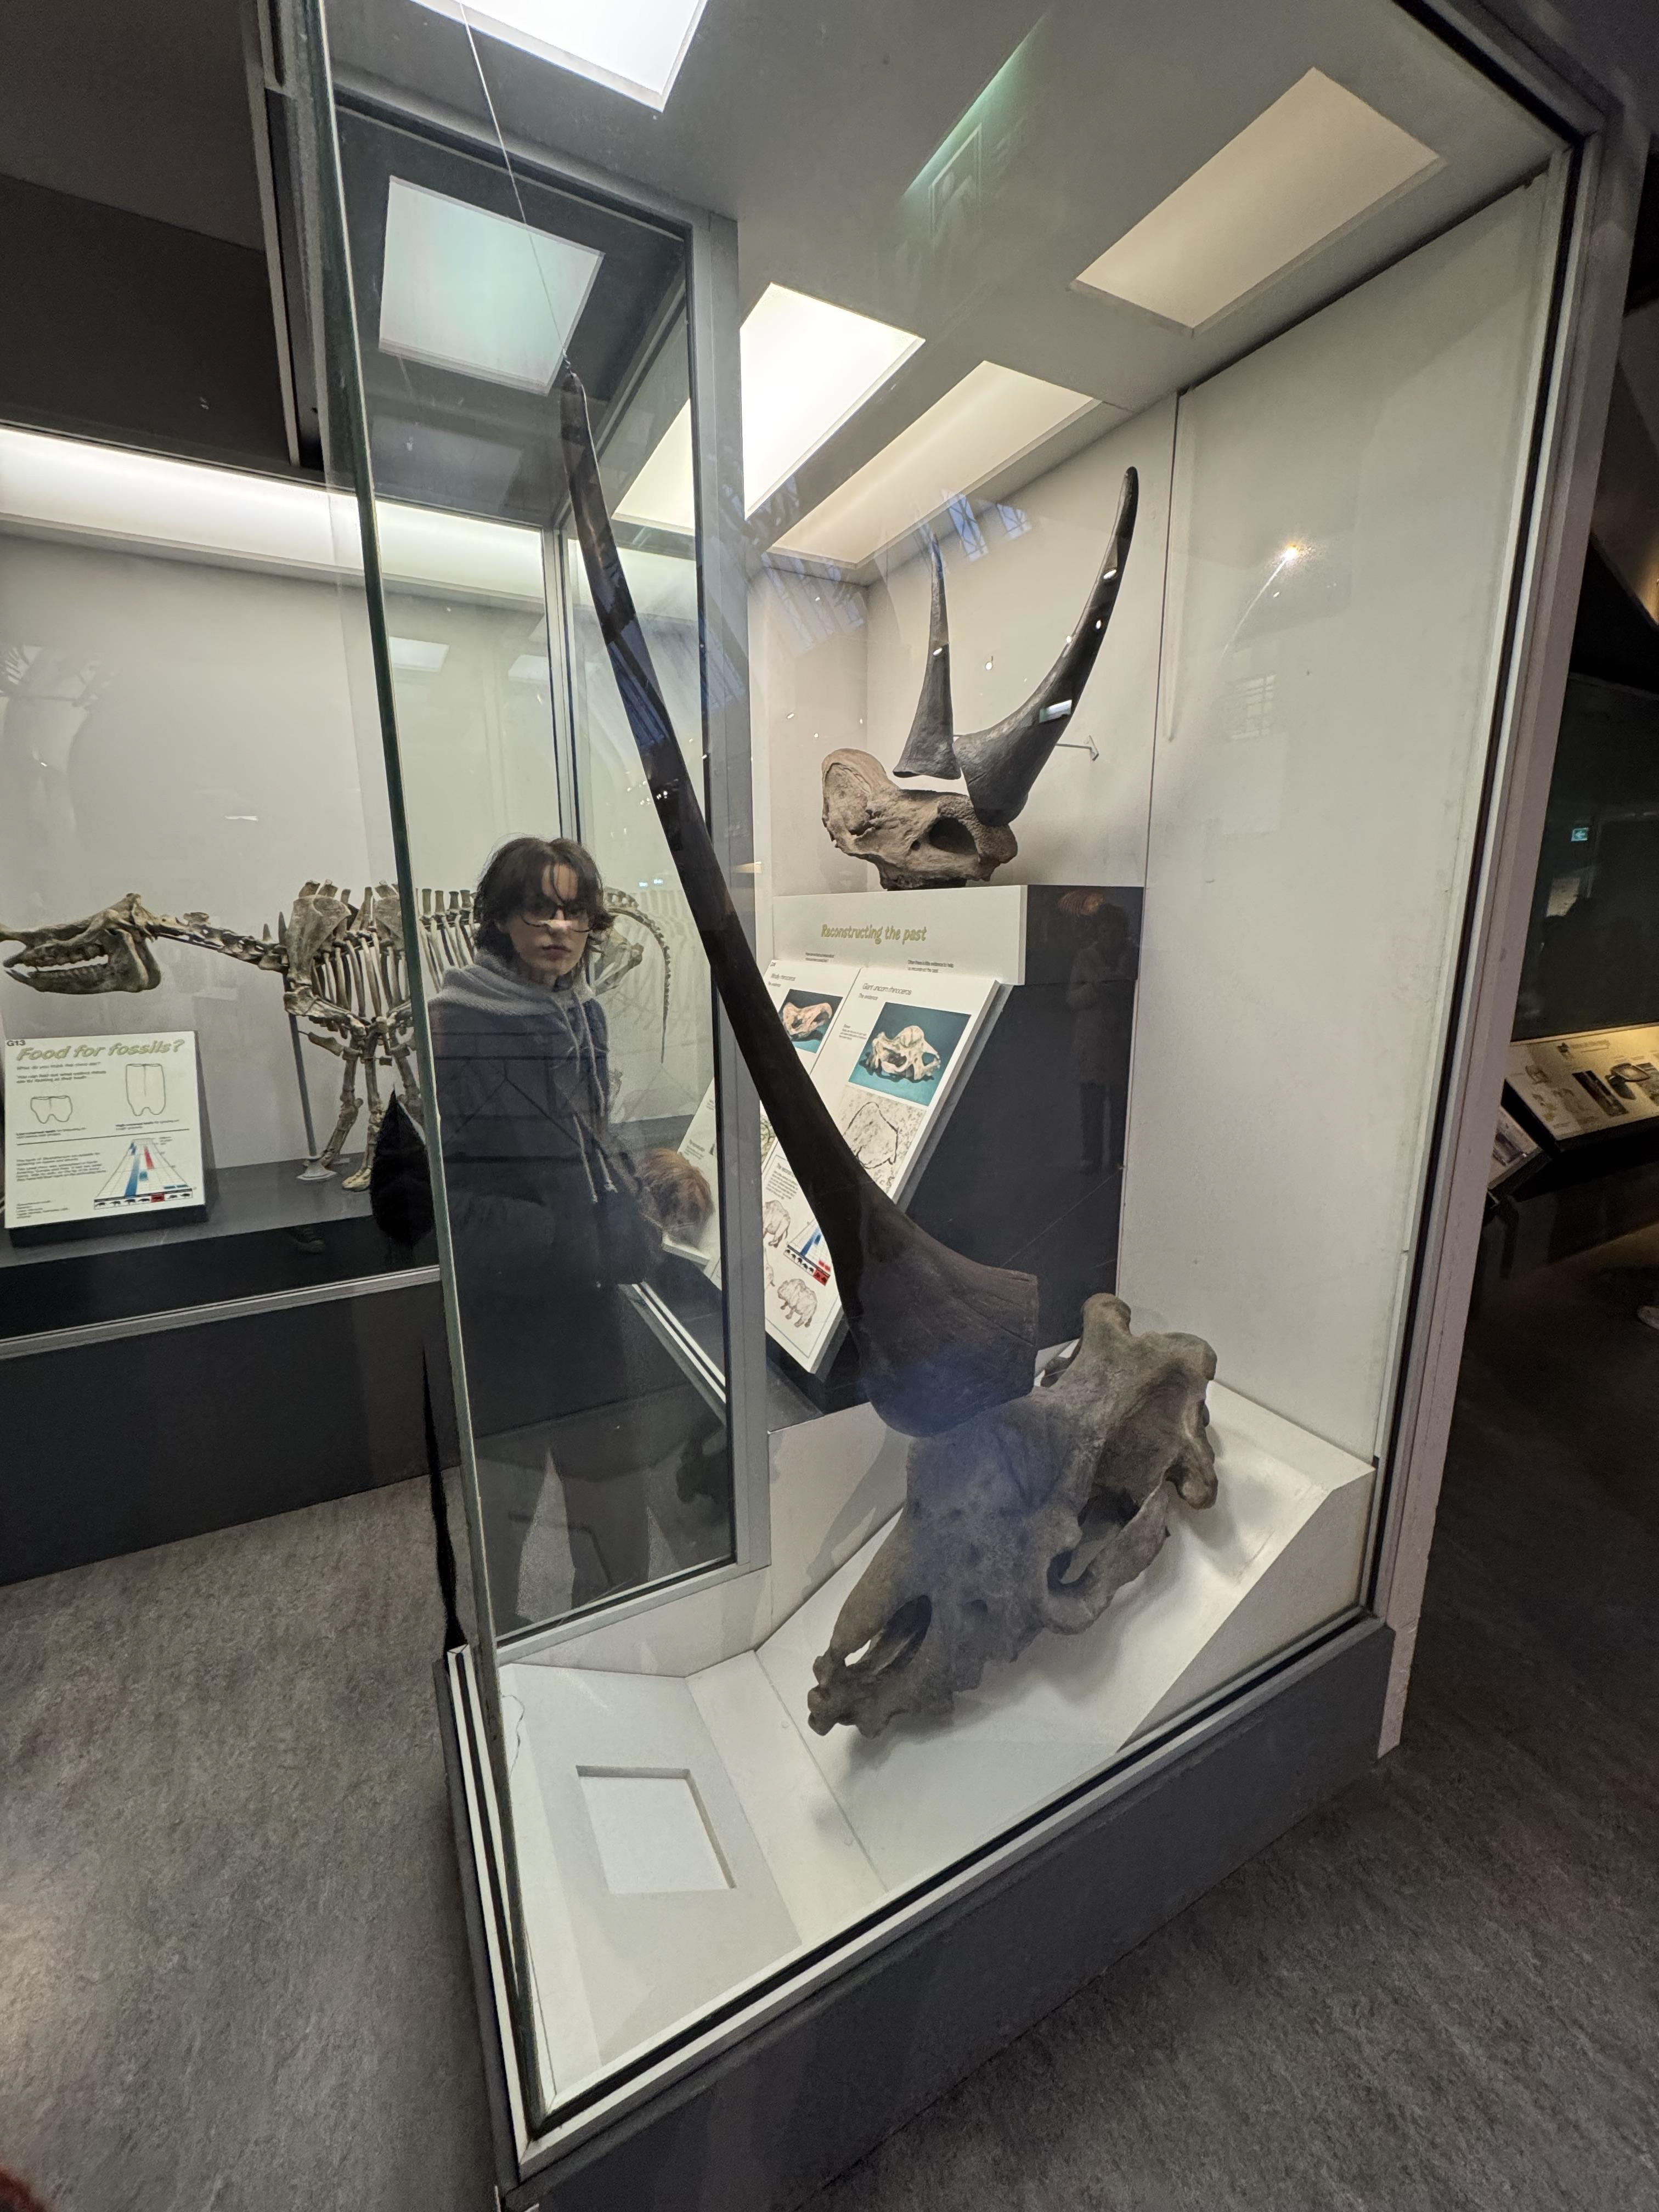

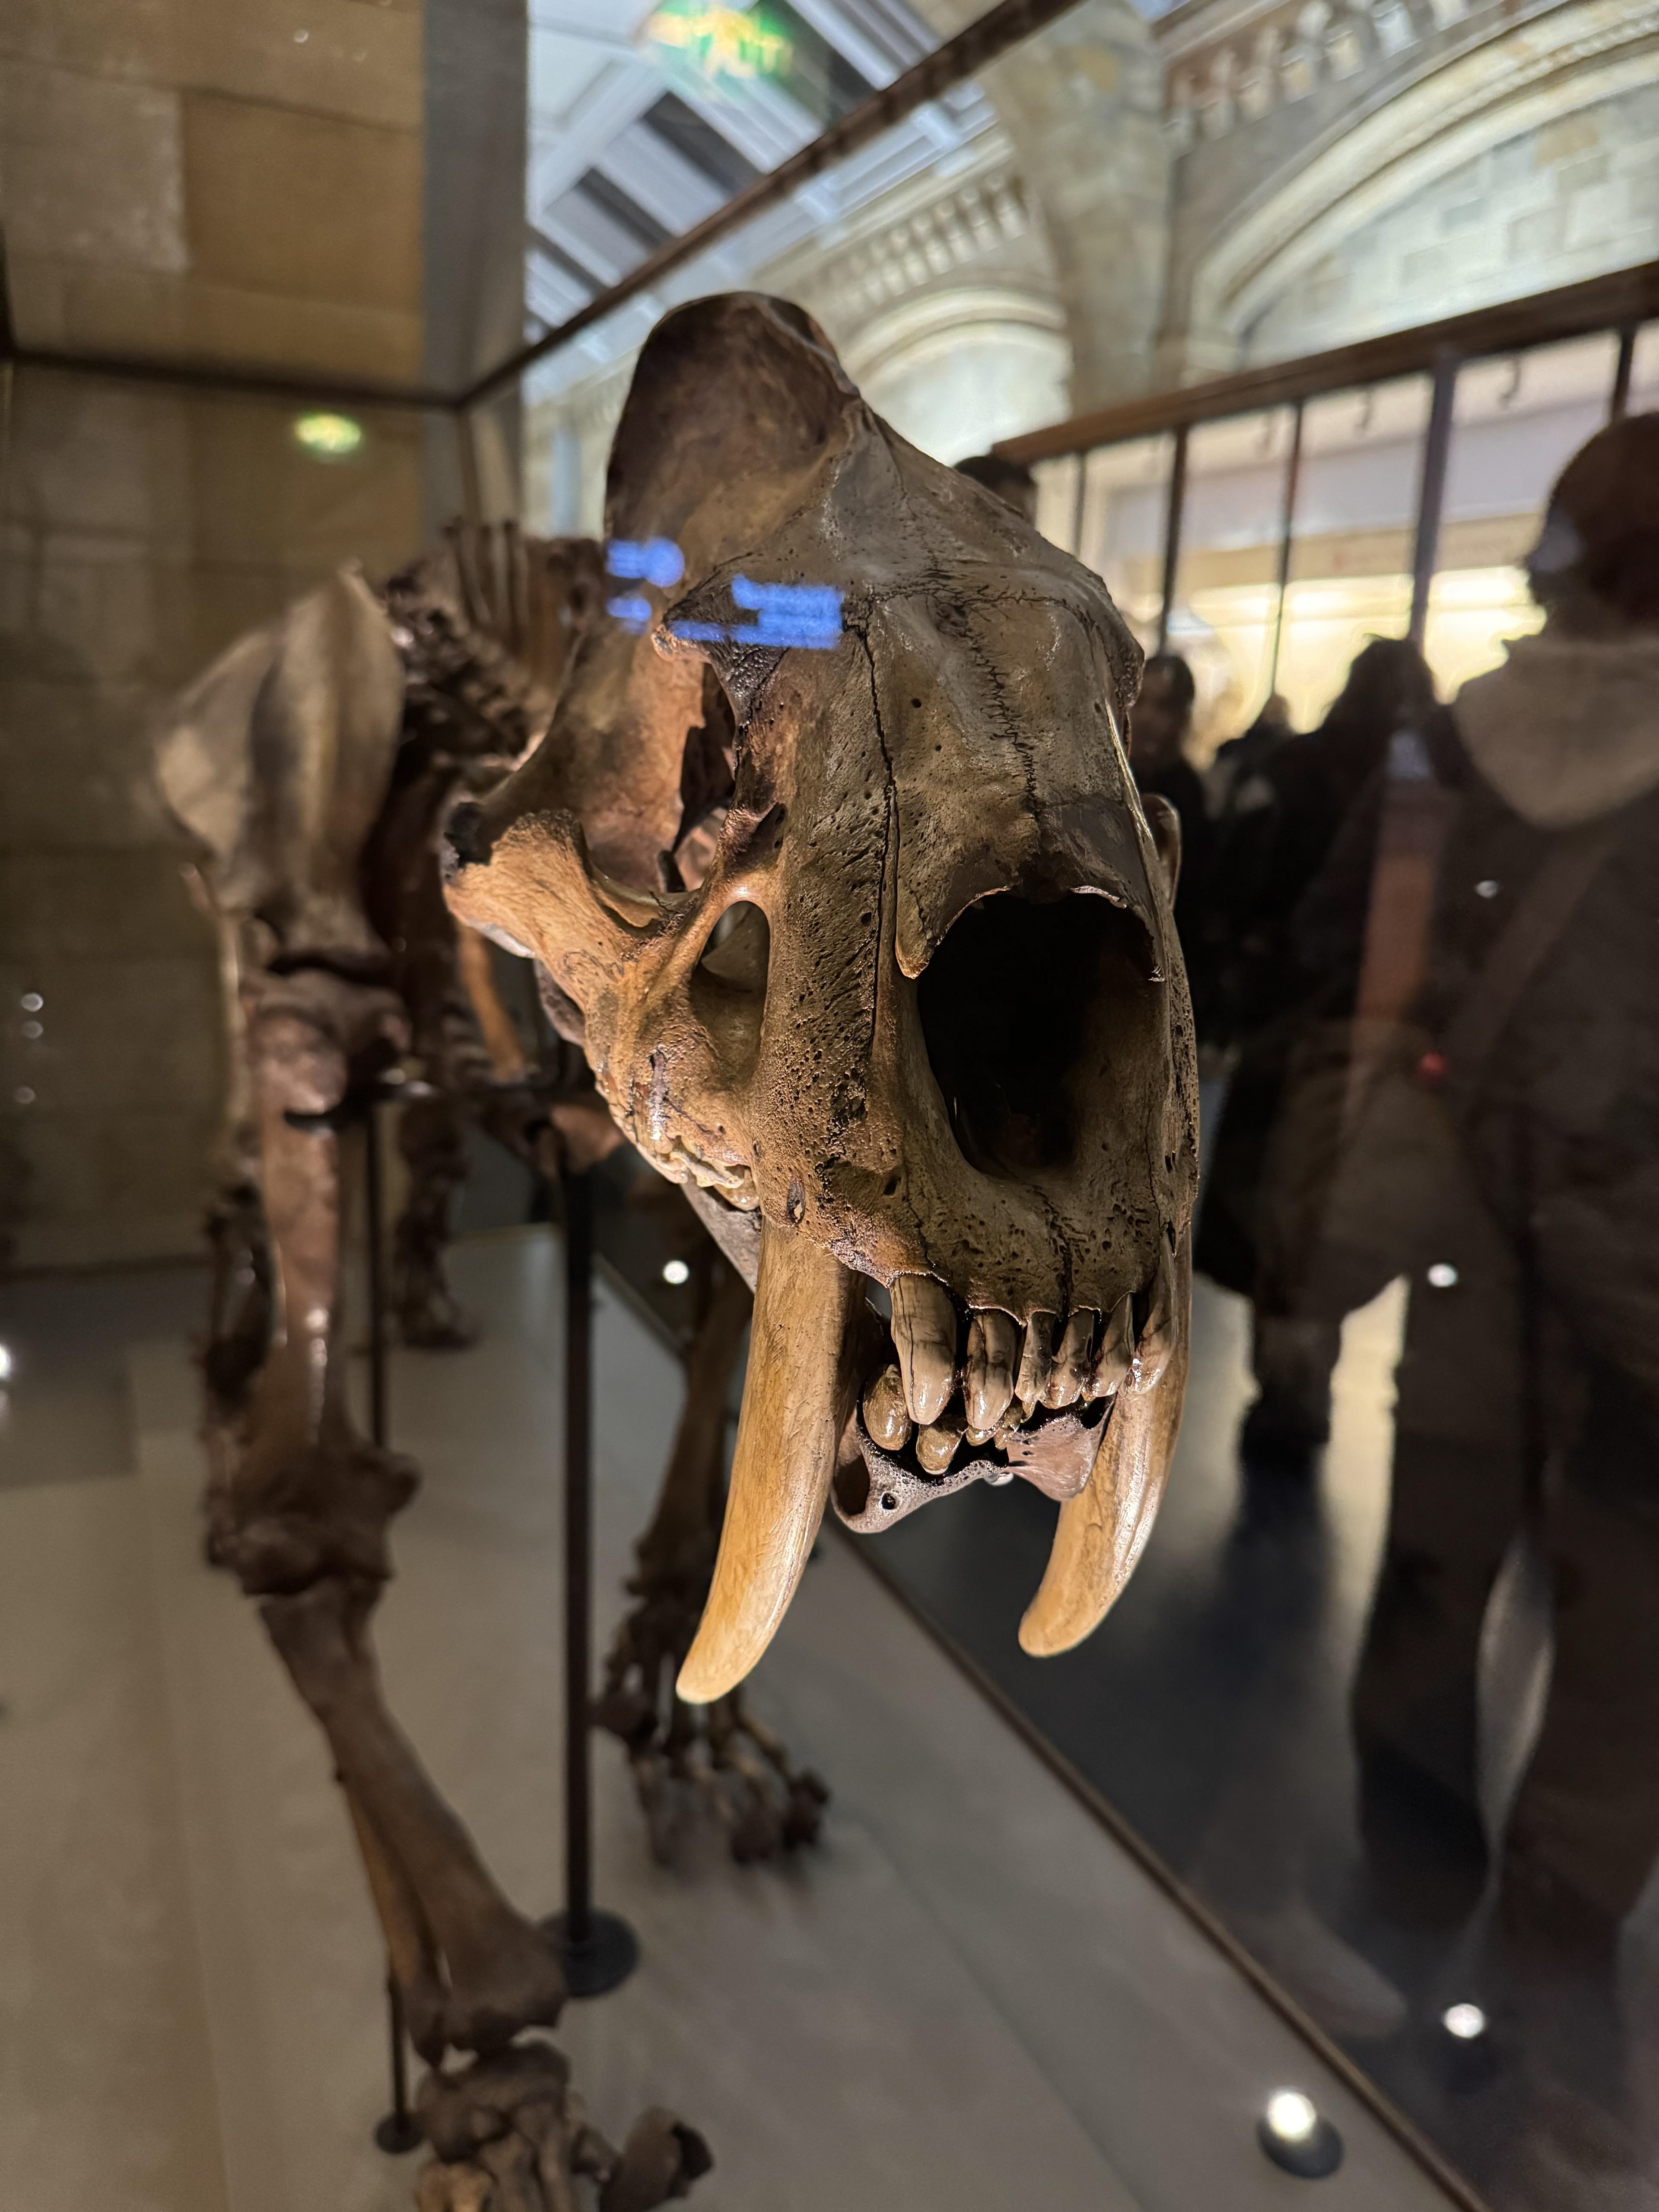
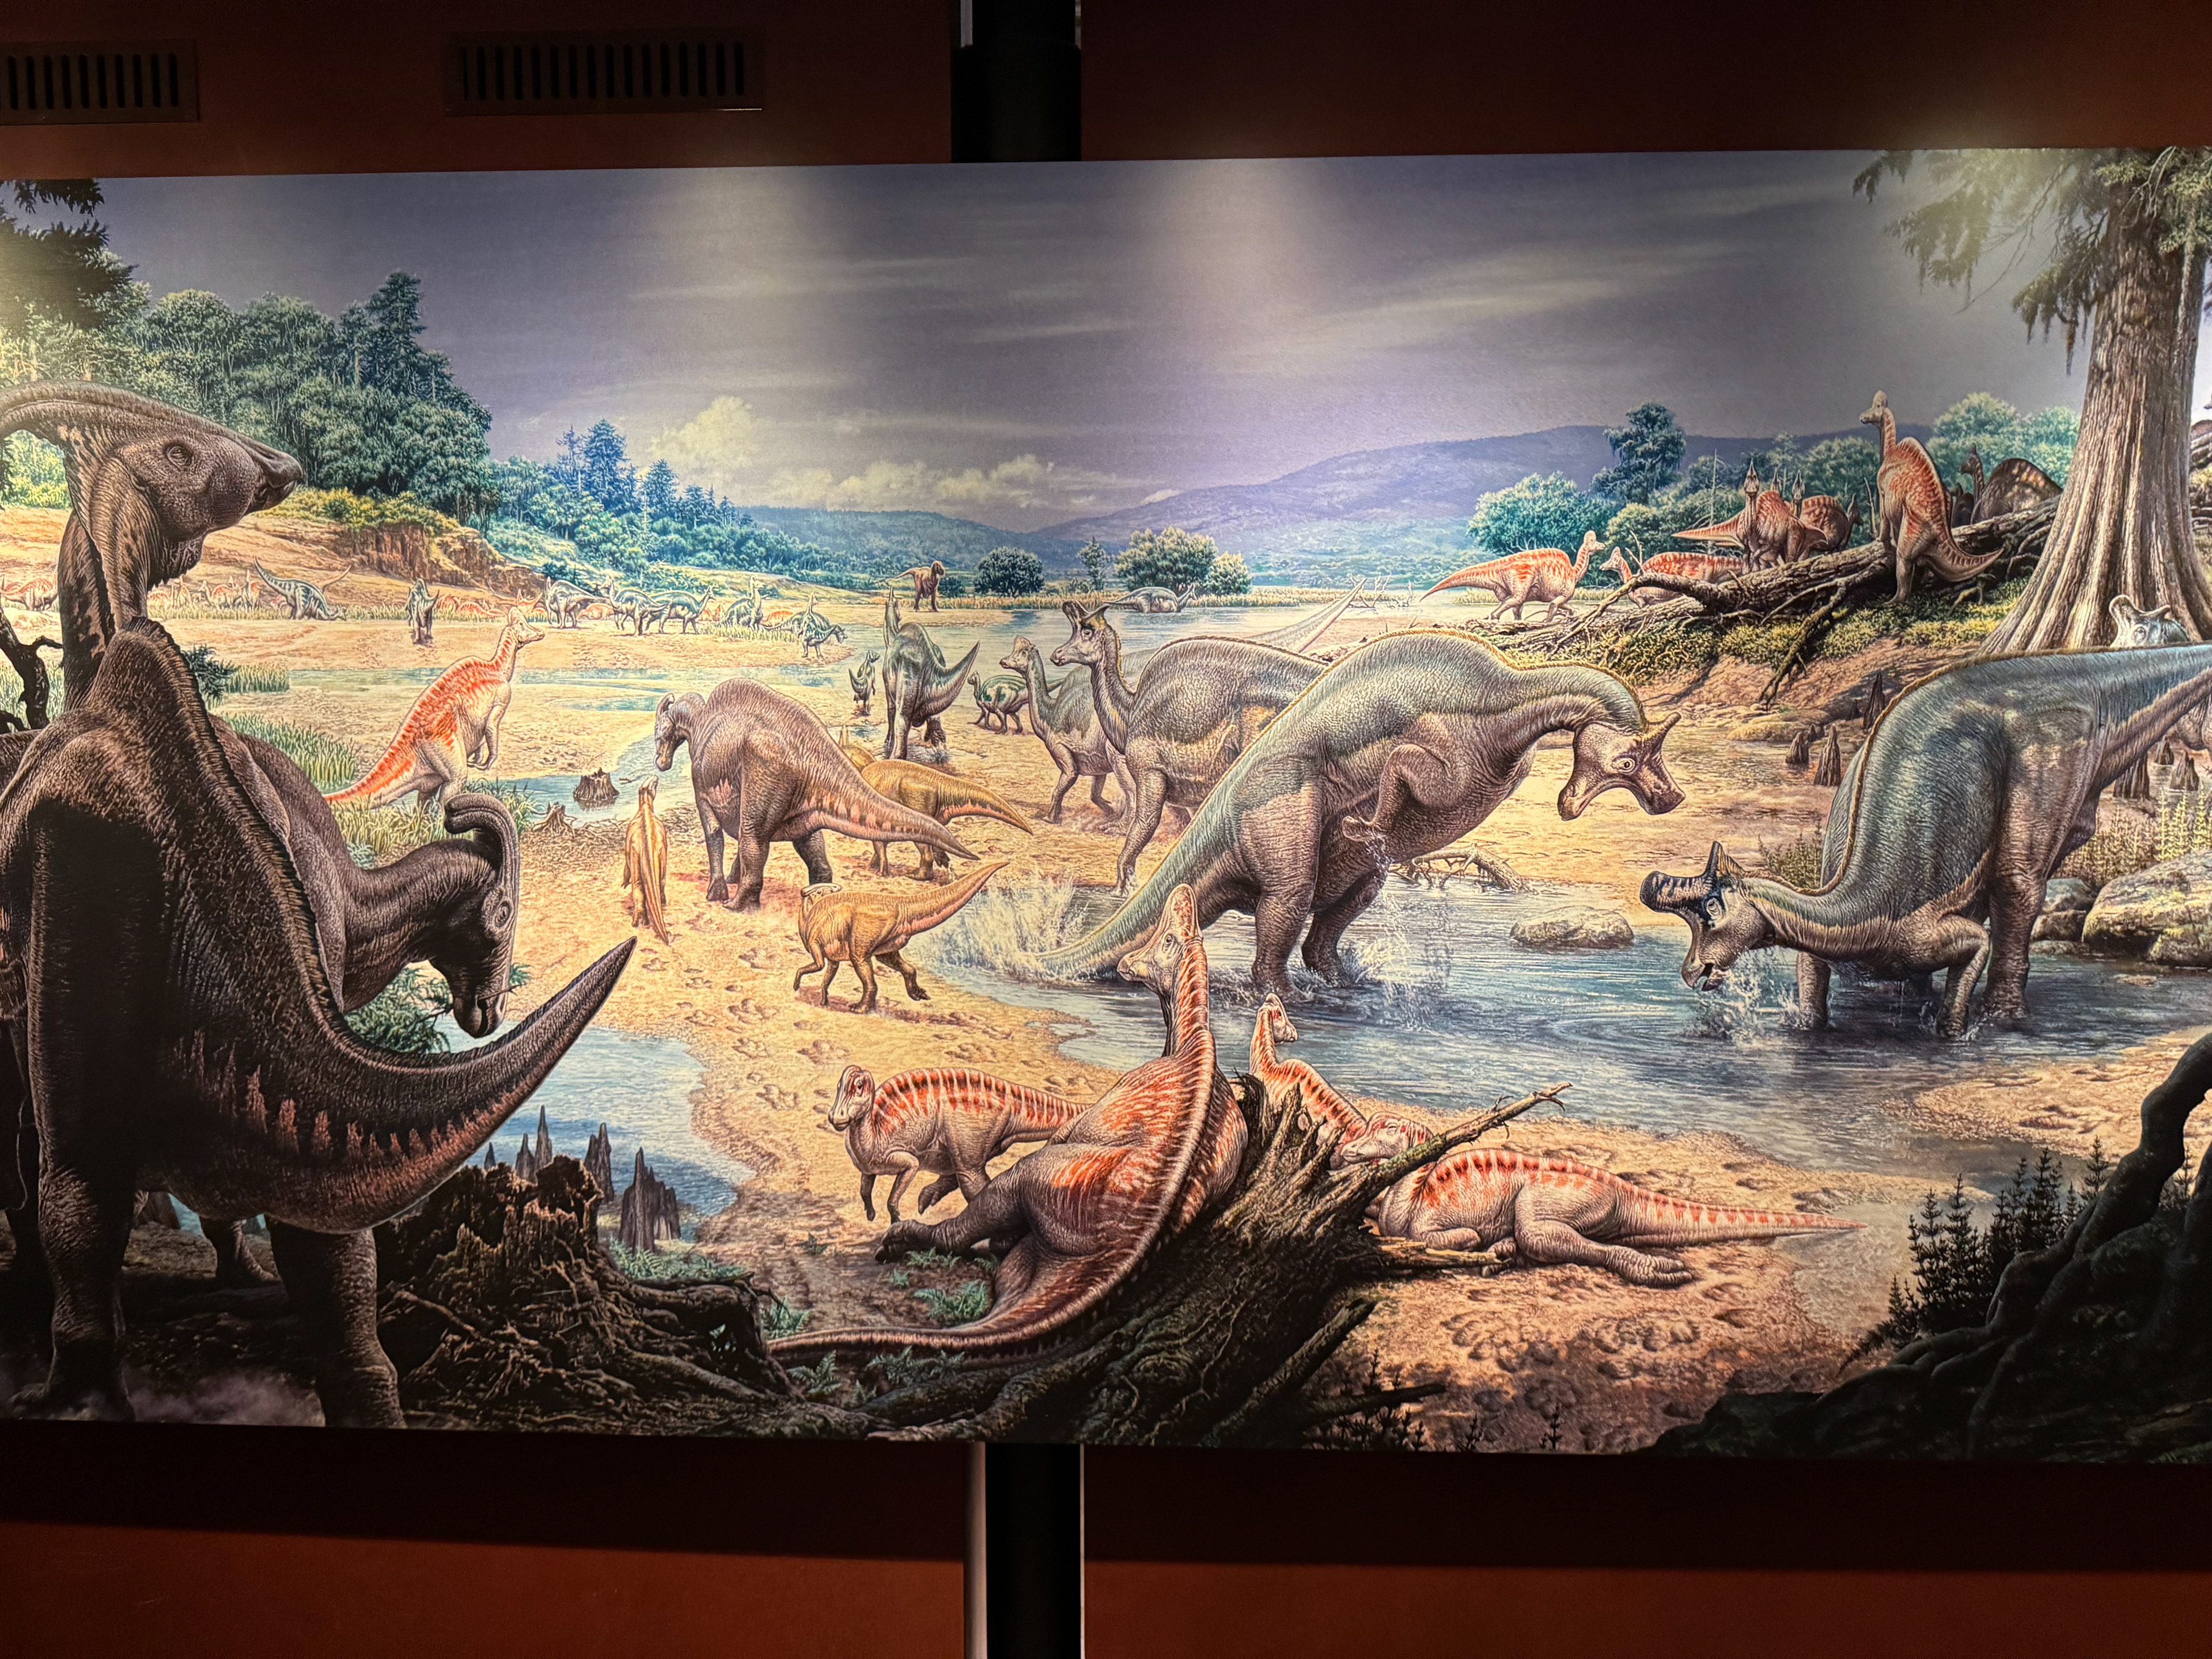
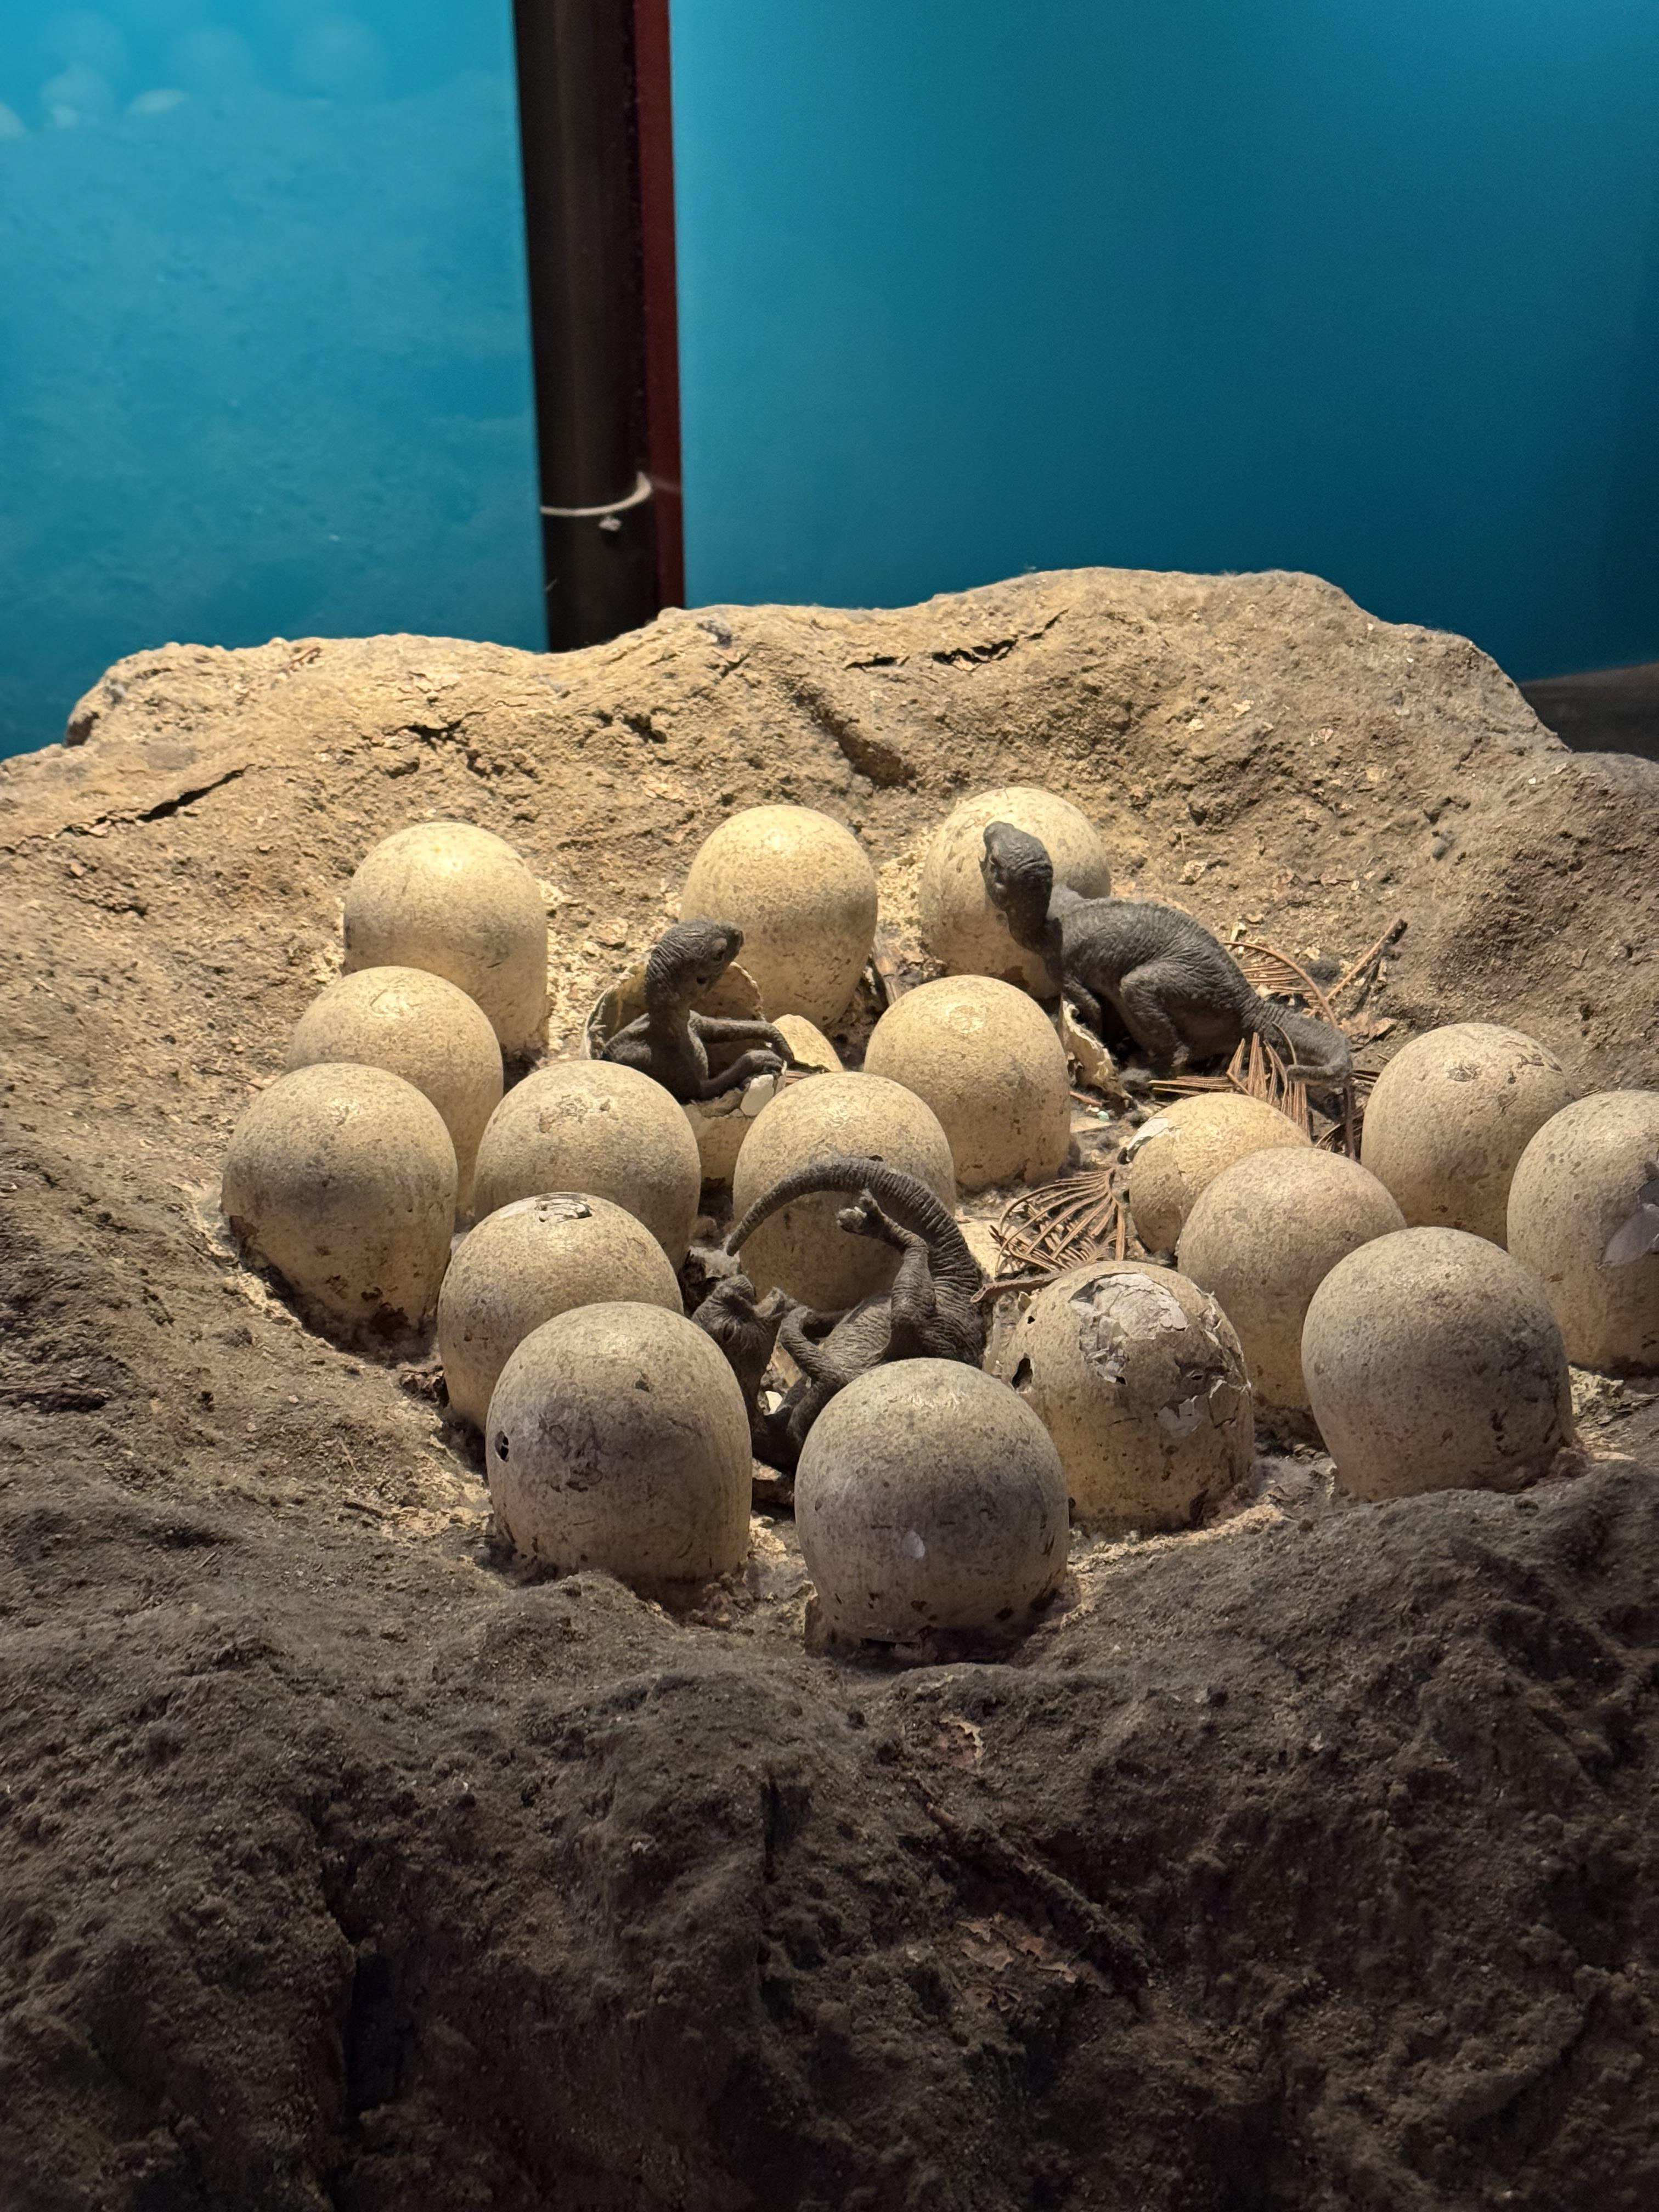

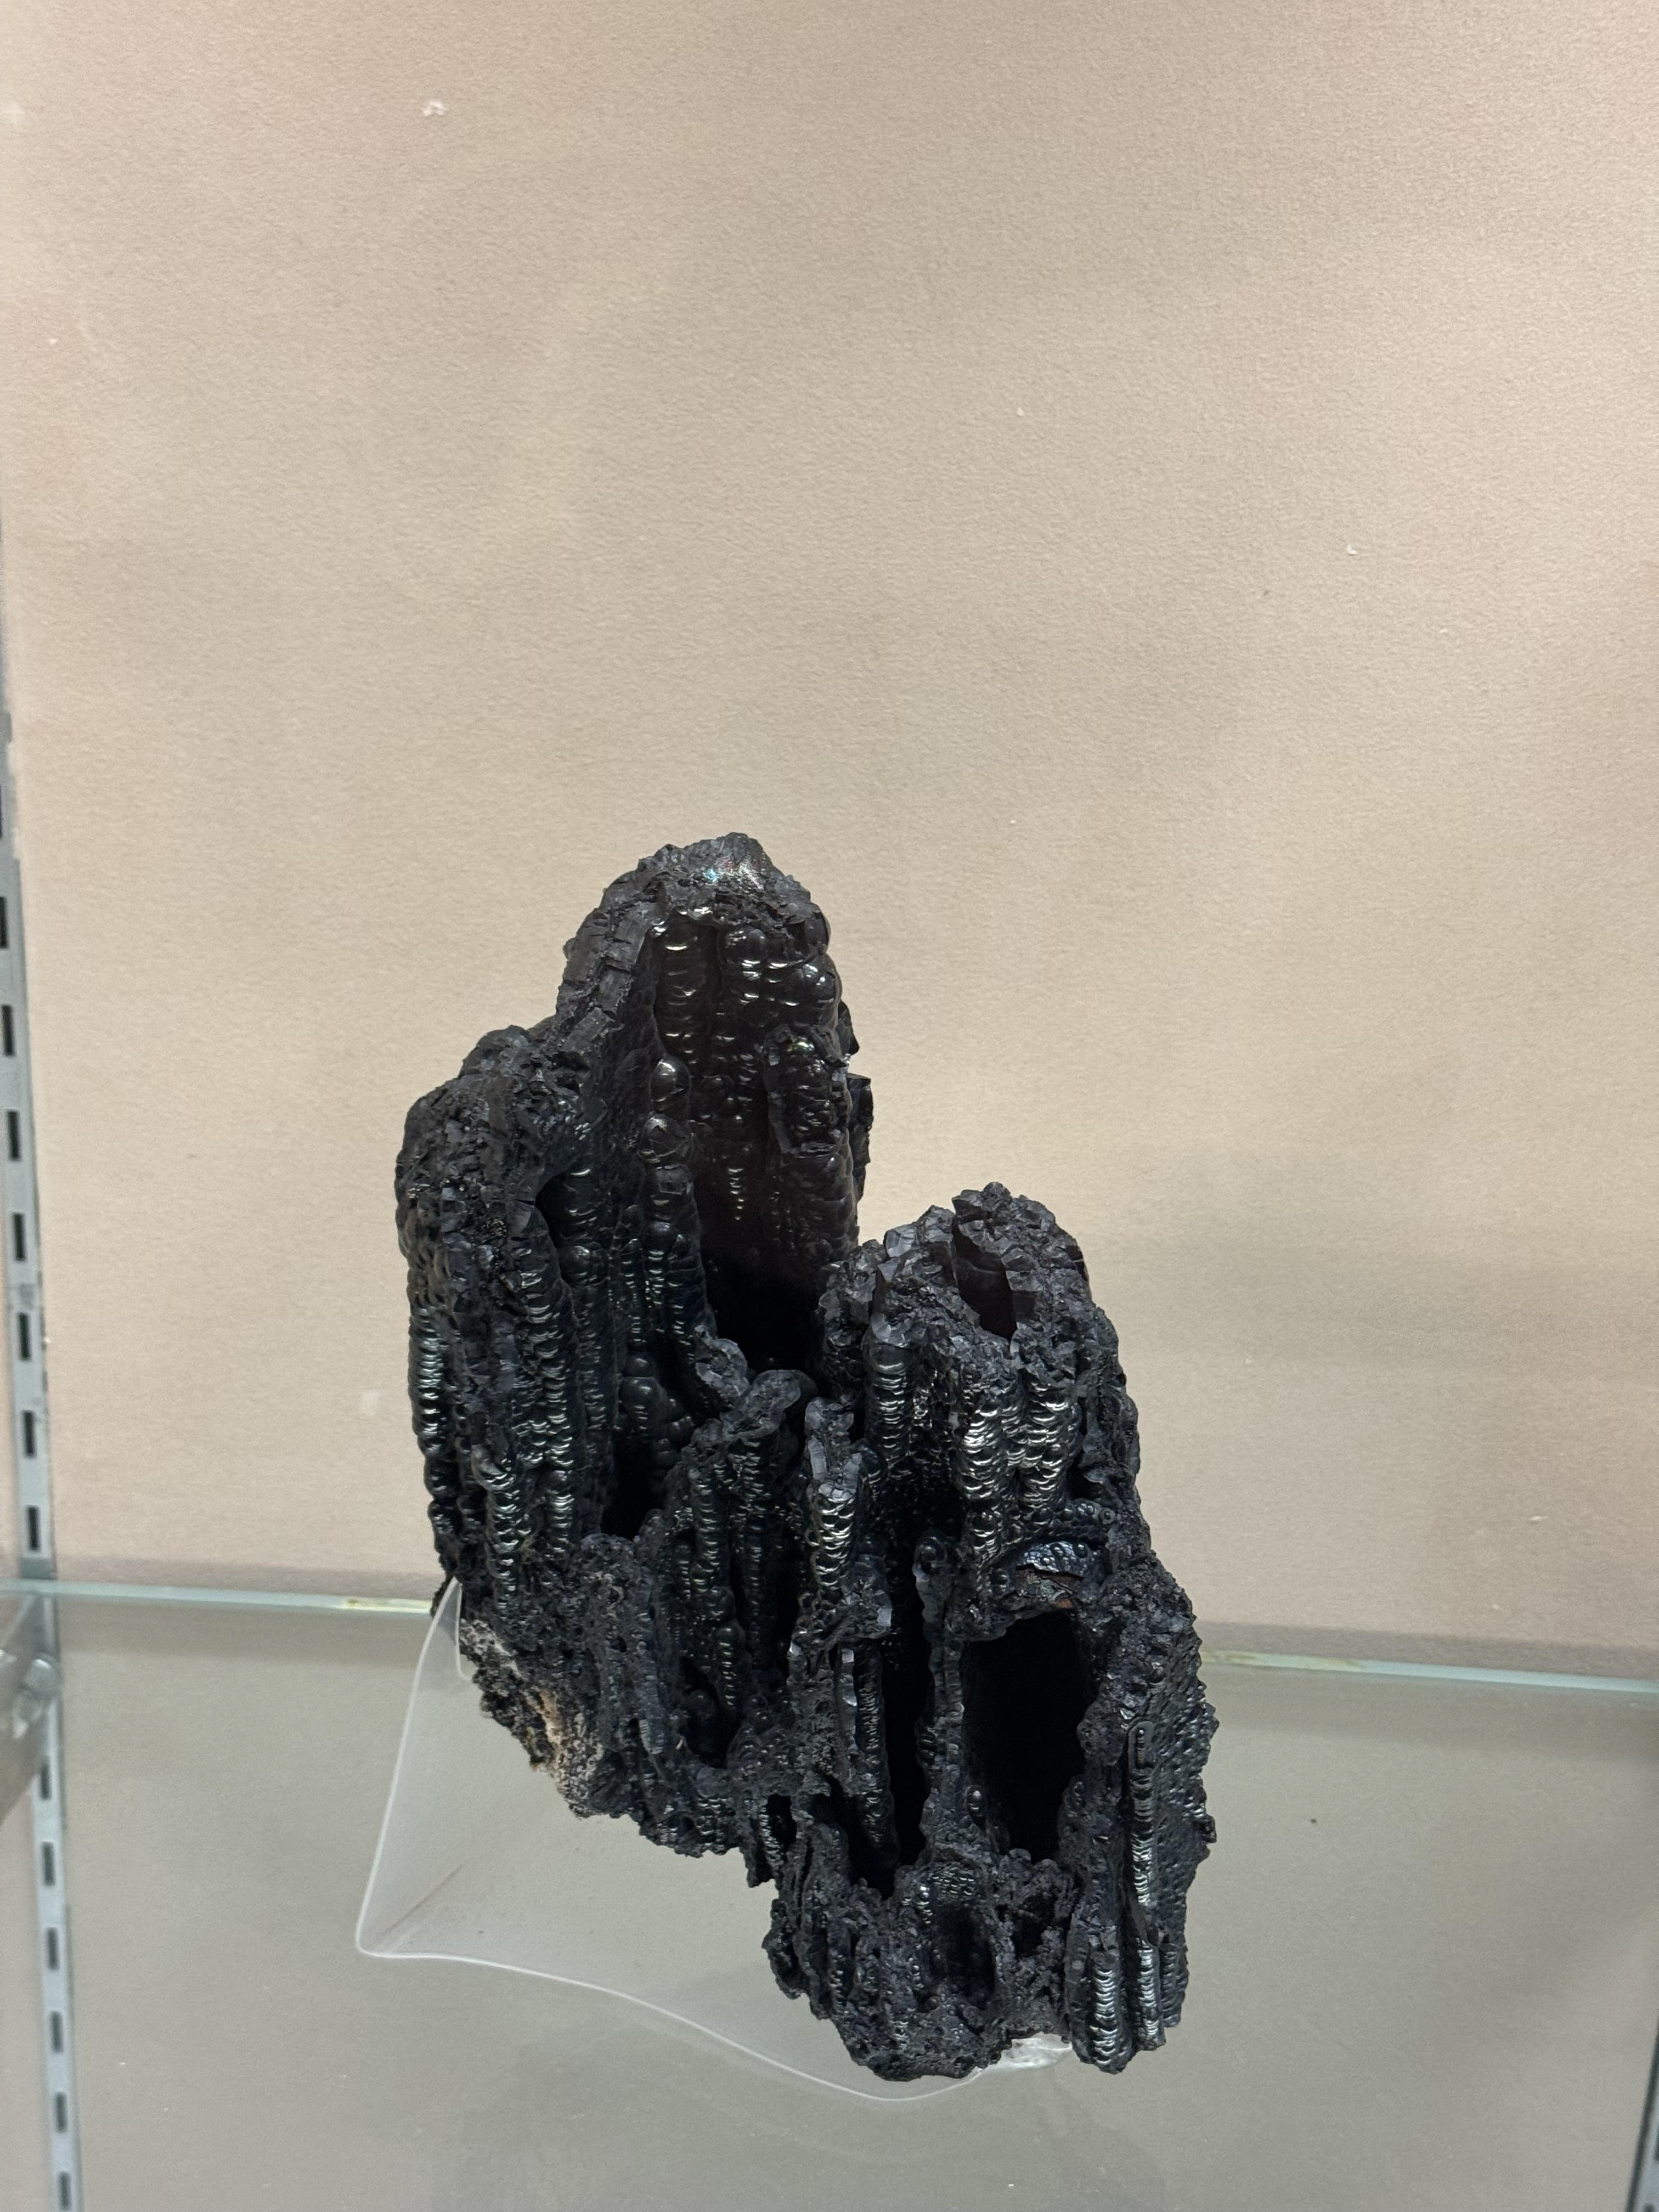

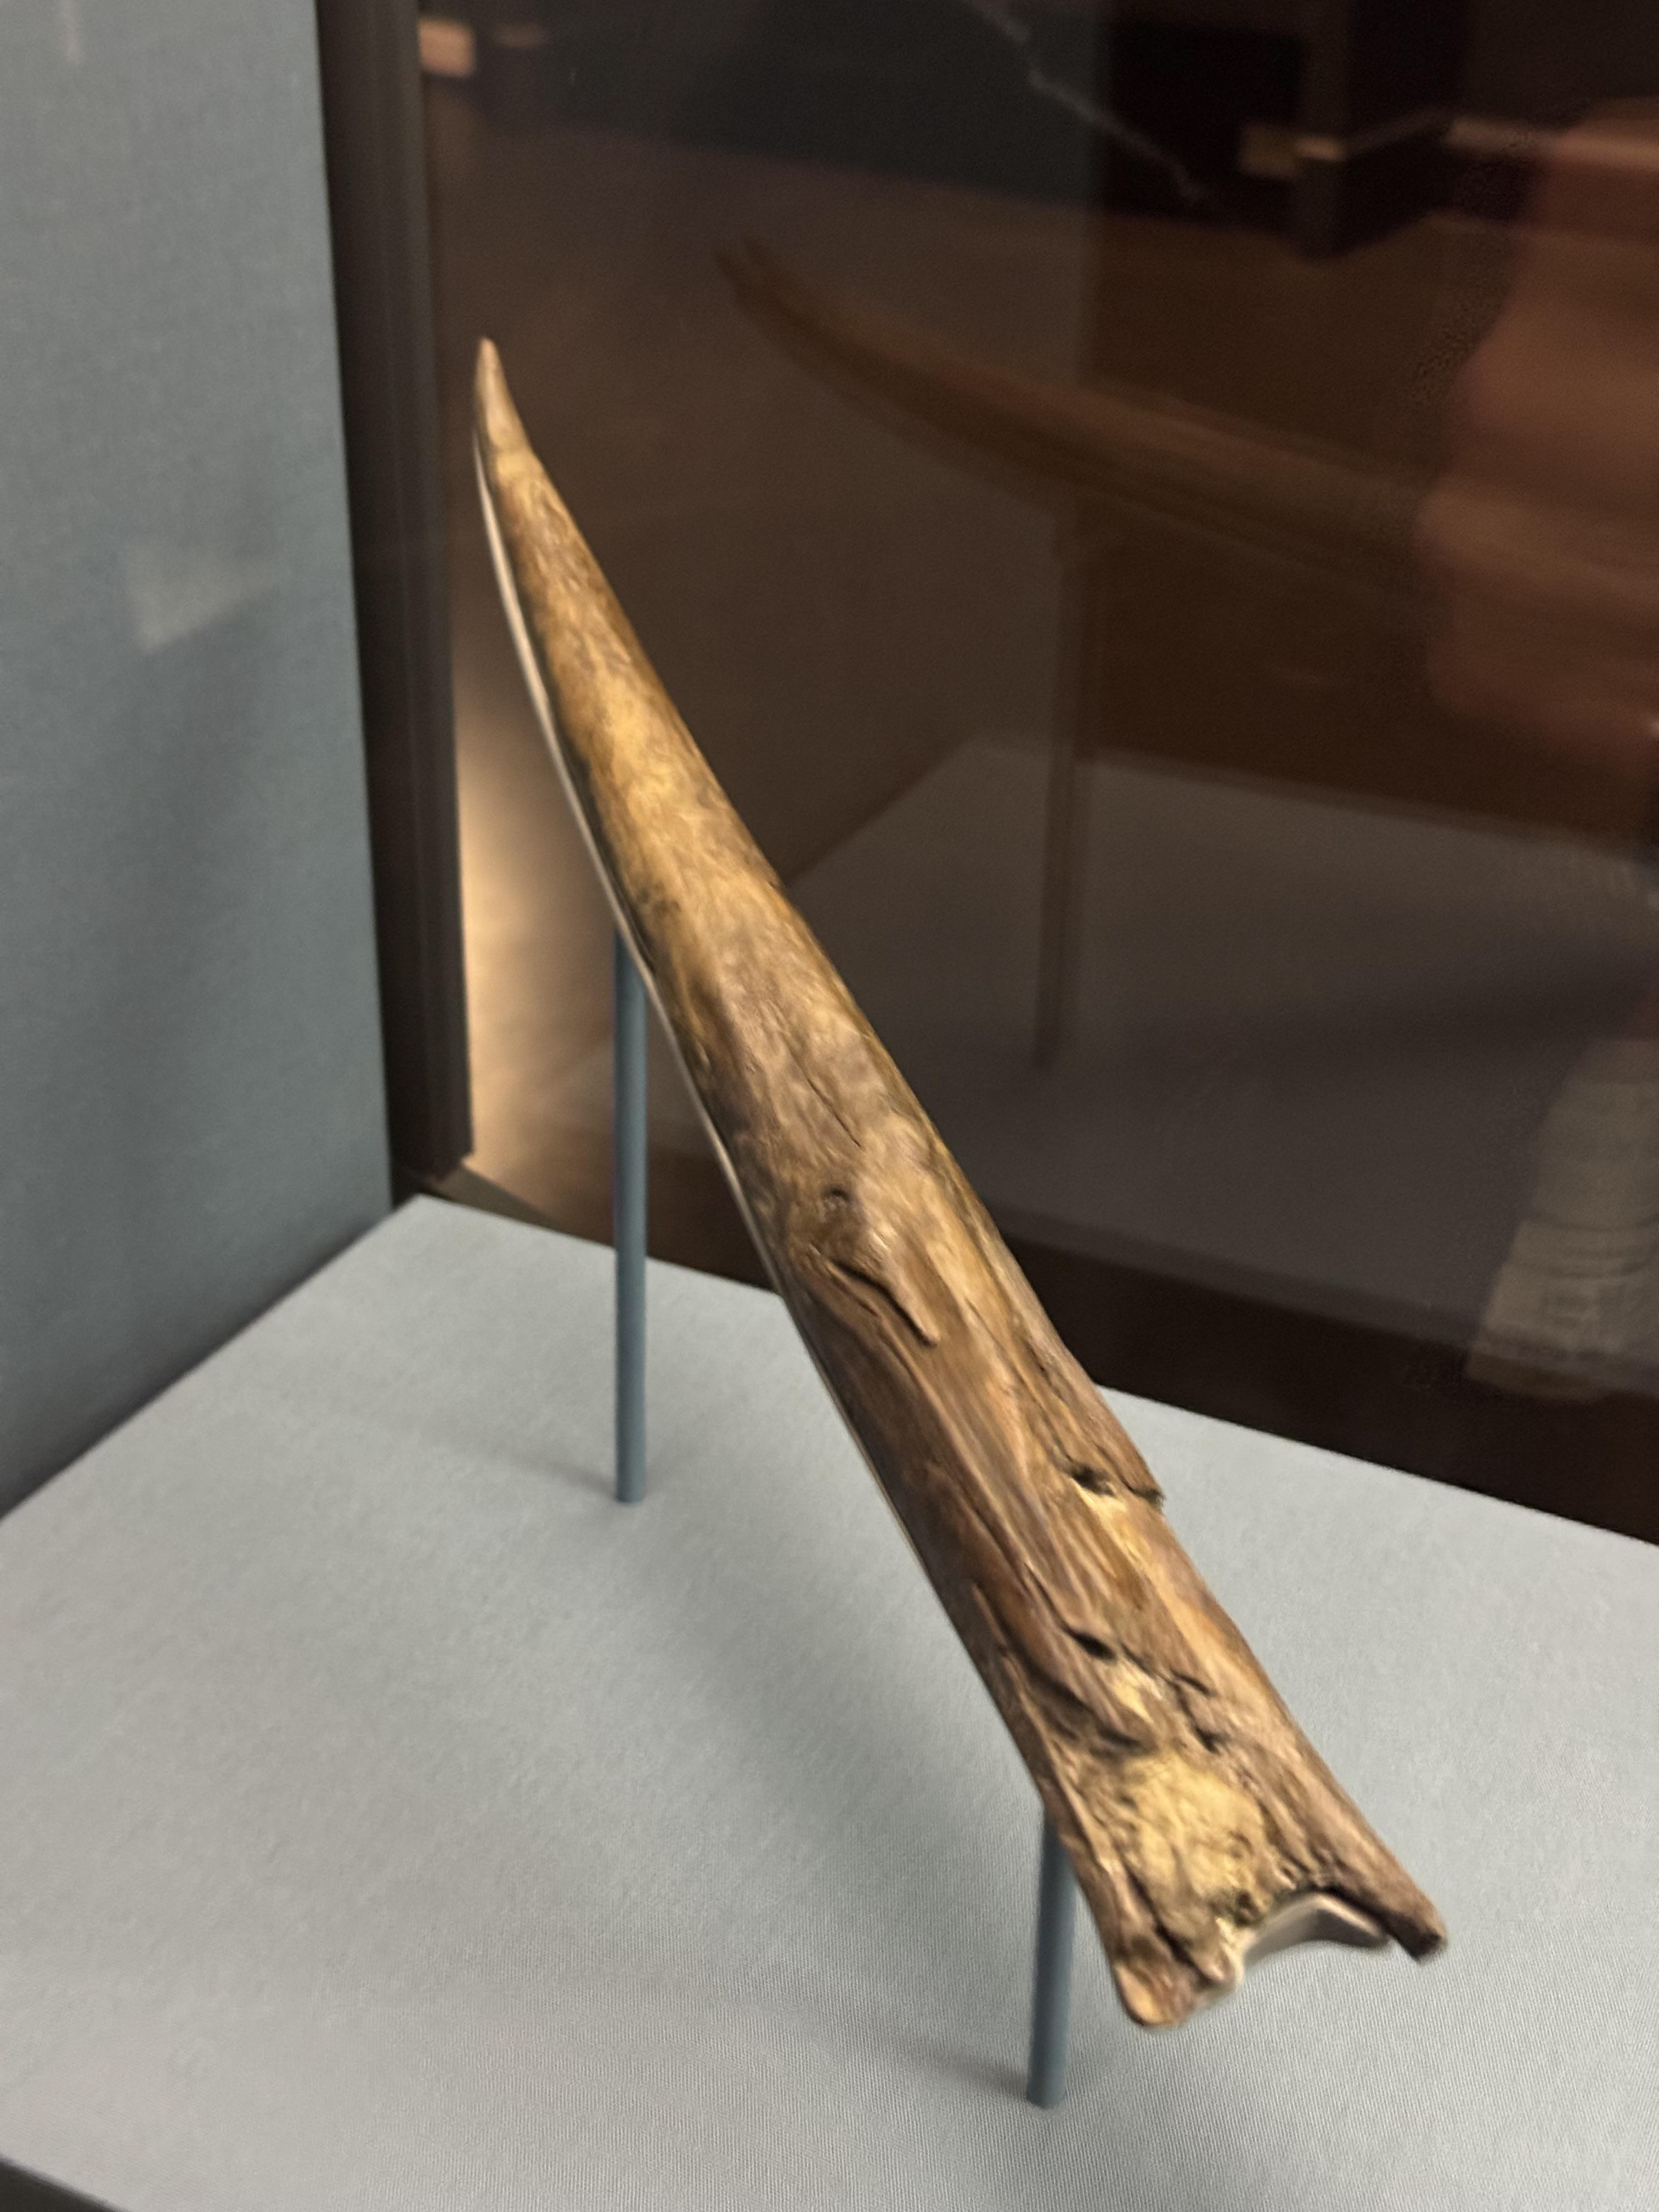
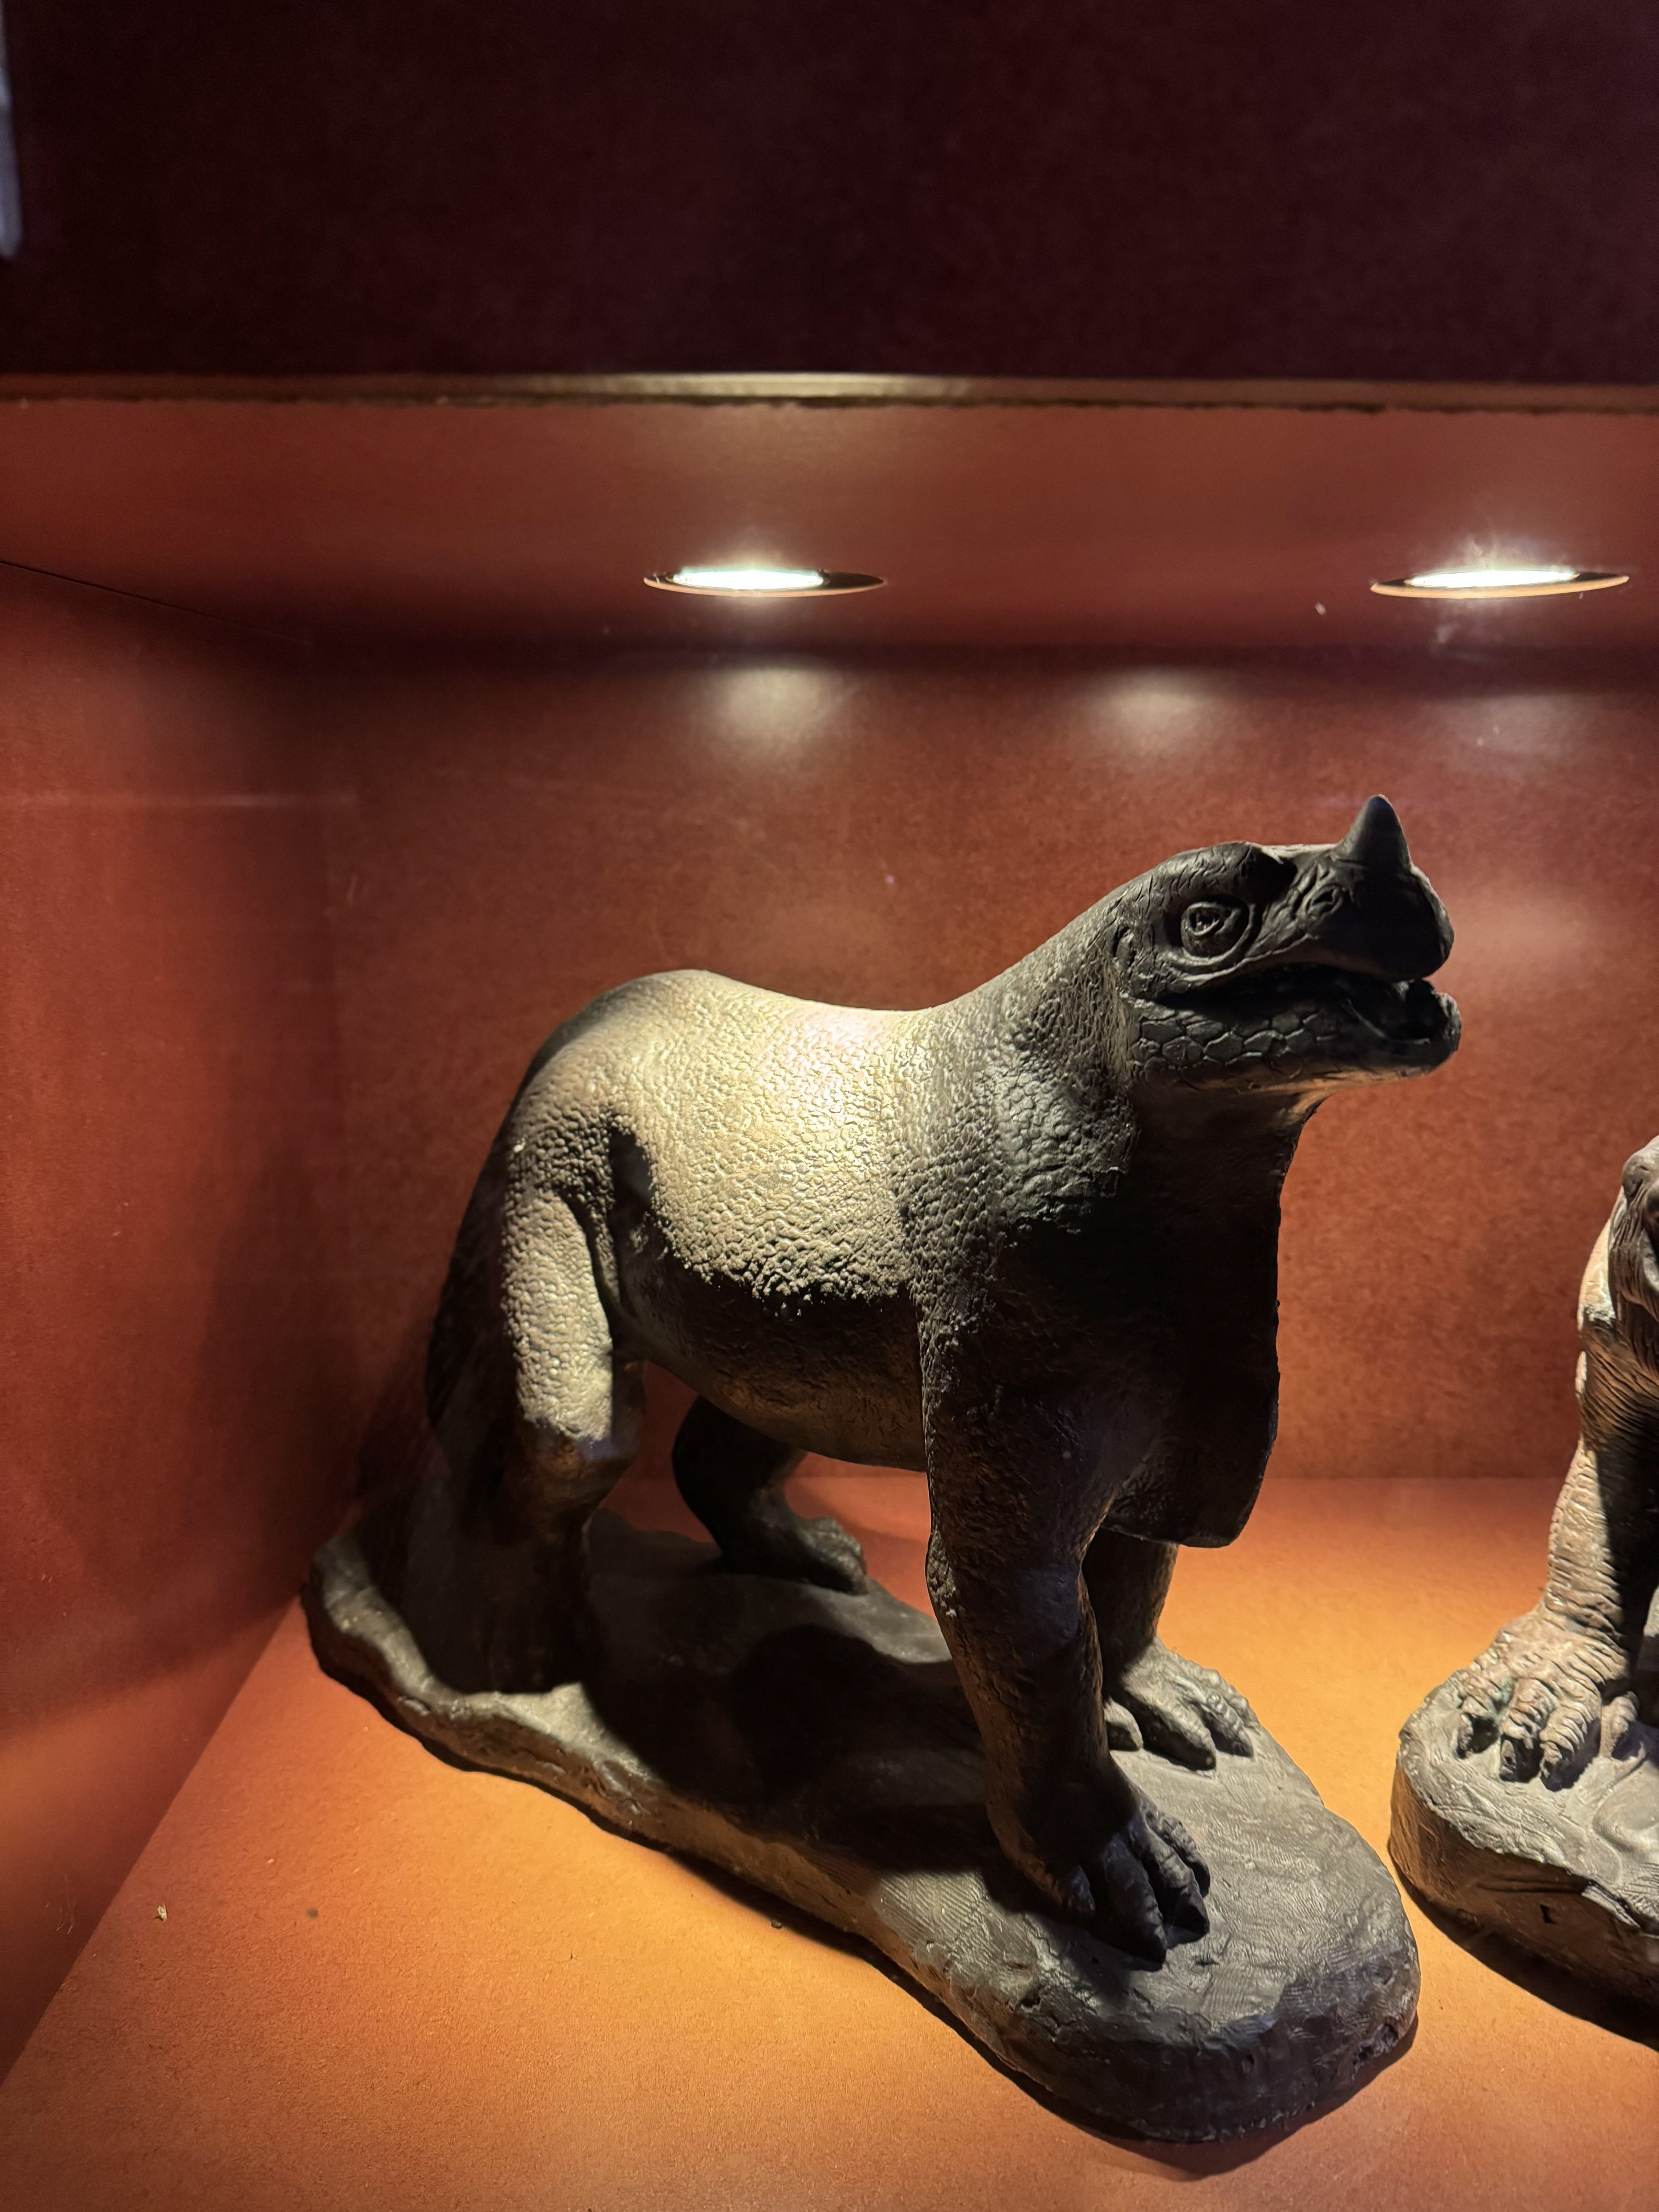
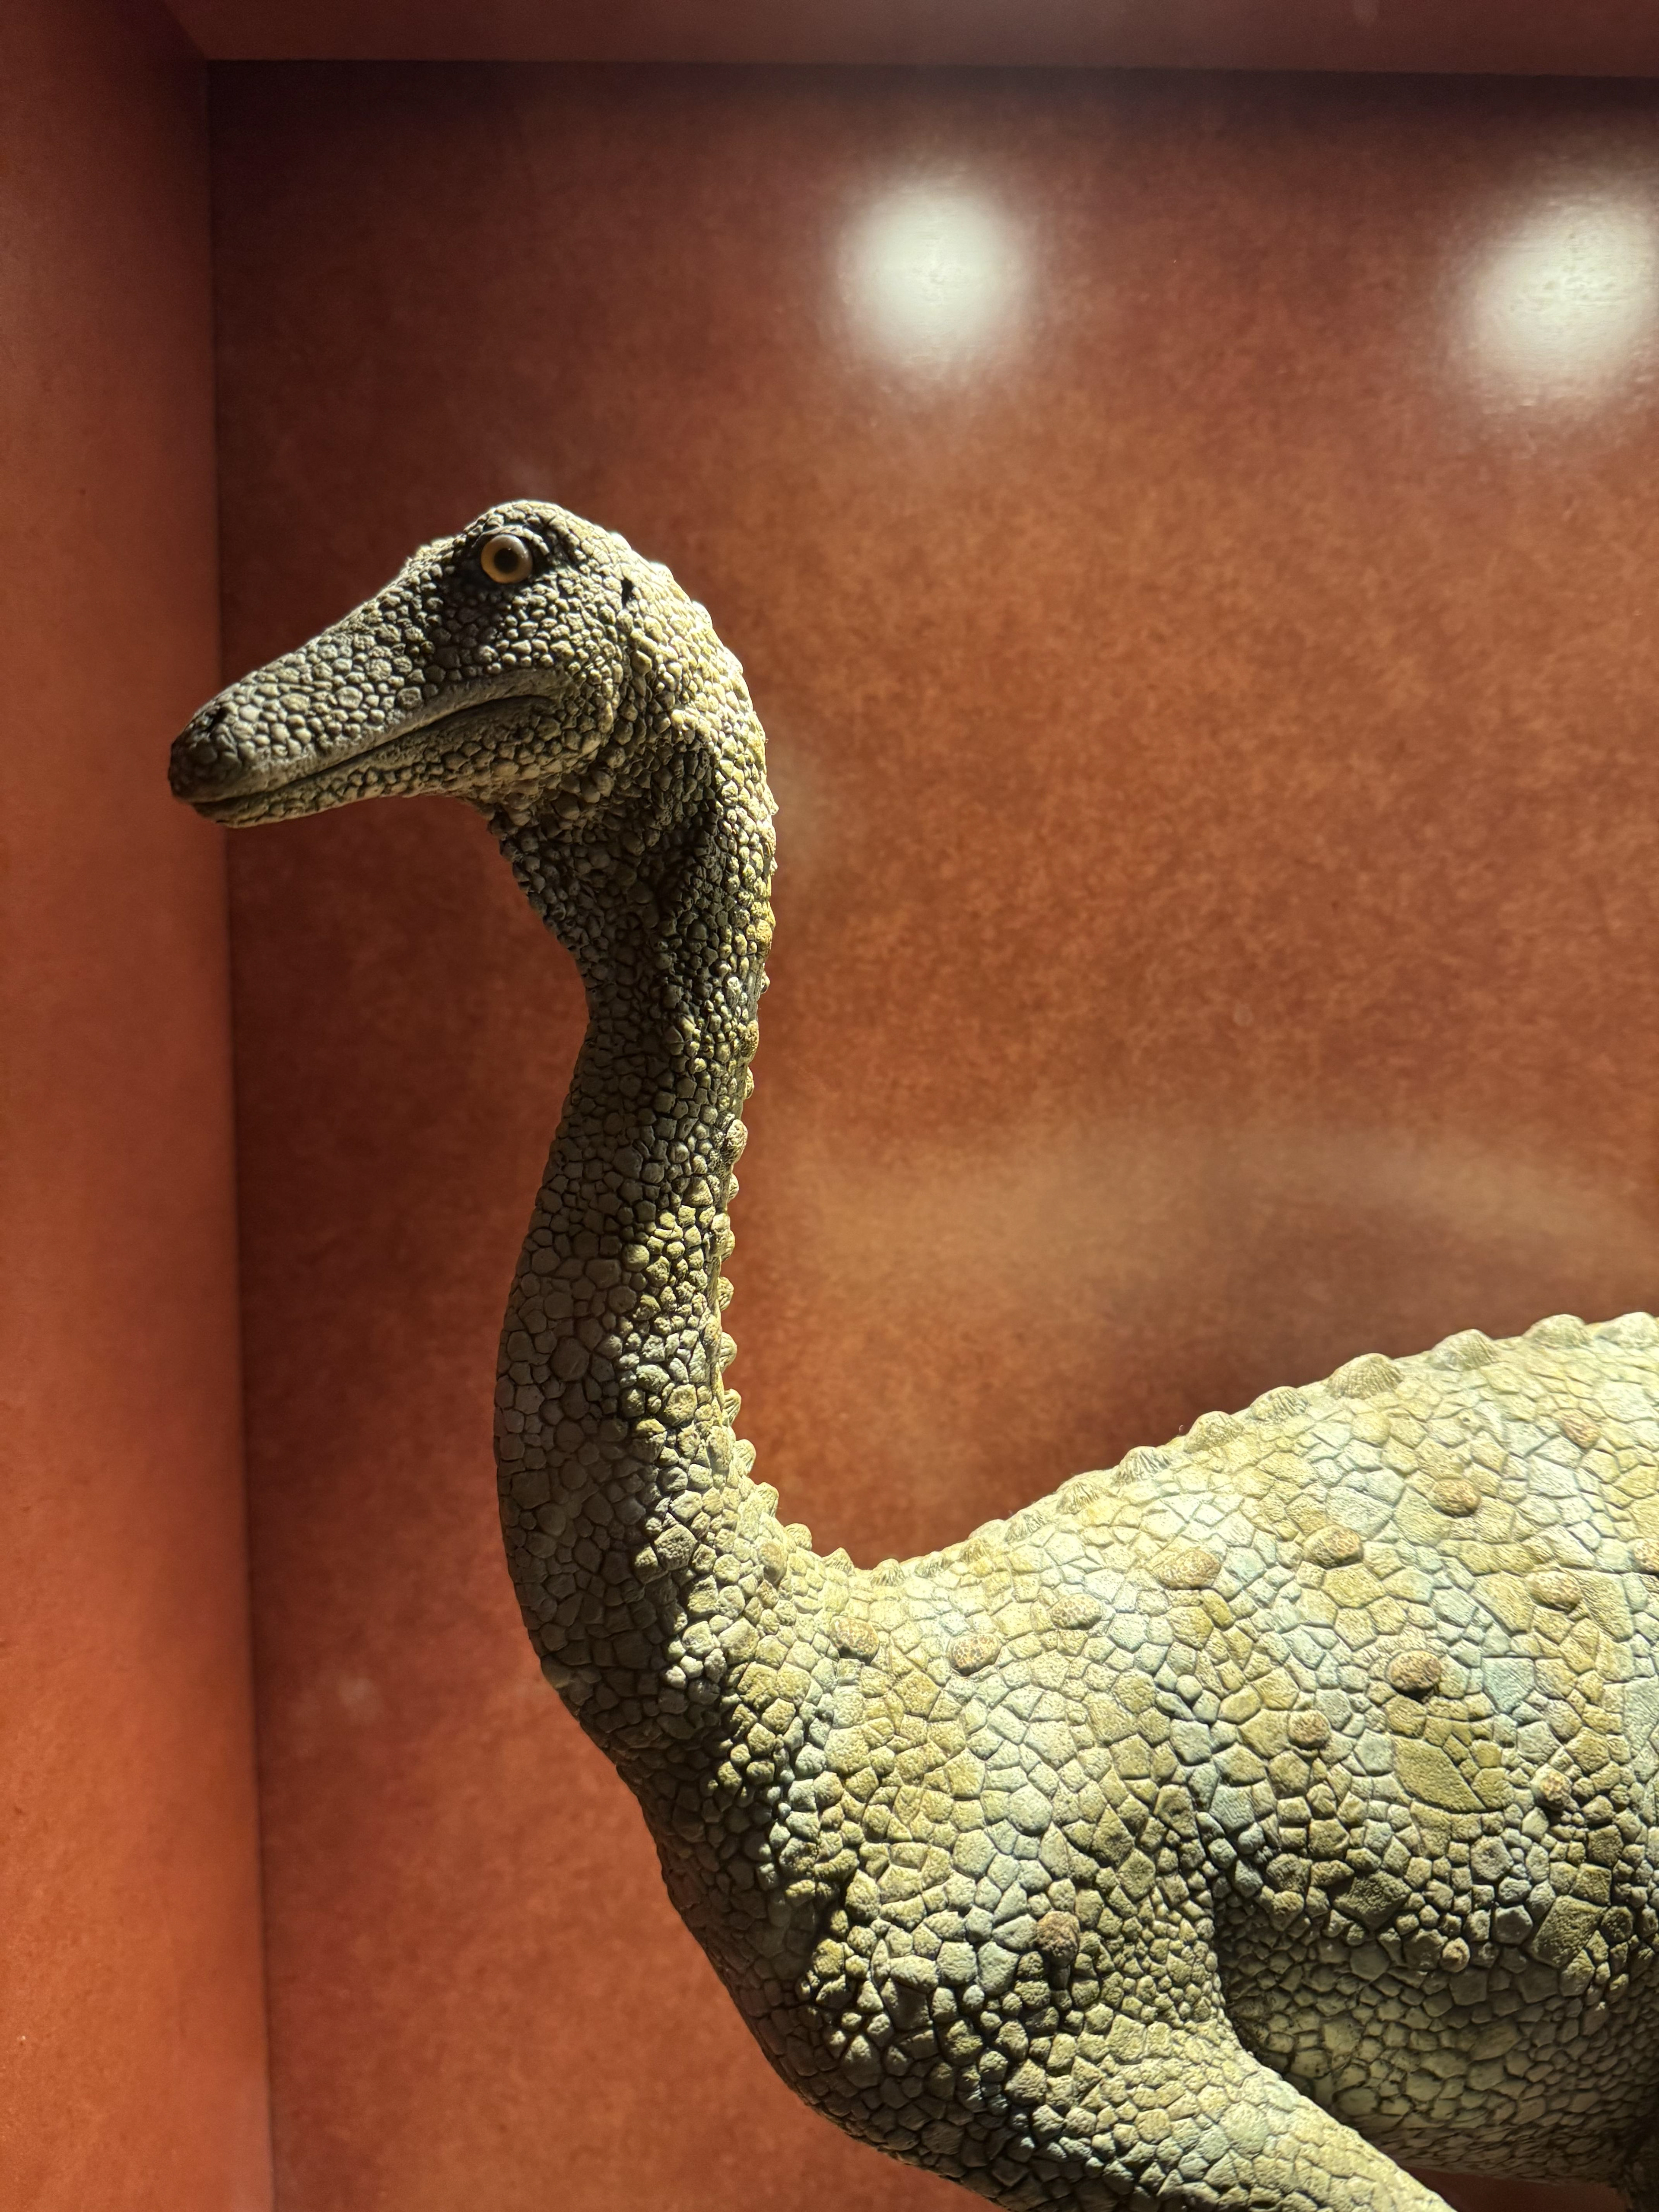
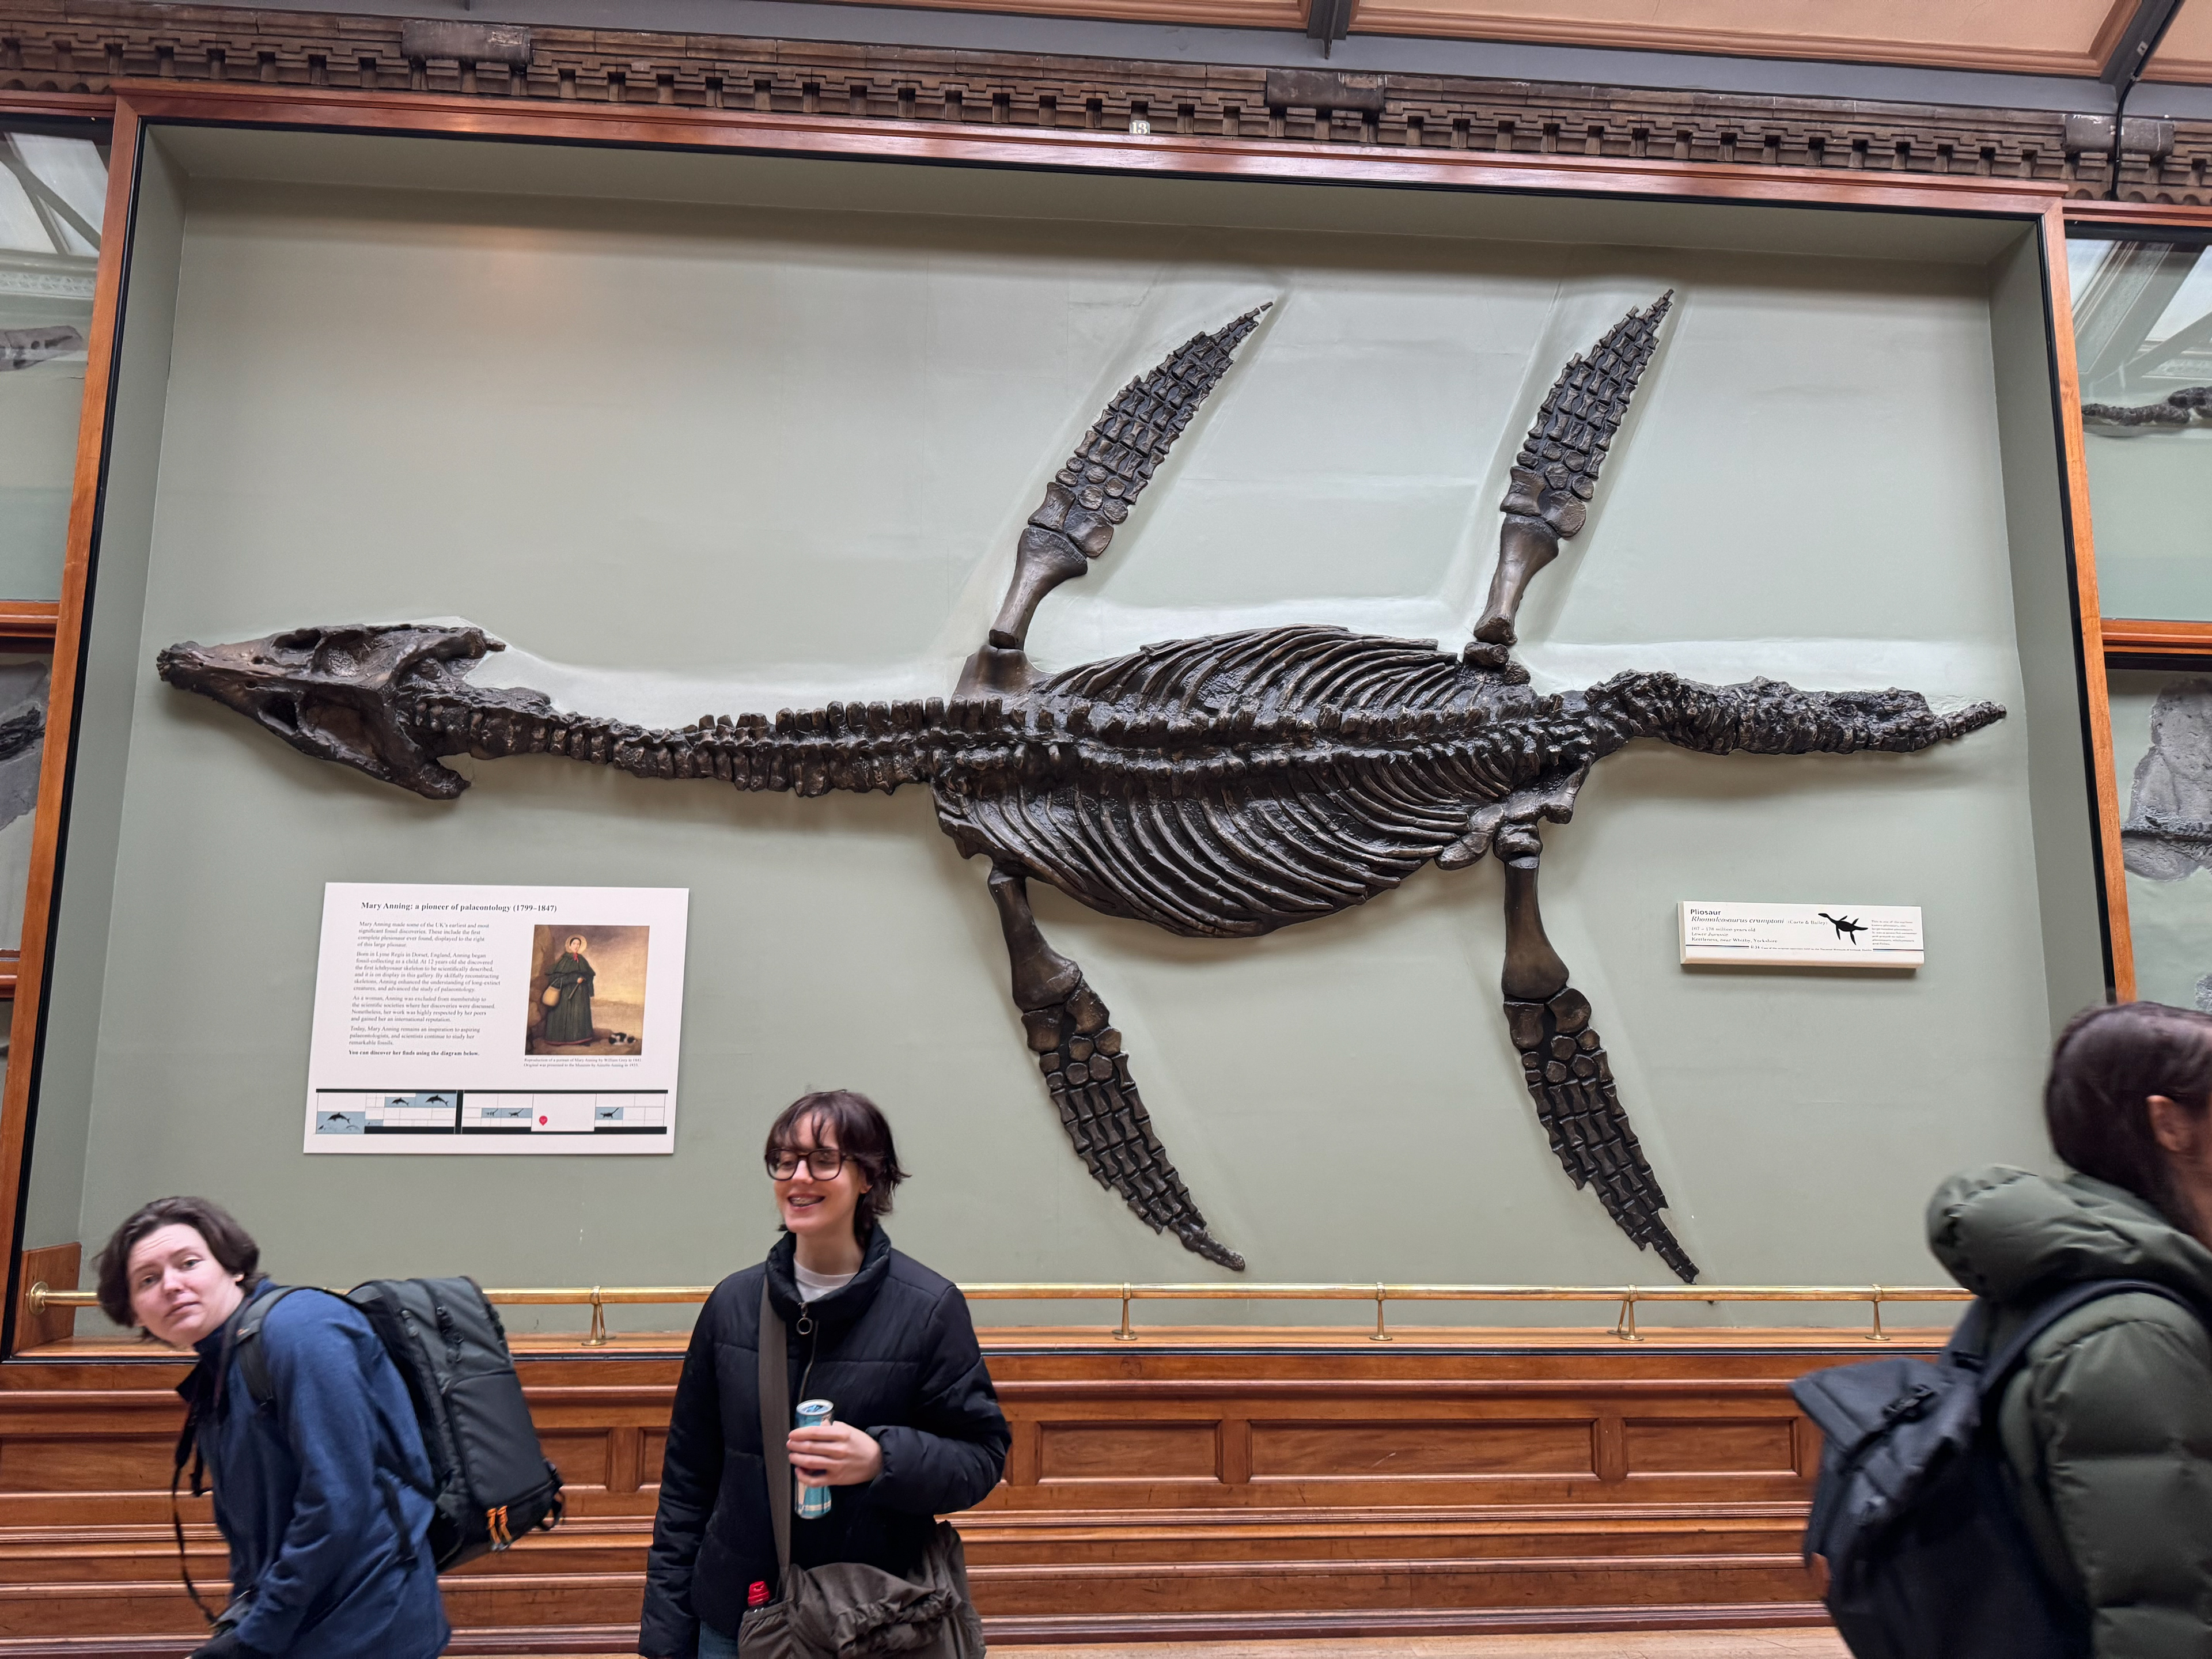
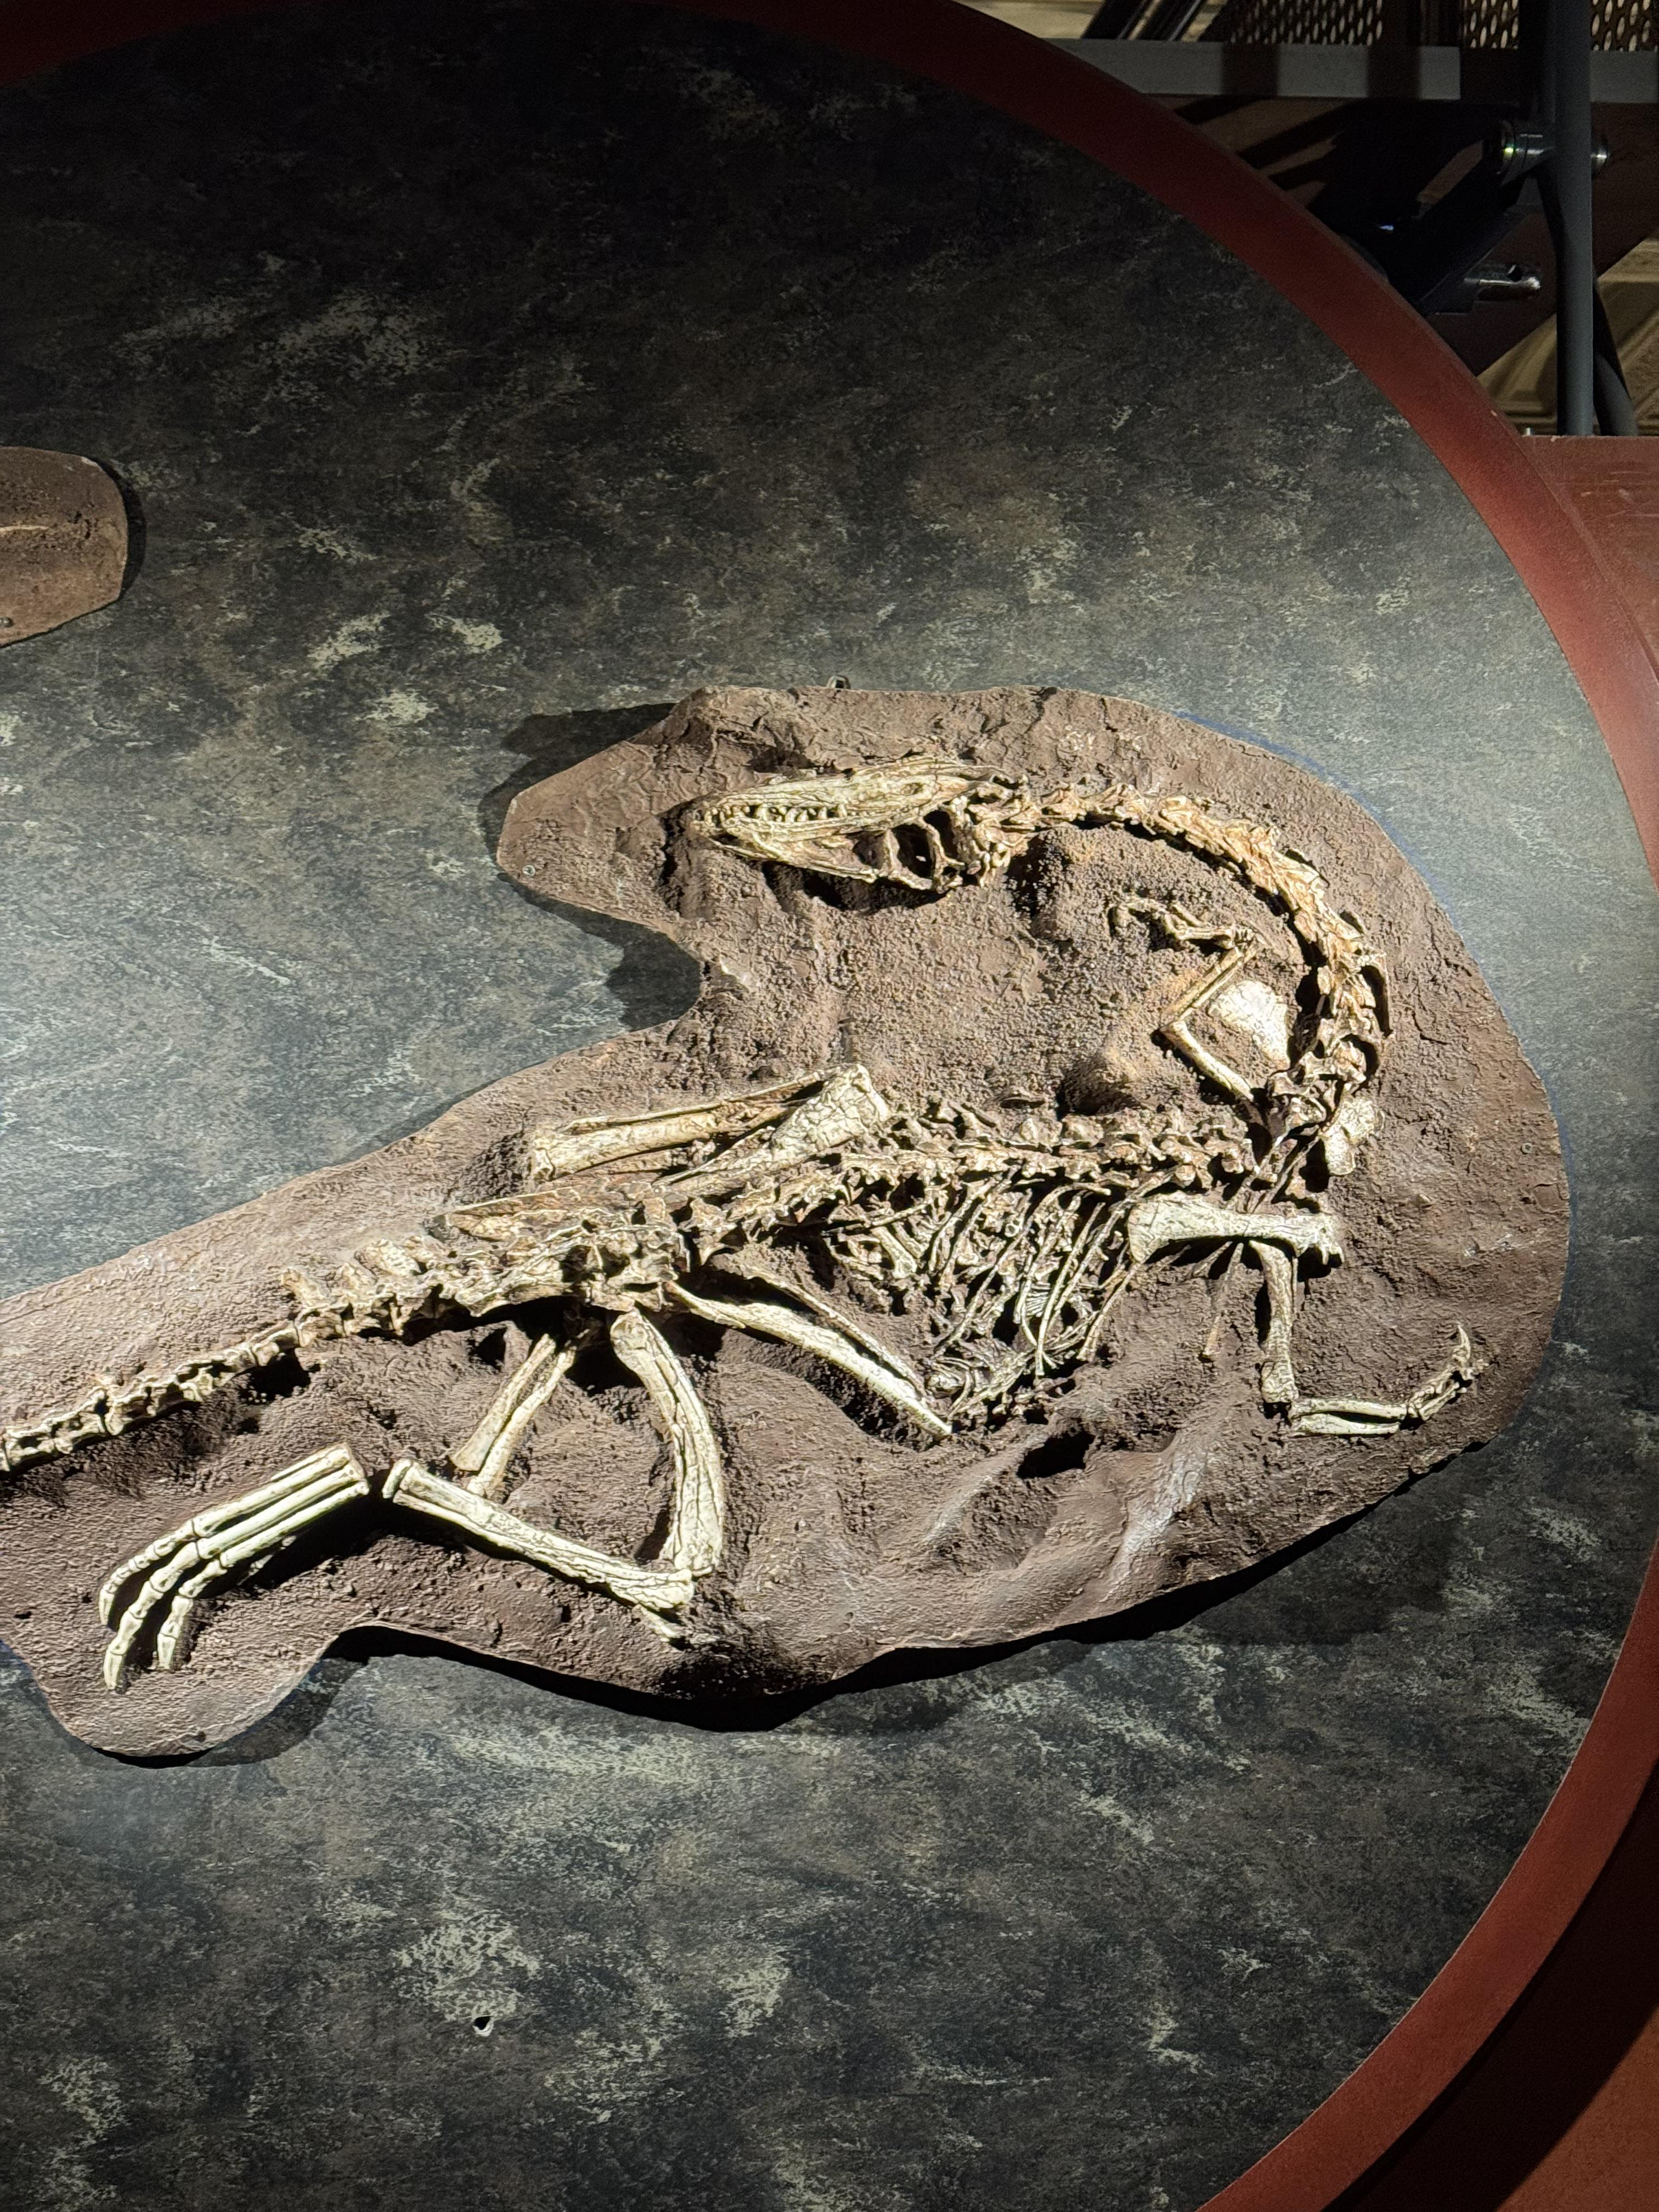
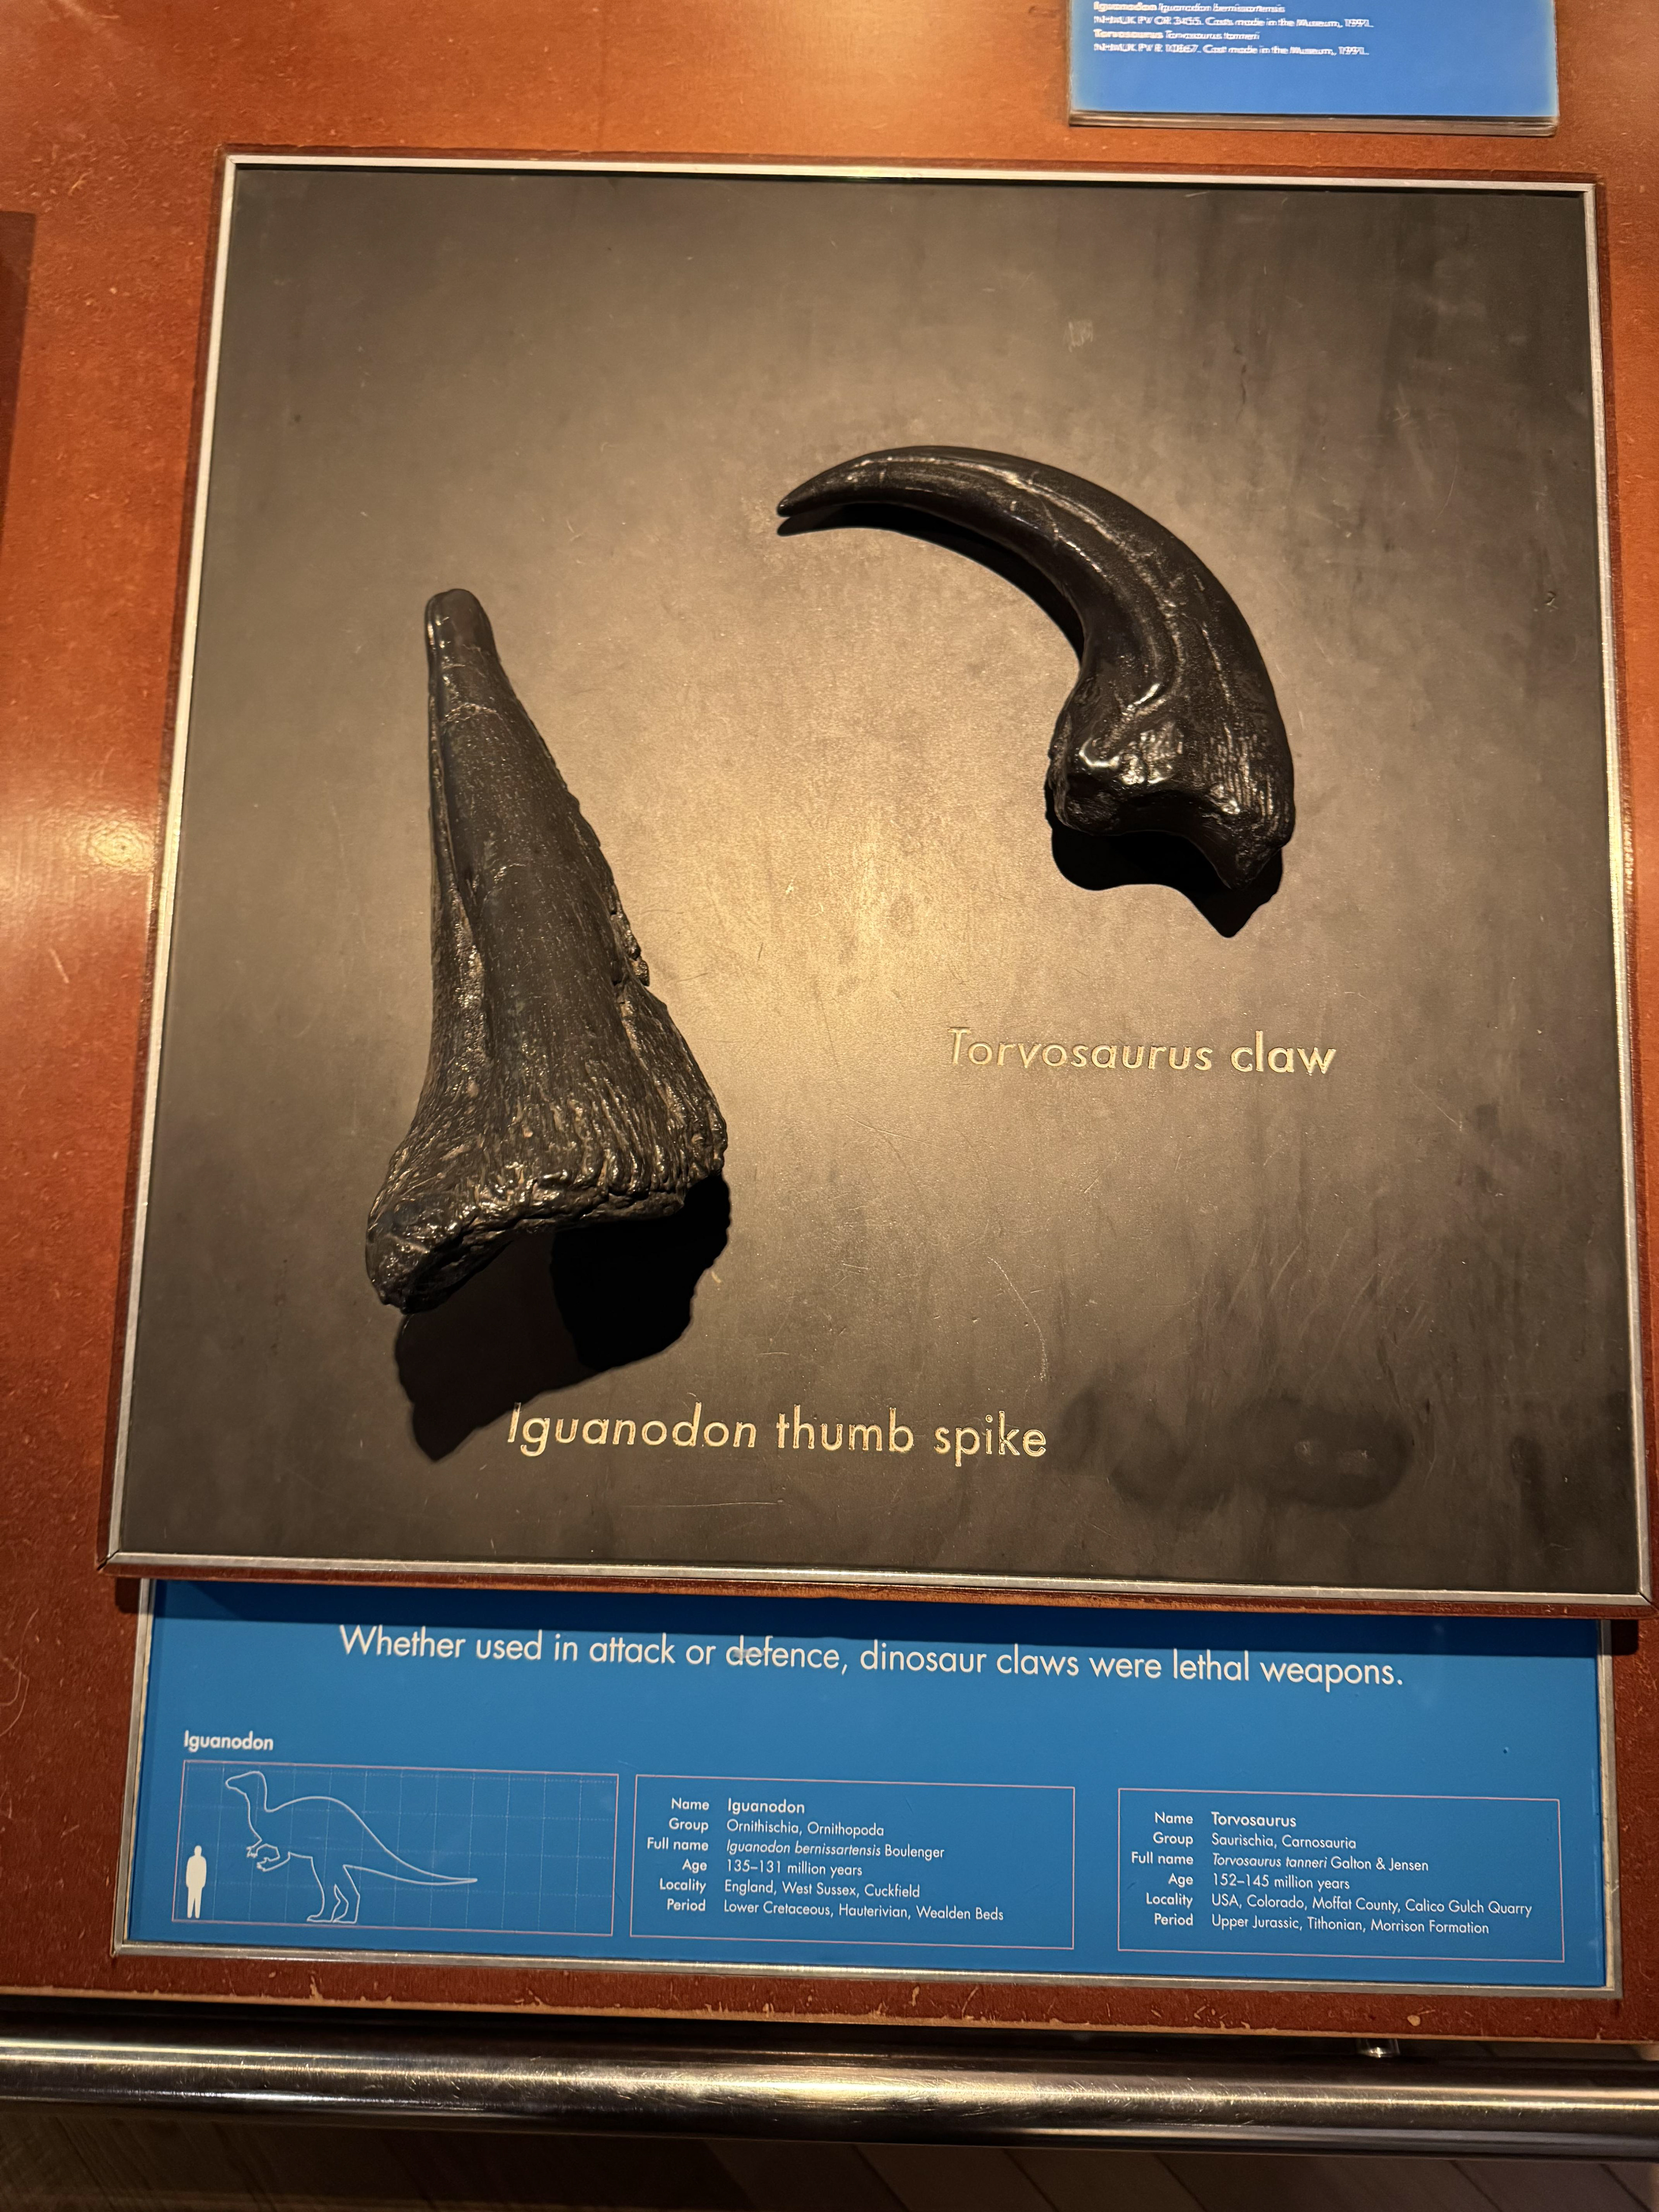
I don't expect you to sift through all those images, but I will leave them here for reference if needed. I will say that I learnt a lot in terms of animals during the periods I have chosen for my environments but not so much the environment itself.
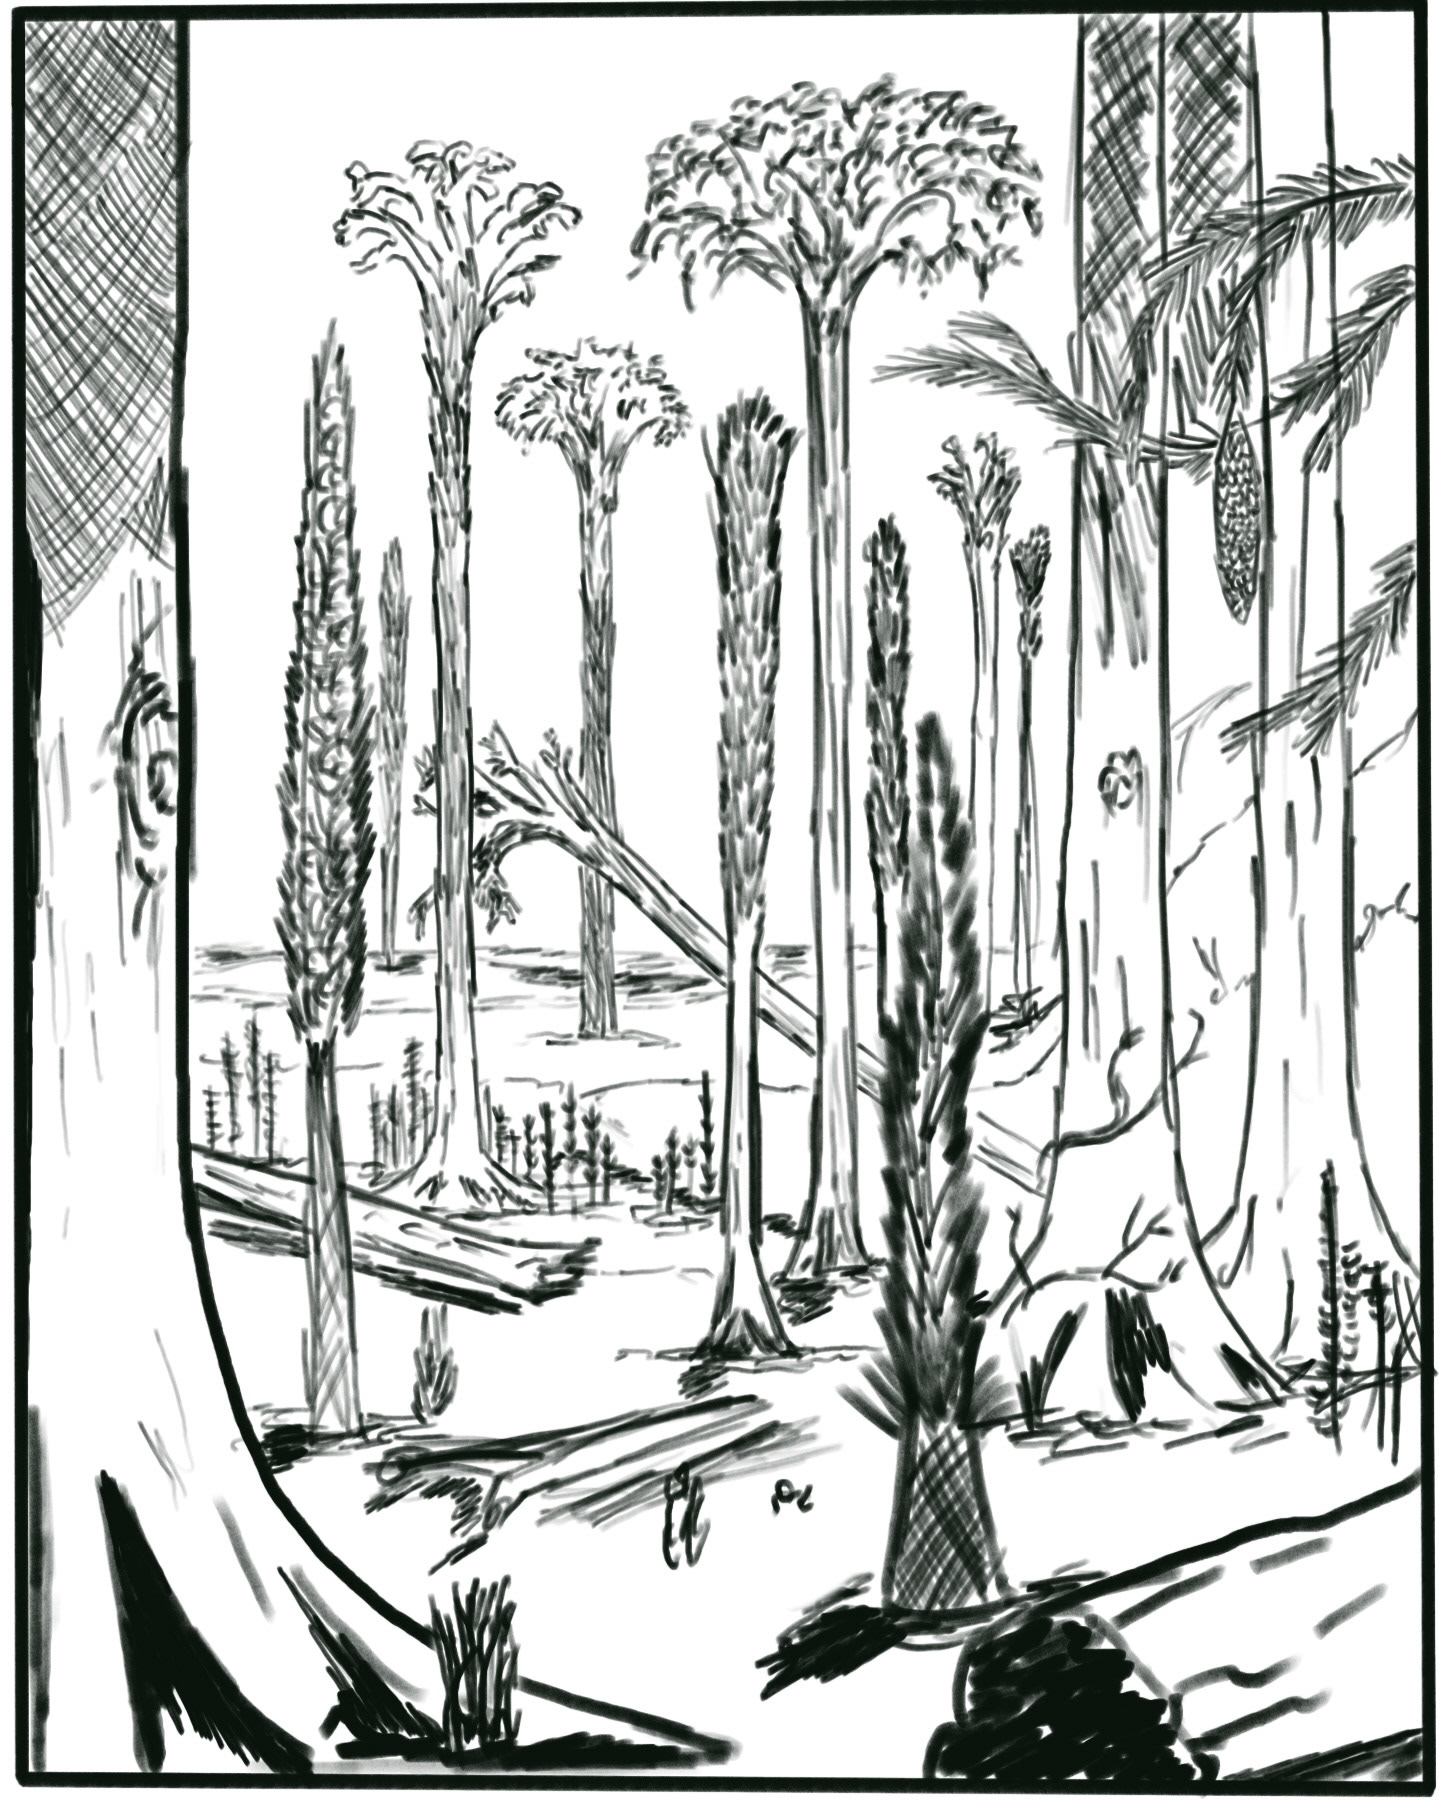
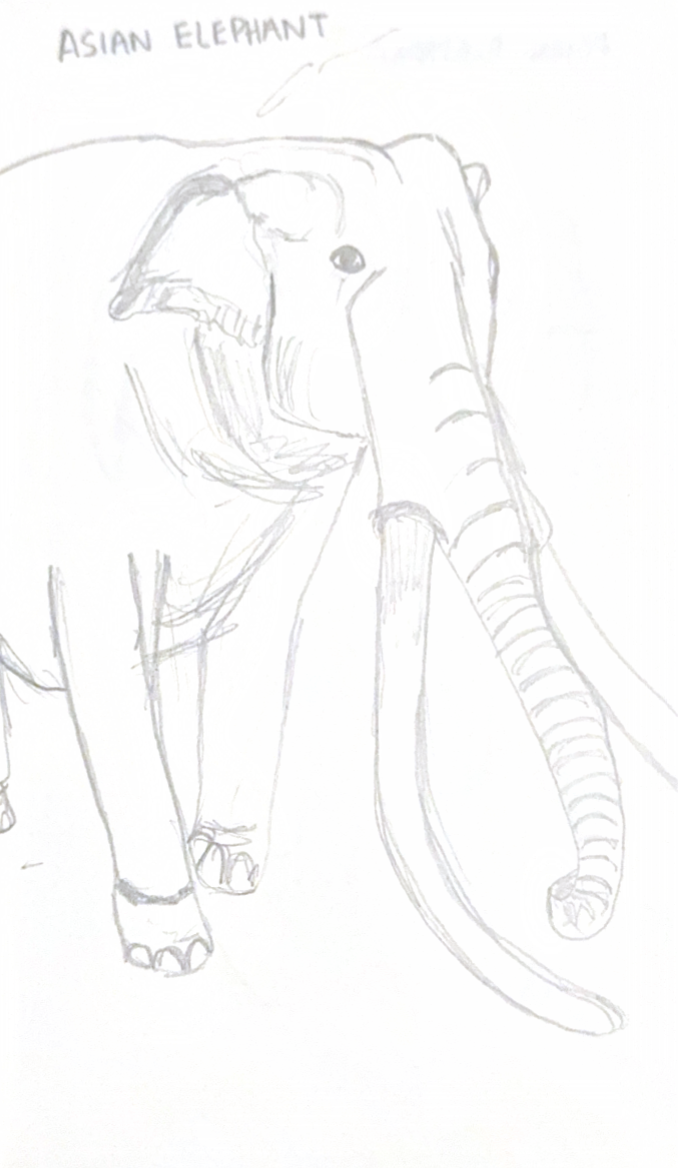
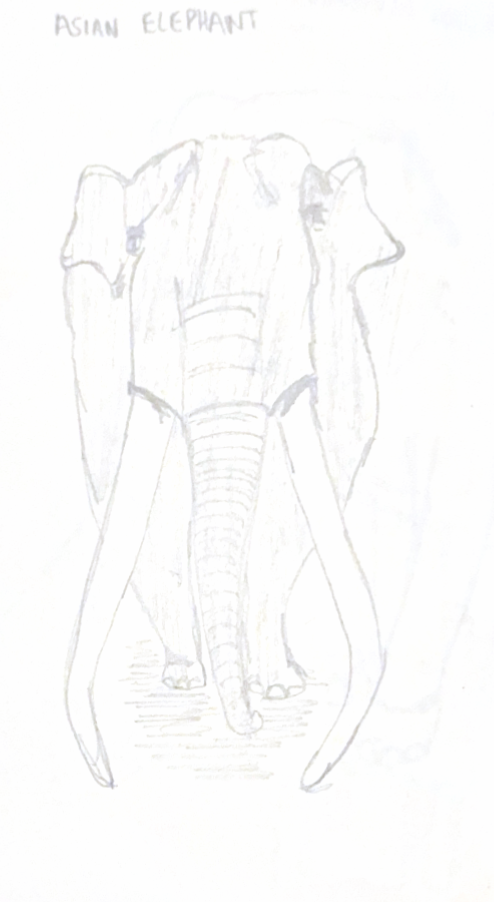
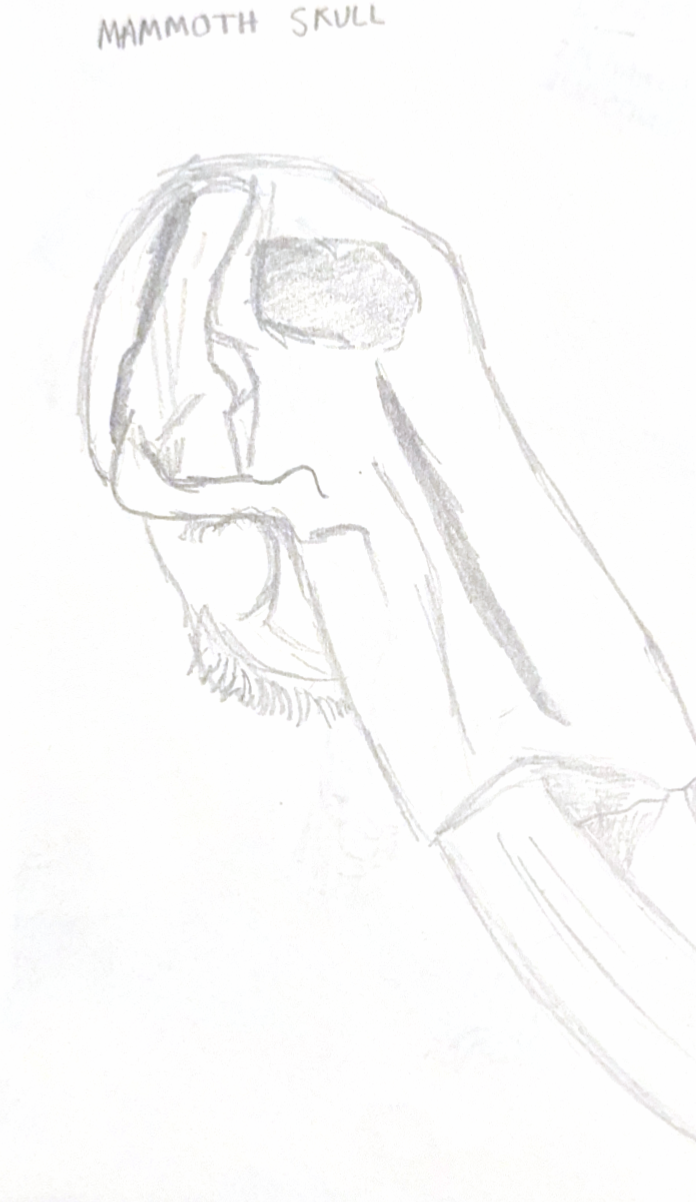
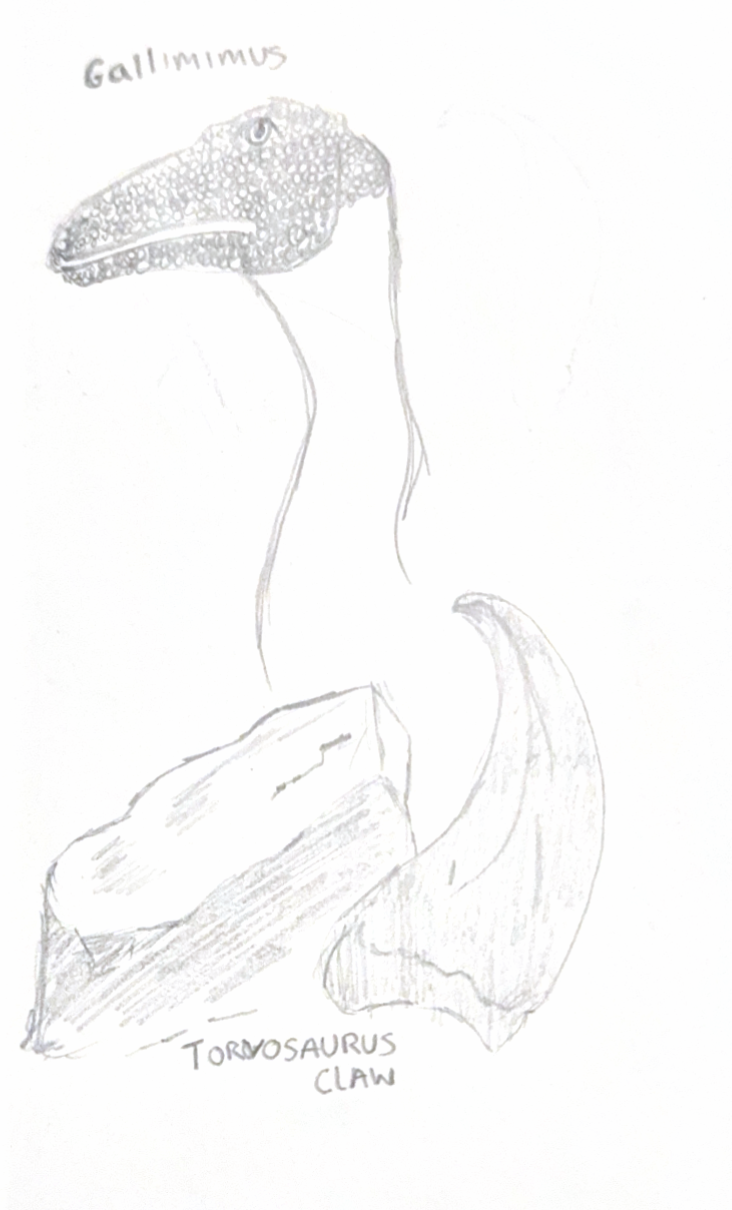
After wandering the museum for what felt like an eternity, I decided to sit and draw.
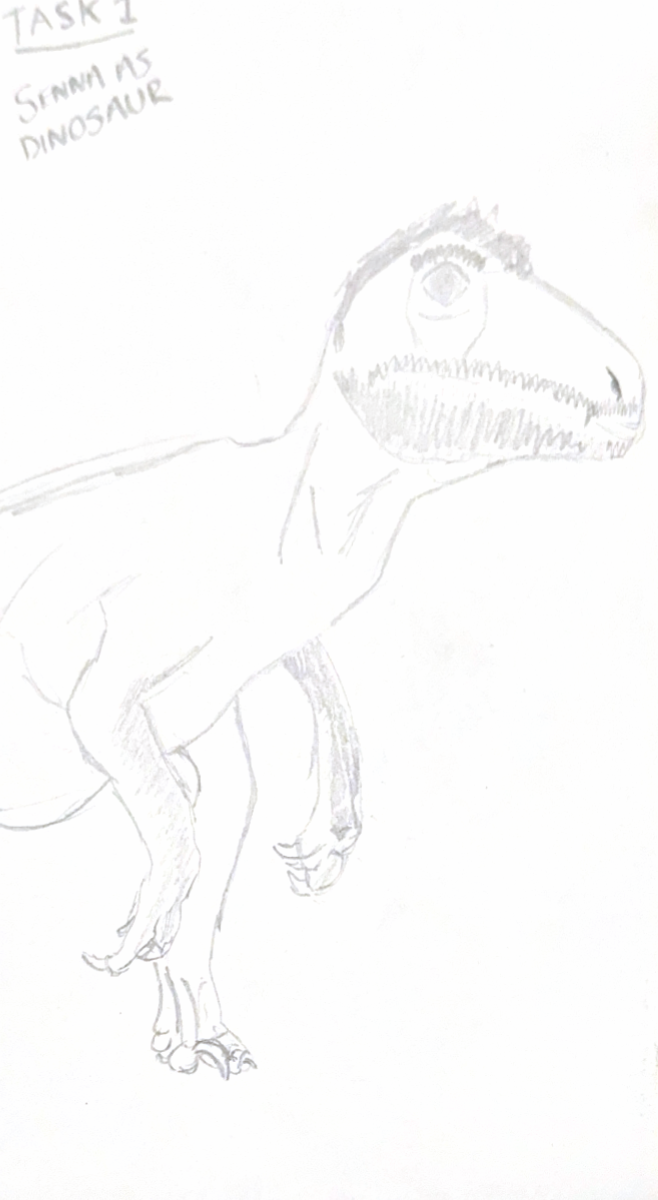
On the end, you will see one of our tasks to make yourself into a dinosaur.. did I fit the bill?
It was a very long and tiring day, so I decided to continue working once I got home.
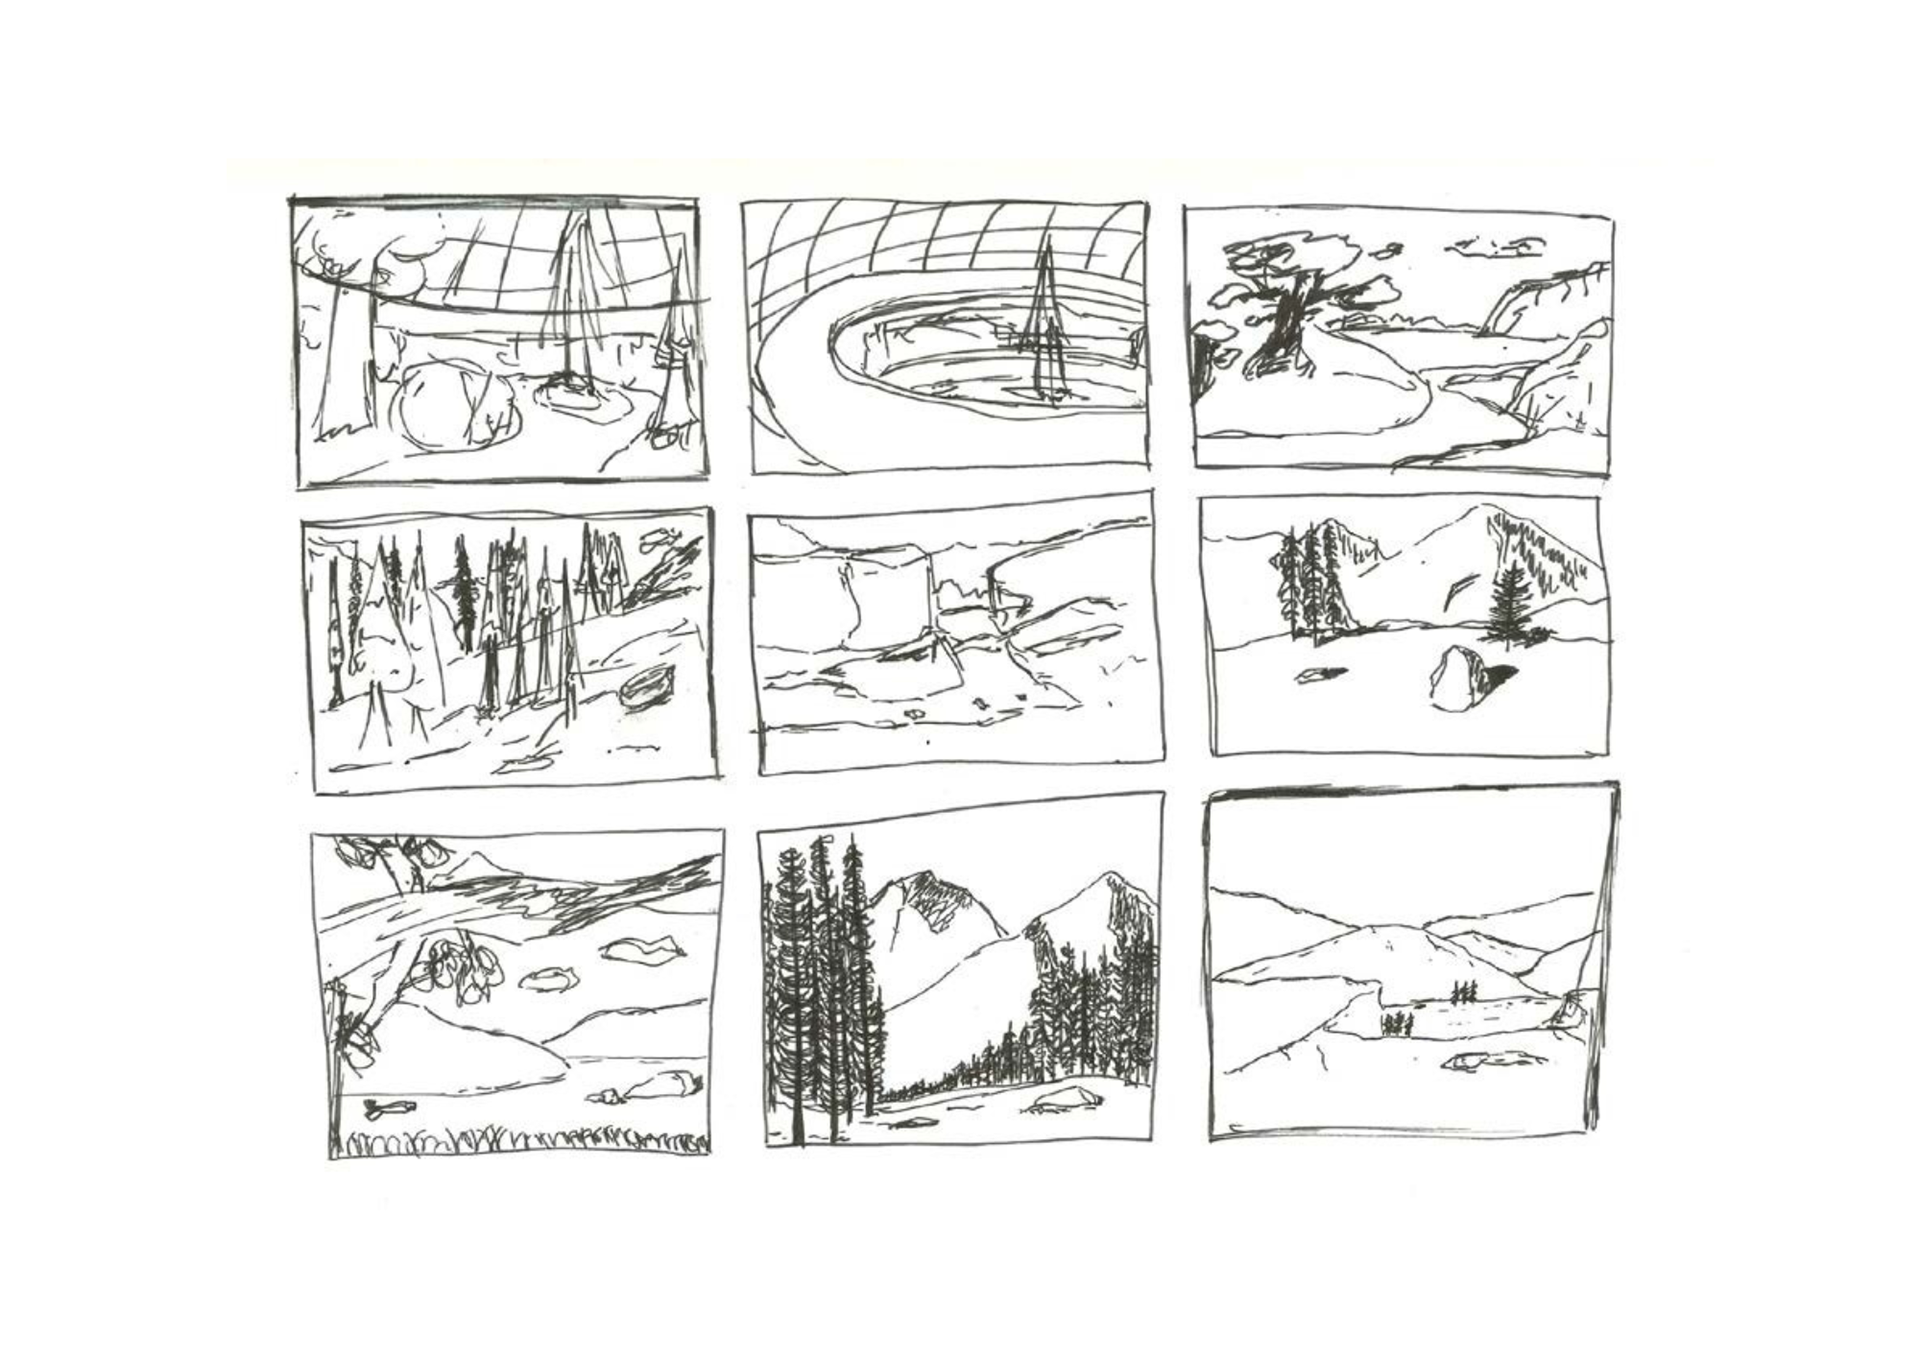
I've been really thinking about the progression of my biodomes and wanted to start visualising them.
I first put together an active research page for my final biodome, which will reflect the world 100 years from now within a garden-like space.
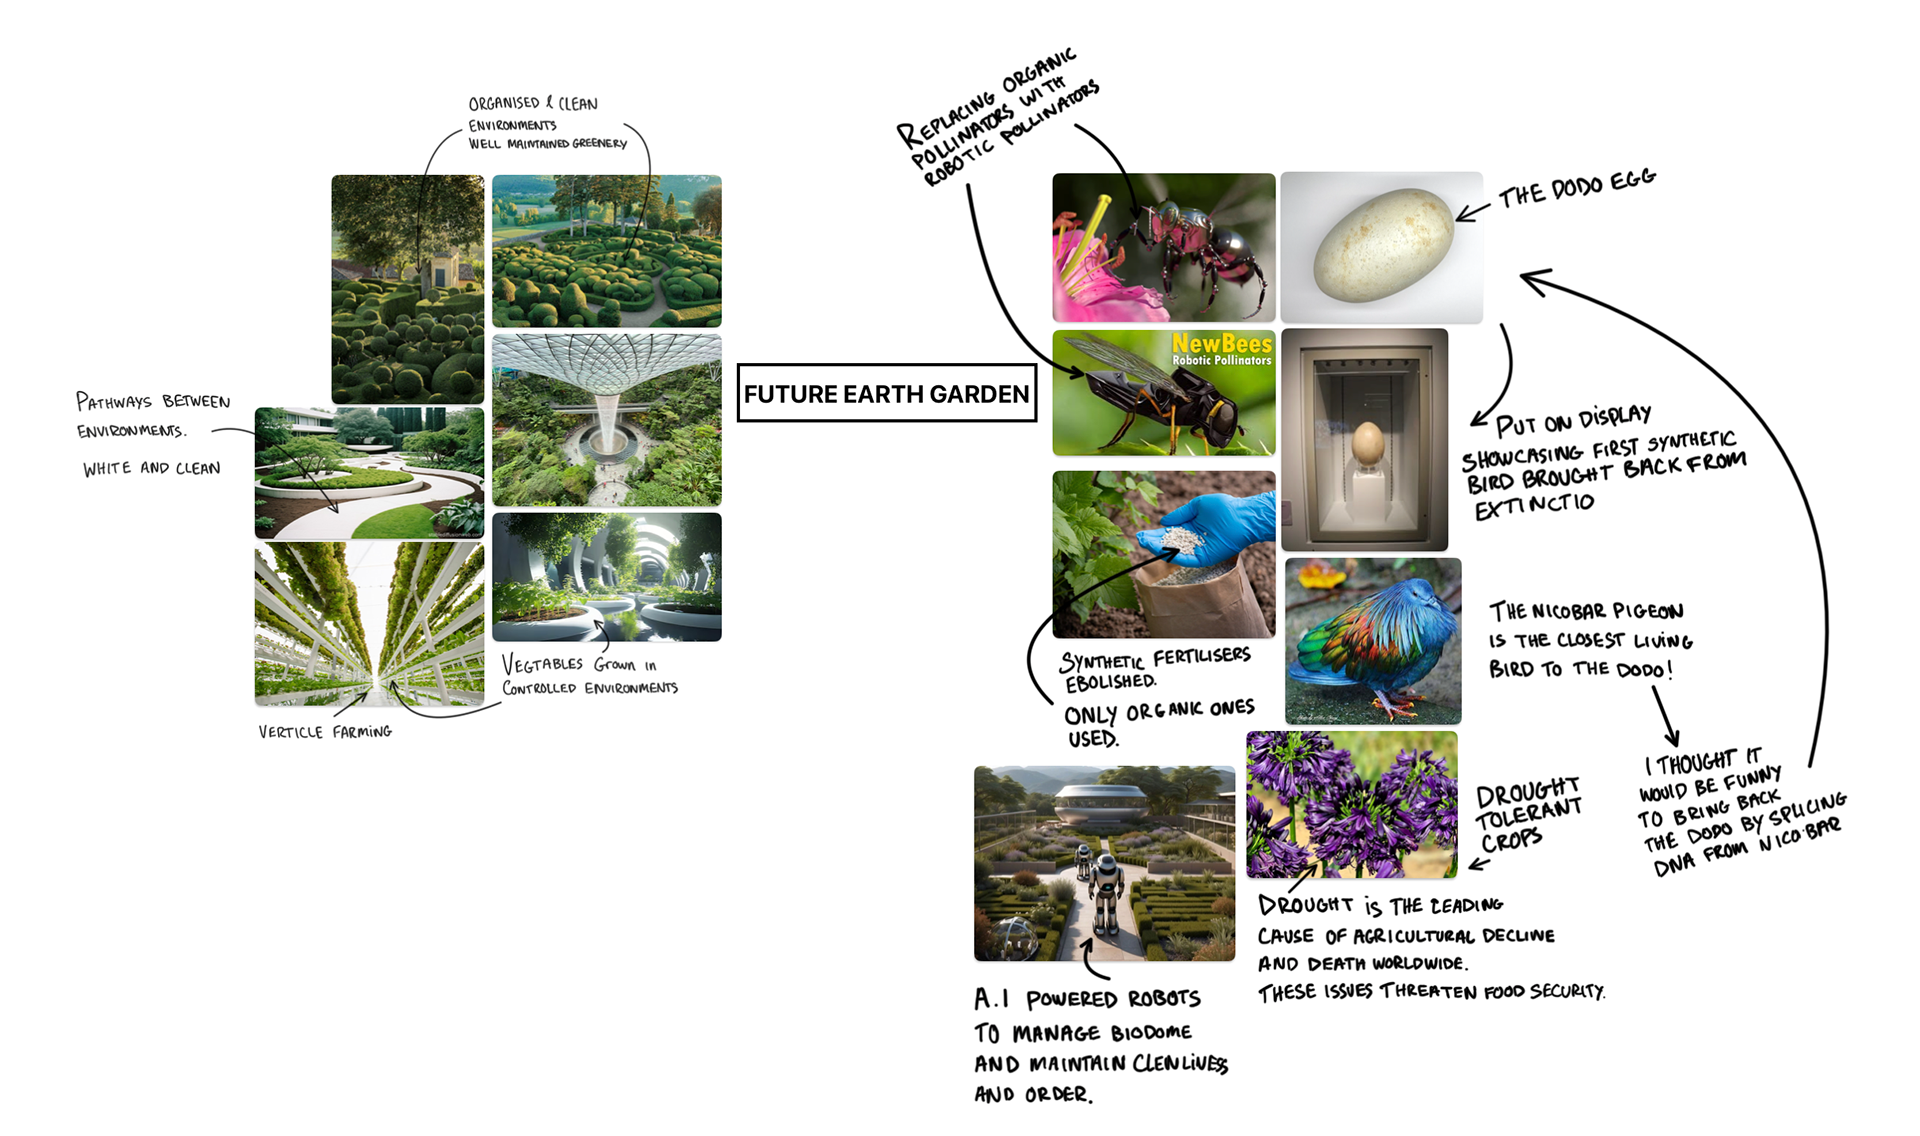
I haven't gotten around to sketching or creating an art asset sheet for this biodome yet like the other two domes, but I will come around to it eventually as I don't think this is a super challenging task.
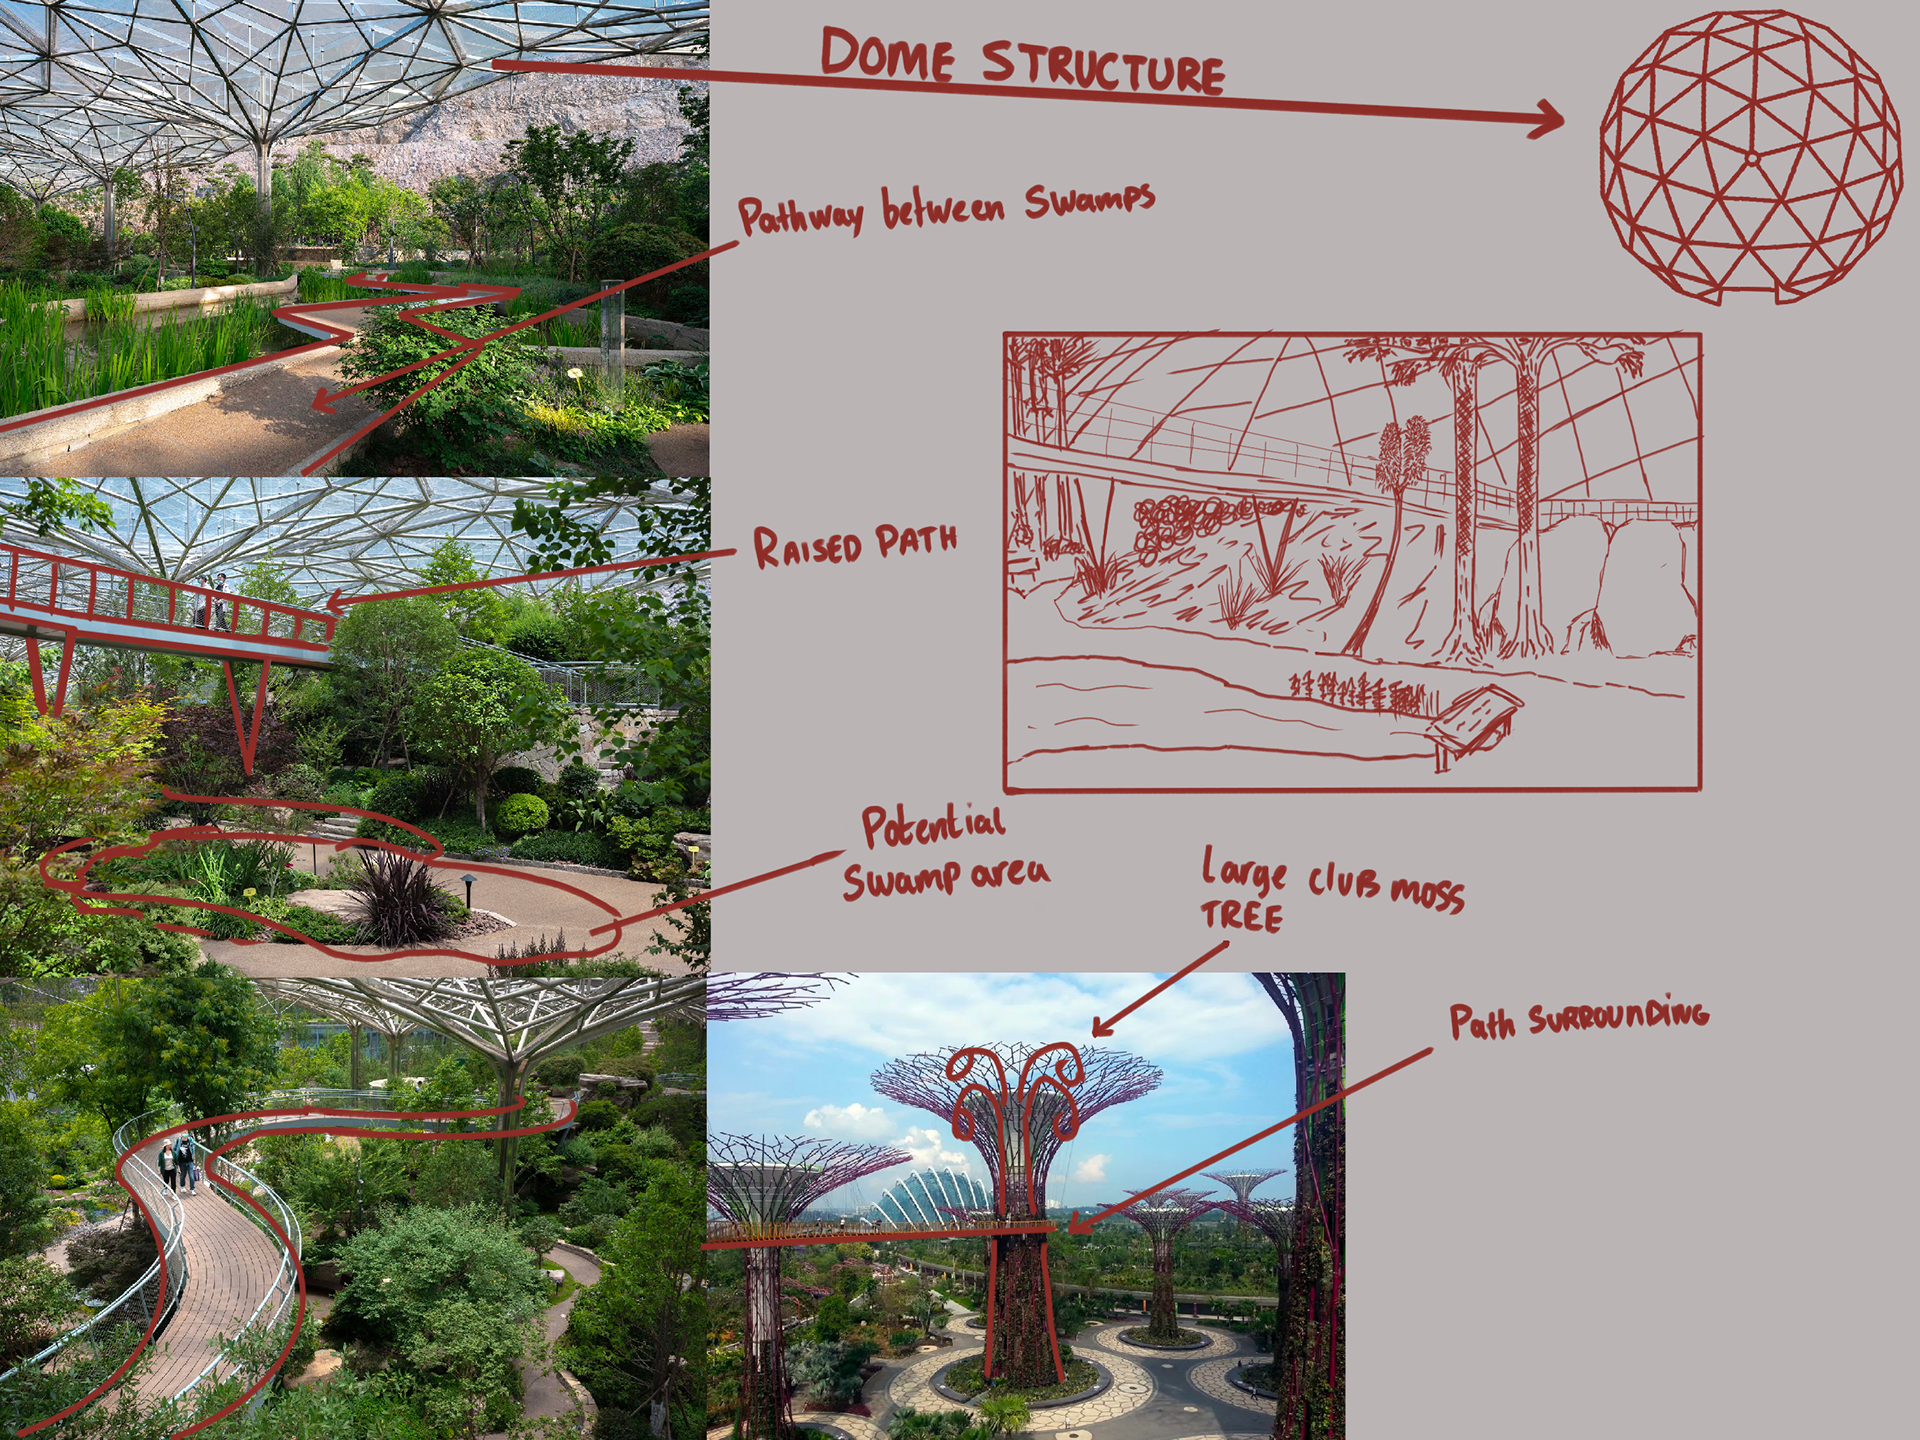
My priority right now is thinking about the design of my dome and how they will connect together. Once I have this, I can start piecing it together and design the assets in 3D for our 3D Fundamentals Module.
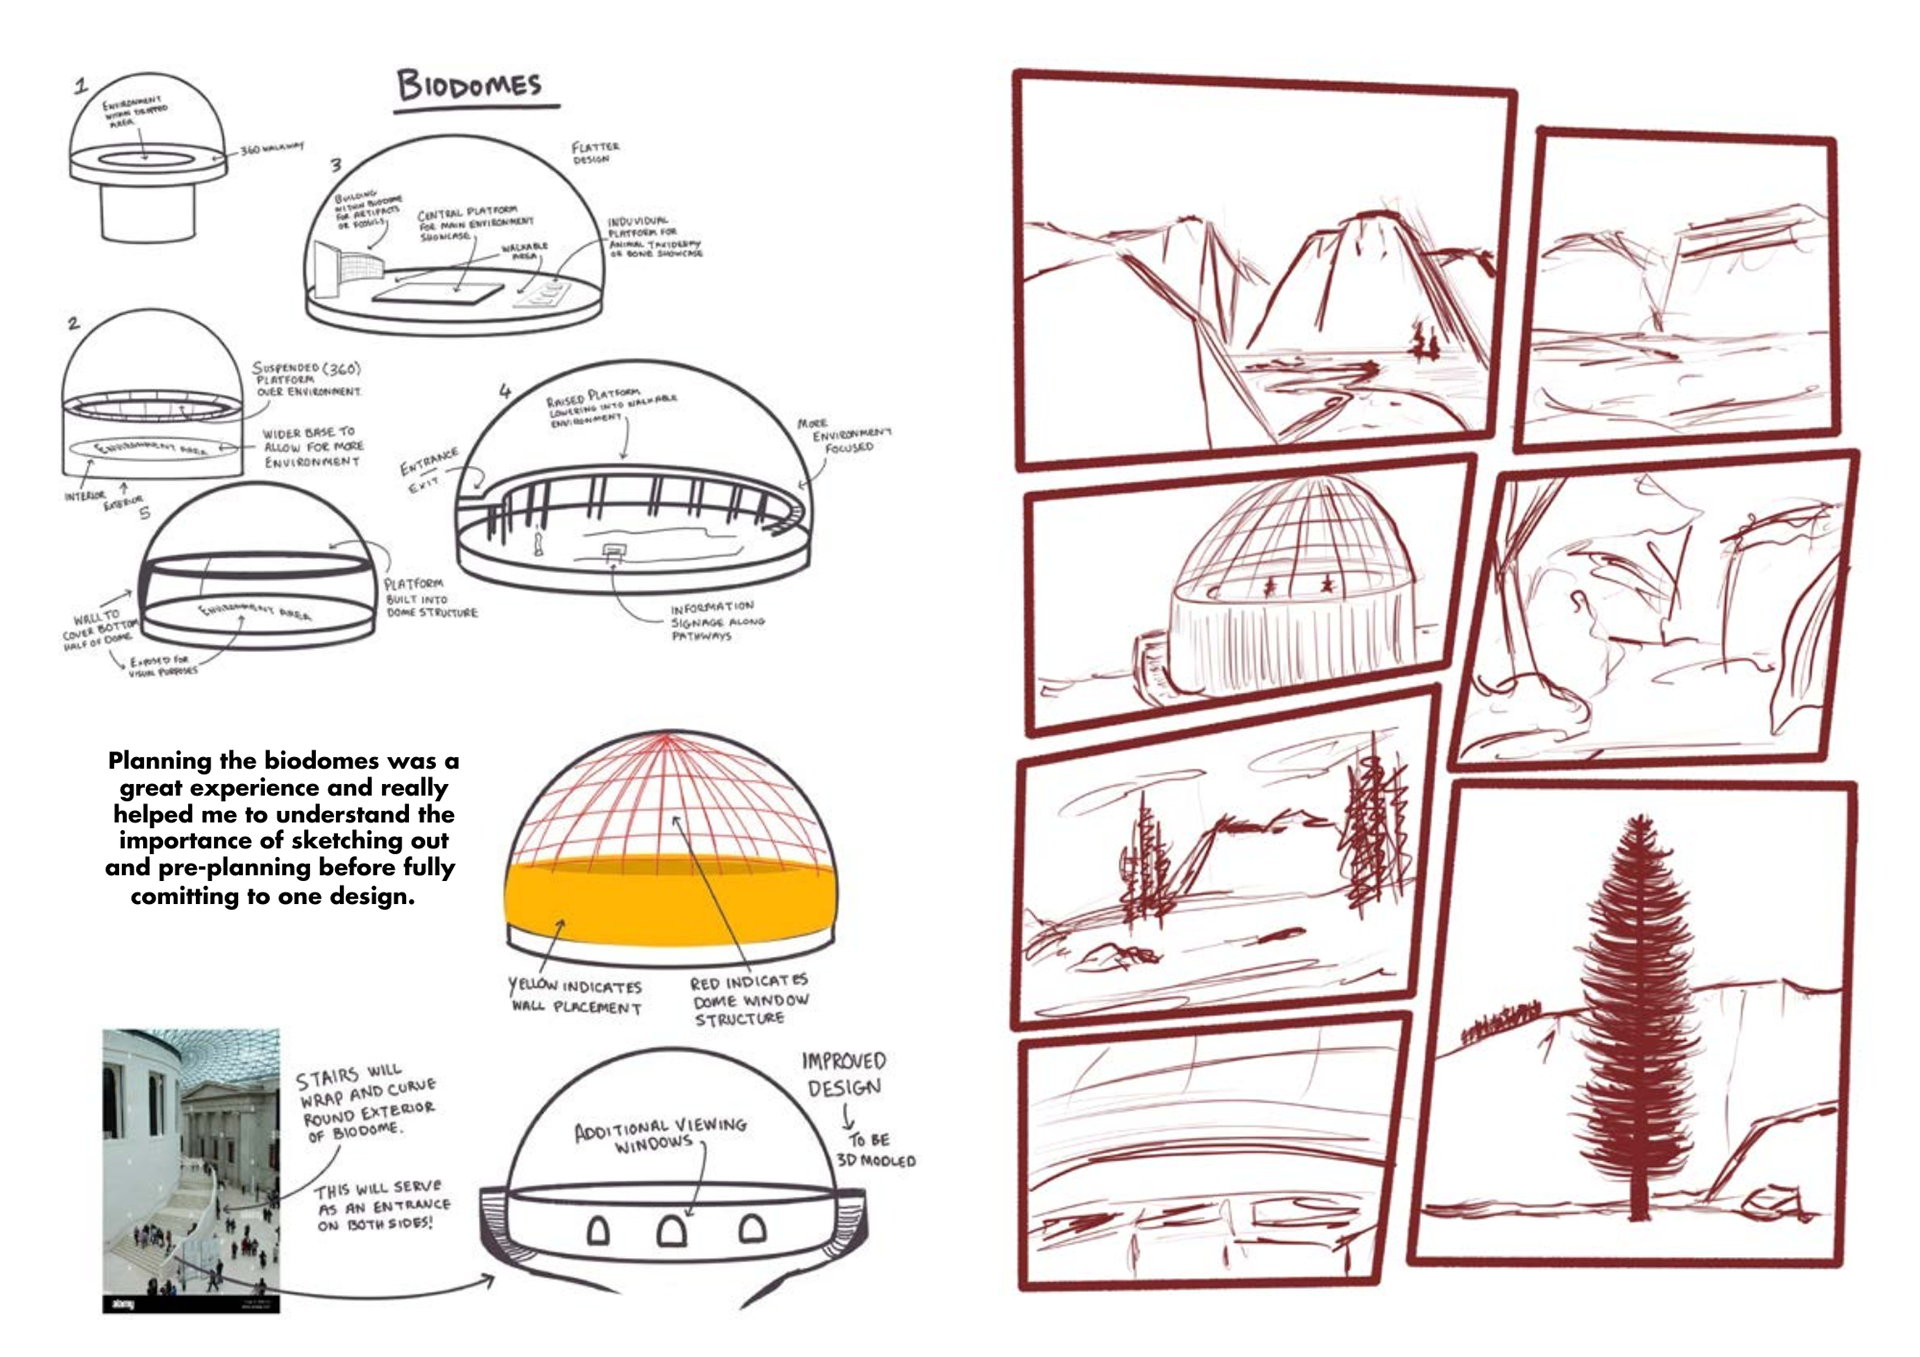
Here is my biodome planning
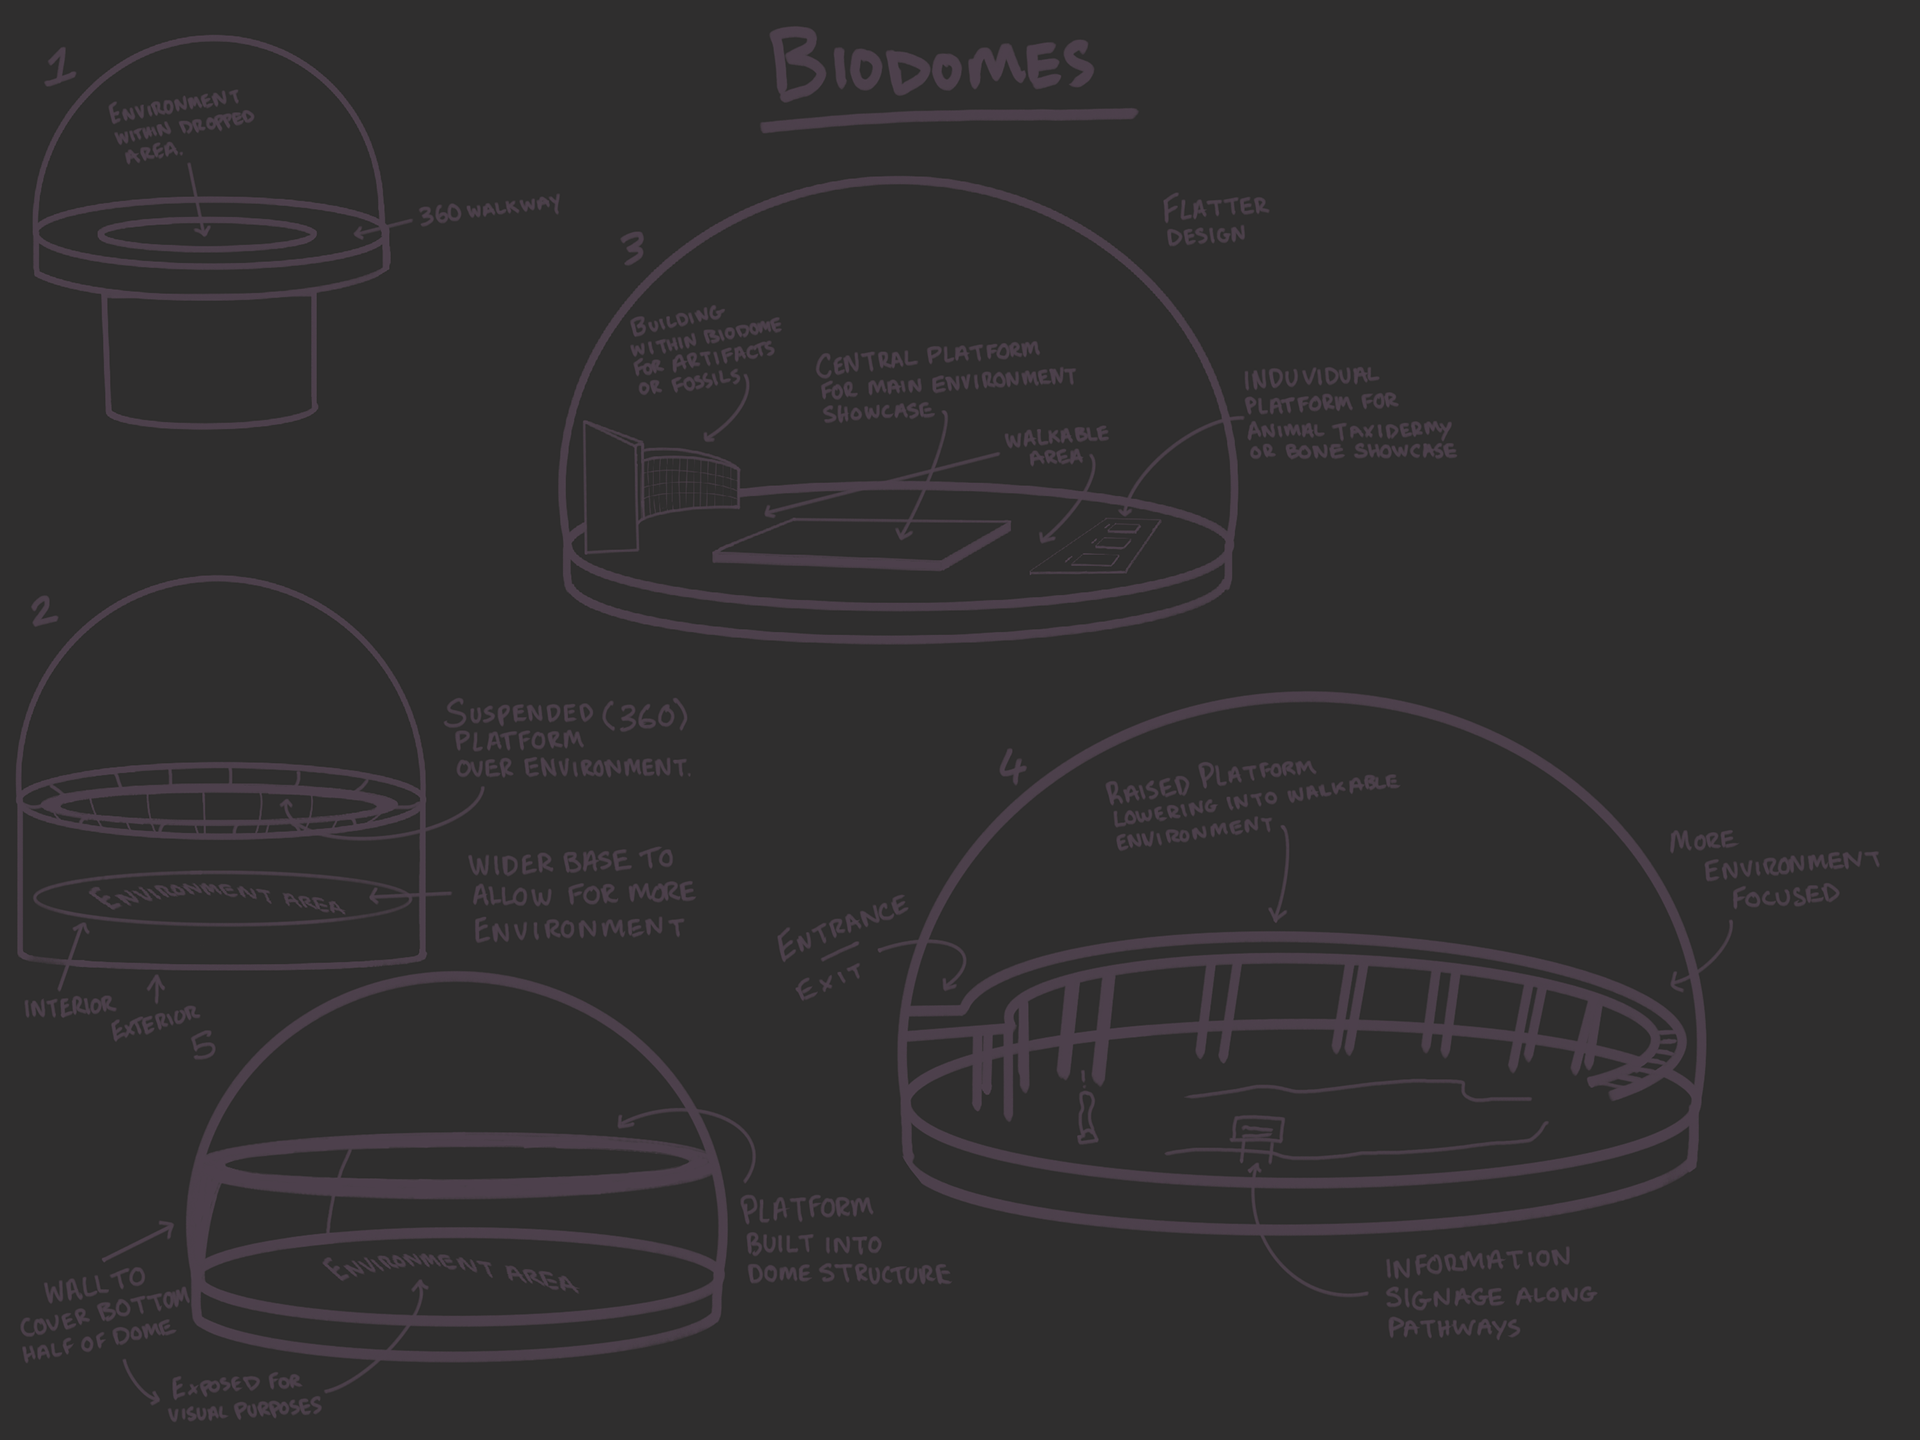

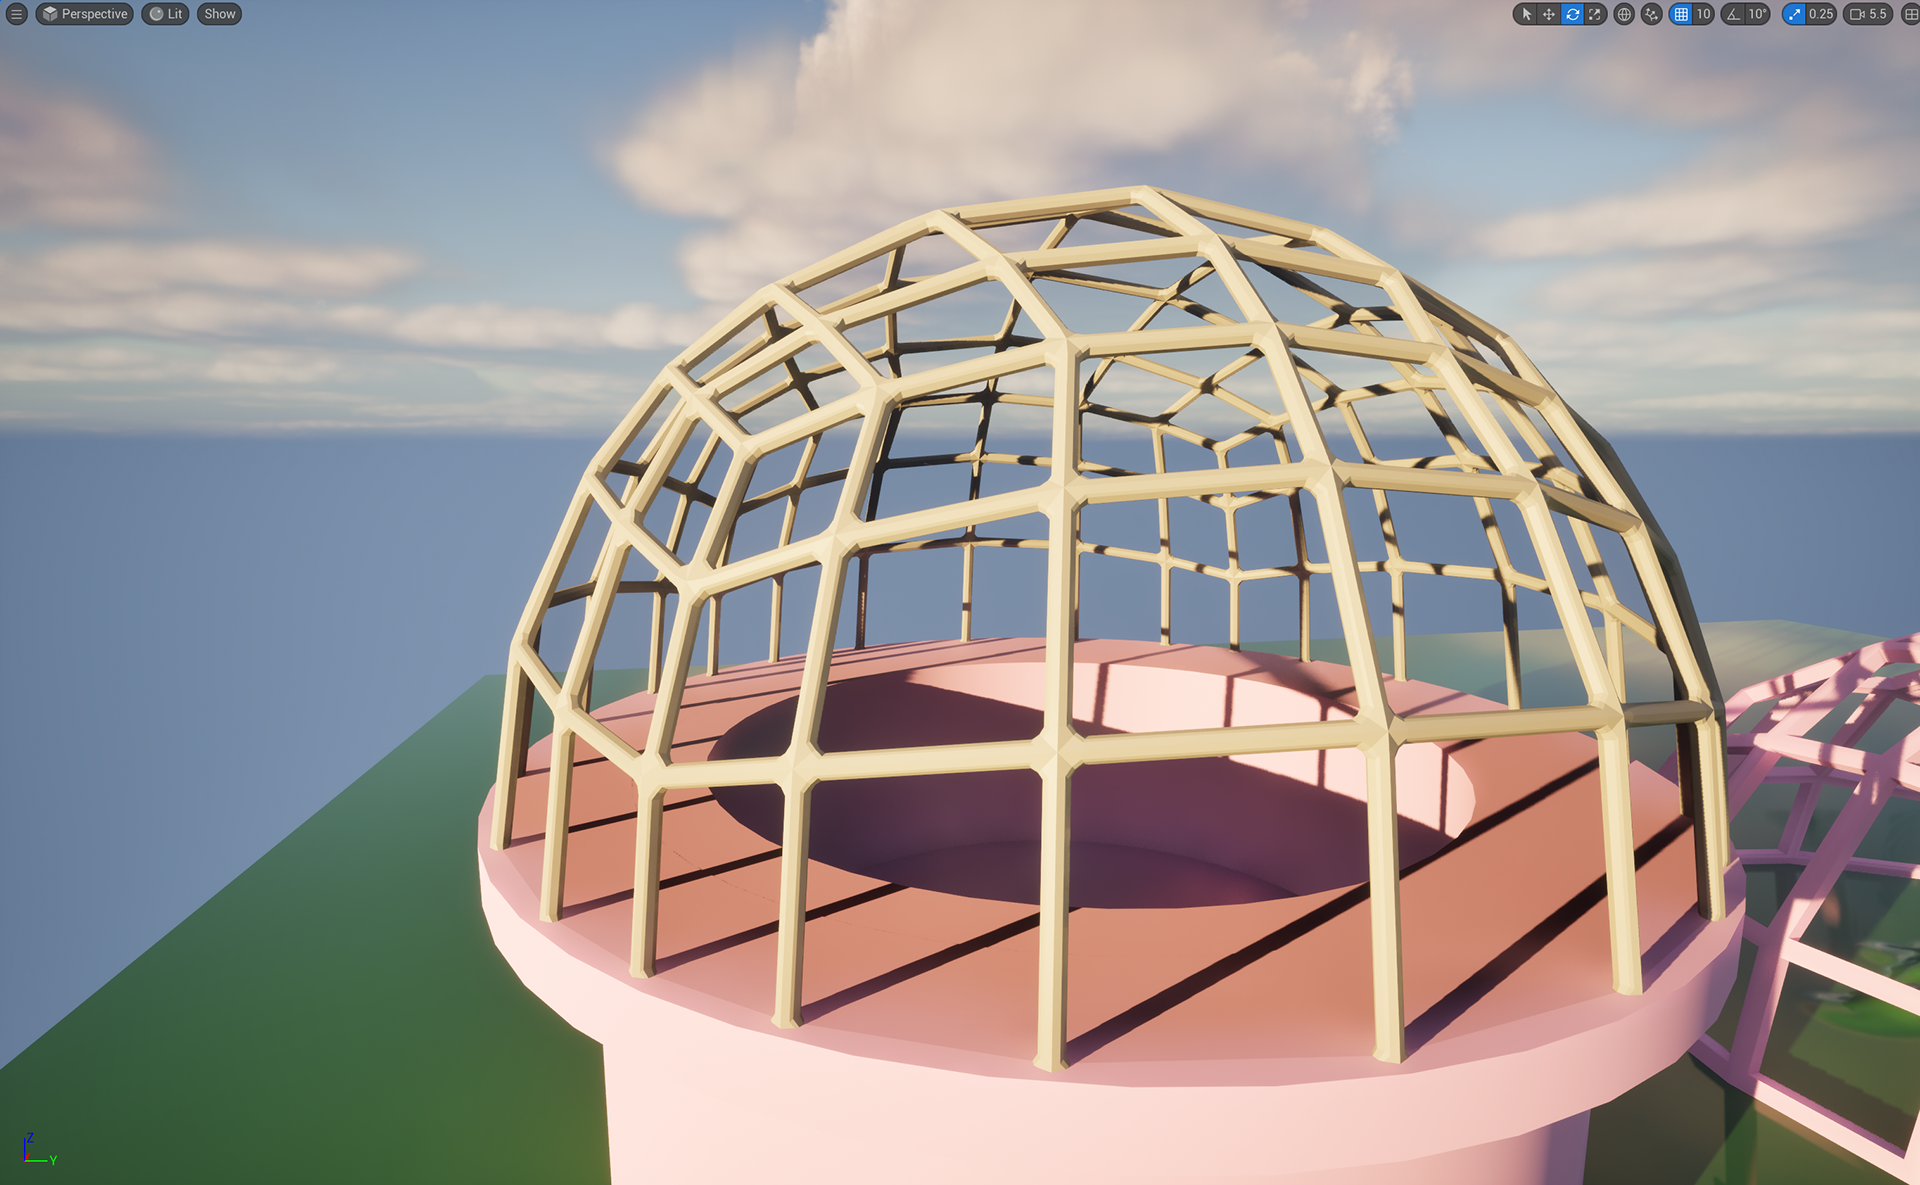
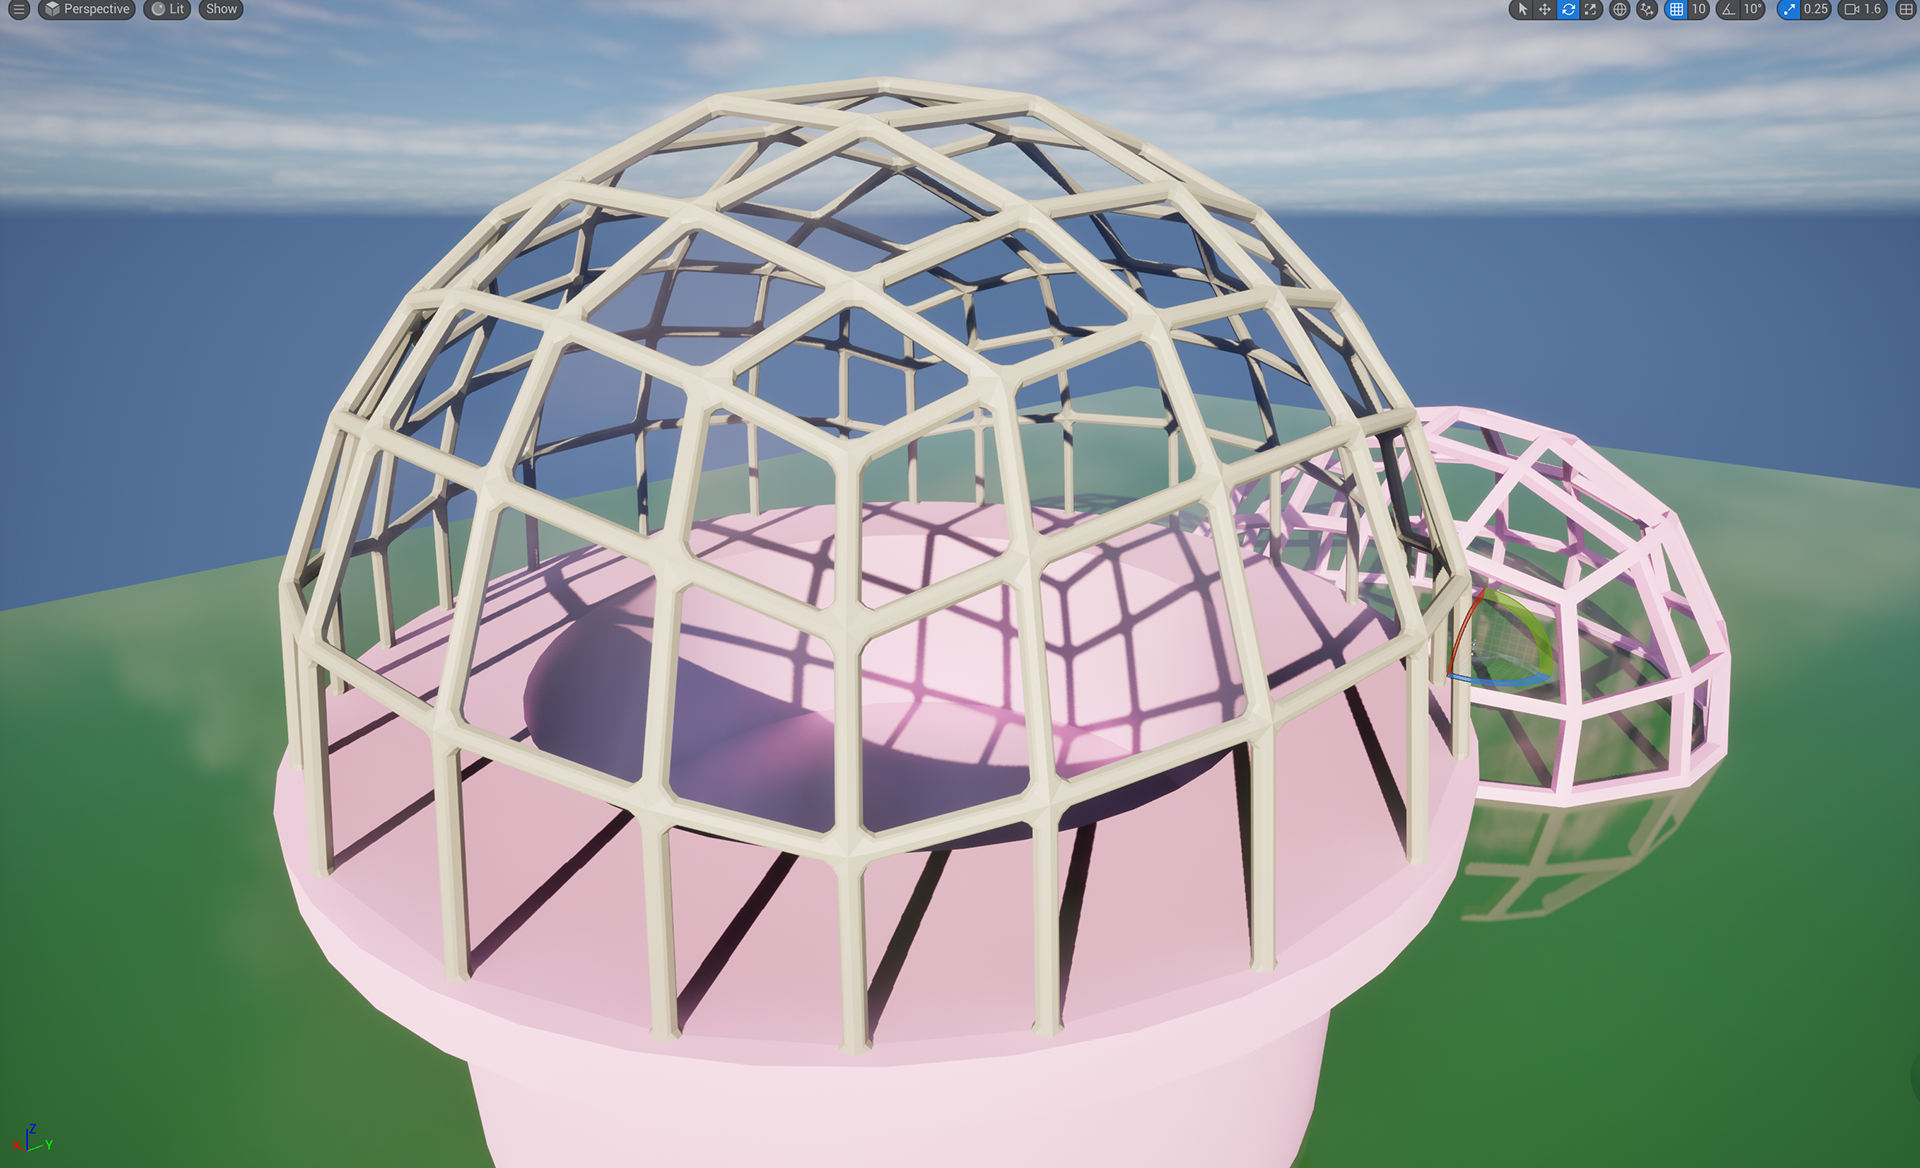
I thought about Design 1 in my mind and without drawing it out, I created it in our 3D Class - after seeing it in a 3D Space I decided I didn't like it as much as I thought I would and went back to the drawing board. I drew up another 4 designs and chose to move ahead with design 5.
On the right, I hope you see a clear breakdown on how the biodome will look.
Now I have the biodome structure itself, I need to plan how to connect them all but that should be relatively easy. (Famous last words)
Over the next couple of weeks, I hope to achieve some more asset creation art sheets and to start to visualise at least one biodome in a 3D Space.


INT- ROOM 905 11 - 02 - 25
Asset Sheets were the topic of today's class! It was a fun and straightforward project.
I decided to keep things simple, I was going to create my assets as low poly models but I hadn't actually rendered in the assets for me to create the asset sheets right away.
So I got to work!
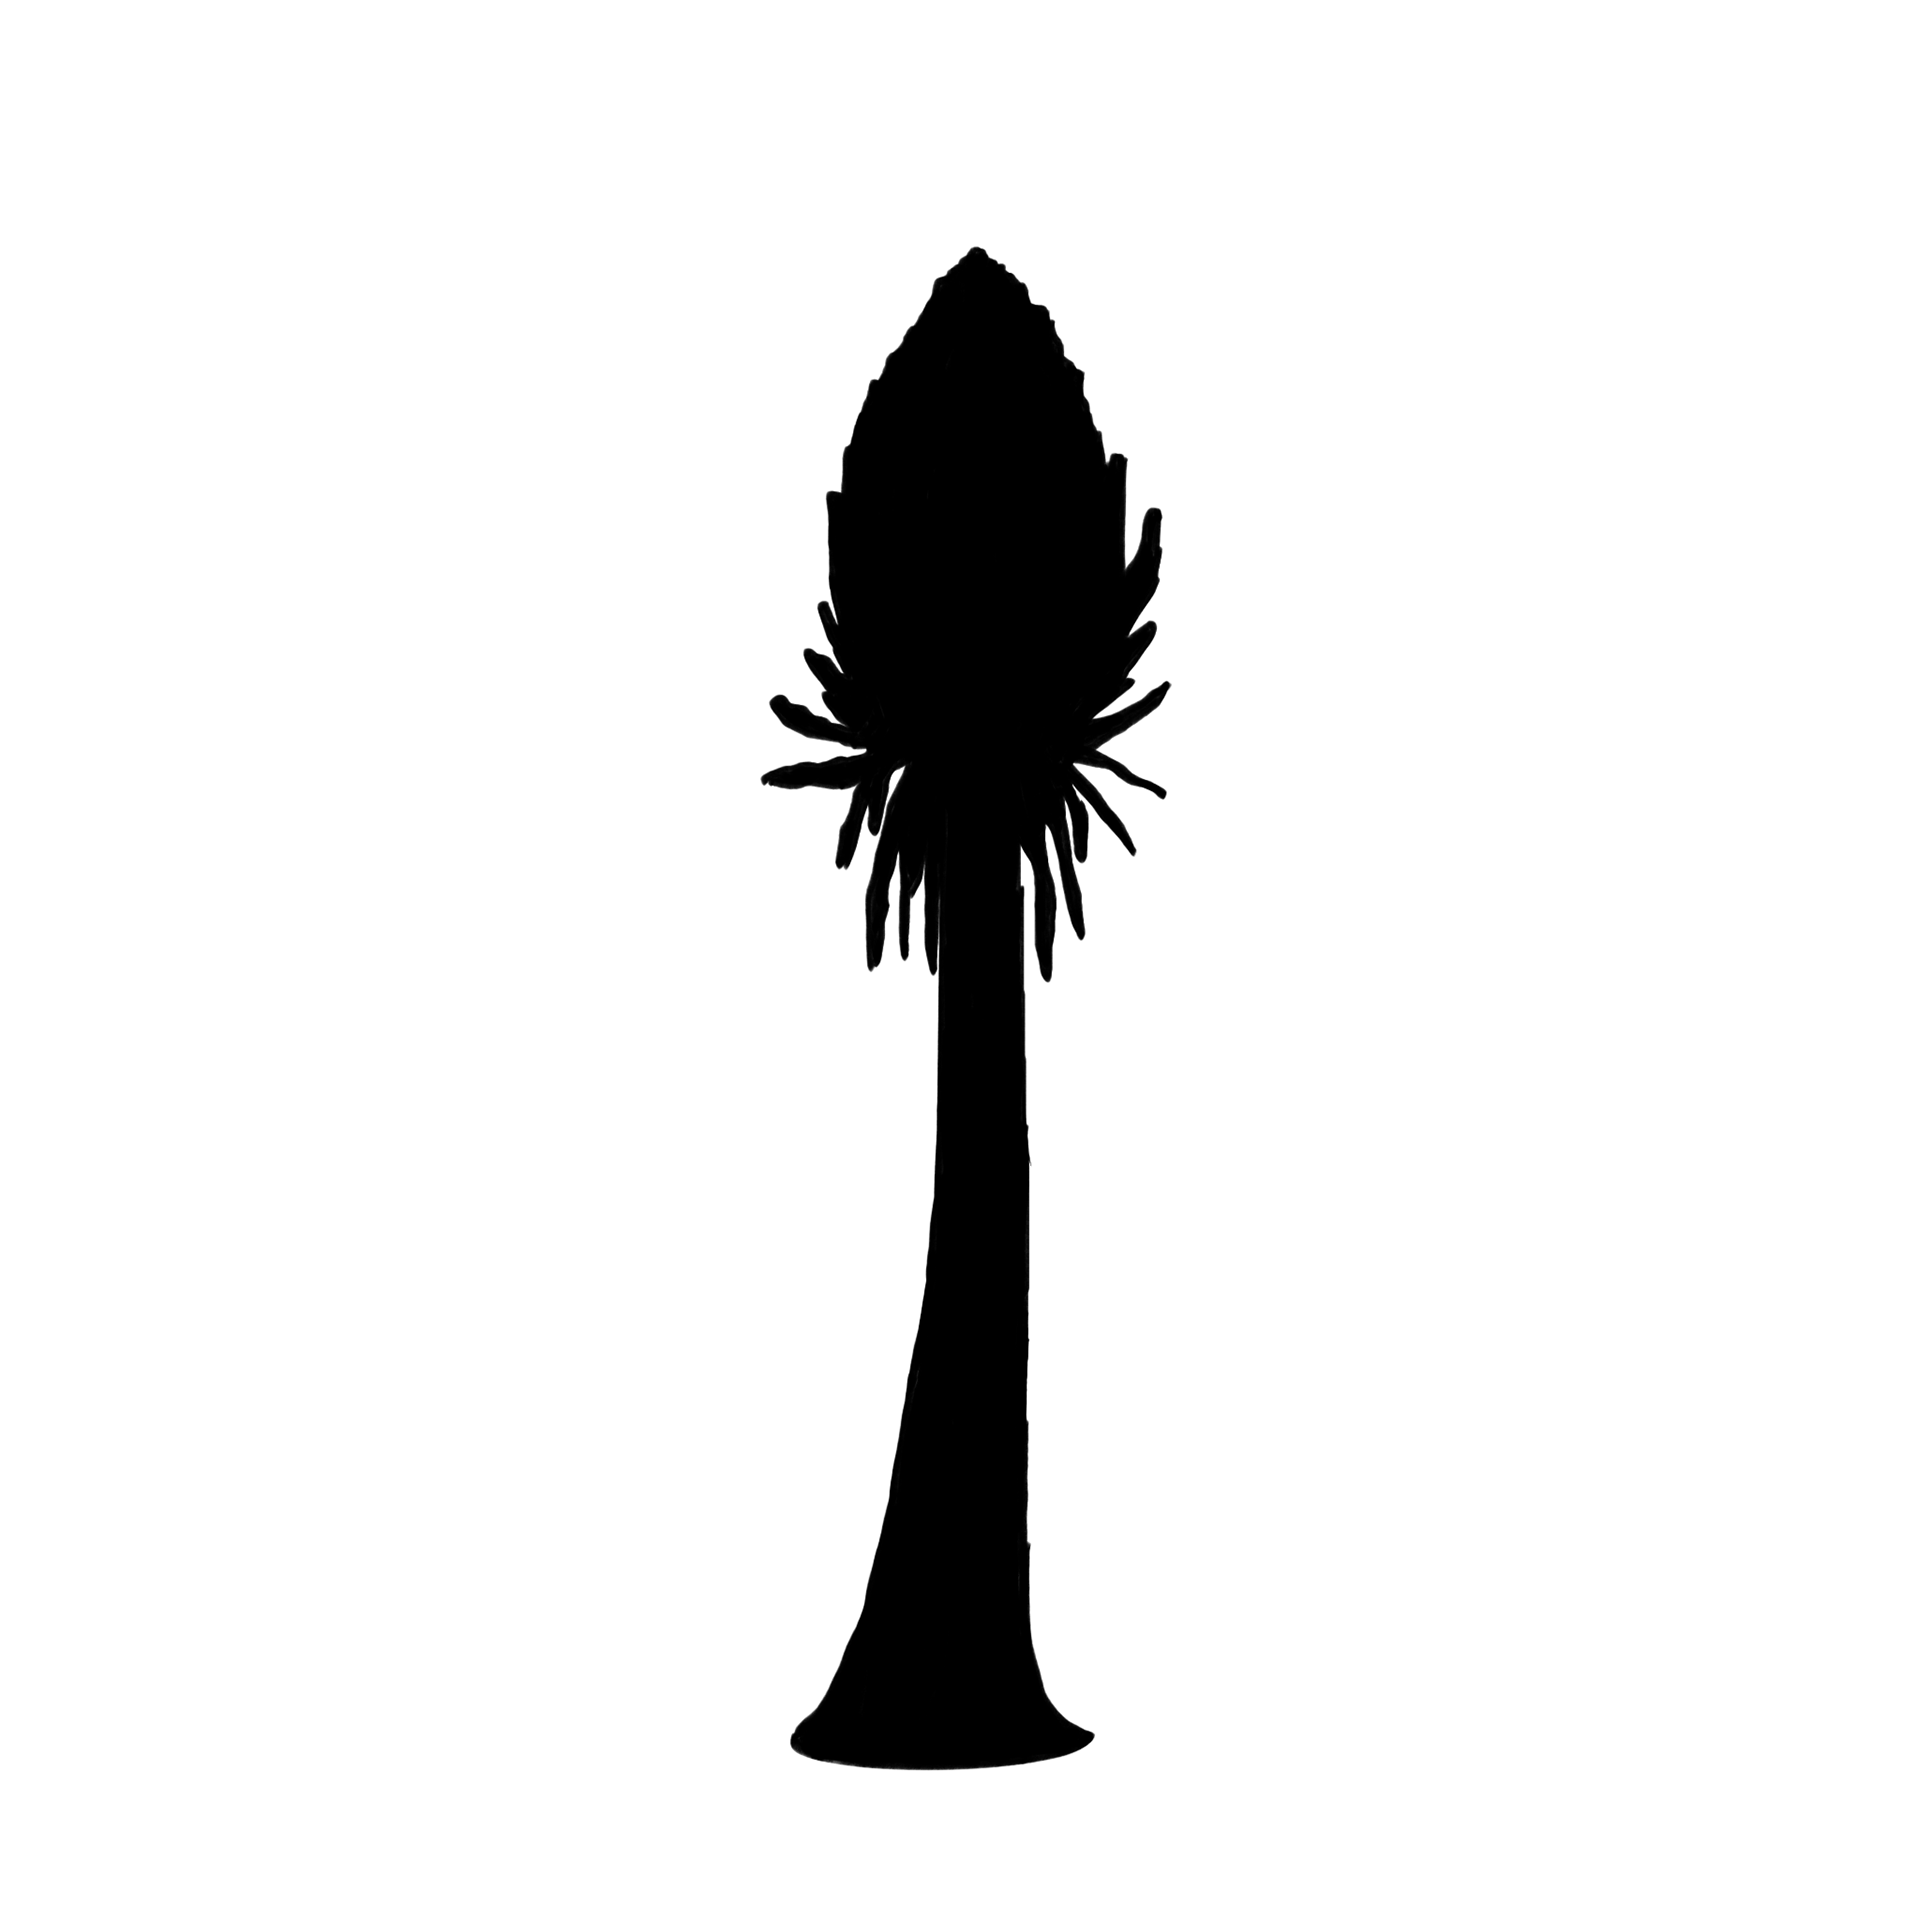
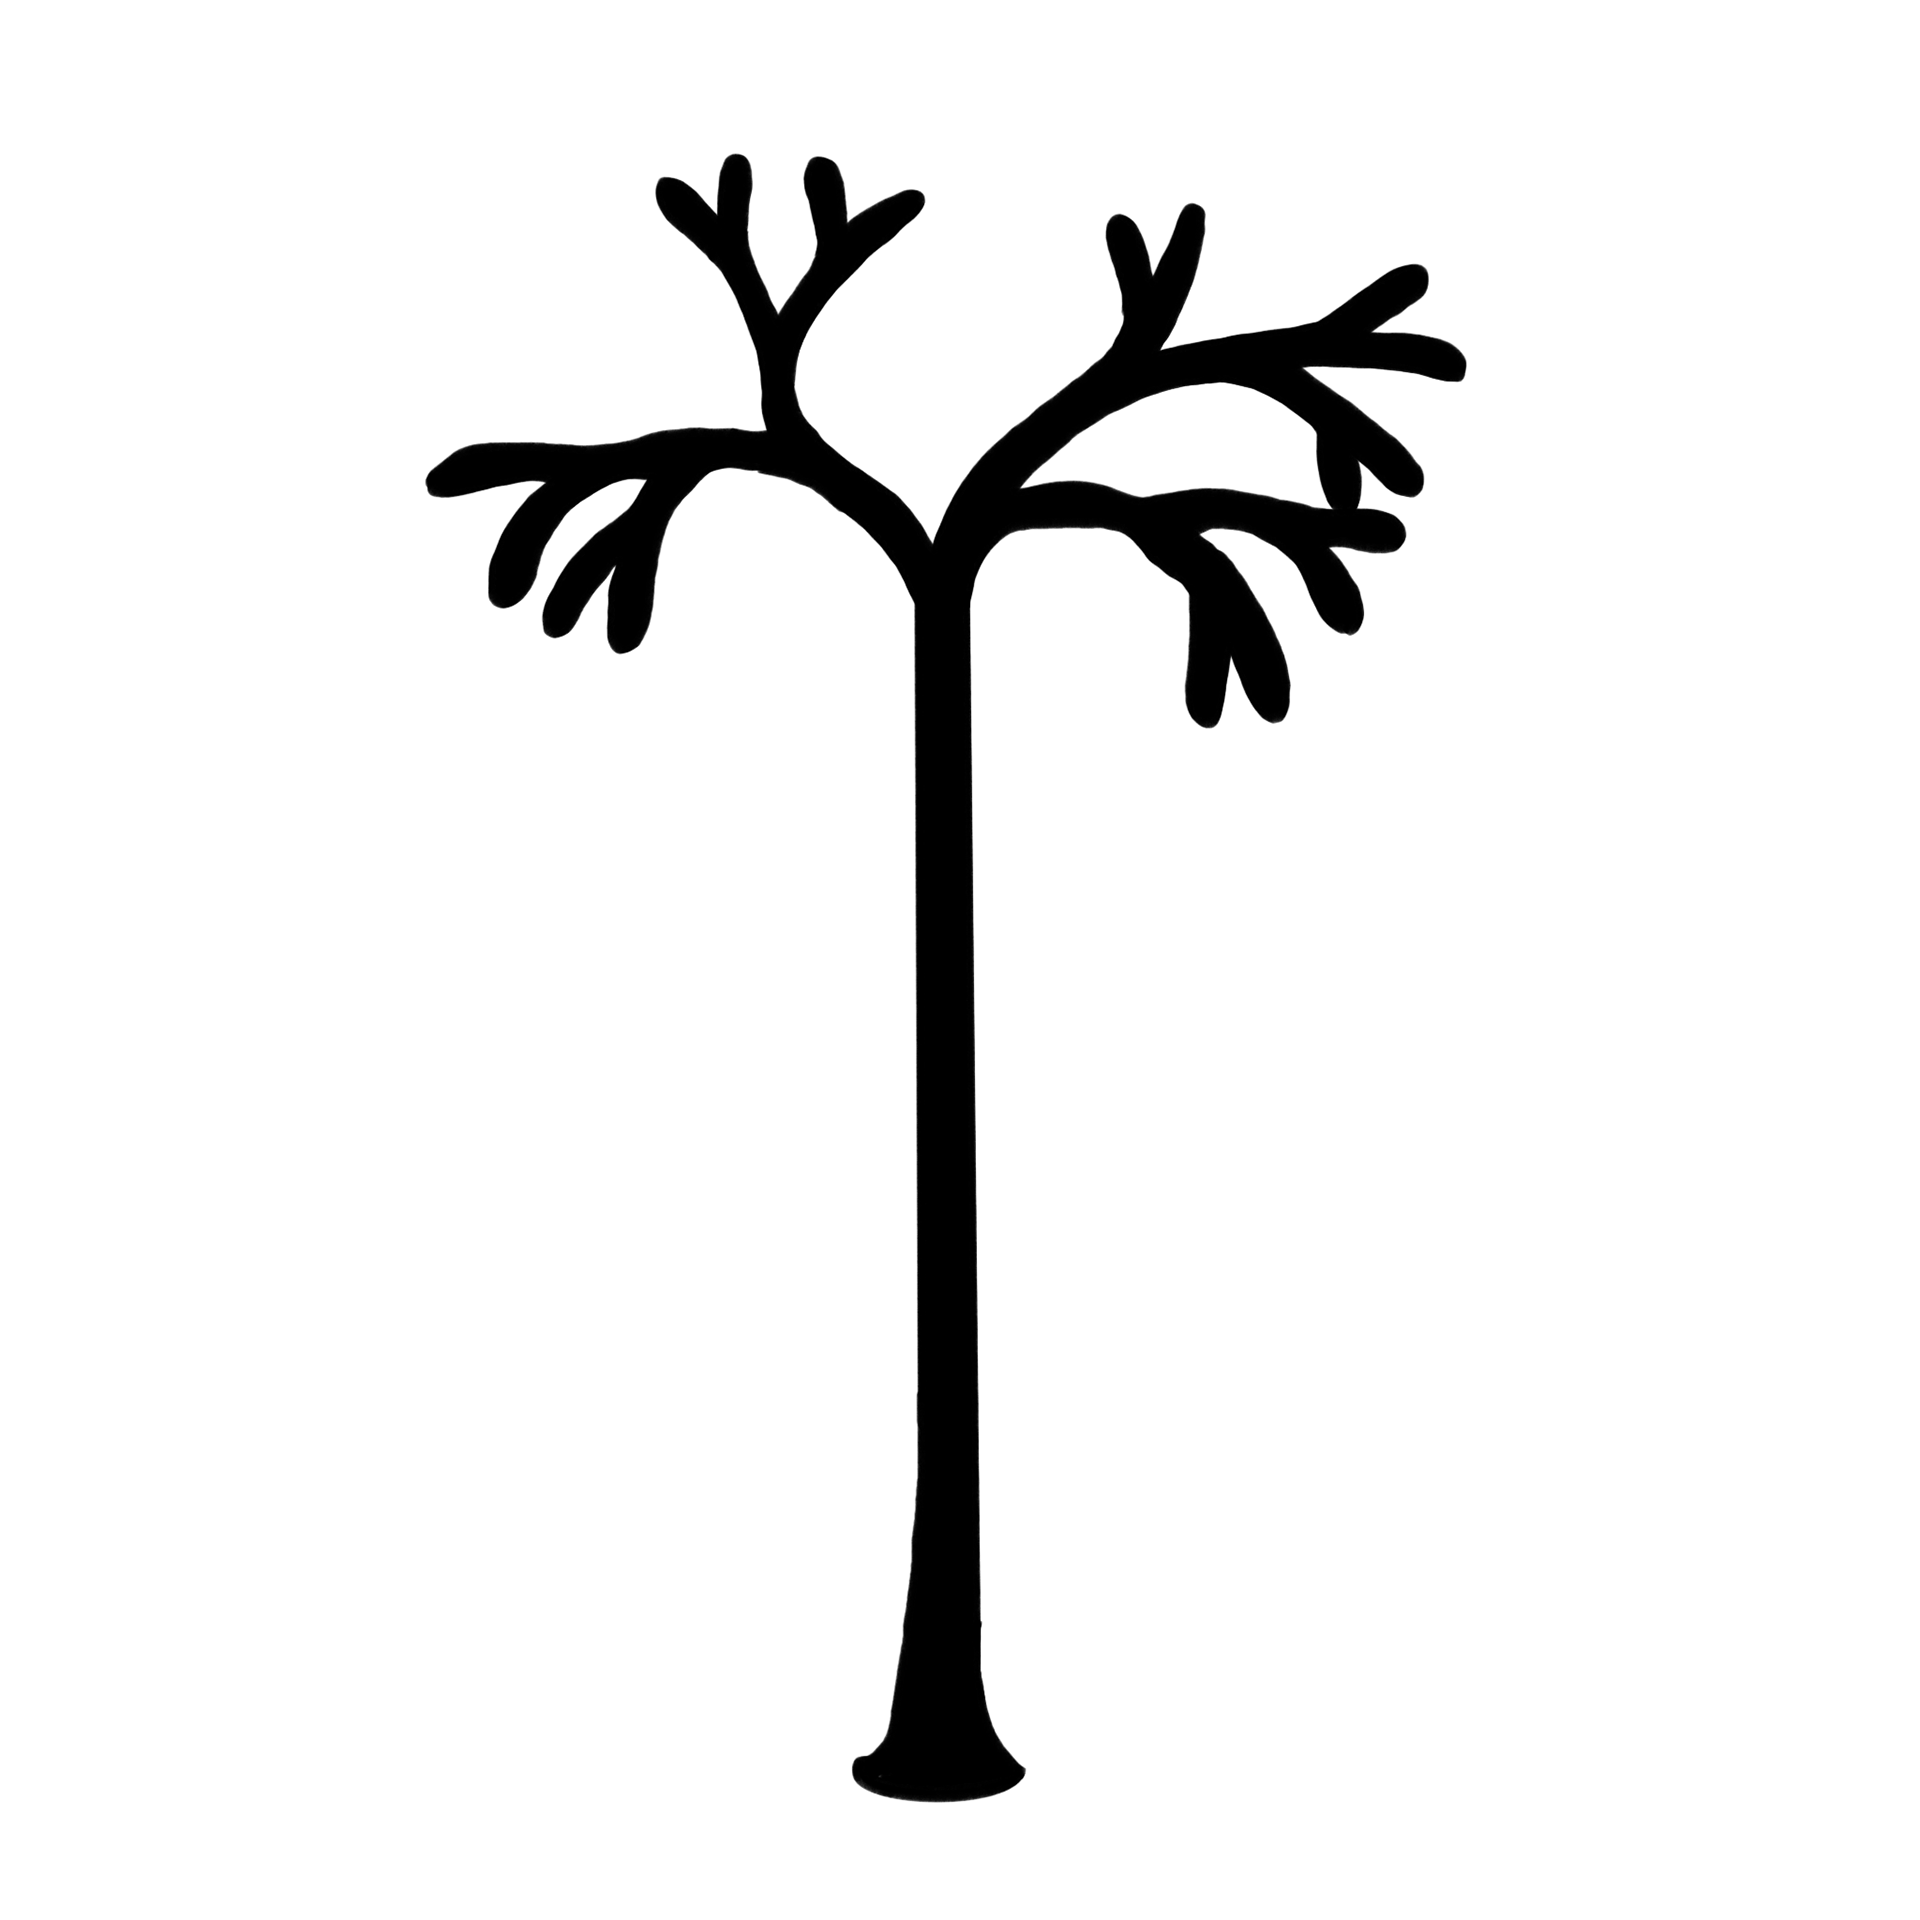
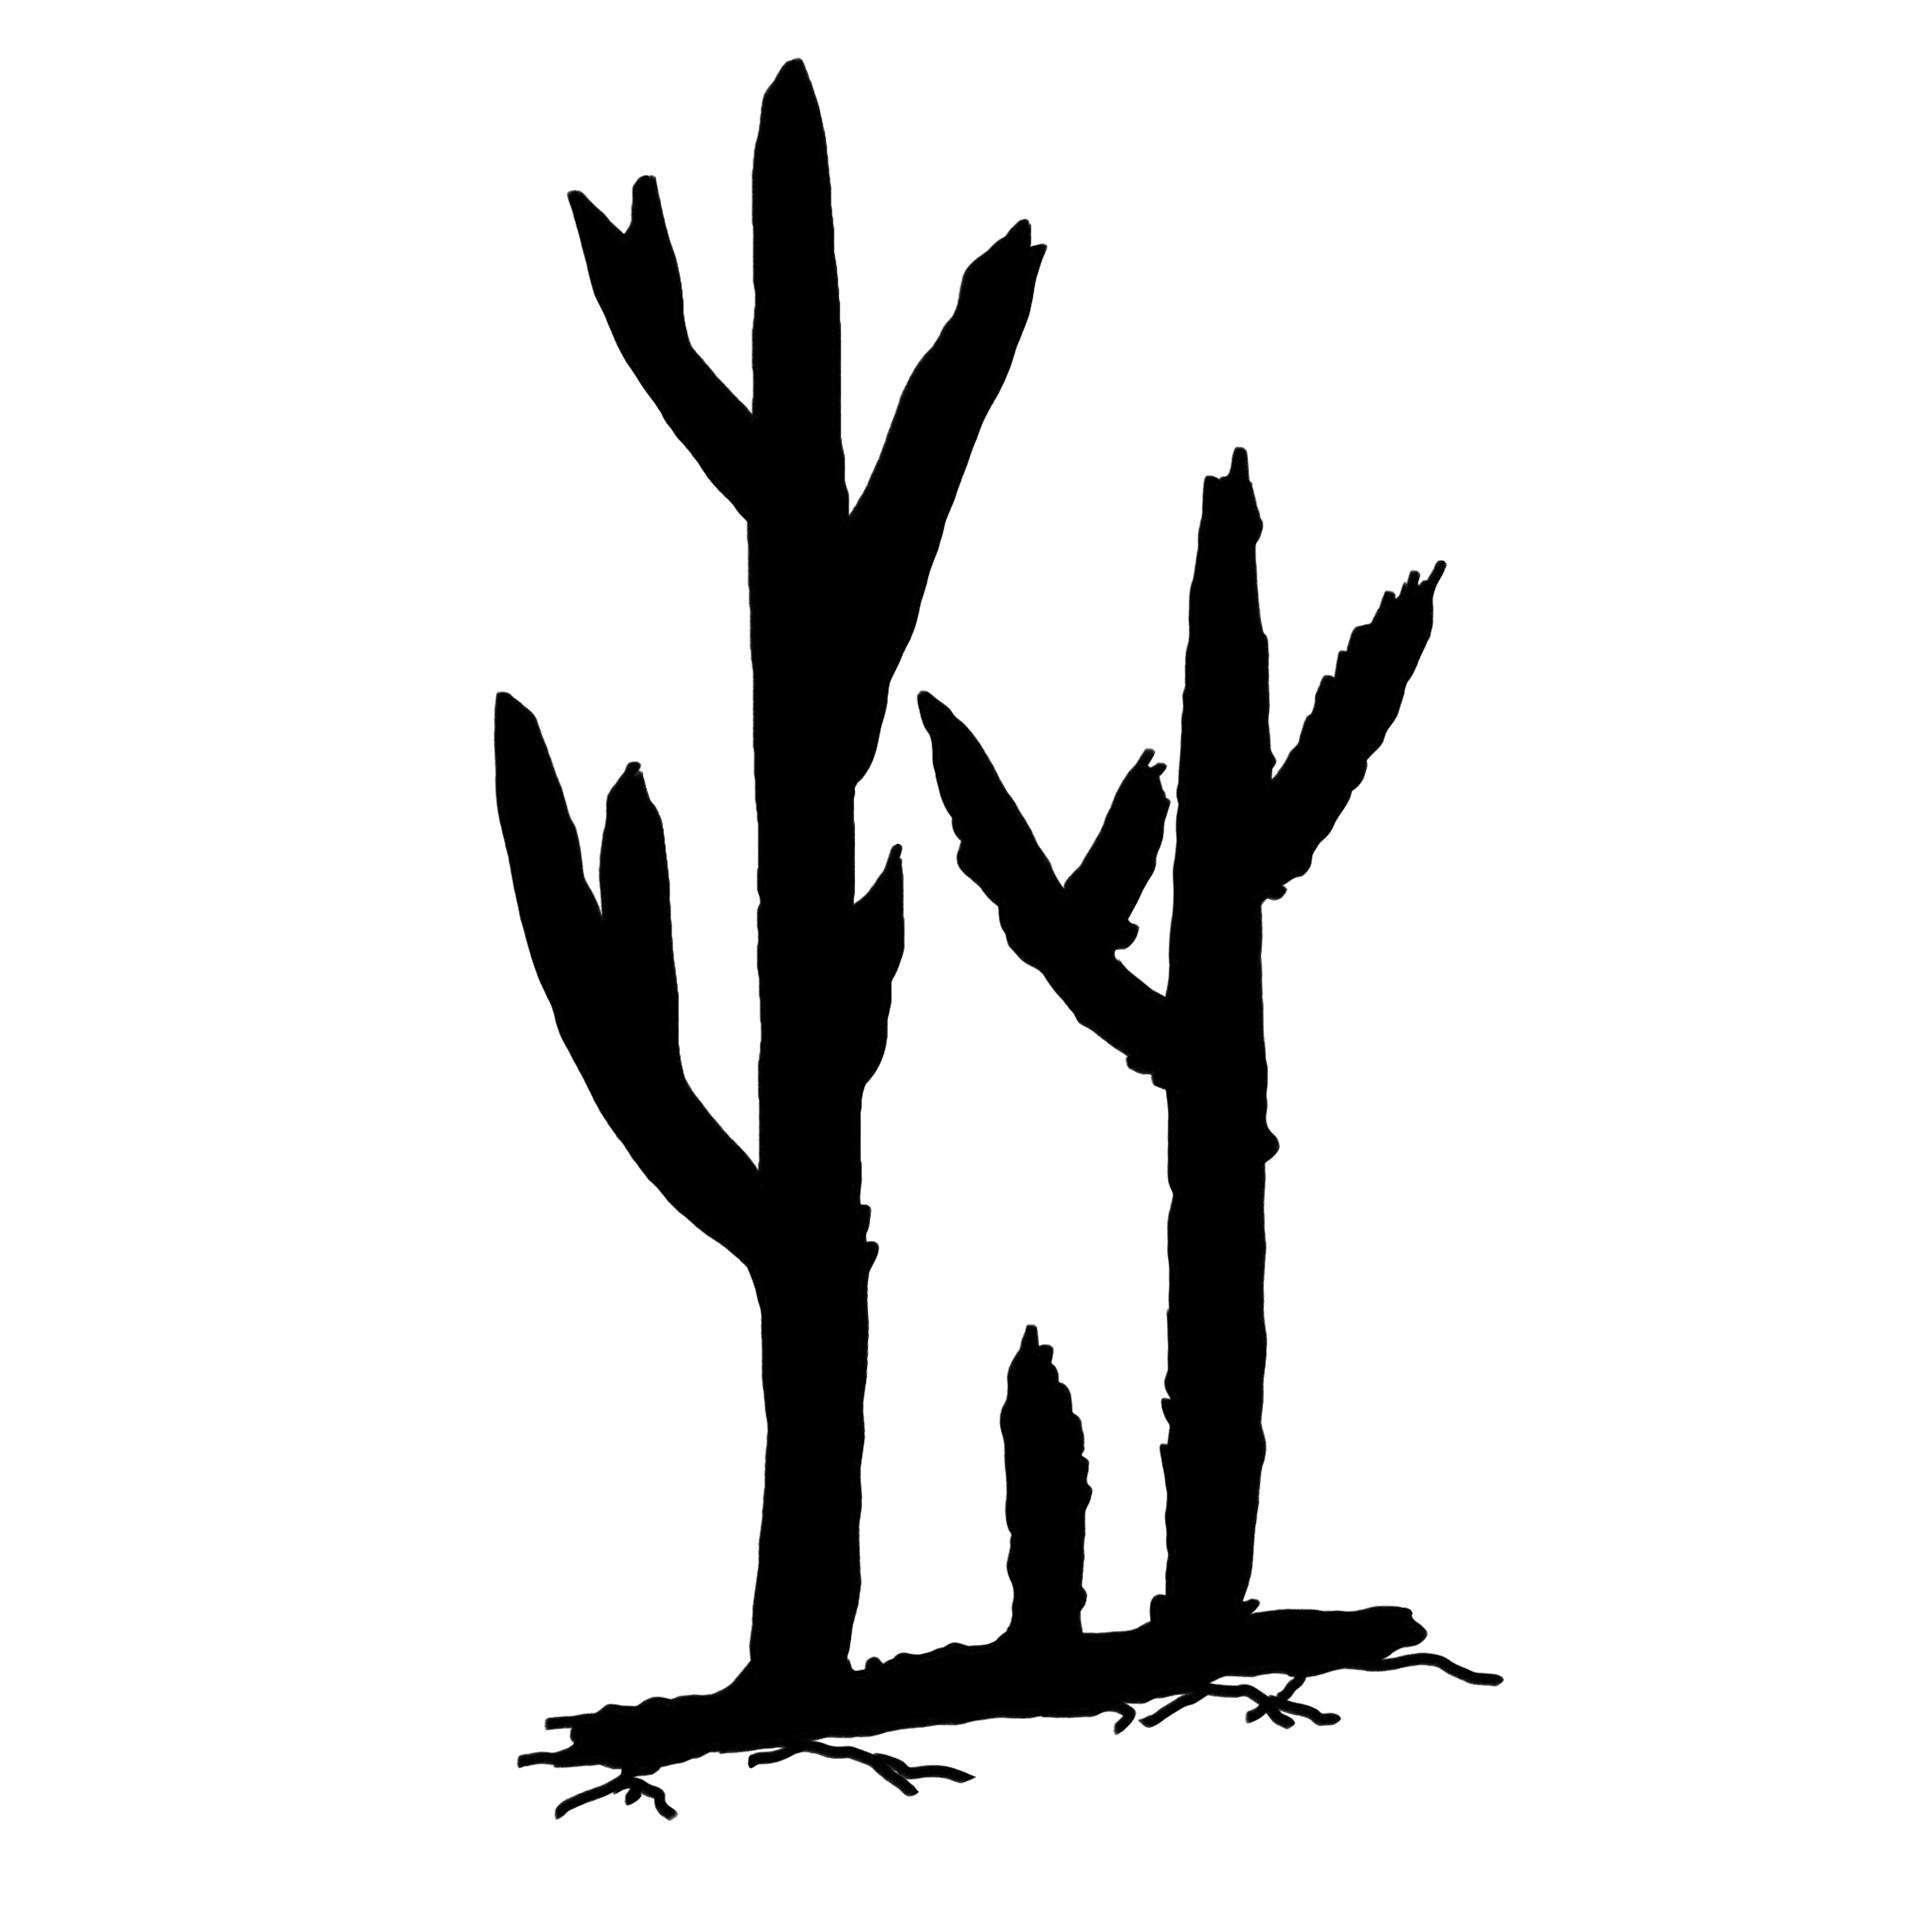
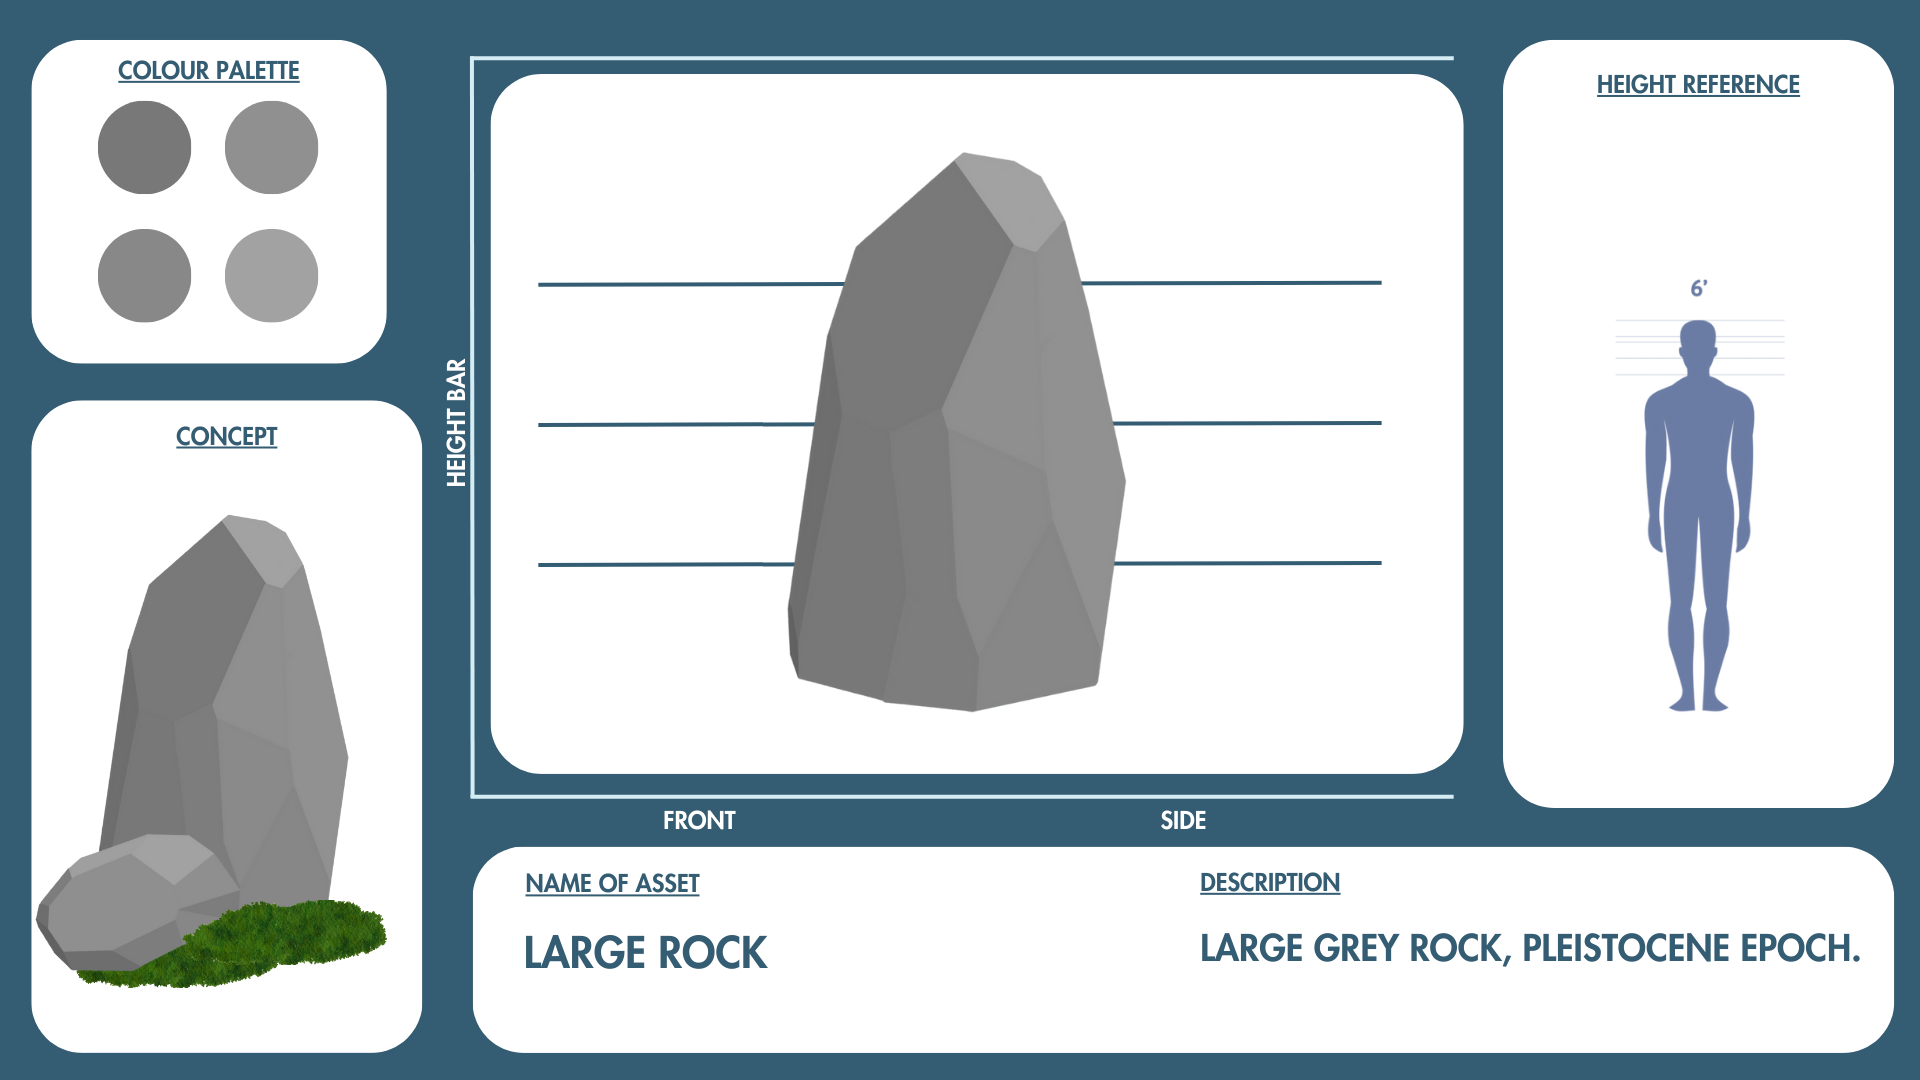
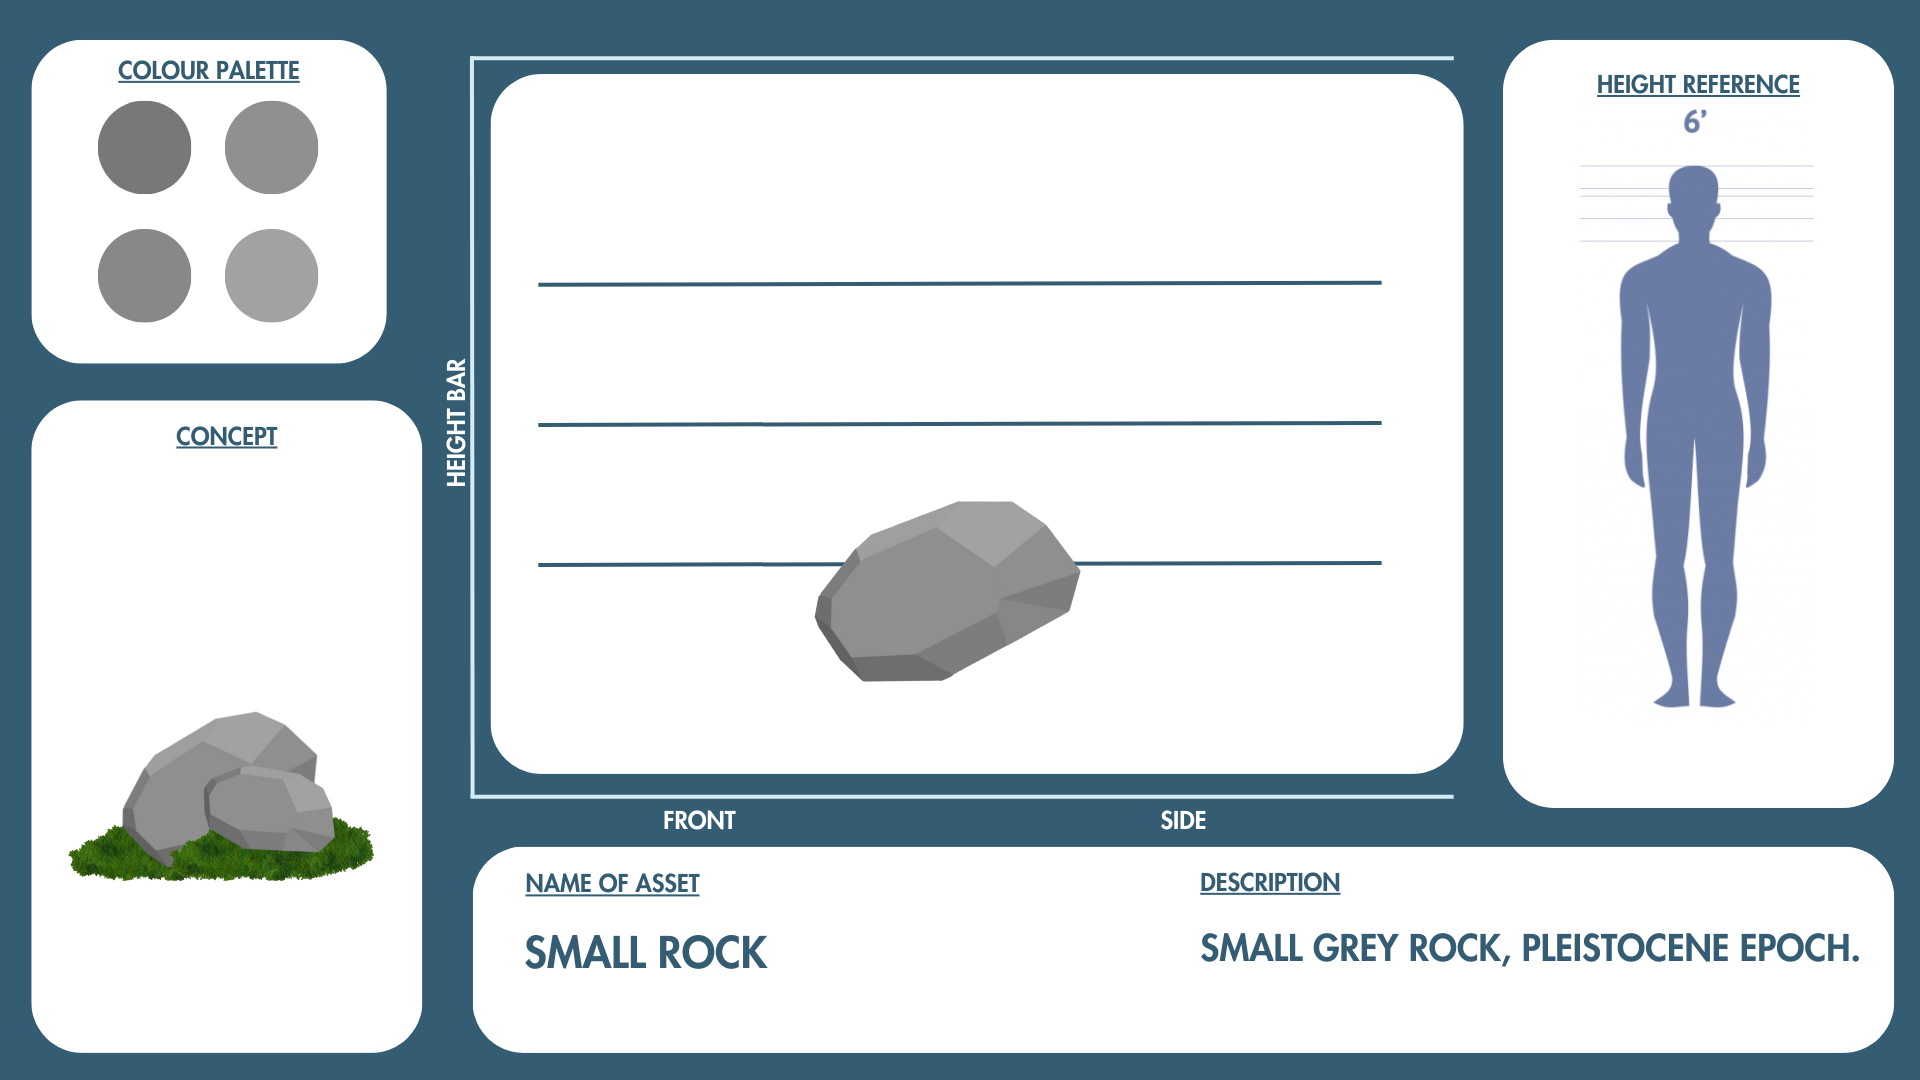
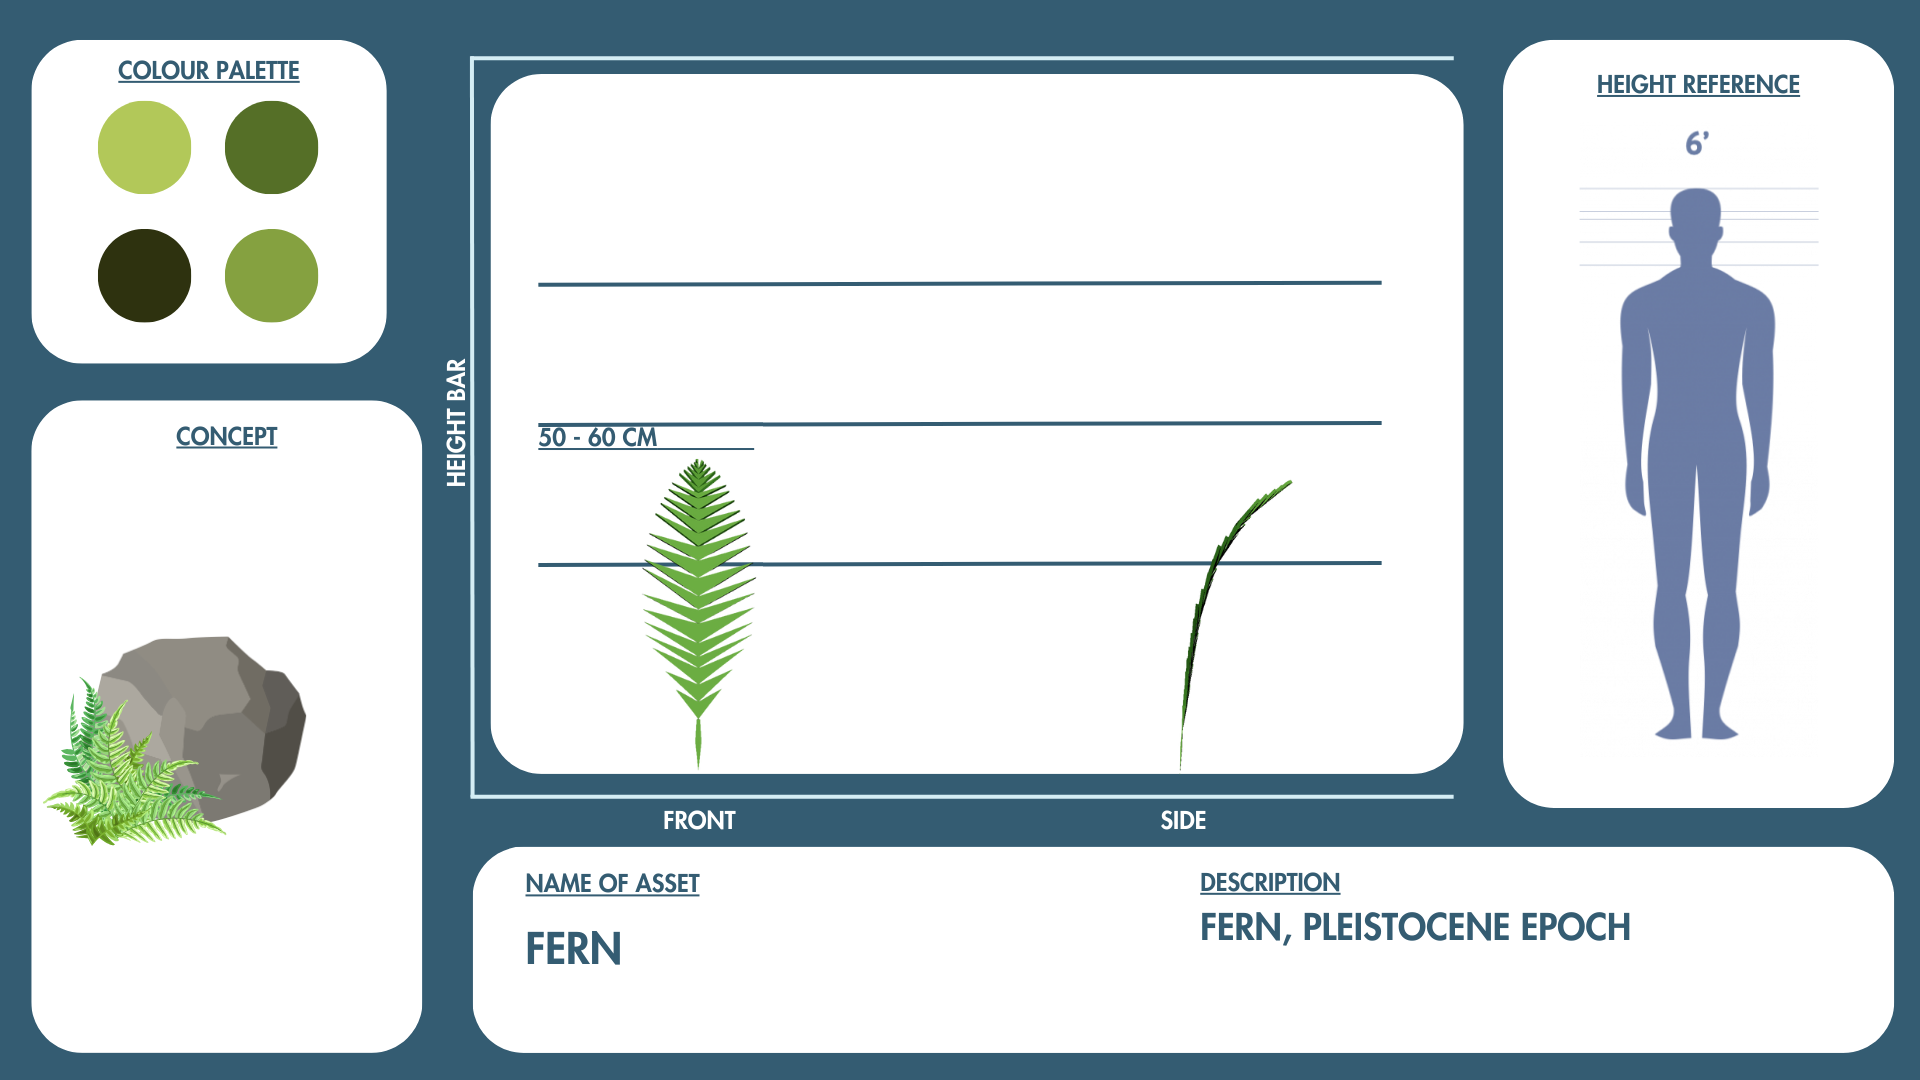
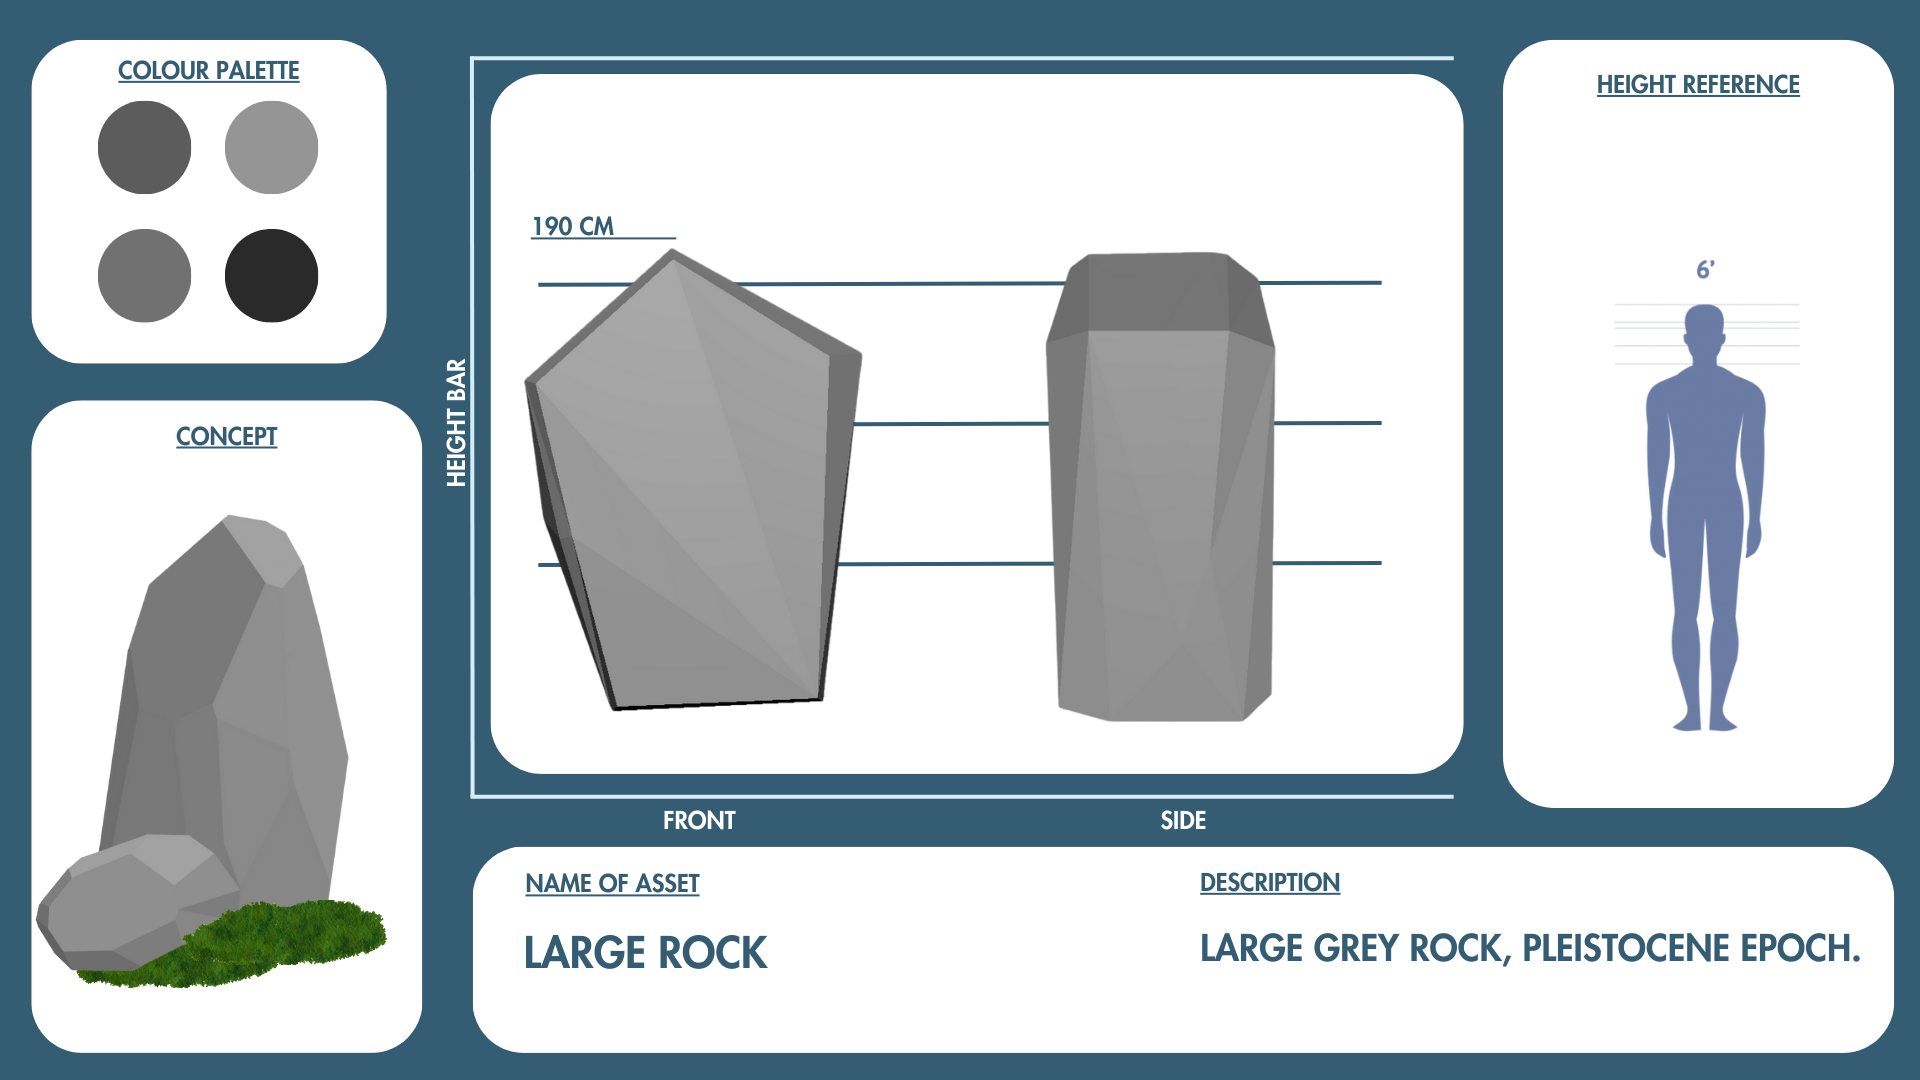
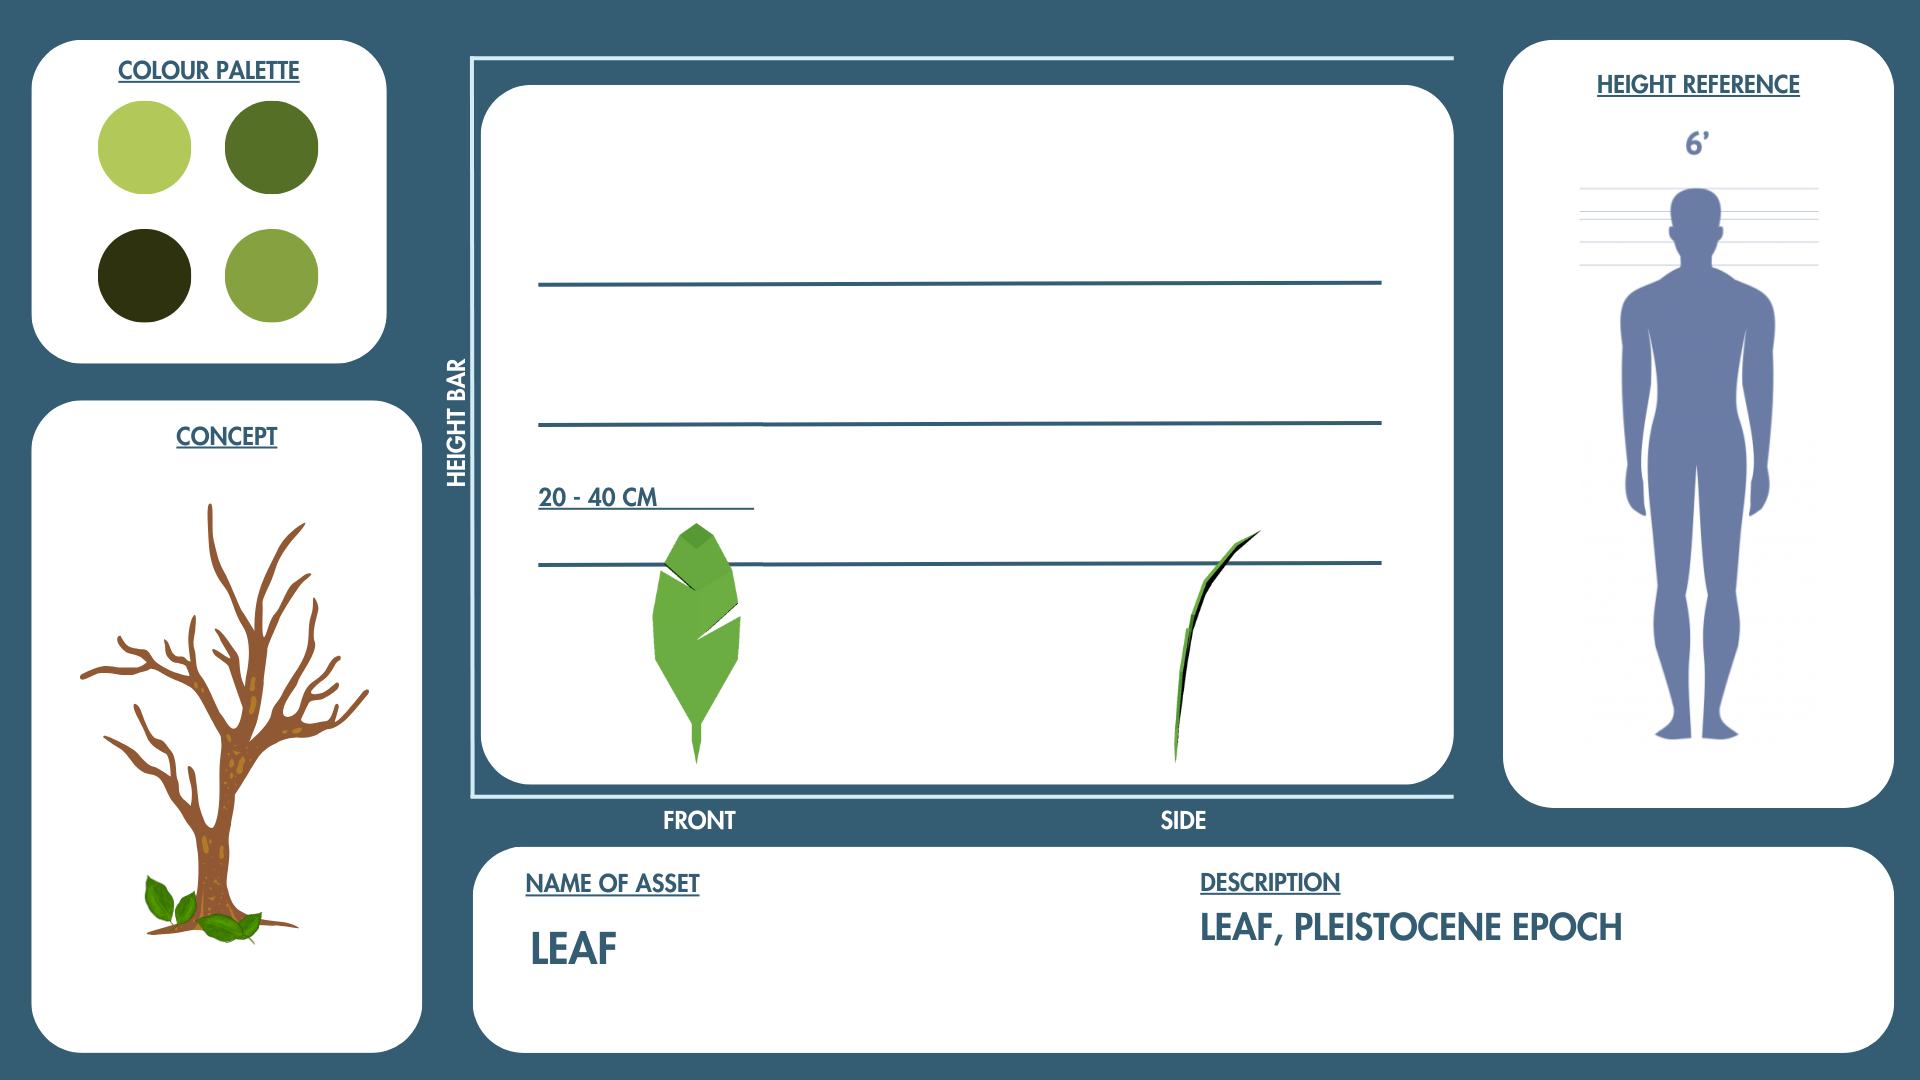
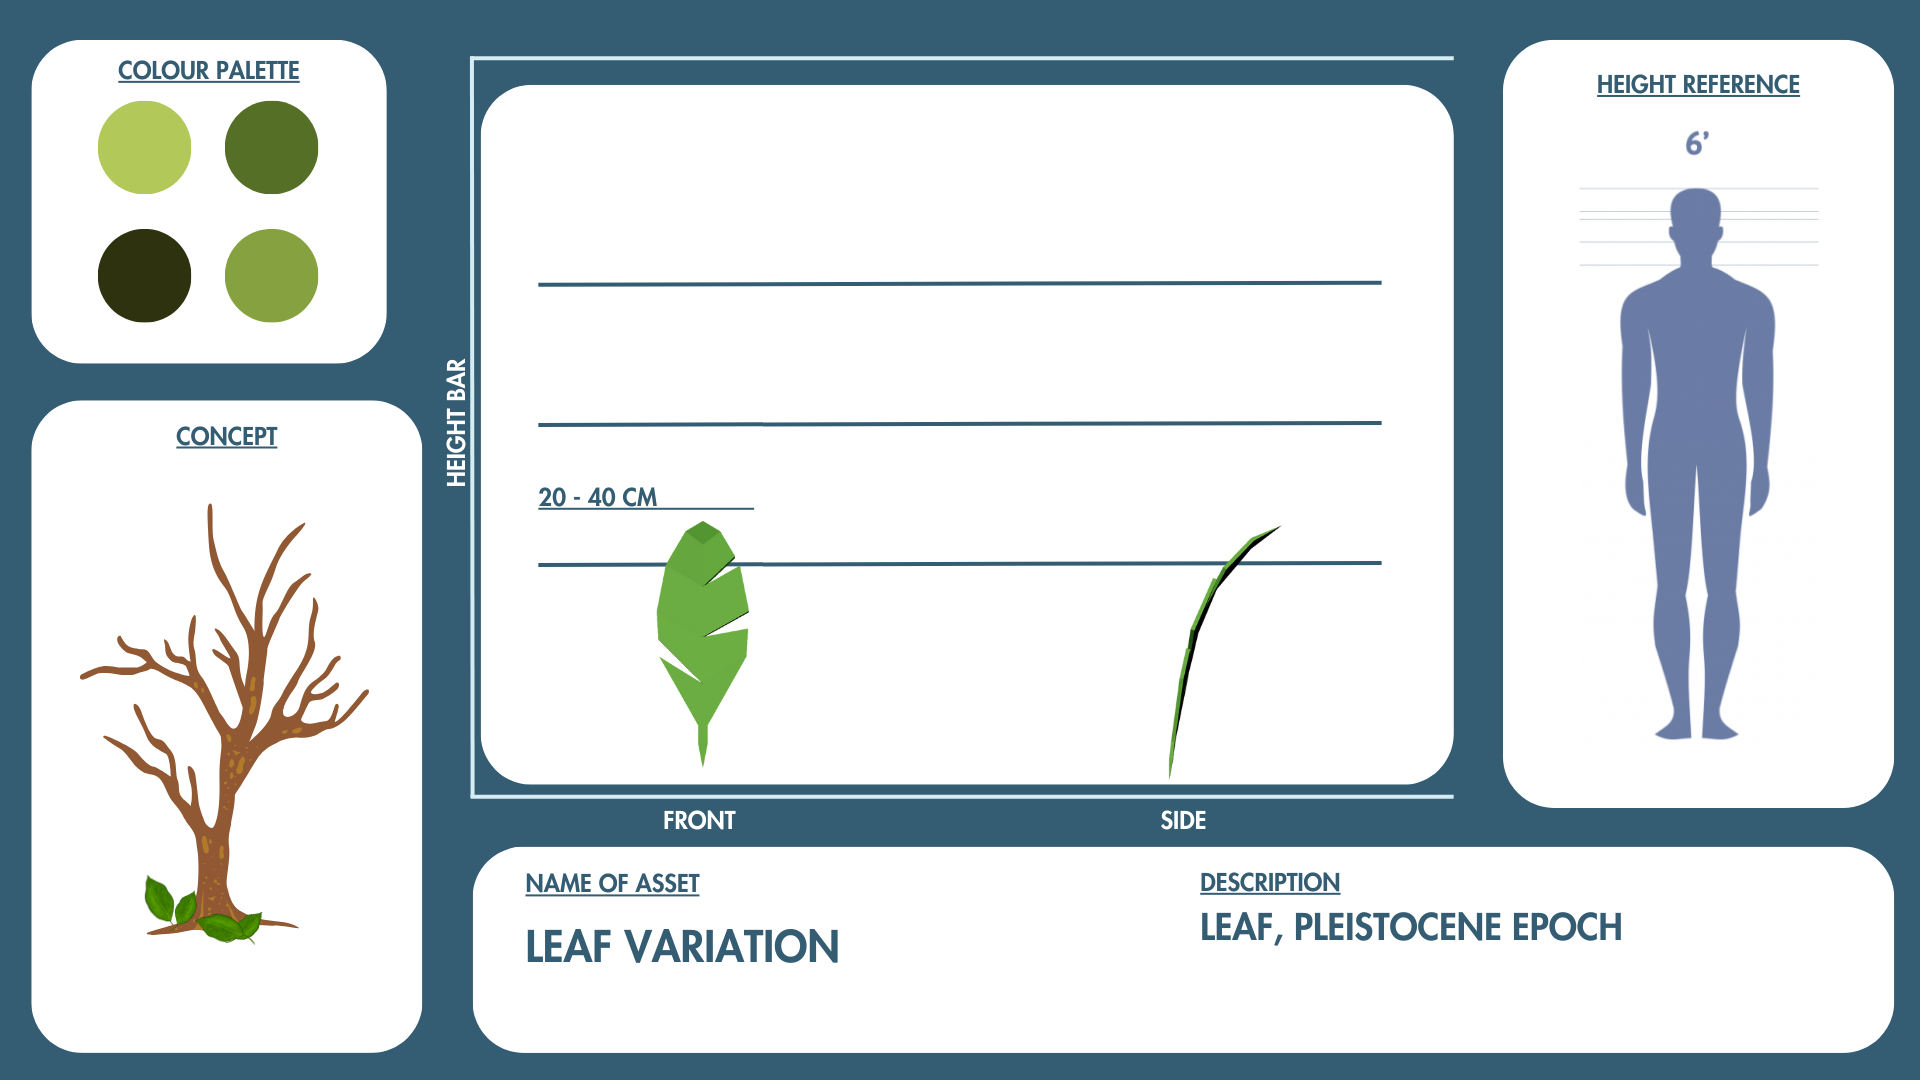
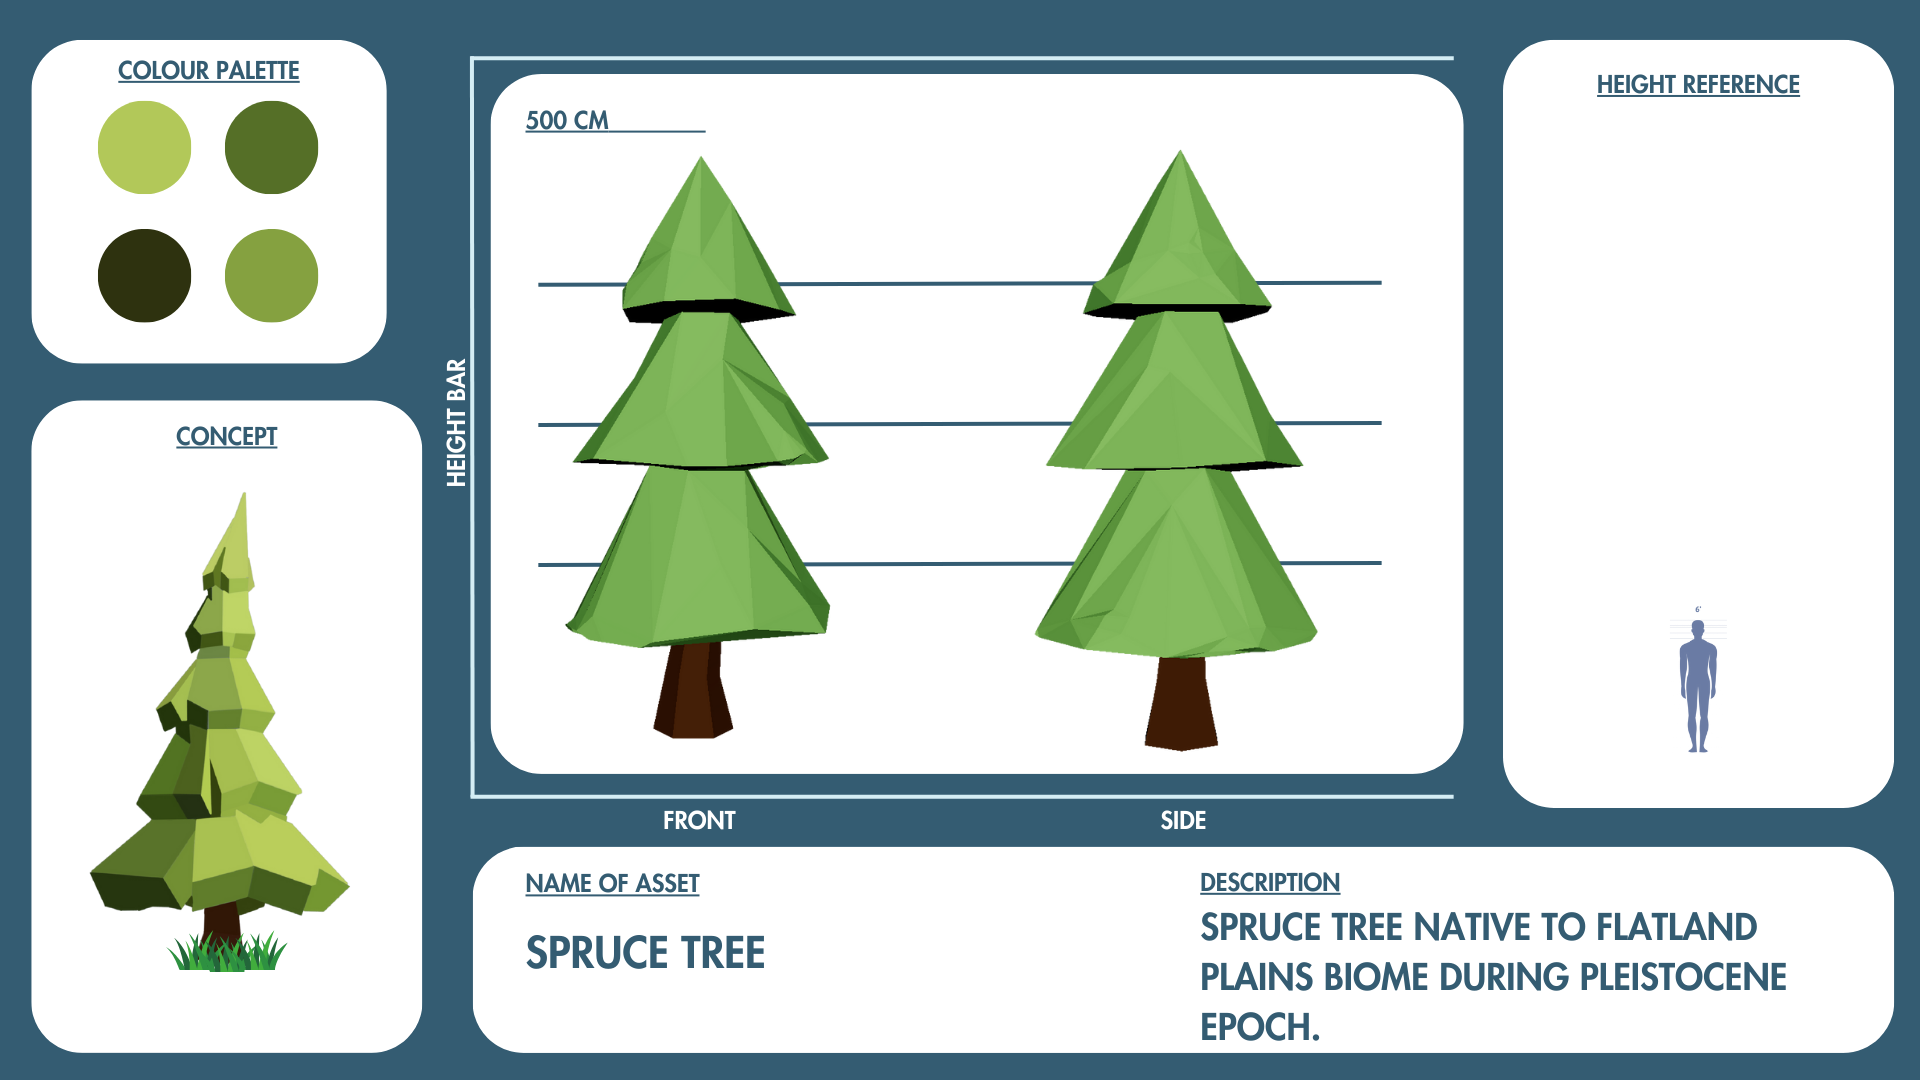
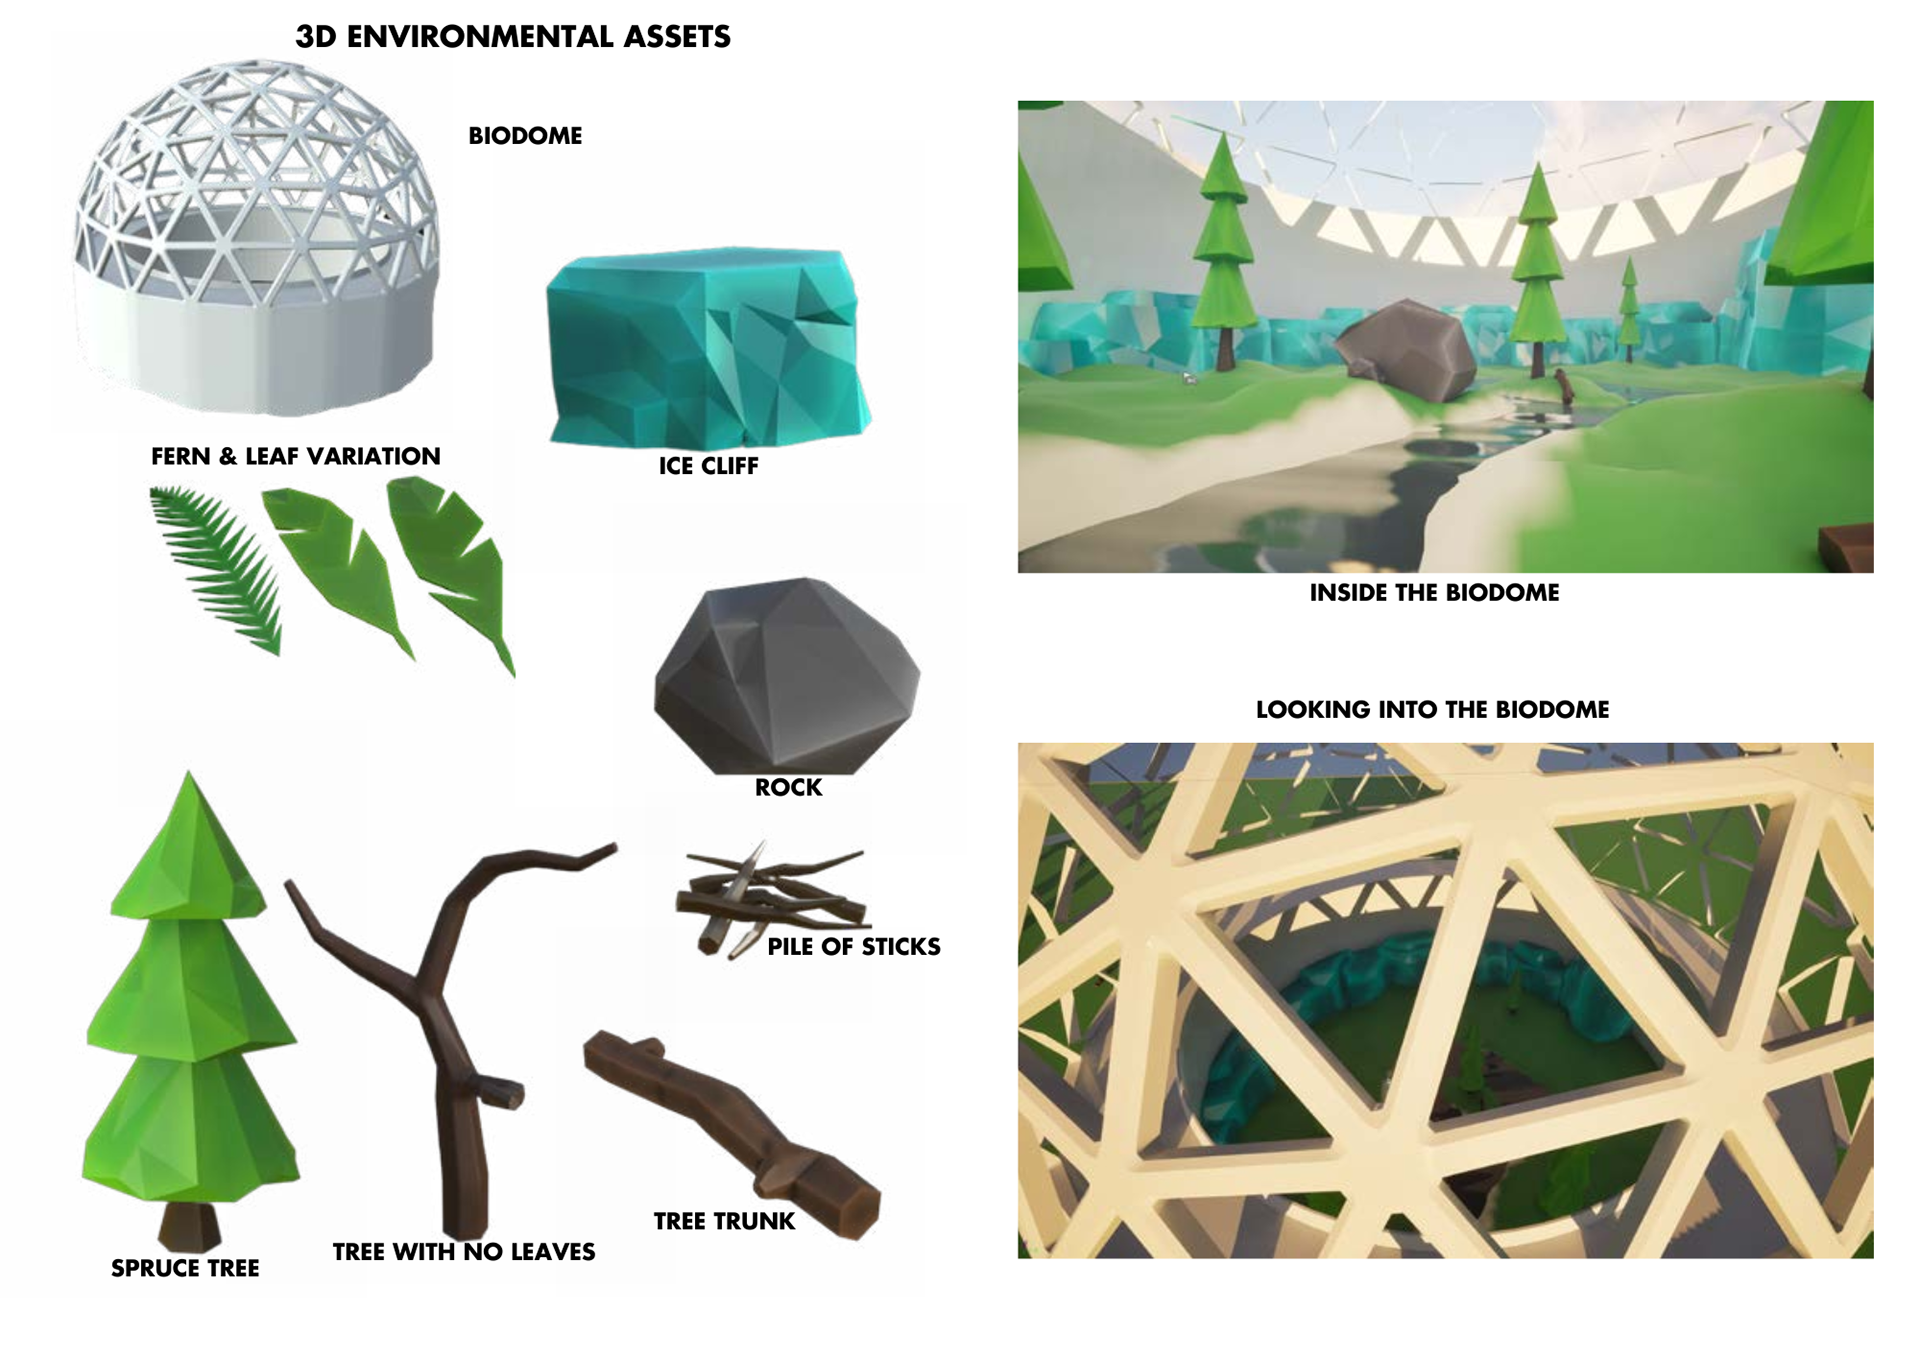
I worked on the assets unique to my Ice Age (Pleistocene Epoch) period because I have been most enthusiastic about this one more recently. 2 Rocks and a Spruce Tree.
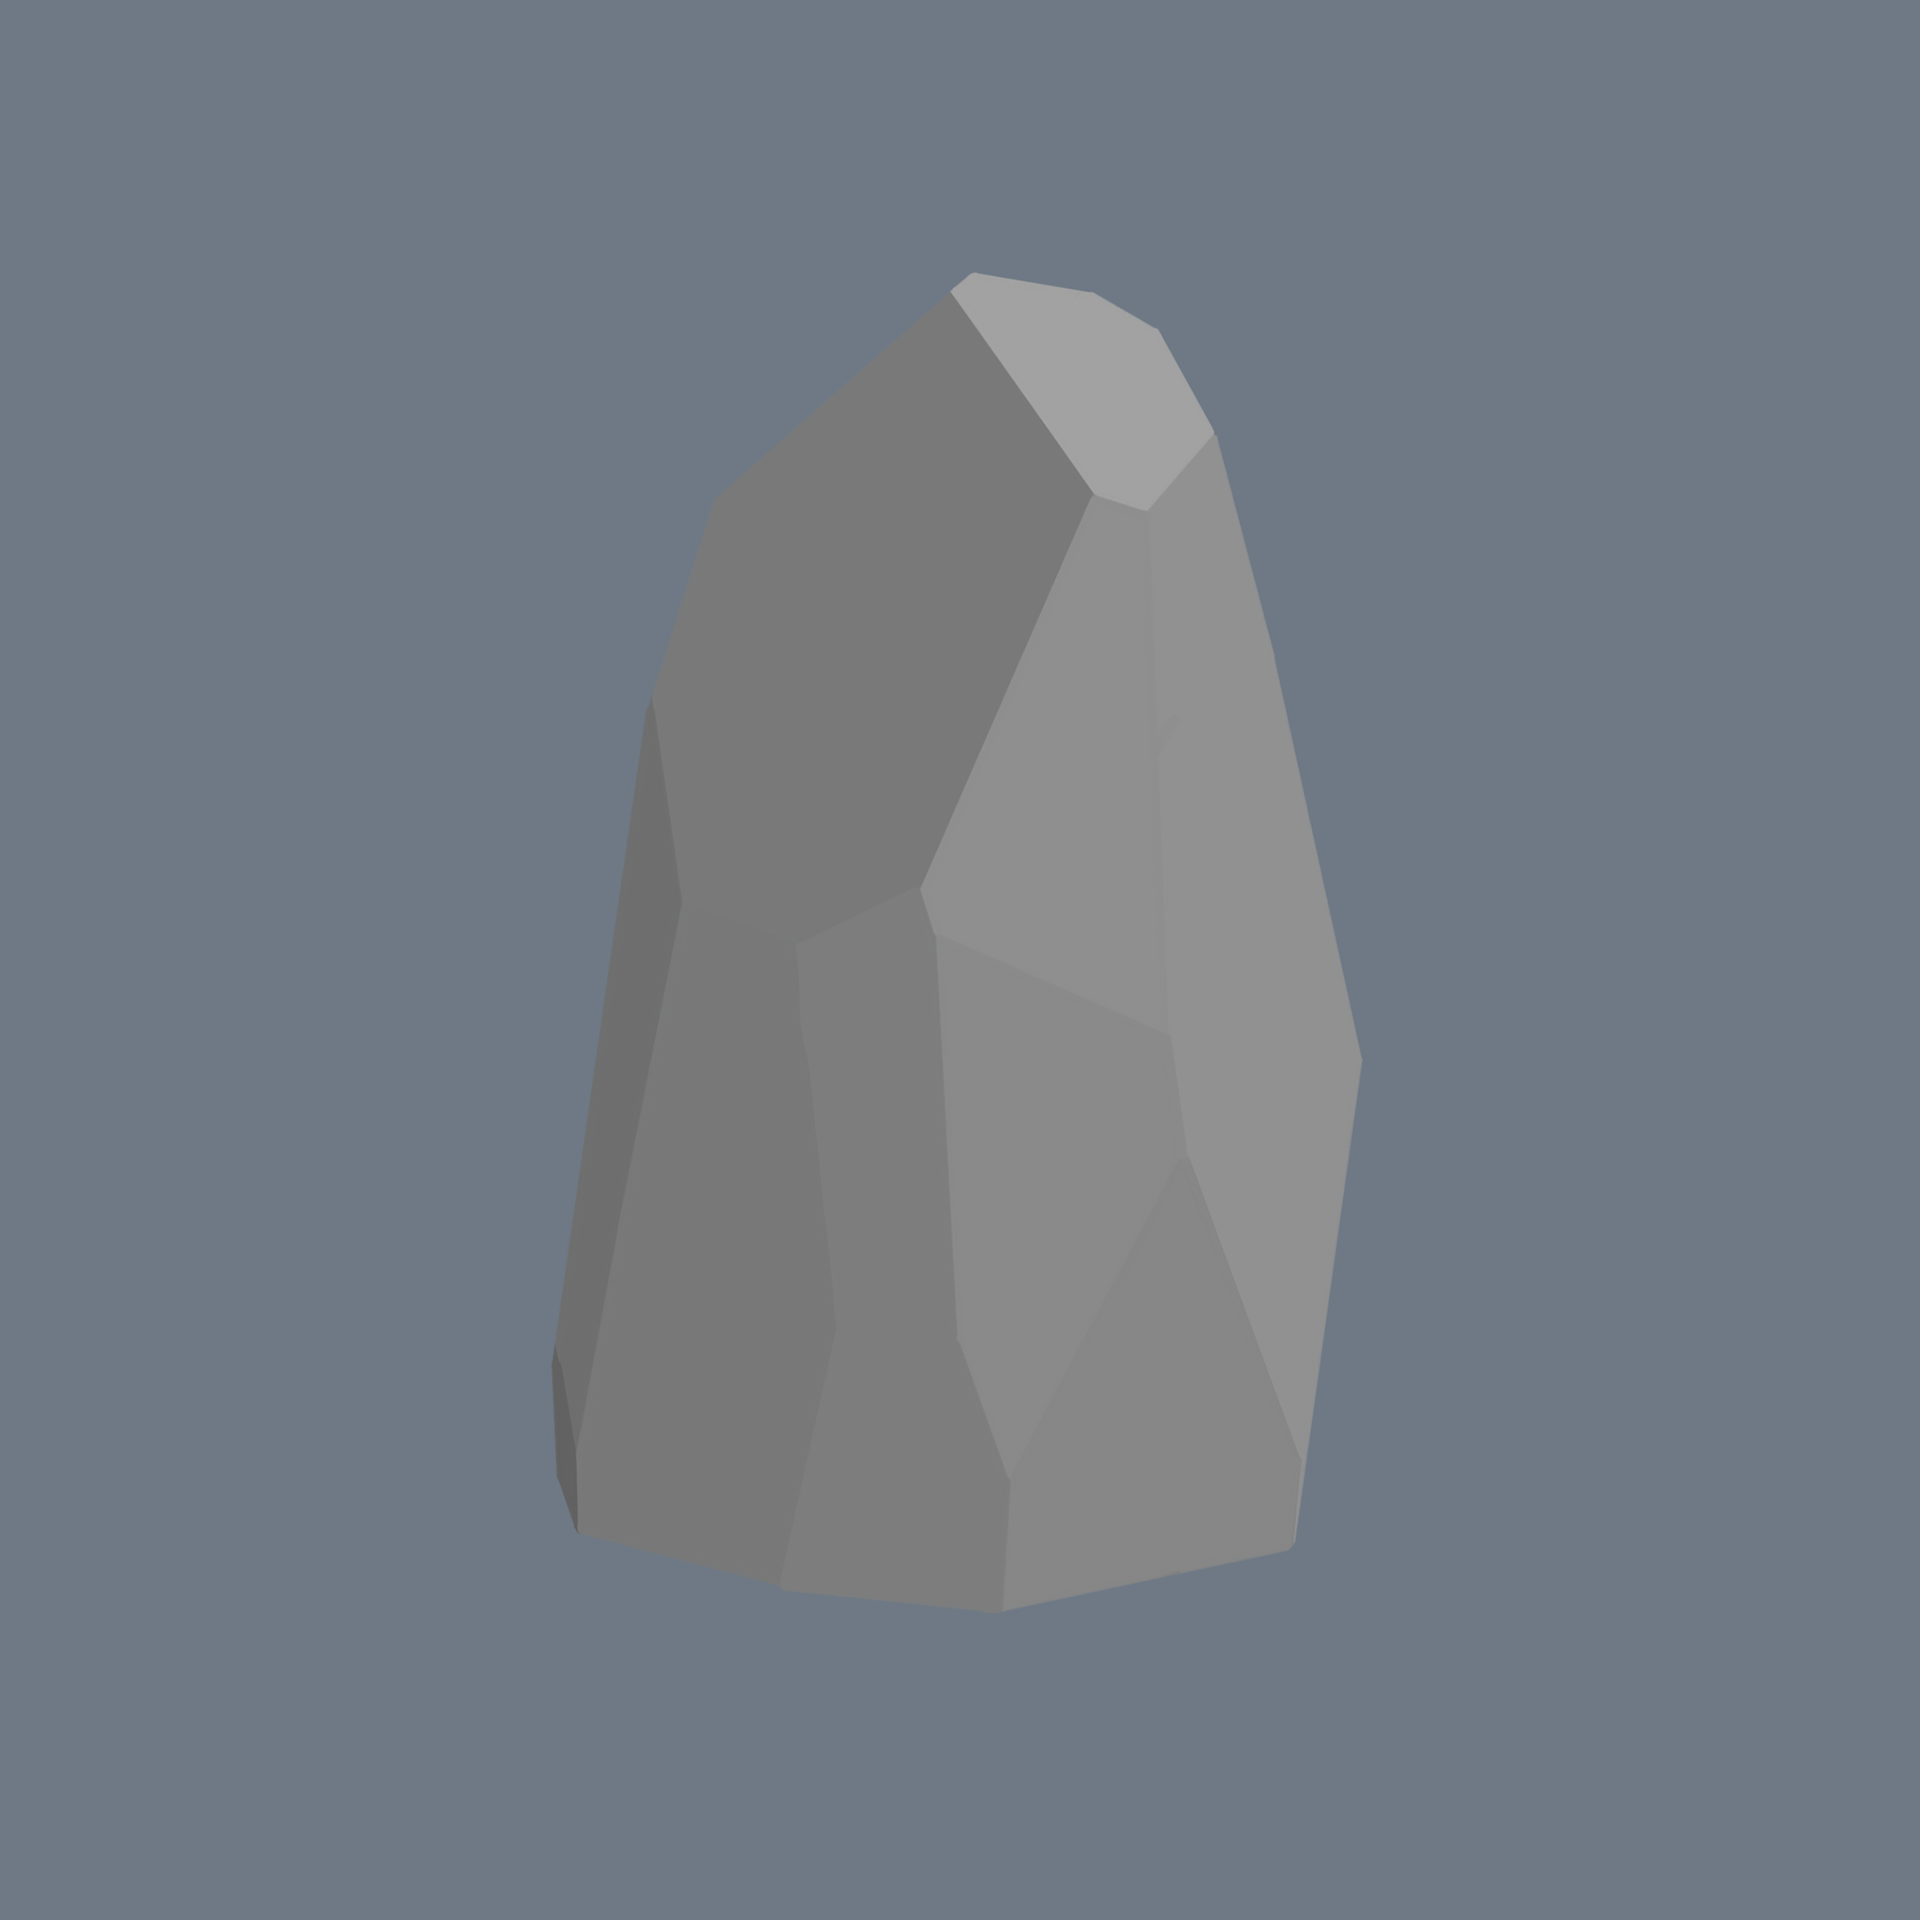
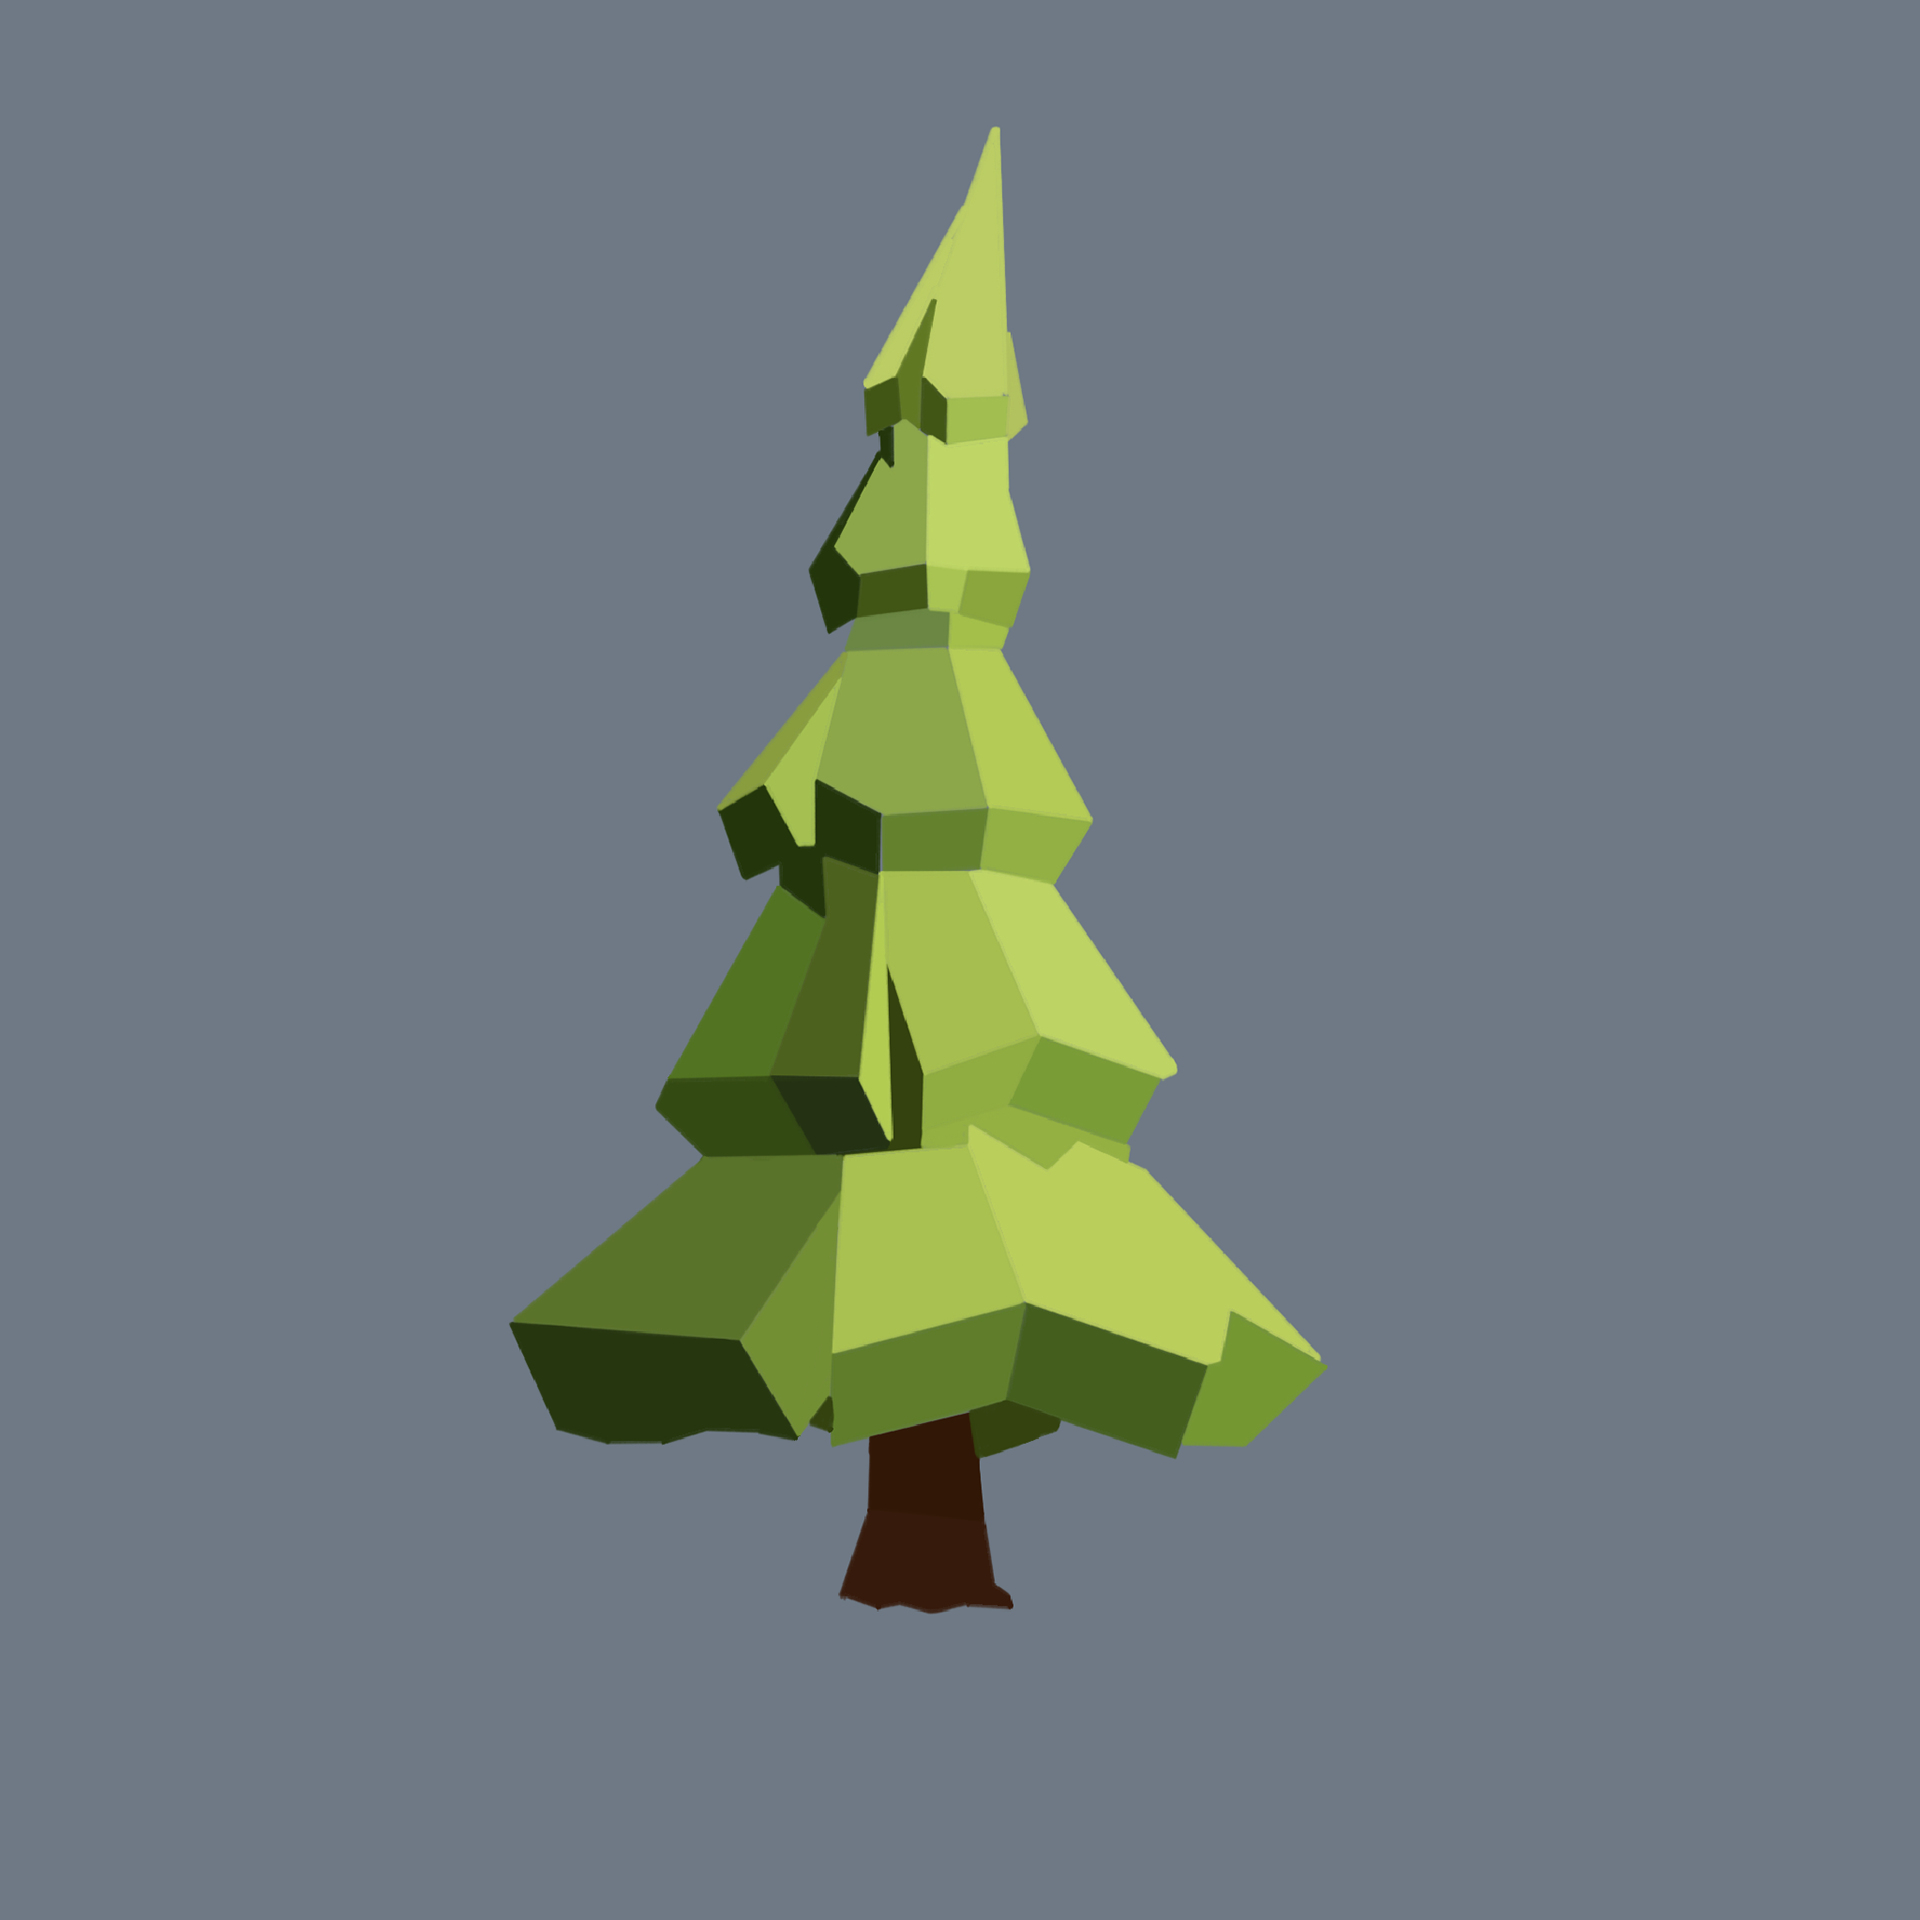
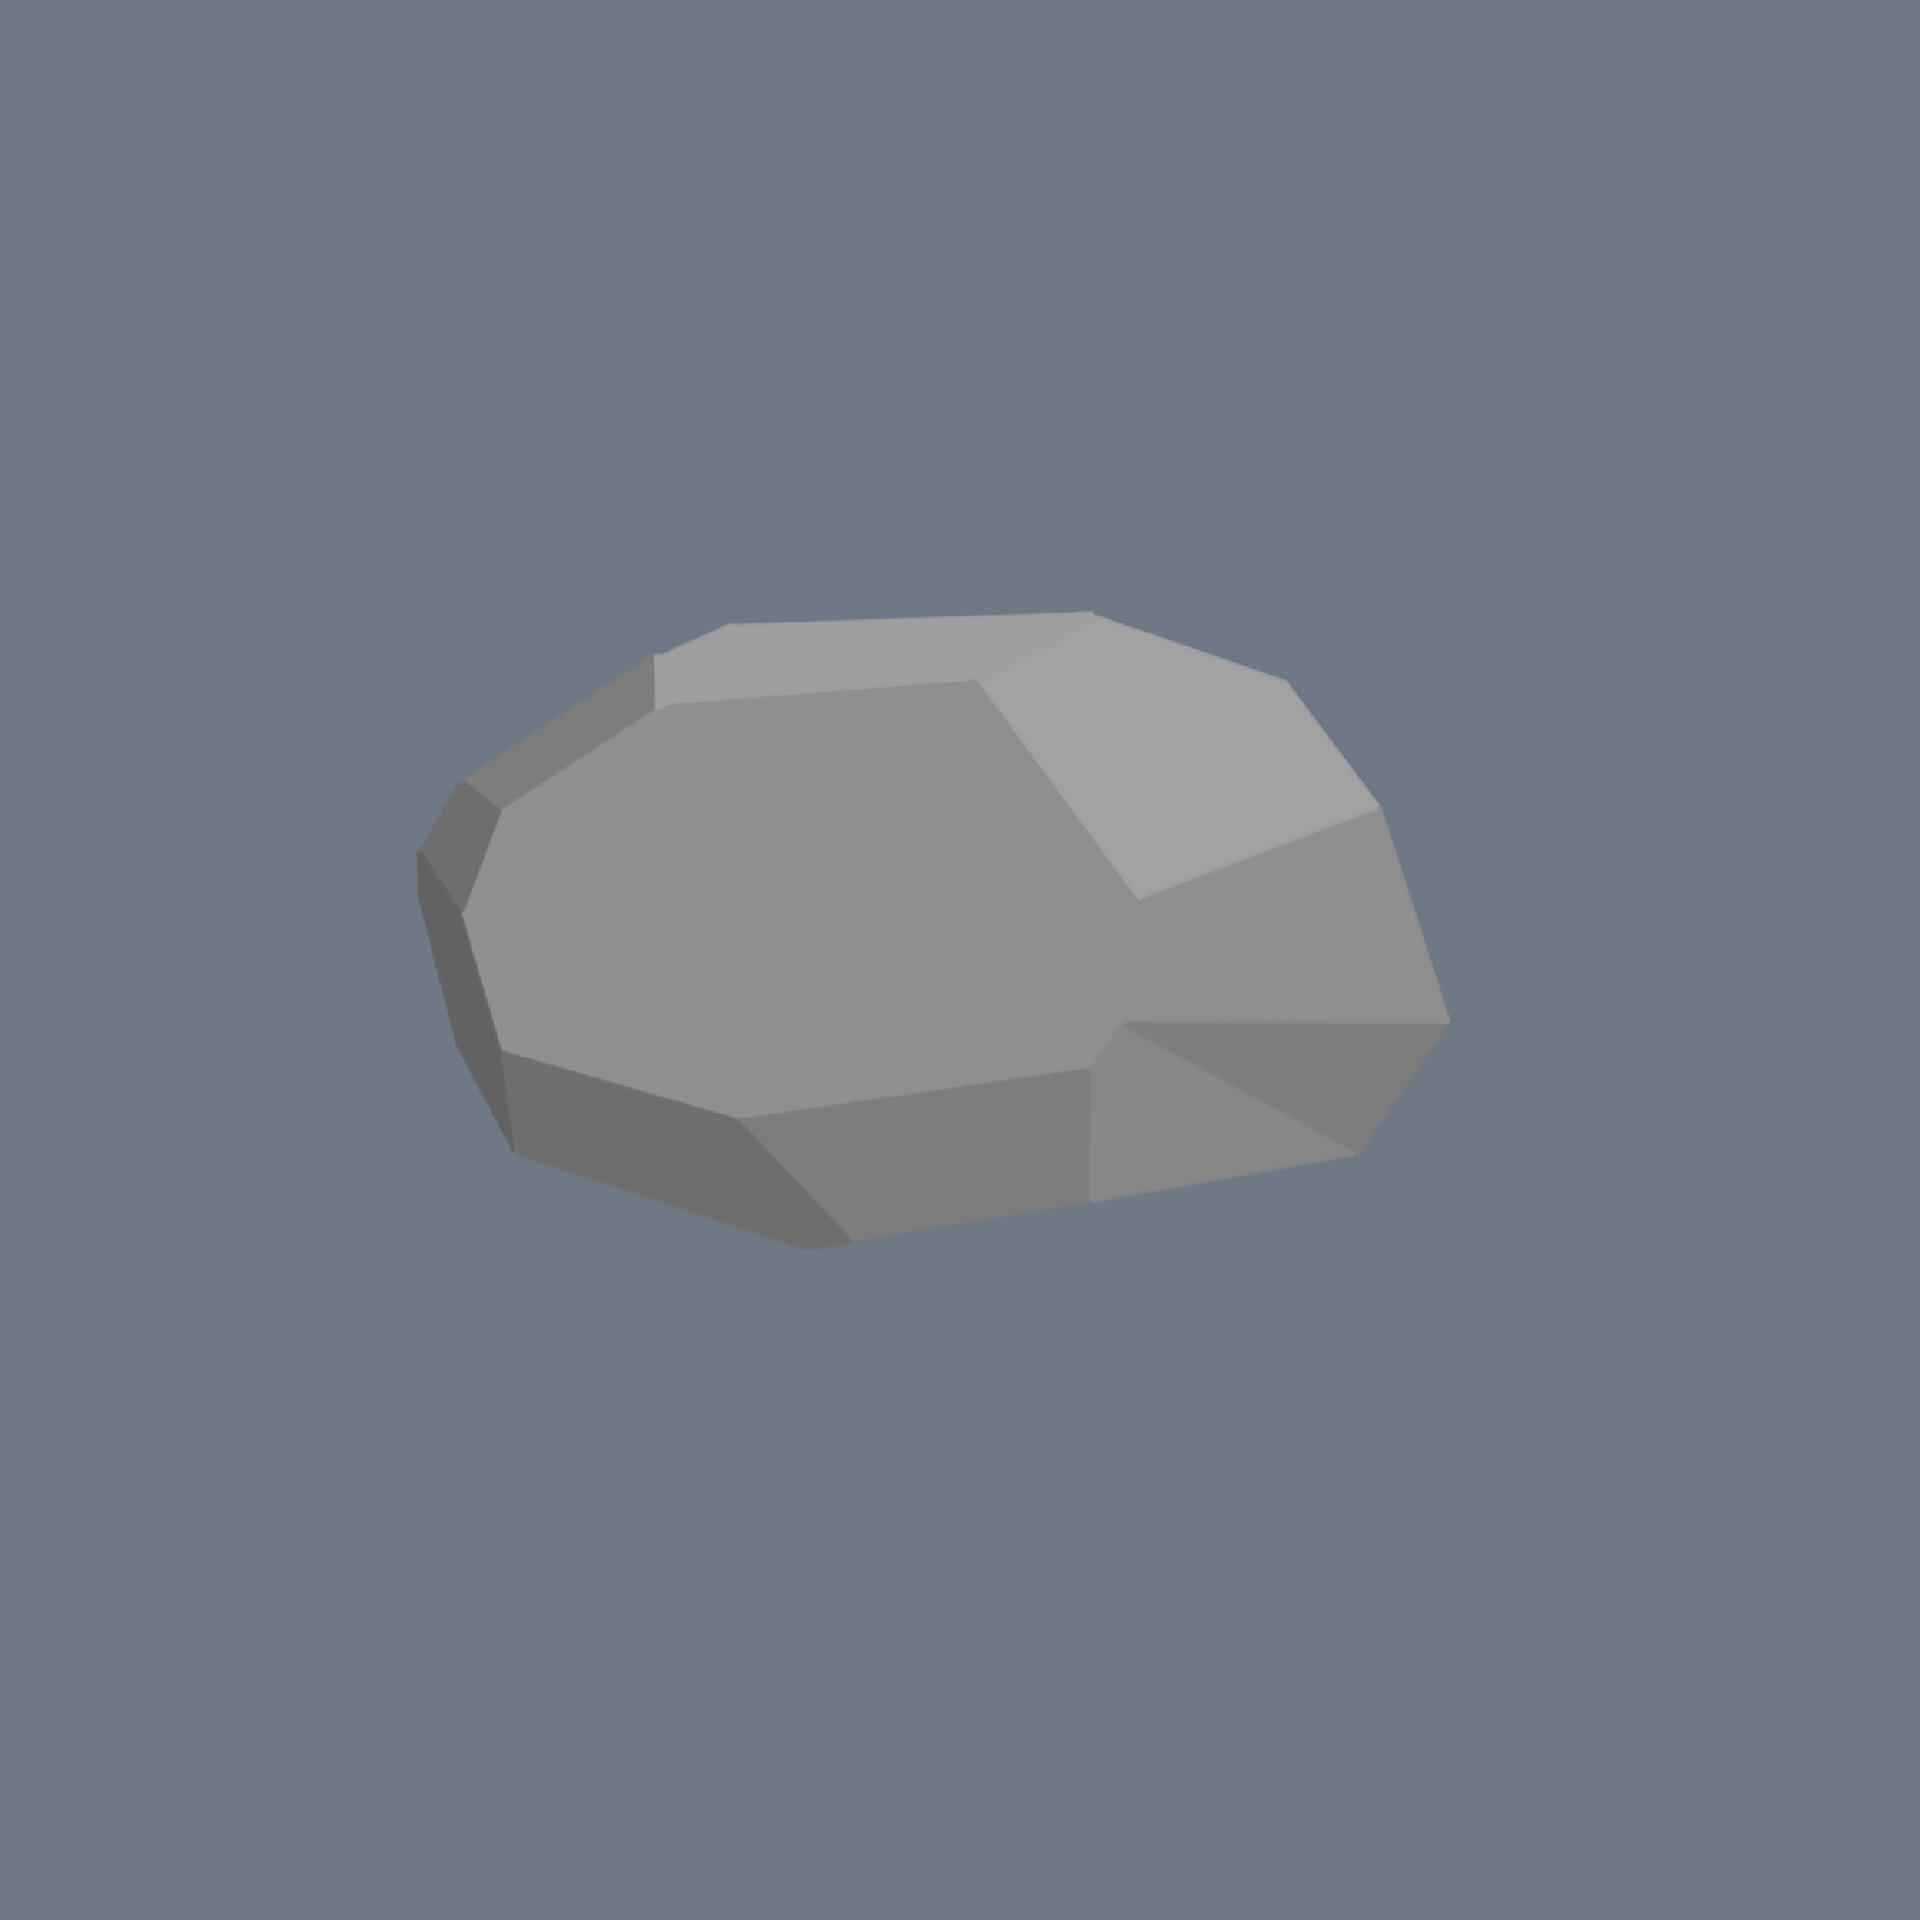
I then redesigned the template that was provided in class and created the asset sheets for each of these.

More to come in coming weeks :)


INT- ROOM 905 18 - 02 - 25
Drones, Drones, Drones!
Drones are little things that fly around and we are going to create some in order to traverse our biodomes.
The class workshop today was primarily researching into different drones and breaking them down with the intention of modelling them for Thursday.
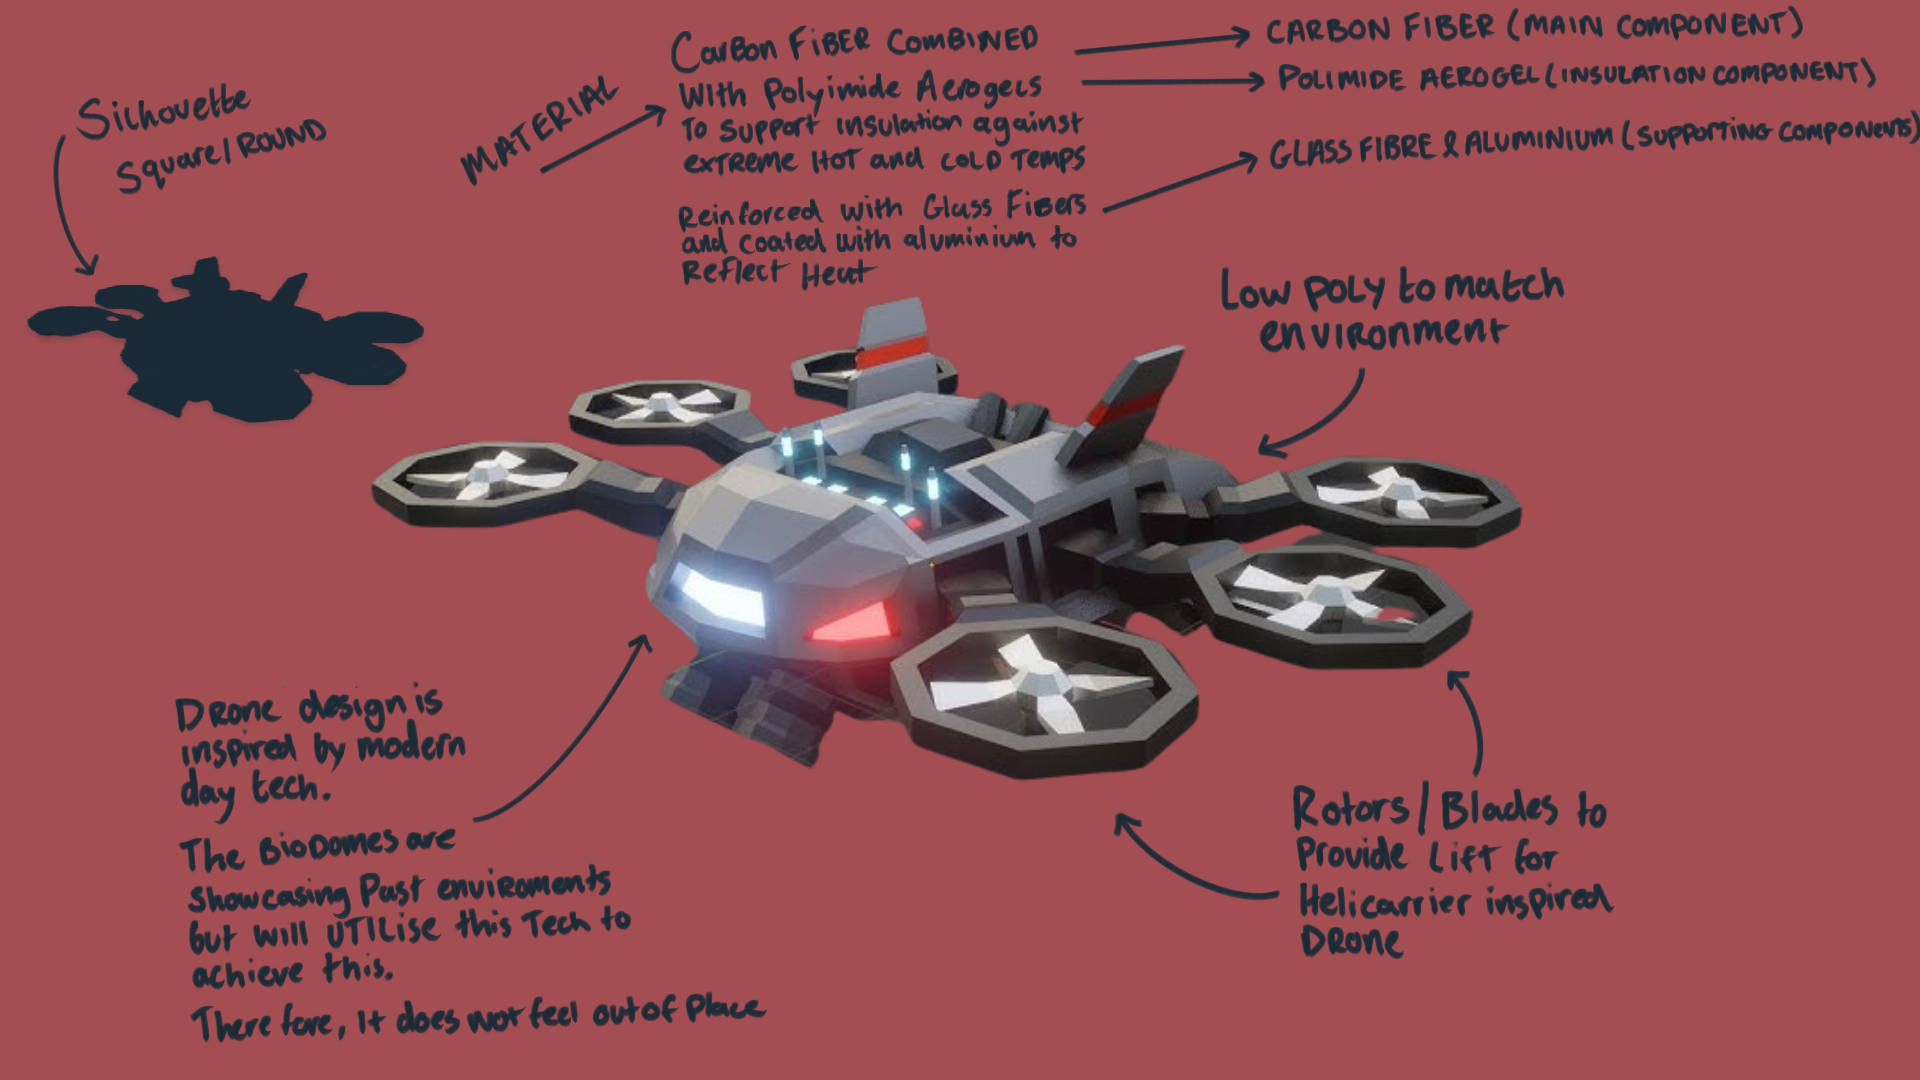
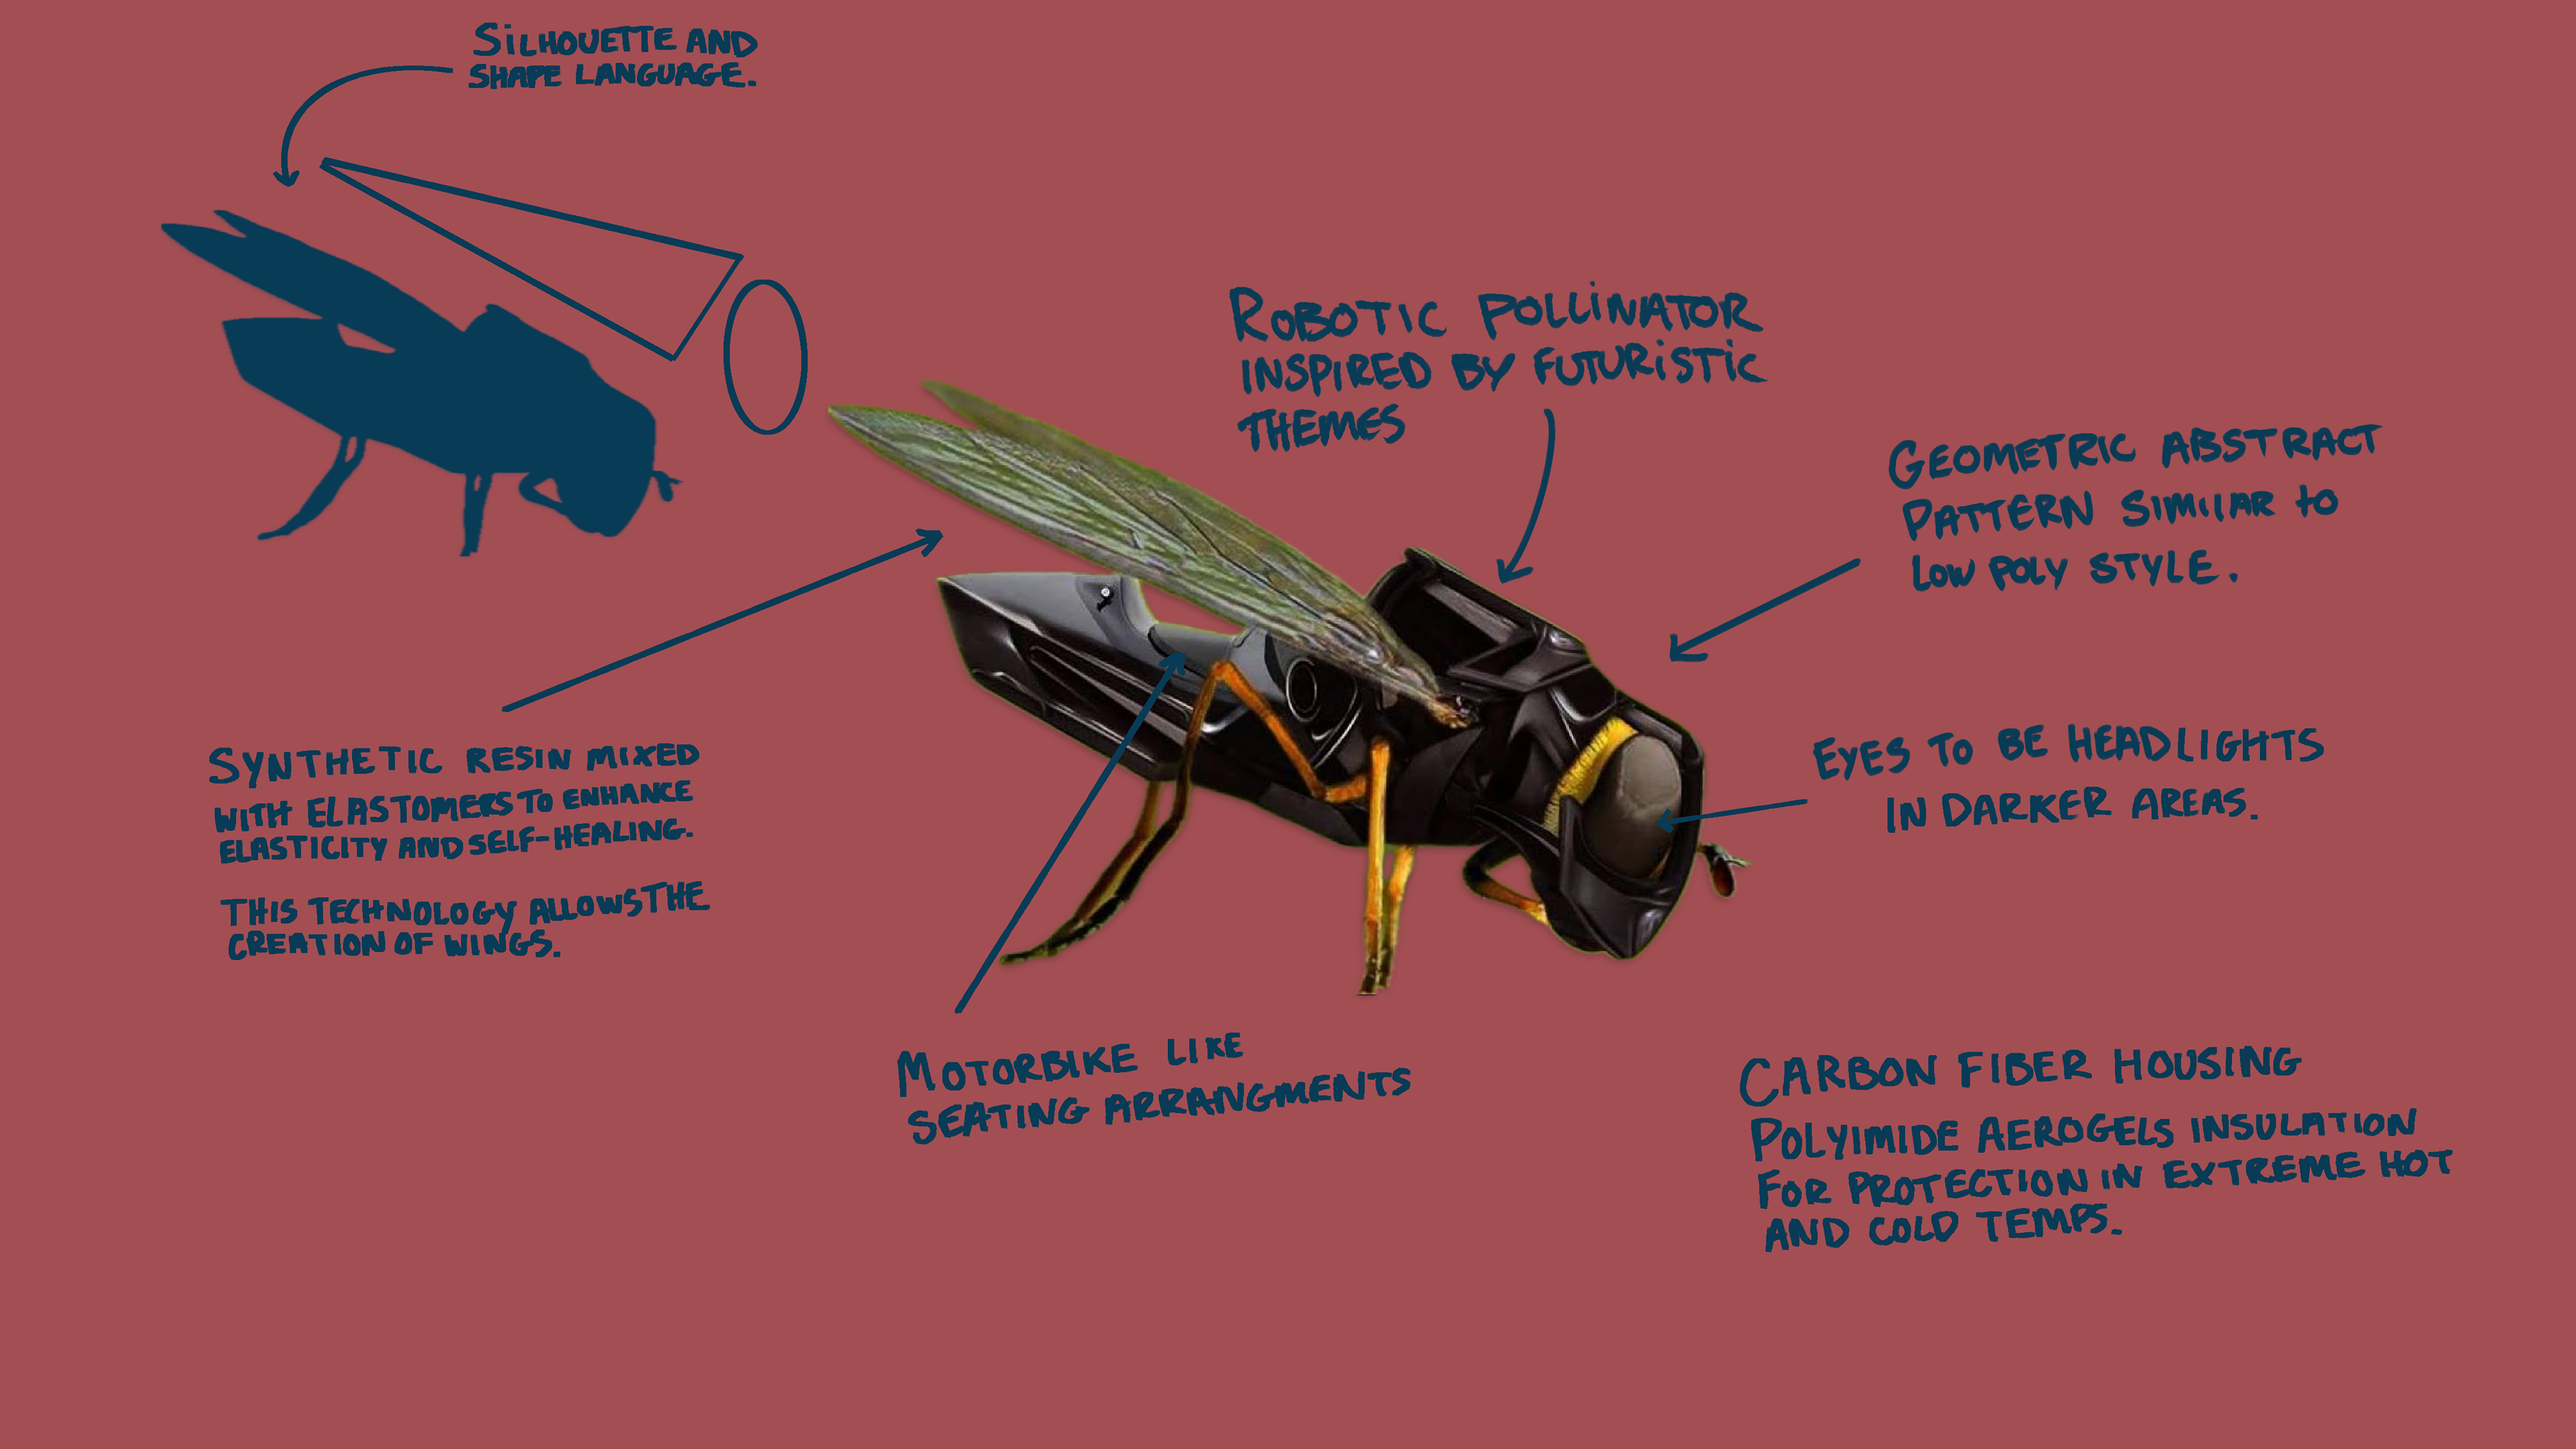
These are the two drones I came up with, I think they both fit well into my environment. I would like to explore more and see if there is other design options.
I'm going to play around further in Maya / Blender as well to see how easy it would be to create these designs.
This week I also completed my asset sheets ready for formative week.


INT- ROOM 905 04 - 03 - 25
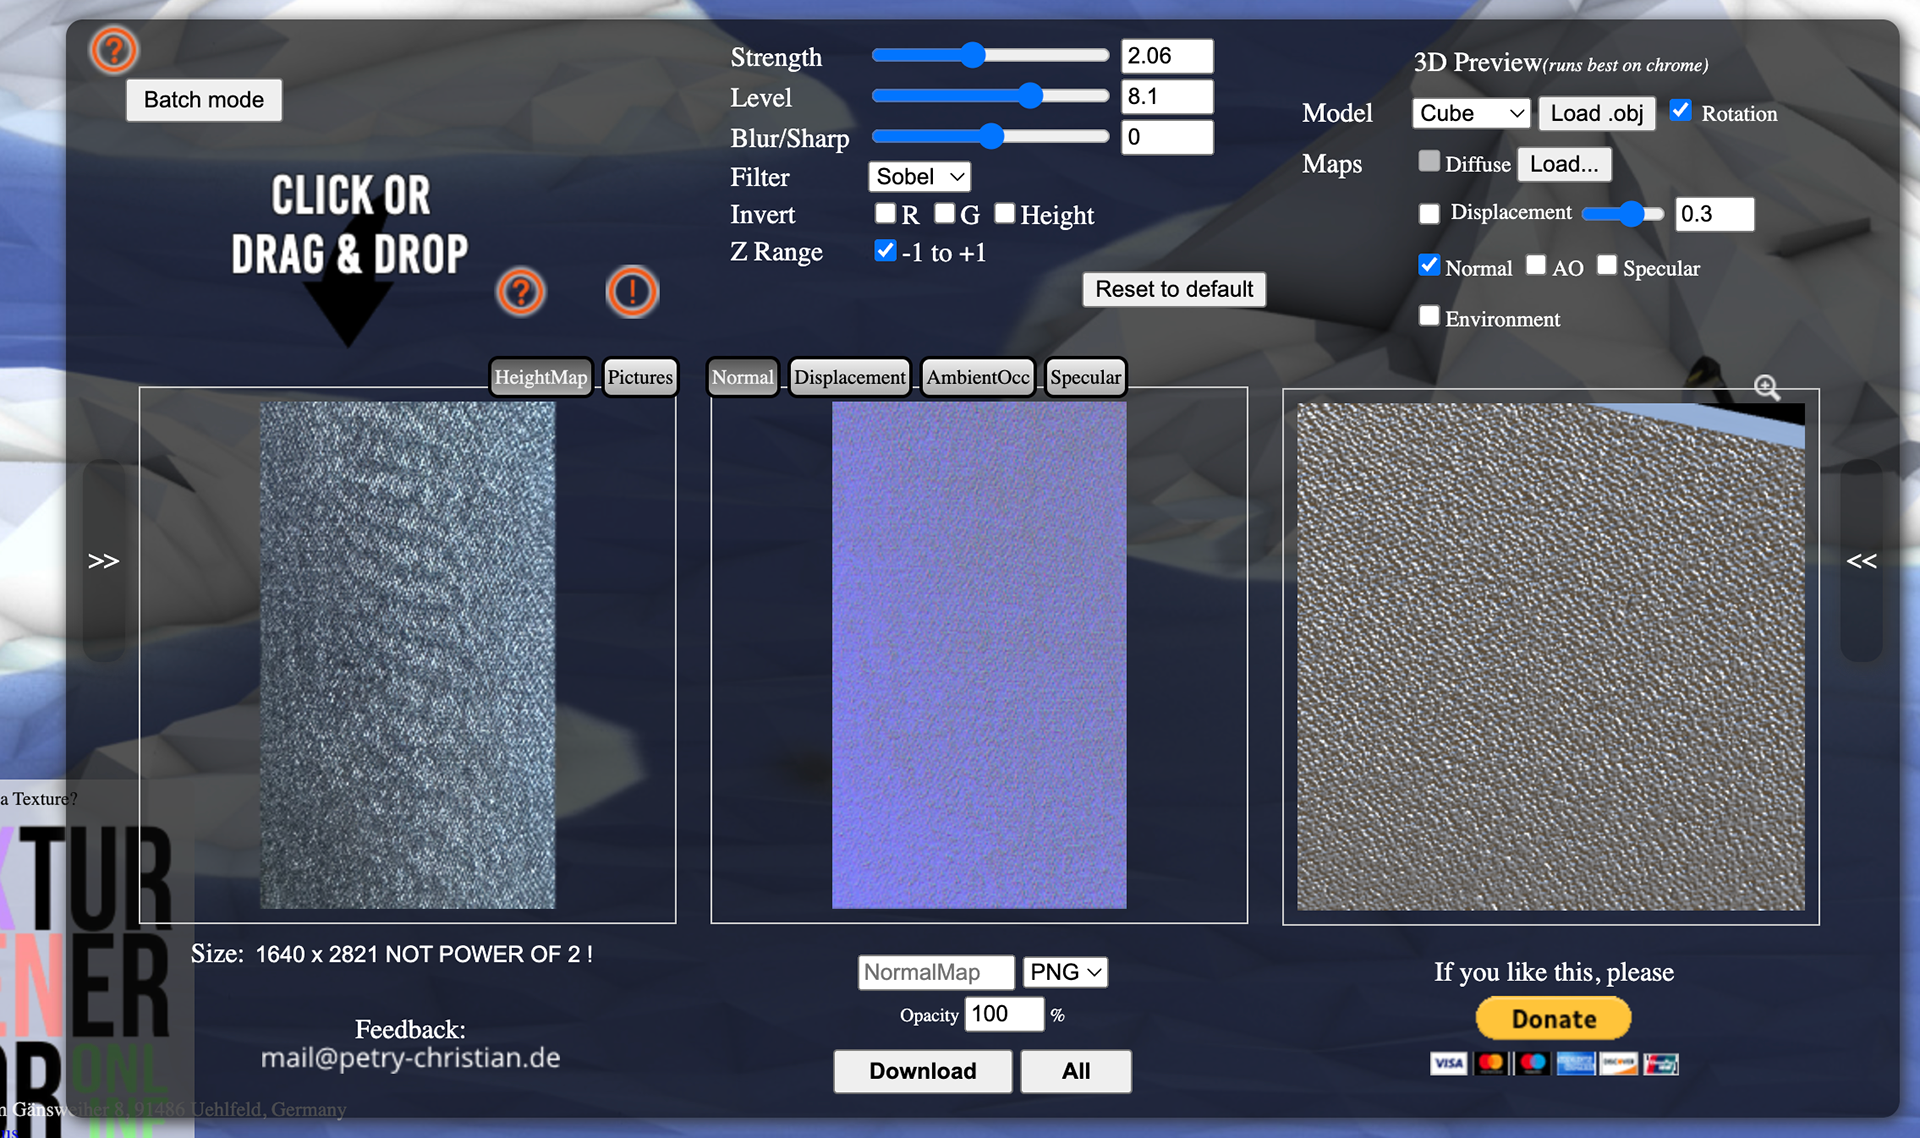
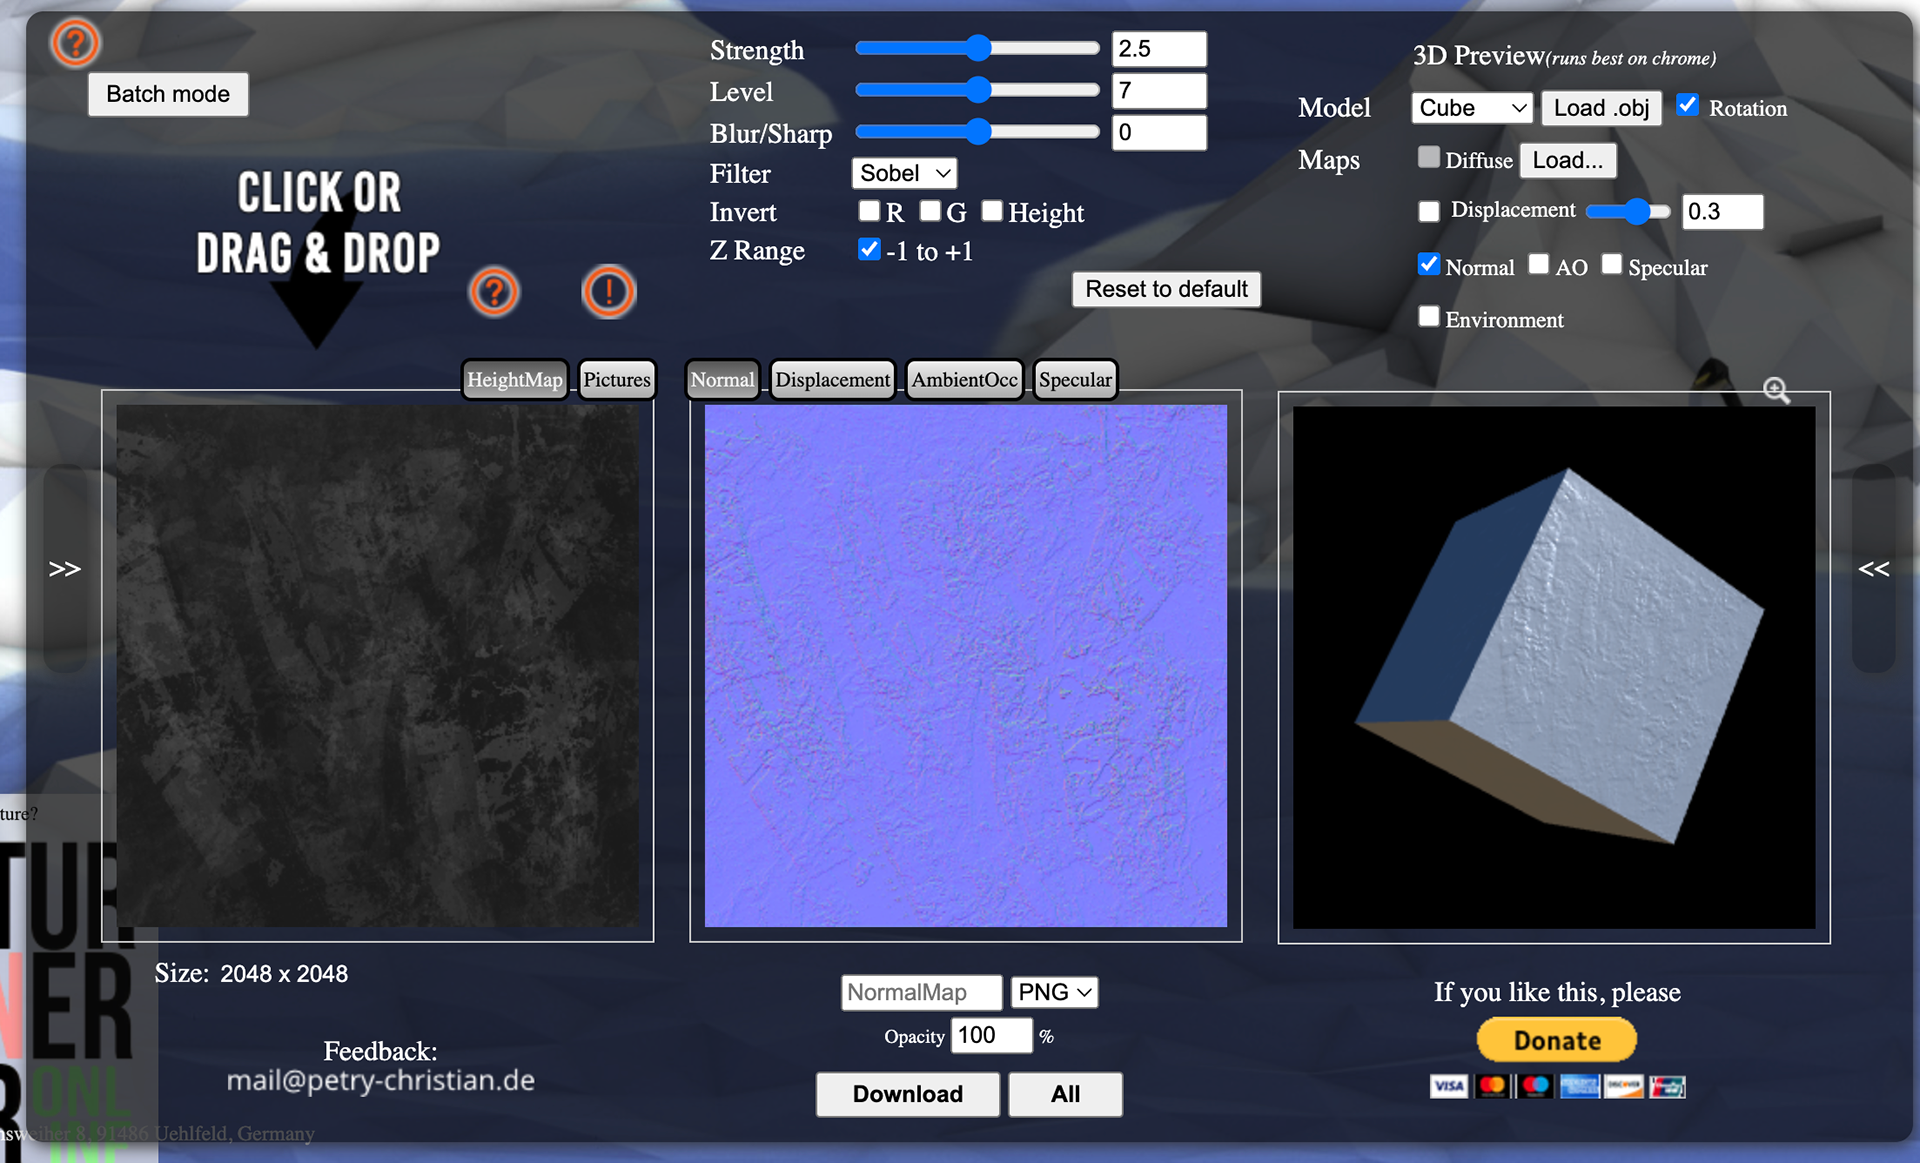
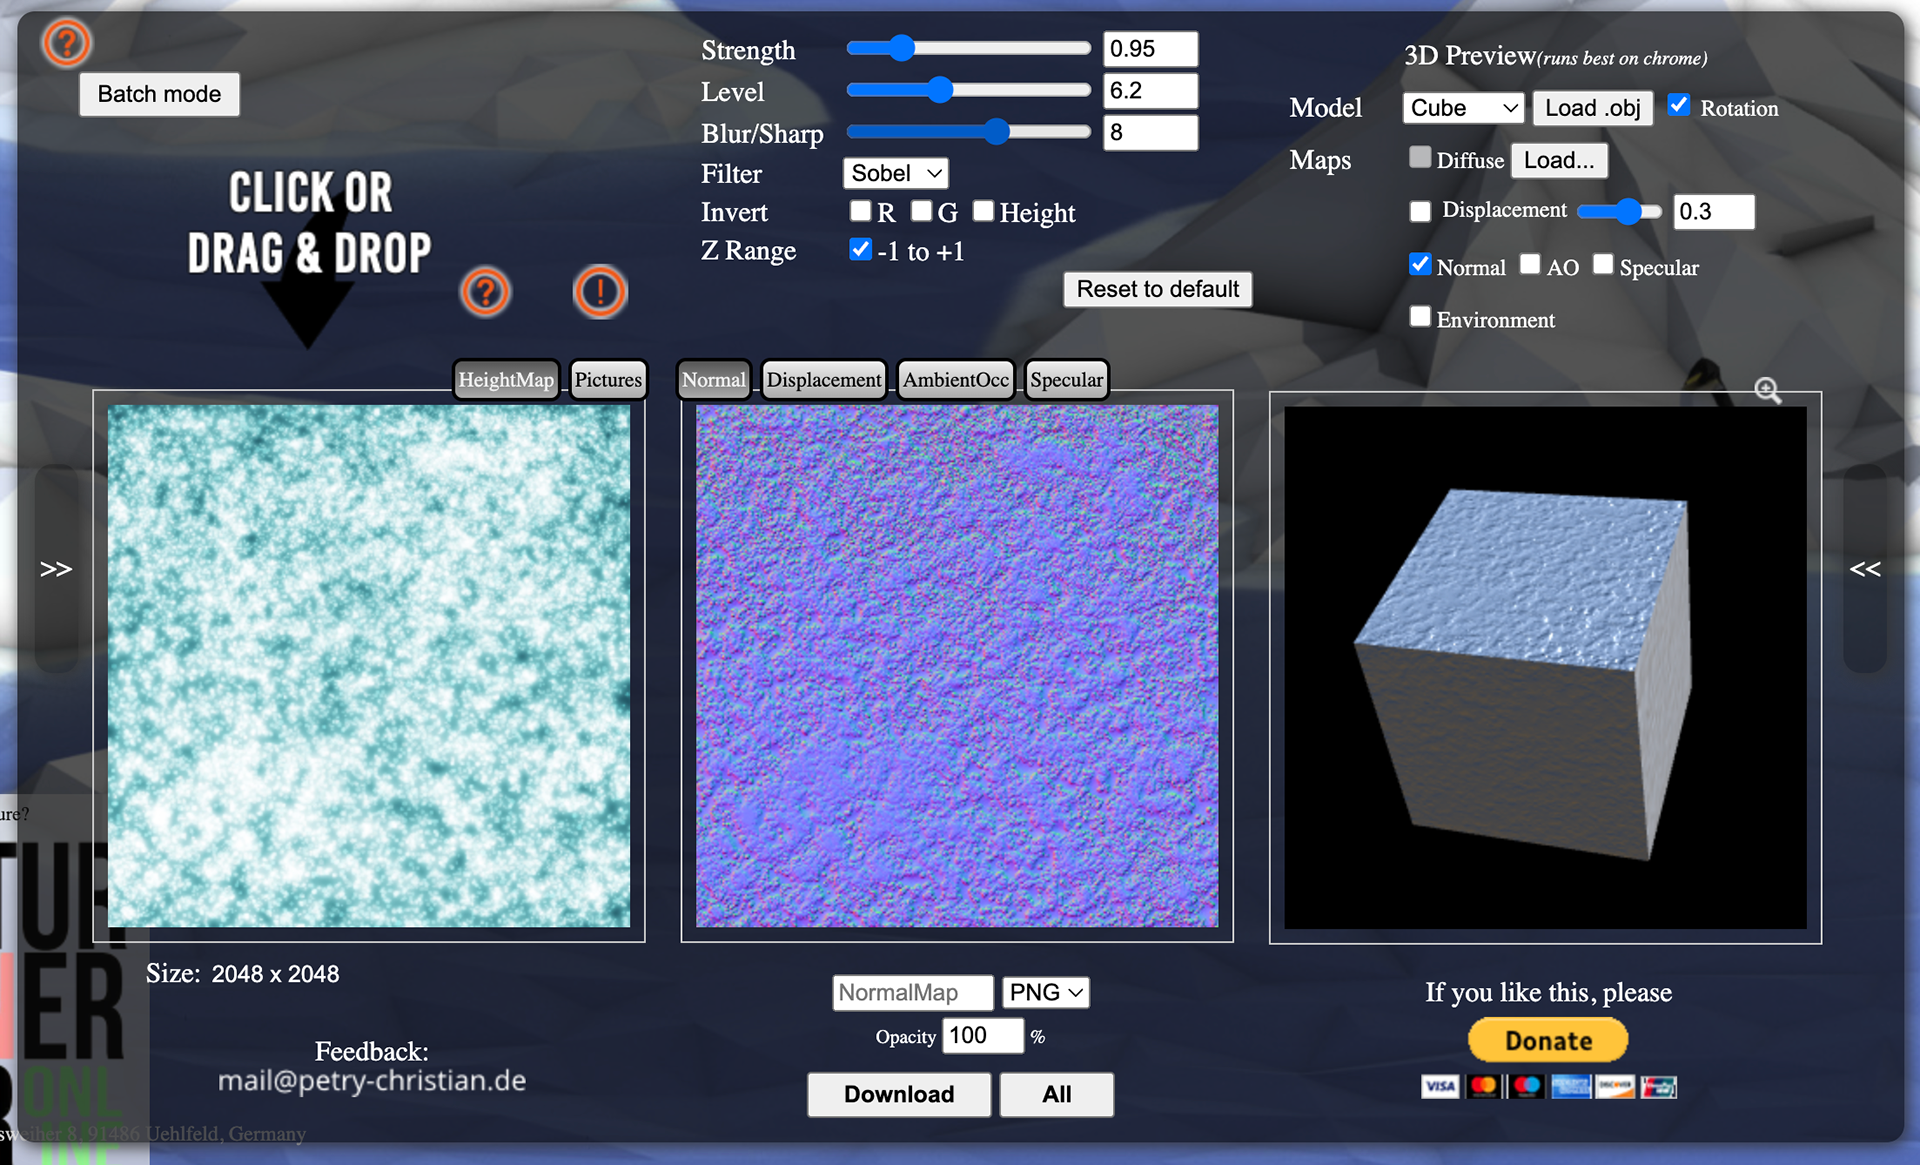
Today was all about texturing and applying Normal Maps!
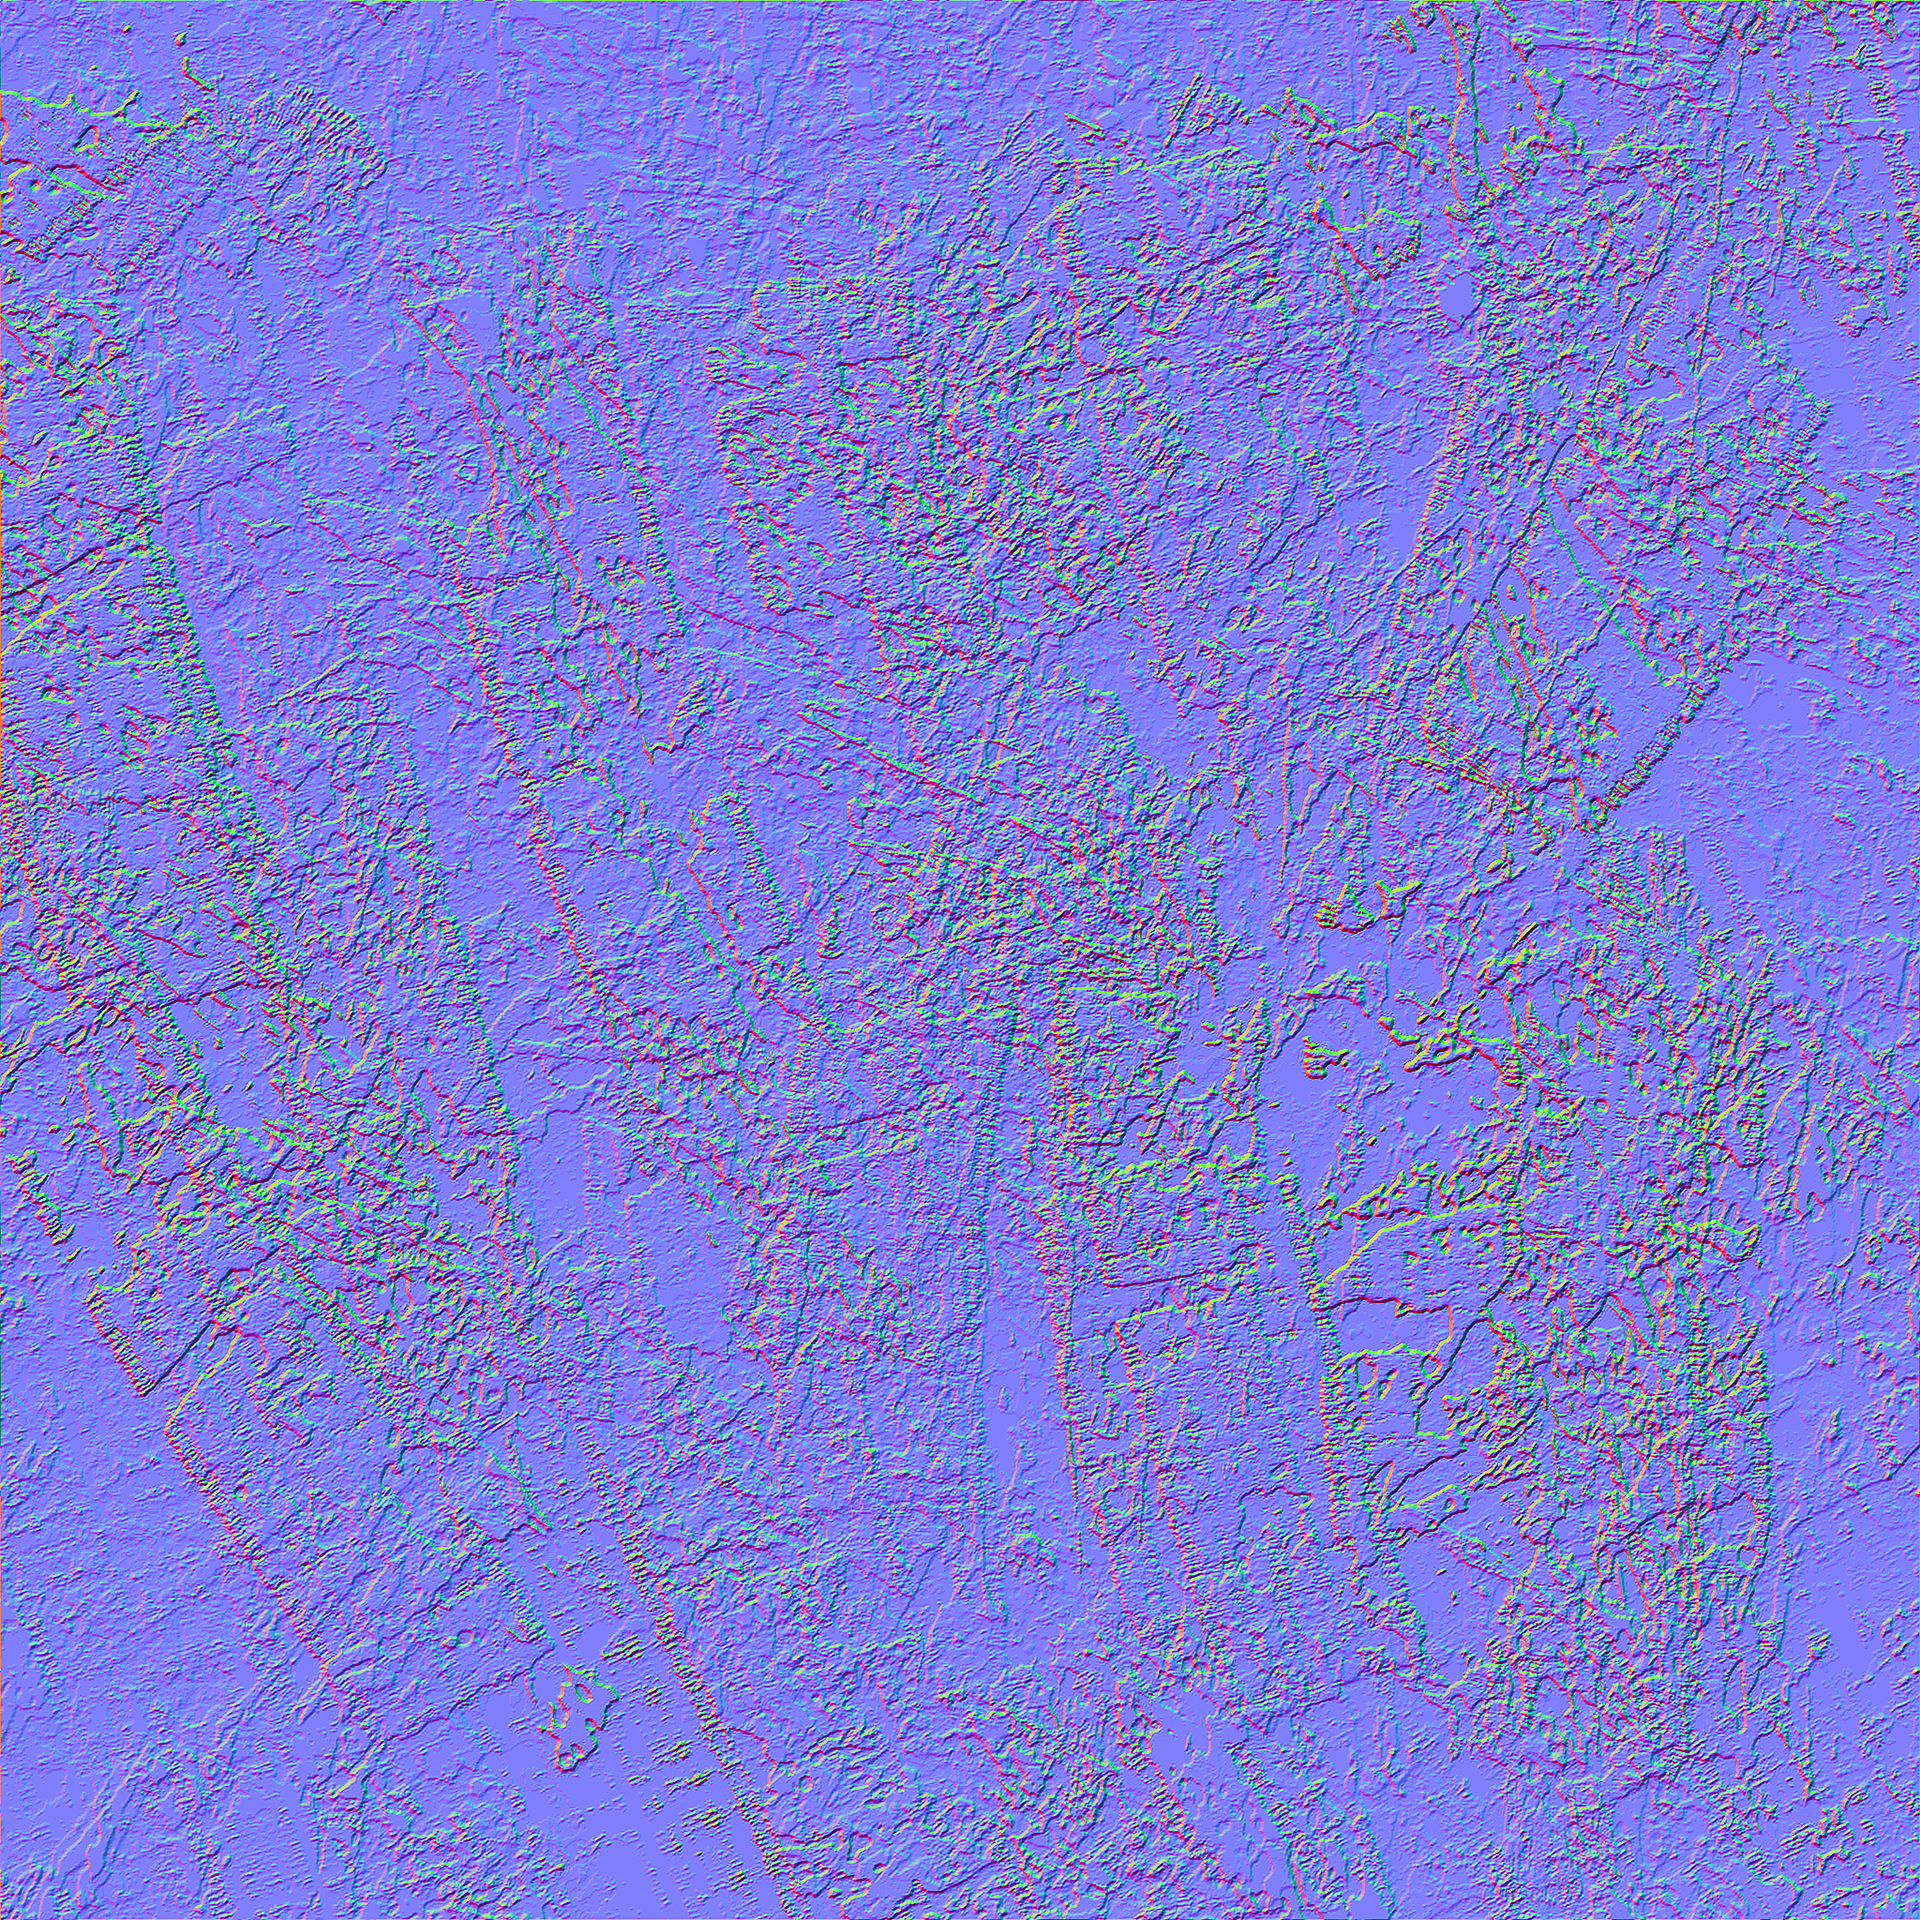
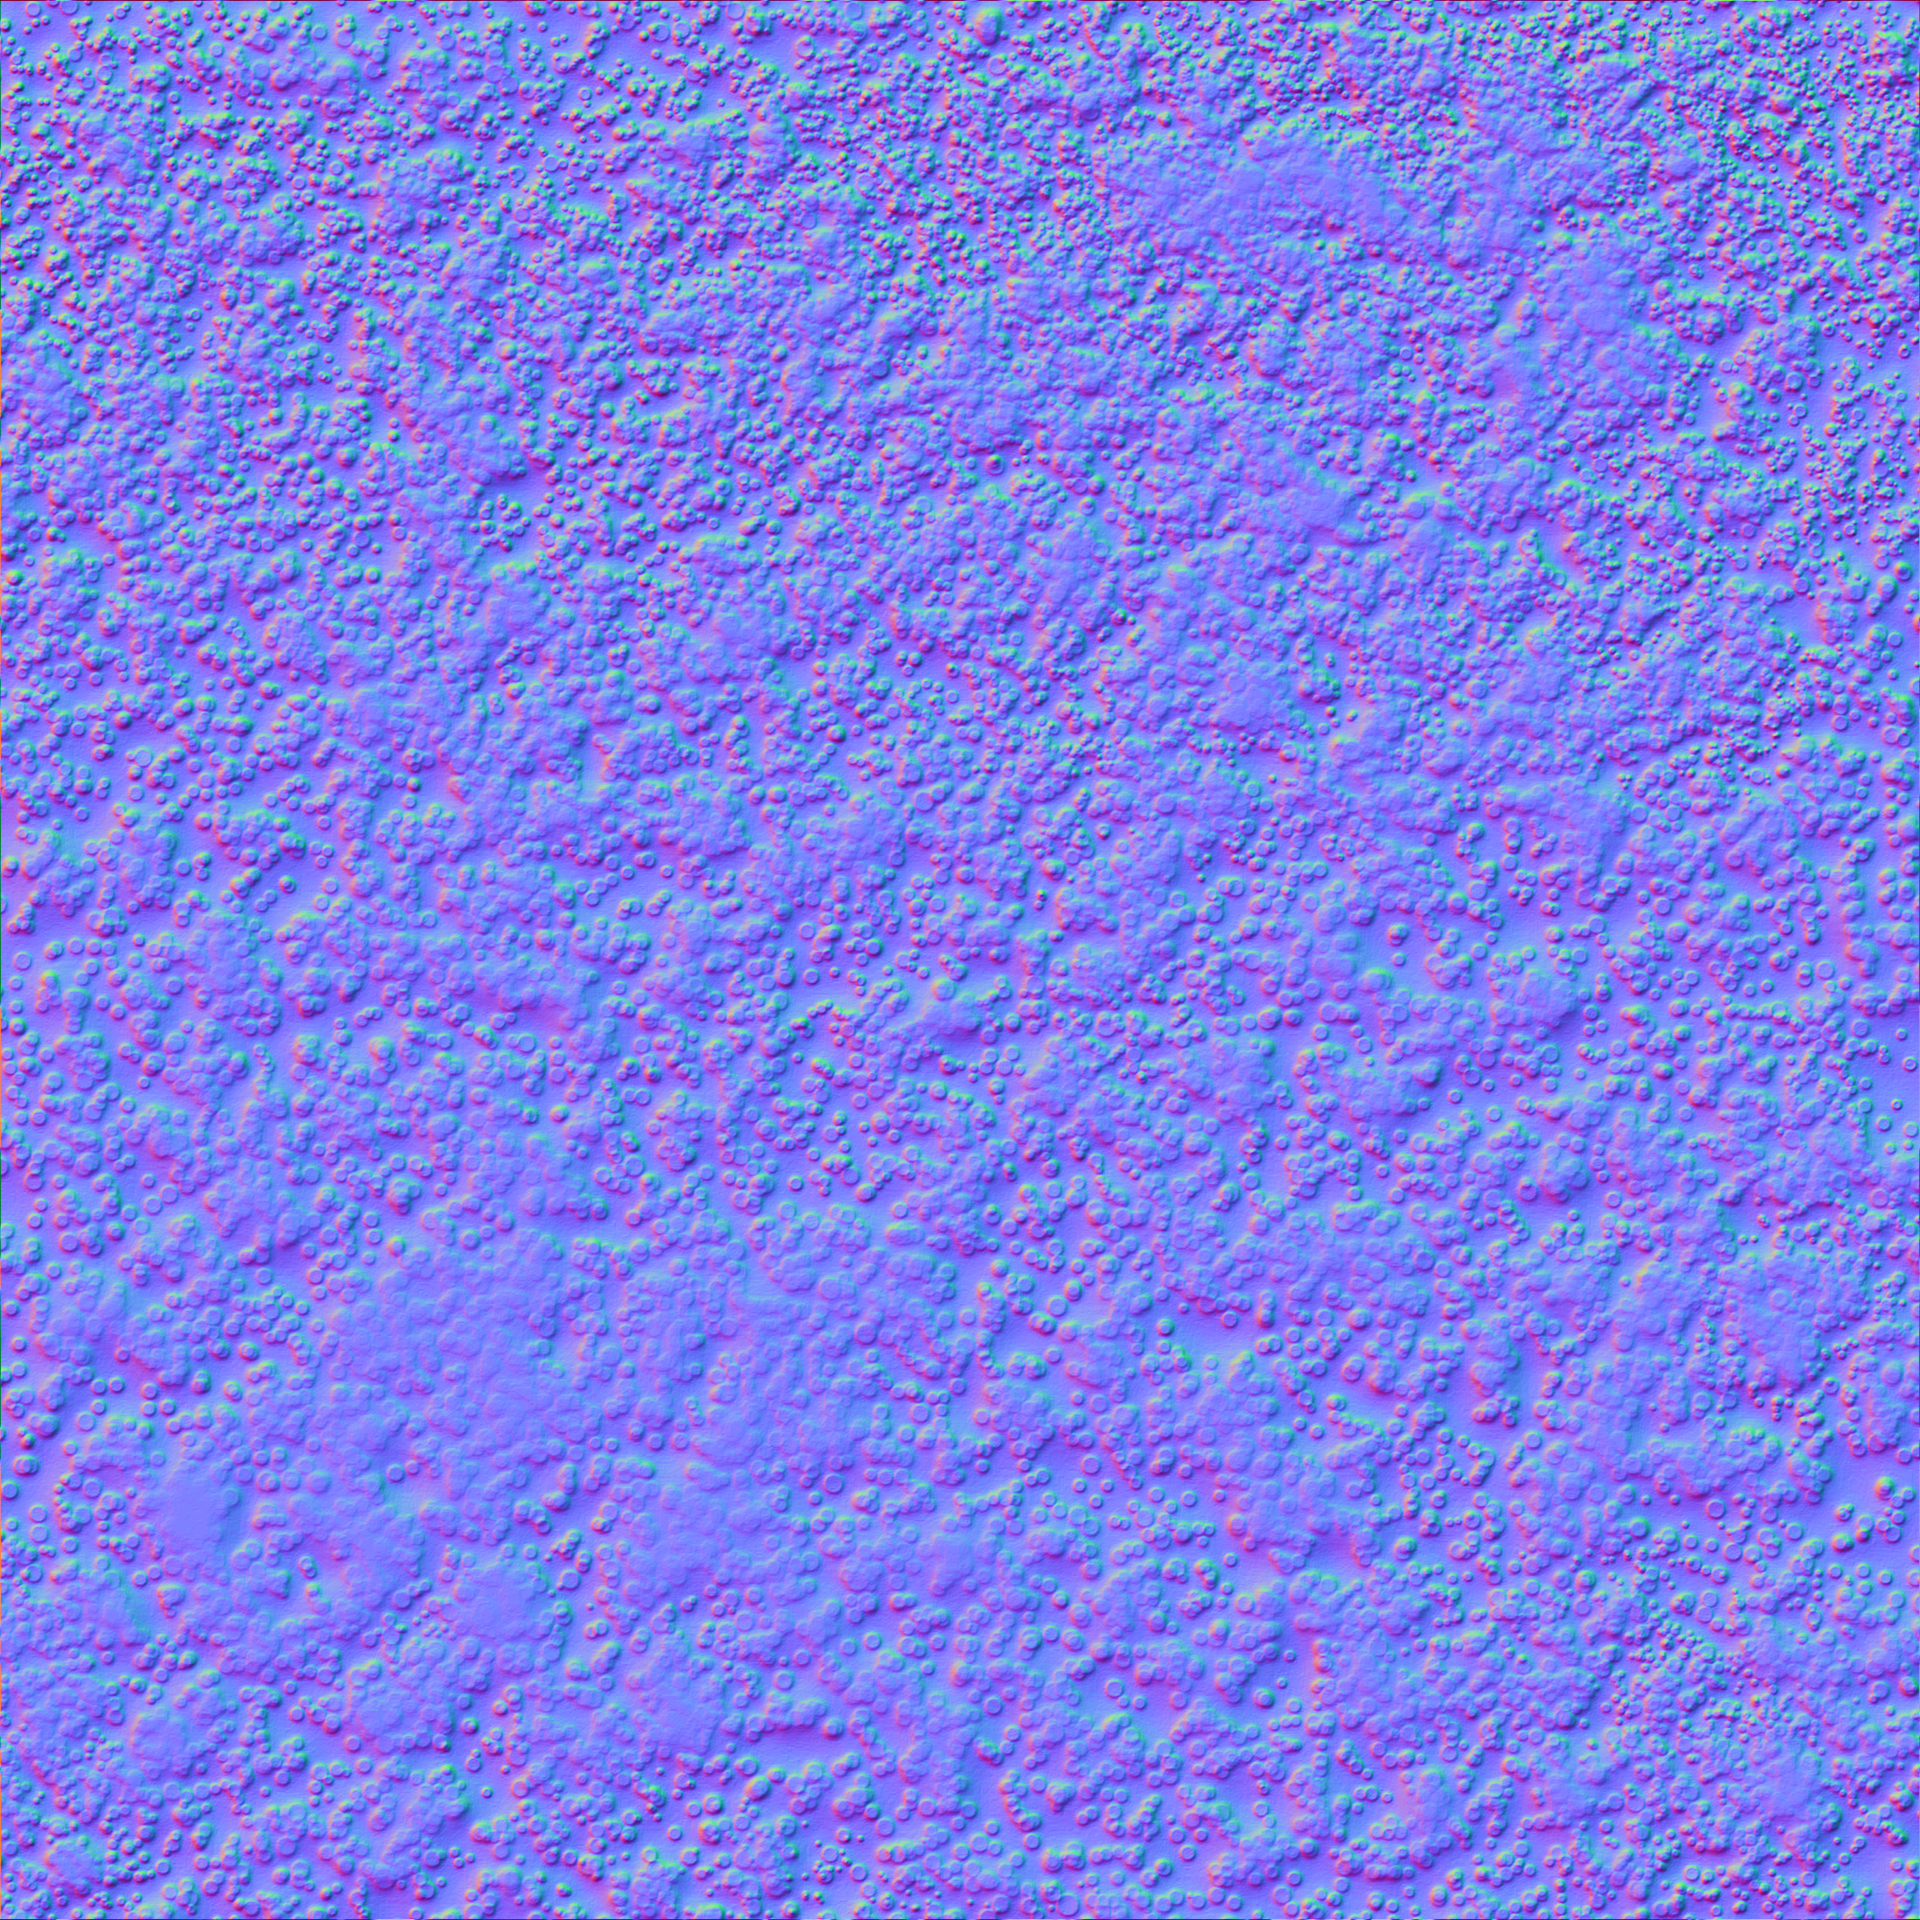
Like it says on the tin, today we created some of our own textures and converted them into Normal Maps!
Like it says on the tin, today we created some of our own textures and converted them into Normal Maps!
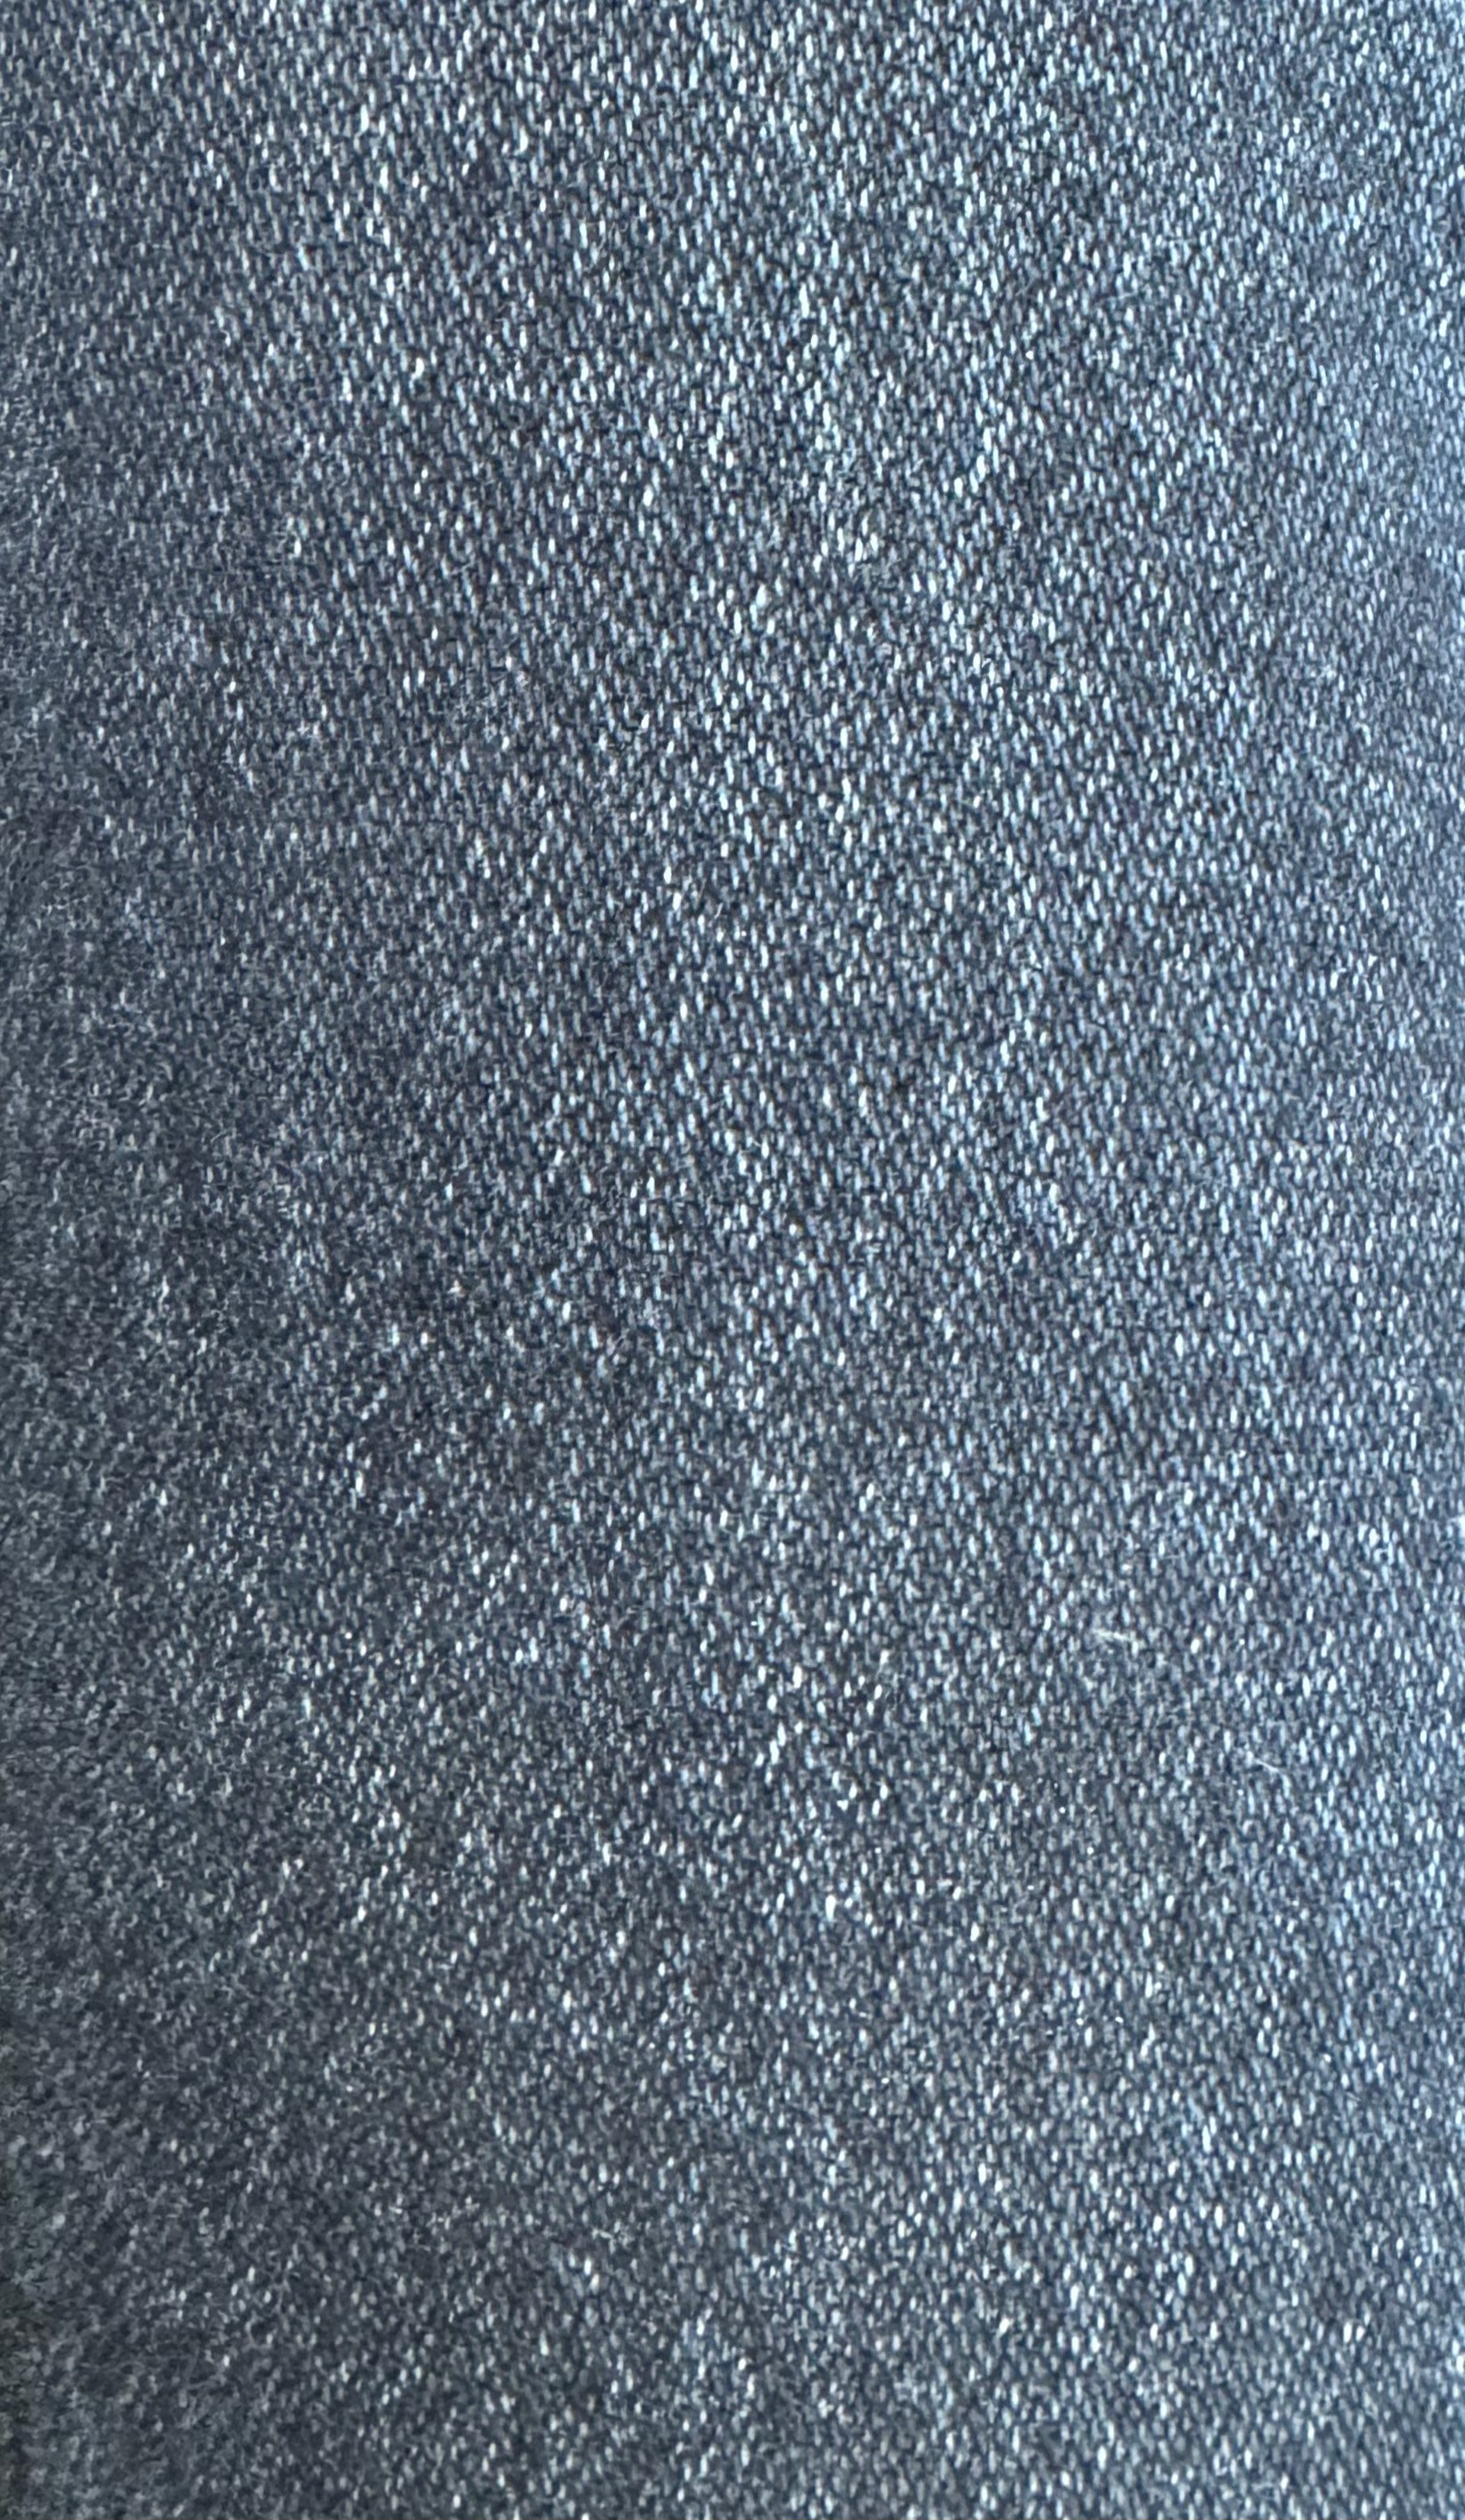

We were being taught initially to use photoshop to create our normal maps but unfortunately photoshop stopped supporting this and even if we used an older version, we kept running into many errors. This process didn't work for me so we moved to an alternative website found online that allowed us to convert our images to normal maps.

We then started to go over how to apply these textures in Maya.
Unfortunately my Maya crashed halfway during the process but I did my best to try and document the process and try again.
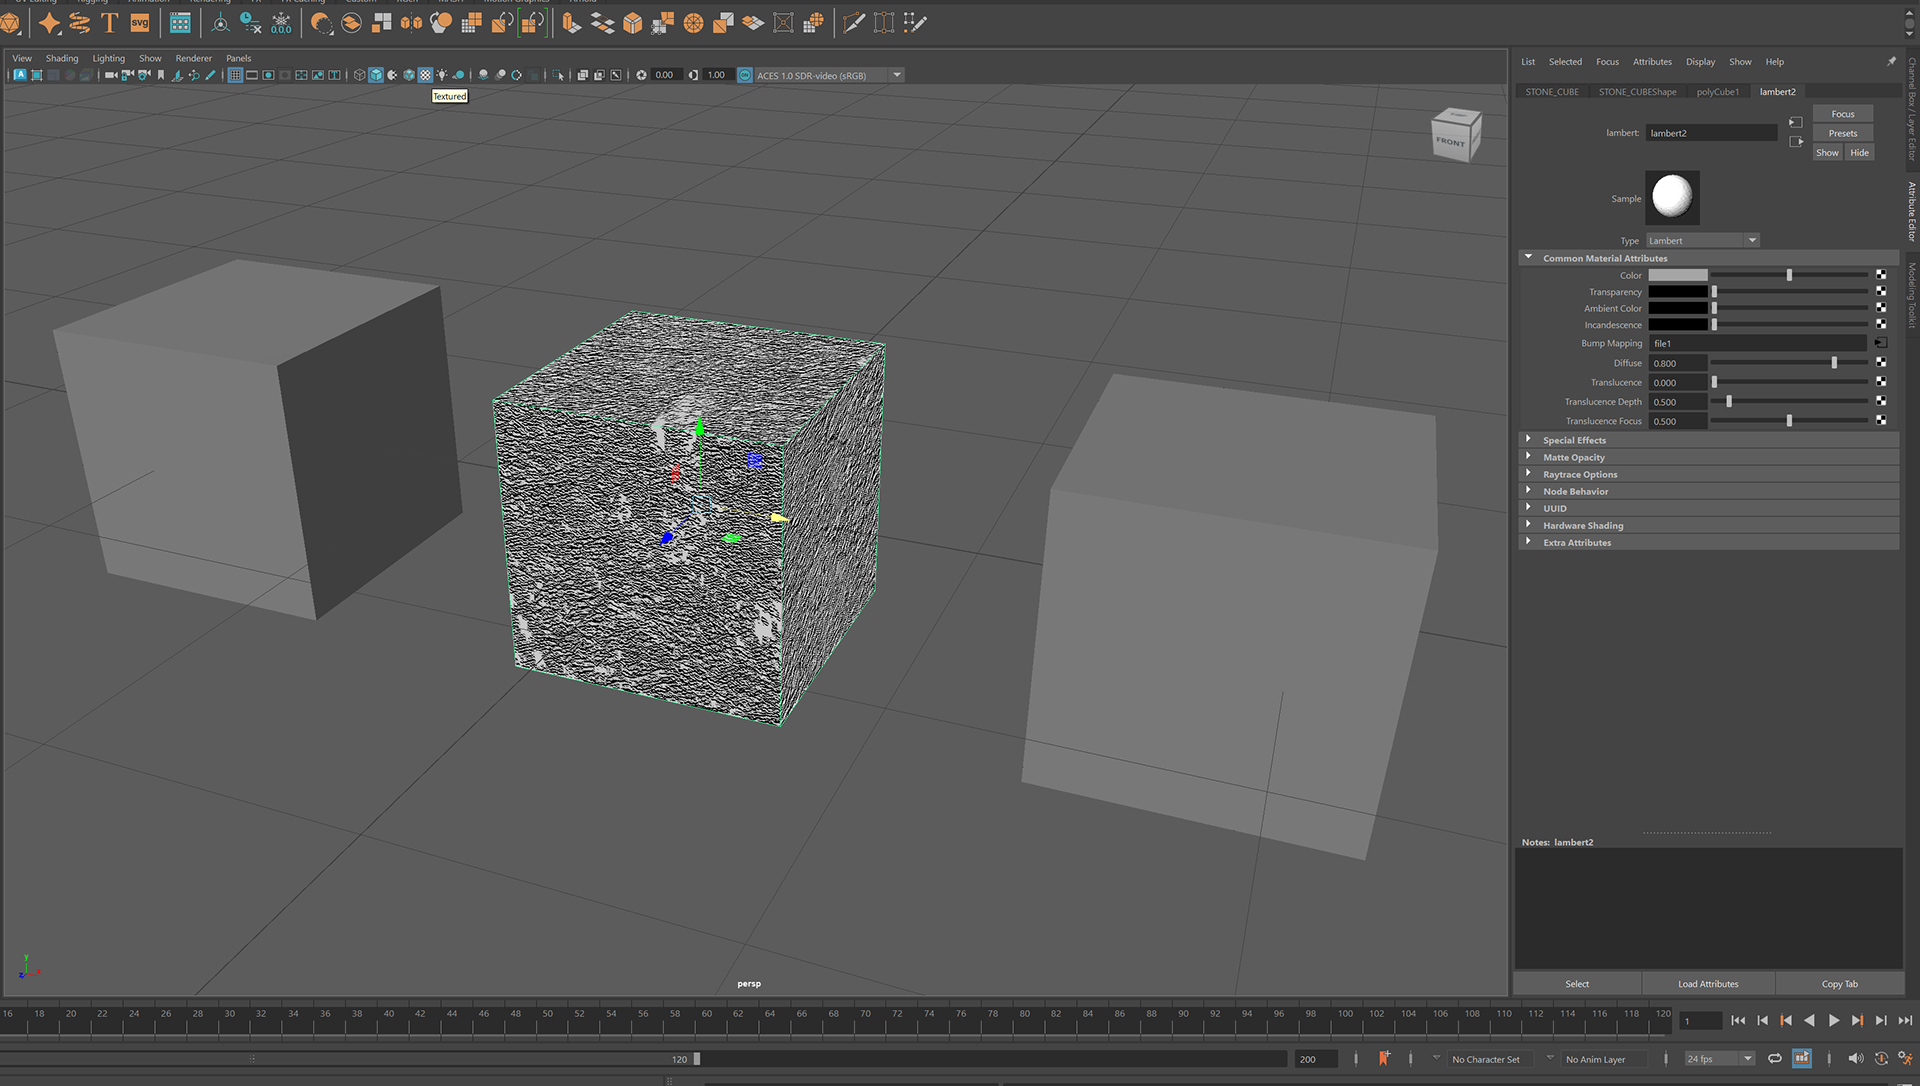
The first method, is applying the texture to a material and displaying it on the desired object, a more simple method.
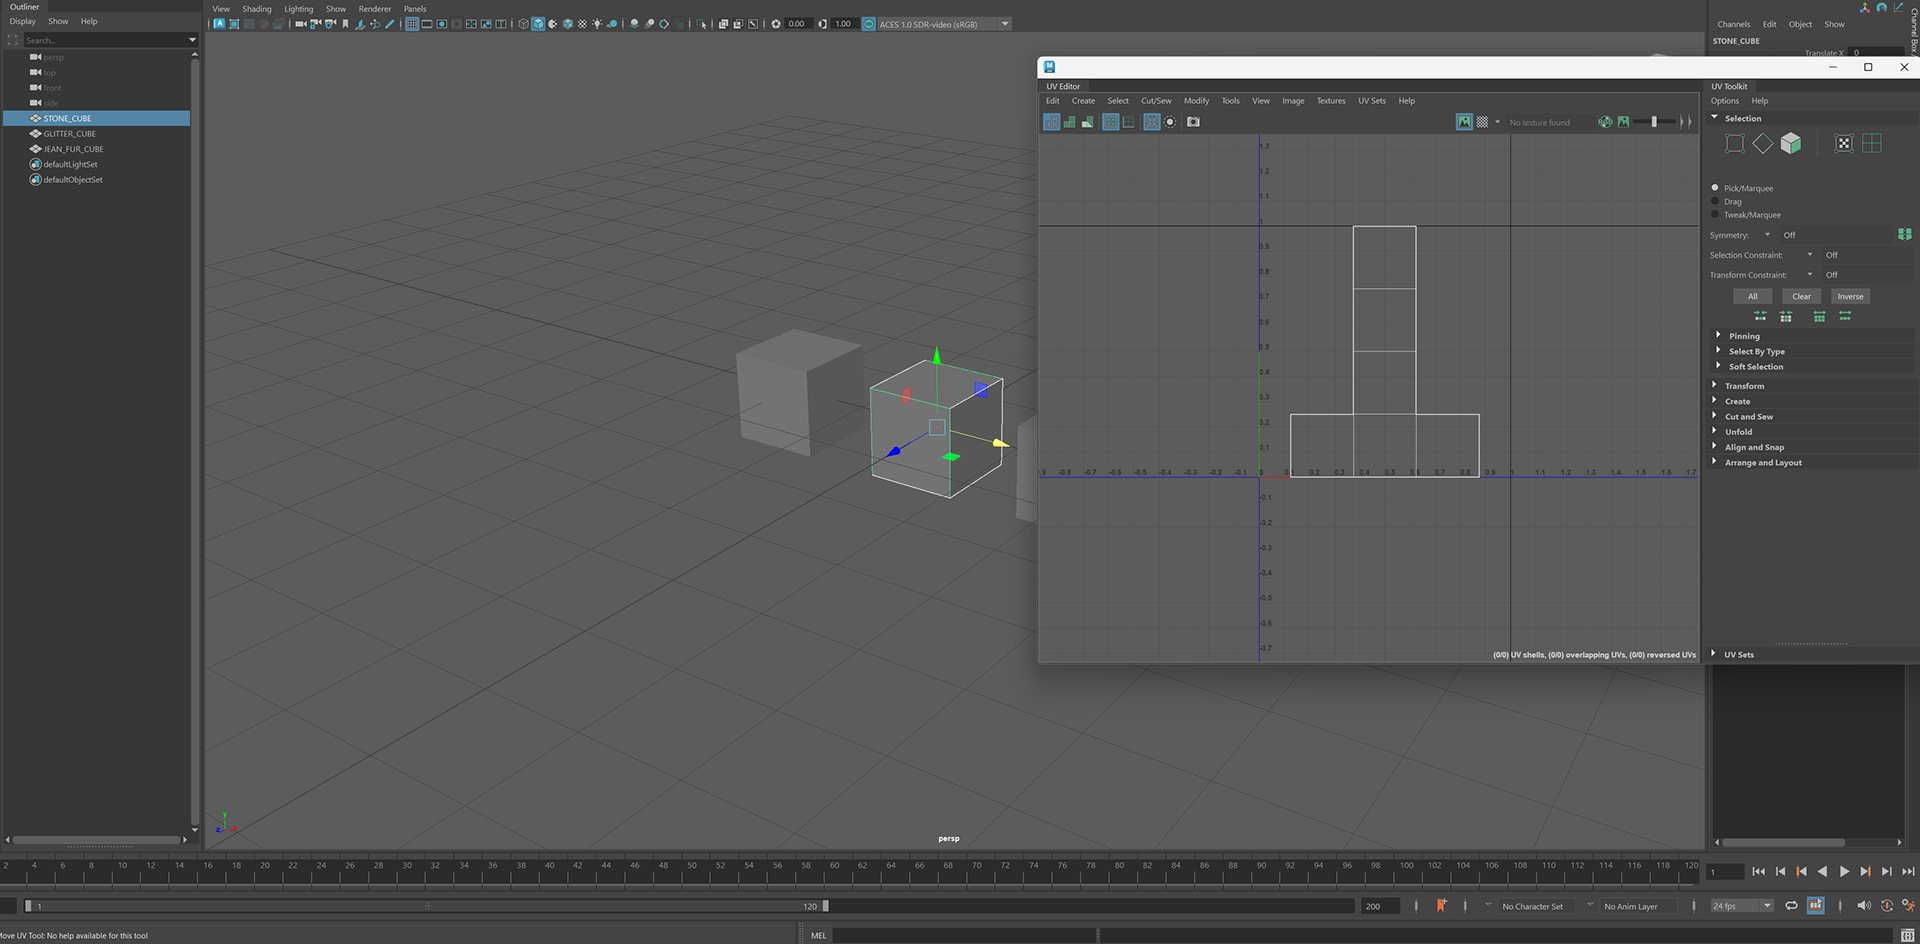
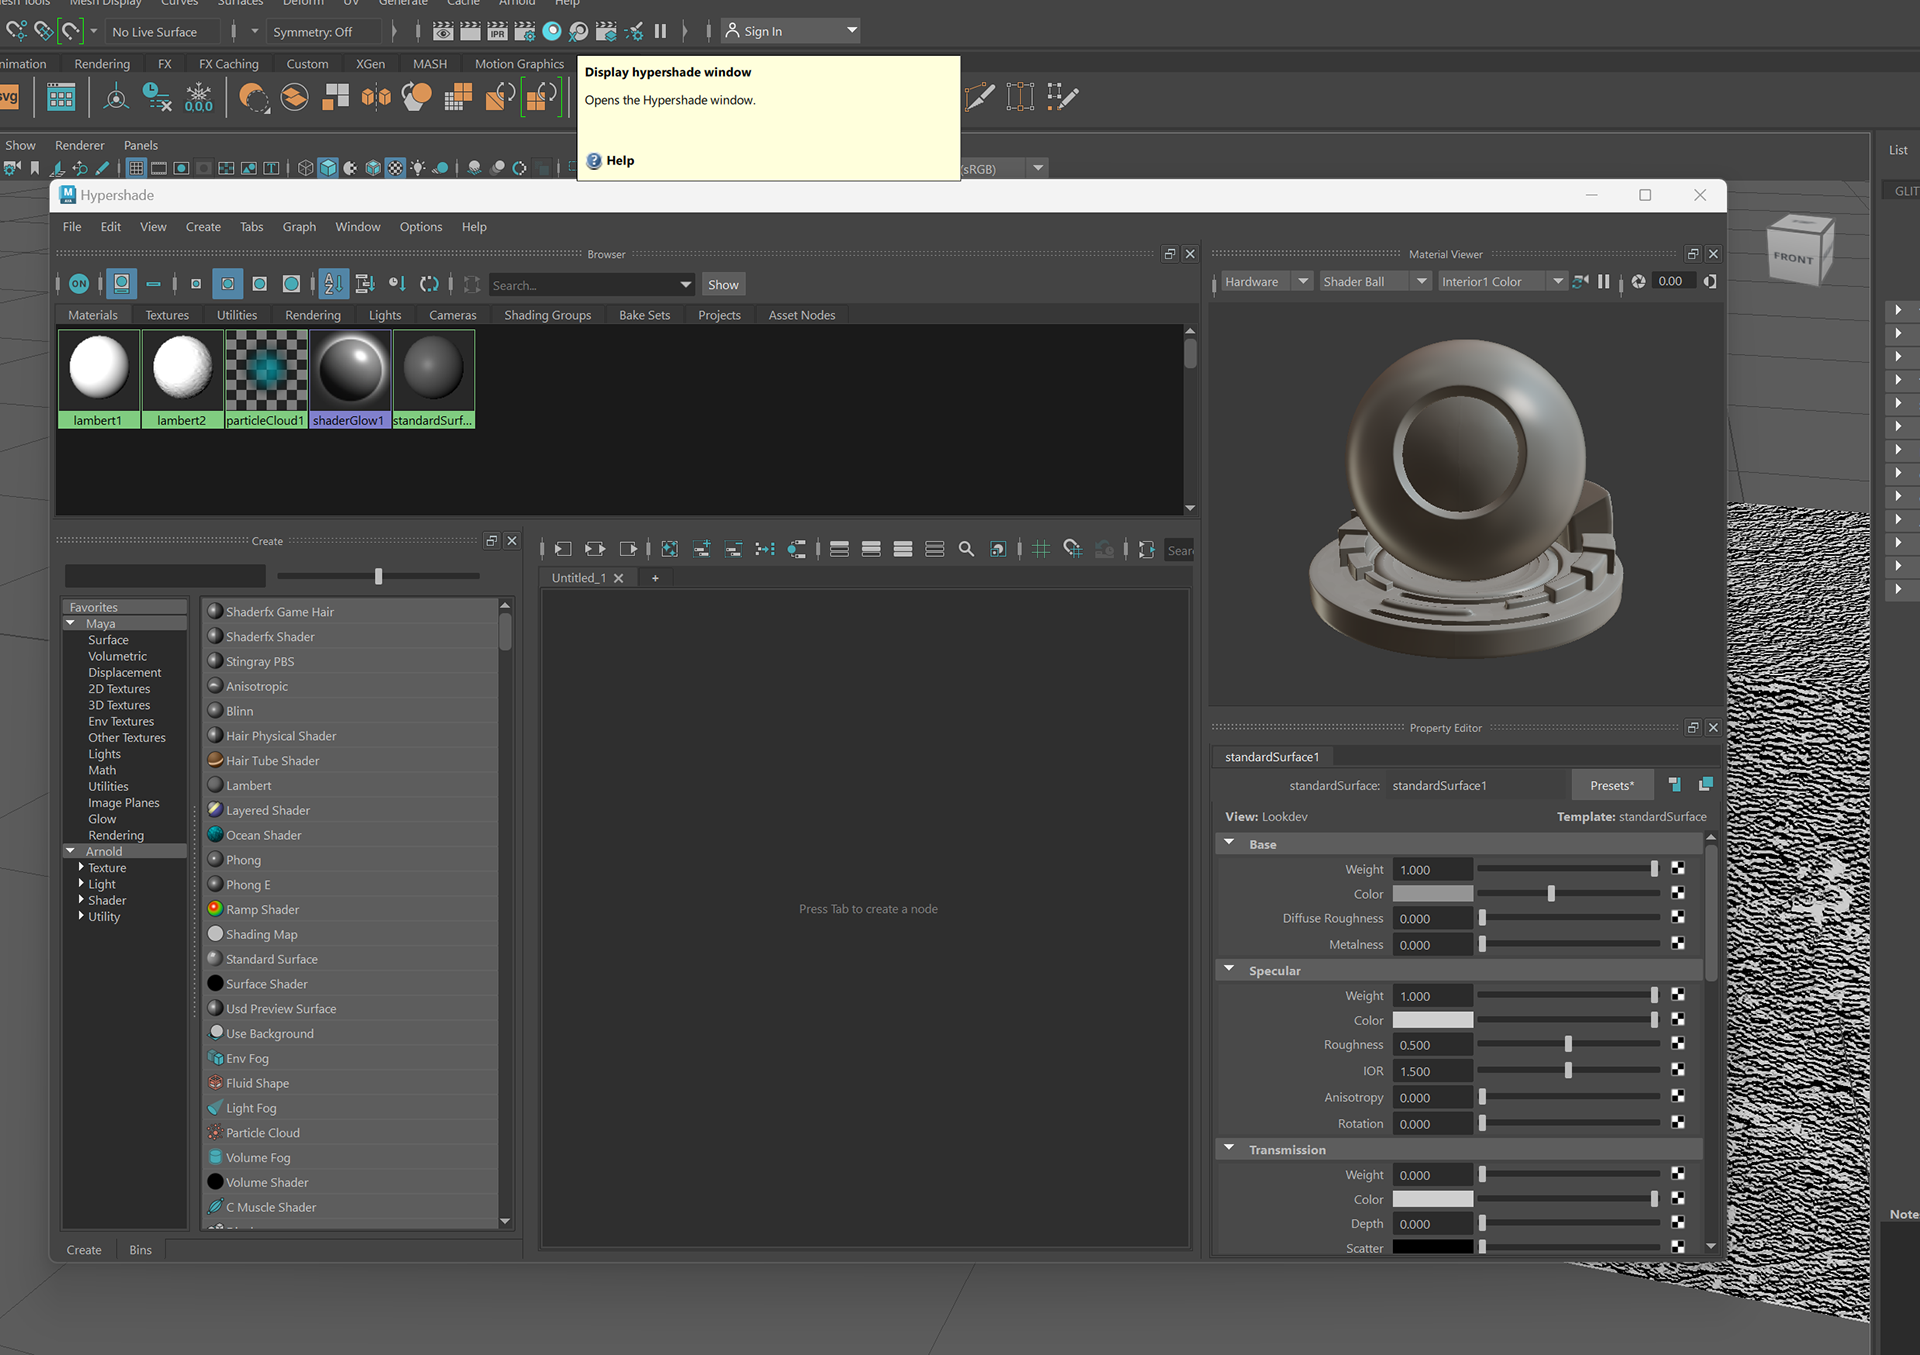
The second method consisted of using Armold Shaders and a hyper-shading setting.
This process utilised blueprints but it is for a much more photorealistic visual on the outcome.


INT- ROOM 905 11 - 03 - 25
CONCEPT ART!
Arguably a pretty important part of the outcome of this project.
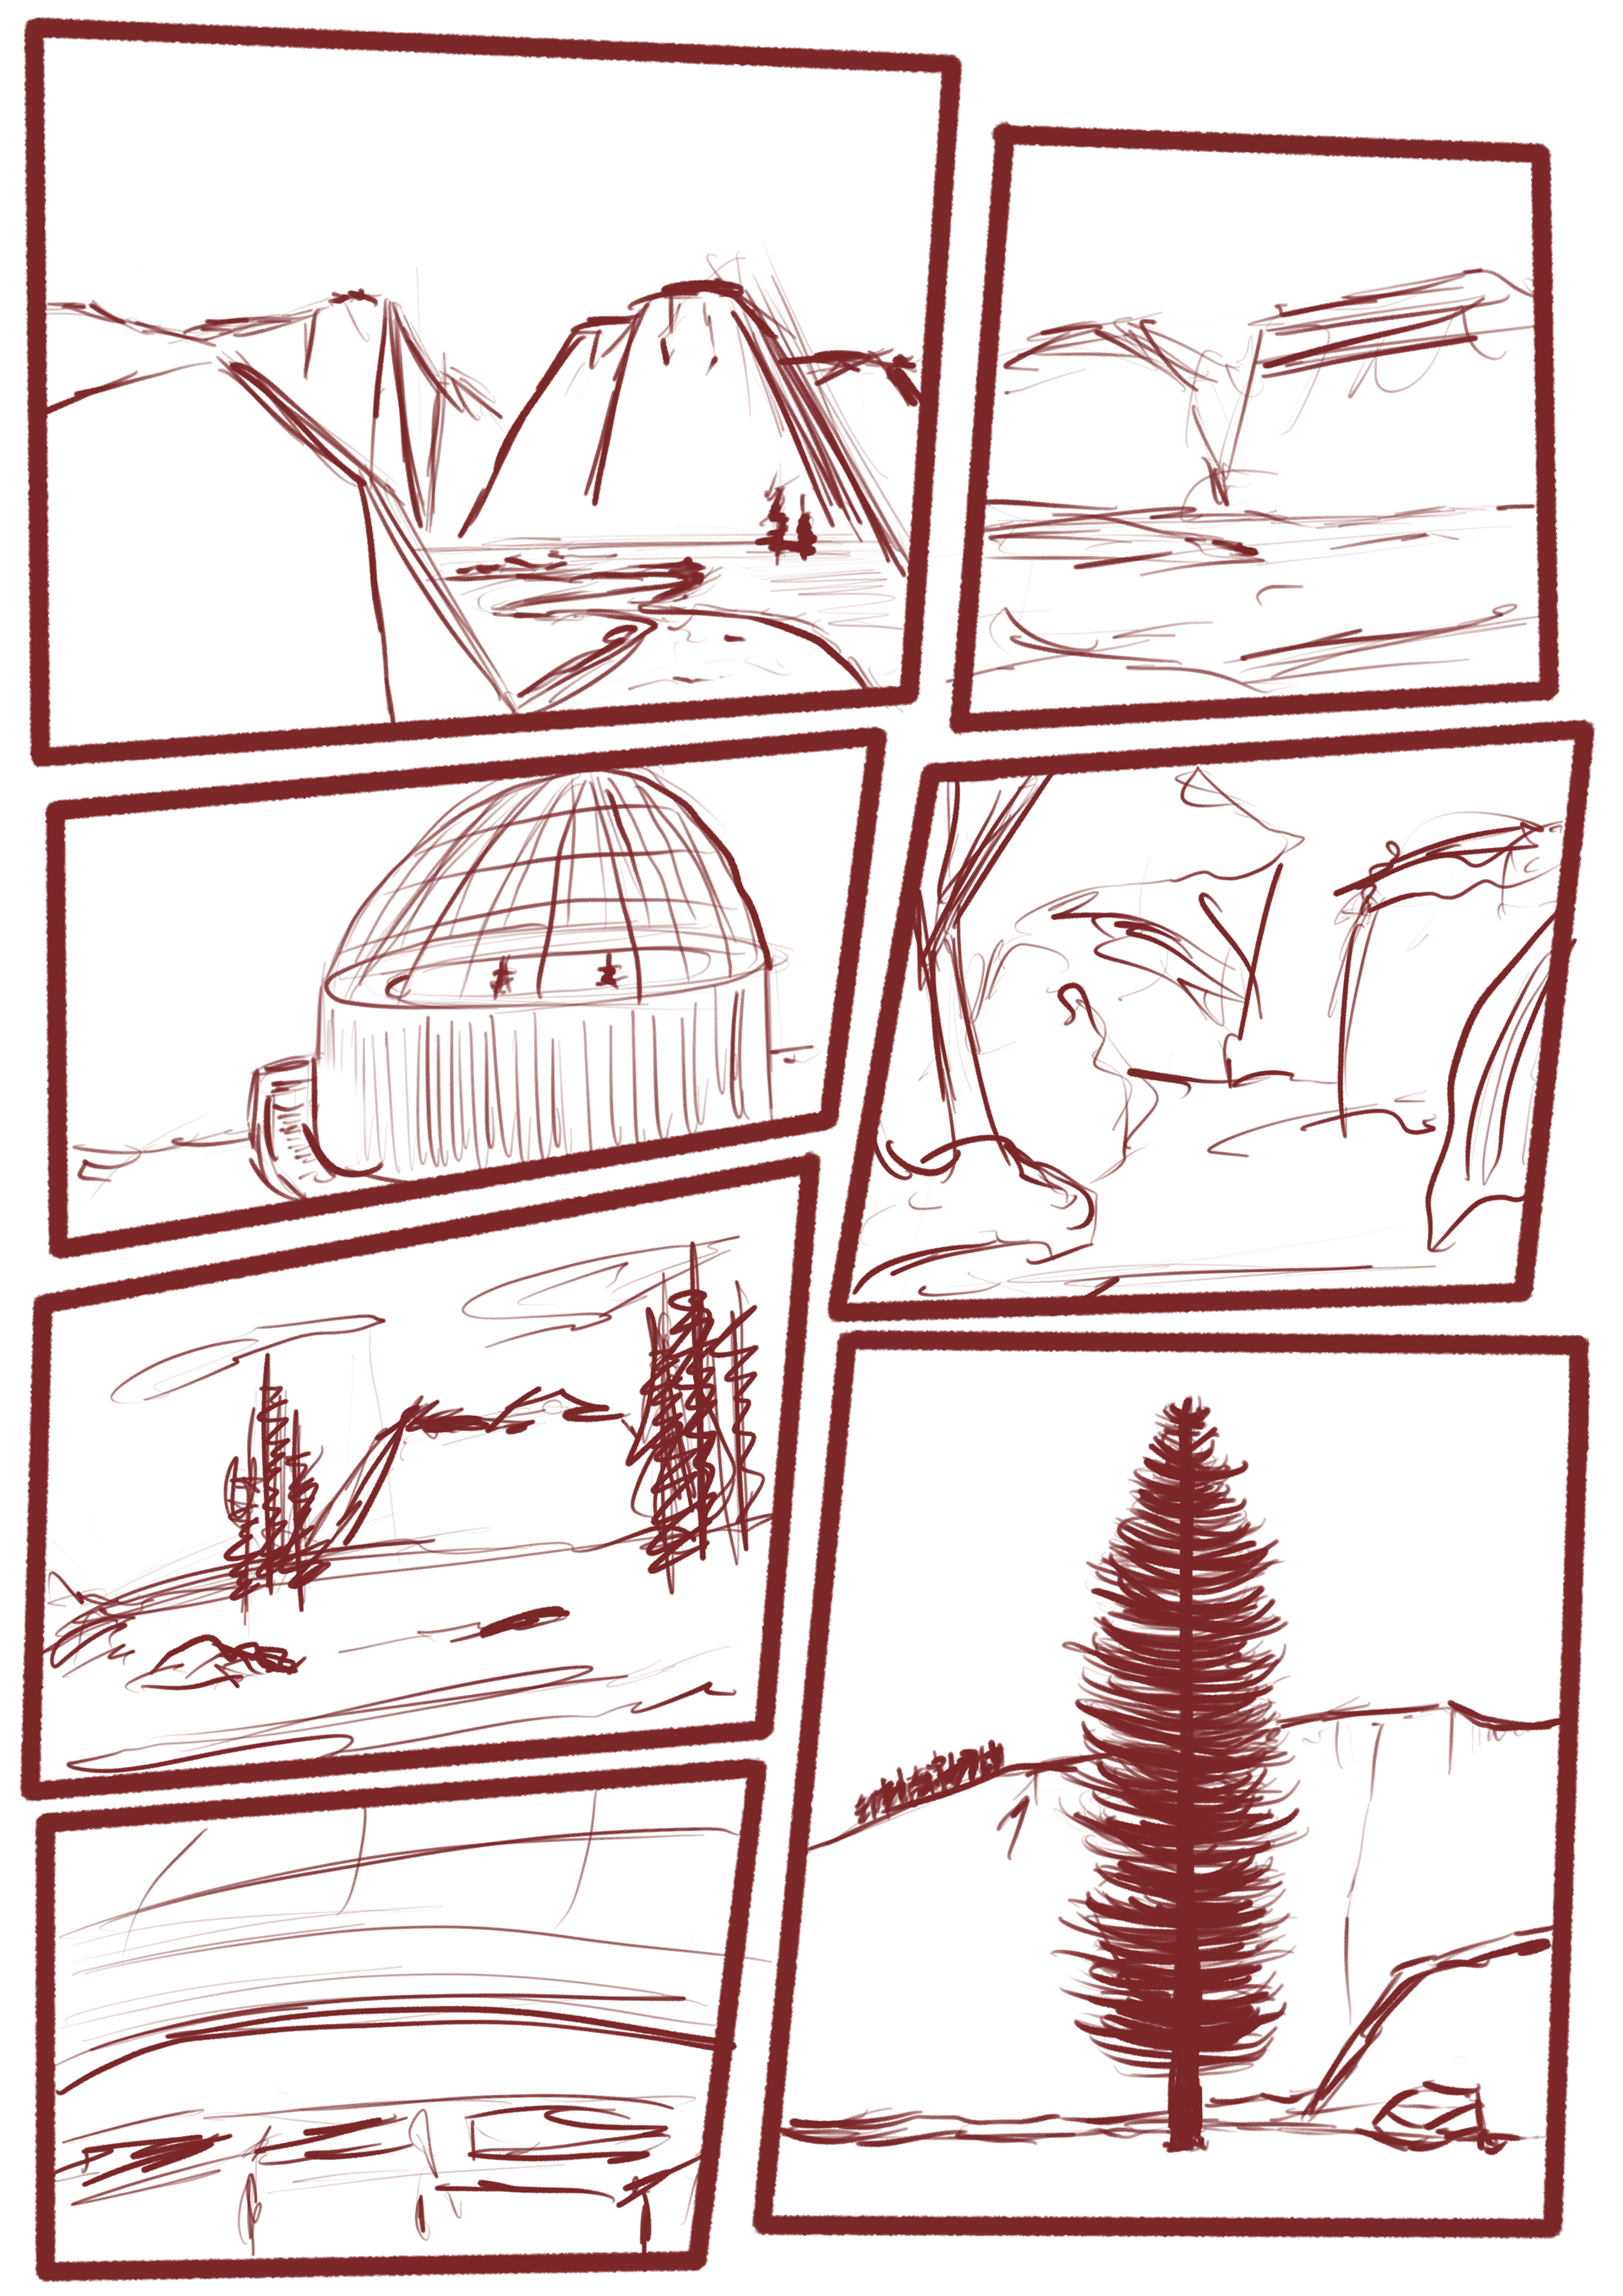
Gianna went over composition and moods with us today to give us a little bit of context before we began creating.
we did start class with a morning workshop which I will include, which was presented by Luka about Atmospheric Perspective.
we did start class with a morning workshop which I will include, which was presented by Luka about Atmospheric Perspective.
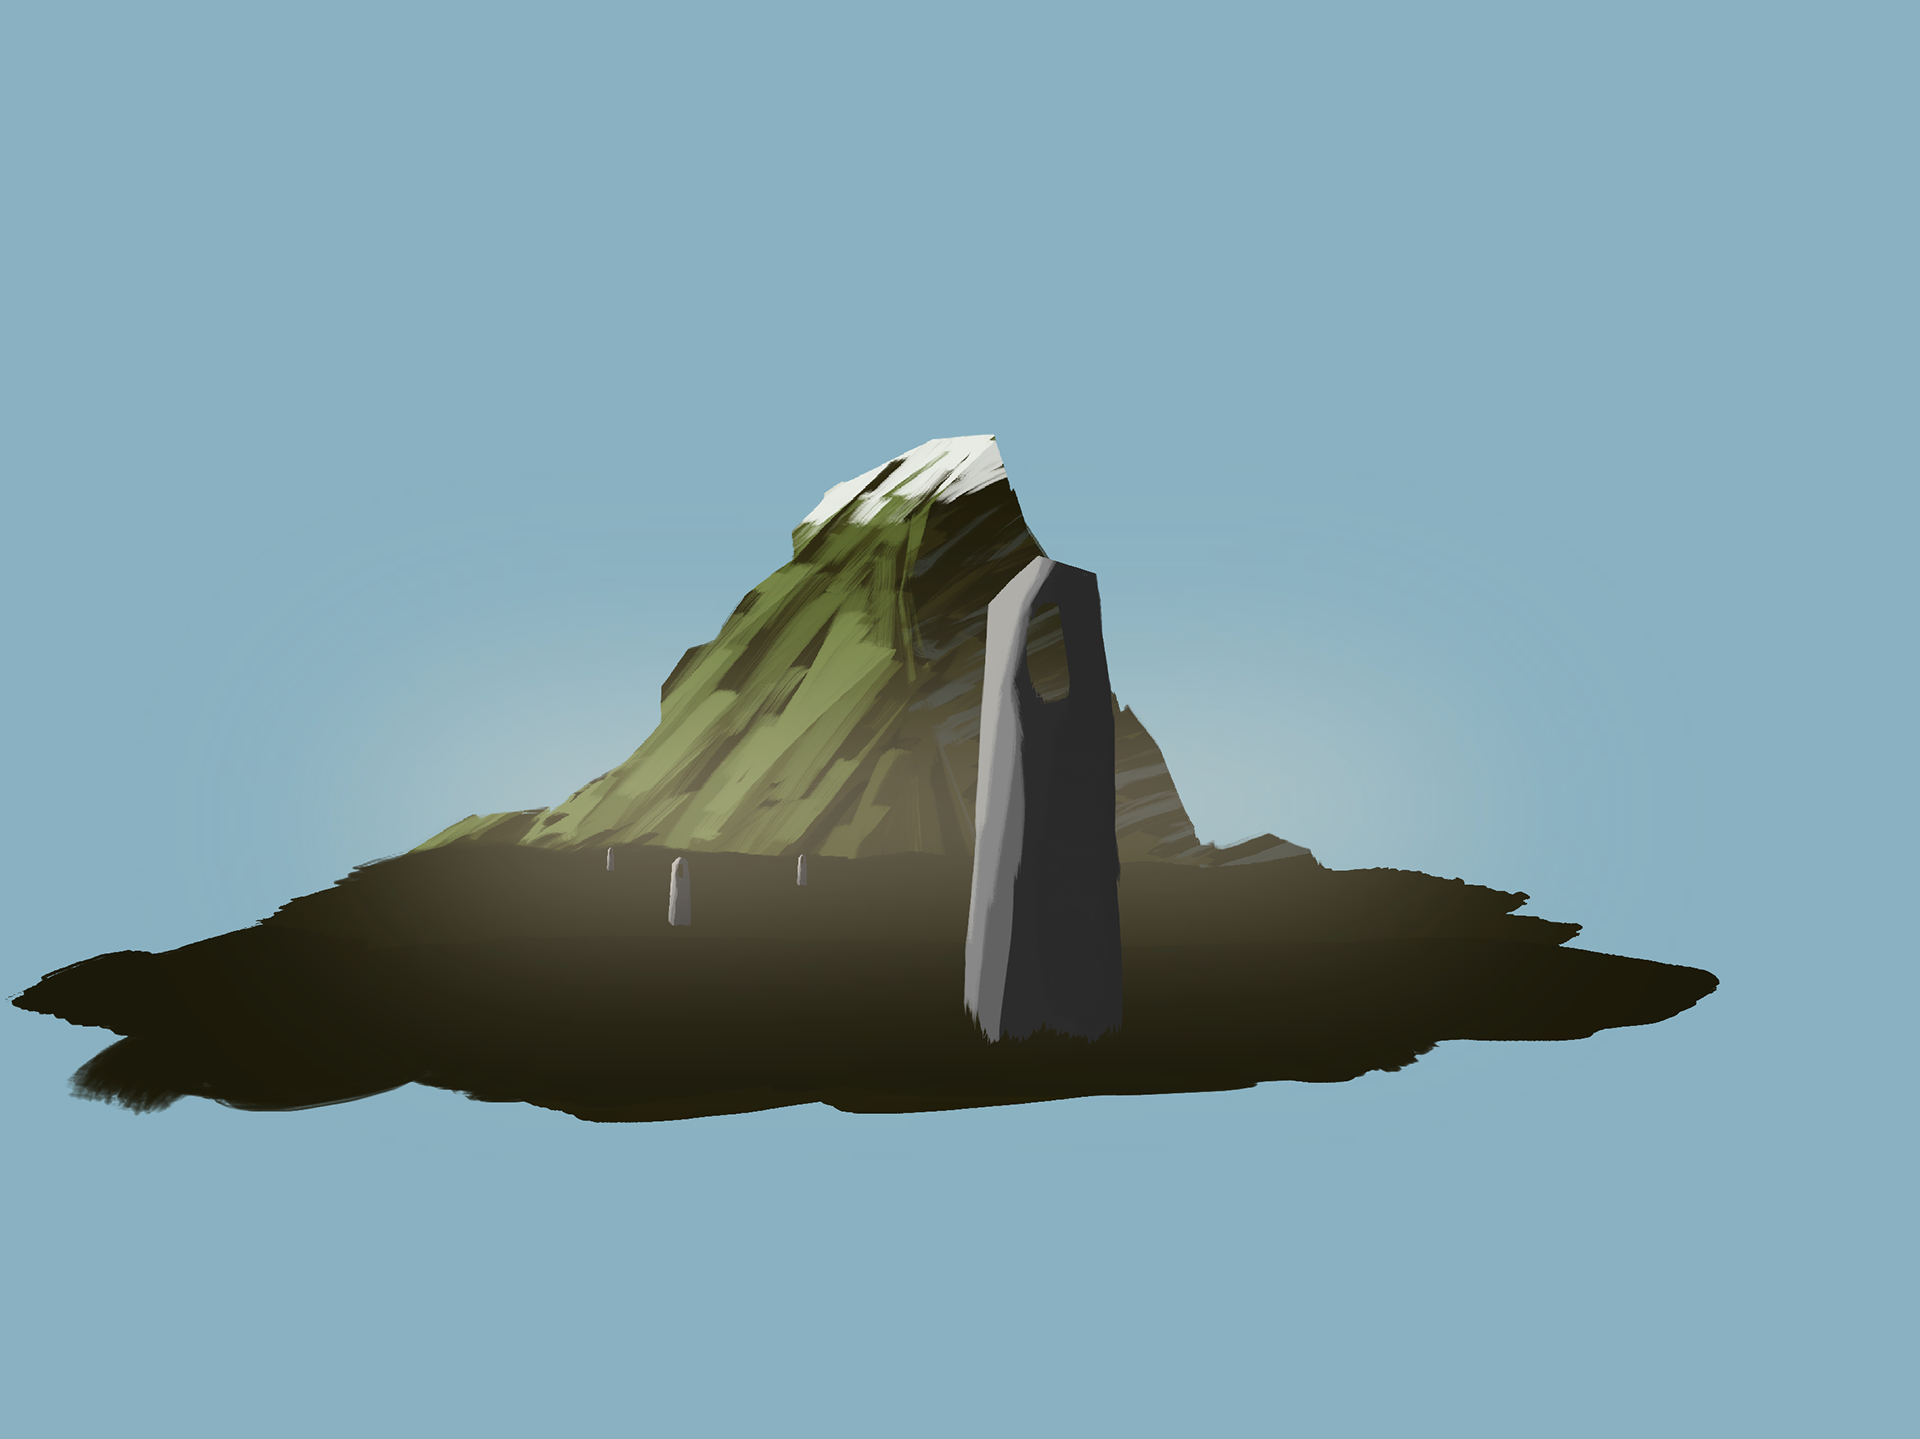
I think I might have the perspective wrong here, but we move.
I didn't get much done in terms of drawing in class but I did get to work over the weekend.
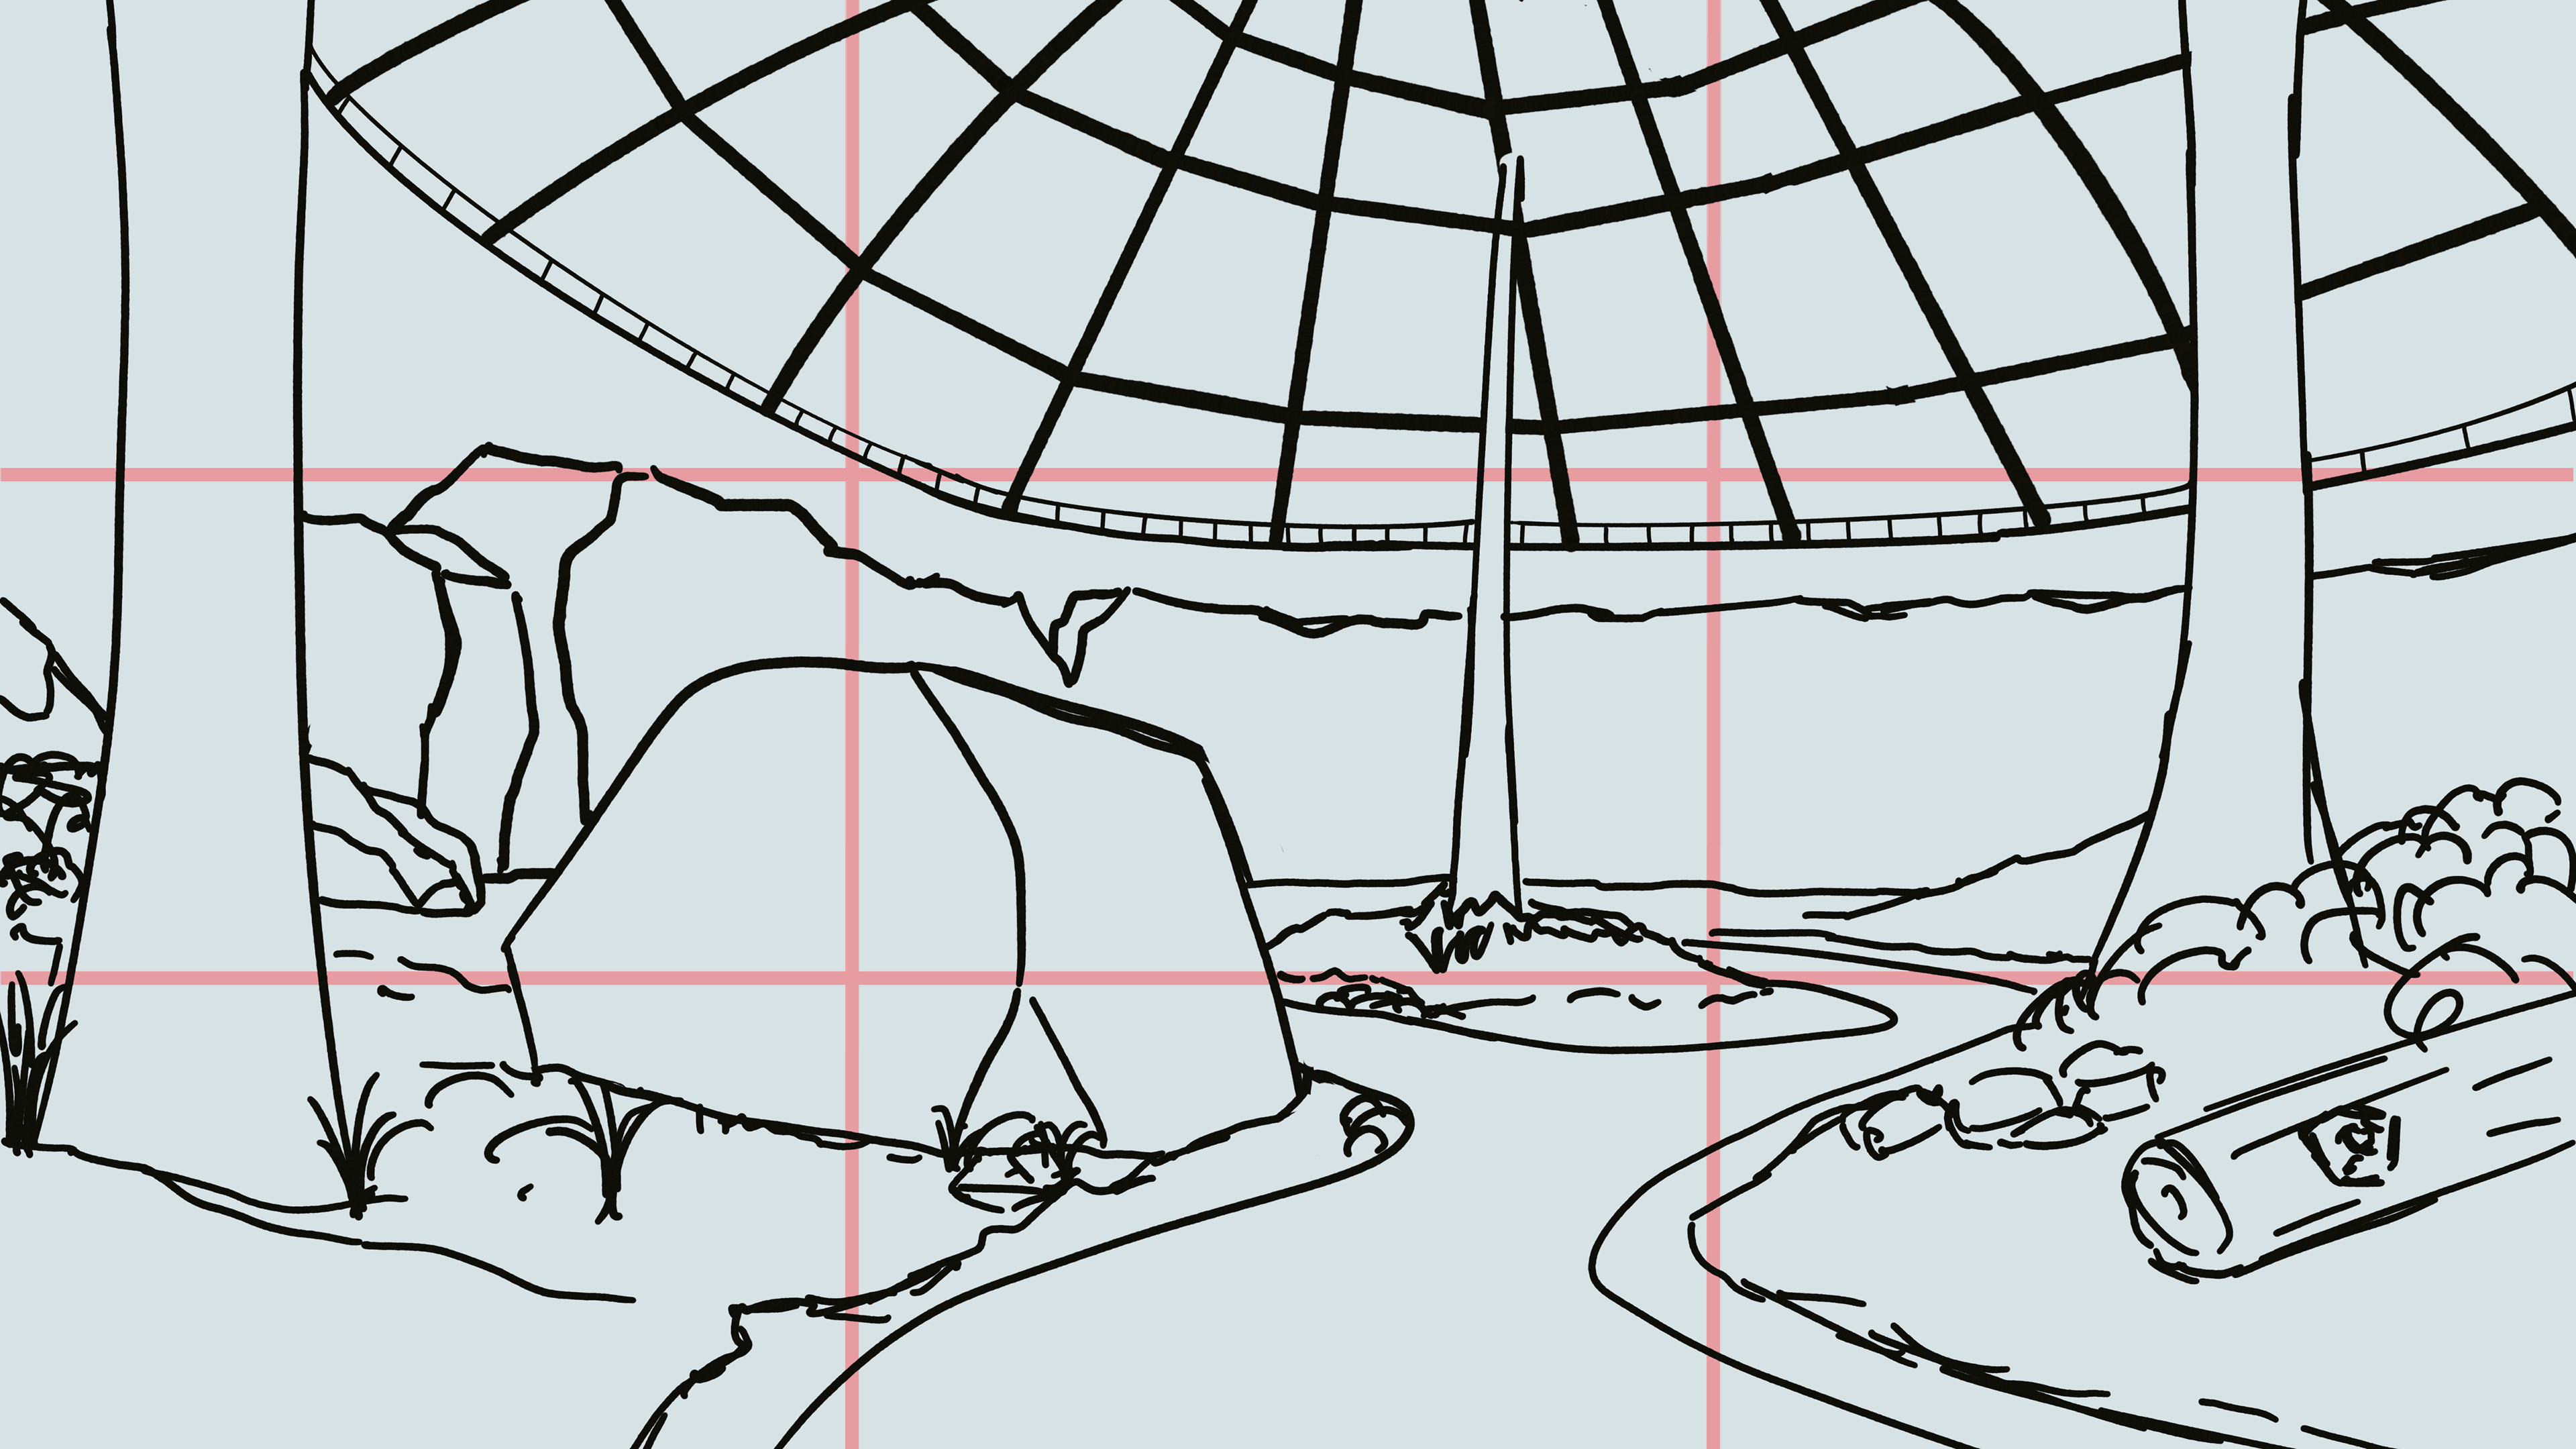
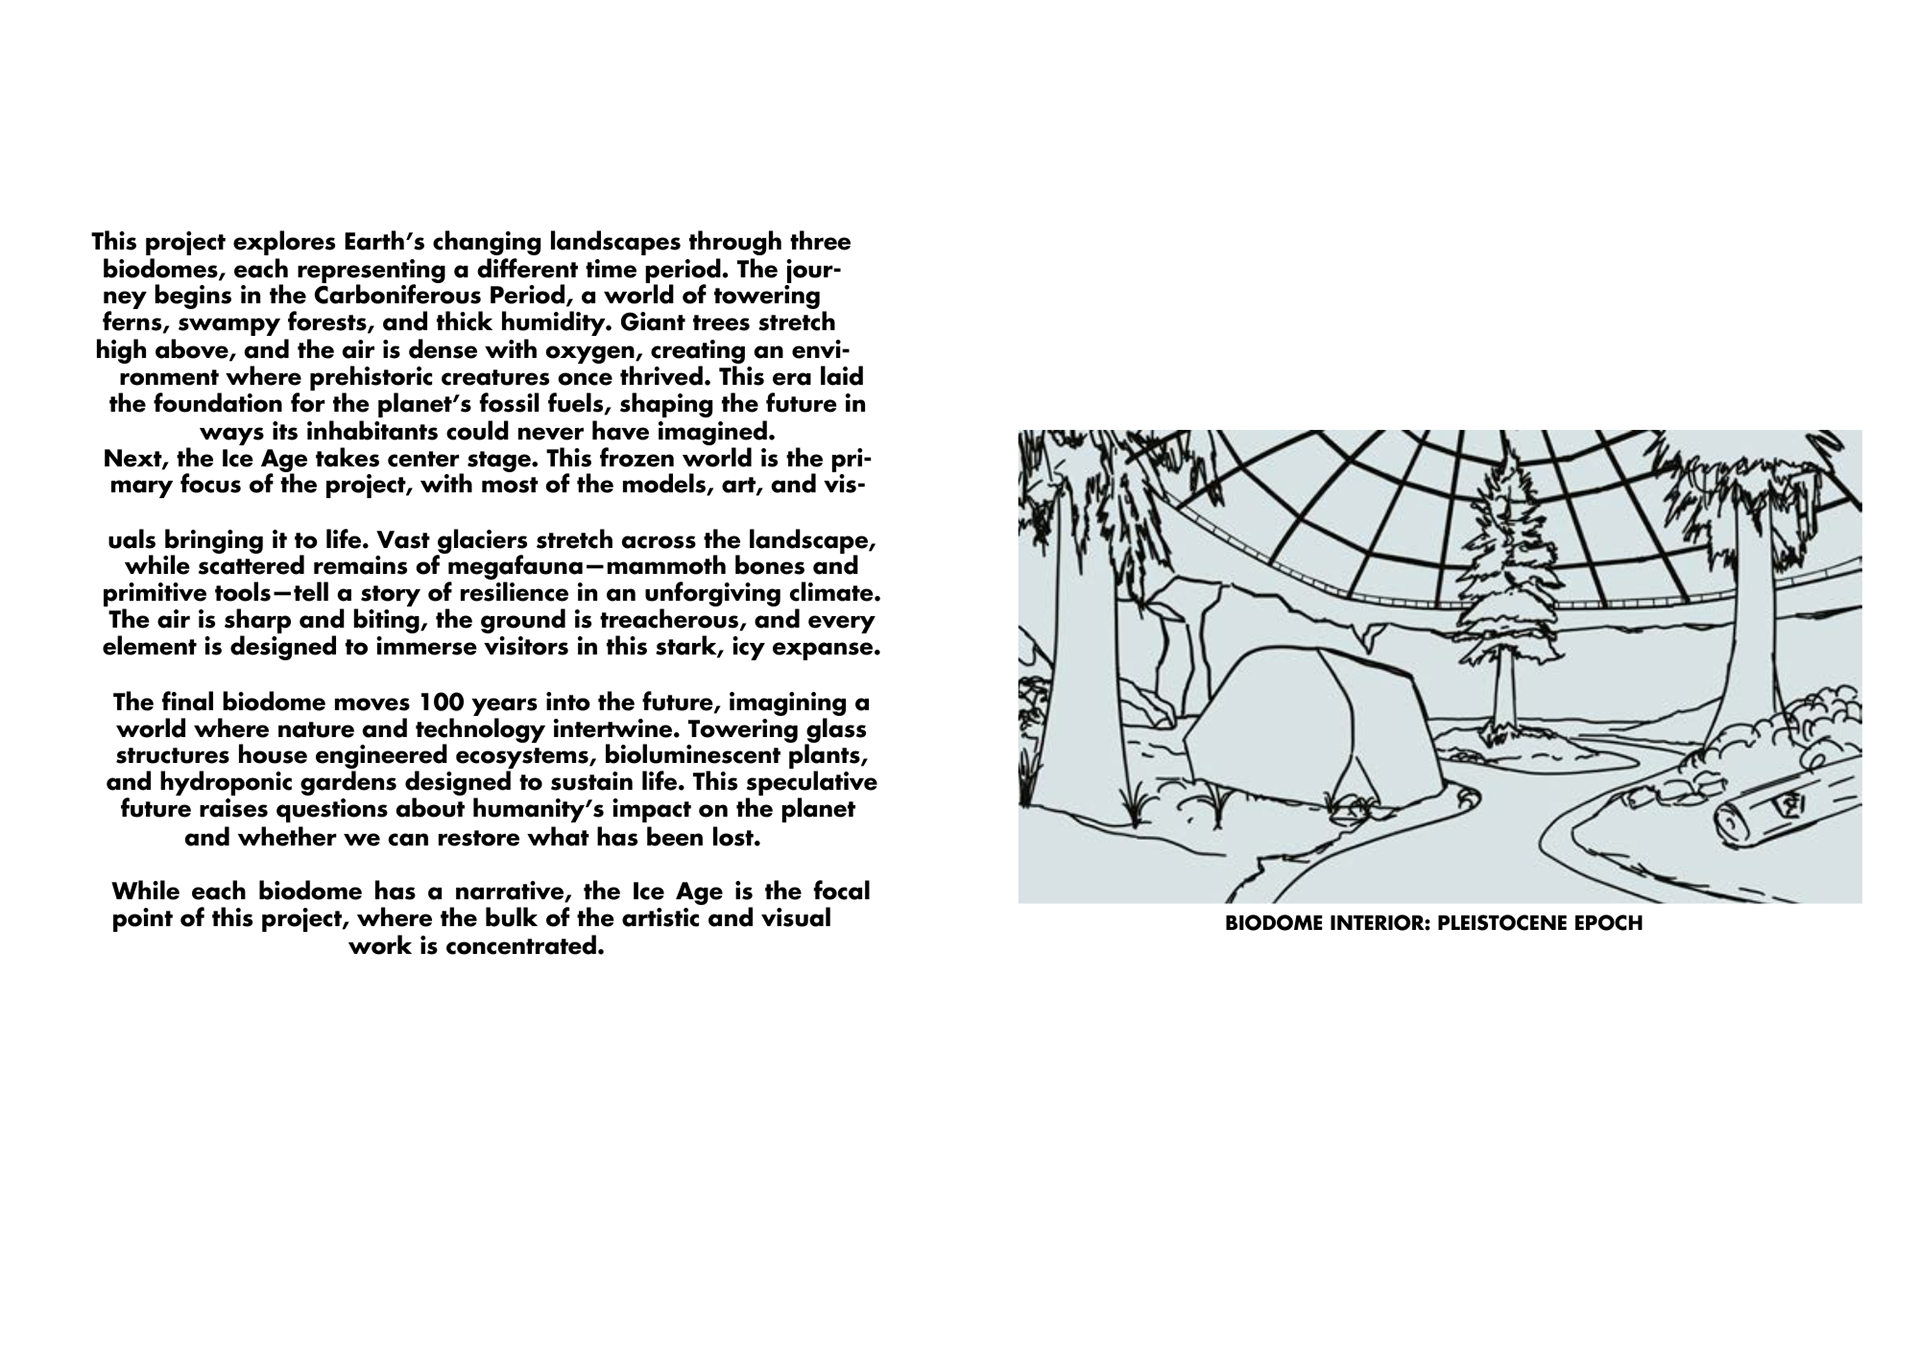
When it came to the interior of the biodome this is what I visualised, I started with Lineart which is a sort of new way of drawing for me? I normally block colours out but I found it difficult to do so in this case since it needed to be better structurally planned than random.
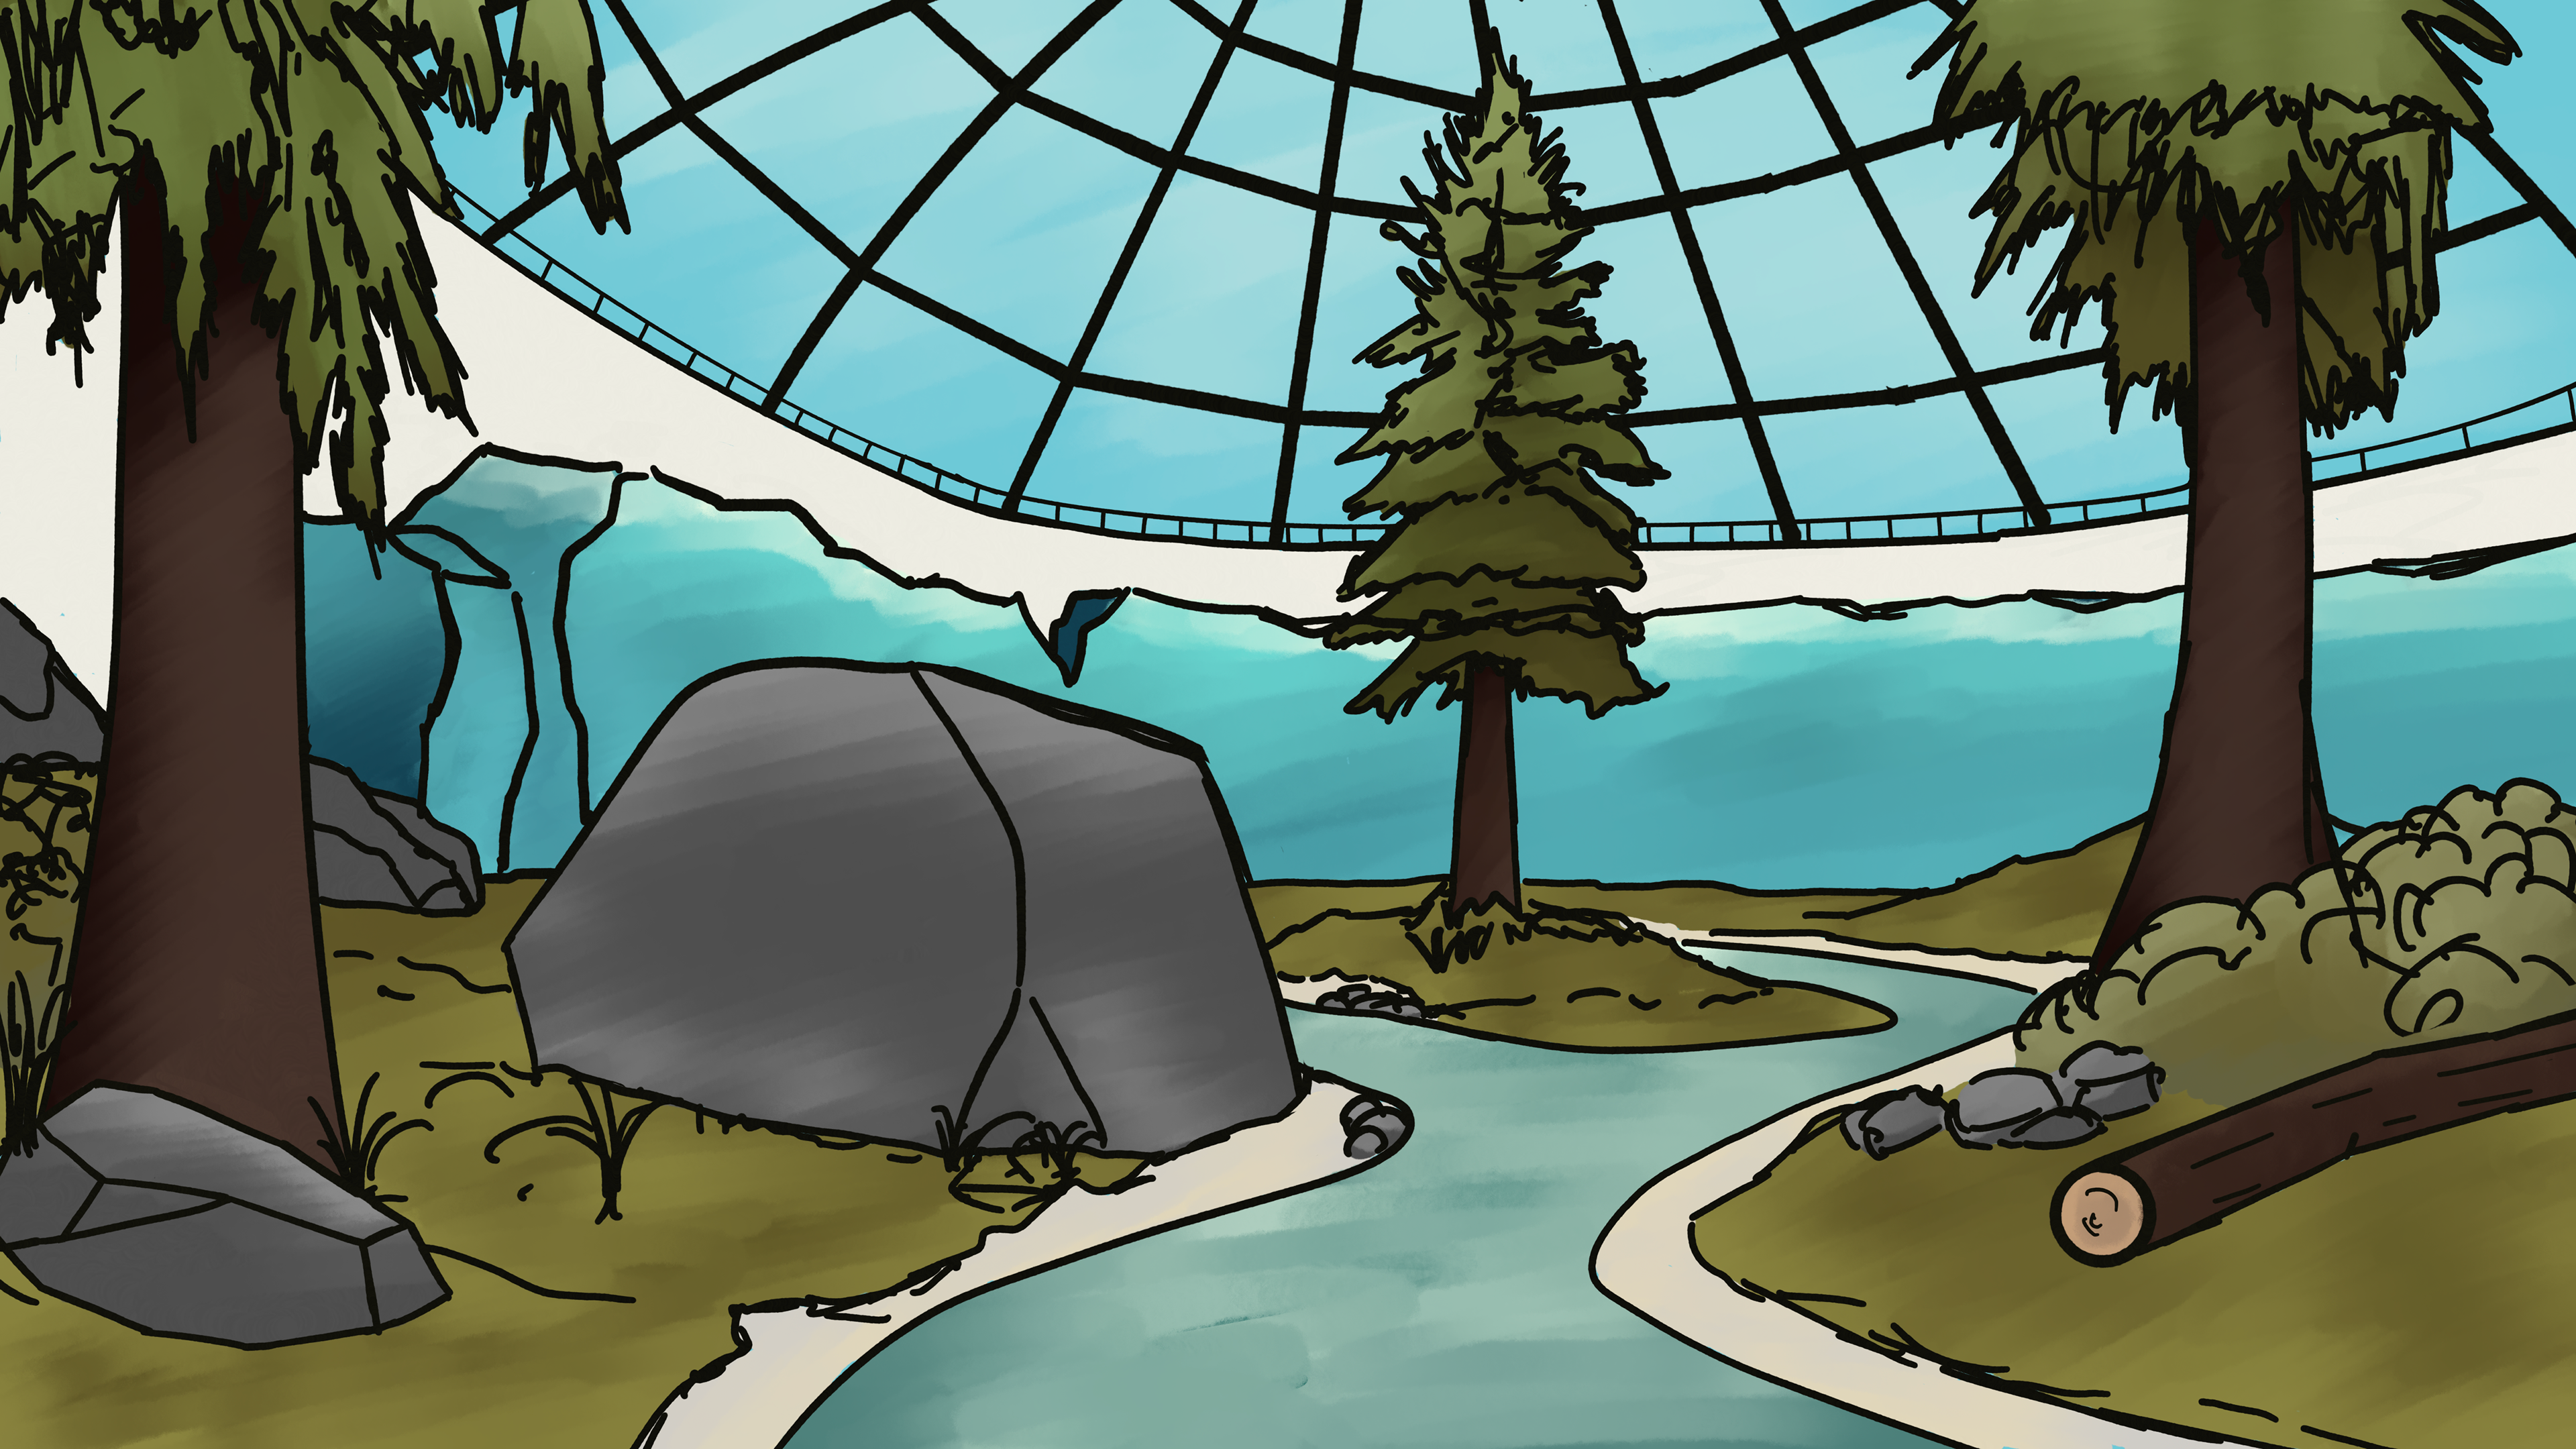
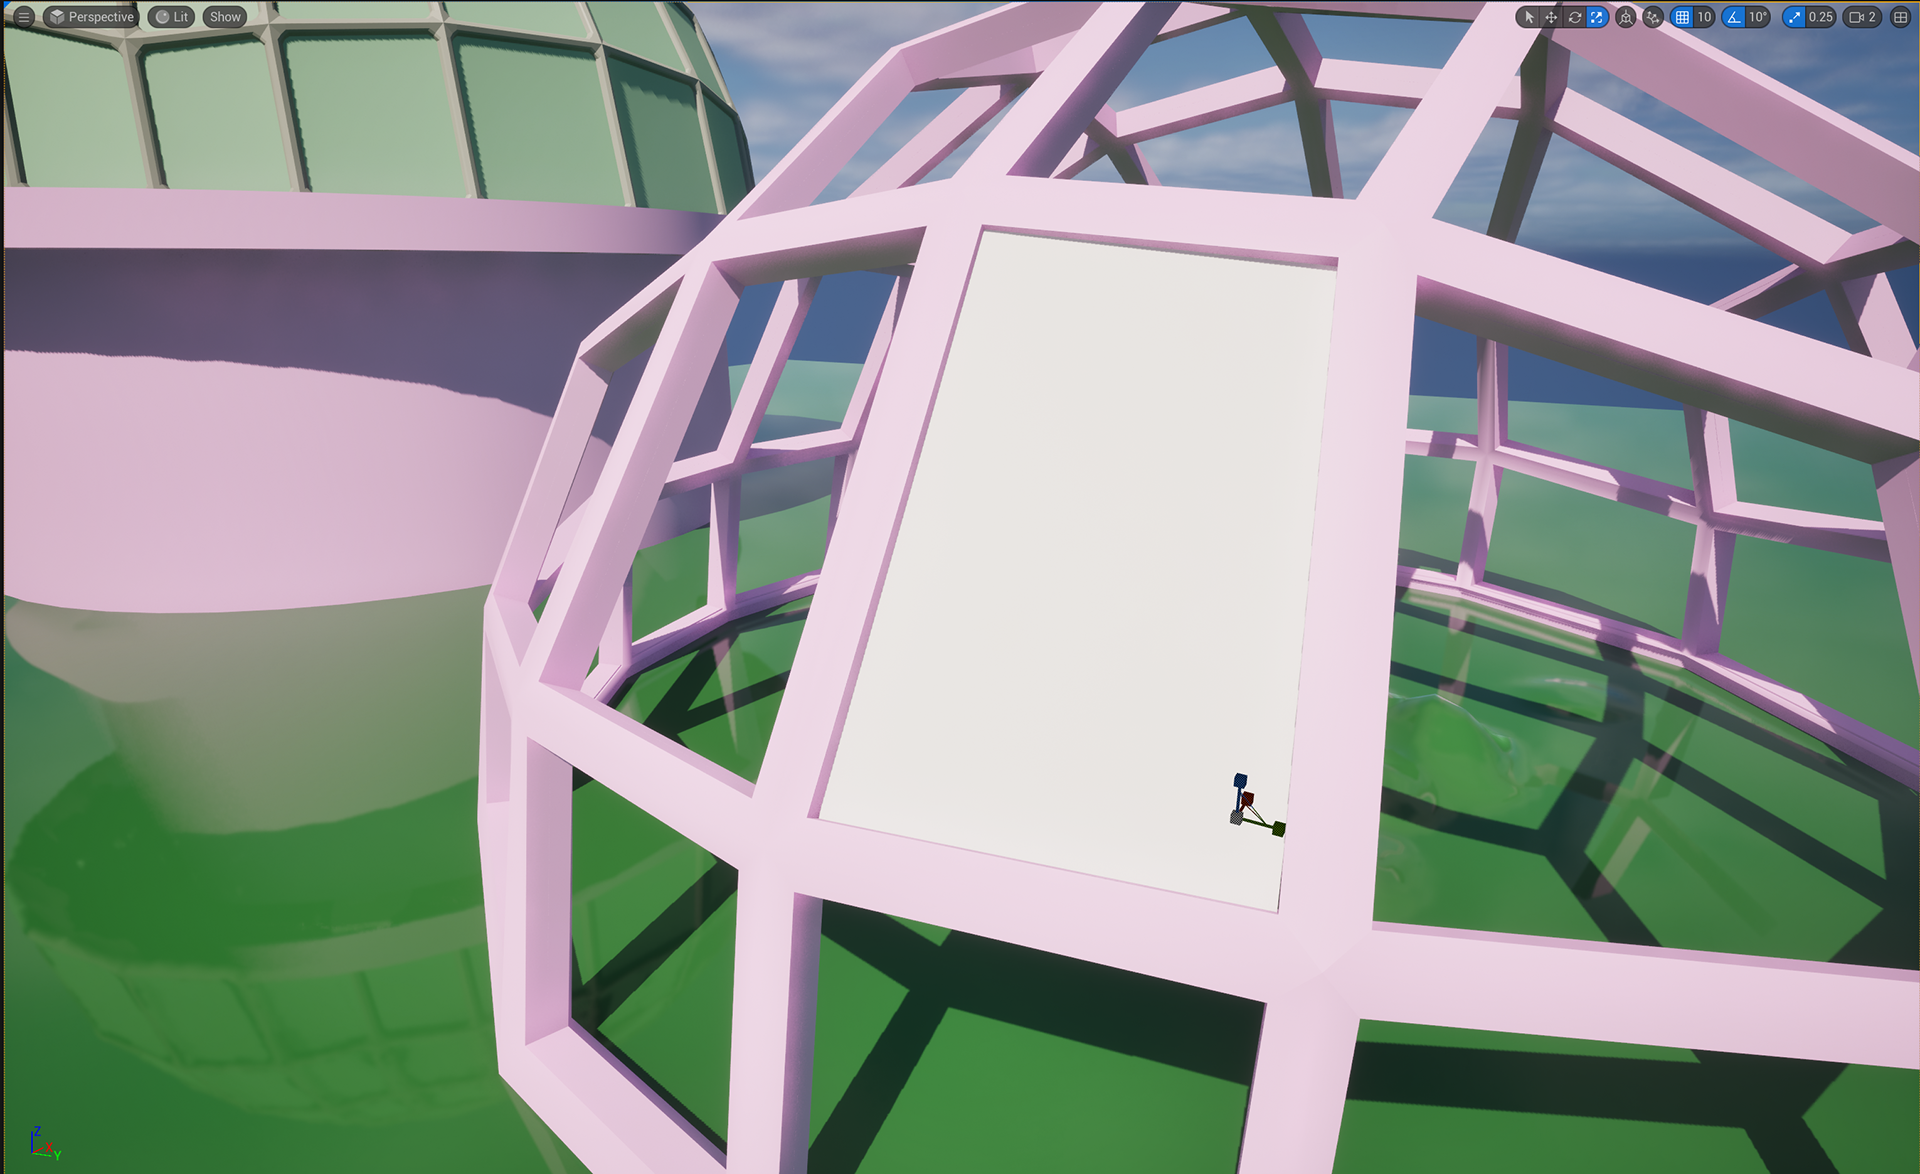
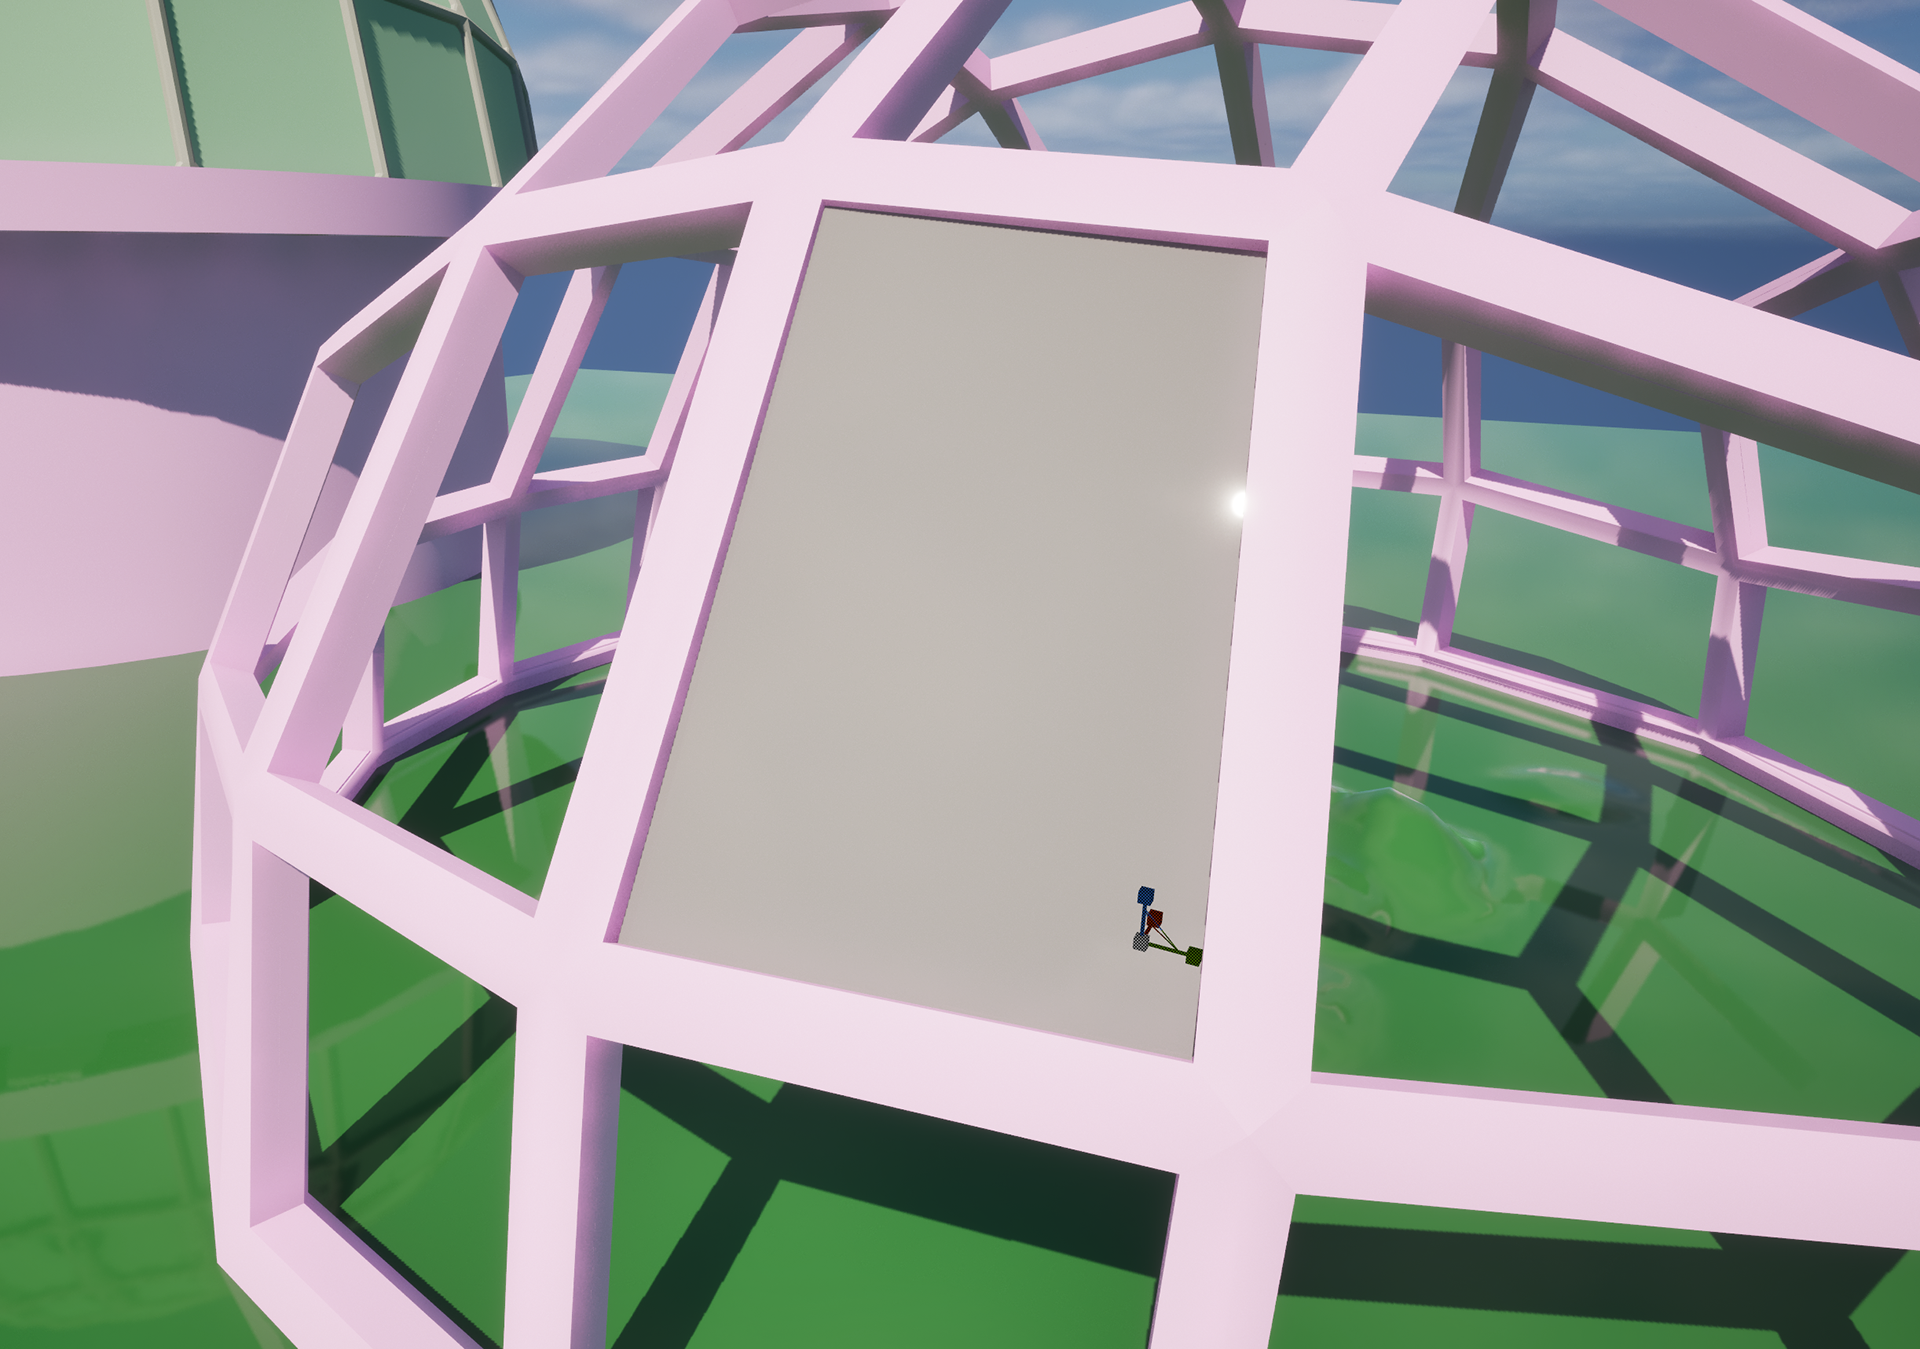
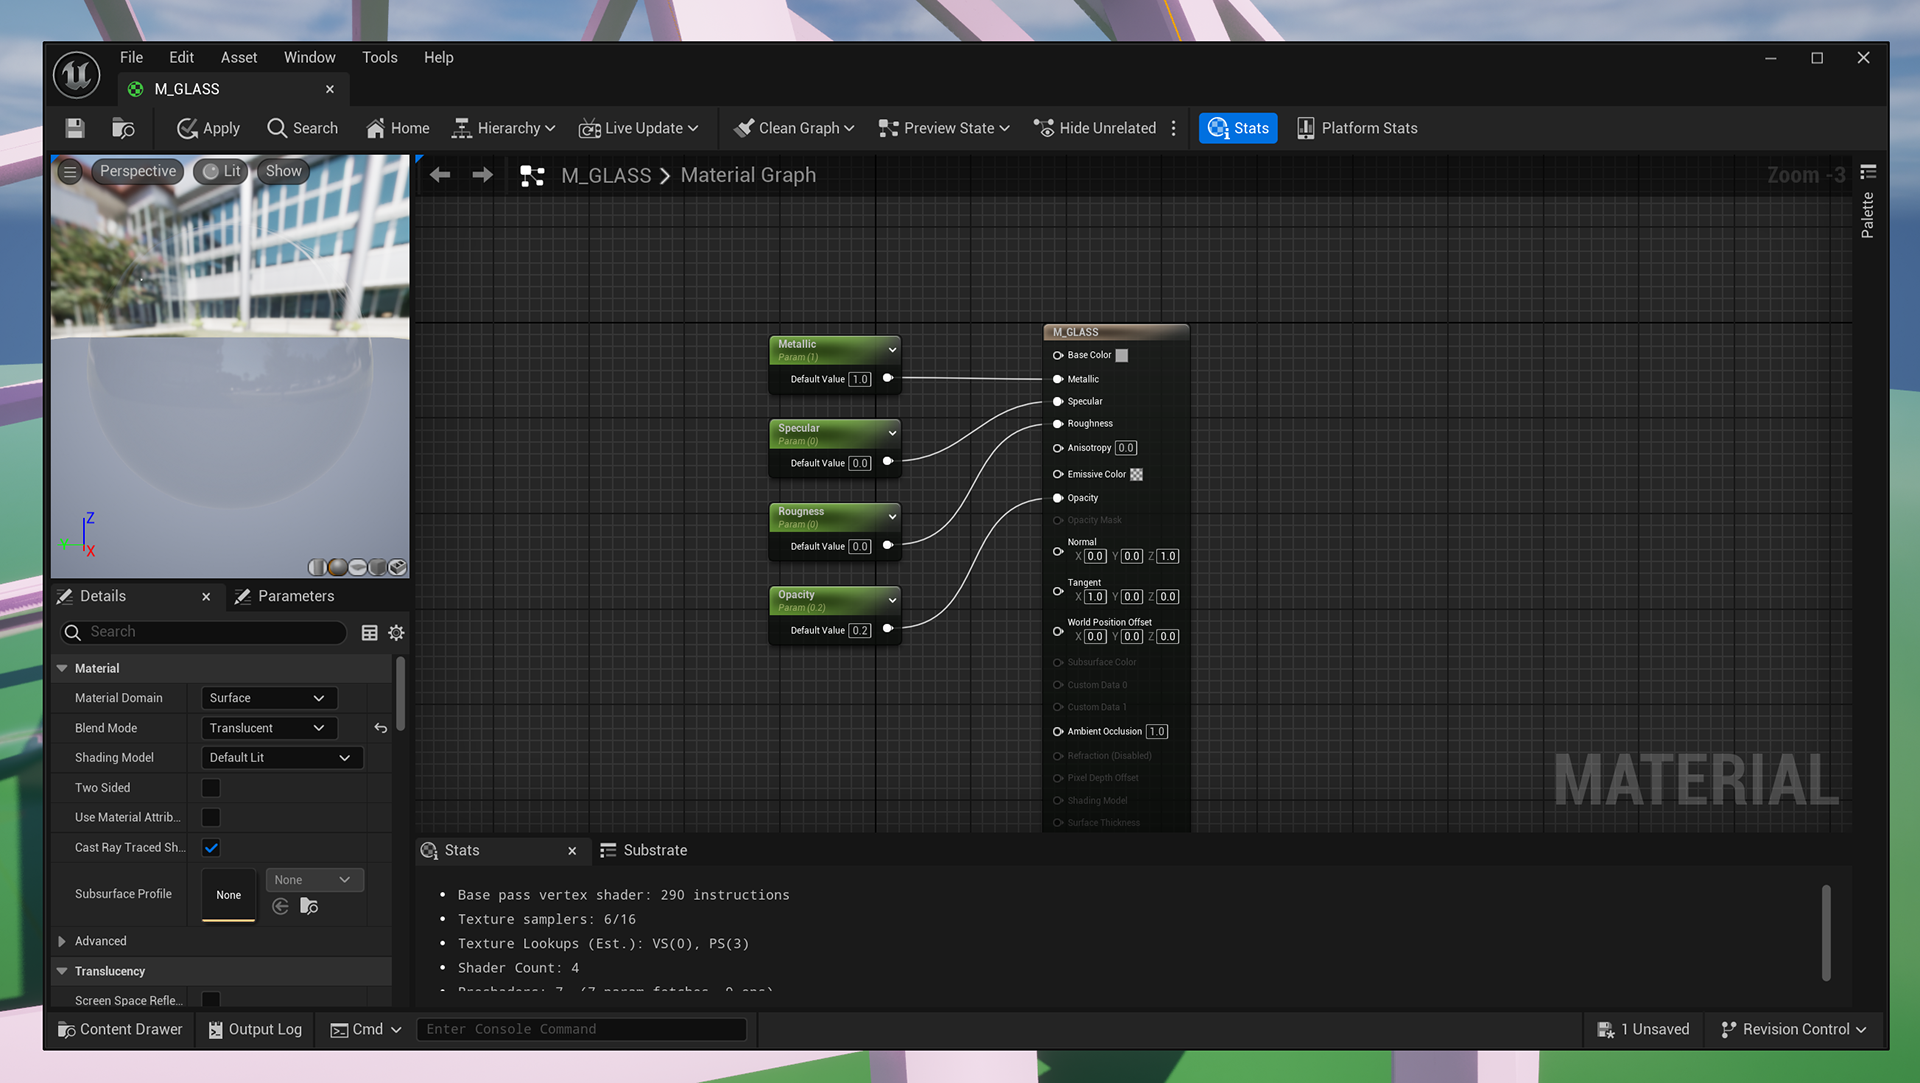
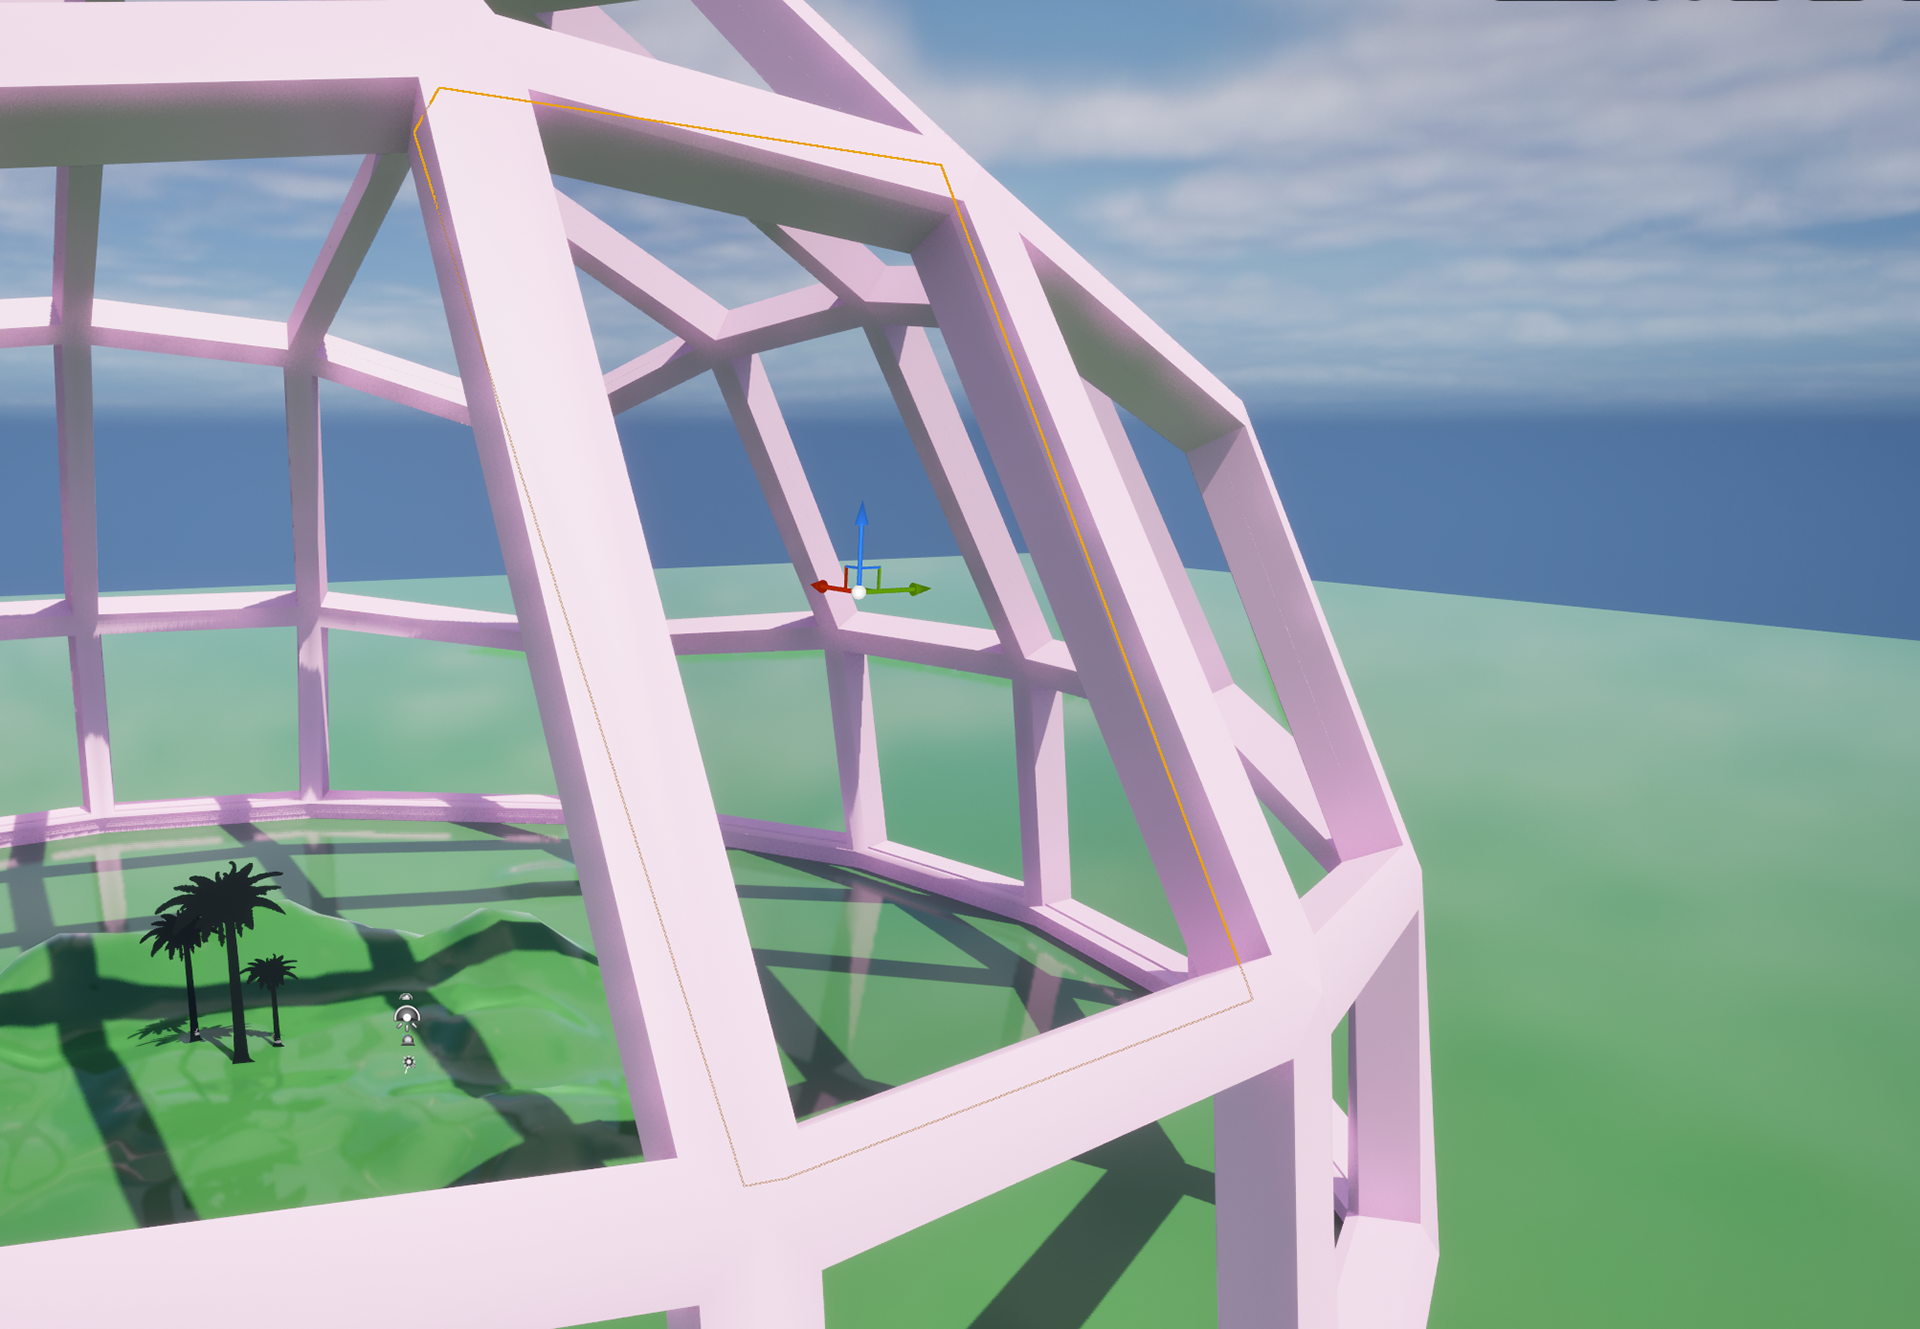
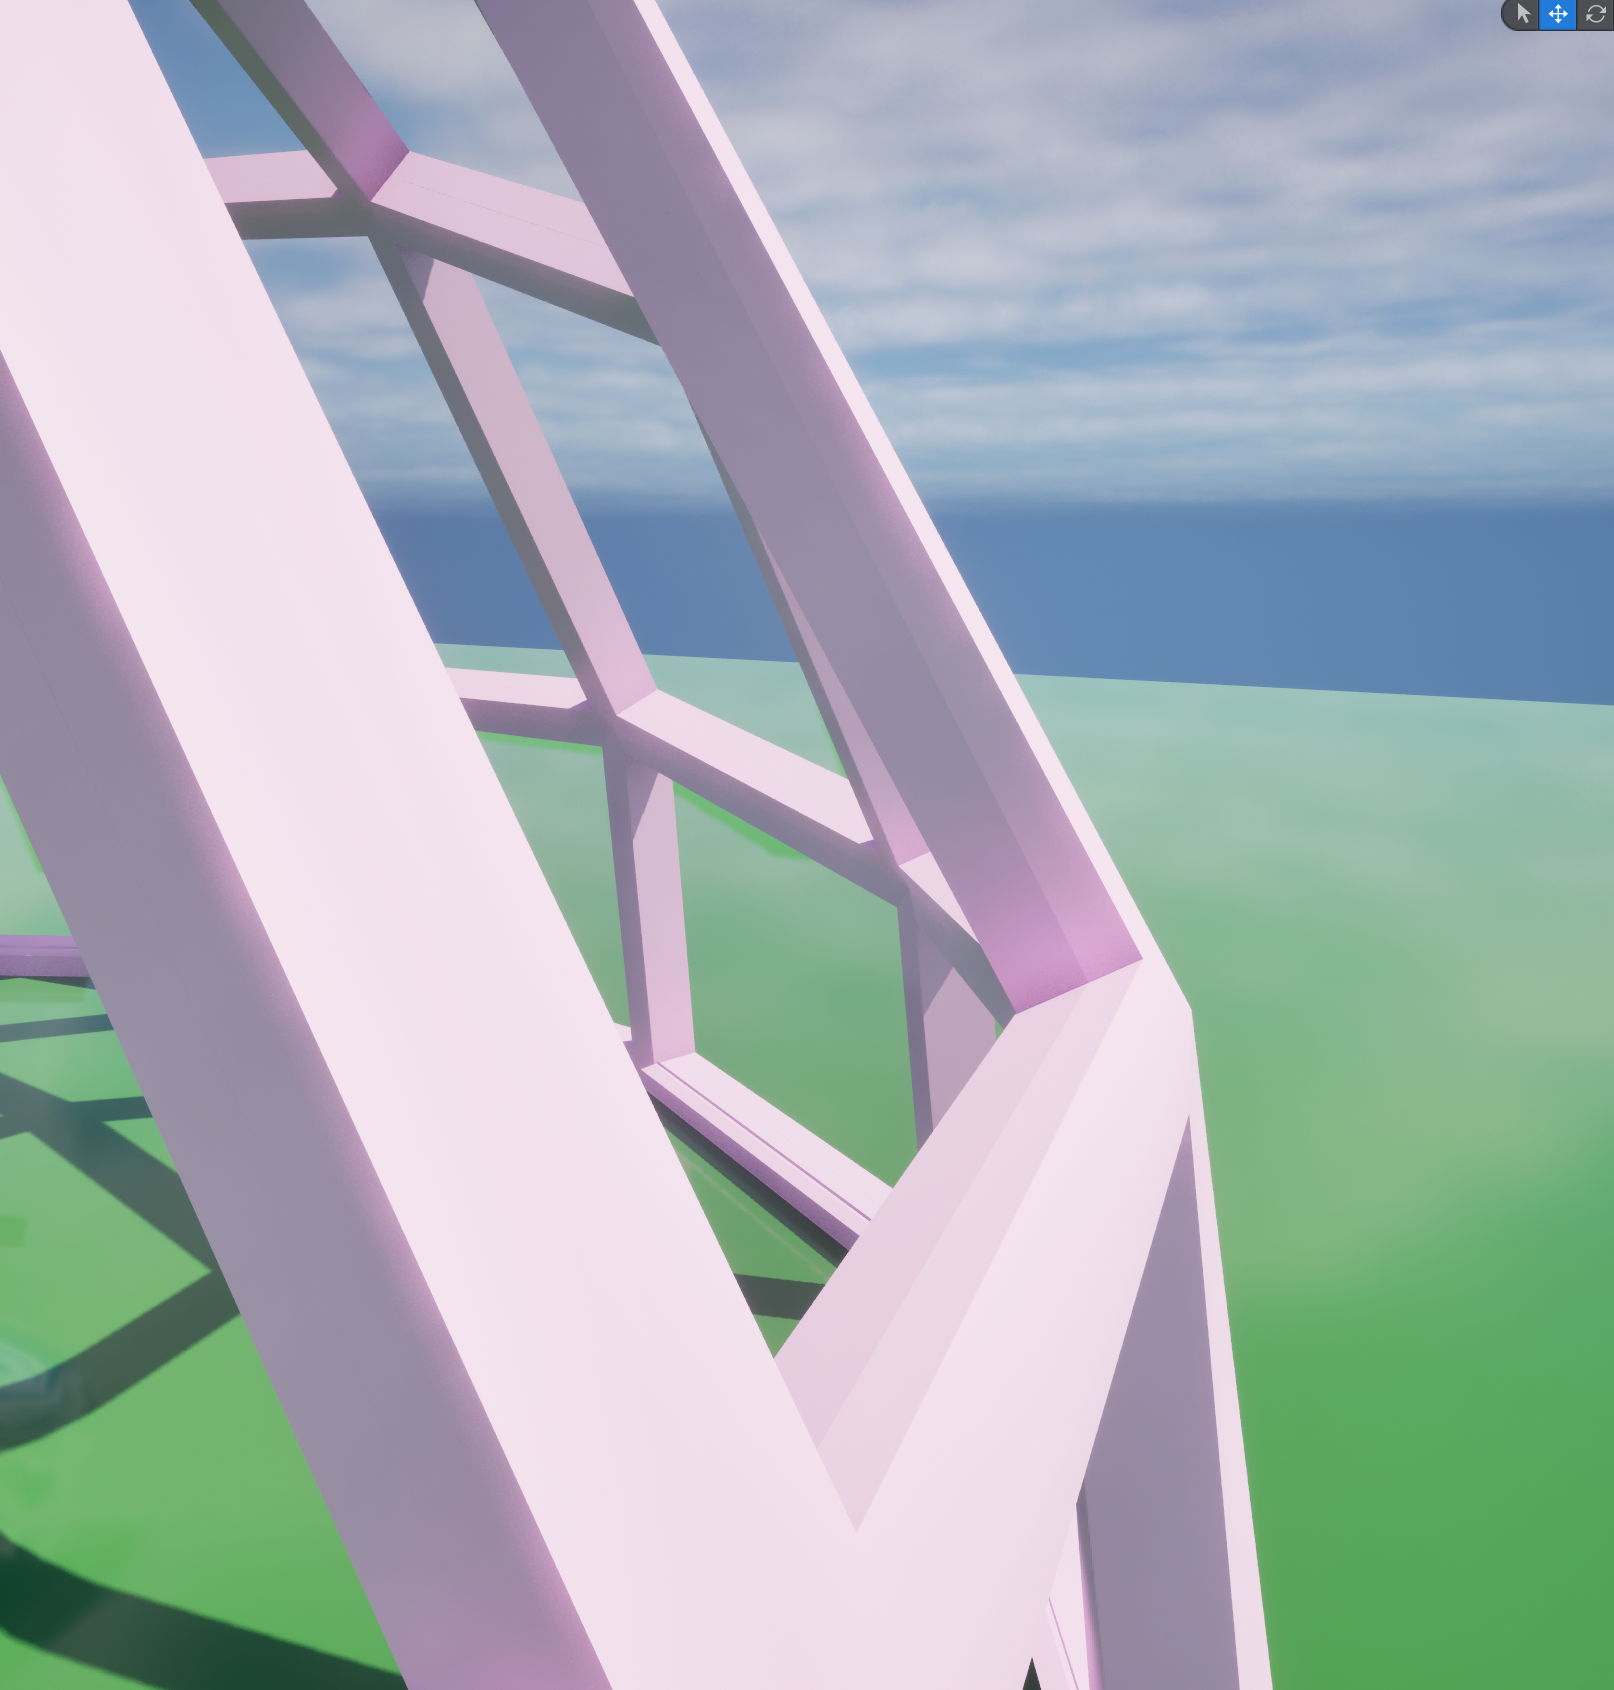
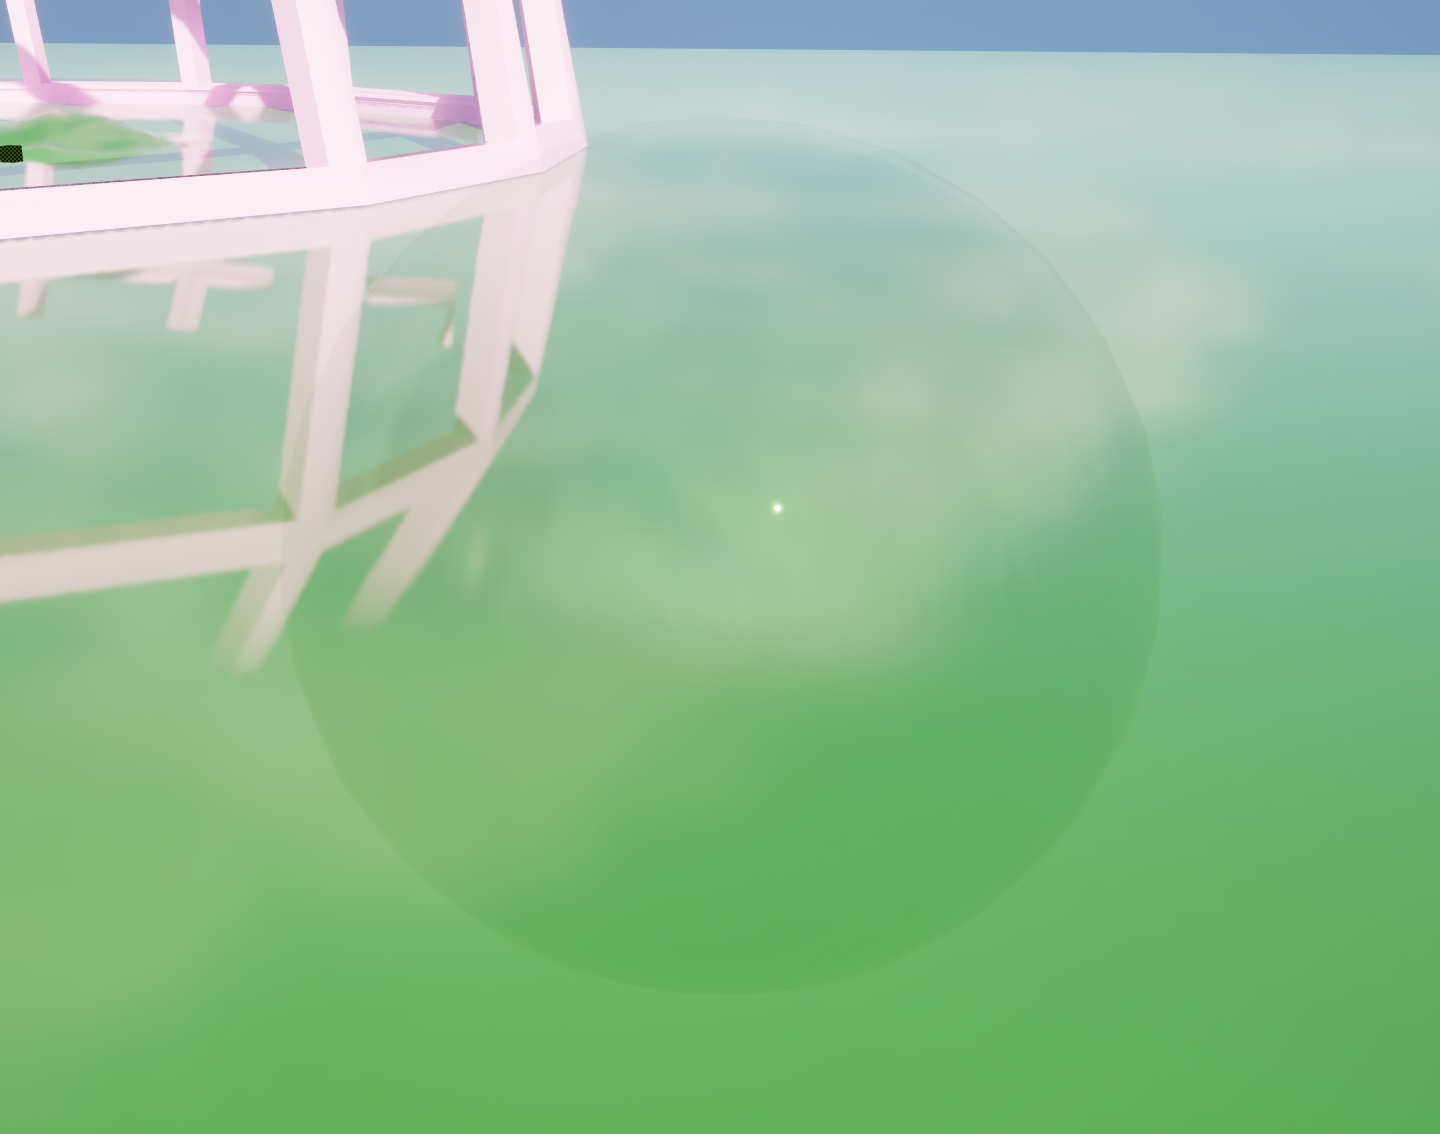
We also went over how to apply a glass texture to the biodome in unreal engine with Rob later in class which was really useful!
It was a really simple process which involved creating and editing a material and then setting parameters to edit them individually.
Below, you can see the texture applied to the biodome.


INT- ROOM 905 18 - 03 - 25
INDESIGN WORKSHOP!
Today Olly taught us how to use indesign
I was still experimenting with drawing so I did some quick sketches to include in the bible
In the simplest terms, we put together our final art bible and here is my book!
Ready for hand in!
Thus the long journey that is environment art, comes to an end.